
How To: Make a replica Yukki Cross Artemis scythe from Vampire Knight for cosplay
Watch this video for instructions on making the Yukki Cross Artemis scythe from the anime / manga Vampire Knight.


Watch this video for instructions on making the Yukki Cross Artemis scythe from the anime / manga Vampire Knight.
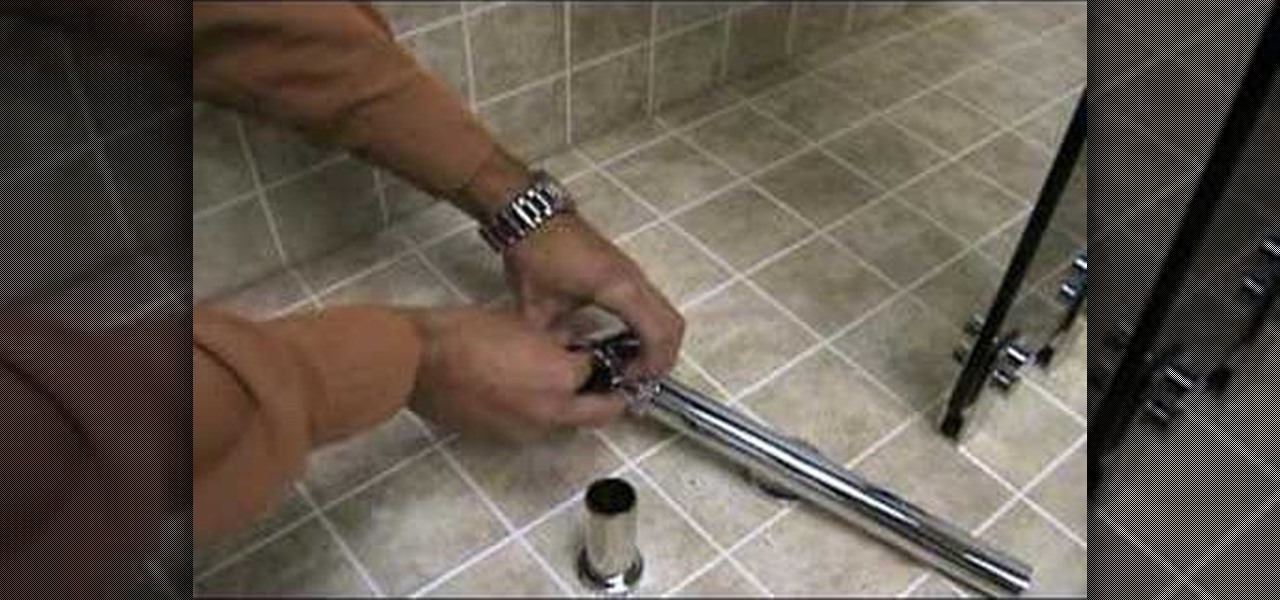
This video tutorial shows you how to install a glass vessel sink or countertop. First you need to make sure that the glass vessel sink or countertop has all of the pieces needed and that none of the pieces are scratched or broken. You then need to place the mouthing ring on the countertop where the sink is going to go. Make sure that the rubber side is facing down. Then carefully set the sink on the mouthing ring. You must then take off the tail piece of the pop up drain. Take off the ridge a...
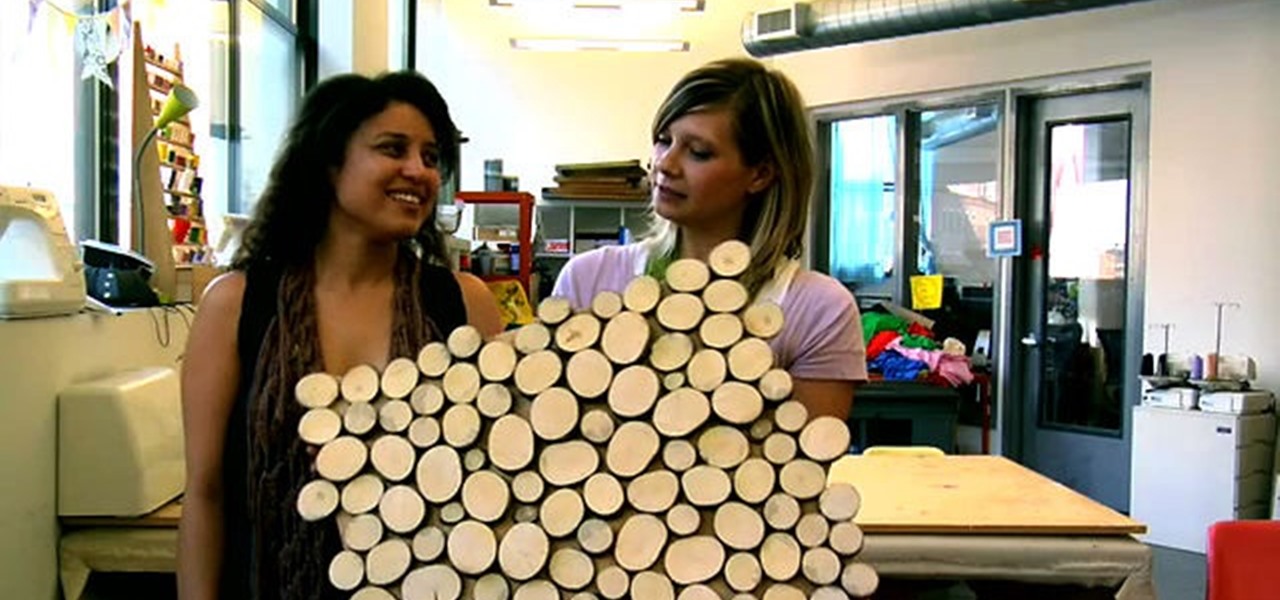
Remember summer camp? Remember the smell of the log cabins? The feel of the treated wood? Well, you can create something for your home that's perfect for a nostalgic summer camp aesthetic. Meg Allen Cole (recently of Threadbanger) was inspired to make this mid-century modern wall hanging piece made from a small wooden log (or branch) when she was at a relaxing, wooded vacation spot in Maine. And she shows you how to make one, too!
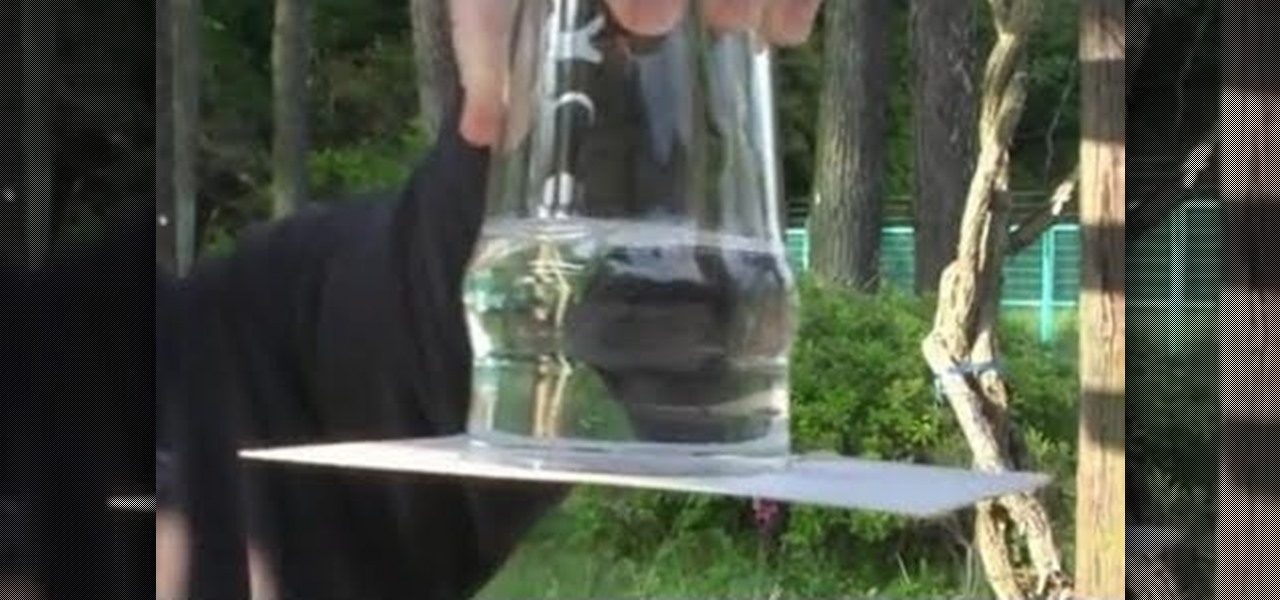
Paper is not known for it's strength as a building material. It is really amazing what paper can do in the right circumstance though. This video will show you how to use a piece of paper to hold the water in an upside-down glass. It's easy, the effect is very cool and sure to impress, and all you need are a glass of water and a piece of copy paper.

Fashion a bikini absolutely no one else at the beach this summer will have by watching this sewing tutorial by GiannyL. Using only an old T-shirt, you'll learn how to cut the T-shirt into pieces and refashion it into a two-piece bikini.
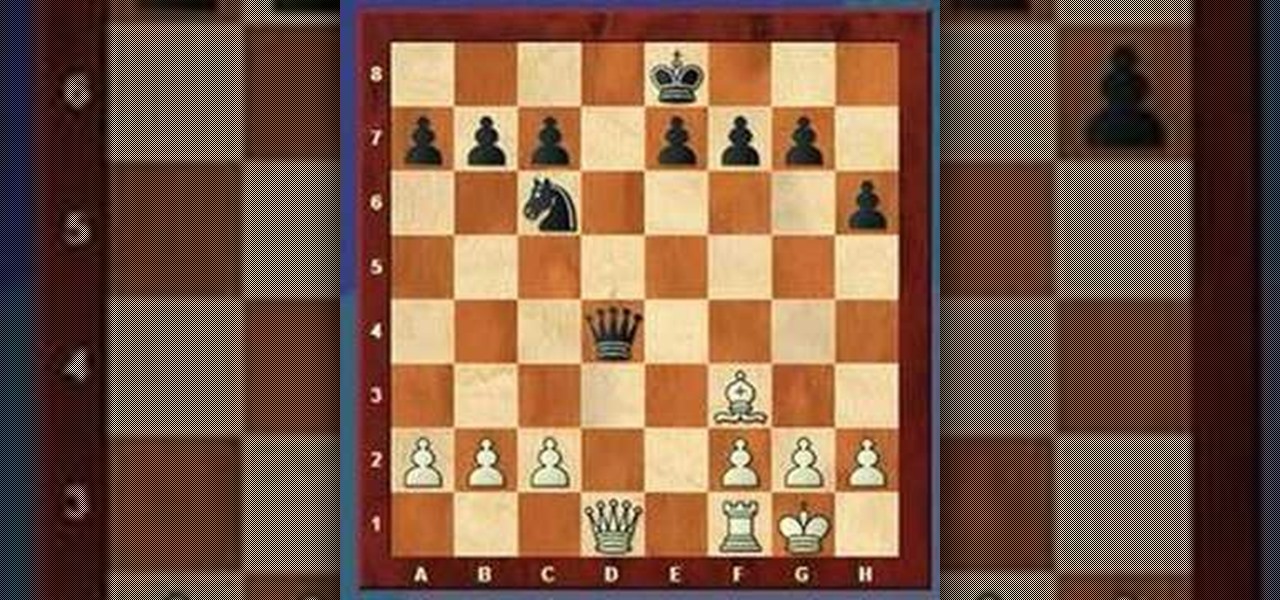
Want to "remove the guard" in your chess endgame? Well, look no further, you are saved. Watch this to see how to do the great chess move. An enemy piece may become undefended or underdefended if the piece (or a piece) guarding it is removed (e.g., captured, forced to move away, etc.).
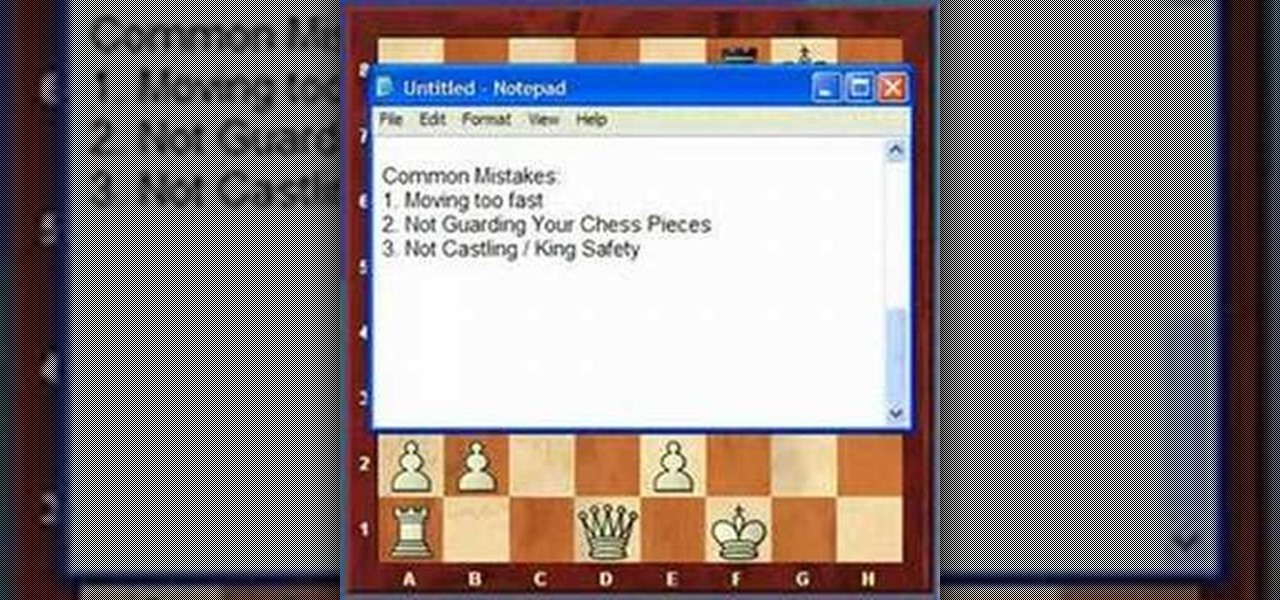
I bet you just can't win a game of chess, can you? You're probably rushing yourself, or not protecting your pieces. Well, in this video, you'll see how to avoid the common chess mistakes, such as moving too fast, giving away chess pieces for nothing (or not protecting your chess pieces), and not castling.
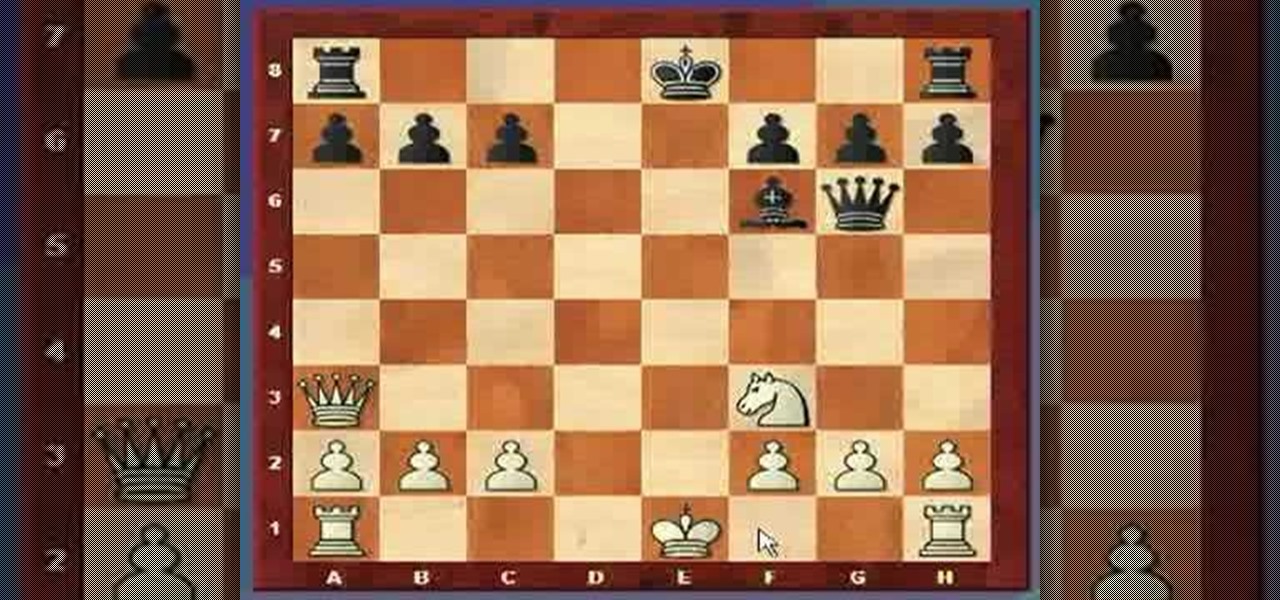
You know the basics of moving the game pieces on the board and capturing, now you need to know the special moves of the chess pieces, such as Pawn Promotion, Castling, and En Passant.
This film was awarded the Green Ribbon in Itami Film Festival, 1993. Learn how various techniques of animation work and see some amazing examples- including an animated pin up girl! The film is in Japanese dialogue with English subtitles.

Chances are, unless you go to a large number of formal events, you don't know how to tie a traditional bow tie. Bow ties are classic pieces of fashion, and every man will wind up wearing one at one point or another - whether it be for a wedding, gala, or other type of special event. You don't want to be caught with your tie unraveling, so check out this tutorial and learn how to tie a bowtie, step by step. Pretty soon you will look sharp and confident, wherever you go!
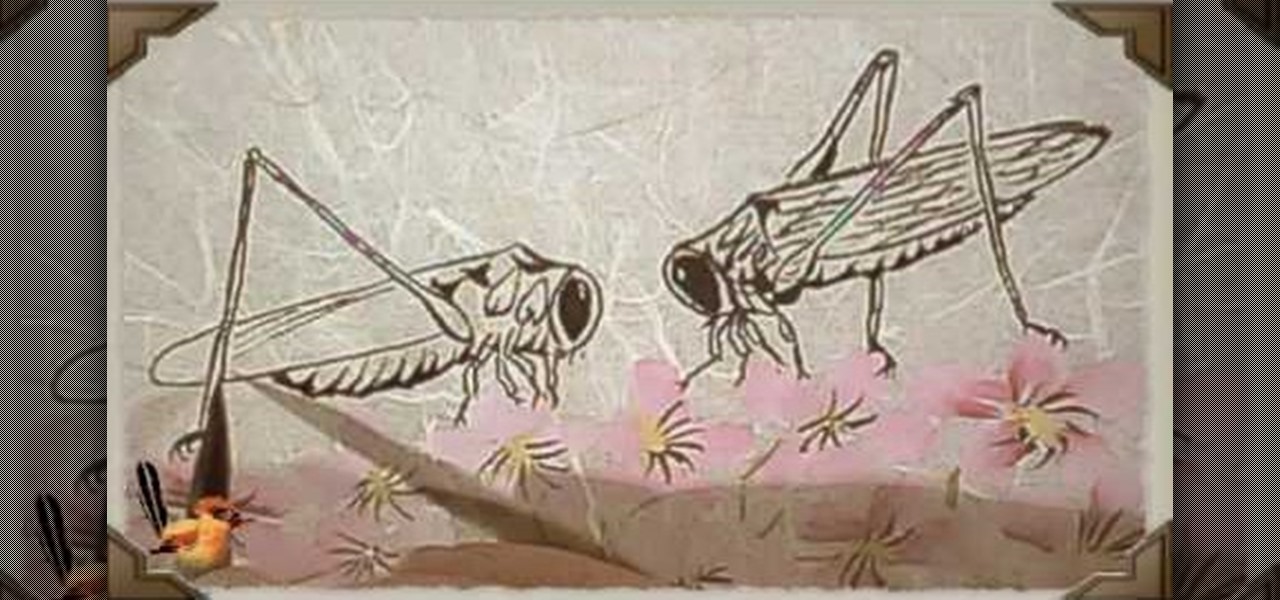
Dive into the world of Chinese brush painting, a traditional art where each brush stroke of the painting is neither improved upon nor corrected. The artist must get it right from first to last stroke!

This video origami tutorial shows how to use the traditional Japanese art of paper folding to make shapes; in this case, a covered cube. Modular origami differs from the basic method in that it demands more than one sheet of paper for a project. For the covered cube, which looks like a cube wrapped in a tetrahedron, you will need seven pieces of paper. Learn how to fold a modular origami covered cube by watching this instructional video.

This video origami tutorial shows how to use the traditional Japanese art of paper folding to make a rose. Follow along with this video and fold your own. All you need is a square piece of paper; the bigger the square of origami paper, the easier it is to fold.
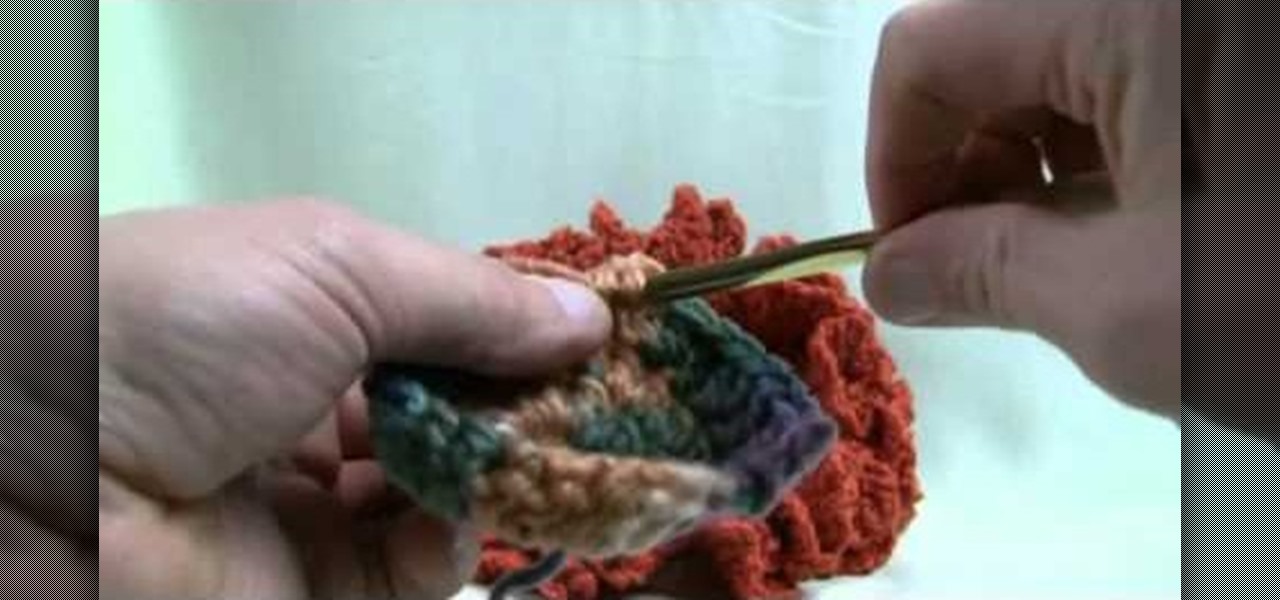
This is a fabulous center piece that's actually quite easy to do. The ruffles help it stand up, making it a great holder for large candles or vases. Make it out of a solid color, or add some stripes for variety!
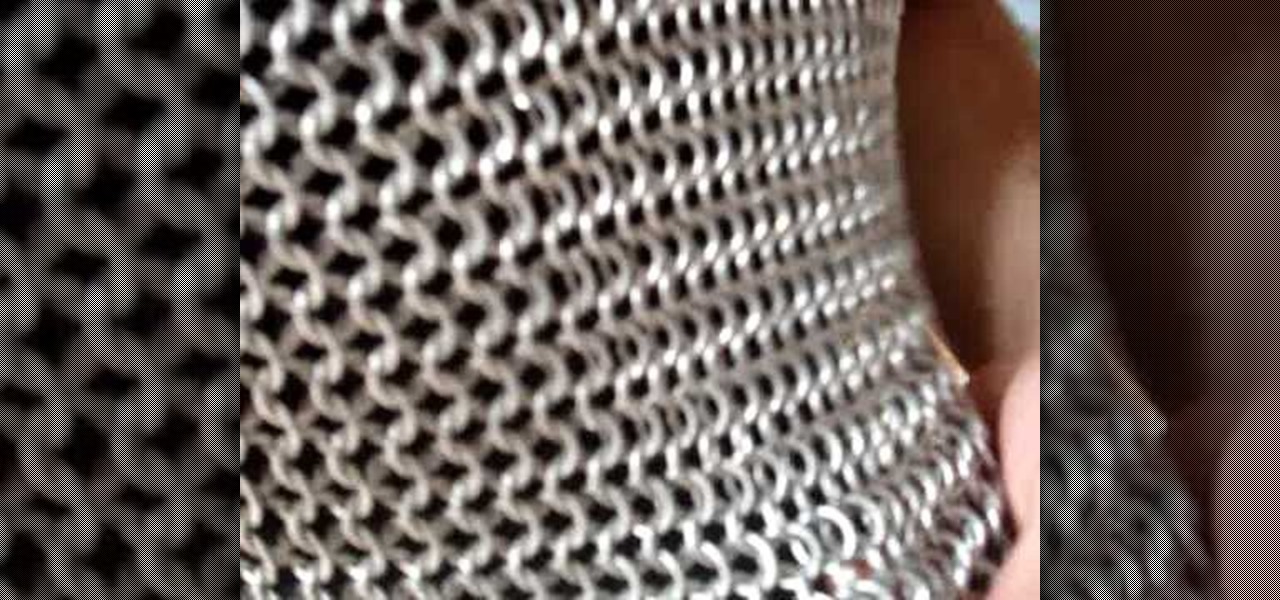
If you're halfway through making a chainmail shirt, and confused on how you can join the front and back pieces together (or any two large pieces of chainmail), this tutorial gives you a few hints on how you can seamlessly bring two pieces together.
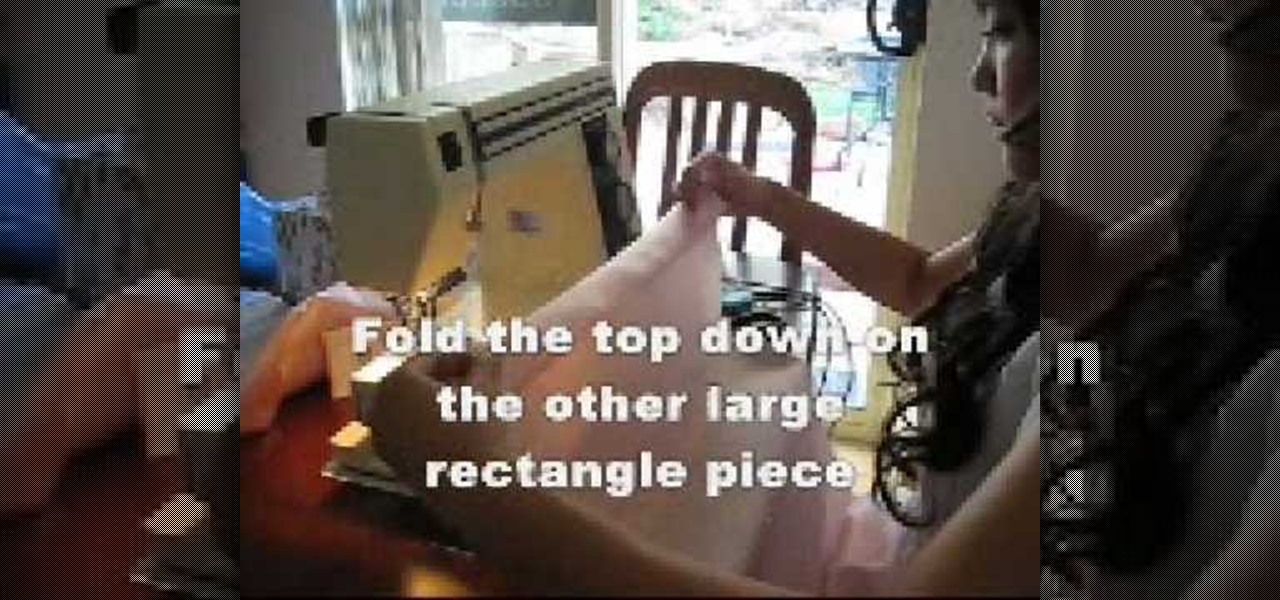
In this tutorial, we learn how to make a basic princess pillow case. First, you will need to have a large piece of pink silk fabric. Lay this out flat, then cut out a 45x75 cm rectangle. Once finished, separate the two pieces of the fabric, then cut a new piece 45x20 cm. Then, lay the fabric facing up and lay some lace on top with the frills facing inward. Sew together the fabric and lace all the way around the entire pillow case. Fold the top down on the other large rectangle piece, then rep...

This video tutorial is in the Fine Art category which will show you how to fashion a wallet from duct tape. For this you will need an X-acto knife, duct tape of any color and a tape measure. Rip off a piece of tape about 10 inches long and place it sticky side up. Rip off another piece of same length and place it on the 1st piece face down but, covering only half of the tape as shown in the video. Fold down the 1st piece on top of the 2nd so that you will have only one half piece of sticky ex...
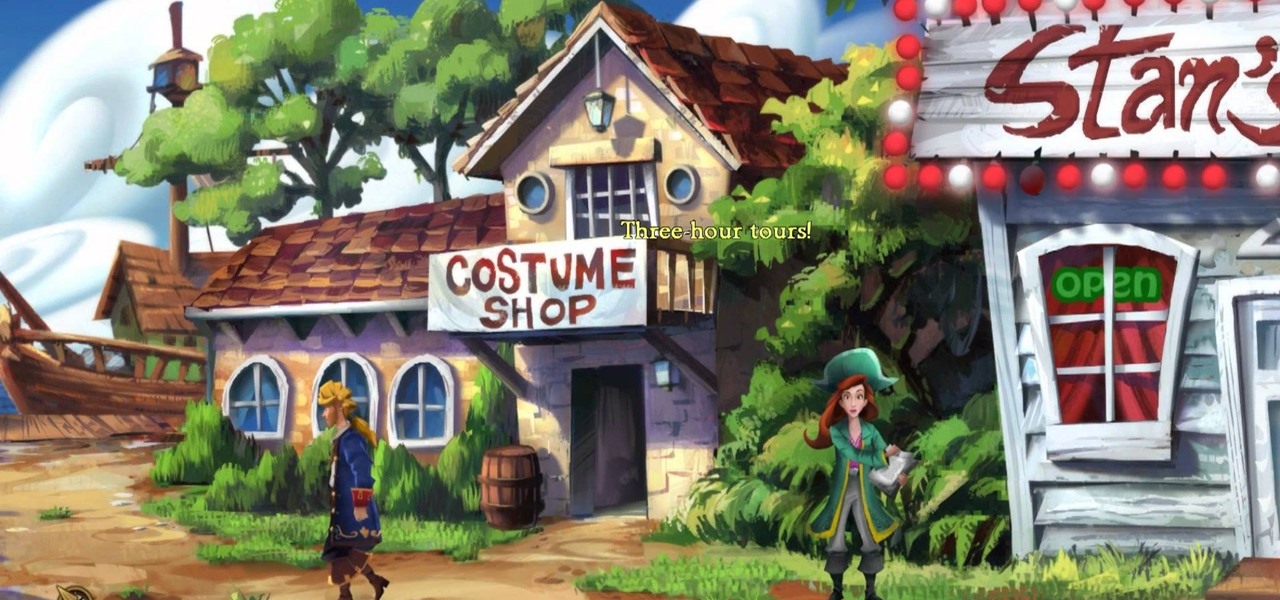
It's time for chapter 2 of Monkey Island 2! Four map pieces! It's off to Booty Island! If you're going around in as much circles as Captain Threepwood then this video is going to be the best map on the high seas! In this video you will get a full walkthrough of this entire chapter along with all the item locations and orders that you will need to get them in.

In this video, we learn how to cut a piece of glass with scissors, water, and a lighter. First, you will need to grab a lighter and place it under the piece of glass that you want to cut to heat it up. Next, you will place your piece of glass into a sink full of water and cut your desired piece. Make sure to cut carefully, as you can get hurt very easily when dealing with sharp edges of glass. Make sure you are keeping the piece of glass you are using completely submerged in the water, along ...
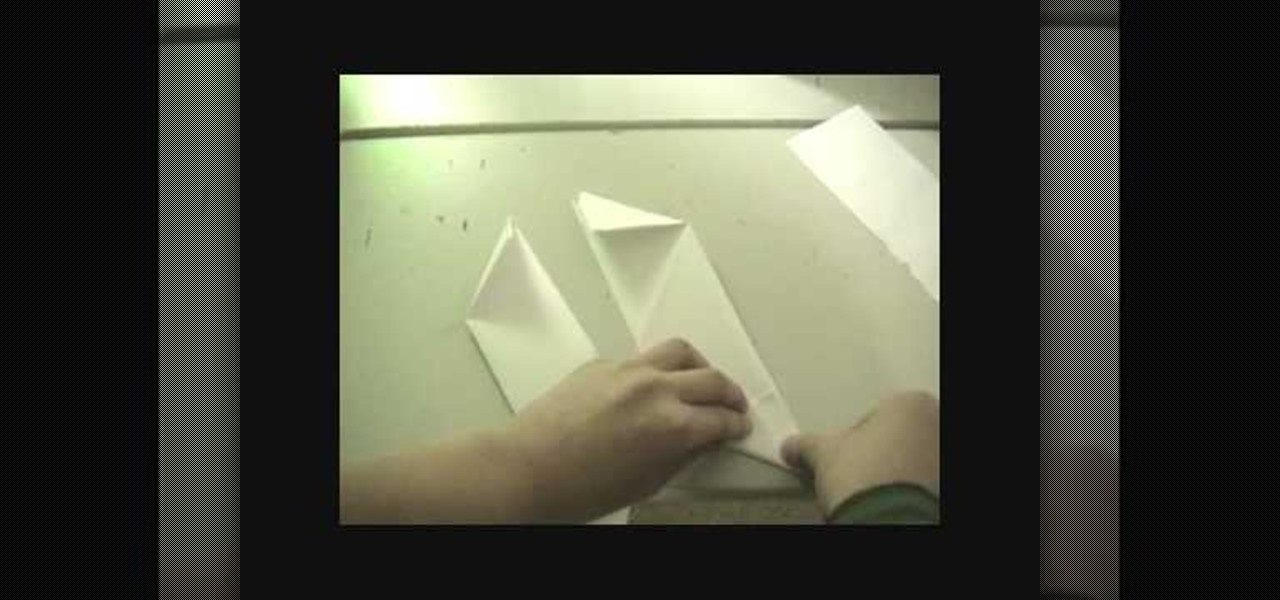
In this Weapons video tutorial you will learn how to fold a ninja star (shuriken) out of paper. Take a square piece of paper and fold it in half and tear it off to get two pieces of rectangular paper. Fold each piece of paper in half lengthwise. Then fold one end of each paper like a triangle. Fold the other end in the opposite way. Now fold both the ends to get a bigger triangles and the final shape of the paper should be like ‘Z’. Put both the pieces over each other in the form of a cross. ...
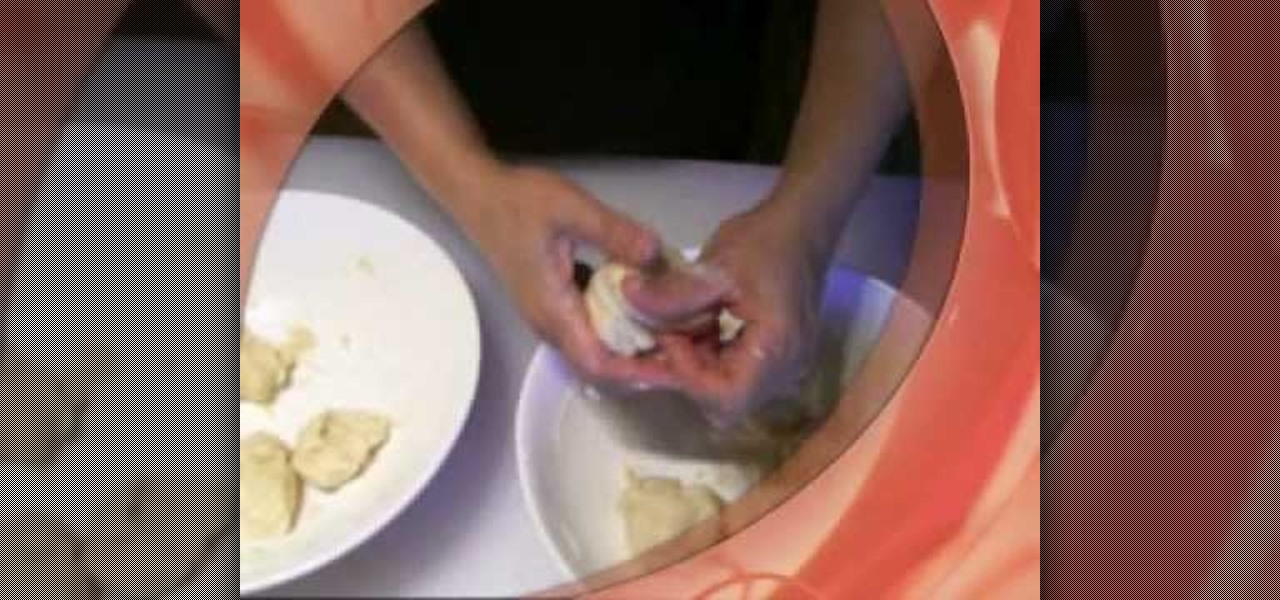
1.First take 1 cup of All purpose flour in a plate and 2 cups of same flour in another plate. And then take a stuffer can be anything like sweet coconut, chocolate flavor to put inside the puff.2.First add one tablespoon of vegetable oil to each plate and slowly make it out by hand and add some water and make flour mix. Now separate the 2 cups flour mix into 4 to 5 big pieces and separate the 1 cup flour mix into 4 to 5 small pieces.3.cover the small pieces with big pieces of each. Now just r...

Cardcrazy09 teaches you how to create a popsicle birthday card using Cricut. You'll need the Doodlecharms cartridge for this. Start with a white piece of card stock, then apply an orange piece on top, slightly smaller than the one below. On top of that add a smaller piece of card stock with circles on it. This is the base for the card, you are ready to move on to the next pieces. You cut a small piece of orange card stock and then on top of that glue a smaller piece with the text message. Glu...
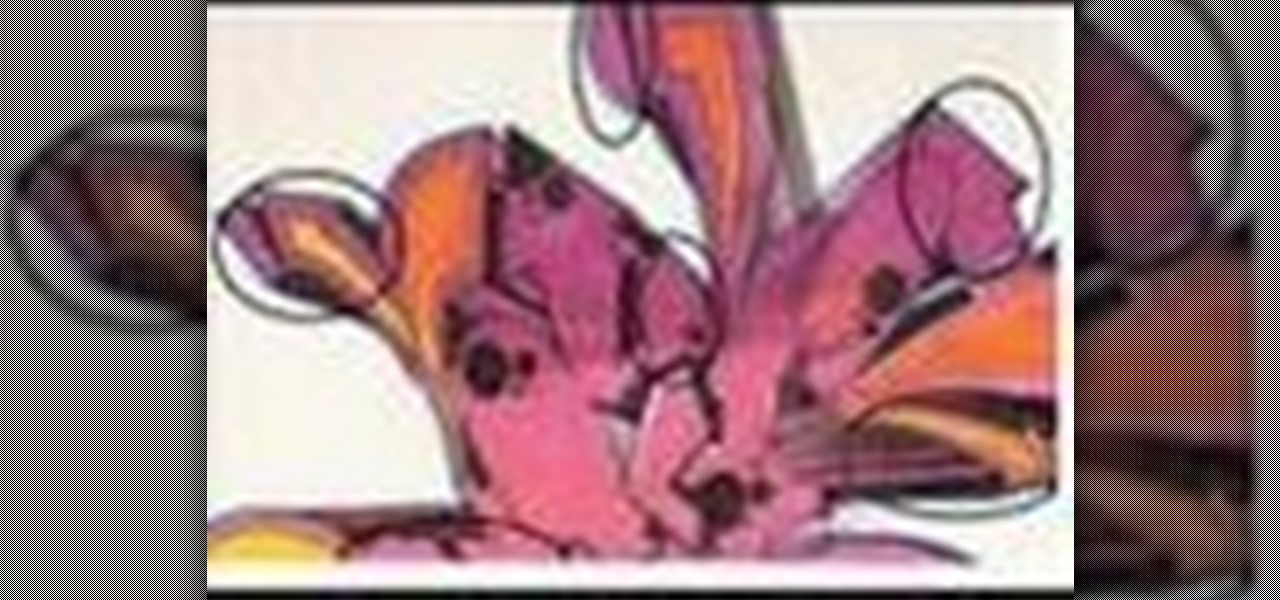
Street artist wackojacko54321 teaches you how to draw "wild style" graffiti. There is no definite technique or way of drawing wild style. Wackojacko54321's interpretation involves starting with a simple piece with connecting letters (of which he provides an example) and possibly arrows. Add more basic arrows and connections to unify the piece more. Connection points of the arrows are important. Attach them to the ends/corners of letters or other letters/connections. Spice it up with more adva...
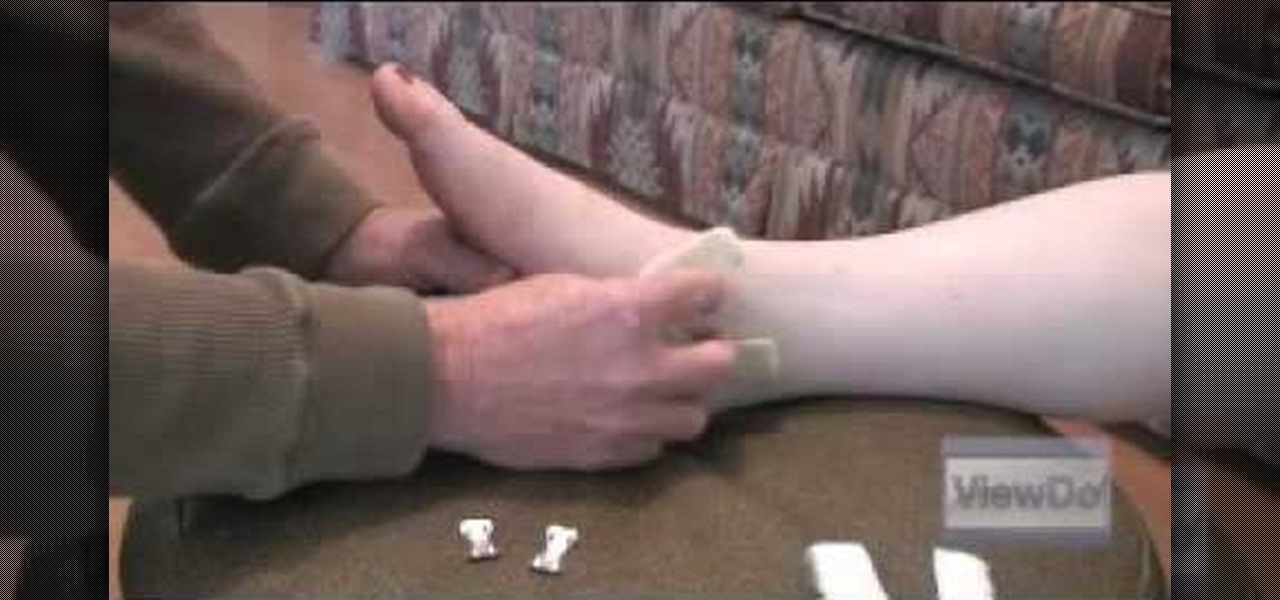
Assemble the necessary equipment: a roll of 1- to 2-inch-wide athletic tape and a pair of scissors. Wrap one piece of athletic tape under the heel of the foot and bring both ends up the ankle to either side of the leg. The tape should form a "U," like the stirrup on a horse's saddle.
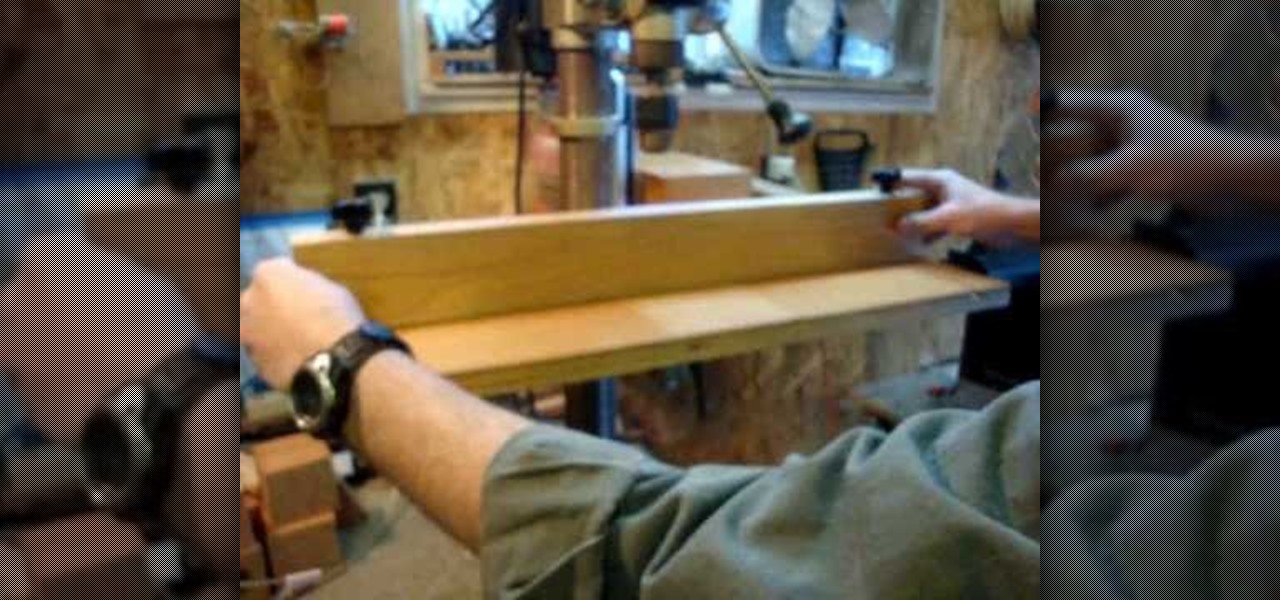
It is not that hard to make your own drill press table. Start with a 3/4-inch piece of plywood. Cut a 3/4-inch dado cut on both ends of the 3/4-inch board about two inches from the end. Top the 3/4-inch plywood with a 1/4-inch piece of oak cut into three pieces. When you cut the board into three pieces cut the center piece out with a 10-degree angle so that when you glue the two end pieces down the center piece will slide in and out but be held in place by the angle. This allows you to change...

Drywall screws were originally created specifically for drywall projects. But they have become increasing popular for woodworking projects because you can often screw them into a soft piece of wood without having to drill a pilot hole. But because they have threads all the way up to the head of the screw they will not pull two pieces of wood tightly together. So to get the drywall screw to hold two pieces of wood tightly together you have to drill a shank hole through the first piece of wood ...
There are tricks to putting together jigsaw puzzles that will make them more fun to do. You Will Need
Who wants to play Risk the old fashioned way? No, I don't mean with armies and such, but the board game. Well, what if you wanted to play it on your wall? Then make a big game and build your own pieces, and see how to do it here. Watch the first video for making the board, the second for making the game pieces, and the third video for making the cards and dice.

Here's another video showing you how to rip up a piece of paper and then have it magically restore itself to its pristine state. This requires two pieces of paper and little handy work, distraction and you're off to the races!
The ability to see through clothing has been pursued by voyeurs for millenia, and today with the help of cheap video cameras we are closer than ever. This video will show you how to use a piece of blank developed film and IR to see through different types of shirts and other clothing. It also covers the effects of different colors and fabrics on the technique's effectiveness.
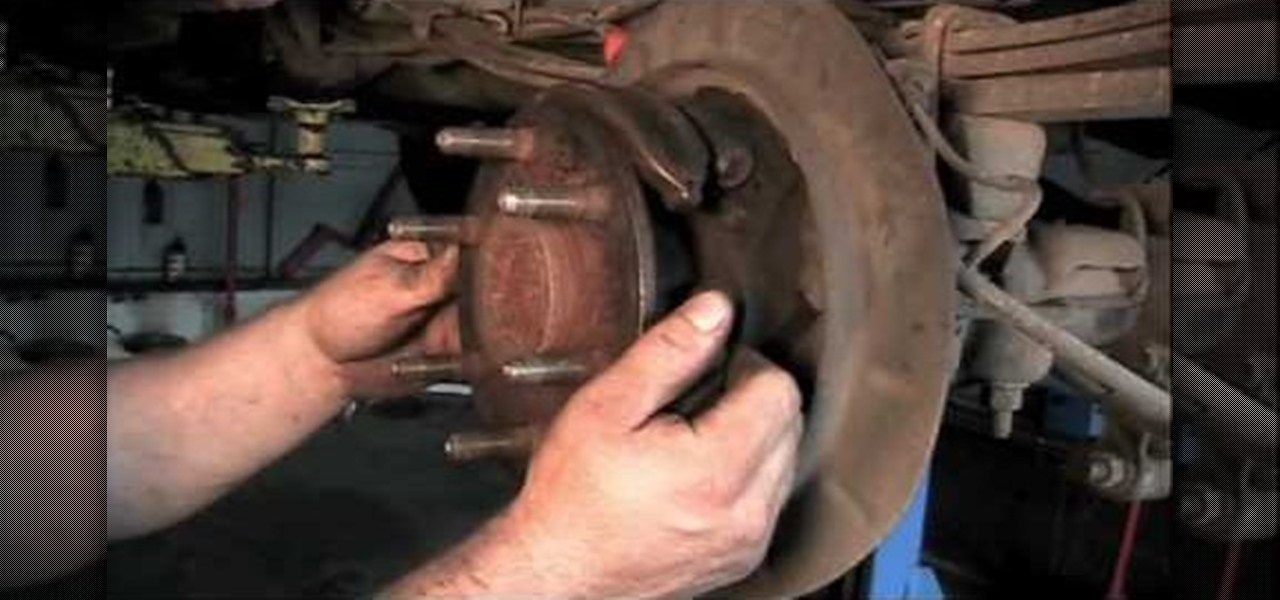
Chevy Silverados and Tahoes from the year 2000 onwards have used a one-piece design for the parking brake pad shoe, and it is not a very good piece. It breaks all the time, but this video will show you how to replace it without removing the axle.
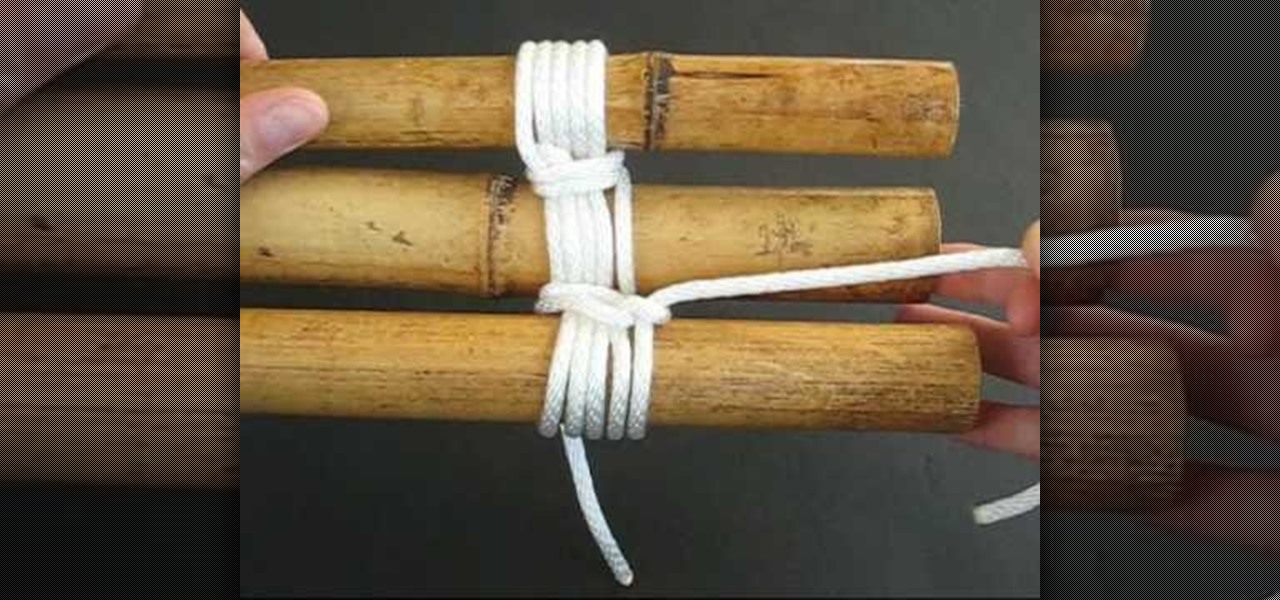
In this tutorial, we learn how to lash a bamboo tripod. First, you will tie a clove hitch by taking one piece of bamboo and wrapping the rope around it, then crossing the two sides of the string together to make a hitch. Next, you will secure the clove hitch around the third piece of bamboo. Now, you will rap all the pieces of bamboo together with the rope. Continue to do this until all the pieces feel secure together. Wrap the rope several times around each of the pieces, then wrap it in the...
In this tutorial, we learn how to craft a duct tape wallet. First, tear out a 7 inch piece of duct tape and fold it so there is a sticky side just overlapping it. Next, tear out another piece of tape and fold it just over the sticky side of the other piece of tape. Continue to do this for around 10 pieces of tape, or until you have enough to make a decent sized wallet. When you reach the end, fold the bottom over itself, then cut off the sides and seal with another piece of tape. Then, measur...
Lego owners sometimes decide to personalize their Lego pieces by drawing on them with permanent marker. If you've ever needed to remove permanent marker from your Lego pieces, here's a surprisingly easy way: You'll need a toothbrush, toothpaste, and a small bowl of water (only about an inch of water will be needed), and of course your marker-covered Lego piece. First apply toothpaste to the toothbrush. Next dunk the Lego piece in the water. Then place the Lego piece in your hand and lightly s...

Pesto sauce is a delicious topping for pasta, pizza and most things Italian. In this three part tutorial, learn how to make a traditional Ligurian basil pesto from scratch at home. This recipe is straight from Italy and very tasty and compliments many different types of meals. Enjoy!

You will need the following materials: a Green Galore #101768, cut at 4 1/4" by 11' scored at 5 1/2", a piece of Whisper White #100730 cut at 2 1/2" by 1/4", Real Red #102482 cut at 2 3/4" by 1/2", a piece of Whisper White for the door to release the treats from the card, cut at 2" by 2/12", a strip of Real Red cut at 1" by 5 1/2" and a circle of Green Galore with a 1 3/8" circle punch #104401. First use the larger piece of white and the stamp set #120780. Use the clear block #118485 and Gree...
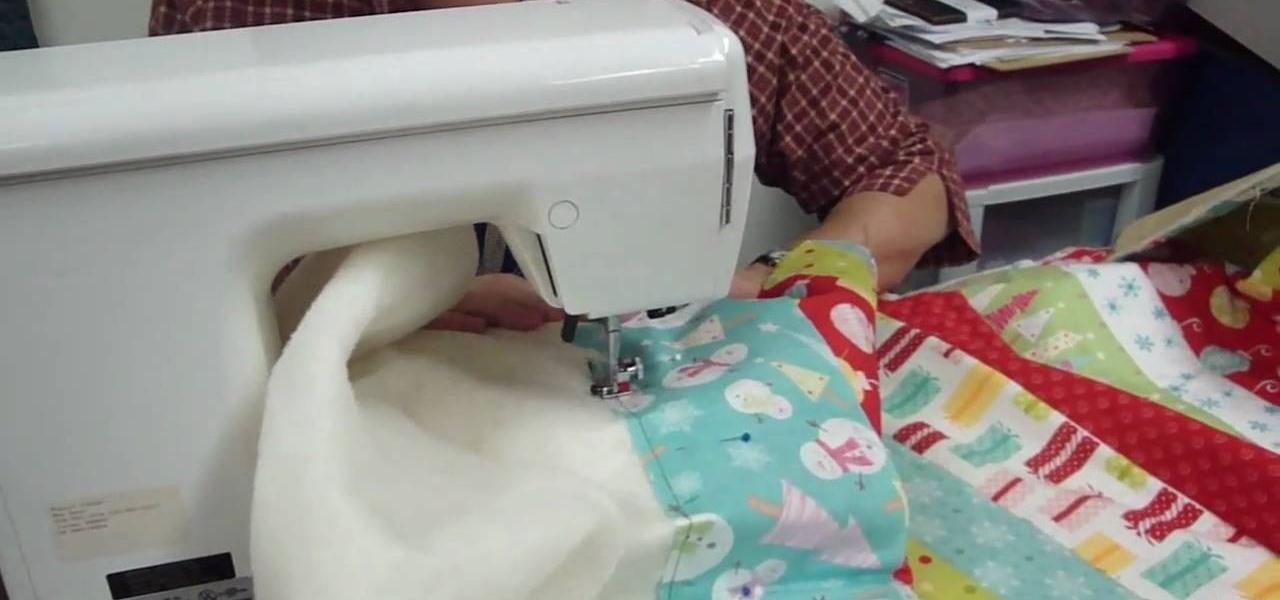
Looking for a new way to do your quilting? Why not try the 'quilt as you go' method! With this method you don't finish the whole piece at one time, but instead take various pieces of fabric and use them one by one. This is a great method if you happen to have a big bag of fabric odds and ends you didn't know what to do with. You'll need a piece of backing, thread, pins and of course a sewing machine. Watch and learn how to quilt as you go!
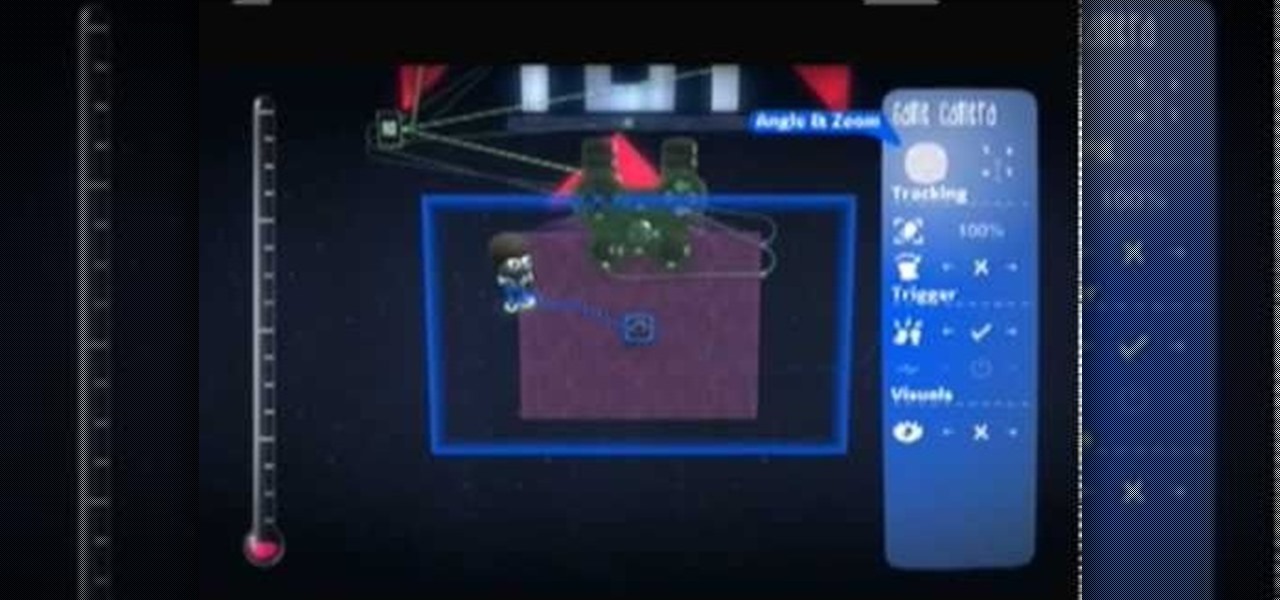
The first thing someone sees when they start a video game (after the studio cards and legal info, technically) is the start menu. Having an intuitive, attractive one is a great way to affect people's first impressions of you game, in LittleBigPlanet 2 and elsewhere. This video will teach you how to make an awesome two-piece selection menu for your custom game and guide players exactly where they want to go.

Lighting a fire in the wilderness can be tricky, but having a piece of charcloth can make the task easier. Charcloth is carbonized cotton fiber, which lights easily when exposed to a spark, making your task of lighting a fire in the wild, much, much easier. You'll need a fire, a metal container with a lid and a piece of cotton fabric. Voila, charcloth!
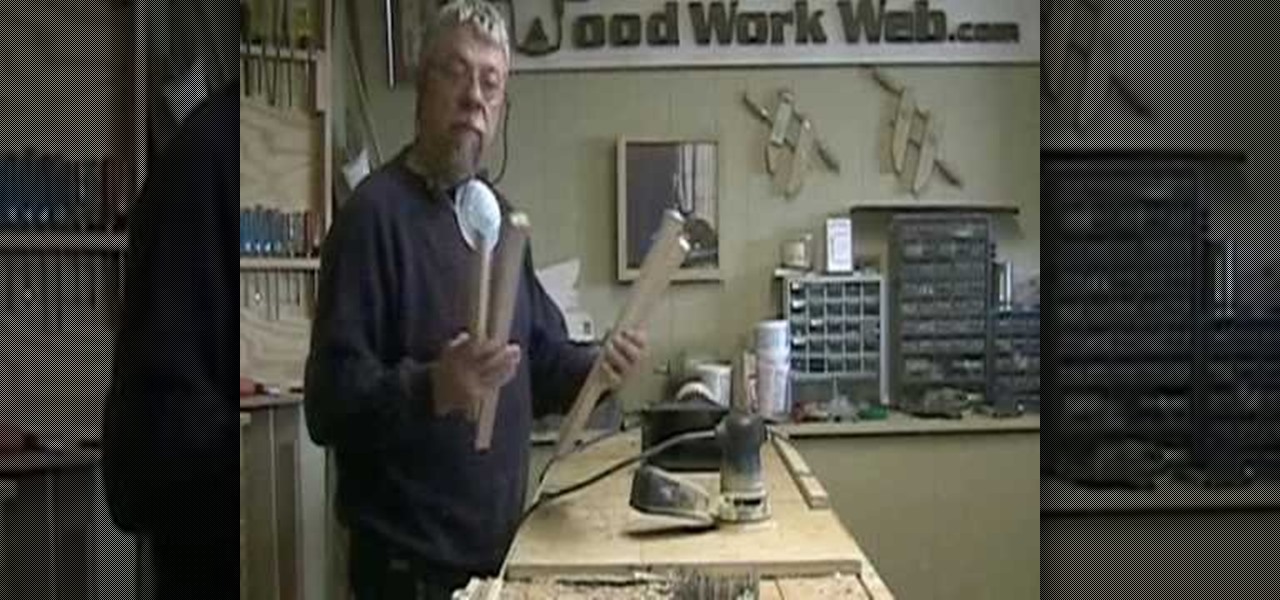
This video tutorial is in the Home & Garden category where you will learn how to make picture frames for vinyl record covers. These frames do not use nails or clips to hold the covers. The covers slide in and out of the frames so that they can be changed easily. For this you will need 4 pieces of wood 3/4" thick, ¼" wide and 14" long. First you sand all the pieces. Then you set up your router and the rabbeting bit to cut out the four wooden pieces. Now you need to make indentations on the to...