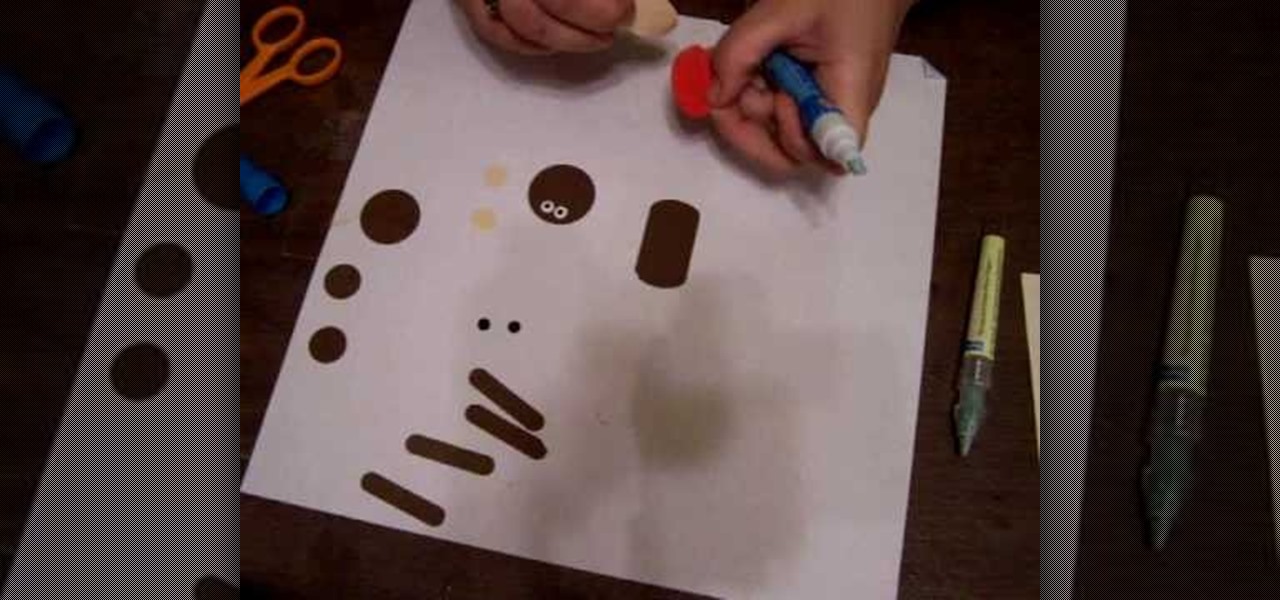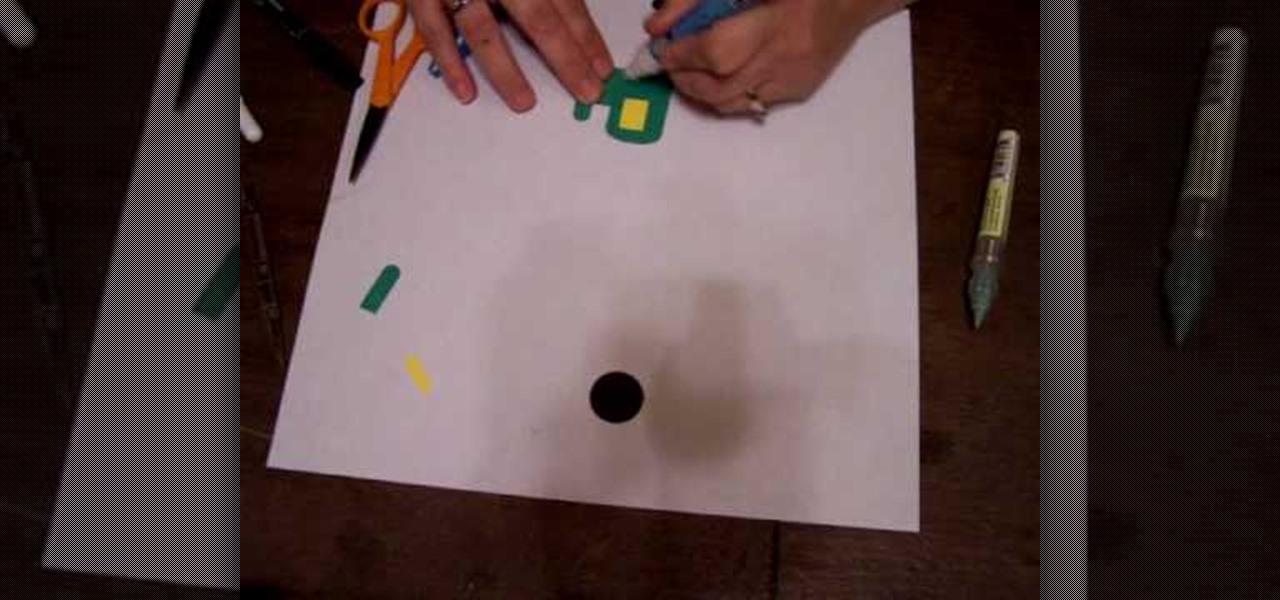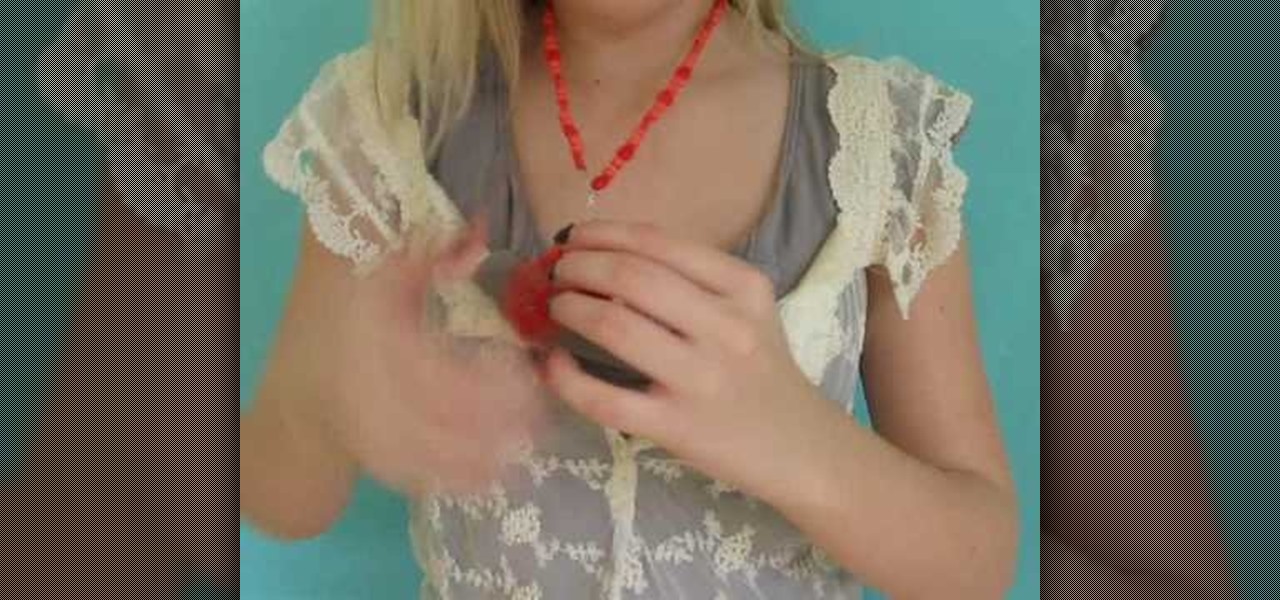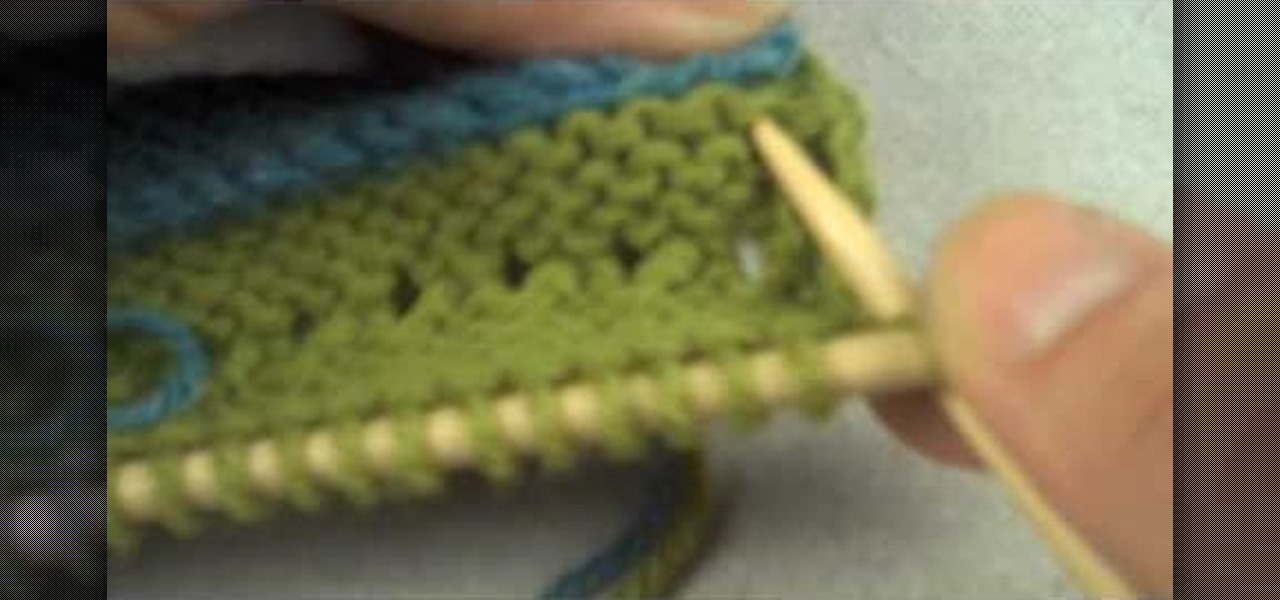
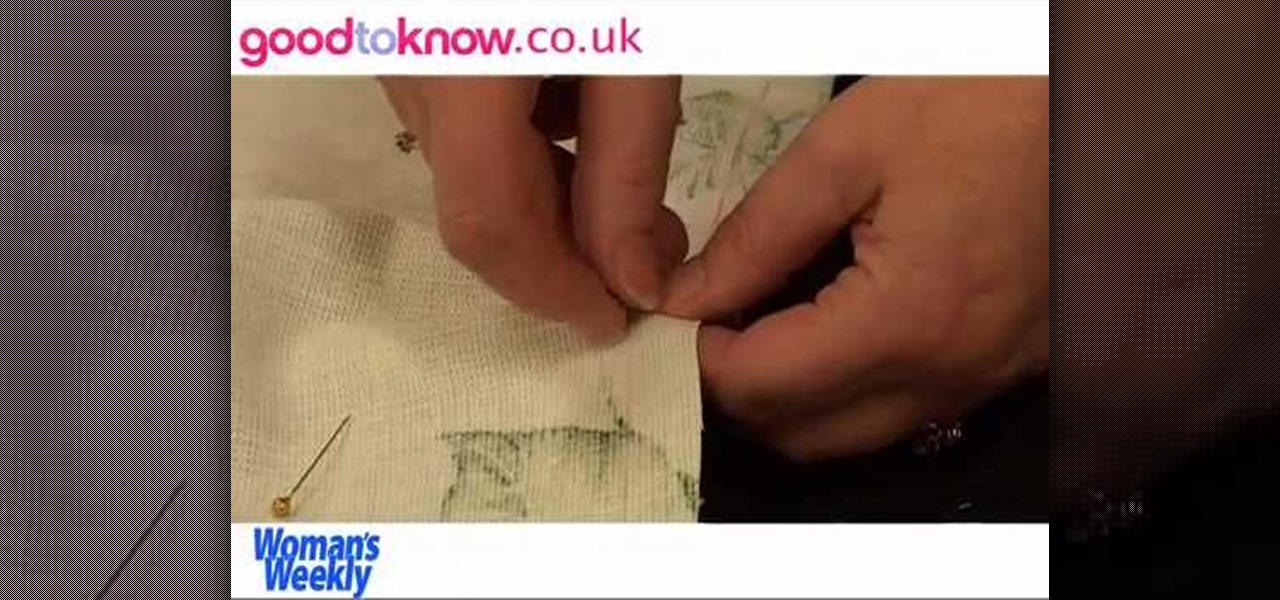
This video begins with examples of different finished welt techniques being shown. A piece of finished cloth is then folded over twice and then held in place before stitching. The first knit is started on the left side of the cloth and continued until reaching the opposite side of the fabric. A wooden needle is then used to weave from right to left until the wooden needle is pushed all the way across the fabric for support. This step is repeated three times until the welt is visible and stabl...
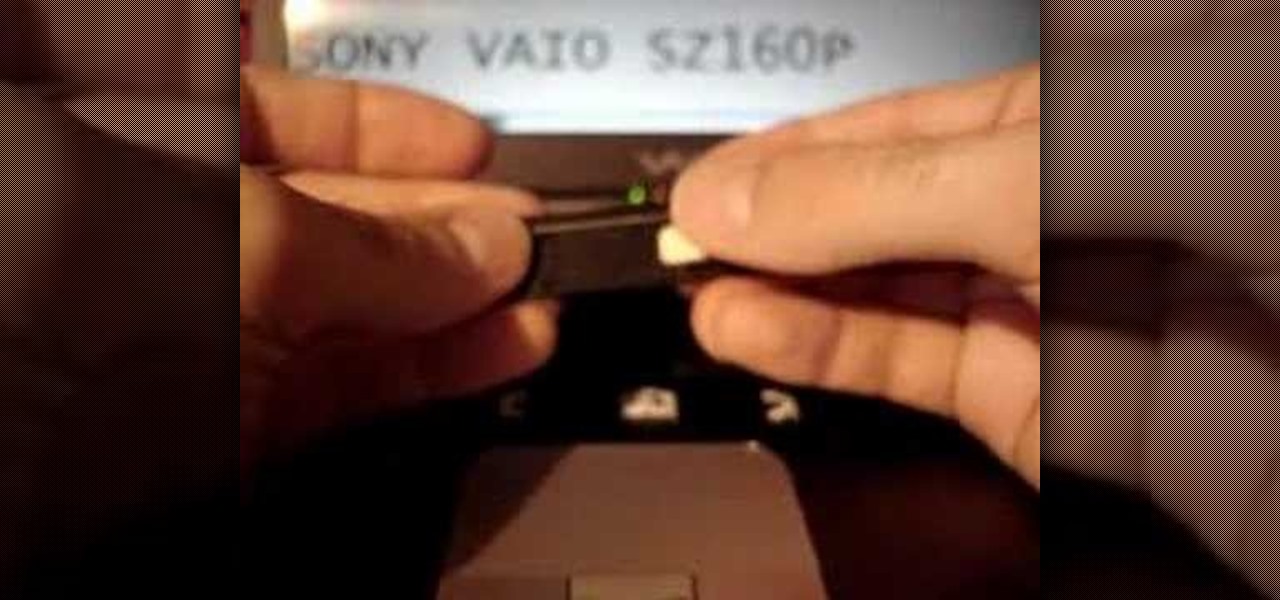
In this video, we learn how to fix the VAIO SZ space bar. First, gently lift up on the space bar until the top is removed from the bottom of the board. After this, take a scrap piece of paper and place it underneath the middle of the metal that's on the space bar. After this, click the bar back into place on the keyboard. Now, test out the space bar to see if it works! It should be working without any problems now. If you do experience more problems, just repeat this same procedure and you wi...
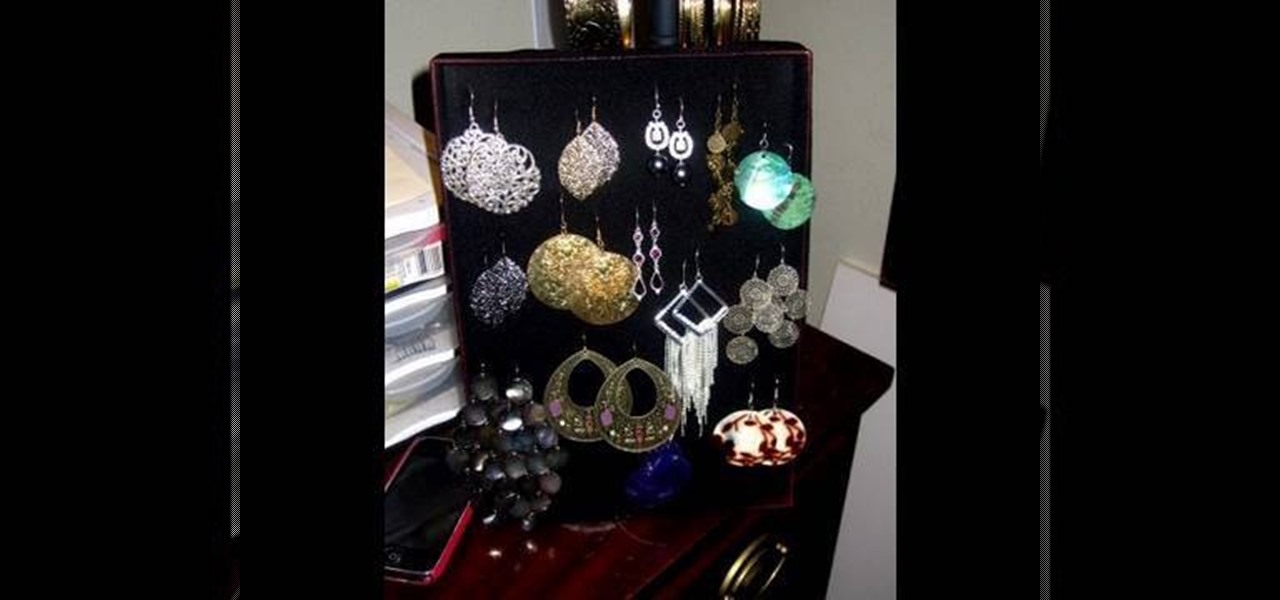
In this tutorial, we learn how to make an earring holder with everyday materials. first, you will need a box lid from a shoe box or a scrapbooking box. After you have this, slide a black piece of nylon over the top of the box and then tie the feet and top together on the back of the board. Cut off any excess nylon that is left over. After this, you can stick your earrings into the nylon and they will hang there securely! This will only work for hook on earrings because there's no back to it, ...
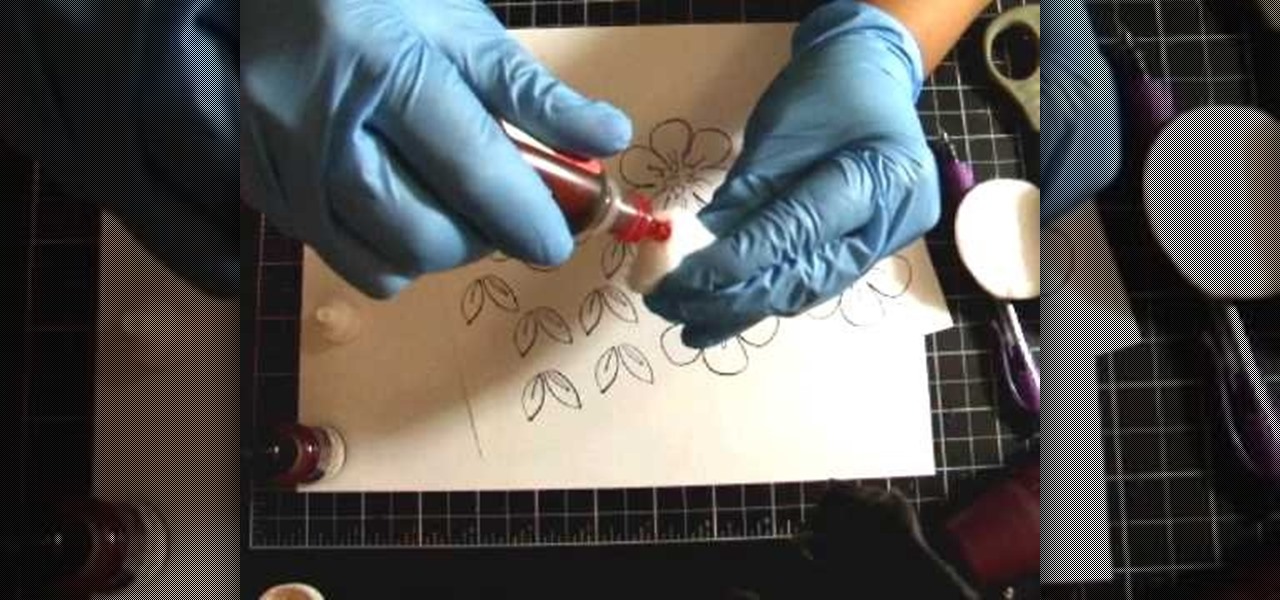
In this tutorial, we learn how to add texture to stamped images using rubbing alcohol. First, stamp on your image with a regular stamp to a piece of paper. After you do this, you will take a cotton ball and dip it into ink, then dab this on the images. From here, you will dip that into rubbing alcohol and then dab on top of the images as well. Allow this to dry and if you don't have time, blow dry it evenly. Then, use embossed ink to raise the images up from the page. When finished, you will ...
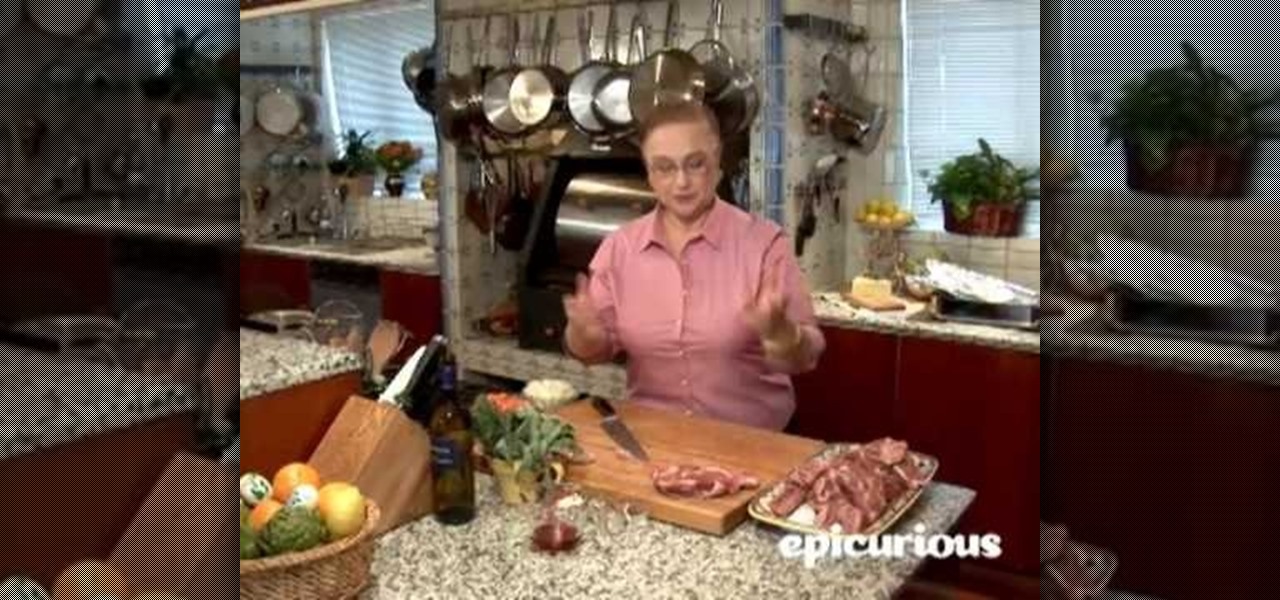
In this video, we learn how to trim a lamb shoulder with Lidia Bastianich. Start off with your raw piece of meat laid out in front of you. You will want to trim the meat around the outside where the most fat lies. Remove the fat that is excessive with a sharp knife. Cut as close to the bone as possible, then trim off the excess fat. Remember, some fat is good to keep on the meat for flavor. Cut the meat into cubes after you have removed the fat from it. Once finished, you will be able to roas...
With a little practice a cushion cover can be made at home easily. The materials/equipments required are as follows: fabric of your choice (having appropriate dimensions) to make the cover, scissors, measuring tape and ruler, needles, threads, sewing machine and an iron.

In this tutorial, we learn how to make an origami decorated card. First, you will take your card, make sure it's a busy pattern in colors that you like. After this, you will score the top of the card in the middle to create a small square. After this, cut the square out of the card. Then, close it and stick the piece of origami that you have into the inside of the card where the window opens up. Once this is stuck on, you will be able to close the card but still see the origami in the window,...

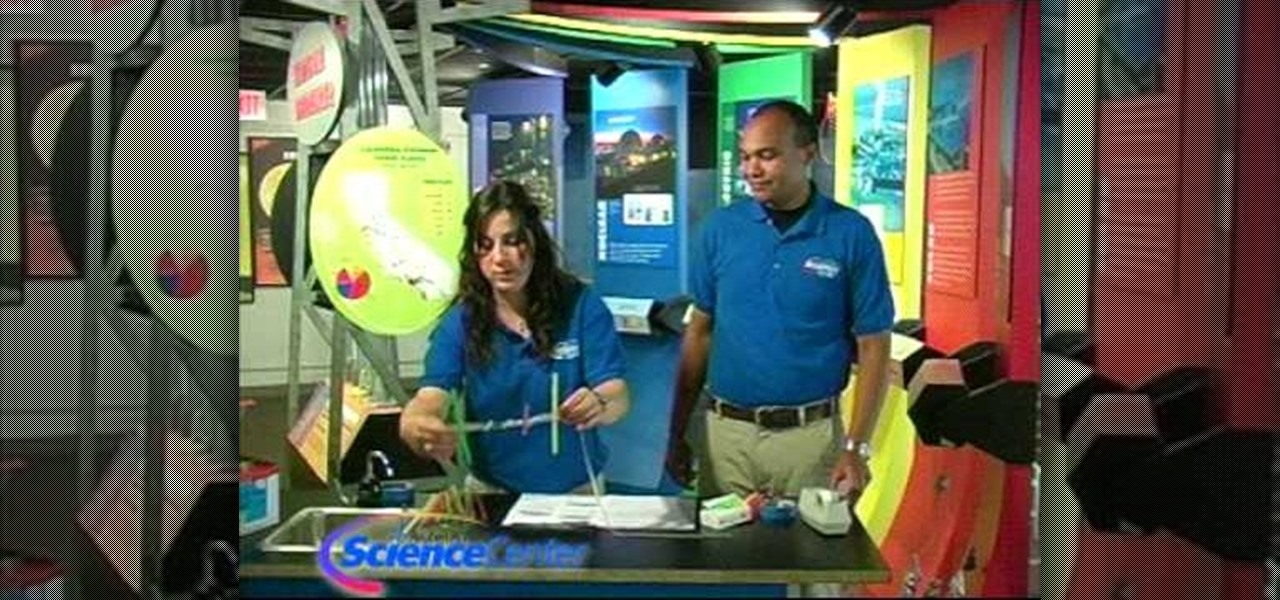
In this tutorial, we learn how to build a wave machine out of household items. You will need: 20 straws, 40 paper clips, 2 pieces of tape, and 1 washer to make this. First, you will need to pull out a long string of tape and lay it down with the sticky side up. After this, you will need to stick the straws on top of the tape in a row all going next to each other. Do this from the top to the bottom until all of the straws are stuck on. Then, stick the washer to the top and you are finished wit...

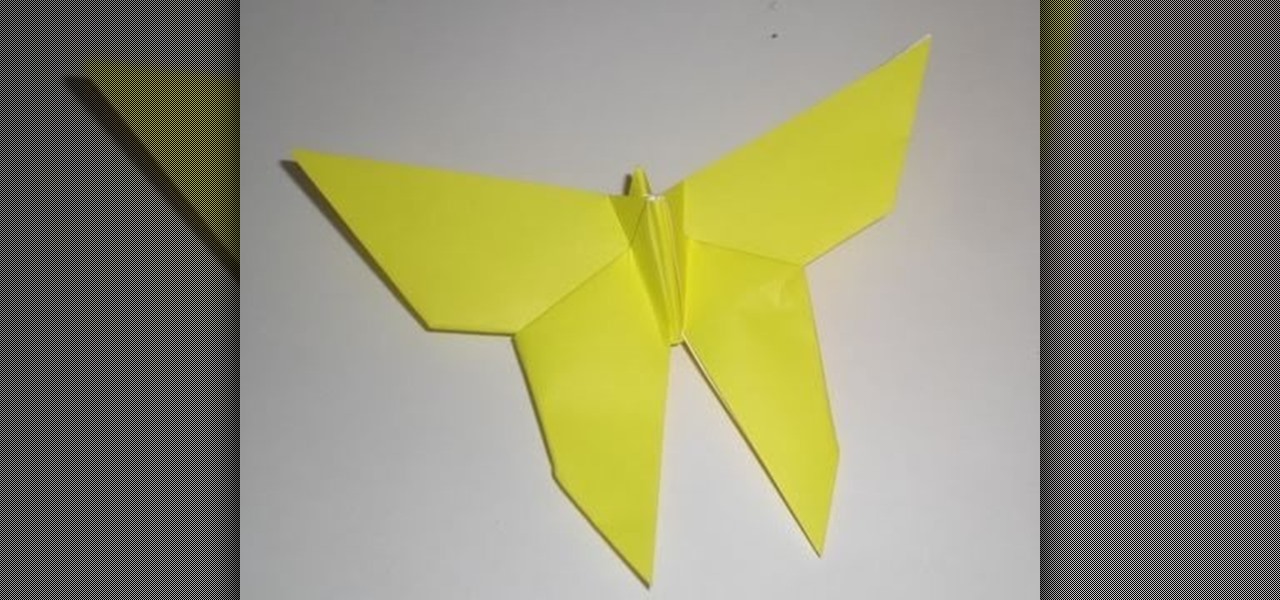
You don't need to be able to create crazy 100-side modular spheres to make beautiful origami projects. In fact, a great portion of the more popular origami projects are on the easier side (good news for sausagefingers like us).

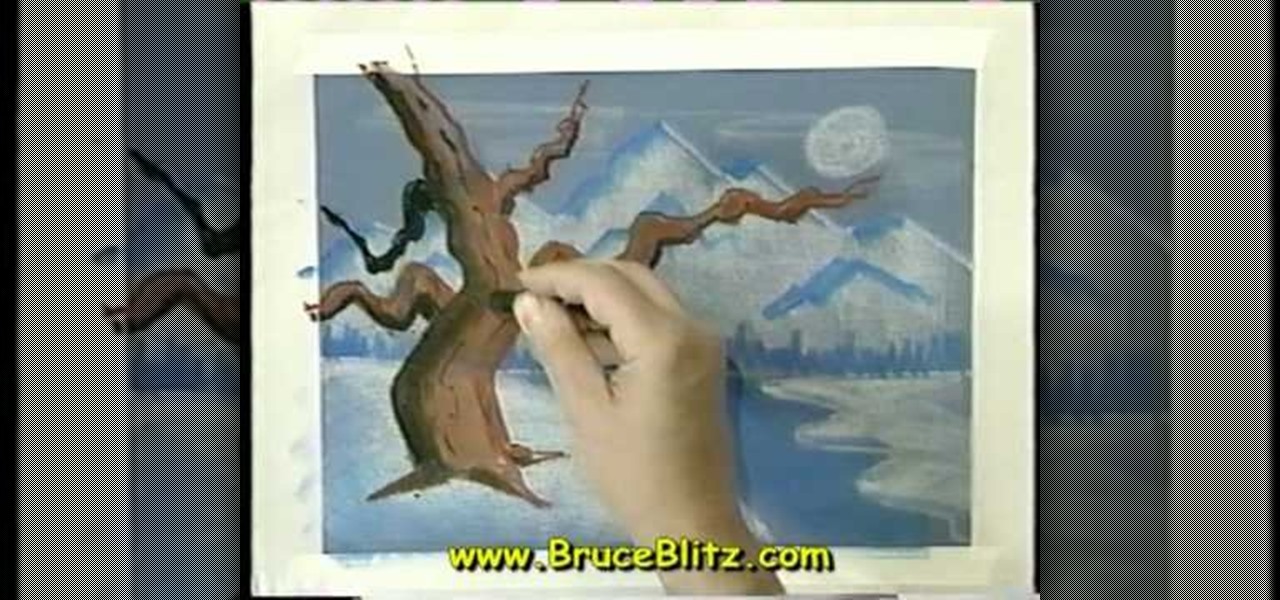
In this tutorial, we learn how to draw a tree in moonlight with Bruce Blitz. Start out by using a gray piece of paper. Then, draw arrows on the page towards the top that will act as your mountain peaks. Draw in additional lines to show that the mountains are towards the top. Shade in the tops of them and then draw a river with water at the bottom of the page. After this, draw in trees at the bottom of the mountain and a moon in the upper right hand corner. Use white chalk to create the effect...

In this tutorial, we learn how to make buttermilk fried chicken wings. First, take your chicken and marinade it with paprika, salt, pepper, buttermilk, garlic salt, and onion powder. Then, bring some oil up to temperature in a pan or kettle. Once the oil is up to 350 degrees, it will be ready to fry. Now, you will place the chicken into a bag filled with flour. Shake this until the chicken is covered for all the pieces. Then, fry the chicken in the oil until it's golden brown on both sides an...

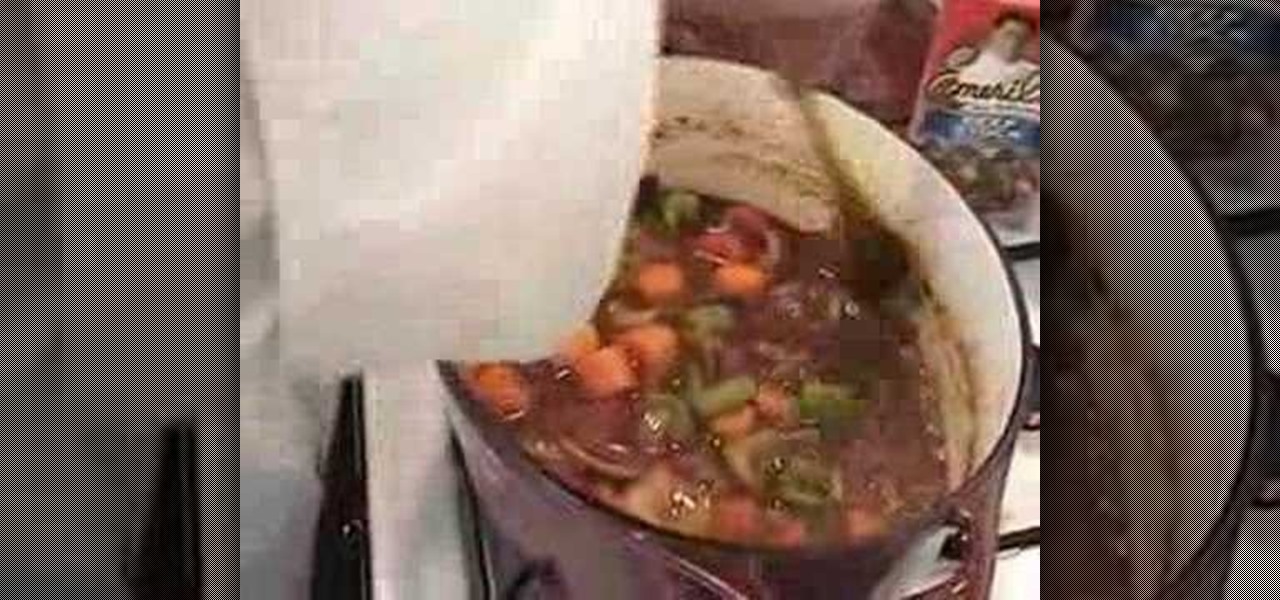
In this video, we learn how to cook succulent roast beef with gravy. First, grab some back and your roast. Poke holes into the roast and stuff them with pieces of bacon. Now, place the meat in a plastic bag and cover with red wine. Seal this and let it sit overnight in the fridge. From here, grind white pepper and chop celery and carrots. Chop up an onion, then take out your meat from the plastic. Place the meat into a large pan, then braise the meat on both sides. When finished, place this i...

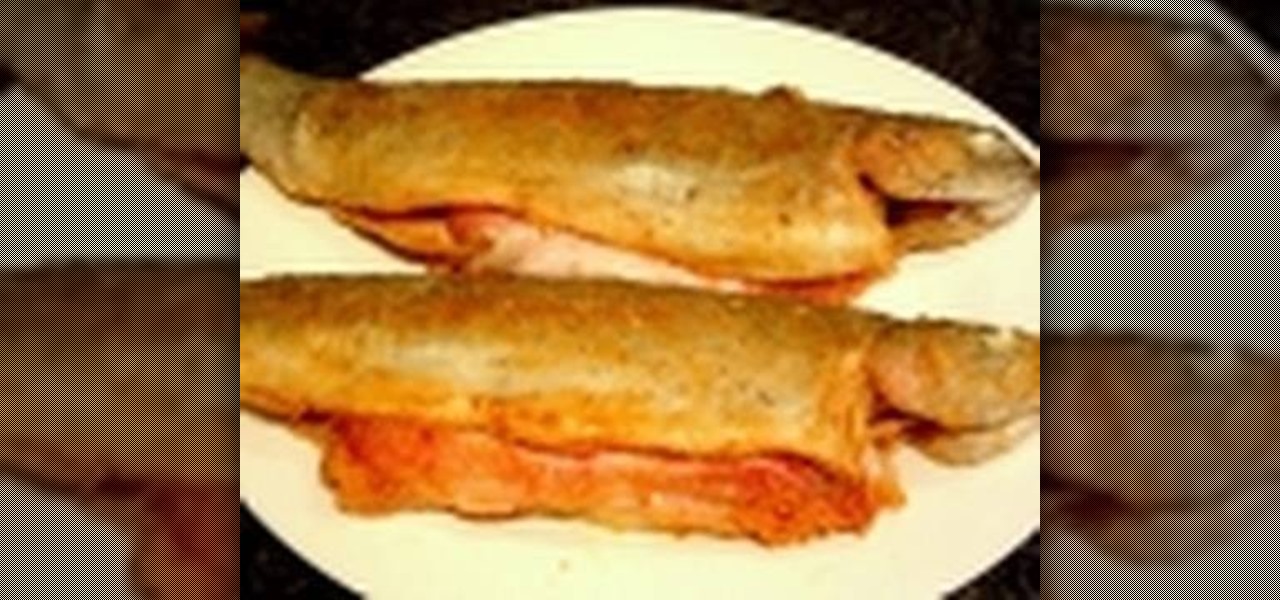
In this tutorial, we learn how to make bacon pan fried fish. First, you will need to grab some strips of bacon and two fish. Cut the fish in half and stick the bacon inside of them, around two pieces for each fish. After this, you will roll each fish around in a mixture of flour with salt and pepper. After this, heat up some oil with garlic cloves in a large skillet. When ready, place the fish into the oil and let them brown on one side. After this has browned, turn the fish over and let them...

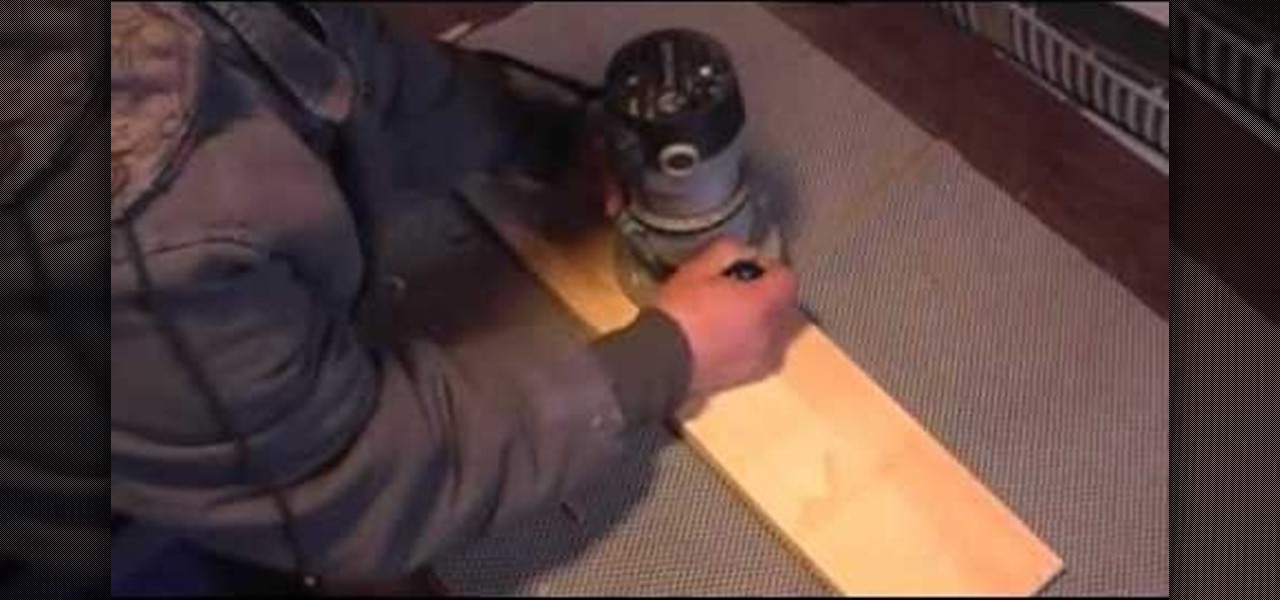
This is a video tutorial in the Home & Garden category where you are going to learn how to make a sign using a wood router free hand. For this you will need a router. The kind of router you use is not so very important. But, what is important is the router bit. It should be a “V” shaped bit for doing free hand work. There are lots of bits you can use. First you fix the depth of the cutter so that only a little bit of the router bit is exposed. You should not be seeing too much of the bit abov...

In this video we learn how to make a big pink heart out of balloons. Start out with one side being a cuboctahedron. If you don't know how to make this, try checking out previous videos to make the shape. Once you have done this, you will use another balloon to connect and make the inside of the heart shape. Throughout the shape you will need to twist several bubbles inside the balloon, so make sure there is enough room left to do this. After you're finished, you will have a cute heart shaped ...

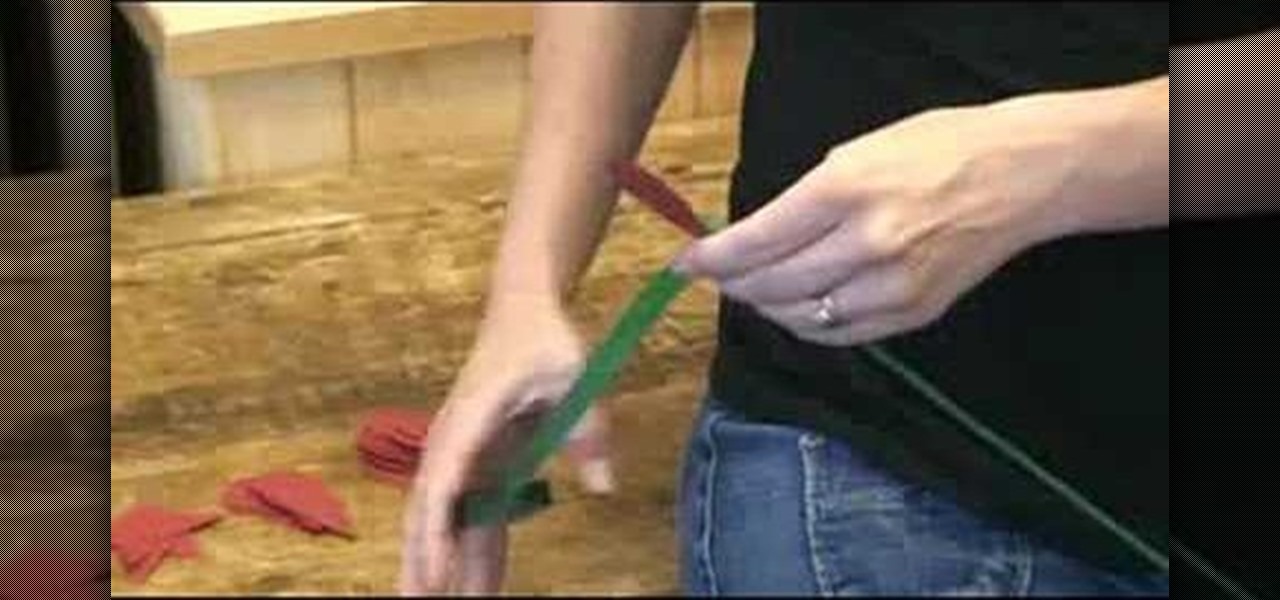
In this video, we learn how to make an ornate paper rose. First, grab your paper and some wire. Start by wrapping six of the wires with floral tape all the way around. Next, use your scissors and cut out 8 teardrop shapes from the paper. Then, cut 16 more in different sizes. From here, wrap the petals around the stem using the floral tape. Start in the very middle of the flower and then add on petals until you have created the entire rose. To finish this, you will make the leaf. Cut out the l...

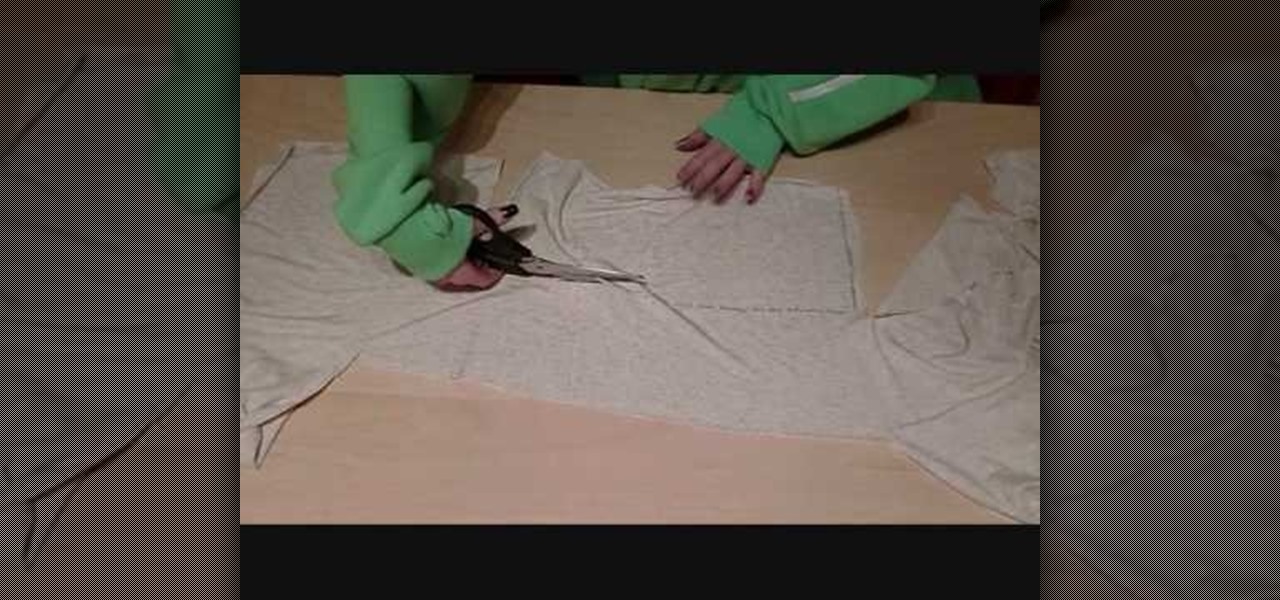
In this video, we learn how to make a feminine, long fitted sweater. First, lay out your fabric and use a pen to trace the lines for the sweater, measure it out so it's a good fit. Make sure to cut around the edges so you have room to sew. Now, sew along the edges and then turn the shirt inside out. Then, take extra fabric and cut out rectangular pieces that you will then attach to the bottom of the sweater by sewing them on. Once you are finished with this, try your sweater on to see how it ...

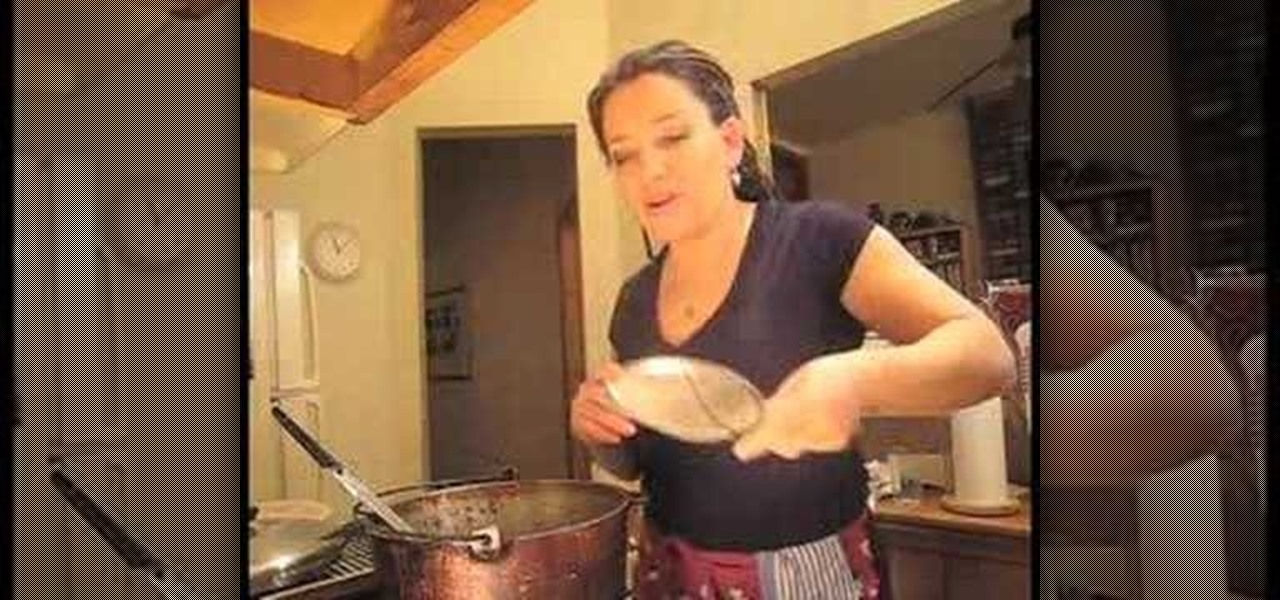
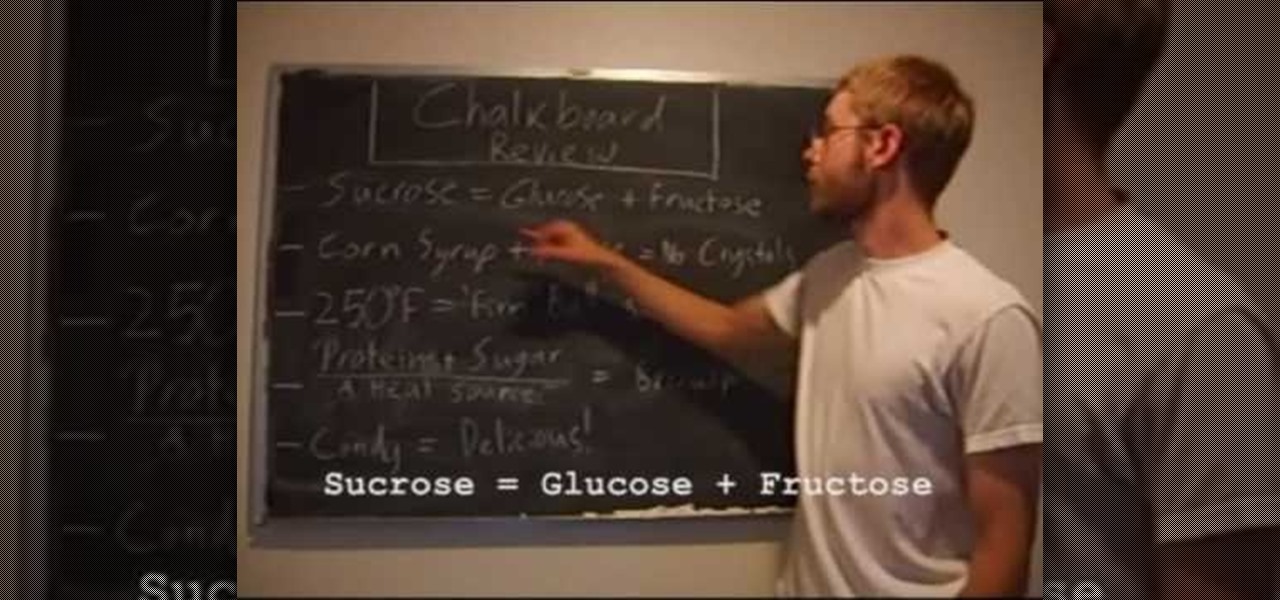
In this tutorial, we learn how to make caramel candies. Ingredients include: 1 cup granulated sugar, 1/4 c light corn syrup, 4 tbsp salted butter, 1 c heavy cream, and 1 tsp vanilla. To create this, you will combine all your ingredients in a large pot, stirring a little bit. Once the mixture has turned into caramel, stick a thermometer to make sure it's reached 250 degrees. When it is finished, pour this into a baking dish. Once you do this, smooth it out to cover the surface, then wait for i...

In this video, we learn how to make a Necronomicon prop from the "Evil Dead" series. First, gather all of your materials together so you can make this prop. After this, cut up piece of cardboard into the desired shape, then tape them and make sure it's able to open and close. Next, you will use tape to make it look like creases in the skin and create the face by rolling it together. Use masking tape to connect these and make it look like it's all part of the same skin. Next, mix red, yellow, ...

In this tutorial, we learn how to make a zipper belt. First, you will need to take three long zippers and then heat up a glue gun. Apply some glue to the middle zipper, then put the other zipper's side on the side where the glue is. Do this for the other side and wait for them to completely dry and cool off. After this, grab a square piece of fabric and glue the top of the zipper onto this. Press it down and wait for it to dry, then apply Velcro to the bottom and it will stick when you wear it!

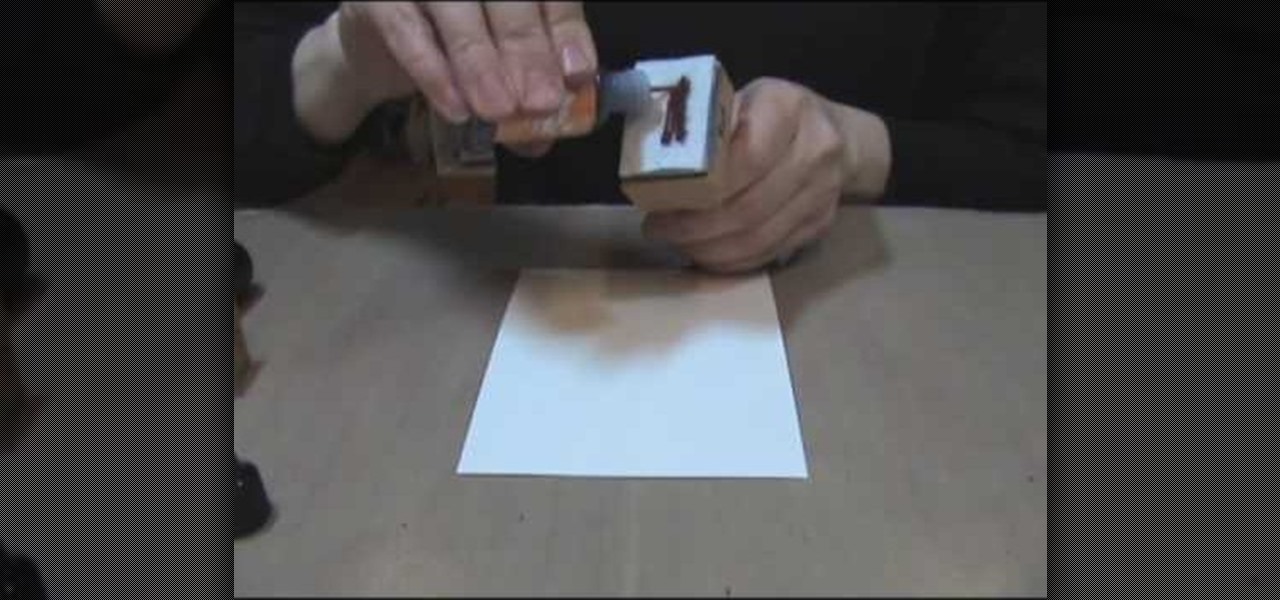
In this video, we learn how to make zebra and tiger prints with Ranger's alcohol inks. First, you will need some alcohol ink in black, gloss paper, a stamp, and felt. Now, take your felt and cut it into small strips. Make lines like a zebra or tiger would have. Next, push these strips onto the stamp bottom, arranging them to look like a zebra. After these are stuck on securely, trim off any edges and make some pointed. After this, you will squirt the black ink onto the bottom of the stamp on ...

Want to create your own camera? The simplest one that you can create is a pinhole camera which can be constructed from everyday household items.

In this tutorial, we learn how to roll clay without a pasta machine. First, warm up the clay in your hands and put them between two flat sticks. Next, use a glass bottle or cup to roll out the clay. Make sure the bottle is on the paint sticks as you are rolling. This will leave your piece of clay thick but flattened out. You can make this as thick or as thin as you would like to be. You can do this several times and use different types of sticks or side holders to change how the clay looks, e...

In this tutorial, we learn how to make a monkey with Stampin' Up punches. First, you will need to punch out all the appropriate punches that you need to make this. Once you have them, start to assemble by starting with the head. Place the eyes and the mouth on the appropriate spots, then use a black pen to add in further details on the face. As you continue, make sure to glue the different pieces together until you reach the bottom. Once you are done, add any additional details with the black...

In this tutorial, we learn how to make a Tractor using Stampin' Up punches. First, you will need to punch out a black scallop circle, another black circle, two yellow circles, a yellow square, and four green square shapes. After you have these cut out, you will glue the black scallop circle to the yellow circle so it's underneath. Then, take the green piece and glue it with the other yellows to create the shape of the tractor. Glue the circles at the bottom to make the wheels, then save this ...

In this video, we learn how to turn a composition book into a decorative notebook. First, measure your composition book, then measure out that same size on a piece of decorative paper. Next, put adhesive on the back of this on all four edges, then diagonally. Now, you will have a solid attachment for the paper to be placed on top of the composition notebook. Use a straight edge to push it down and it's completely flat. Then, use scissors to cut any excess paper off of the edges and corners. Y...

In this video, we learn how to make a lariat necklace. First, cut your wire so it's 20" long. Then, make a loop at one of the ends and attach a small chain to it. After this, put on the crimp bead and make a loop through the bead. Once finished, take your pliers and clamp it down. Now attach your chosen beads to the wire until you reach the end where the chain is. After this, cut out three pieces of wire and attach them together in a slight v shape. After this, apply beads to them, then tie t...

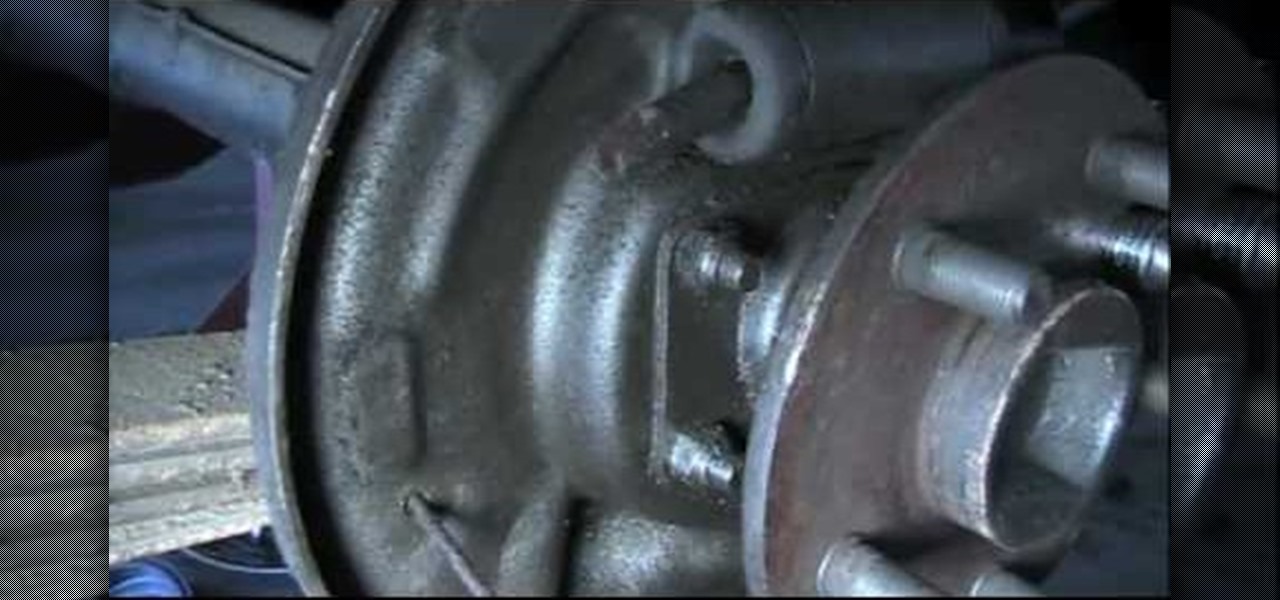
A 1965 Mustang is a beautiful piece of machinery, but like most classic cars they require constant maintenance. Watch this two-part video to learn how to replace the axel seals and shoes and the wheel cylinders on your own classic beauty.

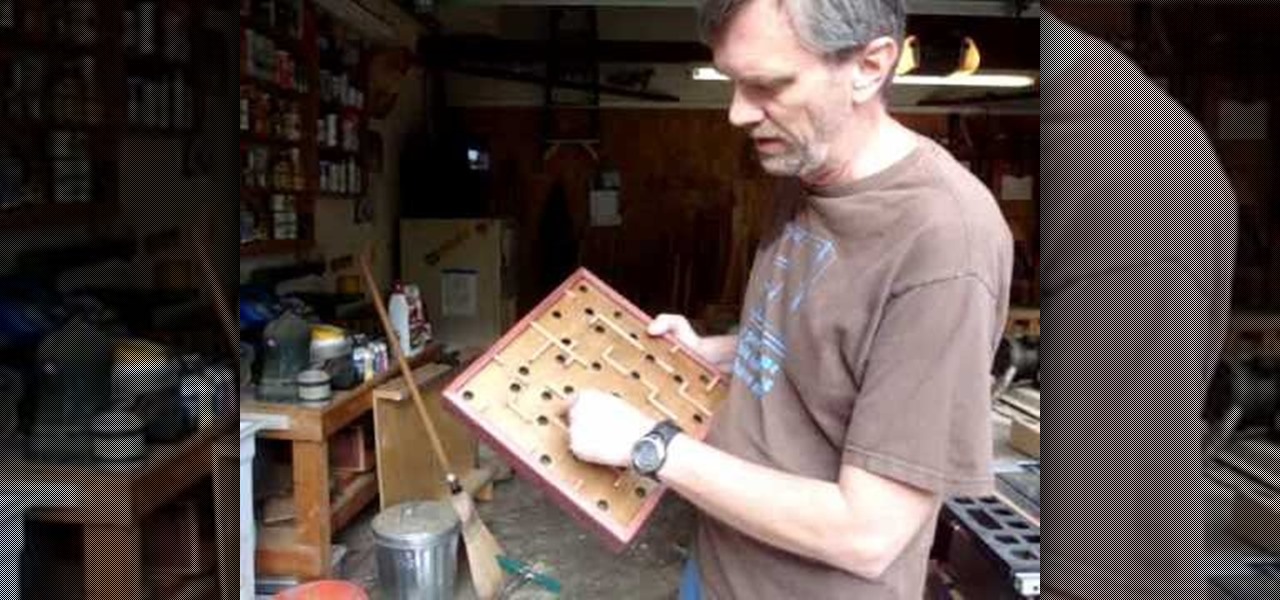
This video shows viewers how to create a wood labyrinth in which you can roll a small ball through a maze, trying not to allow the ball to fall into the hole. You will need some boards of wood which you will need to cut to the correct dimensions. You will need to create a box-like structure which will have an opening near the bottom from which you can retrieve your ball if it falls in a hole. After designing the template for your wood labyrinth, you should then proceed to make holes in the to...

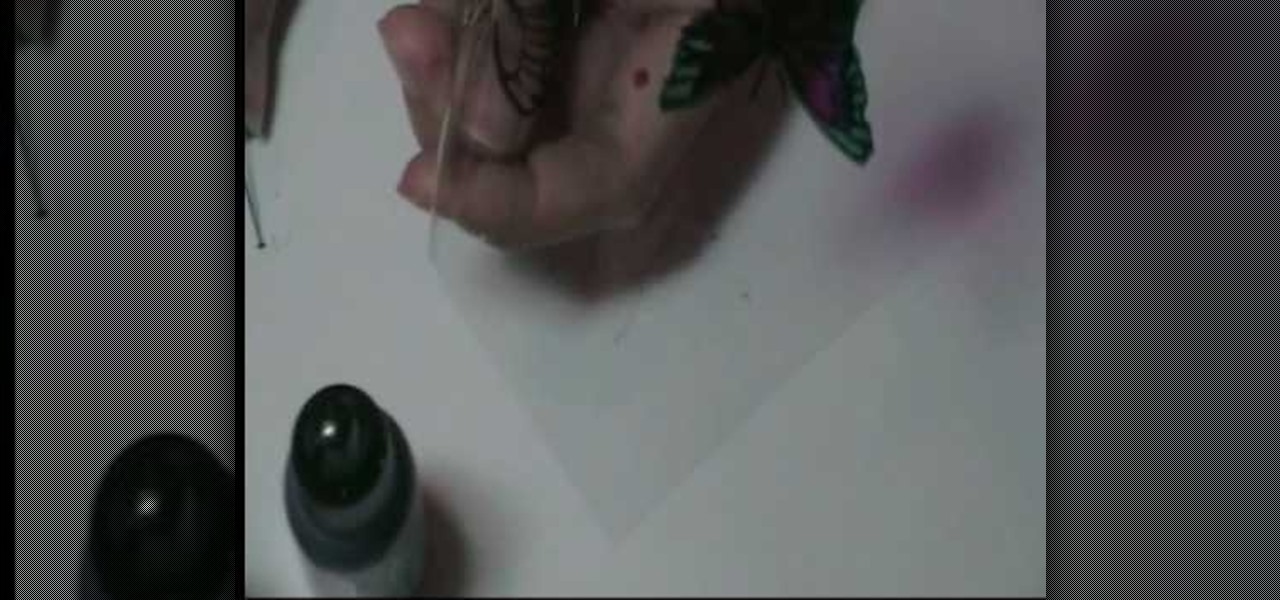
In this video, we learn how to make beautiful acetate butterflies. First you will need to make sure you have alcohol inks on hand for the colors you want to make. To start out, stamp the butterfly with black ink onto a piece of plastic acetate. After you have done this, use different colors to fill in the butterfly how you prefer it to look. After you do this, cut out the butterflies and then you will be able to use them for what kind of craft you want to do. These are cheap and easy to make ...

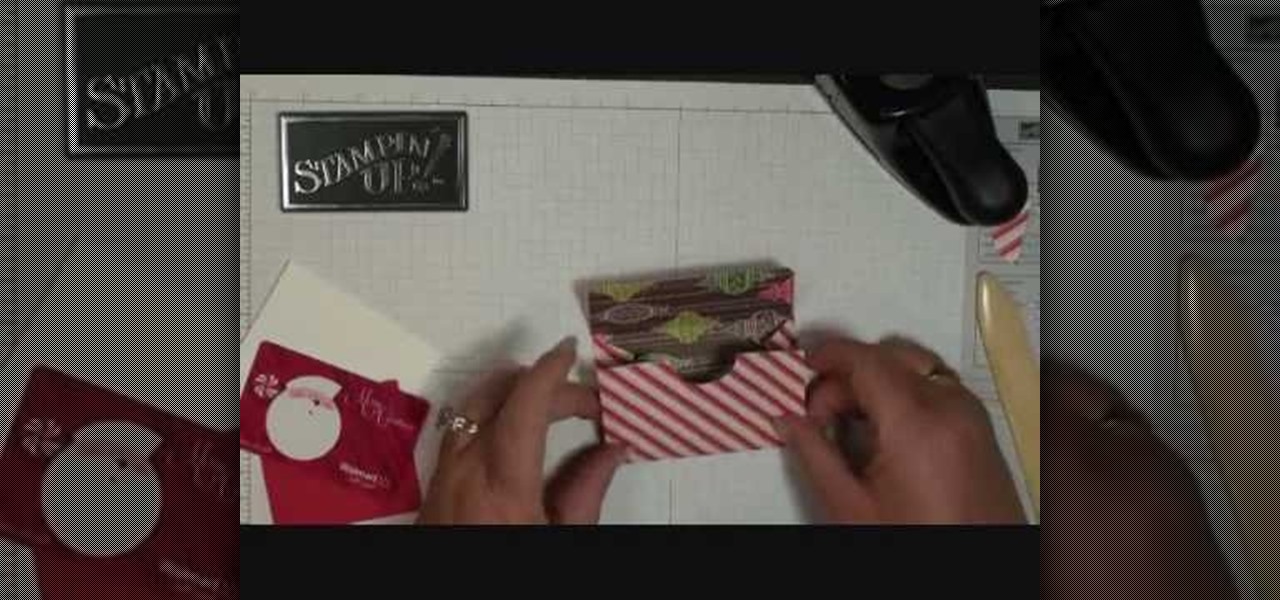
In this tutorial, we learn how to make a mini gift card envelope with Stampin' Up!. First, take a piece of card stock that is red and white. Score this 3/4" on both sides, then turn on the 6" side and score at 1 1/4" and 3 3/4". Once finished, fold this up and cut along the sides that you have scored. Put adhesive on the bottom of the gift card holder to seal up the bottoms so you can place the gift card in. Now, punch a hole in the bottom of the paper so you can see the gift card peak out of...

T.I. is finally out of the joint and back on the hip-hop scene. What better way to celebrate in your own home for free than making an XBox 360 Avatar in his likeness? This video will show you how to use one set of clothing pieces to make a pretty spitting image of the rap star.

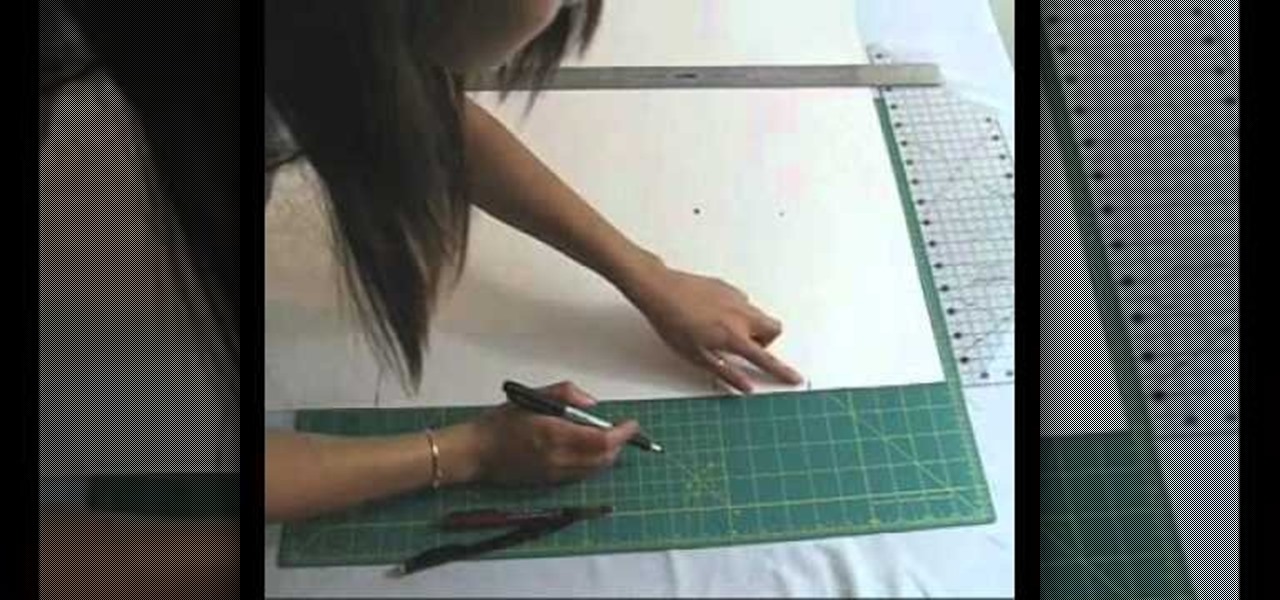
What's the most efficient way to become a fashion designer? By challenging yourself to creating your own clothes from the ground up. And while you probably already know this means cuting, sewing, and embroidering your fabrics, it also means making your own patterns.

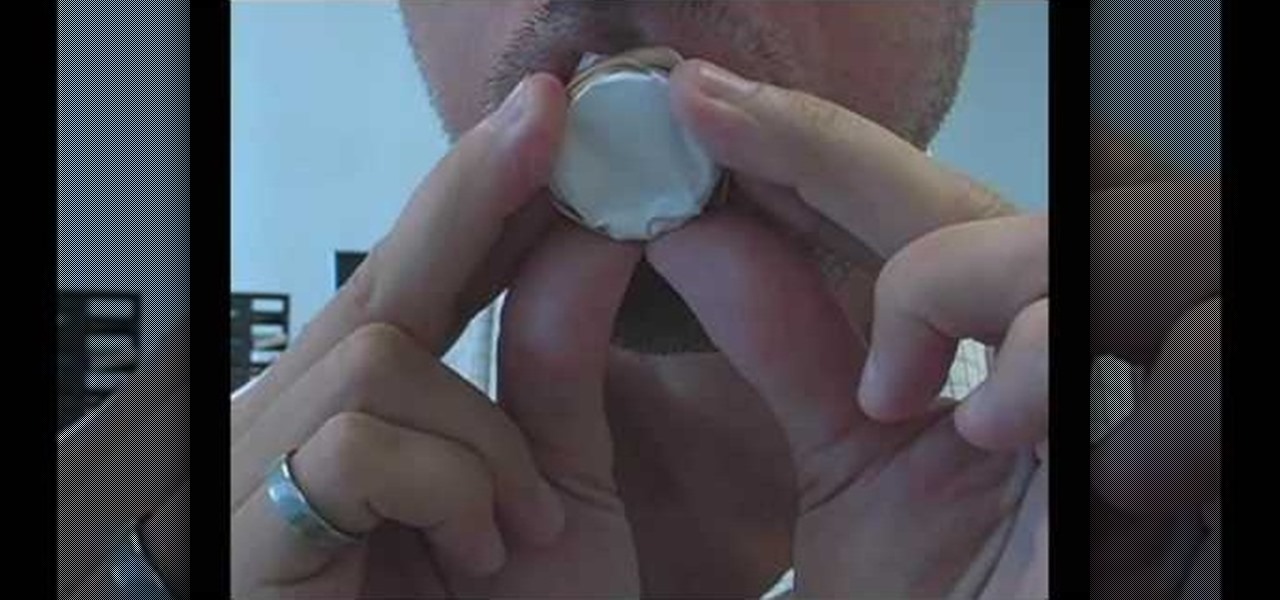
In this video tutorial, viewers learn how to make a realistic goose call. The materials required for this project are: a plastic bottle cap, scissors, rubber band and a piece of paper. Begin by making a small hole in the bottle cap. Then wrap the paper around the other side of the bottle cap and secure it with the rubber band. Now just blow in the hole and make a humming sound to create a goose call. This video will benefit those viewers who enjoy goose hunting, and would like to learn how to...

In this video, we learn how to use the polygonal lasso tool in Photoshop. This will allow you to create a selection on your photo in a freehand style. First, select the tool from your toolbar, it's the third selection down. Once you select this, go to your picture and find the piece you want to cut out or copy. Press and hold the control and space bar, then highlight the area you want to. This is great to make a selection that has a straight edge. If you just click with it, it will have a dia...

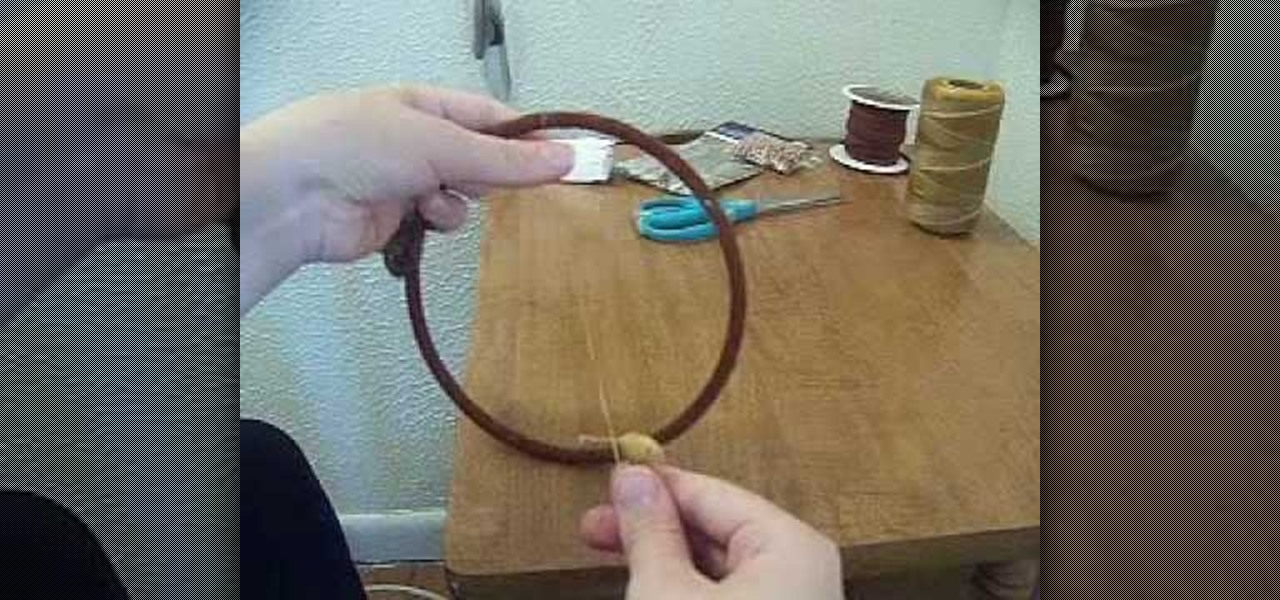
In this tutorial, we learn how to make a dream catcher. You will need: 1 metal ring, leather, sinew, decorations, scissors, and a clothes pin. First, wrap the leather tightly around the ring. Clip the clothes pin on the top so you don't have to hold it as you go around the circle. After this, remove the clothes pin and cut the leather off. Then, tie it at the bottom with a double knot. Next, measure the sinew to 3 yards, then pull it apart. You will be left with very thin strings. use a folde...

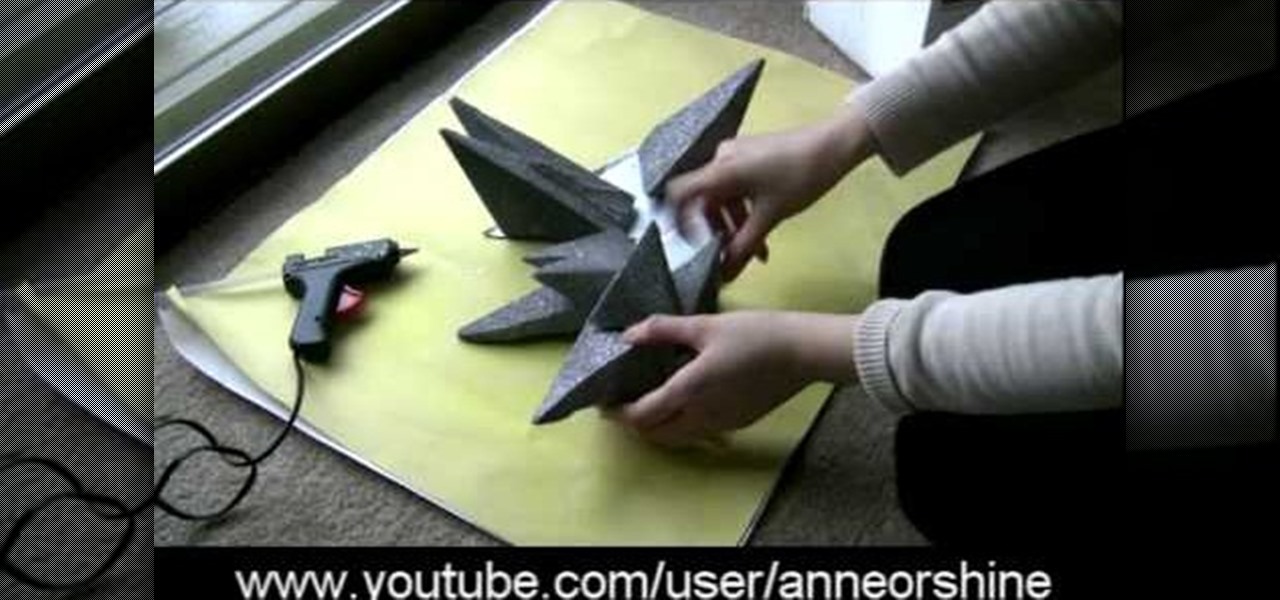
When we first saw Lady Gaga donning this, well, gaga headpiece at the Grammy Awards, we were wondering what the Fortress of Solitude was doing on her head. The headpiece, composed of what look like stalactites crystalized with thousands of swavorski crystals, looked like an Abstract Expressionist sculpture, and made little sense.

Most Rubik's cubes are not well-made or well-taken care of. They creak and turn slowly, acting like the cheap pieces of plastic that they for the most part are. There are ways though, even for cheap cubes, to make them work much more quickly and smoothly than they do out of the box. This video will show you a great method for breaking in your Rubik's Cube. It bears some risk of breaking your cube, but if you're careful your cube should be in better shape than ever when you're done, allowing y...

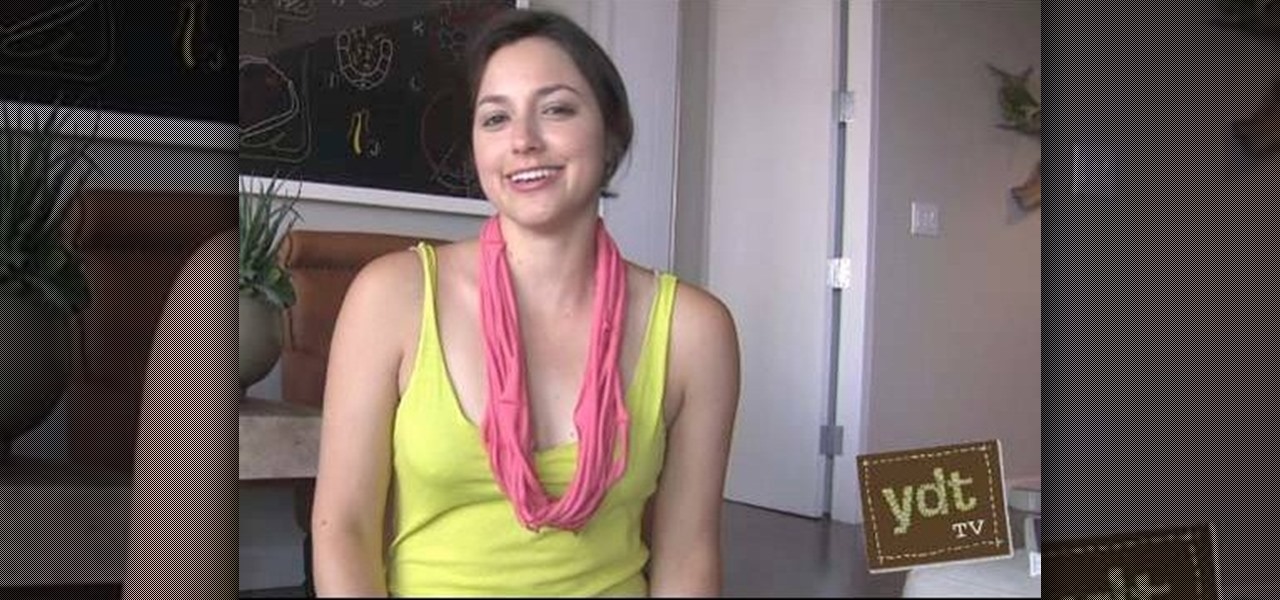
Statement pieces are all the rage this fall, with big, chunky necklaces and vibrant floral neck wraps taking center stage as clothes take a backseat. If you want to get in on this trend without looking a bit too haute couture (AKA too like a clown) for school or work, check out this DIY tutorial for making a pretty layered necklace using an old t-shirt.

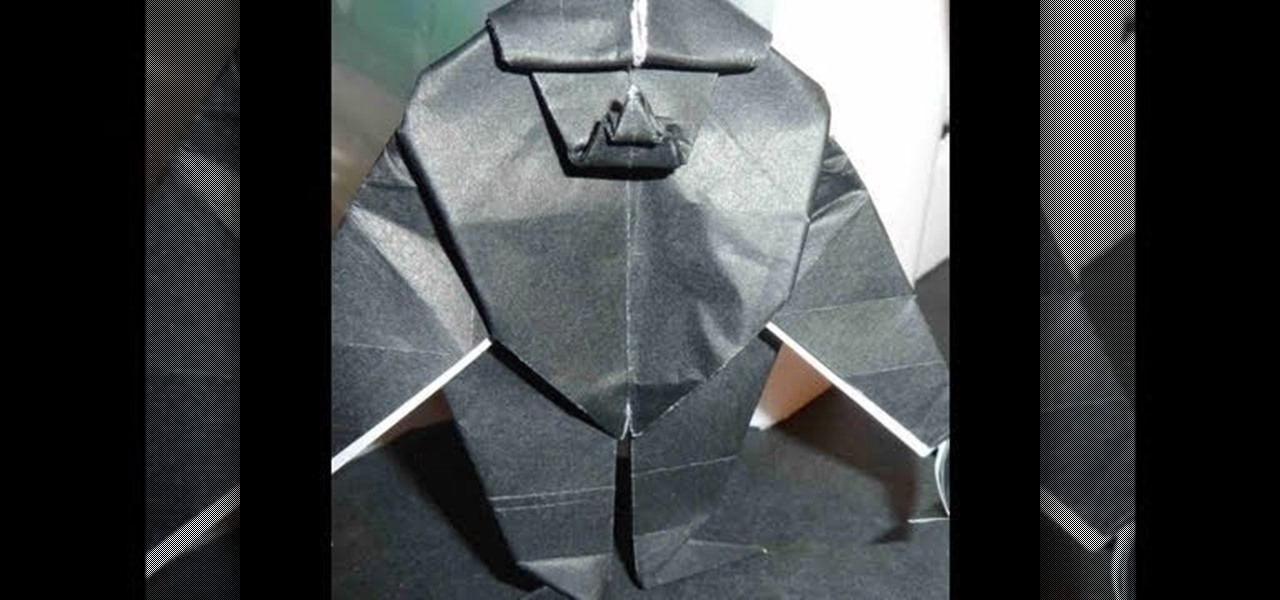
This tough origami gorilla would totally kick King Kong's ass in a one-on-one match-up. Or at least we think so. With a broad, intimidating body and a strong, confident scowl on his face, this gorilla is not one to be messed with.


