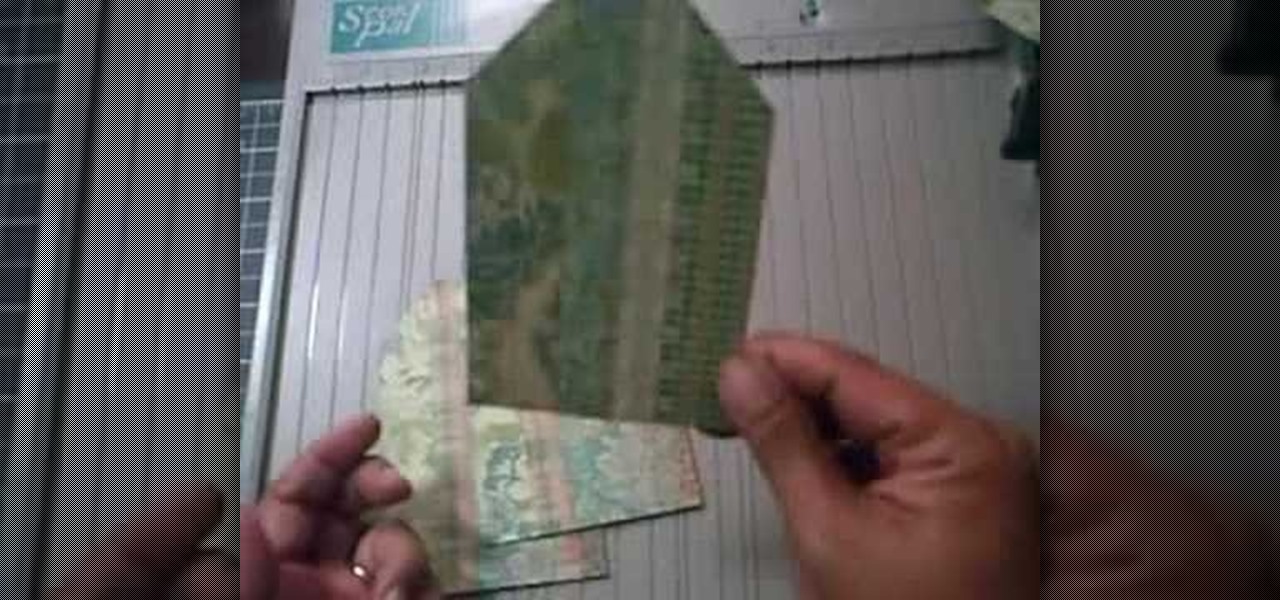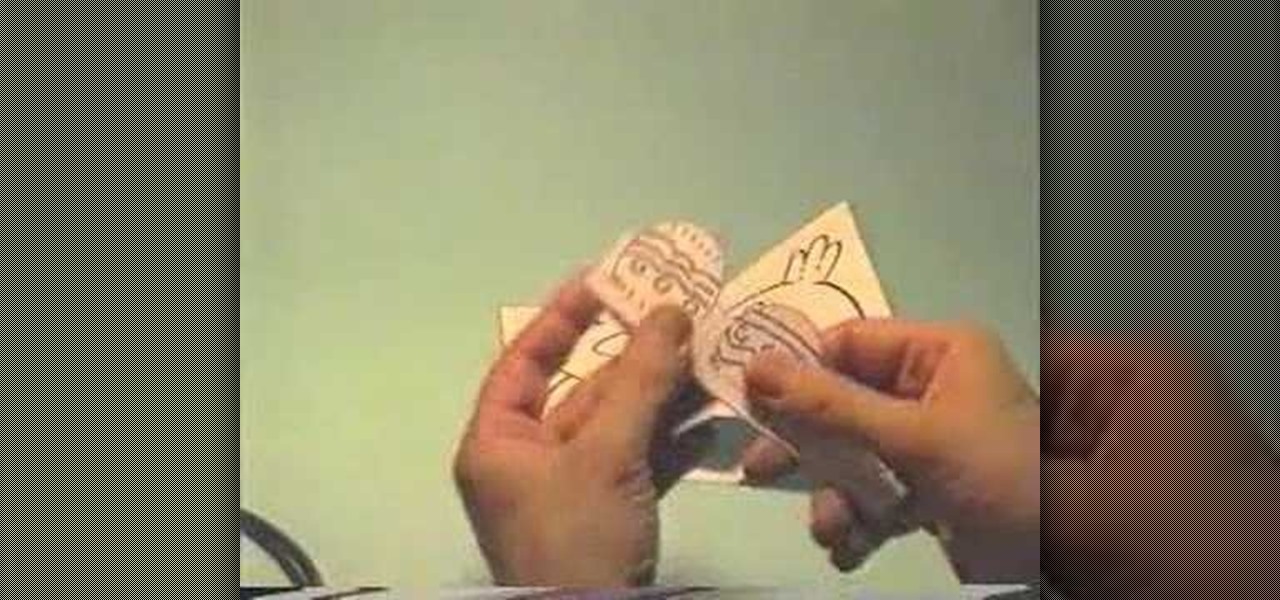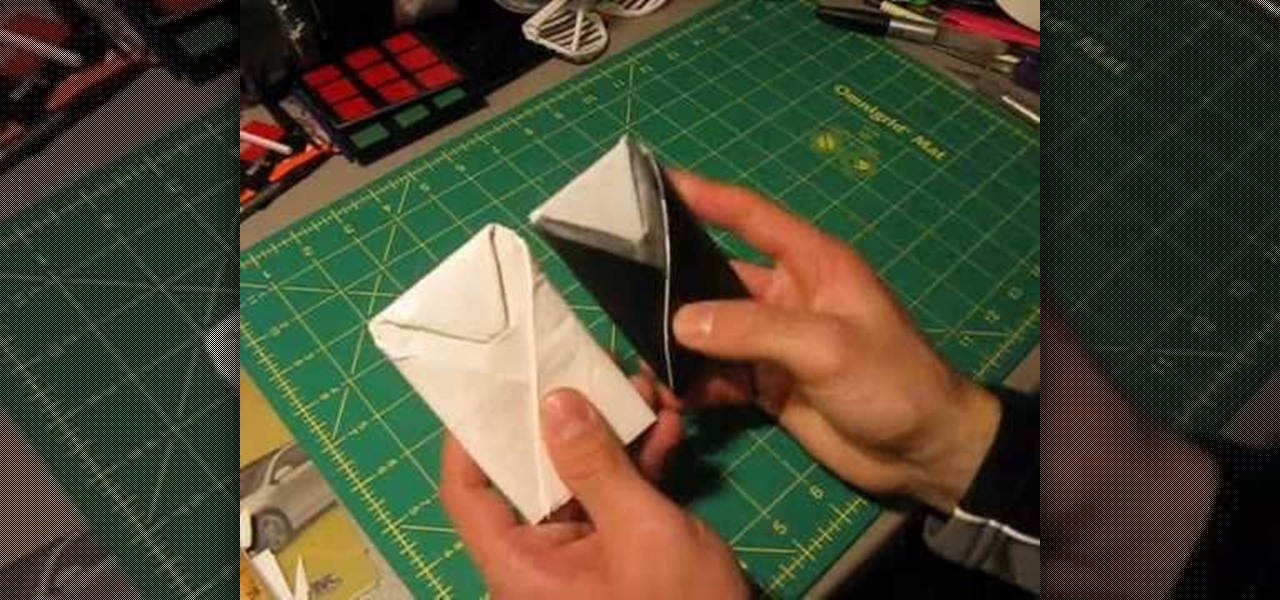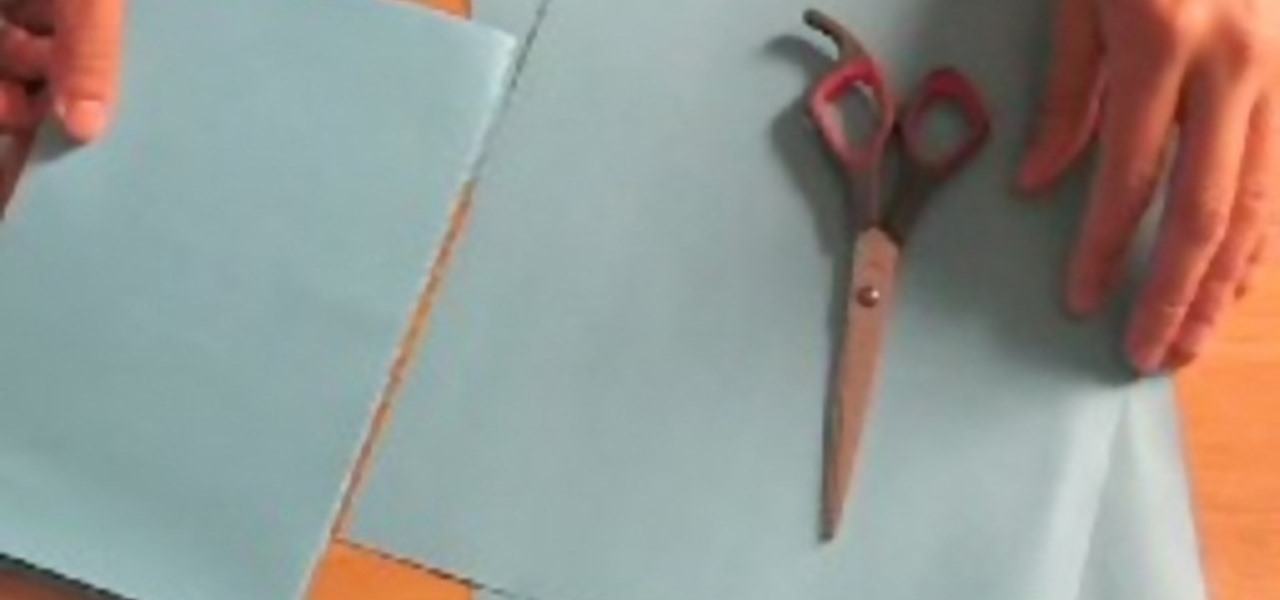
Here's a quick and simple booklet that can be made out of two sheets of paper. It's great paper craft for a school project or just fun. All you need is paper and scissors. Fold both pieces of paper in half hamburger style. Use scissors to cut knotches into your fold. Fold your other piece of paper hotdog style. Follow the rest of the instructions, assemble and you have a quick and simple paper booklet.
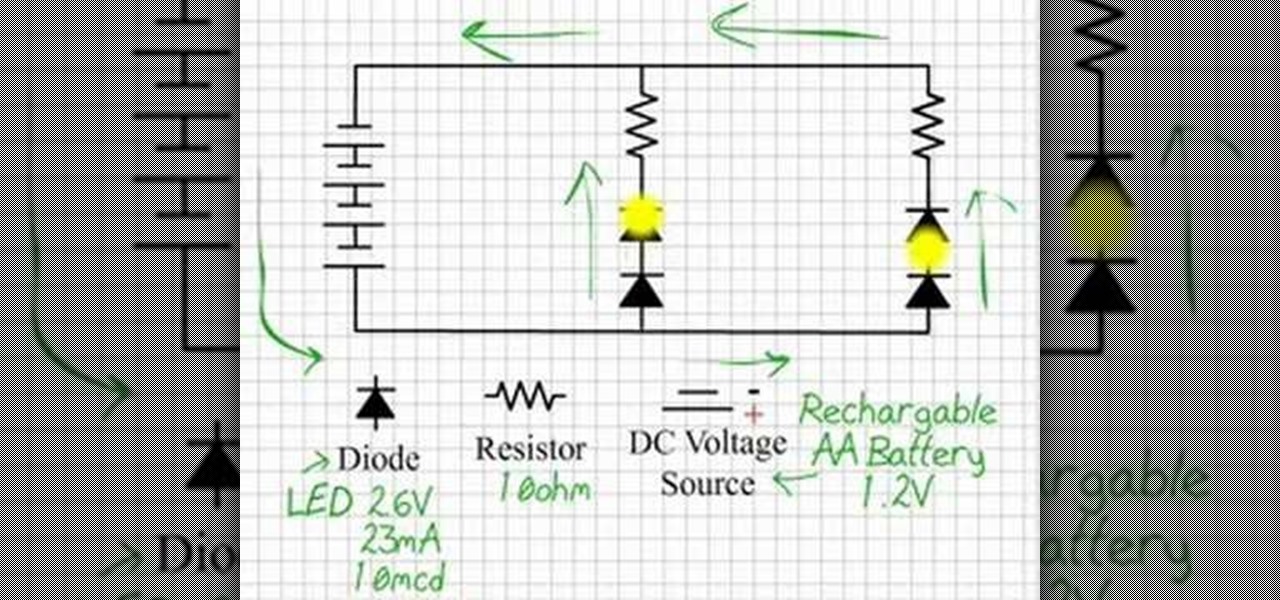
By using LEDs that only put out a little light the eyes can be lit in dim room light but still appear white, the moment the eyes are in shadow they glow bright red. Watch this video tutorial to see how to make glowing LED creature costume eyes for your film or costume project.

Solving the Rubik's Revenge Cube is similar in concept to solving the original Rubik's Cube. You still match colors and replace one piece with another, but there is an added level of complexity. Where the classic Rubik's Cube has fixed centers that determine the color of each face, every piece on the Rubik's Revenge Cube is fully moveable. It is also much more fragile than the original Rubiks Cube therefore requires greater care and precision. If you want to more... just watch and learn.
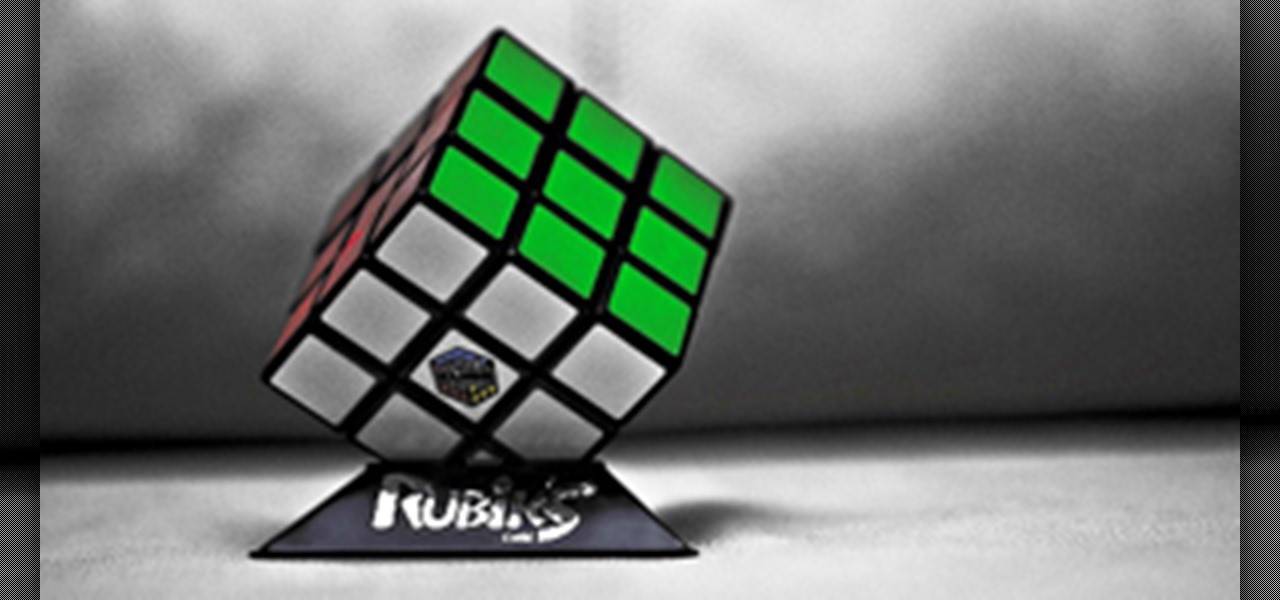
Tyson Mao is a renowned world competitor in solving the Rubik's Cube. Not only did this Californian become a world class solver, but he also formed the Rubik's Cube Association with fellow speed solver Ron van Bruchem, which holds competitive events for the Rubik's Cube. If you want to learn how to solve the colorful and mighty puzzle, then who better than to learn from then Tyson Mao?
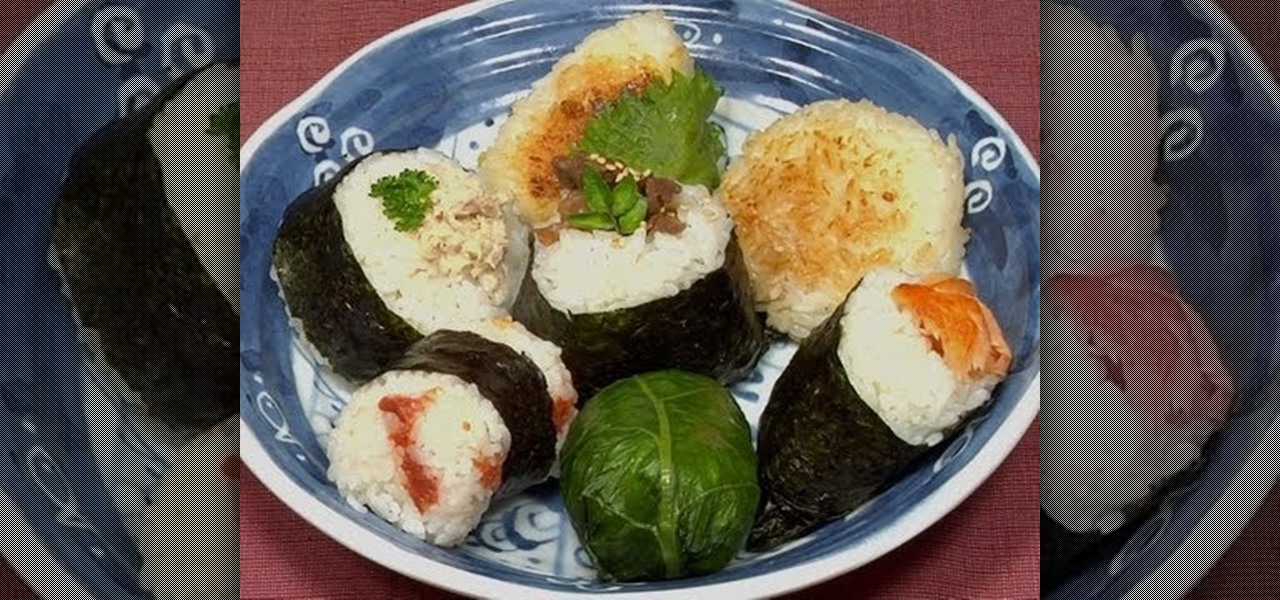
This tutorial video will teach you to make various kinds of onirigri, also known as Japanese Rice Balls.
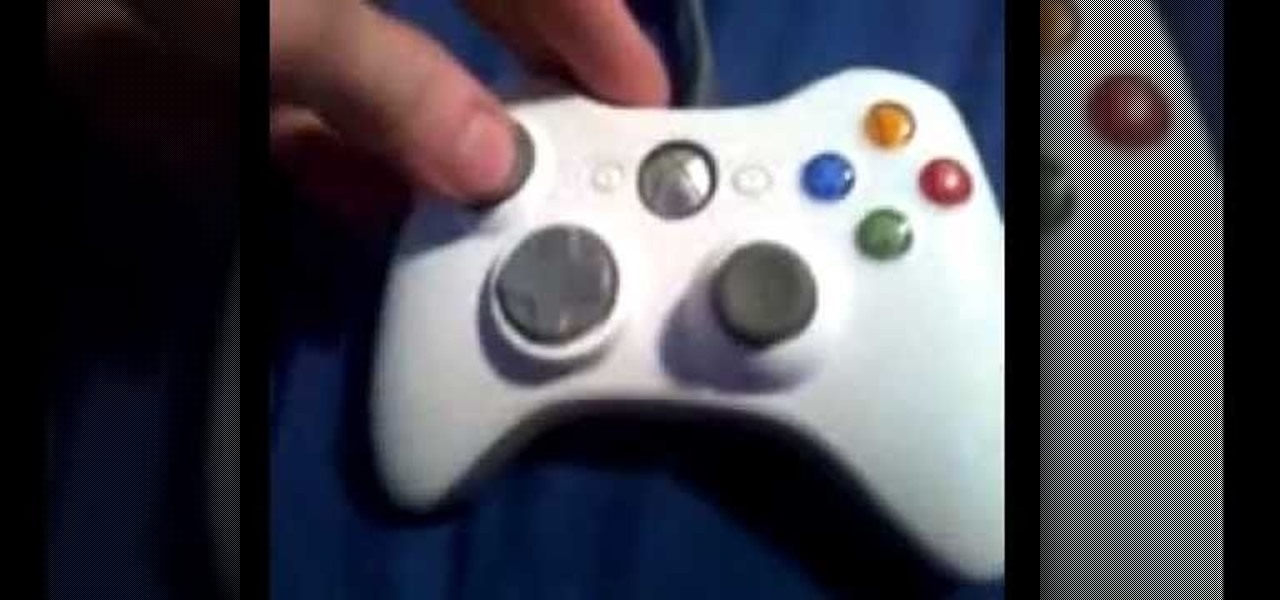
Don't let stuck buttons slow you down. If you are tired of your Xbox 360 controller betraying you because it's got dirt stuck in between the buttons, watch this video and learn how to take the entire thing apart and clean it piece by piece.

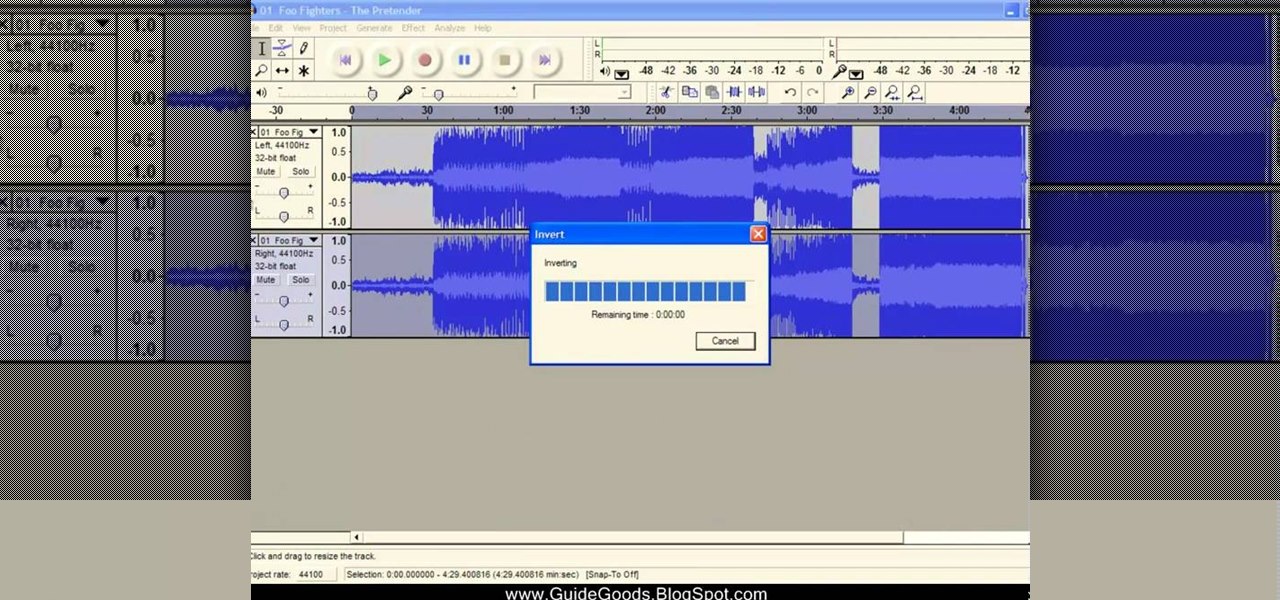
This will work for nearly any song. Upload your chosen piece (simpler pieces work better), and then follow along with the procedure so you can remove the entire vocal track and end up with a song that's purely and completely instrumental.

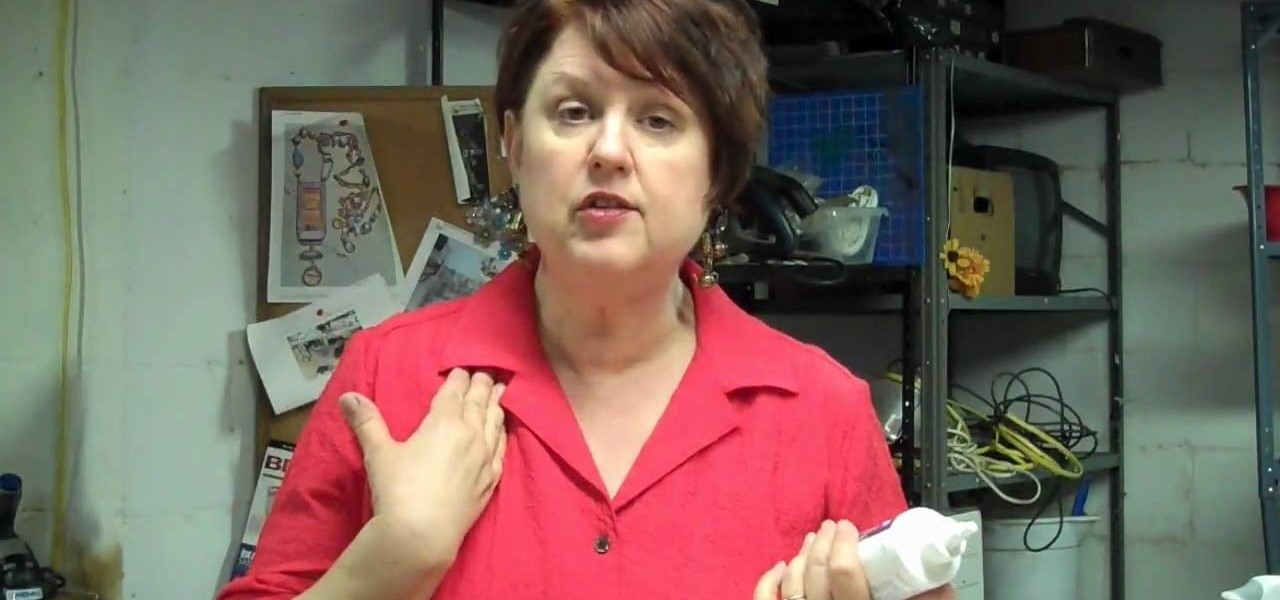
When it comes to making collage jewelry - i.e., jewelry that's an assemblage of tons of bits and pieces - the type of glue you use is essntial to everything sticking together and not falling off into your cocktail at your holiday party.

Cut a perfectly balanced pentagon from a square piece of paper! You can do this without measuring or drawing. Fold your square of paper as outlined in this tutorial, and then cut along several of the fold lines to end up with a pentagon!

This video explains how to create a 4z4 tri-fold mini album. The first step is to score your designer paper at four inches and then fold along the score mark. The previous step is completed three more times until you have four score marks along your paper. Three separate pieces of paper are then cut measured at three and half inches. Your chosen picture is then glued into the center of your original twelve inch panel. using the three individual pieces of paper you must glue them around the pi...

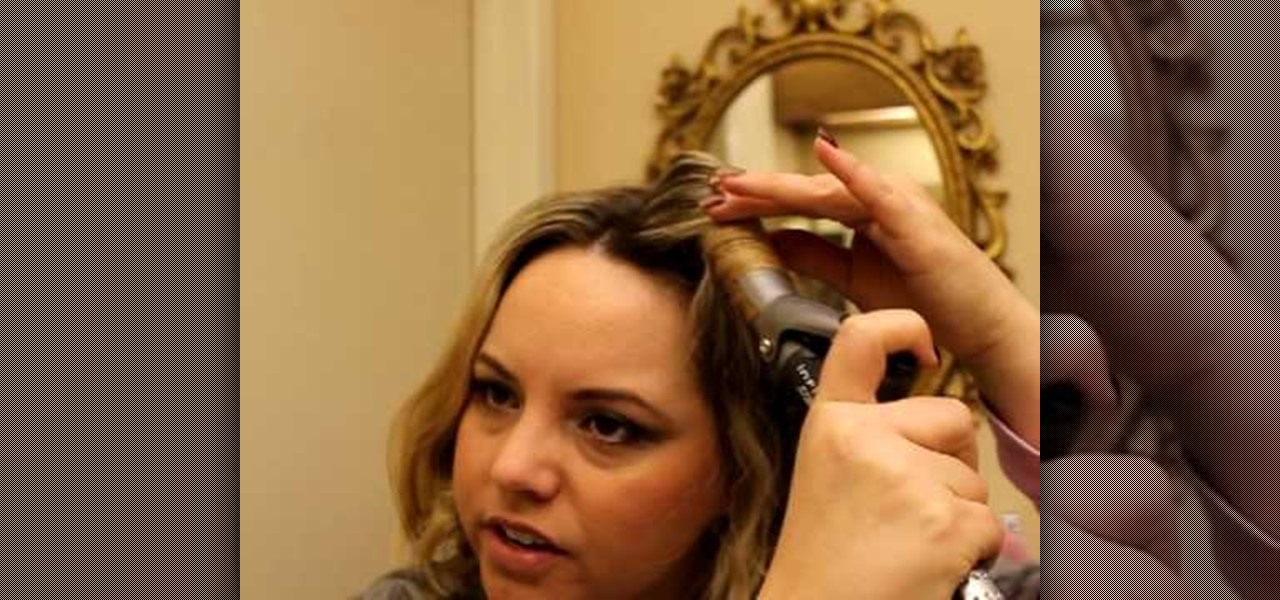
In this video from Bellabern she curls her hair with a curling iron. Section off a piece a piece of hair and use a comb to separate it. Then take the curling iron, put the hair through it and roll all the way up to the scalp while keeping the curling iron moving constantly. Something else you can use is thermal heat spray which will hold the curl. You keep applying this same technique for as many curls as you want on your head. With the bottom pieces of your hair you can curl them a little ou...

In this video, we learn how to make an Easter pop-up card. First, draw a duck with a little baby duck on a 4x6 piece of paper. From here, fold it in half so you can see the image on the outside. After this, use scissors to cut the middle, where the little baby chick is at. Cut the top and bottom around it, but avoid cutting the sides. From here, bend that piece left and right. Then, open up the card and bend it into the middle. From here, take a piece of paper with eggs cut out of it and bend...

In this tutorial, we learn how to do a twisty updo on your American Girl doll. First, brush your dolls hair into a ponytail. After this, take a piece of the hair and twist it around with your finger until it curls. Then, take a clip and clip the twisted hair into the ponytail. Now, take another piece of hair and do the same thing. Continue to clip the hair up and repeat doing this on all the pieces of the hair until there is no more left. You will have some hair at the top and it will look cu...

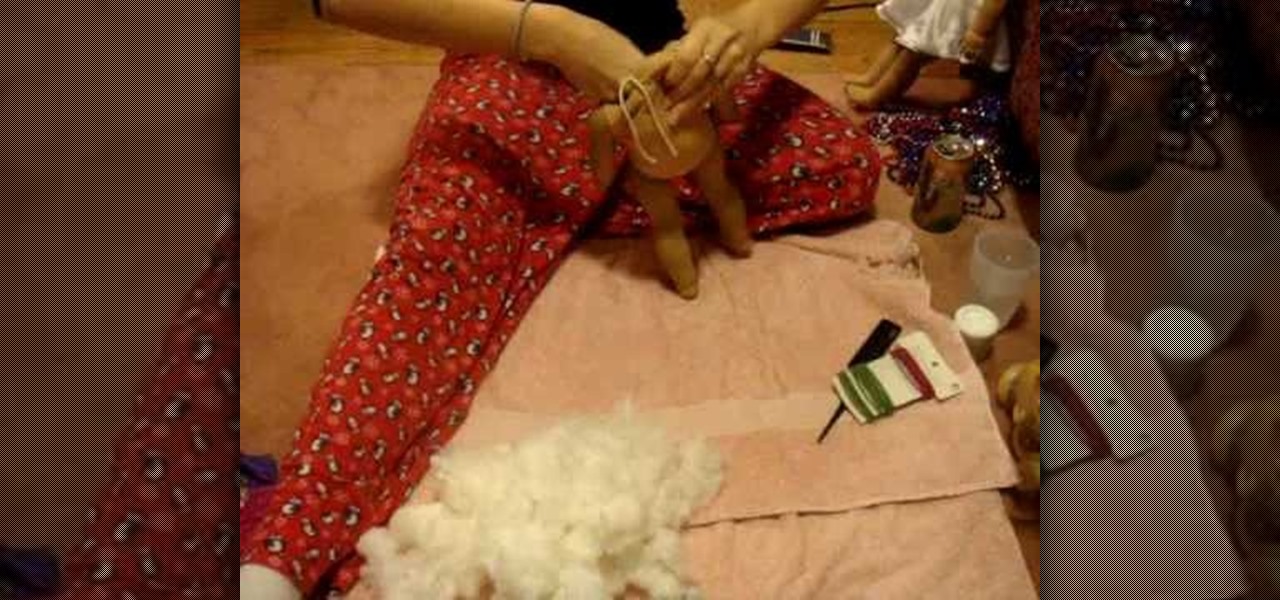
In this tutorial, we learn how to fix your American Girl Doll's loose limbs. If your doll doesn't stand up very well because her limbs are loose, you can re-string her. First, take the knots off from around the head and then pull the head off. After this, take out all of the stuffing from the doll. From here, you will find the inner limbs with the elastic pieces on them. Take a rubber band and tie it around between the gold piece and the white piece. Do this for all the limbs, then stuff the ...

In this tutorial we learn how to make a Universal Soldier eye. You will need: old head set, cardboard, hot glue gun, screwdriver, pen, flash light, knife, saw, black paint, and masking tape. First take the cardboard and cut it out into two rectangles. Place these around the headset and stick a rectangle in the eye piece. After this, you will connect the flashlight to the side of the head piece. Once finished, you can spray paint the entire eye piece and then wait for it to try. When done, wea...

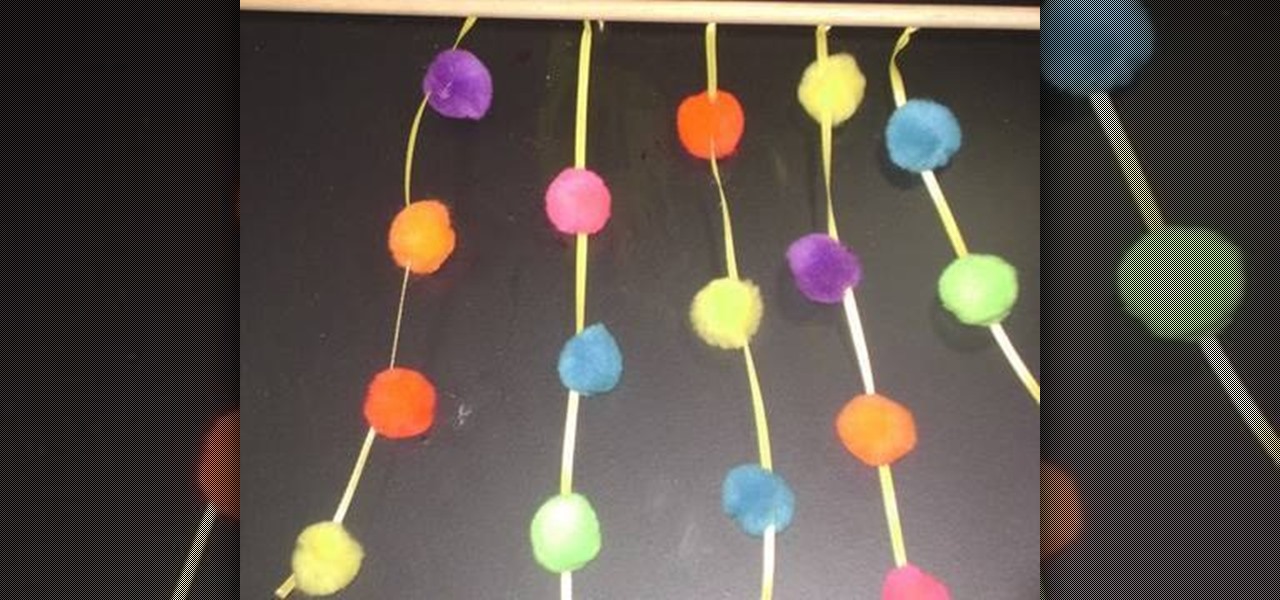
Children like to have fun things in their rooms. A pompom curtain is perfect for a little girl to have and pretend it is the entrance to her castle. A young boy might like a plain colored pompom curtain to pretend it is the entrance to the dungeon where he keeps his monsters!

In this video, we learn how to build a nest box and ladder for a chicken coop. Start off by creating the box with several pieces of 2x4's. Measure each piece individually, then screw them into place. Make sure it's the size that you want it and that it's secure and lays flat on the ground. Once finished, you will bend some metal and place it on the sides of the coup and then fasten the hinges so they are free swinging. Then, pull in a few more piece and you will have created the nest box insi...

In this video, we learn how to make a paper flower with a simple piece of paper. First, fold the paper in a triangle shape from each side. Then, fold the paper in the middle and then fold it into a square on all the sides. Next, you will fold the outer tabs into the square to make a triangle. After this, you will flip it over and to the same thing on the outside. This will complete your flower and make it look fantastic! Have fun making this and if you do mess it up just try again with anothe...

The Juggernaut armor is the best armor in the entire Dragon Age: Origins game, especially when you have the full suit! Three pieces are easy to find - disturb the Ancient Tombstones in the Brecilian Forest, and then defeat the monsters that spawn. But the fourth piece is a little trickier - here's where to find it in the ruined temple.

Another fun duct tape tutorial! This one teaches you how to make the popular tuxedo wallet out of duct tape. All you need is a few pieces of black duct tape and a few pieces of plain silver duct tape.

In this tutorial, we learn how to make fur suit hand paws. First, take your fabric that looks like fur and has a cotton lining. Then, cut out the different pieces you need to create the paw shape. Now, sew the pieces that you cut out onto the fur and then cut it into the shape to fit onto your hand. From here, you will sew this together with a bottom piece, then you can sew the paws together and place it on your hand to wear. Add in any additional details you would like, then wear these where...

In this tutorial, we learn how to make a Duct tape hat. First, grab a hat that you want to duplicate and measure it out with a piece of paper. Then use this piece of paper as reference to how you will cut your pieces of duct tape. Now, cut the duct tape and stick them together to create the top of the hat. After this, you will connect the other areas of the hat together and make the bill of the hat. This will need to be thicker than the other areas and you will also have to cut it into a curv...

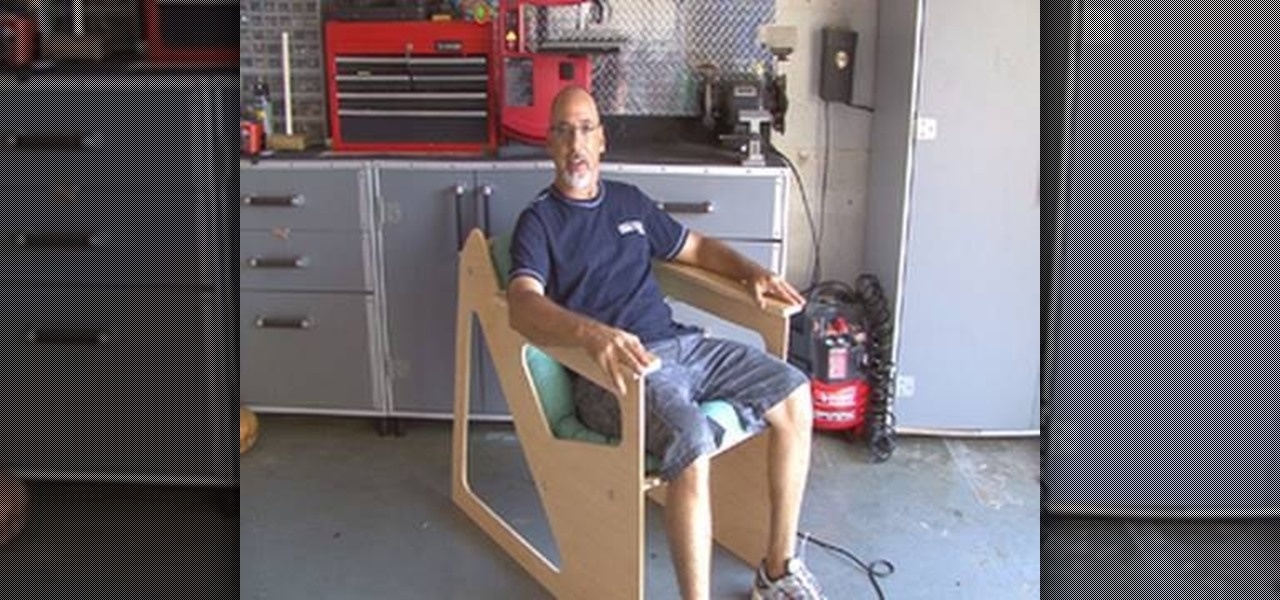
This is a guide to making a recliner which is comfortable, inexpensive and easy to make. All you need is one 4 by 8 half-inch piece of plywood, as well as a few power saws and some paint. Then follow along, and end up with your own chair!

In this video, we learn how to make a colorful tutu. First, you will need to grab all the colors of fabric that you want to use on your tutu. Then, roll up the fabric of each color carefully, then cut it out to the length you have measured for your subject. After this, cut out one more smaller section of fabric from each piece until you have done this with all of the colors. Now, using a piece of ribbon as the waistband, tie each piece of colored fabric onto it, alternating colors each time. ...

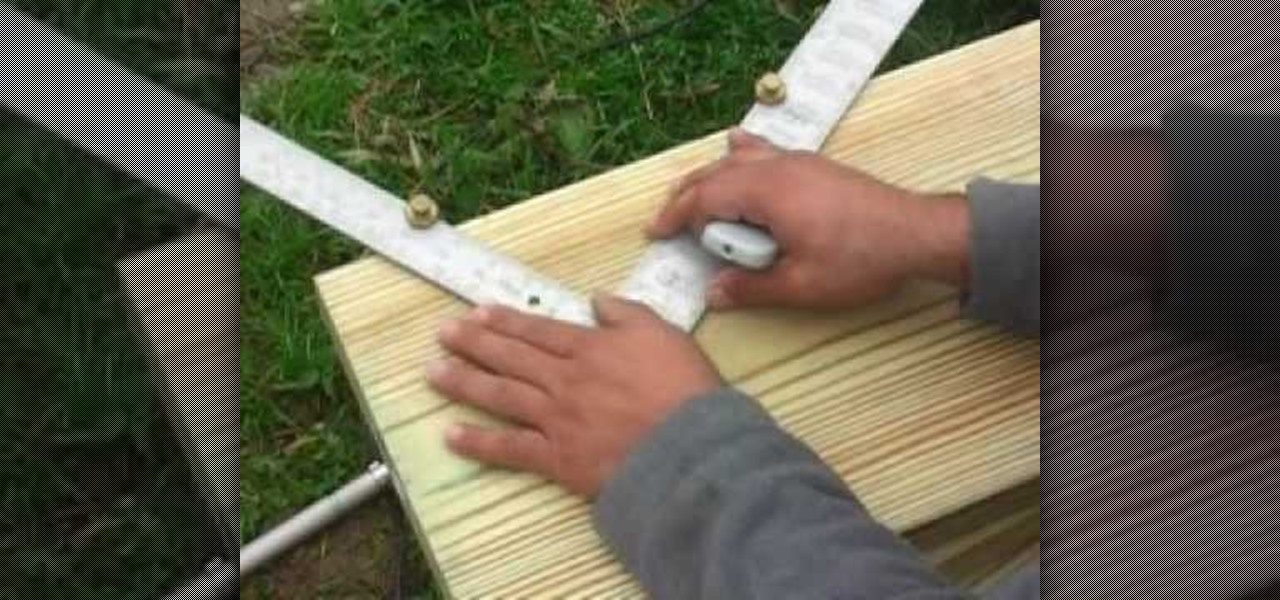
In this tutorial, we learn how to build deck stairs. First, you need to level out your work space and then use a tape measure to see how high your stairs will be from the top of the deck to the stairs. After you have these measurements, take your pieces of wood and use a framing square to measure out the pieces of the wood for the steps. After you have done this, you will need to place your piece of wood on the sides to create support, then create indentations inside of them. Place the wood i...

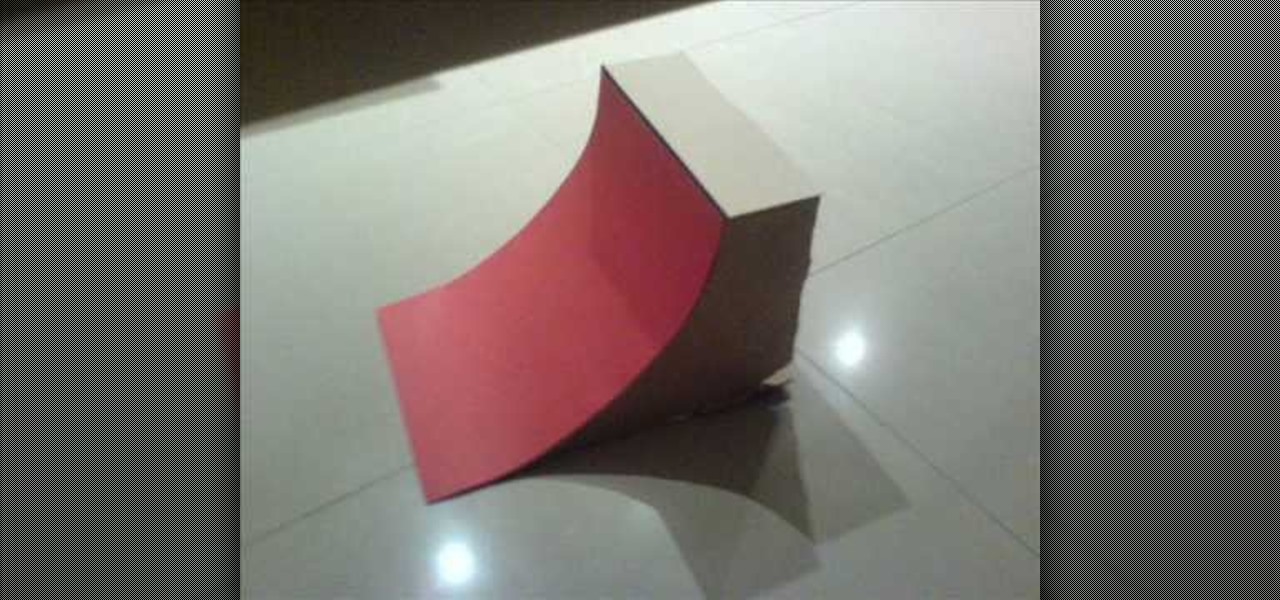
This is a video tutorial in the Hobbies & Toys category where you are going to learn how to build a Tech Deck quarter-pipe. For this you will need hot glue gun, hot glue sticks, coat hanger, cardboard, card and scissors. First cut out the three pieces of the frame out of the cardboard. Then glue a support to the bottom of the 3 pieces. Now glue the card on top of the frame. To make the coping, cut off a length of the coat hanger that is equal to the width of the quarter -pipe and glue on the ...

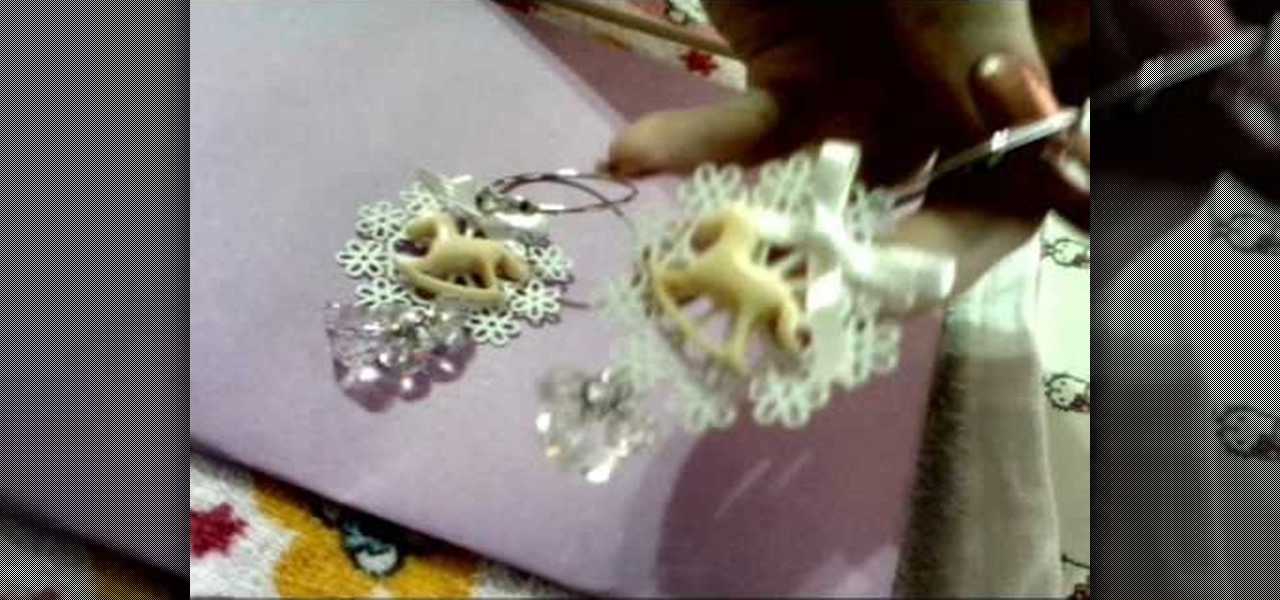
Synthesize the odds and ends in your crafts or bead drawers into lovely hoop earrings! Using a few charms, a bow, premade hoop earrings, crystals and two pieces of jewelry wire, this tutorial shows you how DIY your own fashion accessories.

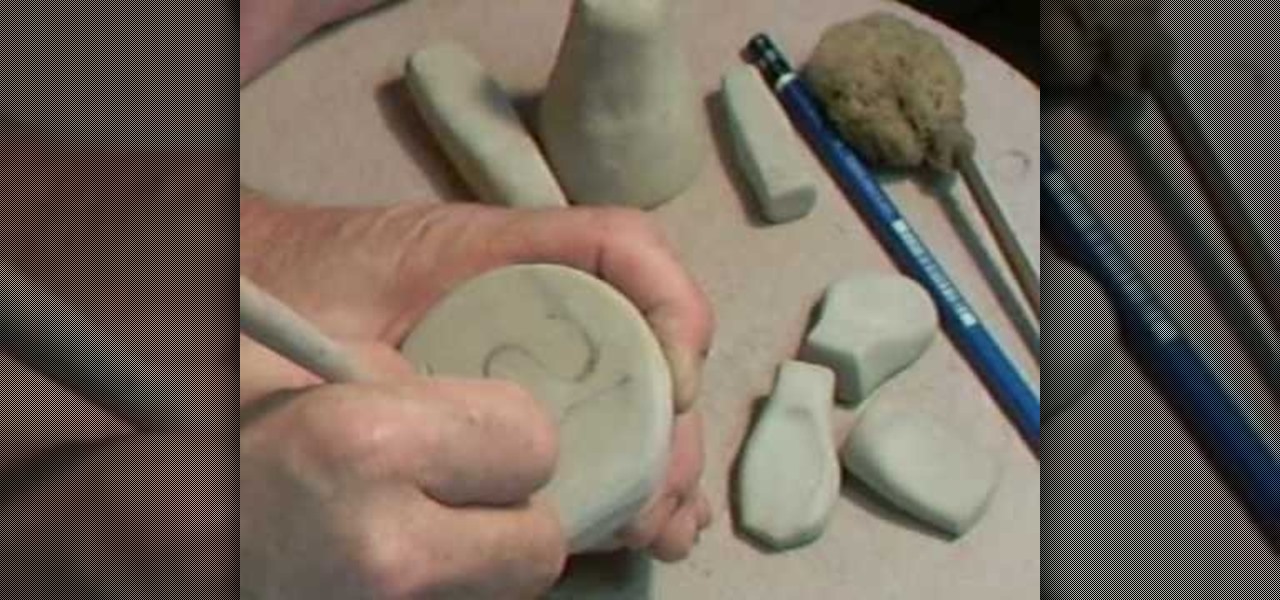
Create your own personal seal from a piece of clay! This tutorial shows you the process, starting with a large piece of smooth clay, to cut your chosen sigil into the clay. Make sure you draw the sigil on in reverse. Now all you need is a letter and some sealing wax!

In this video, we learn how to quickly make an origami kusudama. This only requires six pieces of paper to make. First, fold one piece of paper into a triangle, then open it up and fold it in a triangle on the opposite side. Open this back up then flip over. Bend in the edges to make a new triangle, then press down the creases on the side. Bend the middle of the triangle up to the point on both sides. Bend these back down, then fold over the side and make a crease. Open up the bottoms where y...

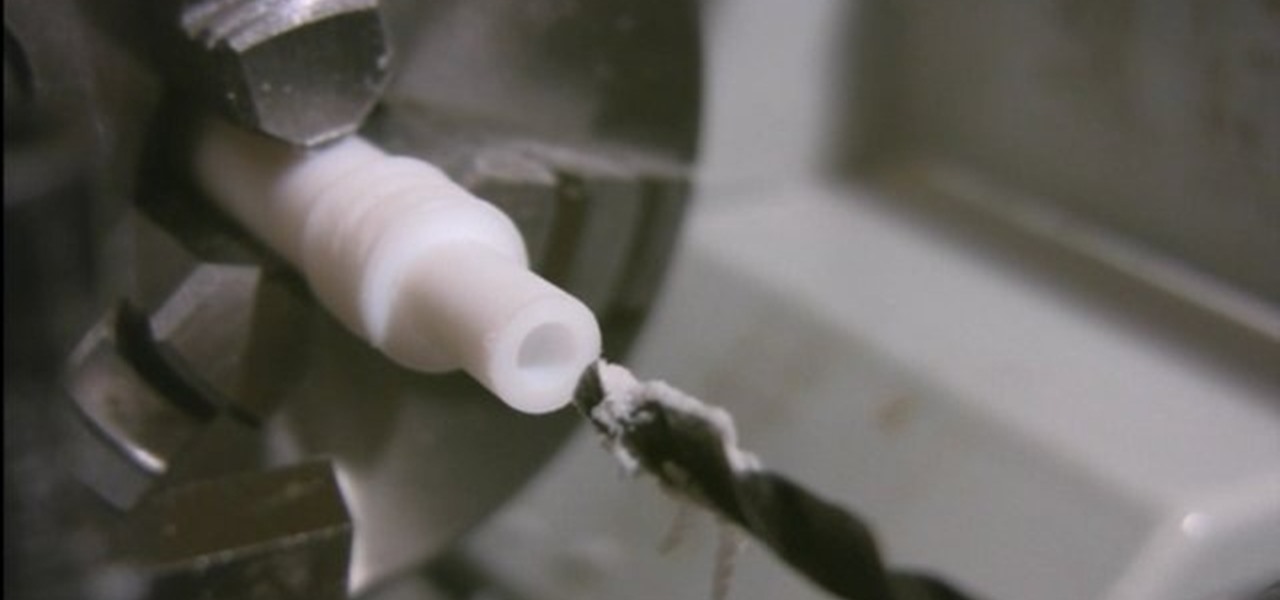
This video will show you how to create wheels for a fingerboard using a lathe. First, you should take a plastic tube and insert it into your lathe, using various drill pieces to cut down the plastic tube to the correct size. After this has been done, a drill which is attached to the lathe and adjusted to go straight through the tube can be made to create a hole through the center of the tube. You can then insert a small piece of metal into the tube in order to create the holder which will att...

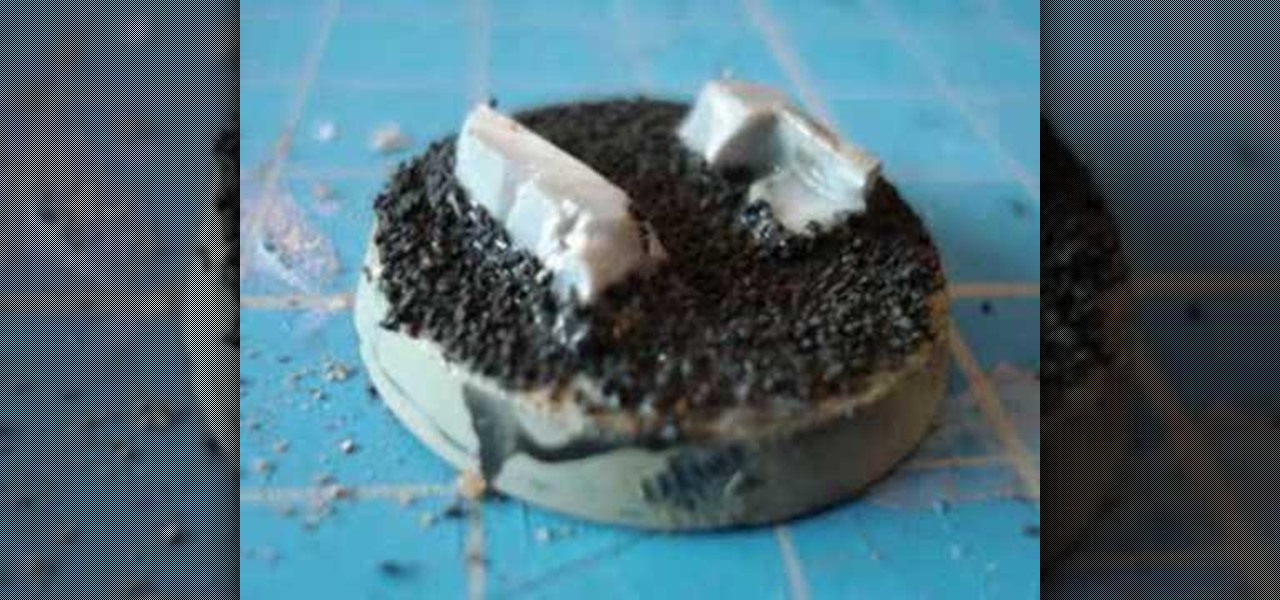
If you usually wind up playing Warhammer 40k on the same type of board pretty consistently, you should consider spicing up your pieces by giving them bases that look like the sort of terrain your favor. This video will show you how to make an urban environment base for Warhammer 40k miniatures that will make your pieces look that much better. And look account for so much in Warhammer games don't they?

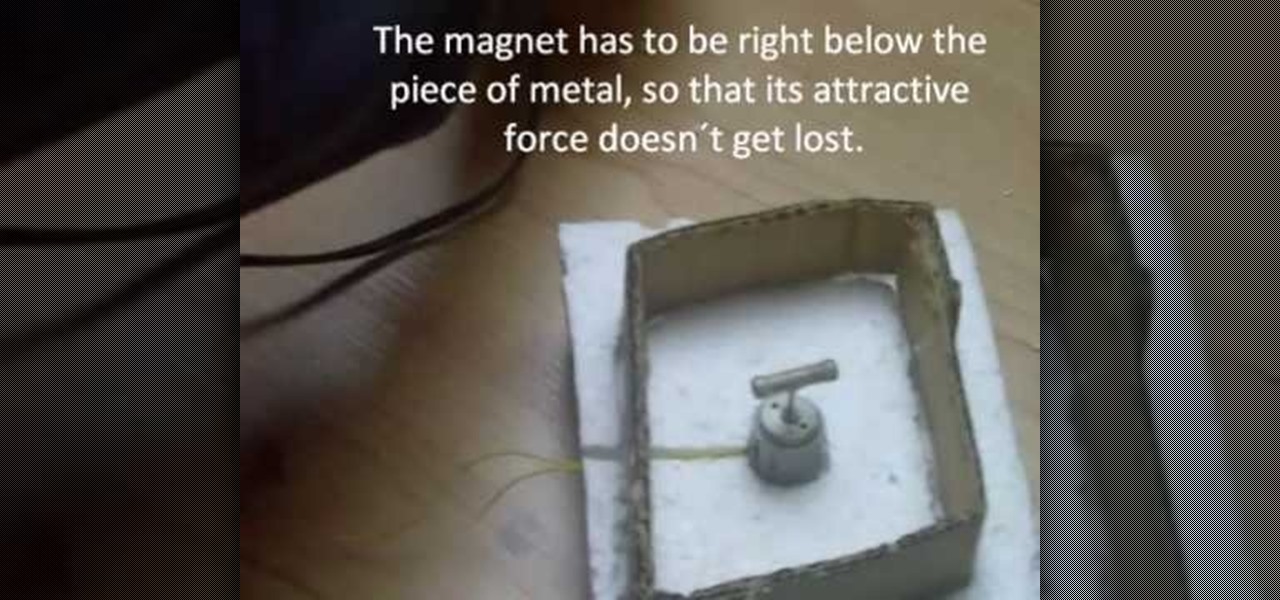
In this video, we learn how to build a magnetic stirring device. First you will need: a block of 1 inch thick Styrofoam, a piece of cardboard, 2 magnets, a small electric motor, a piece of non-magnetic metal, a hot glue gun, and a soldering iron. First, draw the shape of your cardboard square on the foam and cut it out. After this, take your soldering iron and melt away the Styrofoam from the outside. Then, make a hole in the middle for where the motor will be placed and push it inside. After...

Before you get your latest piece of ink, check out this great video on what you should be doing after you get your tattoo! Follow these steps and you'll have an amazing piece of ink that will last for years!

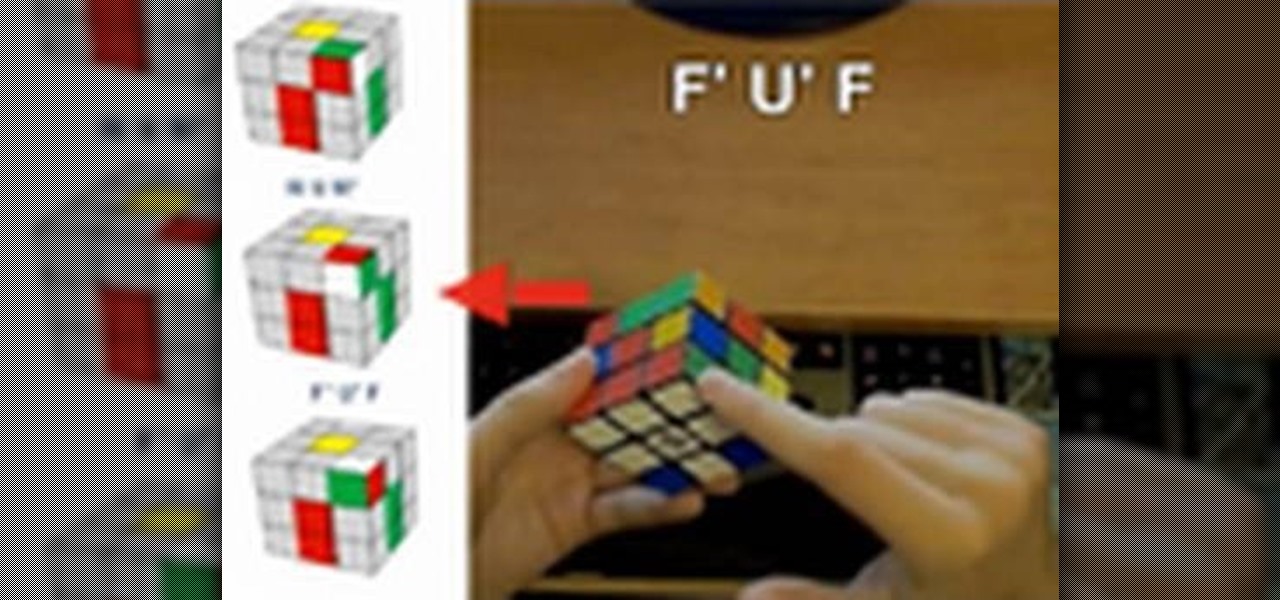
To solve a Rubik's cube, you will need to begin by keeping in mind the 7 steps. To learn about the cube itself, you will need to take it apart. The cube has 3 types of pieces. The center pieces do not move. They are actually fixed. Every piece is unique, and every piece has a unique place.

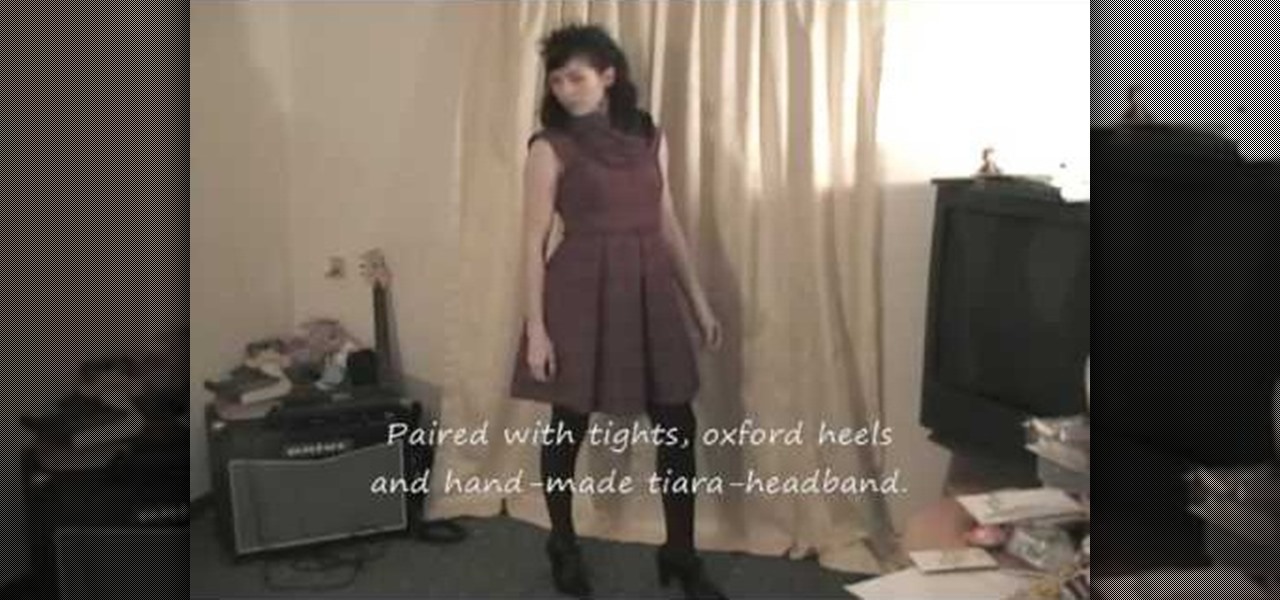
In this tutorial, we learn how to mix and match vintage clothing pieces. First off, if you have a 1940's style juniors dress, you can pair it with knee highs and vintage heels. You can also wear it with a modern cardigan. Next, if you have a 1905's style floral dress, you can pair it with a small modern red belt. Next, if you have a 50's inspired dress, you can pair it with tights and a tiara headband. If you have a 1950's day dress, you can pair it with kitten heels to make a more modern loo...

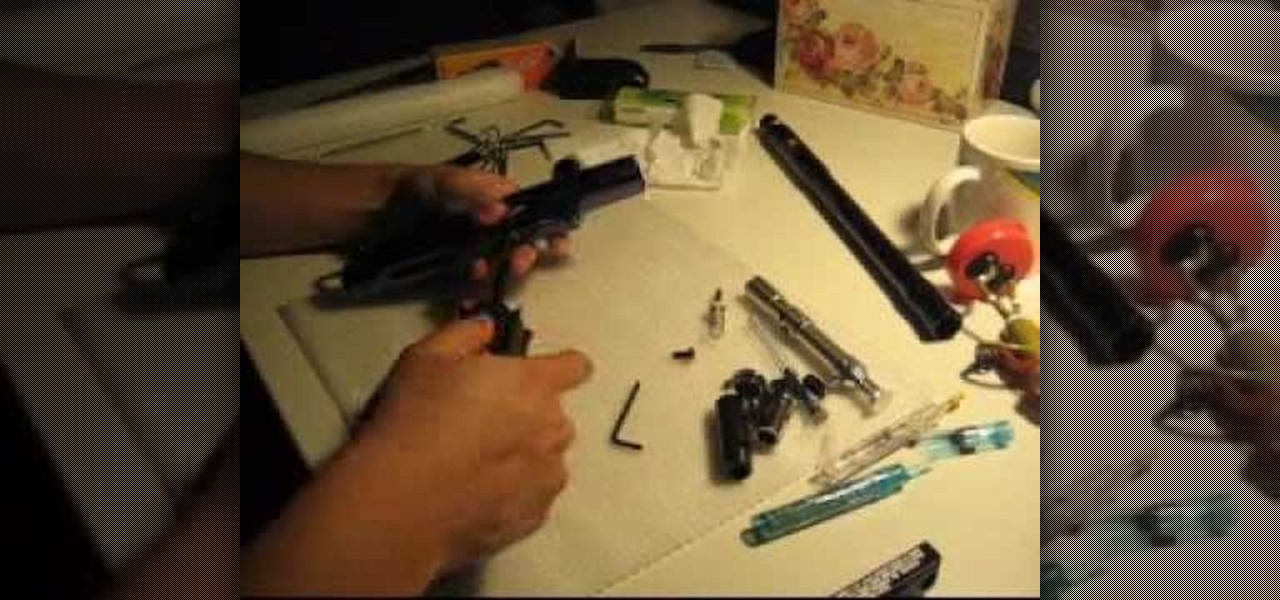
In this tutorial, we learn how to clean a Spyder marker paintball gun. Before you start, disconnect your air source and turn the gun off to a safe position. Now, remove the barrel and slide out the pin. Now, the marker should fall out on its own. Make sure not to lose any of the parts that come out with this. Pull out the string, bumper, and striker as well. Now, use paintball oil to clean all of the parts that you removed from your gun. Only use the paintball oil, because other oils contain ...

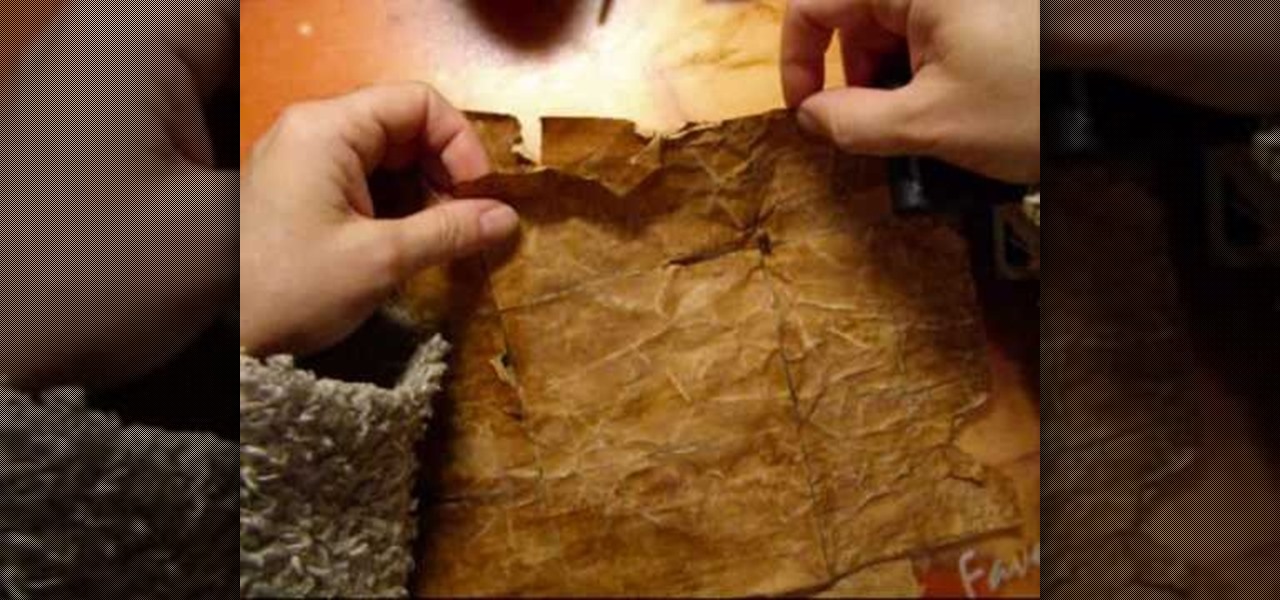
In this tutorial, we learn how to make paper look like it's 200 years old using coffee. First, take a regular piece of copy paper and then use a paint brush to paint a cup of coffee over the entire piece of paper. Use a blow dryer to dry the paper, then brush several more coats onto the paper until the brown looks like it' realistic. To finish, use distressed marks over the paper, then use a blow dry to dry off the entire thing. To finish, apply a couple more coats of coffee to the paper, the...

In order to make trendy hair bows for your hair, you will need the following: ribbon, scissors, a hot glue gun, and hair clips or bobby pins.

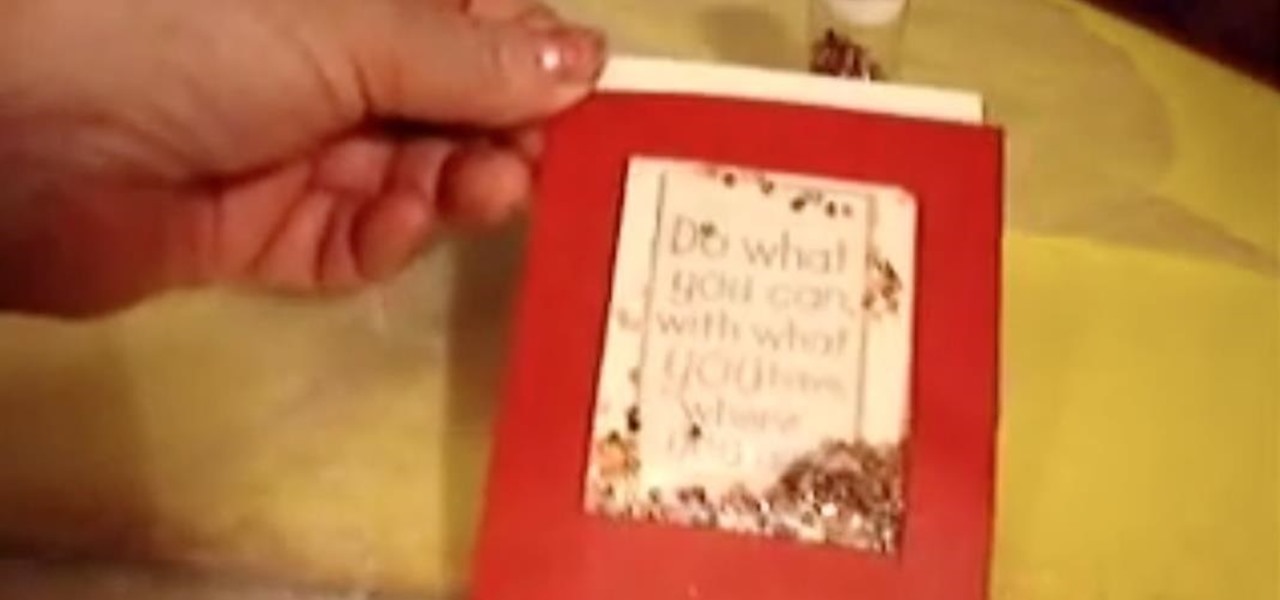
In this tutorial, we learn how to make a scrapbook shaker box at home. You will need: square card stock shape, another square card stock shape with a hole in the middle, and a piece of acrylic. First, place the acrylic along the piece of card stock with a hole on it and glue them down together on all four sides. Next, attach a journal entry to the center of the other card stock square. Now, line adhesive to the acrylic piece on three sides and stick the card stock to the adhesive. You can now...

In this episode of the Crafty Gemini Show you'll learn some quilting basics and make a small project out of what you learn. You'll be run through some quilting terminology, including what a pieced quilt is, what quilt blocks are, and how to make half-square triangle block units using a super easy method where you can make two blocks at once.


