Want to add cool, colorful effects to your photos without paying for filters or using Photoshop? A cheap glass prism (and some practice) is all you need to bend the light to capture images like the ones below taken by wedding photographer Sam Hurd. Sam uses a six inch triangular prism to catch the light and reflect images in front of his lens. The shape allows you to "twist the prism into creating a curve and bend-like distortion of your surroundings," which can create rainbow effects and mir...
Have you ever tried to film at night with your DLSR in place with no good lightning at all or at places were the lights are flickering? Here its the Solution in 4 simple steps.
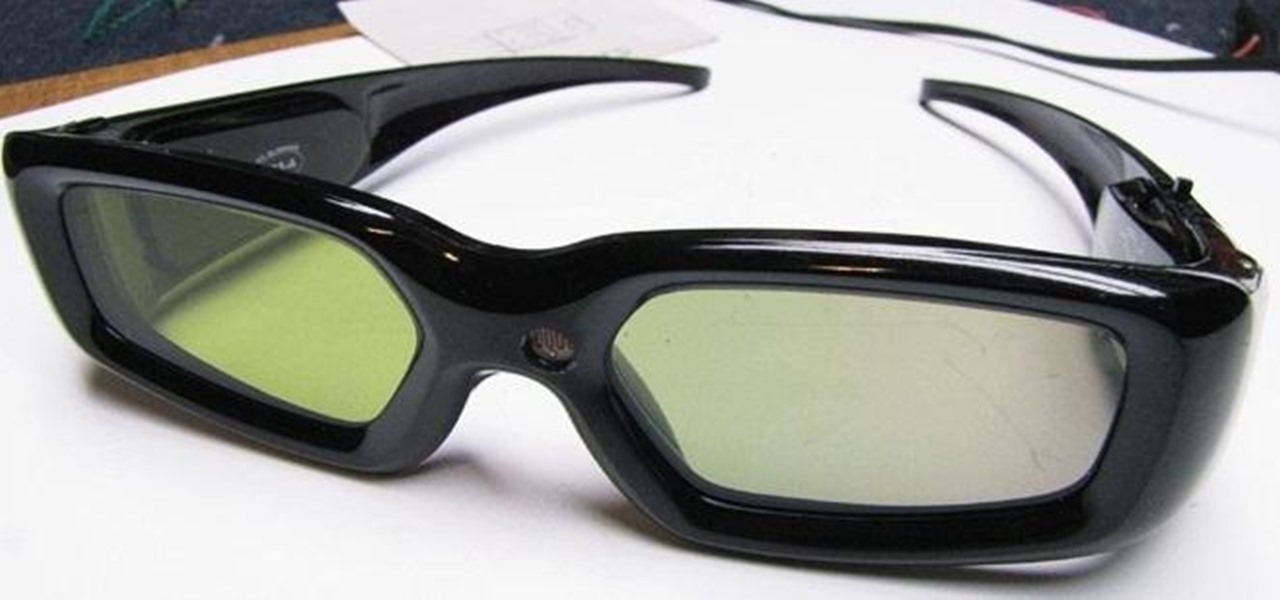
Wouldn't it be awesome if your glasses could detect when it's bright outside and automatically darken? Well, the technology has been around for a while, but it'll set you back a few hundred bucks.

The mighty Arduino microcontroller can be used to show children how robots work, it can be used to hack into hotel rooms, or it can be used to let you know when you've got a new job opportunity!
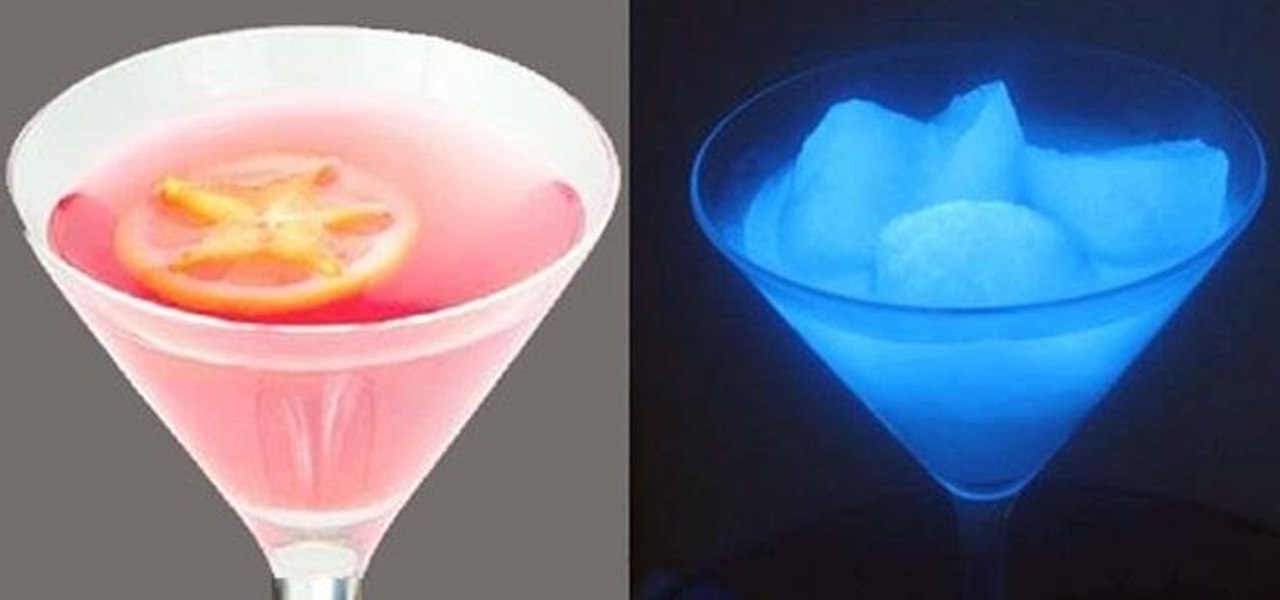
If you want to start the party out right, you have to impress the crowd with your awesome bartending skills. While lighting cocktails on fire is a nice way to warm up the crowd, it's been done by thousands of bartenders across the globe. Plus, if you're not careful, you could end up like this guy:

If you've ever wished you could keep tabs on the fish in your aquarium, Justin of Antipasto Hardware Blog has just the mod for you! He created this DIY "shark detector" that sends out a tweet whenever Bruce the shark breaches a perimeter that he set up in the tank.

If you've found your speakers to be lacking in the visuals department, this is just the mod for you. Using 3" PVC, you can turn your speakers into light-up glow rods that pulse to the beat of your music. You'll need some electrical skills and experience soldering to get this one together, but otherwise it's not all that complicated. The main components you are going to need are speaker drivers, PVC pipes, LEDs, and the necessary cabling for those devices. The device works best with higher vol...
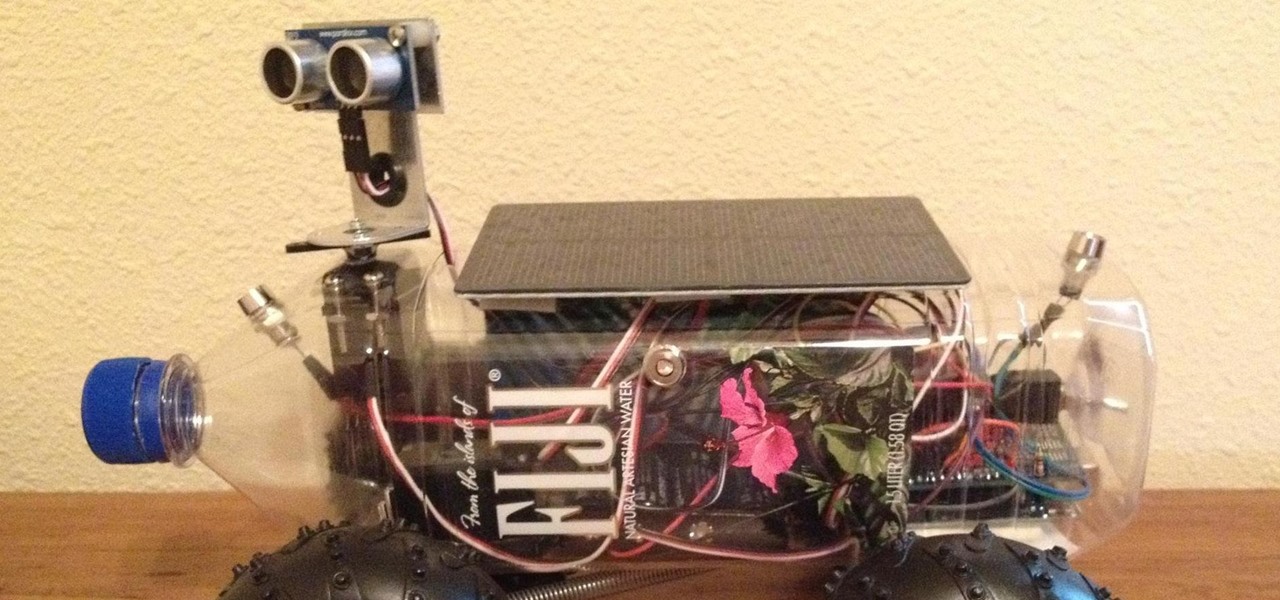
Aside from being completely adorable, Fijibot is a completely autonomous robot that automatically seeks out light sources to charge his solar-powered battery. He's built from a 1.5 liter Fiji water bottle, packed with an Arduino Uno, 6 volt solar panel, and an Arduino Proto Shield. His other parts are all off-the-shelf gear you could grab at RadioShack, while the wheels are from a discarded RC car. Fijibot isn't a particularly useful robot, but it's still fun to watch him navigate from light ...
With the first installment of "Harry Potter and the Deathly Hallows" out, don't be surprised if you find yourself more than ever wanting to whip out a twelve inch phoenix feather wand and wrist twirl your way to defeating your own personal Voldemort. While this video won't teach you how to do magic (so sad), it will teach you how to craft a very cool-looking "Harry Potter" wand that can do the "lumos" spell.
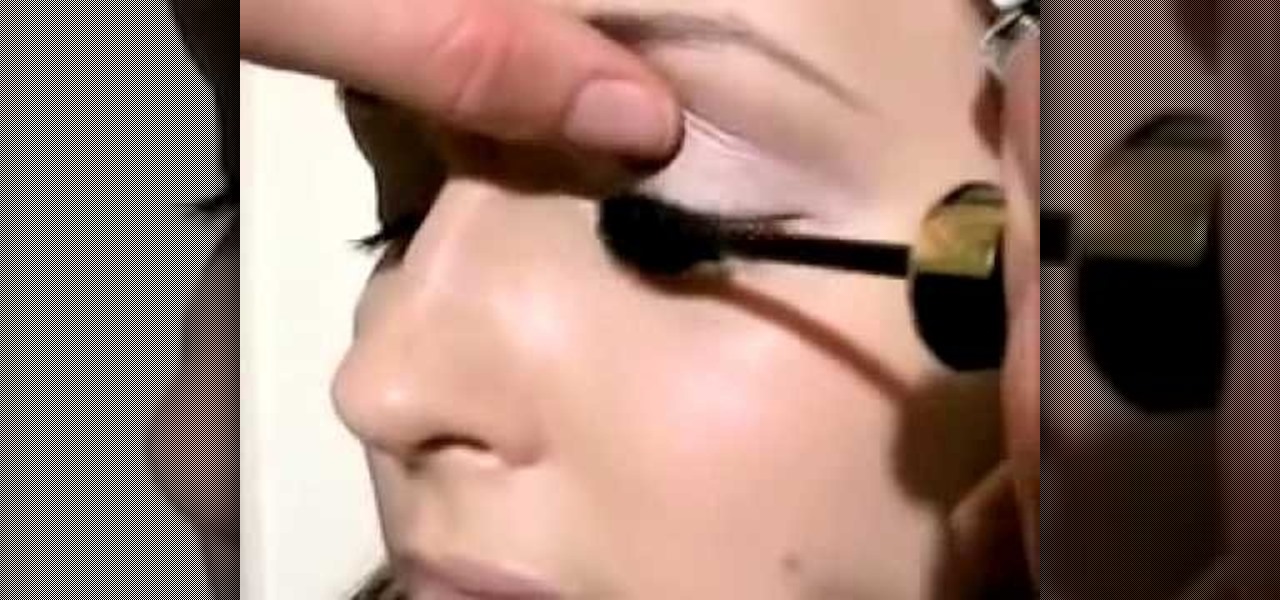
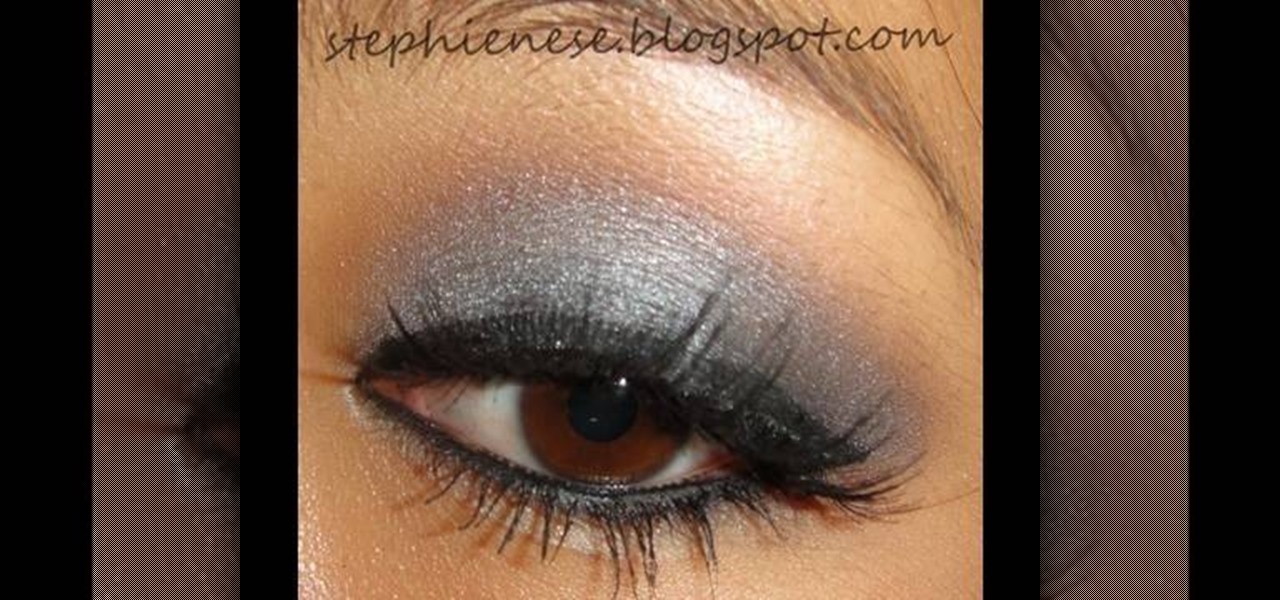
In this tutorial, we learn how to apply pretty makeup. First, use a foundation brush to apply foundation in your skin tone all over your face. From here, apply concealer to the red spots or breakout areas and then apply a powder foundation over that. Then, you will focus on the eyes by applying a light and neutral color to the lids and applying a light shimmer color under the brows. Curl the lashes and apply mascara to them after that to give them the most volume. You can finish this off with...
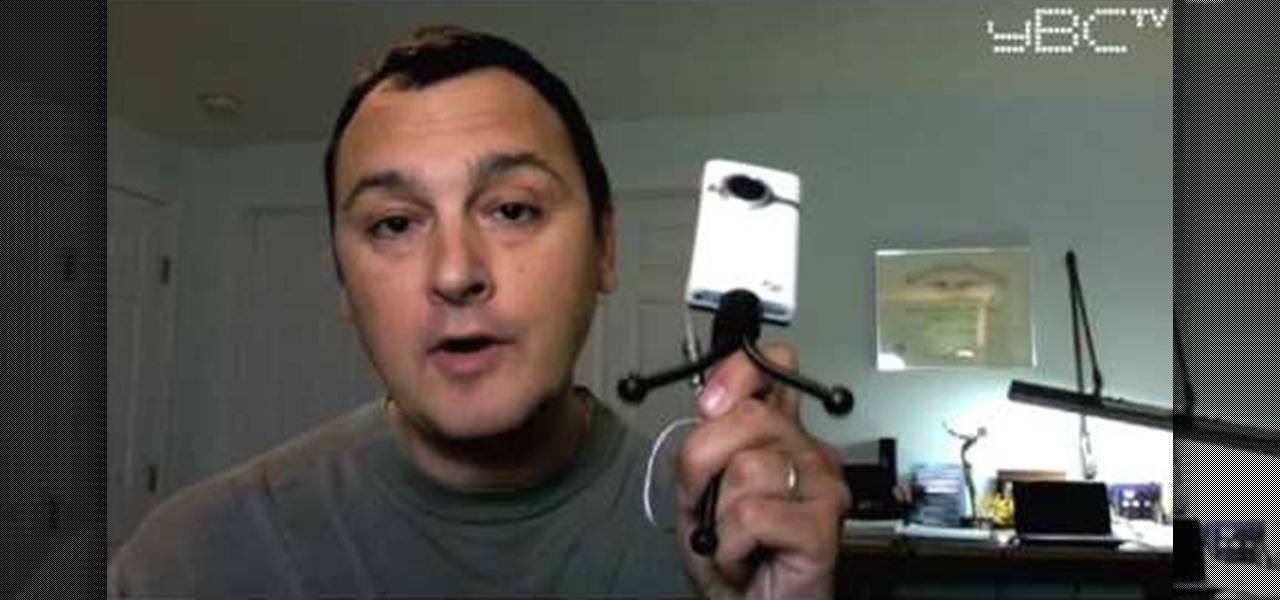
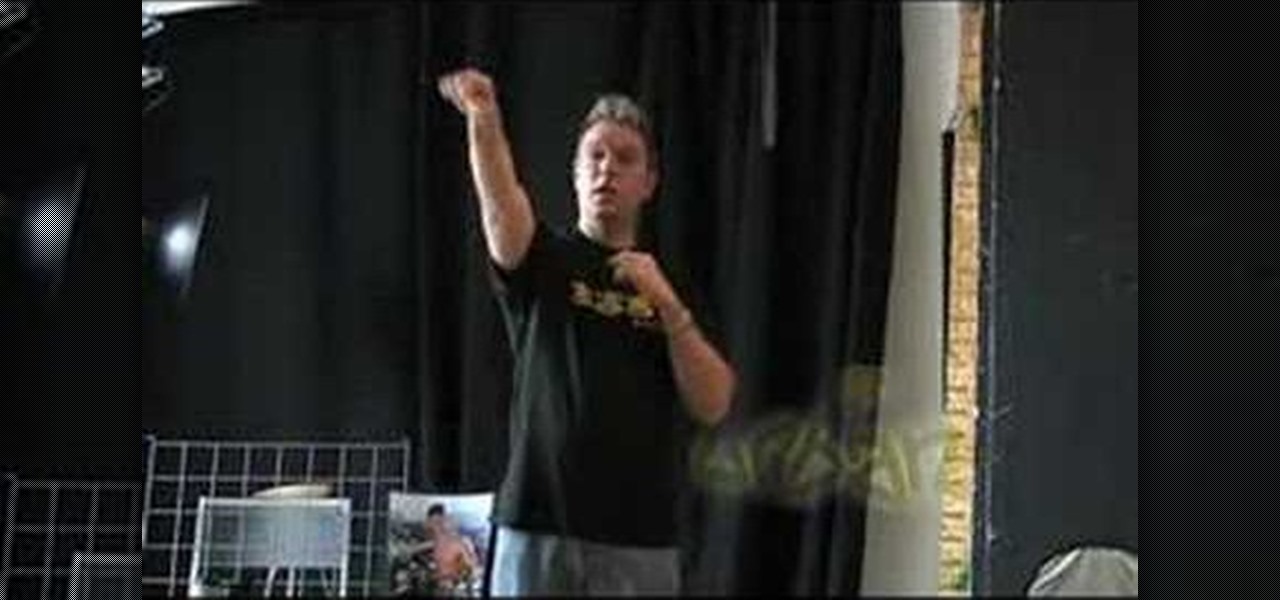
In this video, we learn how to create professional looking business promotional video. To make your video more professional, you can first make your video shorter. The shorter the better, which will get your point across more quickly. Videos should be less than a minute and thirty seconds. If you're using a web cam, don't get too far away from it. If you're using a Flip camera, use a tripod and make sure the light source is coming from in front of you. Natural lighting is also nice. Make sure...
It commonsensically goes that your heart breaks after a break up. Everything seems bleak and sometimes it's even hard to get out of bed or to function properly. As such, if you've had a friend who's recently gone through a break up, it's your duty as a caring friend to comfort her.
In this video, we learn how to take better digital pics using color and white balance. Color is one of the most powerful elements in any photograph. This can be powerful enough to be the subject of any photograph. Consider the colors and see how you can make them be the main object in the photo. Use your white balance on your flash to get the photo to show the color or the lack of color a lot better. The camera has to know what kind of light it's in to reproduce this correctly. Just change th...
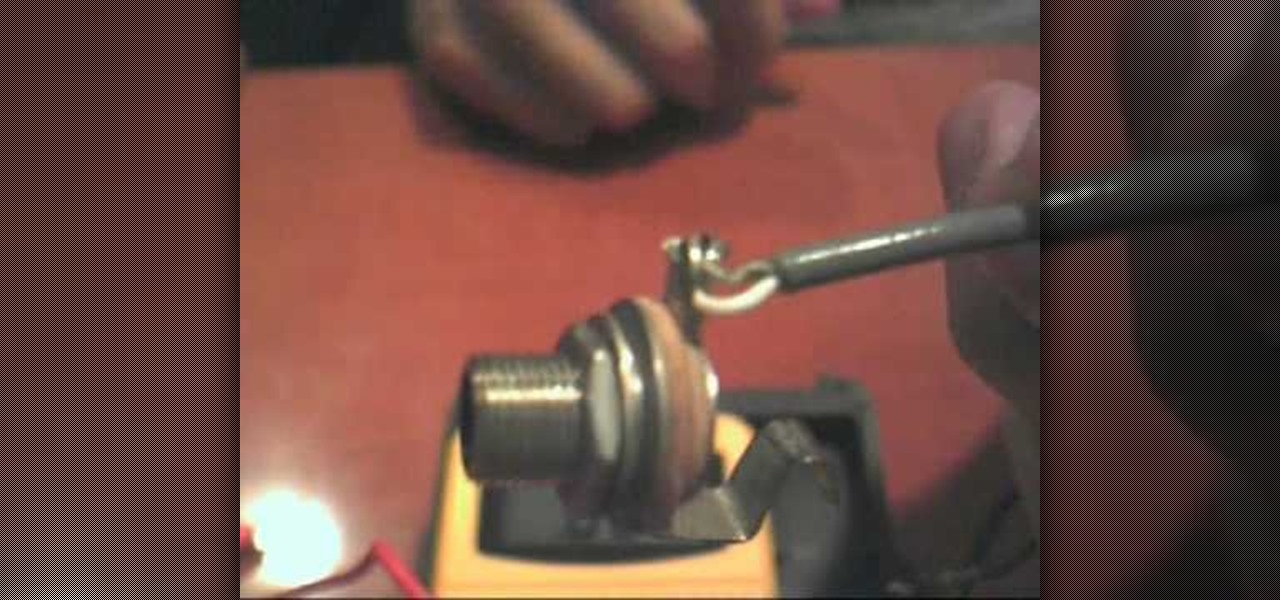
In this tutorial, we learn how to solder jump rings. This will give the rings more strength if you are doing a chain or a bracelet, and it won't break on thread. You will need a flame, wick candle with a number four tip, and something to light the torch. Start out by closing the gap in your jump ring until it's aligned and there is no gap left. Then light the fire for your solder and use it to cover over the jump ring. Once a few seconds have passed, you will be finished with the soldering of...
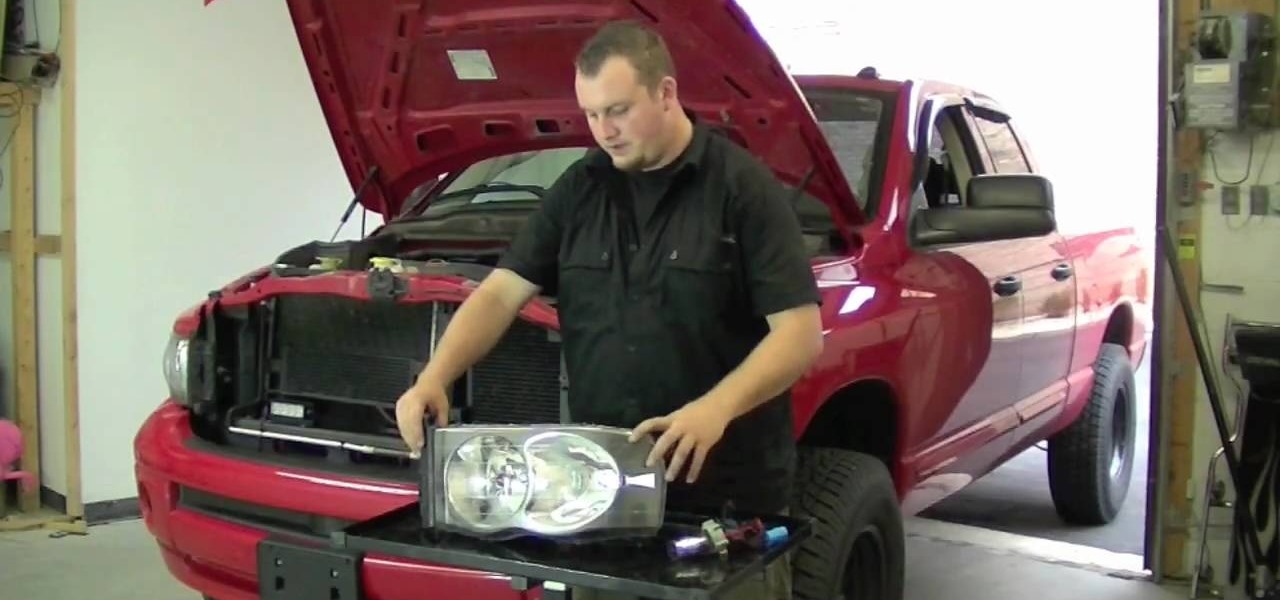
In this tutorial, we learn how to install Recon LED Strobes and HIDs on a truck. You must first learn where each of the tires need to install and make sure they are placed in the right direction for what you want the lights to look like. After this, you will connect one side to the white wire on the positive. Then, you will leave the white disconnected on the other side for the flash to alternate between each of the lights. These will look great on a big truck! Just make sure to follow the di...
In this tutorial, we learn how to fit a dry lining back box. This is very easy to install, and the sides will grip the wires on your light. First, determine where you want your switch, then mark a quick line using a sturdy level. Next, you will cut out a hole in the wall the size of the box. After this, push the box into the wall. Then, you can add in the light switch to the box and secure it with the wires that are inside. This will finish up this project, just make sure the wires are place ...
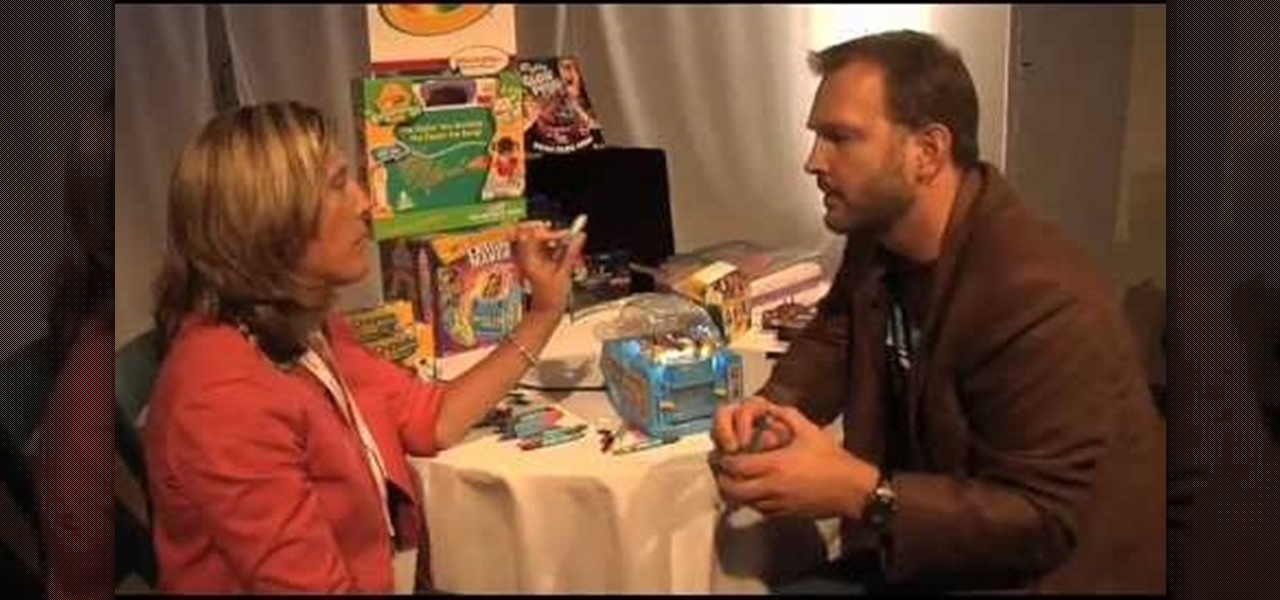
In this video, we learn how to save old crayons and make new ones. To do this, you will need to buy a Crayola Crayon Maker. Then, open up the maker and take your old pieces of crayons that you don't have a use for. Break them up and situate them in the tray inside the machine. After this, turn on the power and then the light will come on. The light will start to melt the crayons down and in ten minutes you will pour the wax into the molds. When finished, you will have some cool looking crayon...
Got precious items you want to keep safe, but are too beautiful to keep wrapped in storage? Then a shadow box is the perfect way to both preserve your item and show it off. Shadow boxes are boxes are enclosed cases used in dioramas that are designed to let light pass in only through one angle so the object will less likely be damaged by light.
In this video, we learn how to draw an eye step by step. First, draw the curve of the eye on the top and on the bottom. Then, draw in the pupil of the eye and the inner corner of the eye. Use a light touch with the pencil to make the circle in the middle of the eye. Then, draw around it with a bolder line. After this, draw the crease above the eye, then draw shading to show where the crease line is. Next, fill in the pupil and add in a circle to make the eye appear glossy or that light is hit...
In this tutorial, we learn how to draw realistic lips and teeth. First, draw on your outline for the lips and teeth, using a light pencil. Try your best to get it as natural looking as possible. Now, draw in the shadows and the mid-tones for the lips. Also add in reflective lights and draw in the teeth. Add in details to the teeth and use darker lines to separate them. Use dark creases to form the lips and then continue to add in additional details. When you're finished, darken around the mou...
In this video, we learn how to remove an automobile headliner on a Saturn S-series. First, you need to remove the back cushion and then take the back rest on the seat, then lay it down. After this, remove the dome light and remove all the grab handles from the vehicle. Next, remove both visors and screws, then remove the mouth on the seat belt and bolts. After this, remove the cover on the back brake light, then the trim that runs along the side of the inside of the car on both sides. Once yo...
In this tutorial, we learn how to do an Evan Rachel Wood True Blood inspired makeup look. First, apply white shadow onto the lid on the inner corner and on the lower lash line. Next, apply a light pale color to the rest of the lid, then apply a brown shadow onto the eye in the crease. Brush a light white color underneath the brow to create a highlight, then line the eyes with a brown pencil on the lower lash line. Liquid eyeliner will now be applied to the top of the eyes, making it wing out ...
In order to create your own Megan Fox inspired makeup look, you will need the following: liquid liner, primer, eyeliner, false eyelashes, mascara, eyebrow pencil, bronzer, blush, lip gloss, lipstick (brown and pink), and foundation.
This video made by a loving wife while her husband is at work outlines three fun, safe, easy ways for families to prank each other without risking damage, injury, or rage. She starts by taping the laser on the bottom of her husband's mouse so it won't work. Then shut puts toothpaste under the light switches in dark rooms so that her hubby will get a sticky finger when he turns on the lights. Lastly, she put flour on the inside of his beloved window fan so that it will shoot out when he turns ...
In this video, we learn how to use and understand depth of field in photography. If you look at a photo, the depth is how deep the picture looks. You can change the depth by changing the aperture to make the depth of field look shorter or longer. The lighting can also change the depth of field and what you can see in the background. A big aperture will give you a large depth of field, with a small amount of light. If you want a big depth of field in a landscape, then you will use a maximum ap...
In this tutorial, we learn how to draw an eye in GIMP. First, open up the GIMP software and set up a circle, then color it dark blue. Next, add in light to the middle of the eye, so it looks like a light is shining onto it. After this, make a small circle in the middle of the eye, coloring it black. When done with this, create a new layer and then add brightness to the pupil of the eye. Continue to play around with the contrast and colors of the eye, so it looks more realistic and life like. ...
In this tutorial, we learn how to draw a 3D ball and cone. First, draw a circle with two lines coming out the side of it. After this, add in shading to the bottom of the circle and then draw a shadow coming out of the bottom of the circle as well. After this, draw a light that is shining onto the ball. Make sure you are drawing a black crayon to get the best texture out of this. Draw in darker lines on the circle, then draw lines over the top of the ball and through where the light is shining...
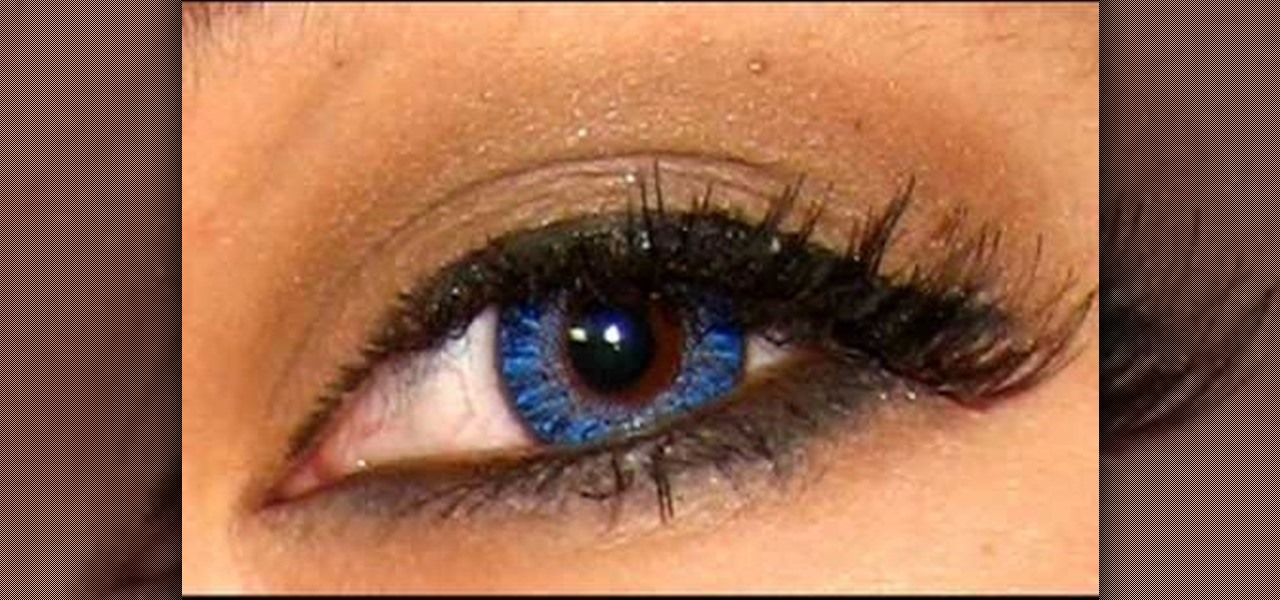
In this tutorial, we learn how to apply a smoky eye look with pink lip gloss. To begin, apply a primer underneath your eye and throughout your entire eyelid. After this, apply a blue shimmer eyeshadow to the entire eyelid over your primer coat. After this, blend a pink color onto the crease of the eye and around the upper lid. Next, apply a light blue eyeshadow to the inner crease of the eye, blending it out towards the outer corner. When finished, use a brush to blend a dark blue on the outs...
In this video tutorial, see how to transform a cheap goose neck lamp into a flexible camera holder. It's very cheap and easy to do... you'll love the results of this flexible camera tripod.
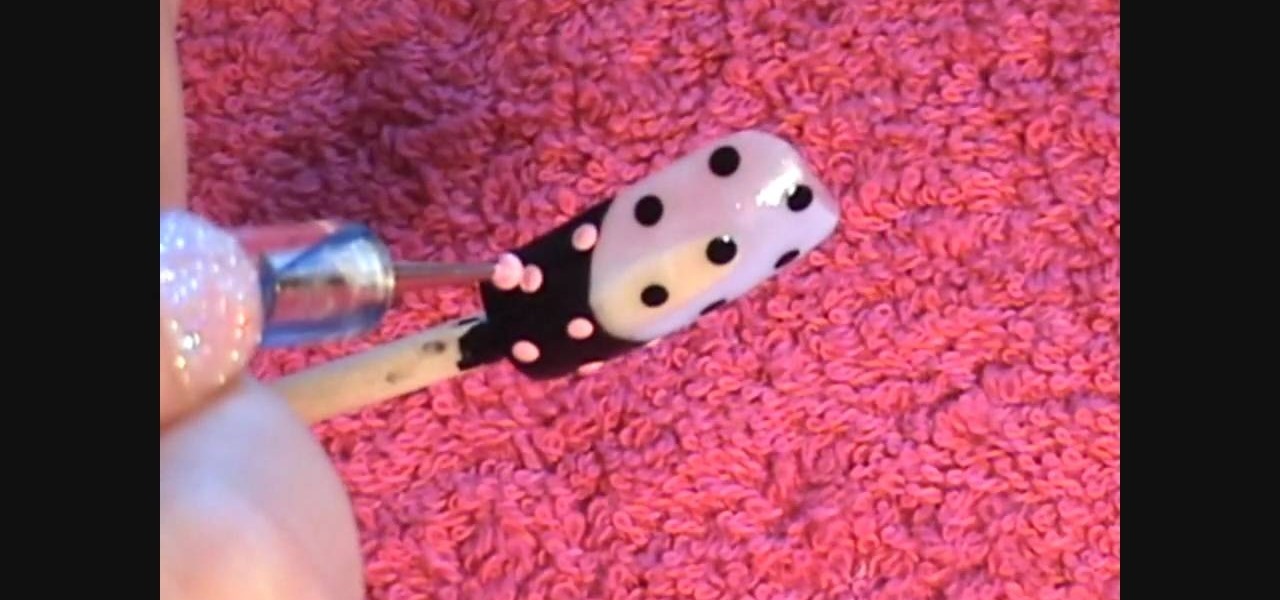
In this Beauty & Style video tutorial you will learn how to create cute polka dot acrylic nails. For this you will need acrylic paint and acrylic nails. First paint the lower part of the nail with black paint in a curved manner. Then you put three black polka dots in the unpainted area along the centerline of the nail. Now put two more black dots on either edges of the nail. Then you put light pink dots over the painted area in line with the black dots. Paint the smile line and the bow with l...
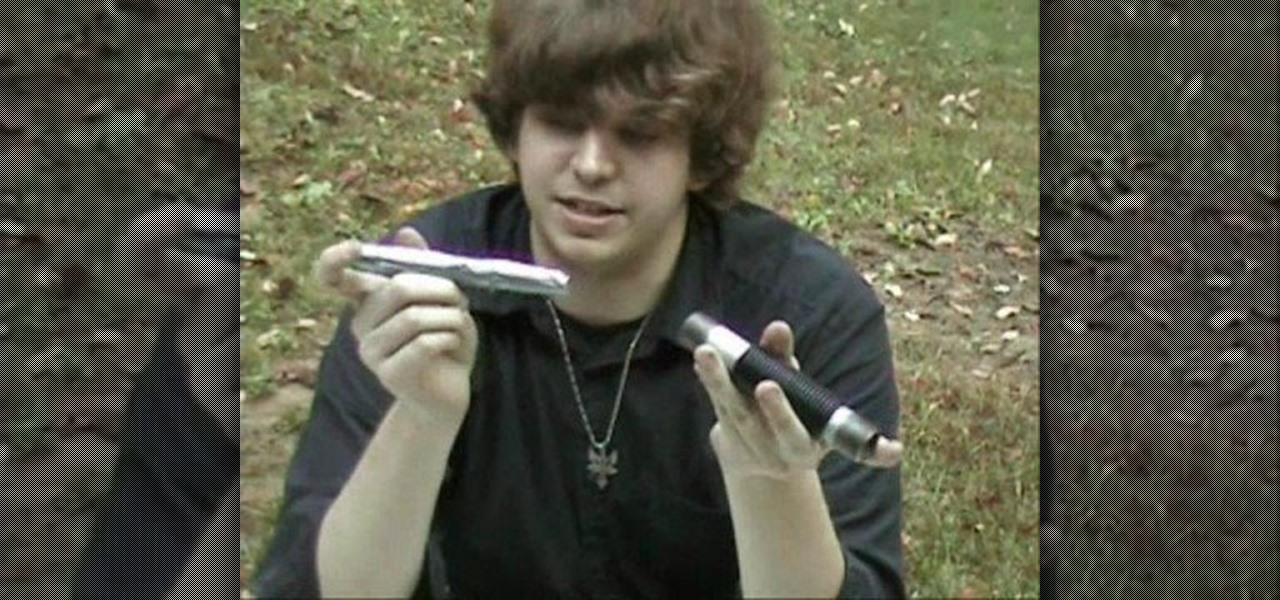
In this tutorial, we learn how to make a prop light saber. you will need rubber o rings, a metal pipe, a dow rod, and attachments to combine the rods together. First, grab the metal pipe and dow rod, and place the rod inside of the pipe. After this, use an attachment to combine the two together. Next, cover one end with duct tape. Now attach two endings onto the rod and place a longer dow rod covered with duct tape onto the rods. When finished, use the o rings to keep the blade in place and y...
Owning a car is already a big responsibility, but it doesn't even come close to how big it is when owning an RV. This cannot only take you from one place to another, but for some, it's considered their home on wheels.
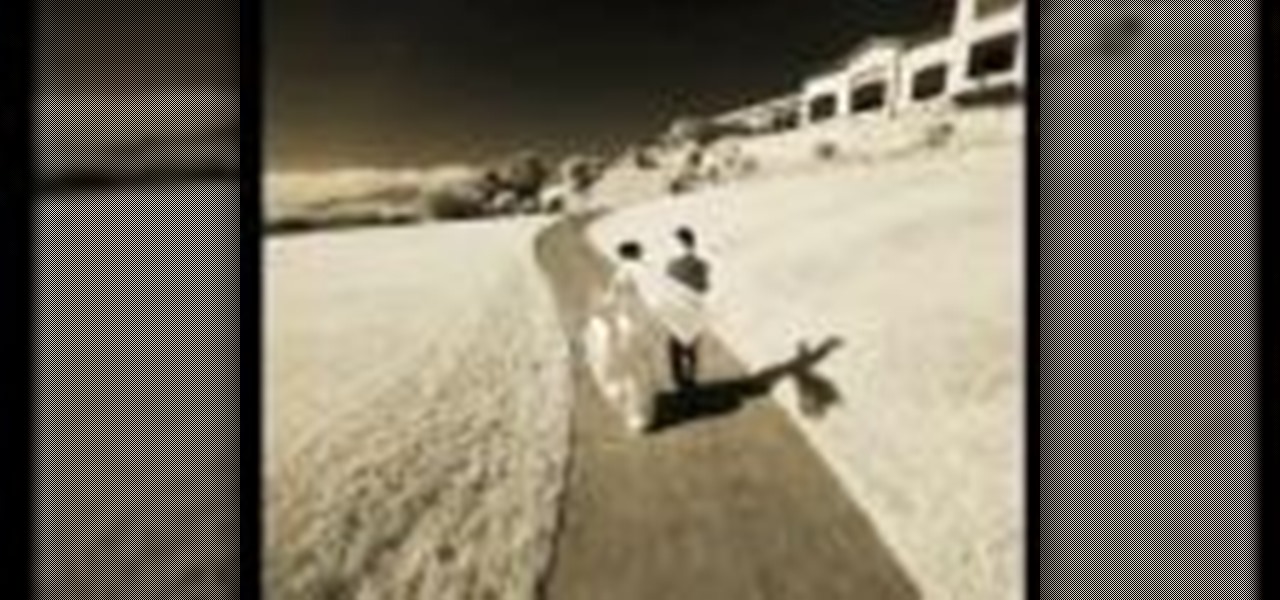
In this video tutorial, viewers learn how to photograph with infrared. Infrared photography is photography the infrared spectrum of light, rather the visible spectrum of light. The main effect are to turn the sky darker, smooth out skin and turn foliage white. Users will need a camera that is converted into infrared. Then simply take a picture with the infrared camera and all the photos that are created by the camera will be in infrared. This video will benefit those viewers who are intereste...
In this tutorial, we learn how to find an oil leak using florescent dye. First, you want to pour the dye into the oil canister and let the car run for about 10 minutes. After this, turn the lights off in the garage and grab a florescent light, and bring it into your engine. You should now be able to see where the oil is leaking from inside the engine, so you can fix the problem quickly. The accuracy of this method is 100%, and you won't have to second guess yourself that you have the wrong so...
In this video tutorial, viewers learn how to create a carbon fiber desktop wallpaper using Adobe Photo-shop. Begin by creating a 20x20 pattern with the rectangle marquee and gradient tool. Then go to Edit, select Define Pattern and name the image. Now create a document with the dimensions of your monitor screen. Then go to Edit, select Fill and select the pattern that you have created. Then go to Filter, select Render, click on lighting effects and configure the image's lighting. This video w...
CSTools are free plug-ins that are available for your Cinema 4D application. In this tutorial, Nick will show you how to use the plug-in called Flicker. Flicker is a fun add-on, although you may not use it often. It can be used to add a "flicker" to things like campfires, candles, lights, etc. So, if you need to enhance some light effects in your program, check this out.
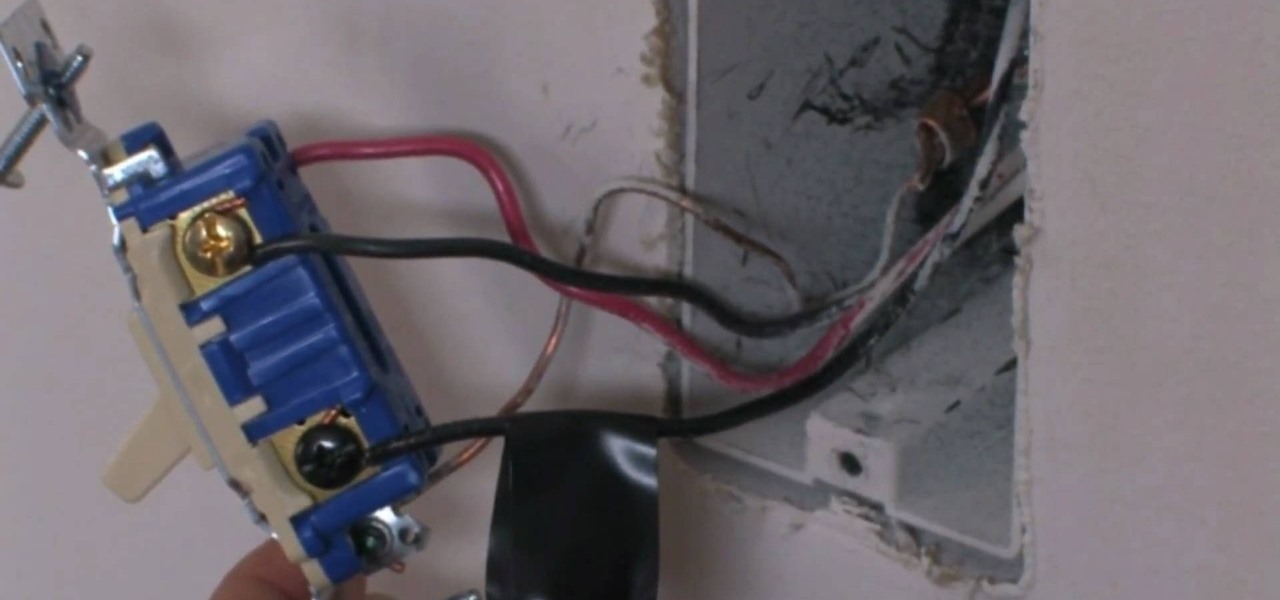
Having a three way switch can be useful for those interested in controlling one set of lights or a light in two different locations. But there are other ways to use a three way switch and that's by using it as a killswitch. It's fairly easy to do, but to those who don't know what to do, can result in serious injury. So make sure before you try to do anything with wiring, know exactly what you're doing. Good luck and enjoy!
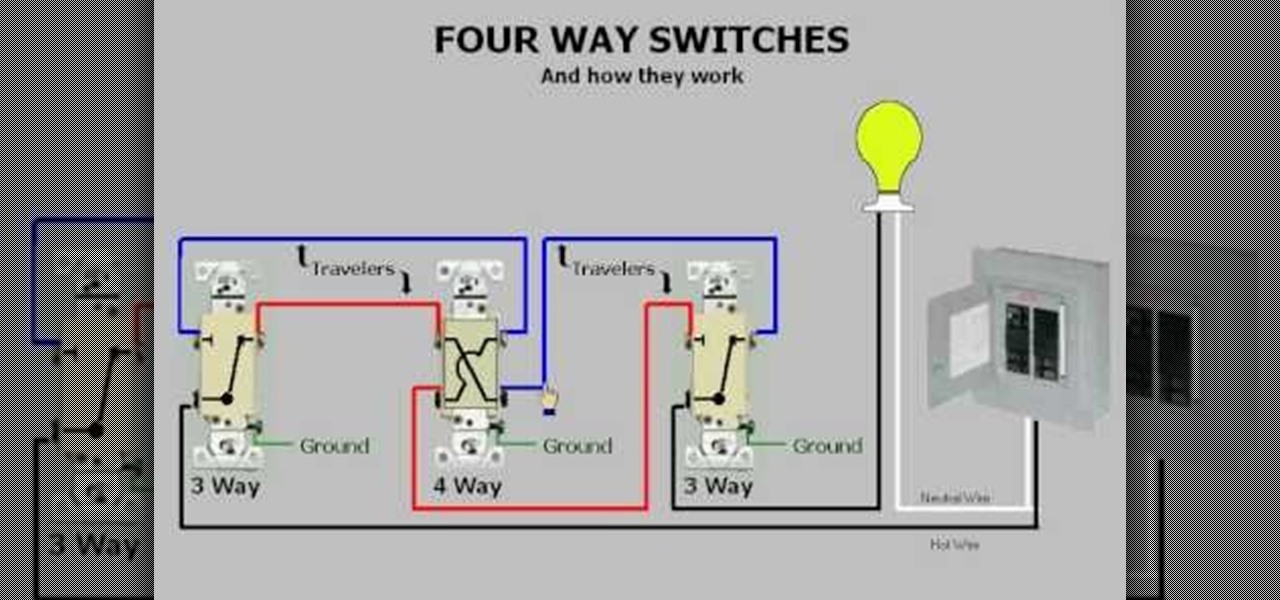
If you are in a situation where you need more than one switch to turn on and off a light, then this video may help. In this tutorial, you find out how to use four way swtiches easily at your home. The video shows the internal workings of a four way switch and how it can work with the three way swtich method. It's a great way to turn off one set of lights in multiple areas. Enjoy!
If you're looking to set a mood with your significant other or are trying to find a way to limit how much light you have, dimmer switches are the way to go. They're easy to use and are perfect for anybody who likes to have different lighting options available to them. This video will show you how to install a three way dimmer switch from scratch. When installing be aware that you need to turn off the electricity before doing so, otherwise you may be electrocuted. Be careful and good luck!