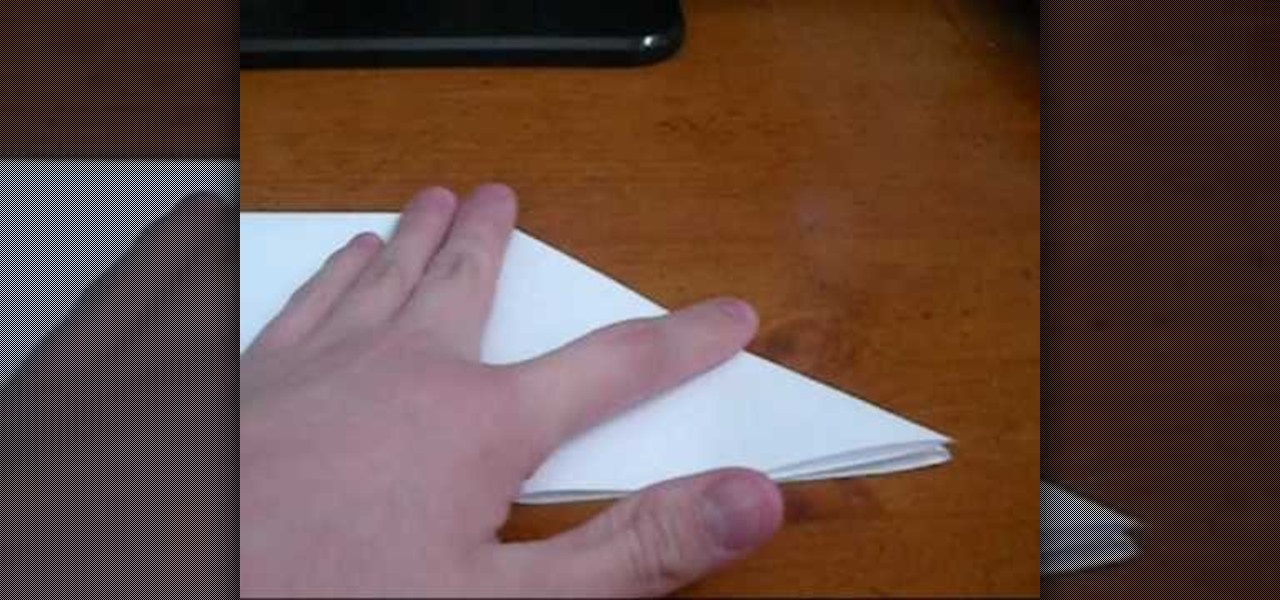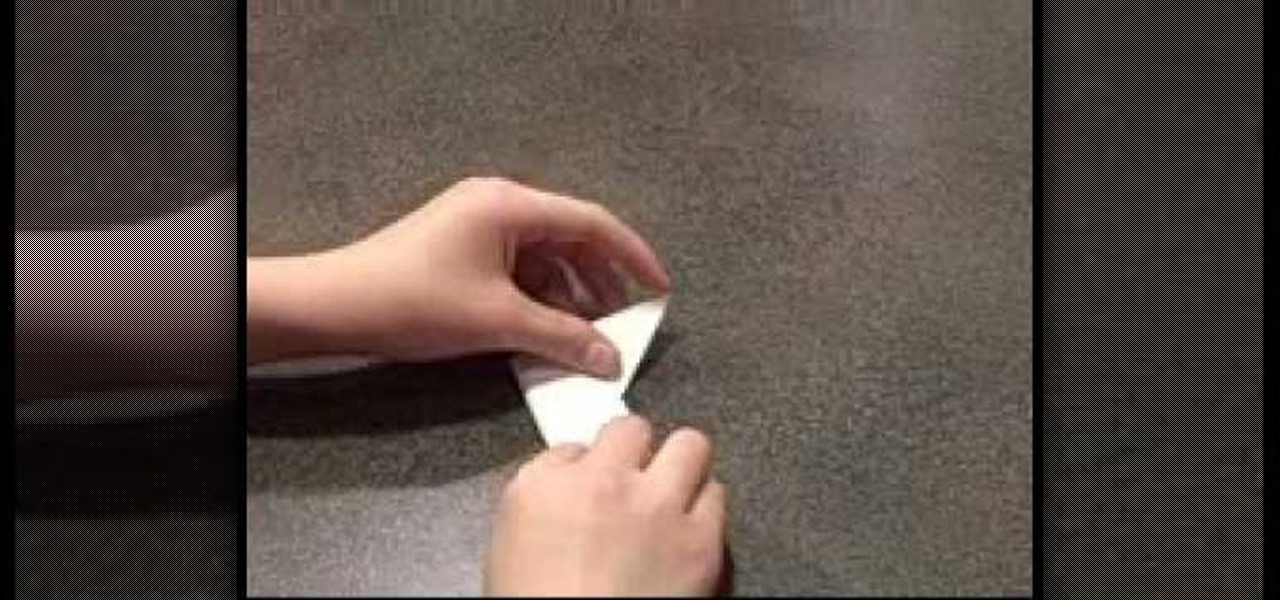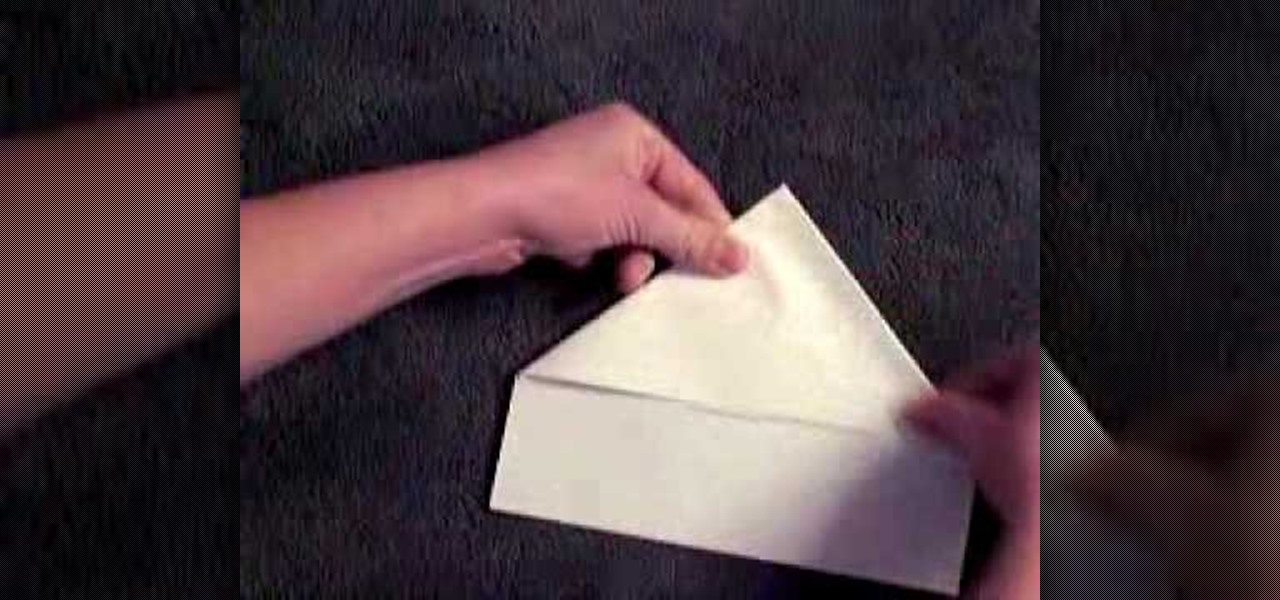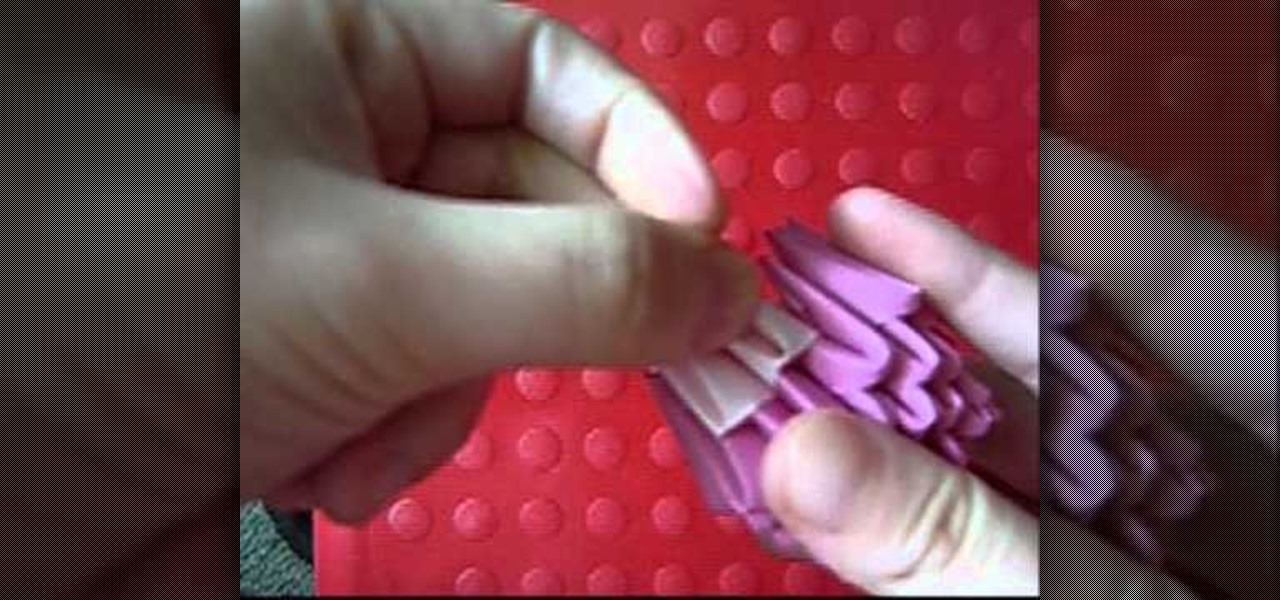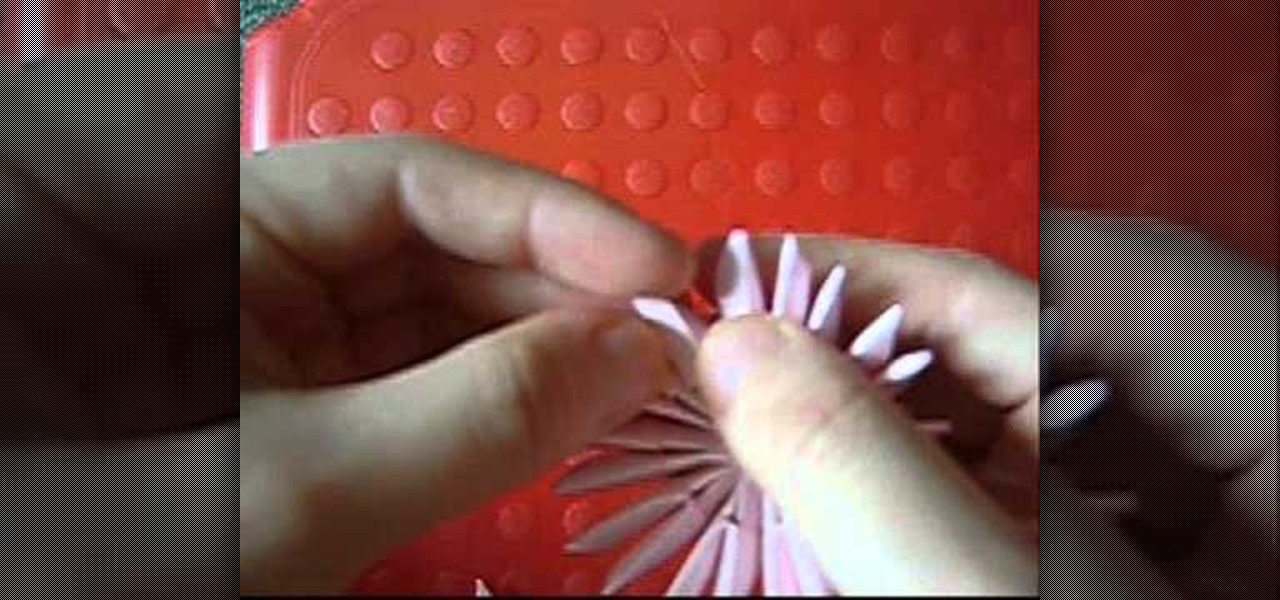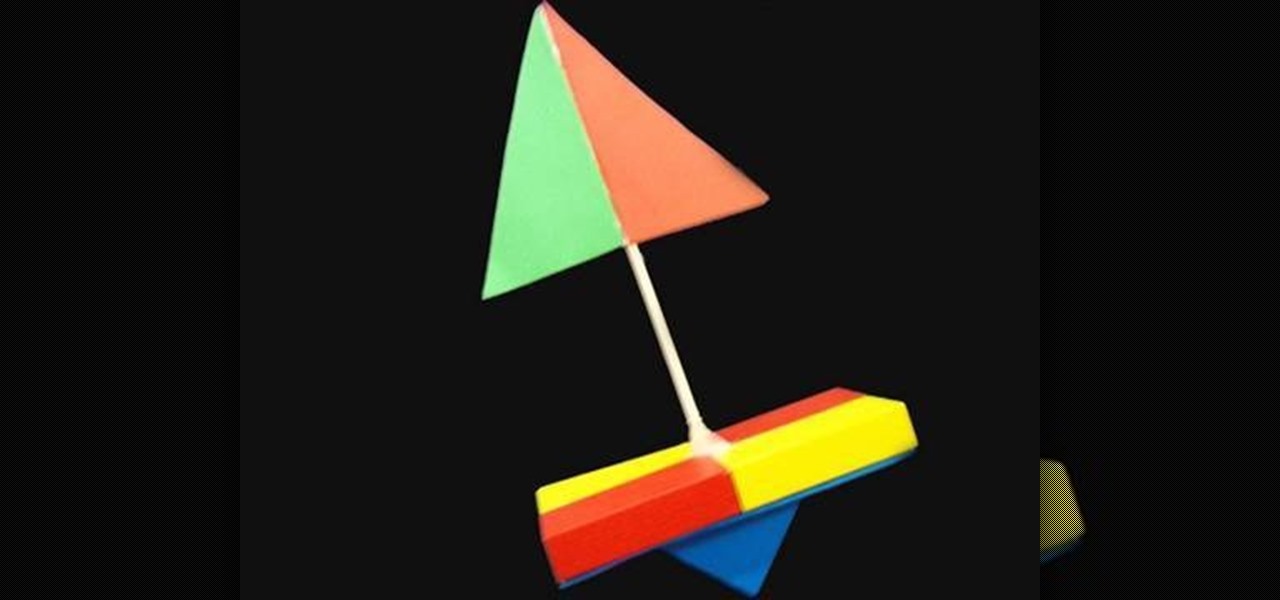
This video shows the way to make a paper balloon. A square paper is taken. Two perpendicular folds are made down the diagonals of the square. Then an isosceles triangle is made by folding one side of the square towards its opposite side and the other two sides are tucked in. Now there are four isosceles-right triangular flaps. The flaps are folded along its middle to resemble isosceles triangular flaps. The edge of the flaps is folded towards the center. The free end of the flap is tucked int...
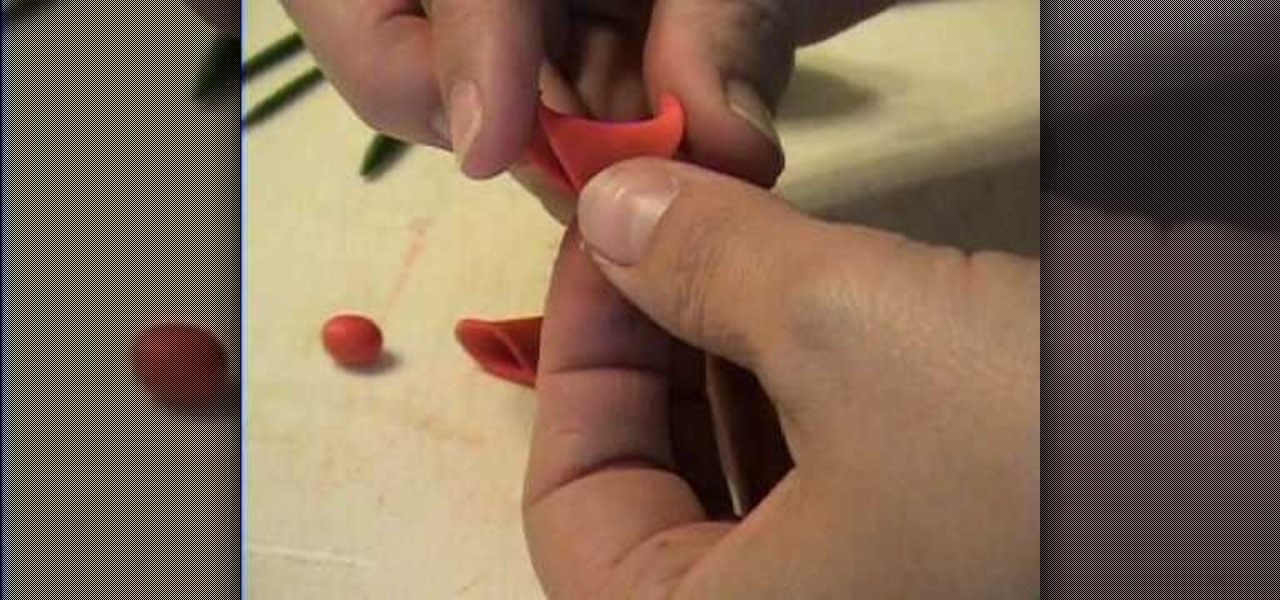
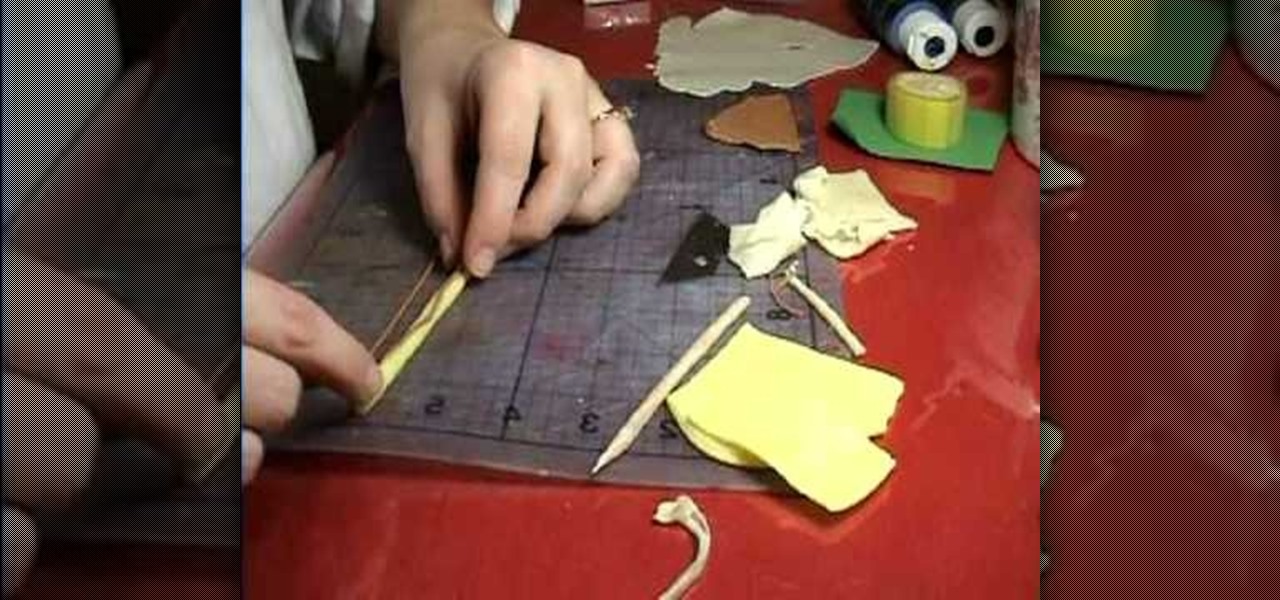
Take the clay, roll it out to make a pretty thin sheet. Take the square cutter and cut out two pieces from the clay sheet. Meet opposite corners of each square to form a triangular form but squishing only in the middle. Bend slightly outwards the unsquished corners of each triangle for decorative purposes. Place the triangles facing each other with the squished corner overlapping, pressing and joining them in one single piece. Take another little piece of clay and make a small ball with it. P...
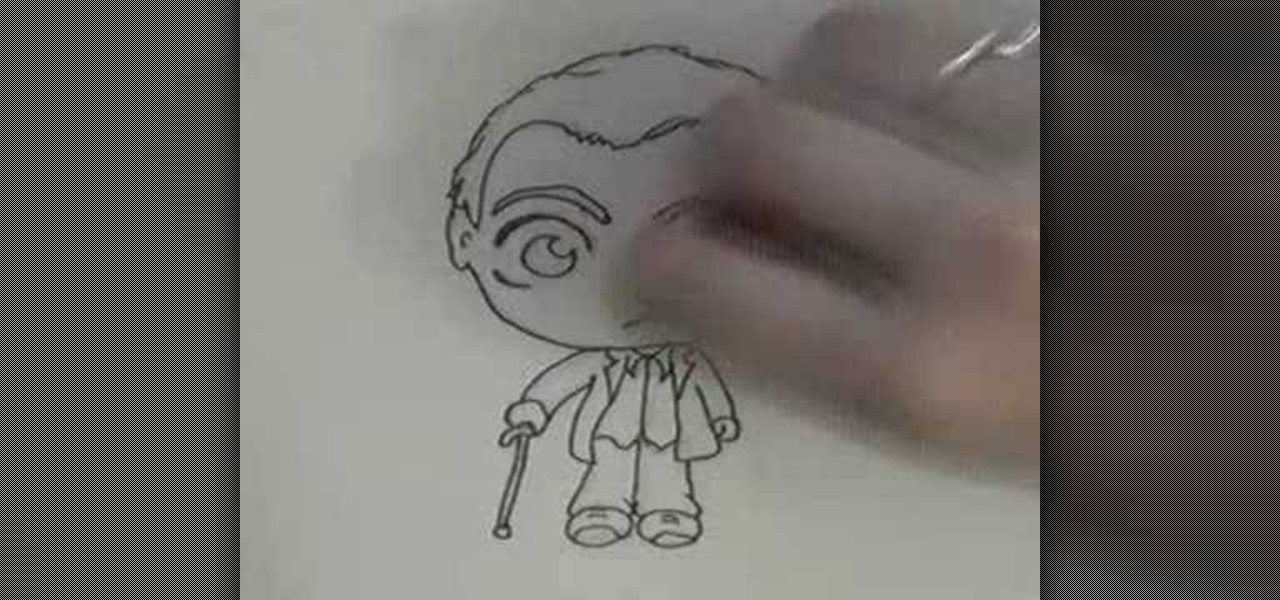
Want to draw a male chibi? This video will show you how. First, draw a circle. Second, draw a tiny triangle underneath the circle. This will be the body of the chibi. Then, draw two little circles for eyes in the center of your face. Next, draw four little ovular rectangles for the limbs of the creature. Now you must give definition to your chibi's eyes by emphasizing them with dark shading. Lastly, add the rest of the clothes on depending upon your preference. The author takes the opportunit...
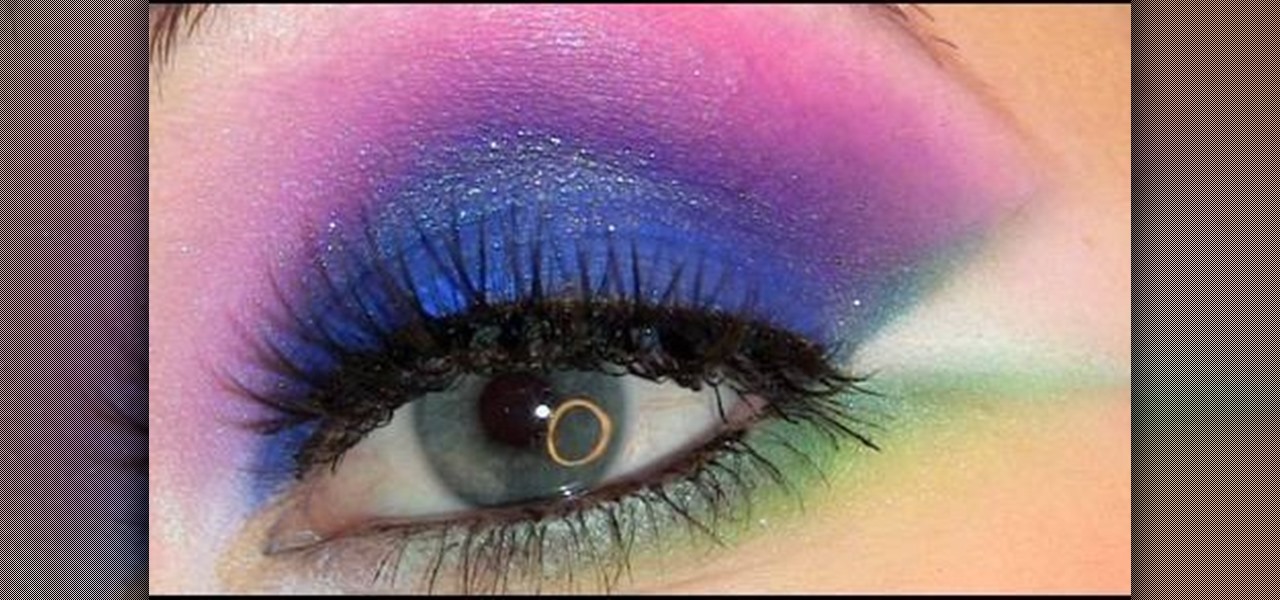
This video teaches the secrets of creating an Electro pop makeup style in simple steps. First wet a dark blue eyeshadow powder and apply to your eyelids. Now apply a pink eyeshadow using 222 brush and apply it over the blue. Now use white color and highlight under your eyebrows. Apply a green color using a flat brush under your lower lash and apply a brighter green over it. Apply a white eyeliner to the inner corner and make a triangle shape at the outer corner. Now apply some eyeliner, lashe...
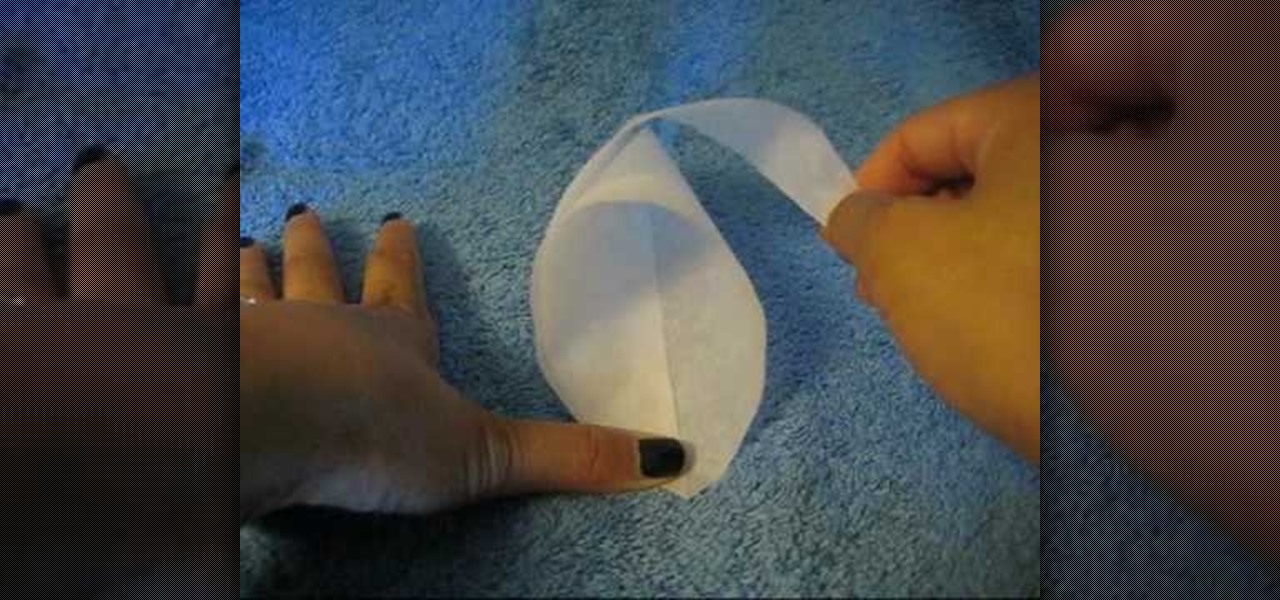
Want to make parchment cones for cake decoration? The secrets of making parchment cones for cake decoration are given in simple steps. First cut a parchment paper into an isosceles triangle of any size you wish. Now roll one corner inwards to the bottom end, curl it under and hold it. Now roll the other end over it and curl it under to form a cone, all the three tips should meet. Now fold the end with a sharp point inside the cone twice to secure it. If you are going to use it as decorating t...

This is a video about how to fold an awesome origami elephant by the help of paper only. For this you have to complete the following step (1) Fold half of the paper. (2)Again fold in two outer edges. (3)Fold corner across middle and then fold edge into center(4)Collapse triangle inside and fold corner inwards.(5)Create the ears and trunk also, at last create the body of elephant. This is a very good origami to use or play.

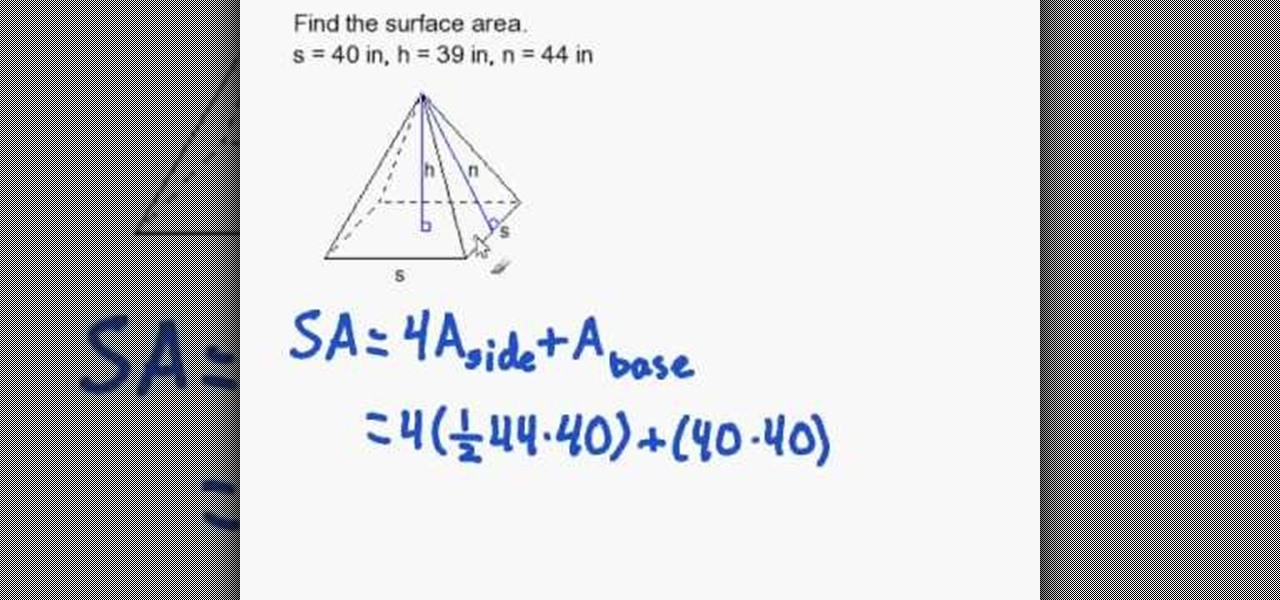
In this tutorial, the instructor shows how to compute the surface area of a regular pyramid. A regular pyramid has four equal sides which are in triangle form, and the base in square form. Its surface area is four times the area of its side plus the area of its base. He goes on and takes an example with sample values and demonstrates how to compute the final value using the formula. He reminds the viewer to use square units in the final answer, as square units equal the area. To find out the ...

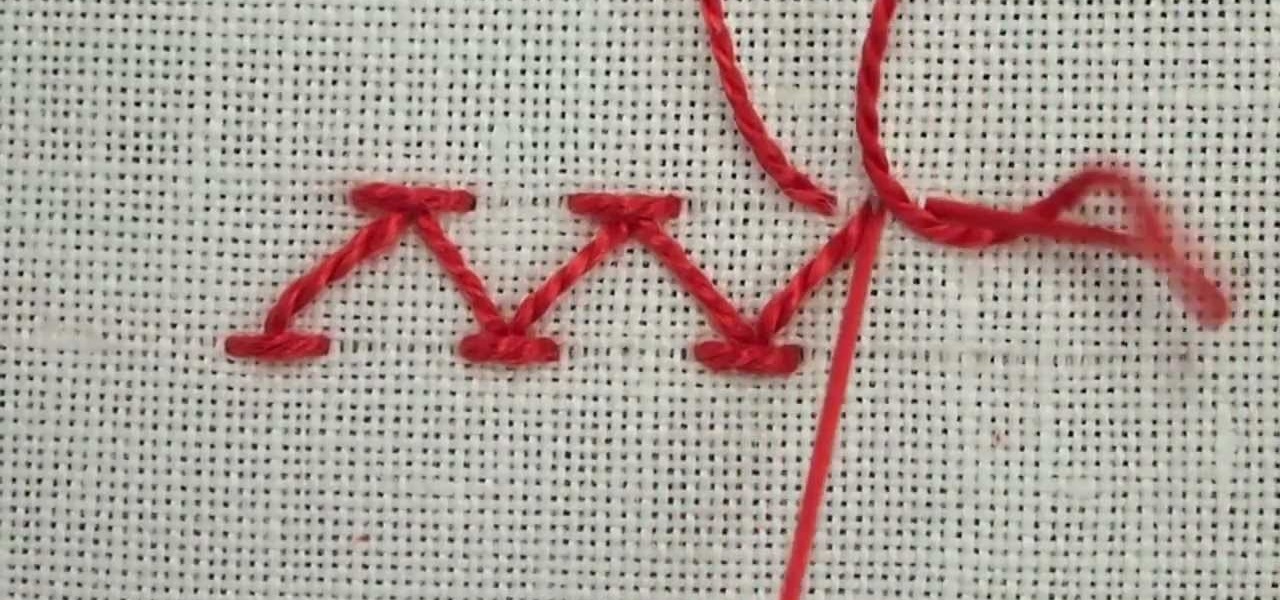
The Chevron Stitch is used in hand embroidery to work decorative bands and seam embellishments. It's a great stitch for smocking, too. Chevron Stitch is a lot like the herringbone stitch, differing only slightly by the fact that the stitches on the upwards stroke do not cross over the downward stroke stitches. It also sports a little straight stitch cap at the top and base of each triangle shape. Watch this video from Needle 'n Thread to see how it's done.

This video tutorial is in the Arts & Crafts category which will show you how to fold an Origami bell flower. Take a square piece of paper and fold it to make a rectangle. Crease, unfold, fold it in the other direction and unfold. Now fold it in half to make a triangle, unfold and fold in the other direction. Unfold it and fold it again in half into a triangle, but on the other side of the paper. Now pitch in the two sides and squash down the other sides as shown in the video to make a smaller...

Dressing a plus-sized shape can seem difficult. However, if you dress correctly for your body type, you can easily look stunning! Make sure that you determine your body type, which is all about the proportions of your body.

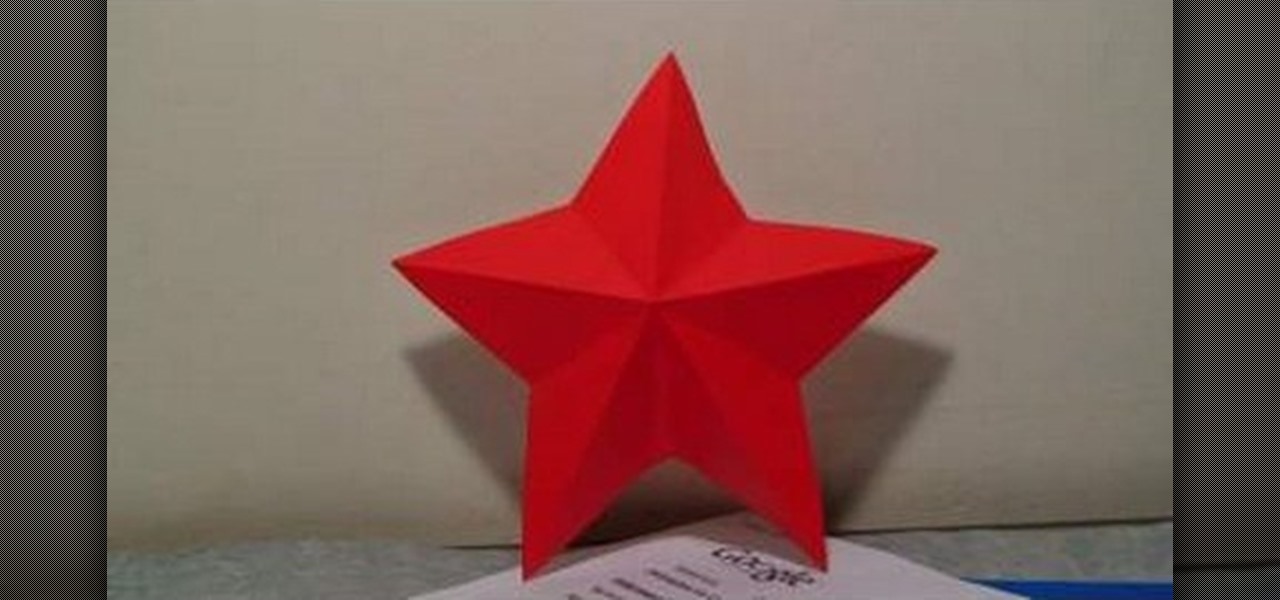
This video is about making a kirigami simple star. The materials required are two sided piece of paper, a scale and a cutter knife. Fold the piece of paper in half to form a rectangle. Now fold the upper and lower half of one end to form triangle. Make sure when you fold the paper it is in a clean line and the unfold the paper. The paper will have a square with four triangles in it. Now bring the other end of the paper such that it fits into one of the triangles of the square. Now fold the pa...

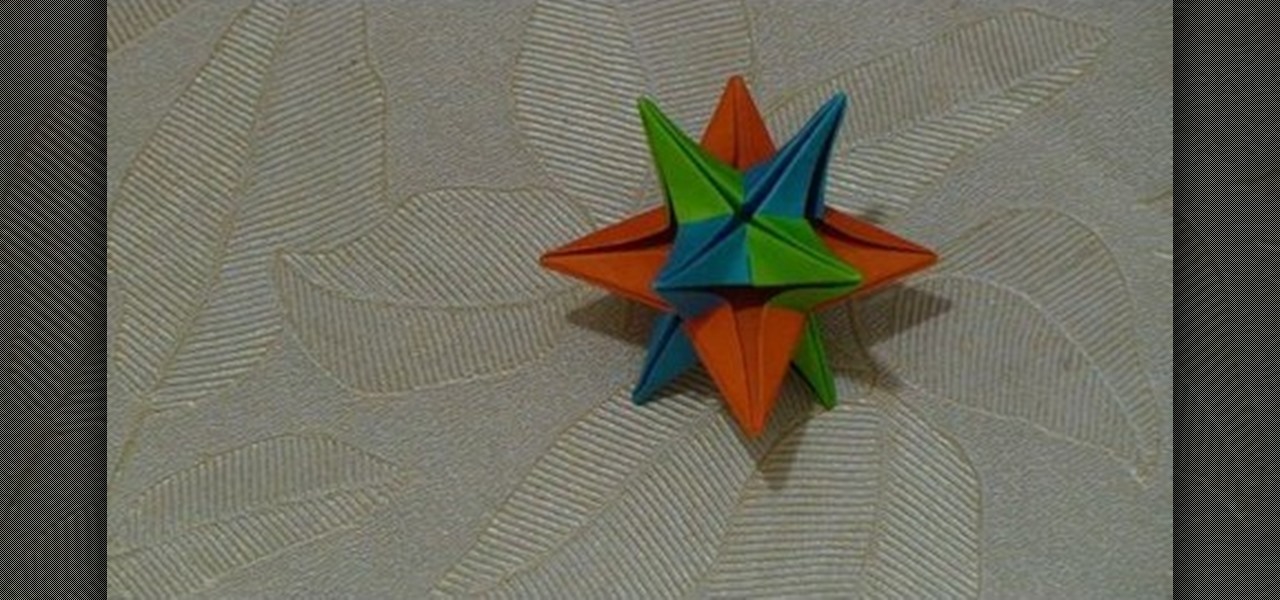
This tutorial guides you through the process of making a mennorade star with origami. It begins with a square of paper that is folded in half and then folded from the corners to make guides on the paper. The paper is then cut in half to make two rectangles. Each rectangle is then folded and trimmed to form a 'Z' shape. It is necessary to complete these steps for ten more pieces of paper. The next step is to take to of the 'Z' shapes, perhaps of complimentary colours, and link them together so...

In this Arts & Crafts video tutorial you will learn how to make a six-sheet 3D paper star with origami. Take three pairs of paper; each pair of different color or take six pieces of paper of the same color. The paper should be square size. Fold the paper in half, open the fold and fold one half up to the center line. Repeat this step for the other side also. Open up the paper and repeat these steps by folding the paper in the other direction. This will divide the entire paper into 16 squares....

In this Arts & Crafts video tutorial you will learn how to make a ring from folded paper with origami. For this, you need a square sheet of paper. First you fold it diagonally across to form a triangle. Then fold it again across the other diagonal. Open it up and fold two corners up to the center point. Fold them in once again so that each side is divided in to four. Open up all the folds and fold one corner back up to the center point. Now fold this triangle twice over in a manner as shown i...

Gordon Bruce shows an easy and speedy way to draw and paint a superman. First draw the head portion with a oval face and add eyes, nose etc,. Now come to the body portion which have big muscled arms and a thin body, having the triangle with S symbol at the center. Now draw the leg portion. Draw belt and other attractive features. Now give the outline with acrylic black color. Now add red color to the gown part and blue color to the body. Give yellow shade to belt and triangle and red to the S...

Learn how to make a ‘Paper Balloon/Water Bomb’ by watching this tutorial. Take a square piece of paper. Fold the paper diagonally to make a triangle. Open the paper to reveal a diagonal crease. Repeat the same with the other end, to make a crease which is perpendicular to the first one. Open the paper to reveal an ‘X’. Now fold the paper at the center, to make a rectangle. Next, push the edge along the central crease to the middle at both ends and crease well, as shown. This makes a triangle ...

This video demonstrates how to create an origami ninja star. Prepare a square shaped piece of paper. Lay it down on a table or on a flat surface. Fold the paper right across the middle in a vertical orientation. Fold it once more in the same manner as the first fold, now creating a more slender vertically standing rectangle. Fold the upper portion of the origami diagonally forming a small triangle on top of the rectangle. Do the same on the bottom portion of the origami. Fold the upper portio...

How to make cool paper claws:Flameboy2202 shows us how to make cool claws with paper. They are really simple and can be used at Halloween. All you need is a eight and half by eleven sheet of paper. Take the paper, fold the top right corner; try to make it as even as possible. Now, take the top point and fold it to make a pyramid kind of formation. Now take the bottom two corners and fold them in. Fold the bottom upwards so that you have a perfect triangle. Flip it over and see, you have a per...

Translucent, yellow and brown clays are needed to make the banana. For the covering mix the translucent and yellow clays. Another translucent mixed with a little yellow is needed for the flesh of the banana. The seeds are made with the brown mixed with translucent rolled out very thin. The rolled light yellow clay needs to be twisted into the shape of a triangle vertical. Take a translucent rolled flat and place the yellow clay and cut little clay and roll it together into a very thin roll. T...

For all origami enthusiasts, here is something new. This video details how to make your own origami enigma box. As with all origami pieces it can be made using just a single piece of paper. The paper is first folded, taking from two separate parallel ends, in such a way that both sides meet in the middle of the paper. This will make four rectangles when unfolded which are to be further folded into half to make eight. Now, the paper is to be taken from the other two ends and folded to meet in ...

A boyish figure is easy to dress: It's the shape high-fashion designers create for! Here's how to maximize the impact.

In order to make a spring card, you will need the following: a 5 x 10 inch piece of card stock, 3 x 3 inch paper, glue, triangles, stickers, and a cutter.

This is a video tutorial showing its audience how to make an origami strawberry. The first step in making this strawberry is to gather your supplies. You will need one piece of origami paper. First fold the paper into half on one side then open it and fold it in half again so that you have four squares. Next do some diagonal folds. Next reverse your paper and fold across your diagonal crease once again. Next diagonally fold it in half and then fold your triangle in half. Next make a square ou...

Take a piece of paper and fold it triangle wise. Then unfold it and fold two edged sides towards the center. Then turn back in the same manner and fold right there. Then again turn back and fold two sides as done before. Then straight that part and fold into two sides and then fold one side to an upside direction. Then fold it downwards holding the center part. Then again fold downward the folded portion and a little bit upward the edged part. Keep intact the edged portion. Then fold the next...

First of all you need a handkerchief or a cloth napkin. Make sure that it is clean for use. Now start by folding the two opposite corners together. This shall make a triangle. Now you have top fold the two middle bits so that they overlap at the center. Now start rolling them together upwards. It is very important that you are rolling them very tightly. This shall make the body of the mouse solid otherwise it may fall apart. When you have made a solid roll then fold the two ends upwards as sh...

To create an origami buckyball, you must start with a piece of paper cut into a triangle with each side about two inches long. Fold the corner of each side into the middle of the opposite side and then unfold to create creases that will be your guide. Next, fold a side up to the midpoint of the creases and repeat on all sides. This will create a star-like shape. Now, fold two sides in and pinch out the extreme, outer corner and repeat on all sides. This will create a small star inside your pa...

If you want to master your skills on origami, you should watch this video. How to make an origami paper box: Find a piece of square paper. Crease the paper in half lengthwise and then again in the other direction. Unfold the paper which should be divided into four sections. Take a corner and fold it up to the center of the paper. Repeat for all four corners. Ensure that the tips all meet in the center for a smaller square. Fold one side of the square up to the center of the box. Unfold and re...

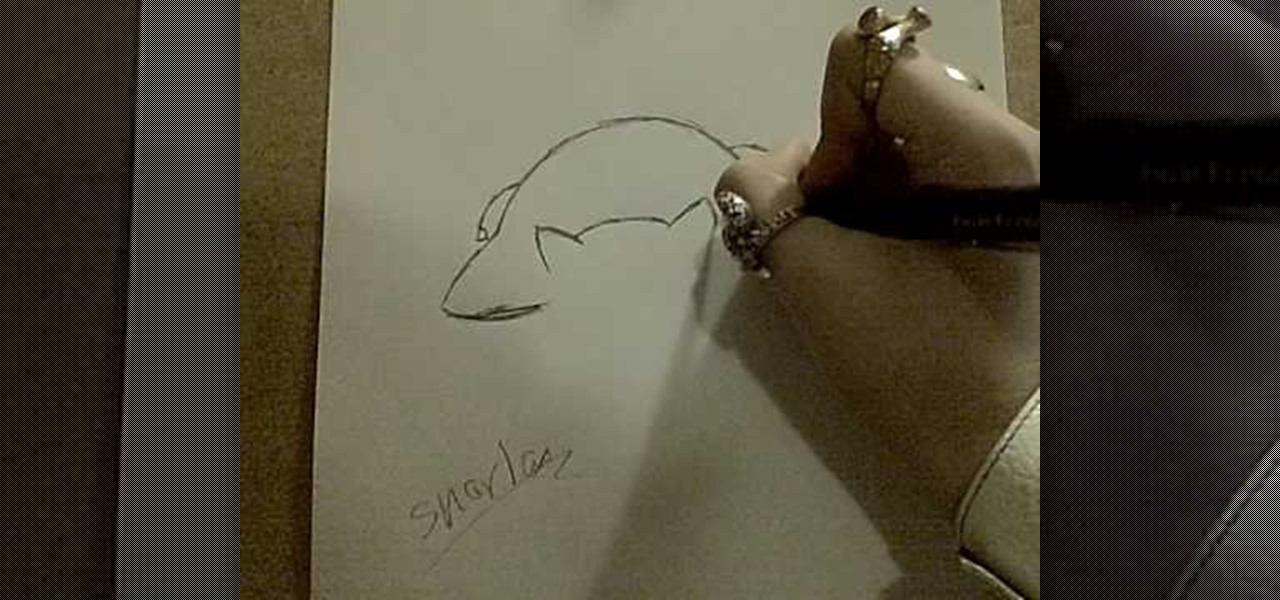
MAZE2510 teaches us how to draw the perfect Snorlax. Draw out an oval for its head, a large body and two small circles at the bottom on each end for its feet. Begin to work on the head. Add in the ears and the curve at the top of the head. Then add in two rounded cylinder-like shapes for its arms and finally add two smaller circles inside the feet circles that were already there. Add in the detail on the face and then the half circles on its body. Add in the fingers on both hands. Each little...

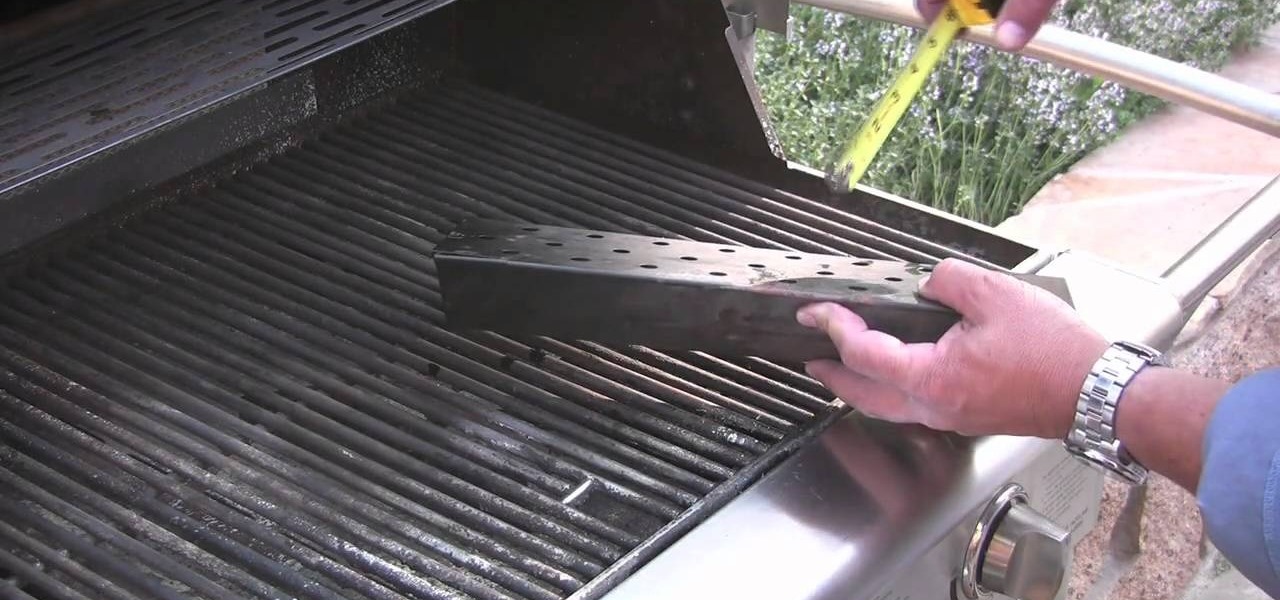
Chef Jason Hill shows how to use a grill box smoker. This box will turn your propane or gas grill into a temporary smoker. The box is used to hold wood smoking chips. Place the box over the burner to produce smoke flavored food.

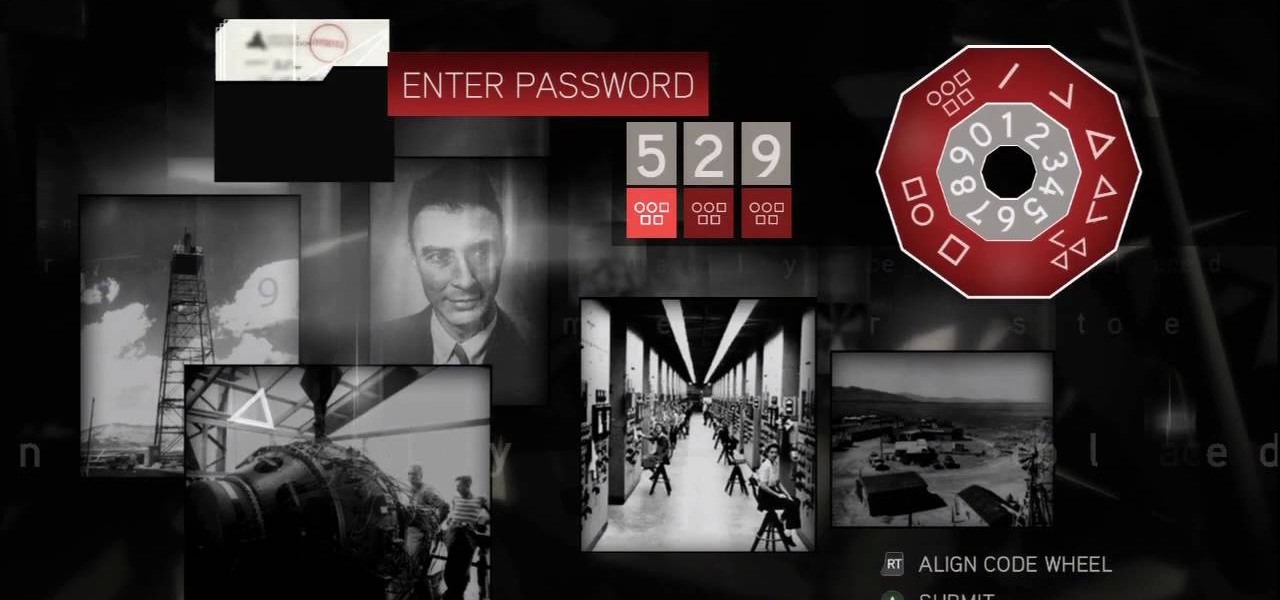
Solve the challenging 13th puzzle, entitled "I Am Become Death, the Destroyer of Worlds", in Assassin's Creed 2. Code wheel puzzle: This one’s even trickier than the last one; starting with the hint that 9 (next to the tower) equals “triangle” (up and to the left from the bomb), you need to figure out which symbols would fill in the blank spots on the wheel, going by the symbols next to them. Image 1: Just hit the button. It’s not hard. Image 2: Use the Geiger-counter clicks to guide you. For...

Those weird and creepy crown/mask things were one of the most memorable parts of Lady Gaga's "Bad Romance" video. But they're actually pretty simple, and you can make them yourself with stuff you probably already have at home. This video shows you how. (Of course, if you're planning to wear this to a party or something, bear in mind that you won't be able to see anything!)

Take a lesson in architecture from renowned architect Doug Patt by watching this video tutorial. If you want to learn about drawing and designing, without going to school, Doug's just the teacher. Watch to see how to design and draw with lead like an architect.

This tutorial has been inspired by the character Piglet, from the Winnie the Pooh books. You'll need to have mastered the basic triangle folding techniques for 3-D origami, and, of course, have lots of pink paper to make this project!

Make sure you have perfected the triangle before moving onto this part of 3-D origami. This tutorial shows you how to make limbs (or any other kind of appendage or protrusion) sturdy and easily for your next 3-D origami project.

Turn craft time into an educational experience! Using one paper triangle for the cone, you can use other paper circles to represent scoops of ice cream to teach your child about different shapes. This is a fun and easy craft for young children and their parents to do together.

Turn a left over wooden block into a sailboat! To make this craft, you'll need four rectangular wooden blocks and one triangle, three foam leaves, a BBQ or bamboo skewer, glue or a glue gun and scissors (and paint, if you want to paint your blocks a different color).

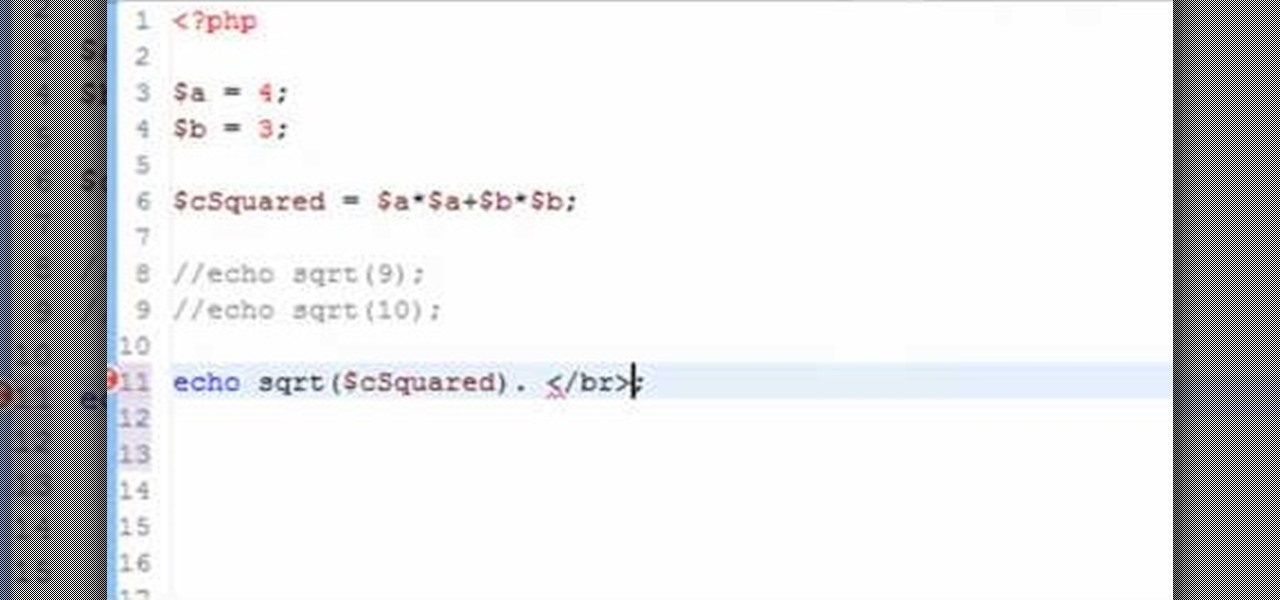
In this clip, you'll learn how to employ the Pythagorean theorem with PHP to make triangle calculations. Whether you're new to the PHP: Hypertext Preprocessor scripting language or are a seasoned web developer merely looking to improve your chops, you're sure to find benefit in this free video programming lesson. For more information, including detailed, step-by-step instructions, take a look.

Pythagoras was a smart man, so smart that his mathematical theory is named after him and still used today, more than 2,000 years later: the Pythagorean theorem. It implies that the square of the hypotenuse of a right triangle is equal to the sum of the squares of the other two sides. The Pythagorean theorem is a cornerstone of geometry. Here’s how to use it.

Bandanas are usually worn in a variety of different ways and can help ensure that long hair is kept back and away from the face. They usually are folded in half in order to make a triangle before they are tied. In this tutorial, find out how to fold a bandana from a professional Hollywood stylist. Enjoy!

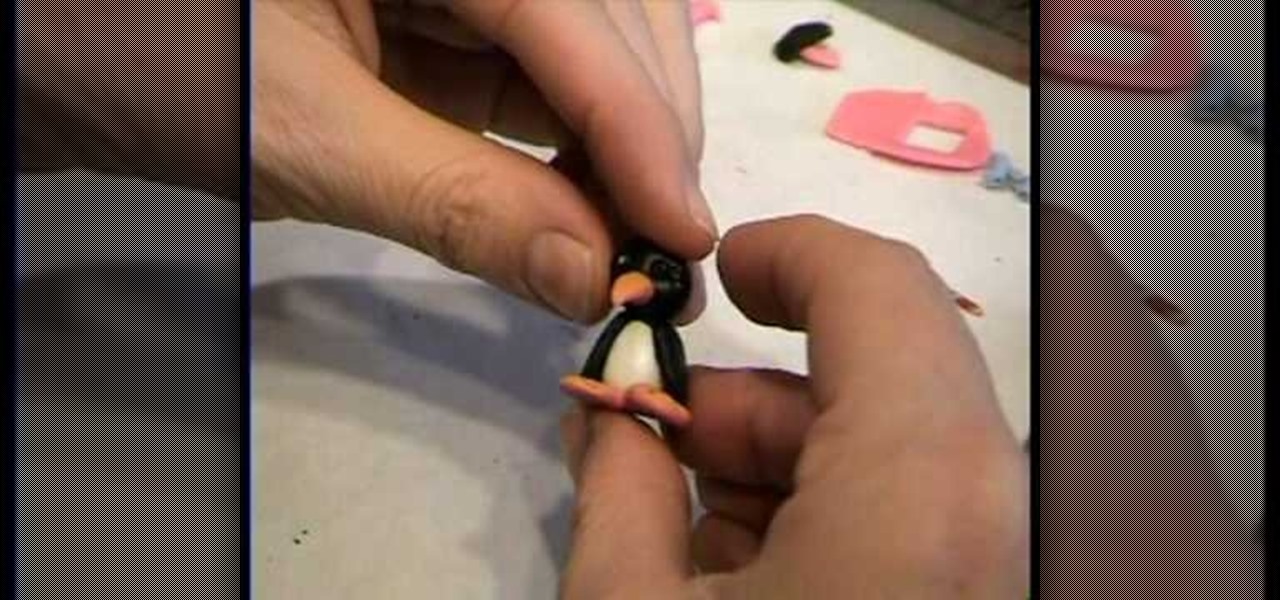
A piece of orange clay is rolled down to diameter of desired width of beak, and rolled down further at 1 end to make a point. Cone shape is cut to length of beak desired. A black ball of polymer clay is made. Base of orange beak is blended onto it. 2 clear seed beads are picked up individually with a pointed stick and pressed into head above beak. Stick is used to make 2 eye creases at right side of right eye and eyebrow over left eye. Repeat on other side. 2 flat oval pieces of orange clay a...


