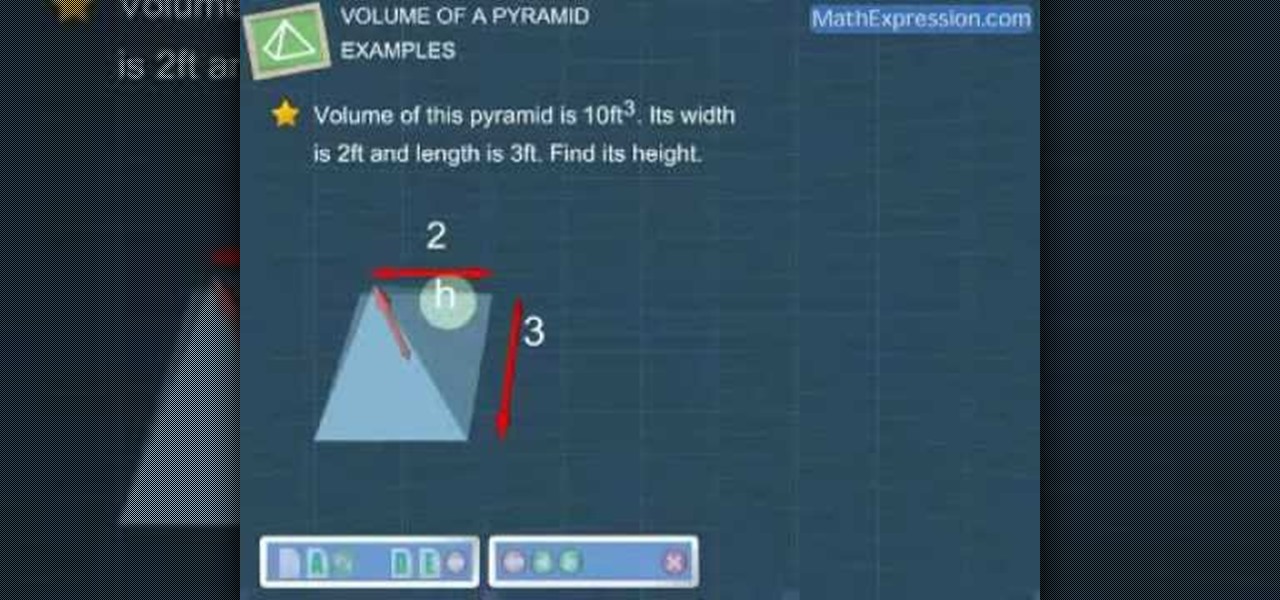
A pyramid is a three dimensional version of the triangle. In this video, learn how to find the volume of a pyramid. Finding volume is the next step after you learn how to find 2D area. Check out this tutorial and soon you will be tackling 3D objects just as easily as you learned their 2D cousins.
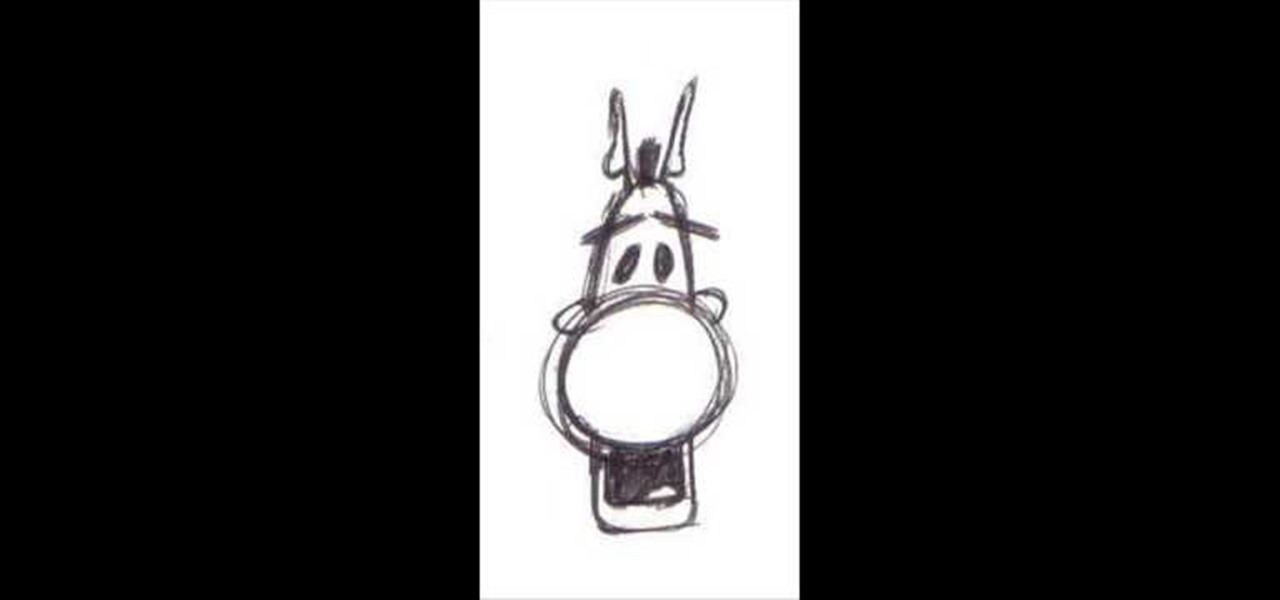
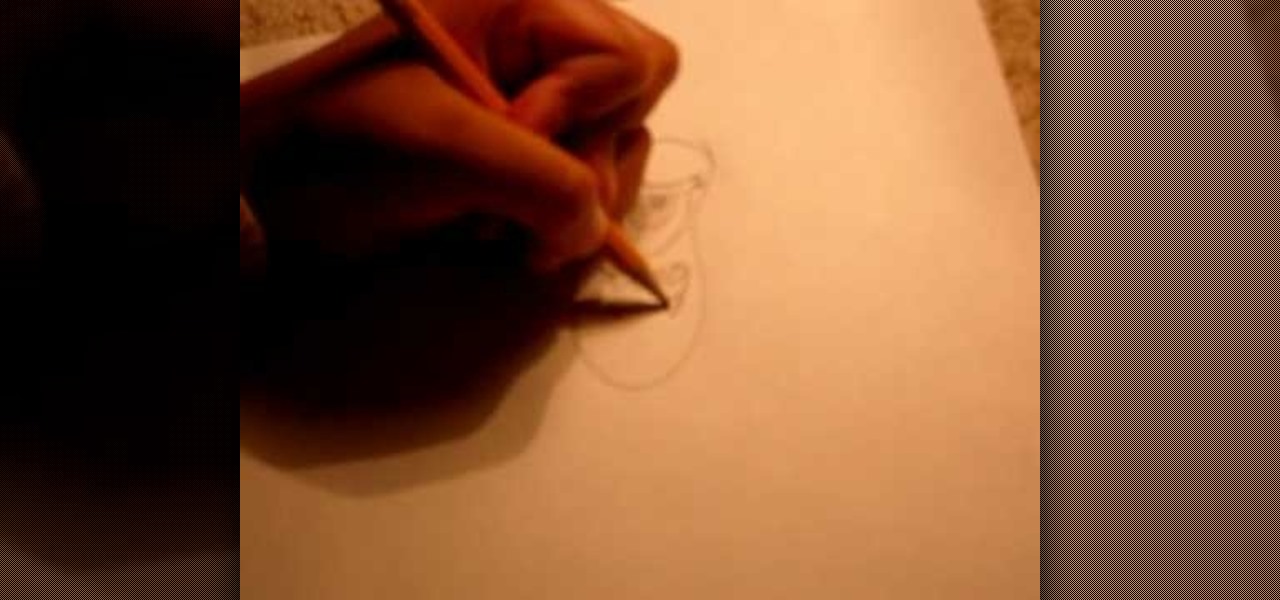
First, draw a medium sized circle. Then, draw a triangle on top of the circle, with the top of the circle acting as the bottom of the triangle. Next, draw two half circles on the sides of the triangle. After that, draw two small shaded circles inside the medium sized circle. Then, draw two lines above the shaded circles. Next, draw a line at the top of the triangle. After that, make two short lines with triangles on top of them. Then, draw a square touching the underside of the medium sized c...

Whether for a boy or a girl, a Pilgrim costume is one of the easiest costumes to make. You Will Need

Watch this tutorial to learn how to make this adorable 3D origami Hello Kitty! You will need to know how to fold triangle origami modules. You can check out this tutorial on wonderhowto for extra help:
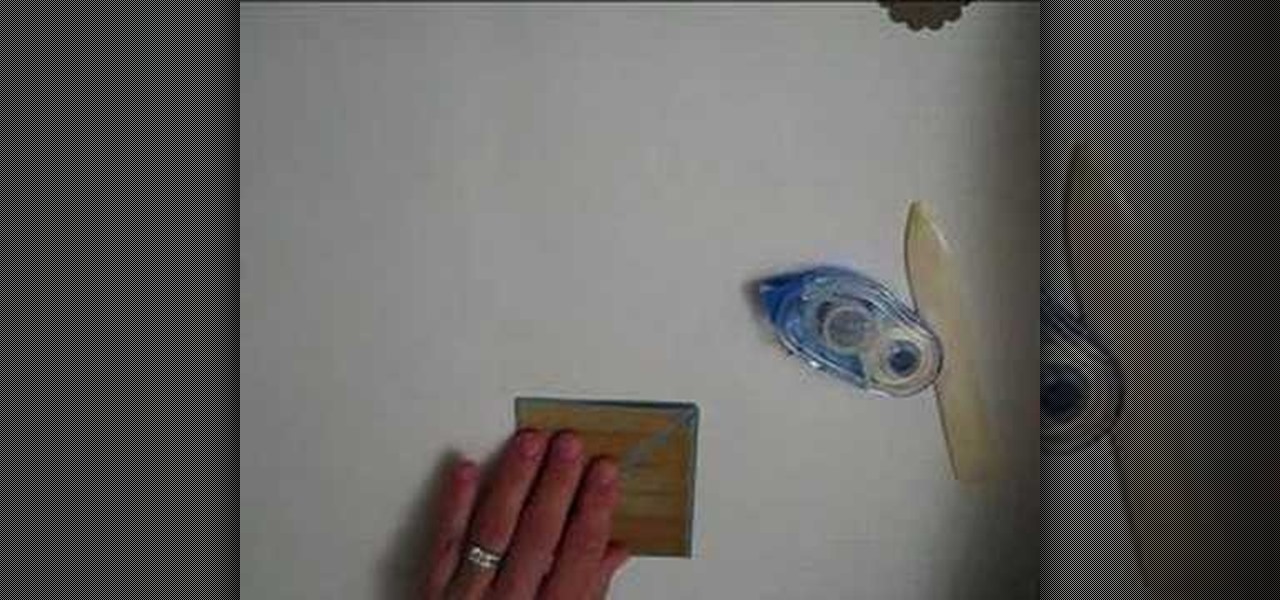
Make a triangle tri-fold card, demonstrated in this video using CTMH products. You'll need fancy cardstock and a paper cutter. Follow along with the step by step instructions and adapt them to make a card just the way you want the card to look. Watch this video card-making tutorial and learn how to craft a triangular tri-fold greeting card.
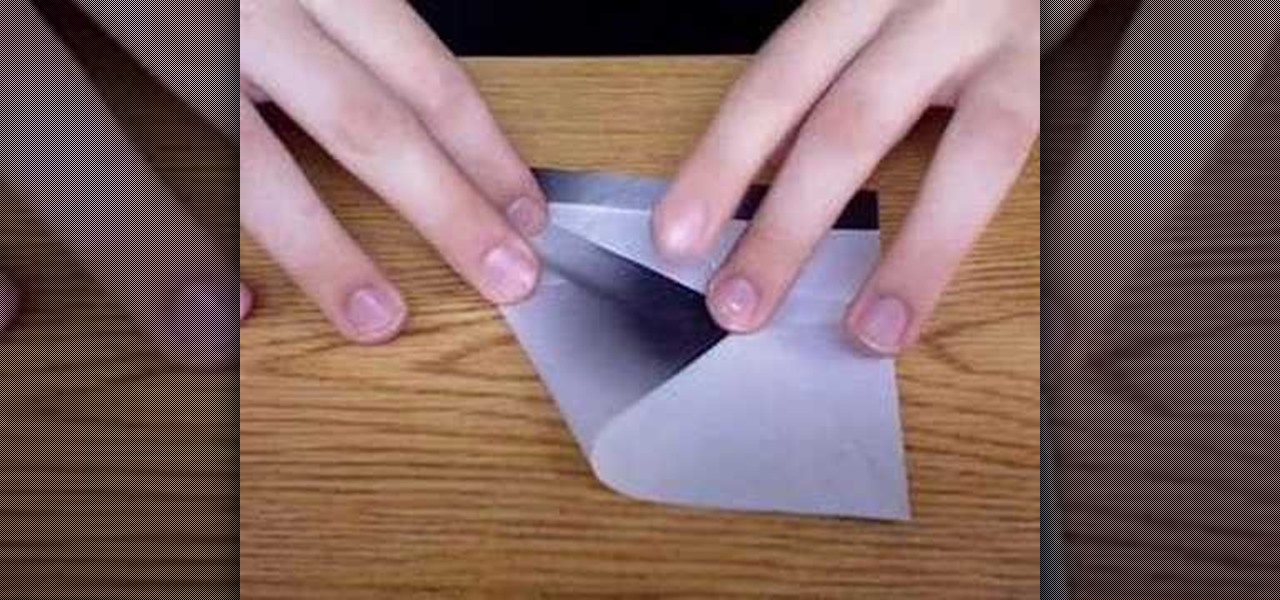
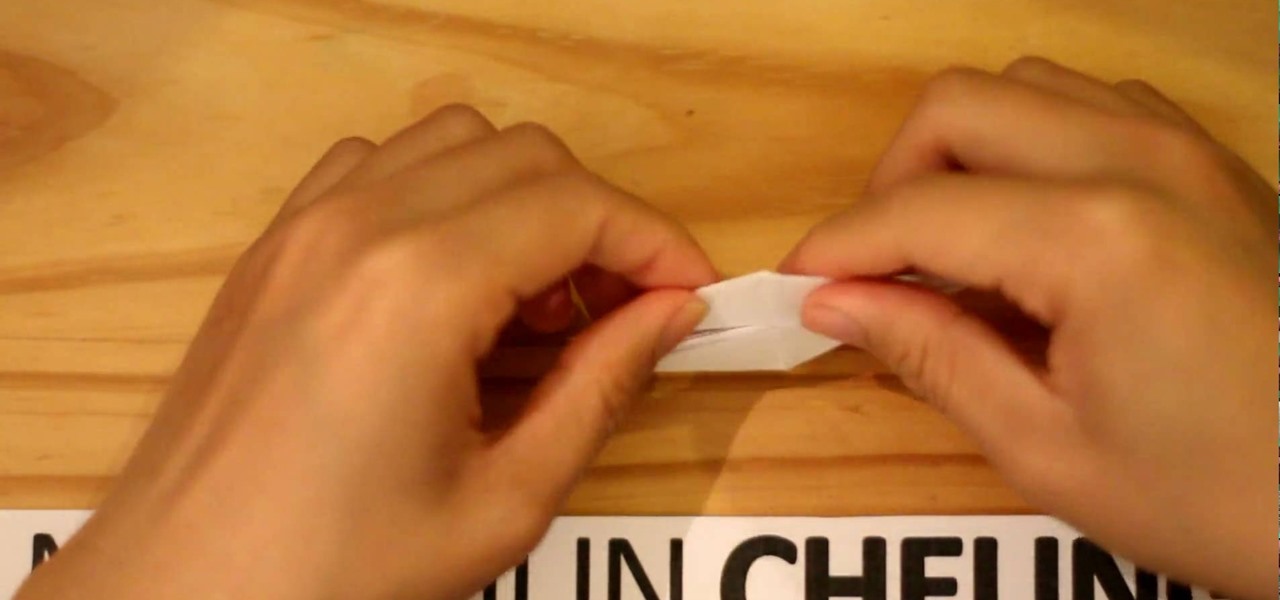
Are you interested in the Japanese art of paper folding, Origami? Watch this video tutorial to learn how to origami a piece of paper into a triangular pyramid, also known as a tetrahedron This technique is also great for making a triangle for other origami models.

Watch this how to video to learn to make origami polyhedra. This step by step tutorial will teach you to fold paper into an origami triangle and a cube.

Mirig Golan demonstrates how to make a box in origami. To start, you take a piece of paper and fold it, so that it is in the shape of a triangle. When your box is in the shape of a hexagon, you fold the triangles in.

Take a man down with a single shot in Rainbow Six Vegas, be the hero and get the hot chick. During gameplay press L3, R3, L3, R3, X, Circle, L3, R3, L3, R3, Square, Triangle.

Calculating resistance and power isn't hard... and, as David explains, knowing Ohm's Law and the Power Triangle can be darn useful when you're designing a project, sorting out power supply issues, or want to keep from burning your car down.

The Tepee Jiu Jitsu technique, made famous by Eddie Bravo is a GREAT submission when you can't lock in a triangle choke. This is aslight variation of the move made by Submissions 101.

Learn to execute a Jiu Jitsu Pentagram Choke submission. It is like a triangle choke but uses your arms to create a complete vice around the neck.

Want to learn how to make Peppa Pig with Play-Doh? Here is our attempt on showcasing a tutorial on how to make Peppa Pig with Play-Doh.

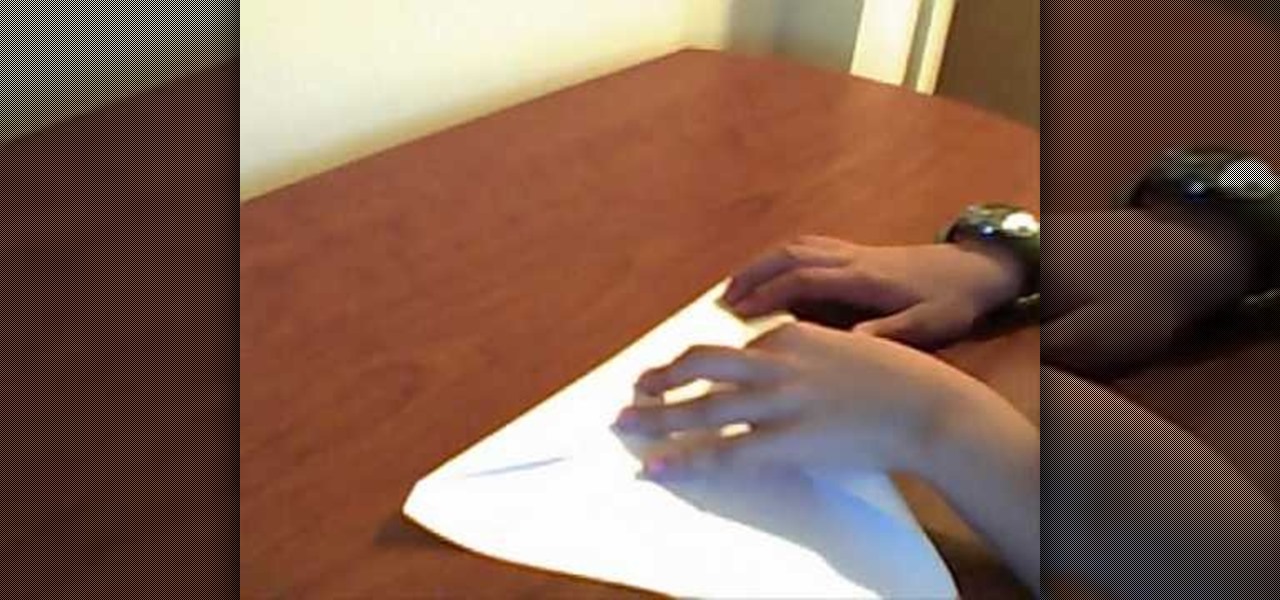
In this tutorial, we learn how to make a tight paper airplane. First, fold the paper in half horizontally then open it back up. Then, grab the top of the paper and fold each edge into the middle to create a triangle. After this, open it back up and fold triangles down on each of the sides. Continue to fold in the triangle shape in the middle of the paper until you have a large triangle shape. Fold in half again and then push the edges down so you can hold onto the bottom. From here, you can t...

In this video we learn how to create a simple paper football. First, fold off a strip of a piece of paper and then cut it or rip it off the page. After this, grab the bottom of the paper and fold it into a triangle. From here, fold the triangle up and then continue to fold it making the same triangle shape. Do this until you reach the top of the strip of paper. You will have a small piece of paper left over at the top of the strip. With this, you will take it and tuck it into the small pocket...

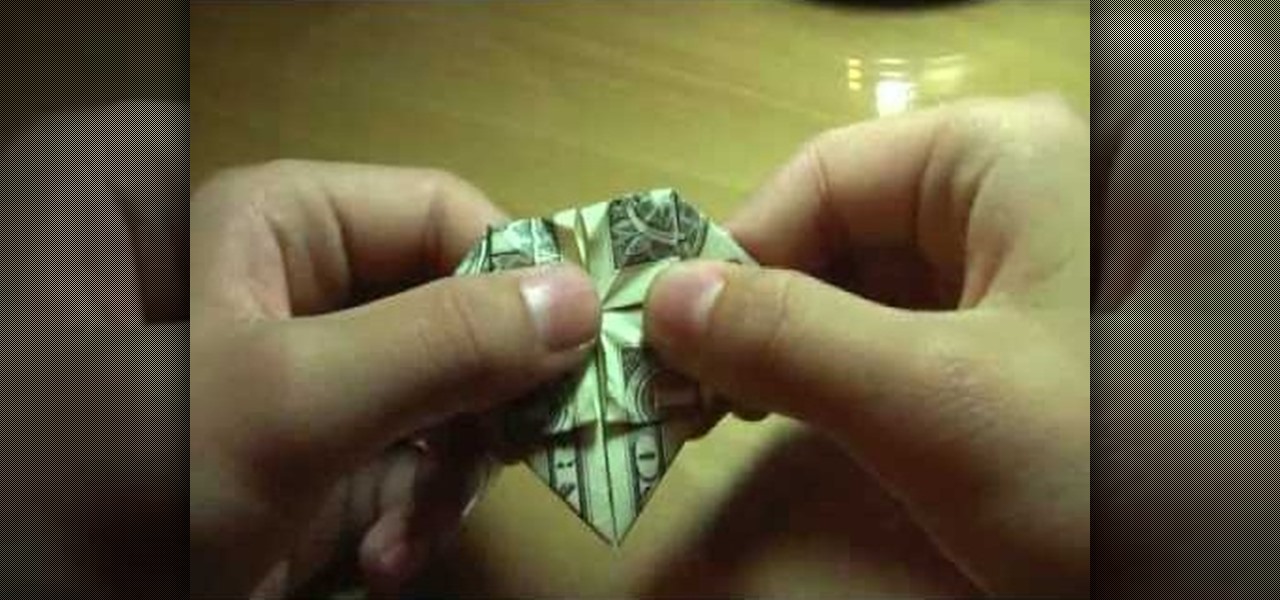
This video shows viewers how to create a heart out of a simple dollar bill. First, you should take the dollar bill and fold a triangle from one corner to the bottom edge of the bill, repeating this step on the next closest edge. Then, create a pyramid-like fold to make a smaller triangle in the paper. This is repeated on the other corners of the bill as well. Next, fold the bill in half and take the small pieces of the bill which are not part of the triangle and fold it over to create a squar...

In this tutorial, we learn how to create an origami bird. Start with a rectangle, then fold a triangle into the end of it. After this, fold a crease down the middle of the triangle and tear it off. Next, fold this triangle in half, then in half on the other side. Push down in the middle crease to make a diamond shape on both of the sides as well, then fold down to reach the bottom of the diamond. Fold the top up and the bottom up, then bring the edges into each other to create a pocket. After...

In this tutorial, we learn how to fold an easy plane. First, fold a piece of copy paper on one side into a triangle, then open up and fold the opposite way, making creases on both sides. Next, fold the triangle further, until you have a shape that looks like a house. Next, fold the two flaps up on top to keep the triangle shape. Then, fold them both down. After this, fold the sides of the triangles into the crease in the middle of the paper. Next, fold the paper in half and make a wing by fol...

In this video tutorial, viewers learn how to make a 3D flower pop up card. The materials required for this are 5 pieces of paper, scissors and glue. Begin by folding the paper in half 3 times and then fold down the sides to a triangle. Now fold a bit of the triangle flap up to make a slimmer triangle. Then cut around the top with a half circle shape. When opened, it will be a flower shape. Cut one of the pedals off and decorate it. Make 7 more flowers and glue the points together. Now take a ...

Origami is the art of folding paper into cool things. Watch this video to learn how to make an origami paper cube! Start with a full sheet of regular 8.5 by 11 inch paper. Then fold one corner over to make a triangle and a rectangle. Fold the rectangular part of the triangle. Then rip off the rectangular part leaving you with a triangle, and when opened a square. Then fold the paper in half. Then open the square back up and fold into fourths. Watch the video to learn how to make the rest of t...

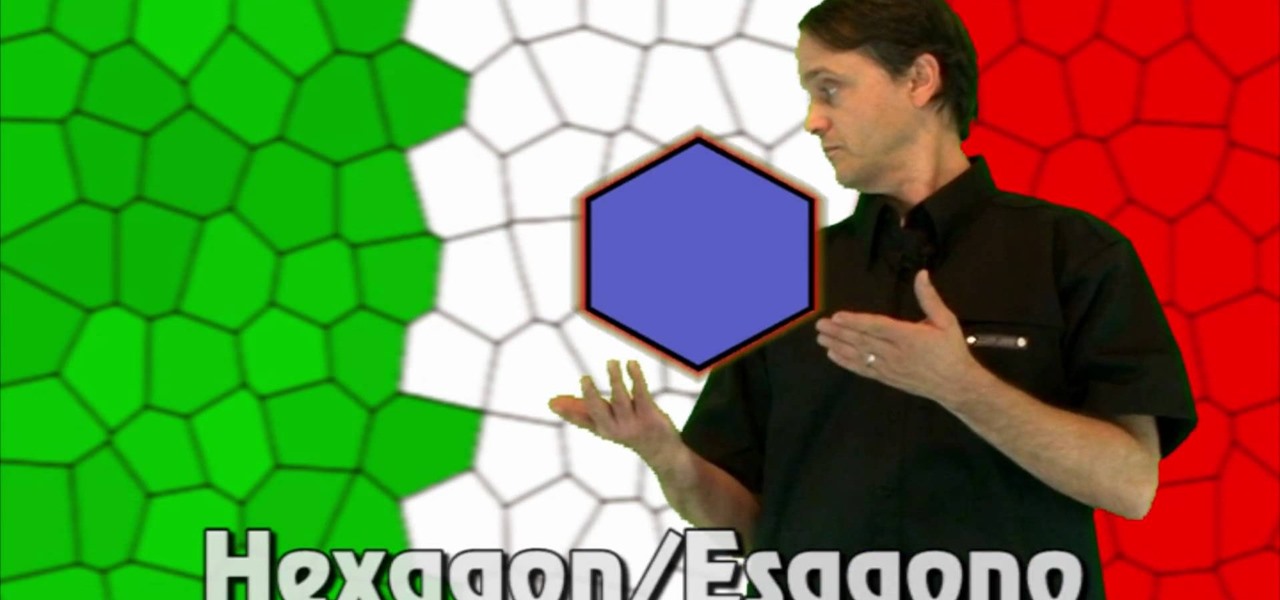
Another Italian language video that teaches some of the other basic words in the language. The knowledge of shapes too is essential when conversing in any language.

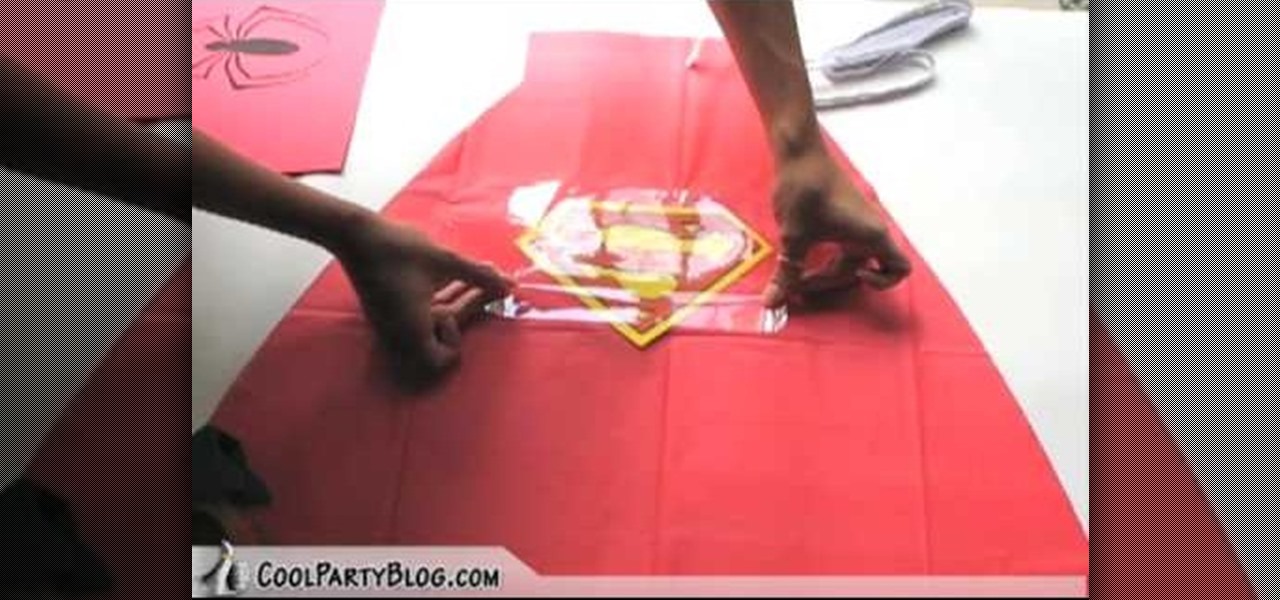
In this tutorial, we learn how to create super hero cape party favors. First, take a plastic red table cover and remove it from the package. Next, open it up and fold it in half twice, so you end up with a rectangle. Then, take scissors and cut a large triangle shape out of the material. When finished, open up the cover and it will be in the shape of a cape! Then, cut out some "s" for Superman signs and tape it on the back of the cape. Then, tie string around the top so it can be worn and you...

This video explains how to make paper flowers in just a few simple steps. The first step to make a paper flower is to take a simple piece of white printer paper and draw any design you find suitable on the blank paper. The next step is to fold the paper over two times to create a smaller square. The second step requires the paper be folded from it's edges into a triangle shape. The last step involved opening the paper from below to give the flower a three dimensional shape. It is shown that m...

In this tutorial, we learn how to draw curvy steps using pens. To start, you will first draw a horizontal line with a point in it. From here, you will need to draw lines coming out of the point. These lines will act as your reference point for the different items in the drawing. Next, draw the steps using the reference points. The one at the bottom should be larger, getting smaller as you work your way up. Draw these using the triangle shape in sort of a wedge. Shade in the bottom area to cre...

In this tutorial, we learn how to make an array of paper roses. Use any colors of paper you want with this to add a special touch to them! Now, you will take the pattern or color of your choice and fold it up into a square. after this, fold it into a triangle and then cut the edges of this off. After this, cut the bottom off and open it up, it should be a flower shape with a hole in the center. After this, repeat with several other papers and then cut the flowers up into halves. From here, yo...

In this tutorial, we learn how to draw Plankton. Start out by drawing a long oval shape for Plankton's body. After this, draw on a large eye to the upper middle section of the eye. Next, you will draw in the mouth underneath the eye and make sure to draw in an angry expression and pointed teeth. Next, draw in the eyebrow on top of the eye followed by legs on the very bottom of the oval. The legs should be soft triangle shapes and nothing more. You can color this green to finish up the drawing...

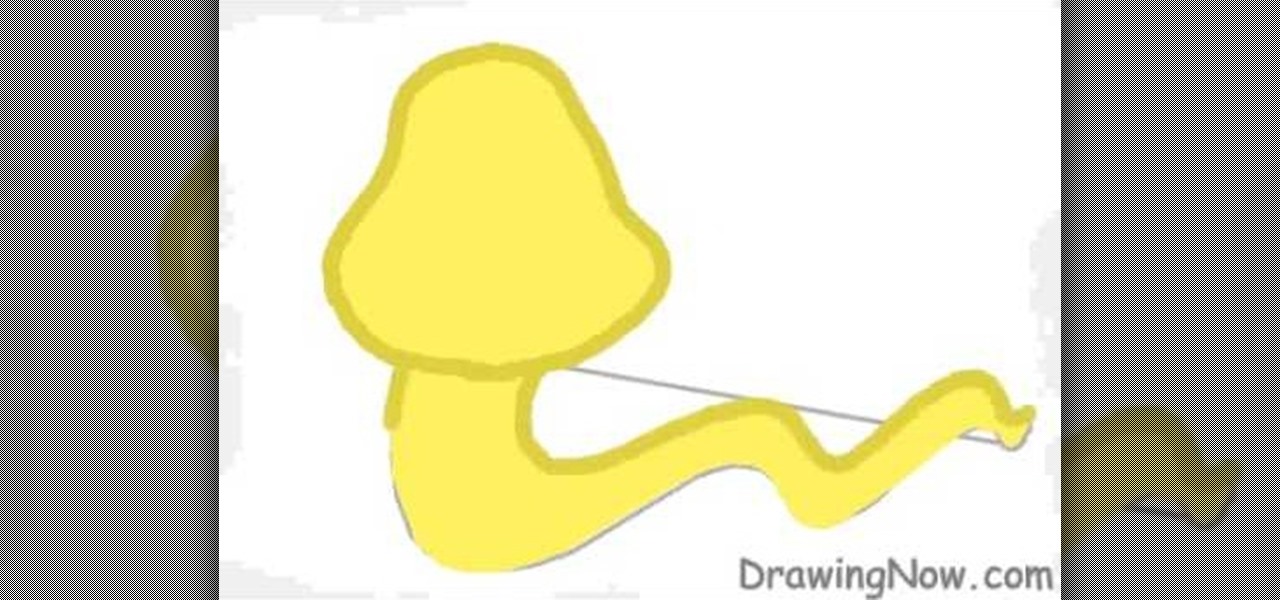
In this tutorial, we learn how to draw a cute snake. First, draw a bell shape for the head, then draw a thick squiggly line for the body of it. After this, color the snake yellow and then outline it with a dark green color. From here, add stripes to the snake in hot pink. Next, you will draw on the face to the snake. Make sure to give it a friendly smile and draw the stripes on the top of the head. Next, you will draw on the tongue, giving it a long one with two triangle edges. This will fini...

In this tutorial, we learn how to draw curvy steps using pencil. To start, you will draw a thin horizontal line with a small point on it. After this, you will draw lines out from this, using a ruler to keep them straight. From here, draw your steps on the bottom of the page using the lines to keep them proportioned and in place. Draw them in a triangle wedge shape and then color them in. Shade the bottom and the sides to give them depth and dimension. After this, draw in the area around the s...

In this tutorial we learn how to make 303 acid using TS404. First, move the distortions around all the away around. After this, you will have a techno kind of beat. From here, you will change the oscillator one and two knobs all the way to the left. Once you have fine tuned these, play your audio to see how it sounds. Keep the filter in LP24 and move the resonance all the way to the right. LFO and Wave should be changed to the triangle pattern. Move the amount to the opposite. When finished, ...

In this video we learn how to make a paper rose from newspaper. First, fold a red piece of paper into a small triangle. After this, fold it into quarters on both the right and left side. After this, you will have a slight flower shape. Take a pair of scissors and cut diagonally across from this, then open it up. Then, wrap the flower around a pen to create realistic petals. When finished, make more of these to create a bouquet of flowers. Use different colors and different types of papers to ...

Tutting is basically the human body's way of trying to become a square. Or a triangle. Or a rectangle. That's because tutting is a type of street dancing that involves moving the body to create geometric positions, usually with right angles.

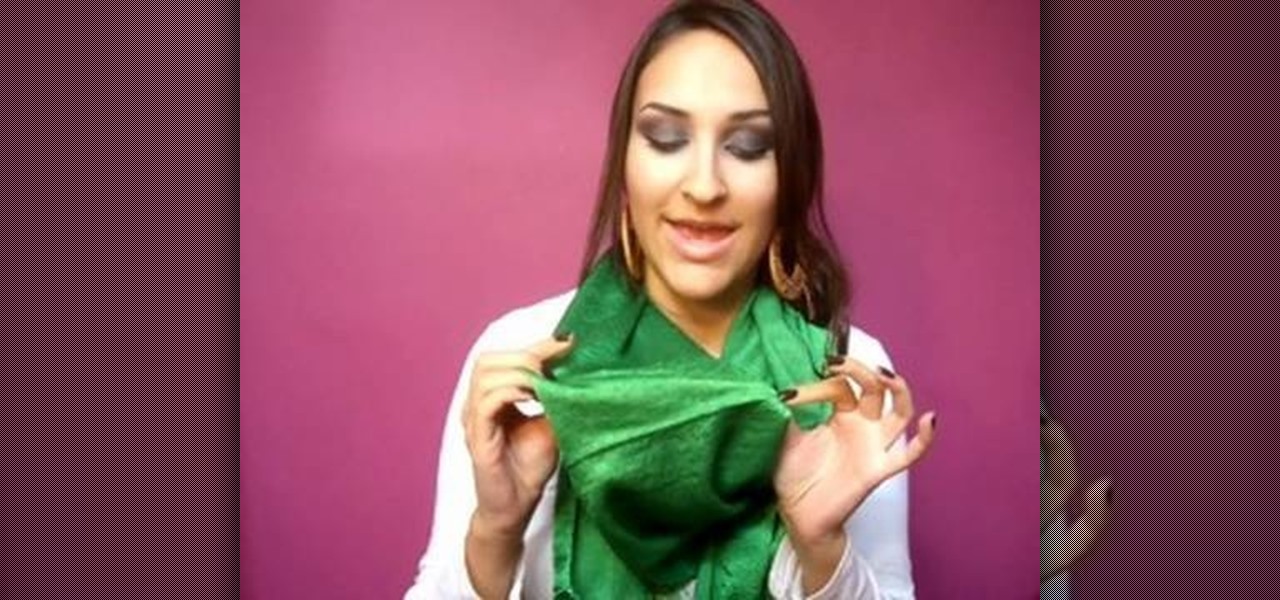
In this tutorial, we learn how to tie a scarf from Lucky Magazine. The first way to fold a square is to fold it into a triangle, then fold it down until you are left with the bottom. Put it around your neck, then knot it and tuck the knot into the neck area. The second way to tie a scarf is to take a long one and place it behind the neck. Then, wrap it all the way around and tie it in the back. Now your neck will be completely covered with no chance of chills. These are both great ways to tie...

In this video, we learn how to draw Karin. First, start drawing a circle and then add the eye line to help you place the eye. After this, draw in a triangle at the bottom of the circle as a reference to where the chin will go. Then, draw in a line for the body, then circles for the body and shoulders. After this, draw in the neck and then draw the rest of the body. Now, draw in the hair and the details of the face. Once you have finished this, erase the background lines from the face and then...

In this video, we learn how to make the best paper snowflakes. First, take a dark blue and white piece of paper and fold it up into a square, then fold into a triangle. Next, grab a pair of scissors and start to cut along all of the sides of the paper. You may have to do this a couple of times to get the shape right, it will be helpful to use a diagram to show you where to place the scissors. When you are finished, open up the piece of paper to see your snowflake! String this with other snowf...

In this video, we learn how to draw Rukia. Start out by drawing a circle with a triangle shape at the bottom. Then, draw reference lines in the face to measure where the features of the face are going to be. After this, start to draw in the details of the face. Draw the eyes, mouth, nose, eyebrows, and any other details you need. Make sure the eyes match the original character and leave white for the pupils to show. Draw in the hair to finish up the drawing, making sure to draw the eyebrows a...

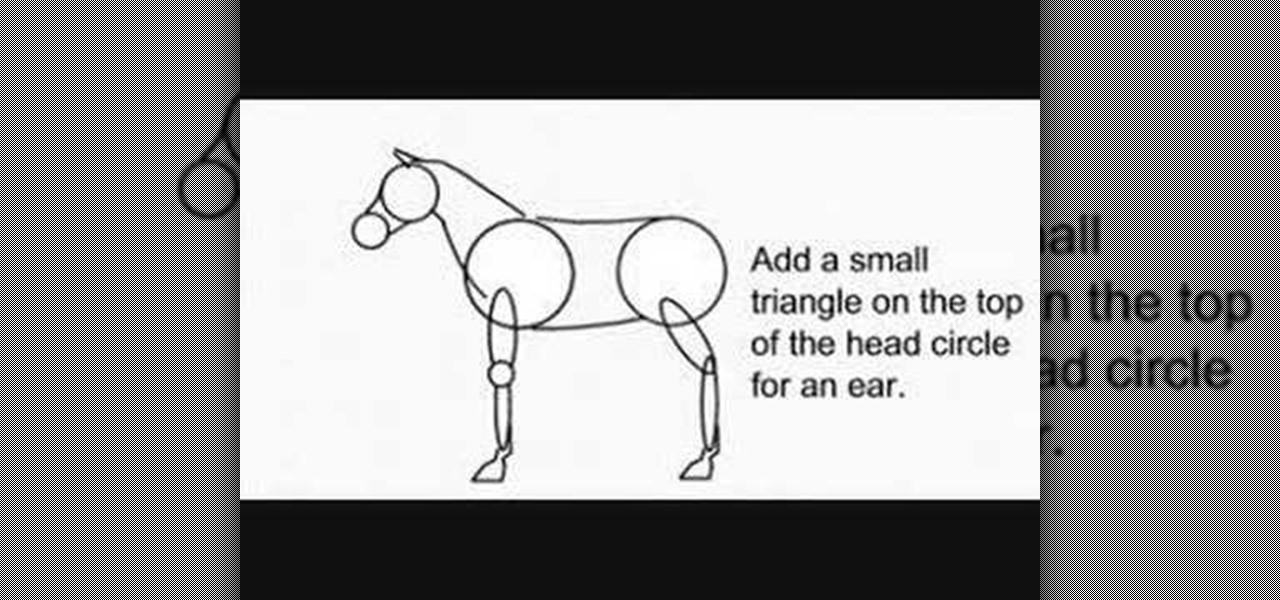
In this video, we learn how to draw a decent horse. First, start with two circles connected by two curved lines. Next, add a sausage for the top of each leg and add a small circle for the front of the knee. Then, add another for the lower part, and add two hoof outlines at the base of each leg. Then, add the back of the hooves. Next, draw two more lines that are far apart at the bottom and narrow at the top for the neck. Then, draw two circles for the top of the head and the muzzle. Join the ...

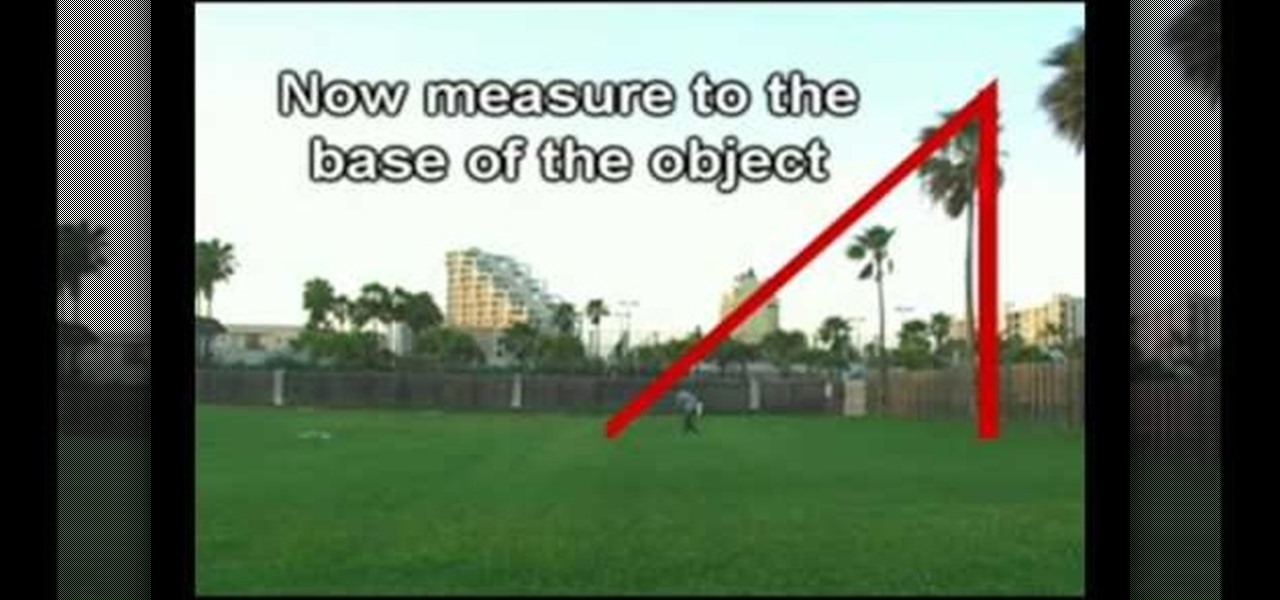
In this video, we learn how to use a protractor to measure the height of any object. First, attach a level to the protractor, followed by a straw at the 45 degree angle. Next, walk back form the object while looking through the straw. Keep walking back until you spot the top of the object through the straw, then measure to the base of the object. After this, you will have an isosceles triangle that has two equal sides. Use these sides to help find what the size of the object is. After this, a...

In this video, we learn how to wear a scarf by creating contrast and texture. A squared shaped scarf with contrasting patterns will look great with anything that you are wearing. To wear this, make it into a triangle, then tie the ends together around the back of the neck. Then, you can let the scarf hang down on the front to add a texture to your look. A solid color scarf is also great if you are wearing a simple top to add a splash of color. You can tie this around the neck one, then let th...

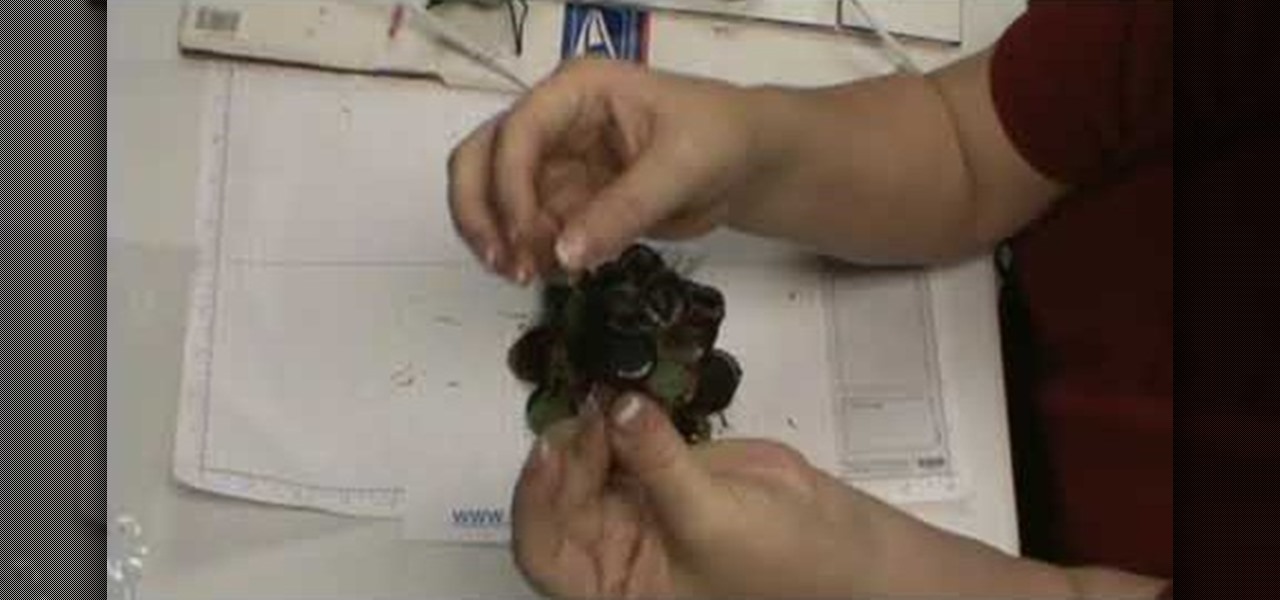
In this video, we learn how to add netting a flower pin. Once you have already out your flower together, put a pin in the back so you can clip it to your clothing. Now, purchase netting from a craft store and cut out a small rectangle. Now, fold this piece up in half and then in half once more. Now, make a triangle at the bottom and open up the flower. Find a place to put the netting in, then apply hot glue inside and use a craft pencil to push the netting into the glue. Do this a couple more...

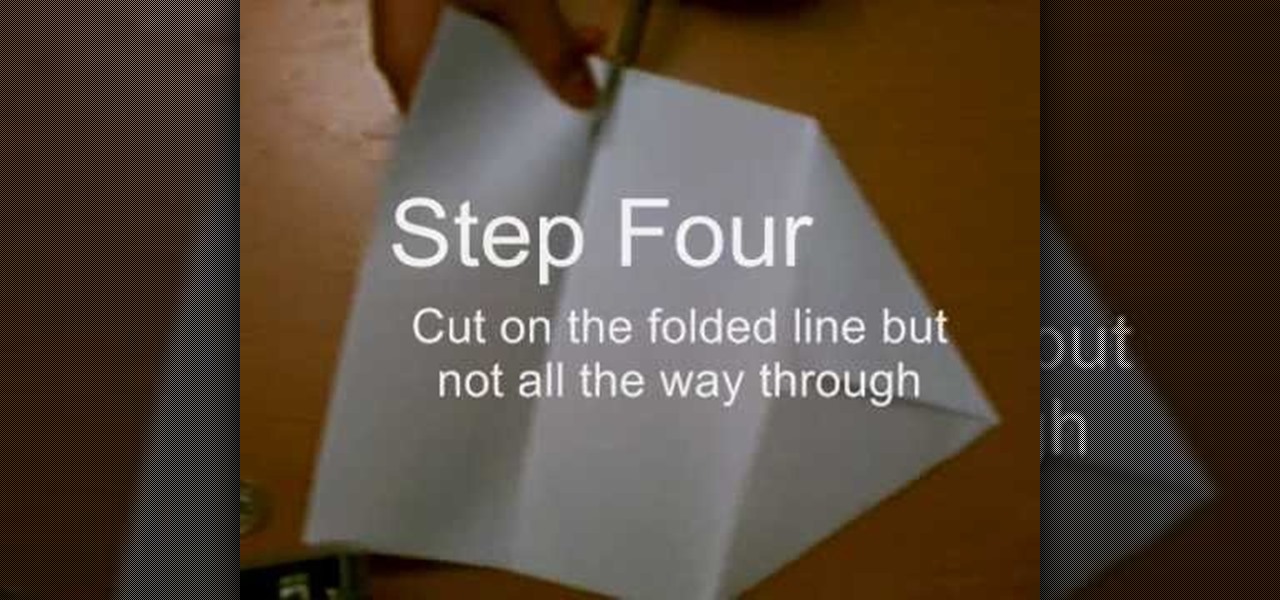
In this video, we learn how to make a whirlybird paper helicopter from printer paper. First, fold two triangles together on the paper. Next, fold the back to the triangle you just created. Next, fold the paper back and, then cut on the folded line but not all the way through. After this, fold the middle flaps until they reach each other. Then, cut through the middle of the bottom and fold one flap on the top, then fold the other flap on the flip side. Now you will be finished with your helico...


