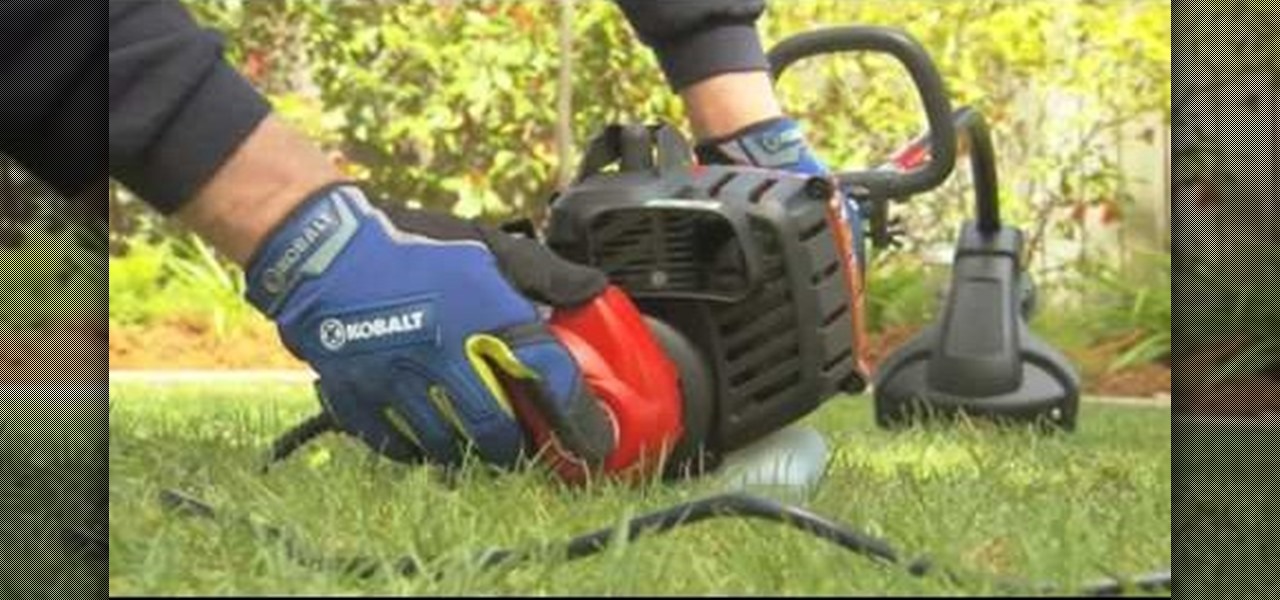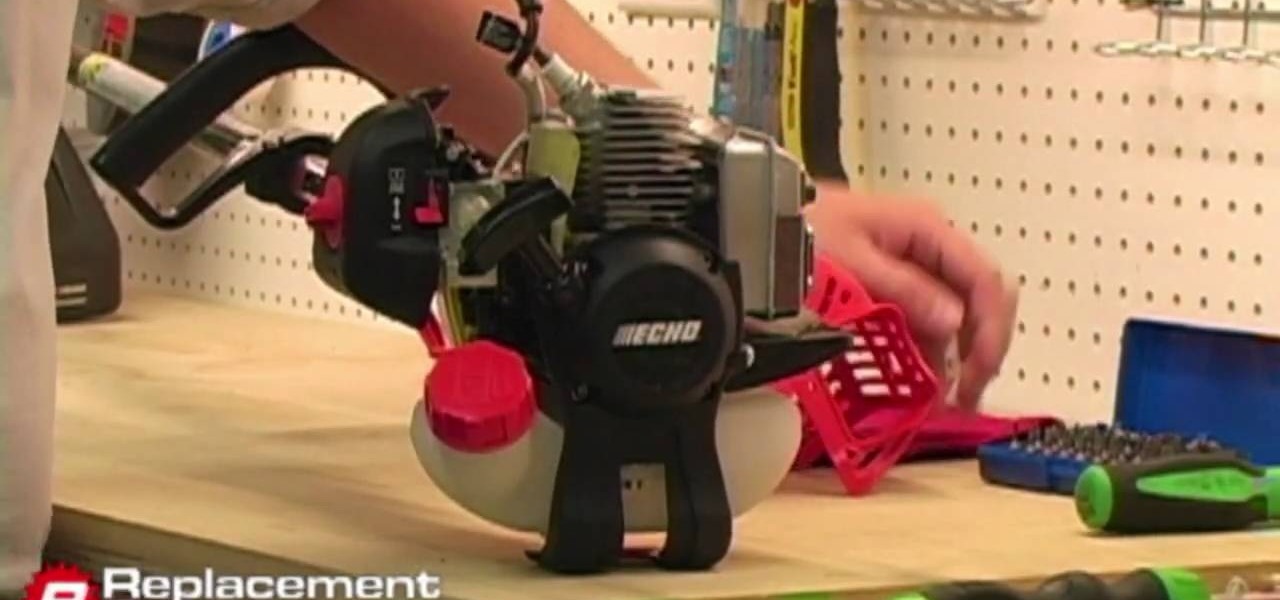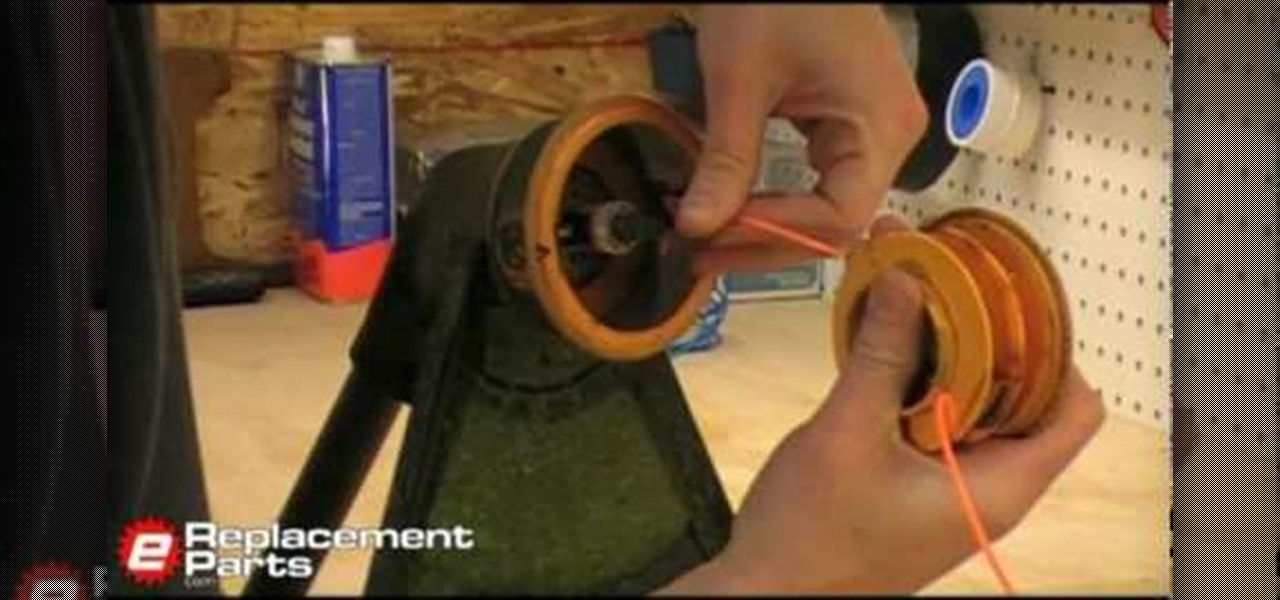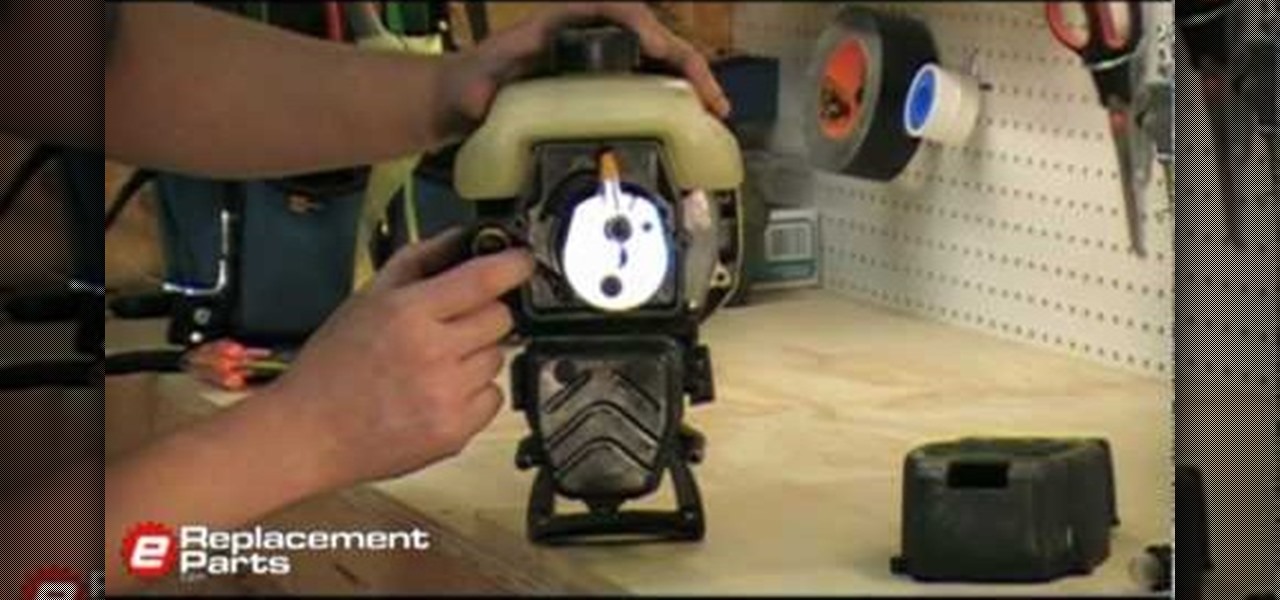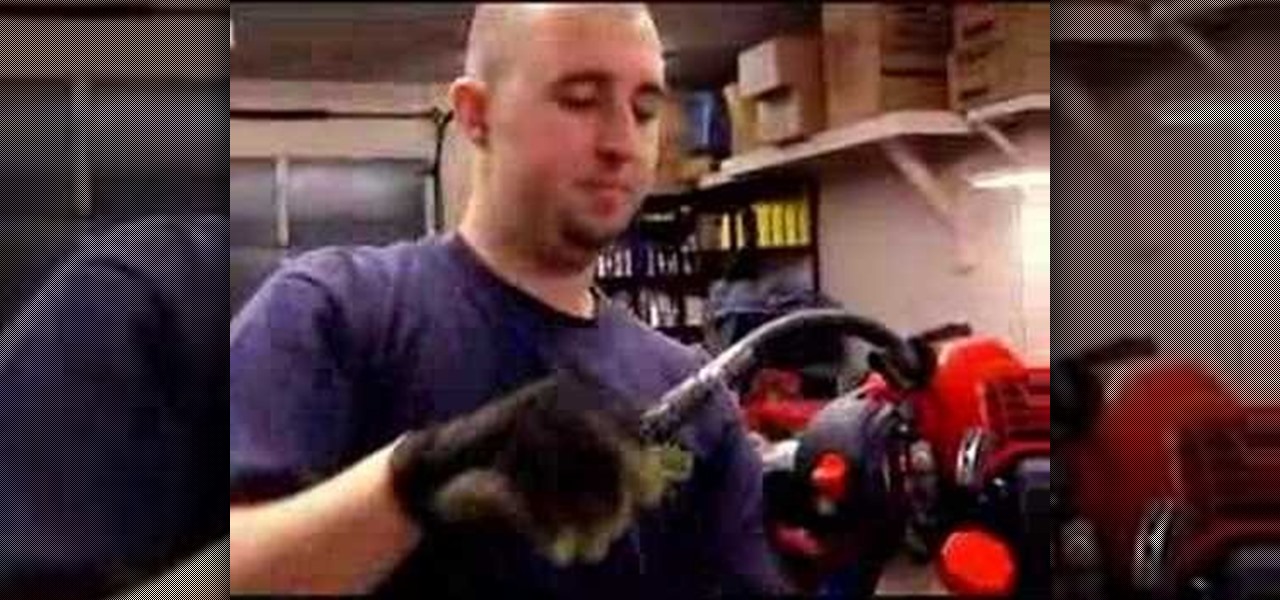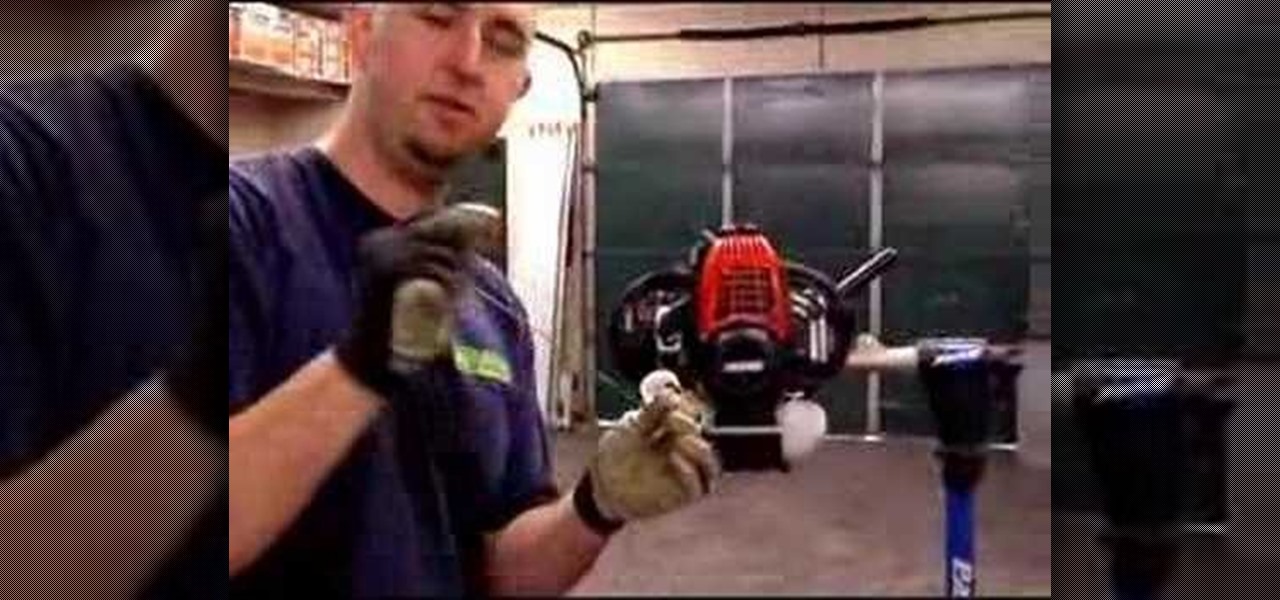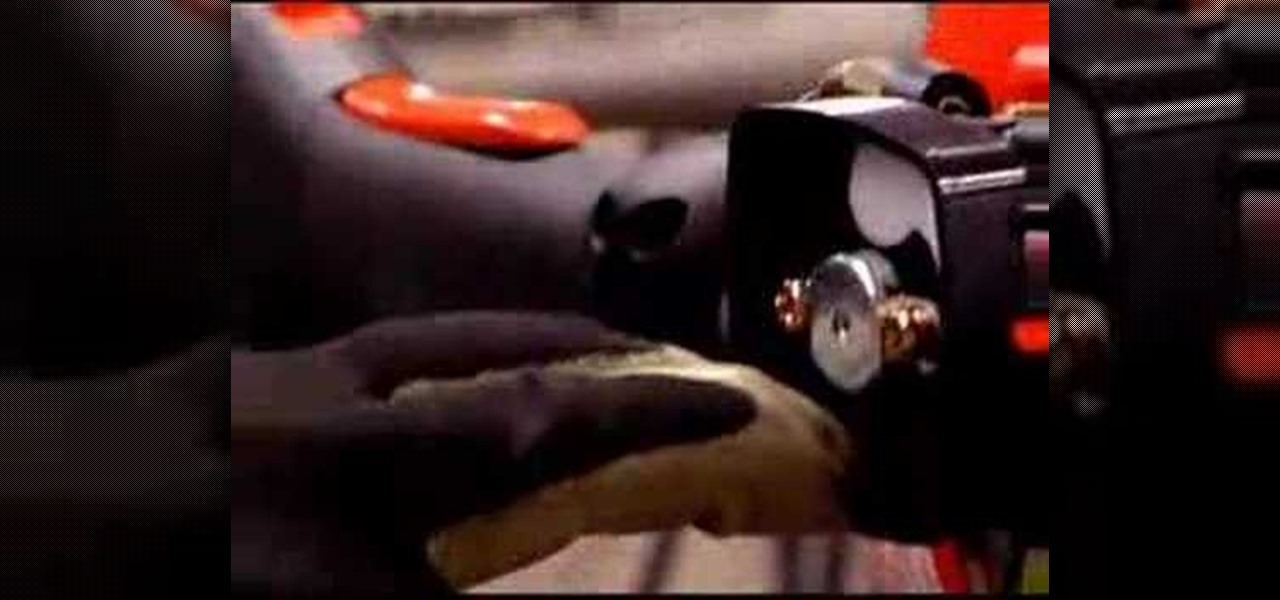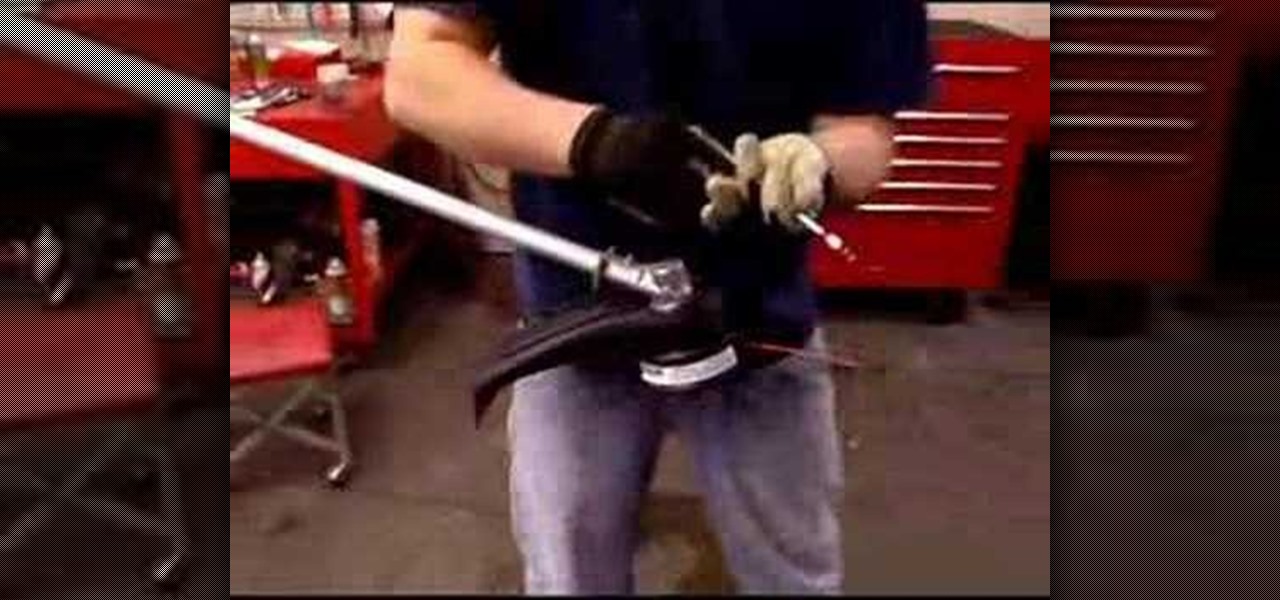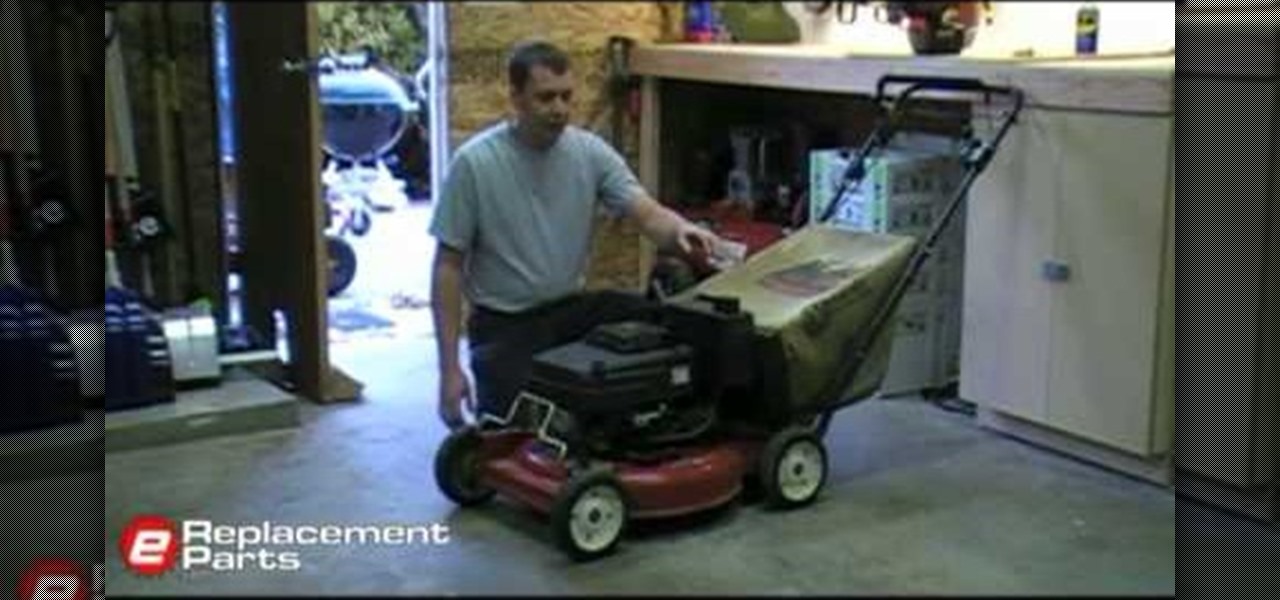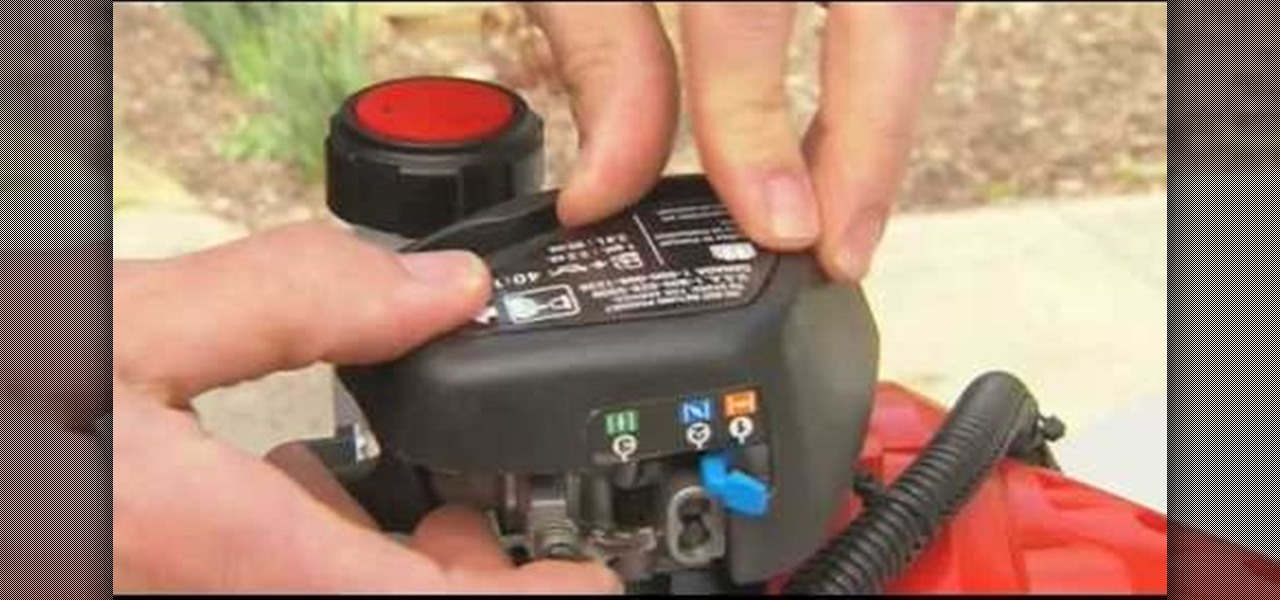
A string trimmer is a handy tool, but you have to maintain it if you want it to work its best. Learn how to do maintenance on both a 2-cycle and 4-cycle gas-powered trimmer. Lowe's home improvement expert, Mike Kraft, gives helpful tips for string trimmer maintenance. Learn how to replace string, change the oil, clean the trimmer filter and more that will help keep your string trimmer working like new.

If you perform a lot of home lawn care, then don't neglect your lawn equipment during the winter months. It's important to keep your lawn edger and weed trimmer (or weed whacker) in shape to make sure your spring lawn maintenance runs smoothly. Lowe's has some great maintenance tips for you to perform to completely winterize your lawn tools.
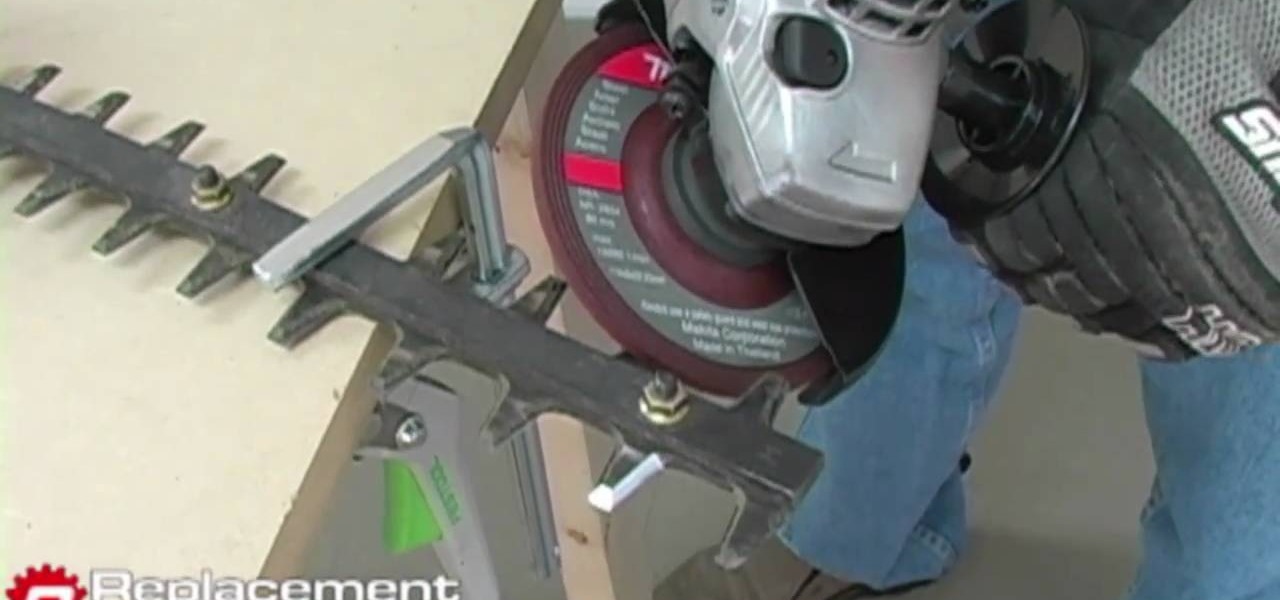
Hedge trimmers are powerful pieces of yard equipment, but even their mighty blades go dull and stop cutting well. Watch this video to learn two different methods for sharpening hedge trimmer blades, one using a mill file and the other using a power grinder.
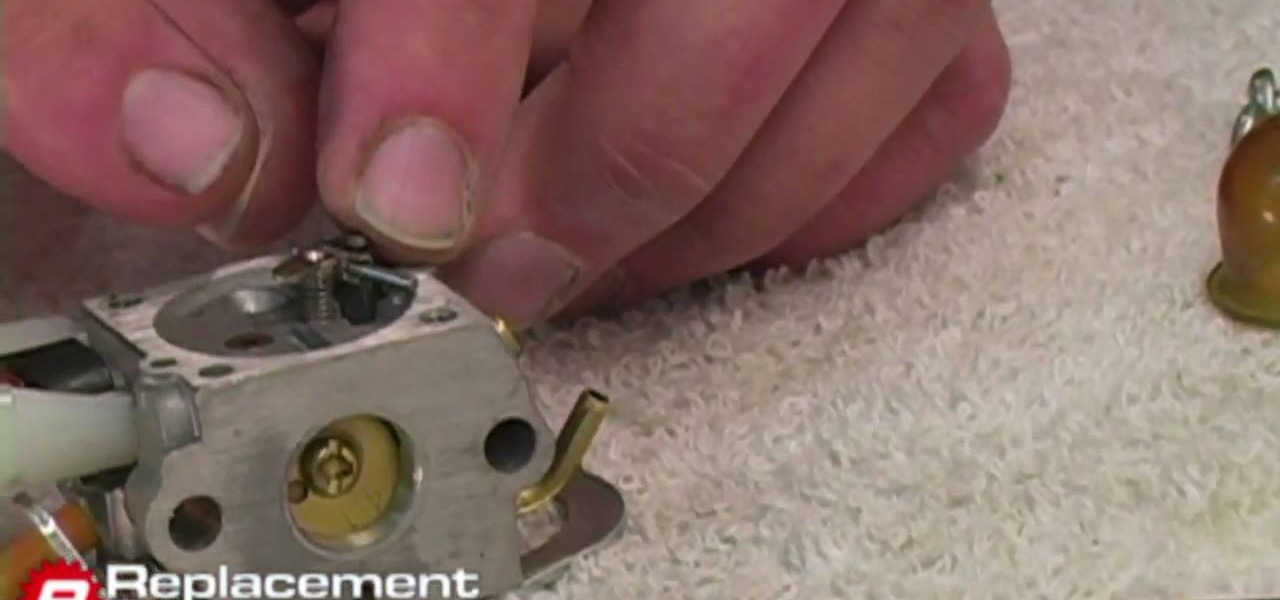
If you own a Ryobi trimmer and wish to perform some regular maintenance work on it, you may want to check out this next video. In the tutorial, you find out how to clean a 2 cycle engine carburetor from the Ryobi trimmer using some simple pieces. It's not too difficult to do and can be really handy when you want to make sure your machine is working at optimal capability. So check out the video above, pay attention, be careful, and enjoy!
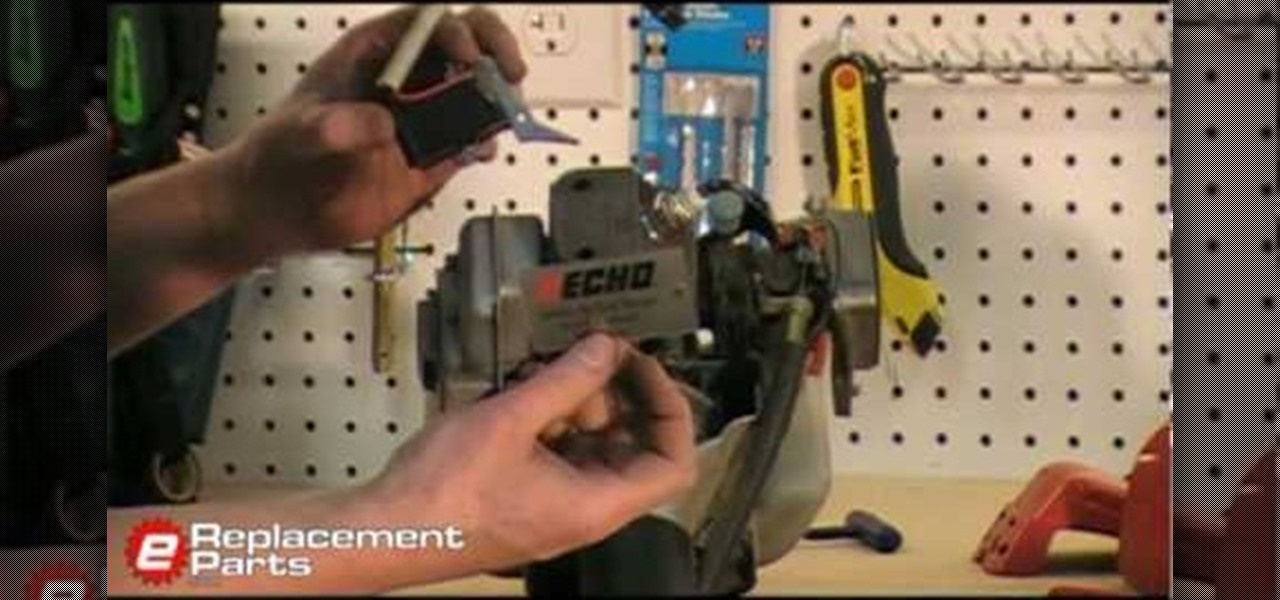
If your ignition coil is out on your lawn trimmer, you will probably have to replace it. You can easily test the ignition with a spark tester before removing it to see if it is indeed your ignition coil. There are a number of things that can go wrong with the ignition, it can simply just not create a spark anymore or it can be acting up where you're lucky if you get it to start up when you need it to.

Power tools for trimming wood. Learn how to use a laminate trimmer in this free woodworking from an expert carpenter.

There are many tools that homeowners can use to help with the curb appeal of their own and landscape. One of those tools is a weed wacker or string trimmer. This device enables the user to get rid of weeds instantly and makes lines and edges look clean and finished. So in this tutorial, you'll be finding out how to use one in your yard today. So good luck, be careful, and enjoy!

If you need to fix or replace the clutch on your trimmer, you will be able to follow along step by step at the best way to take the trimmer apart so you can get to the clutch. There is a tip provided for removing those tricky clutch drum screws as sometimes you cannot get some parts out as easily as they look.

There's nothing worse than preparing to work on your yard and finding out that one of your most important tools is busted. A broken starter on your trimmer can lead to a bad day for anybody. But with this tutorial, replacing it can be easy to do and will have you out in the yard in no time. So check out this tutorial for how to replace the starter to a trimmer easily. Enjoy!

Knowing how to pull something apart and how to put it back together is important when owning any kind of mechanical tools. In this tutorial, you'll find out how to replace the starter to an Echo trimmer. This video makes the job much easier for you and will ensure that you have a long lasting machine that will help make your yard perfect. So good luck and enjoy!

Trimmers, or as some people call them weed-whackers, need one important piece for it to work properly: the trimming line, of course. This helps cut off pieces of unwanted grass or weeds with just one single swipe and is easy to replace. In this tutorial, you'll find out how to replace trimmer line in three different devices easily. So sit back, pay attention, and good luck!

Replacing a fuel line, is a common practice when it comes to dealing with outdoor tools and equipment. In this tutorial, you'll be focusing on a trimmer fuel line. It's a difficult task that can take some time to complete, but the end result will be a much more efficient working device that will save you time and money. So check out the tutorial above and good luck!

This is a step by step DIY tutorial of how to change the spark plug on your trimmer or weed wacker.

this is a step by step DIY tutorial of how to change the fuel filter on a garden trimmer or weed wacker.

This is a step by step DIY tutorial of how to change the air filter on your trimmer or weed wacker.

This is a step by step DIY tutorial of how to restring a garden trimmer head.

This is a step by step tutorial of how to grease the head on your garden trimmer or weed wacker.

A string trimmer is a useful tool for maintaining your lawn. Learn how to use it correctly and safely with this tutorial. Another name for this tool is a weed whacker.

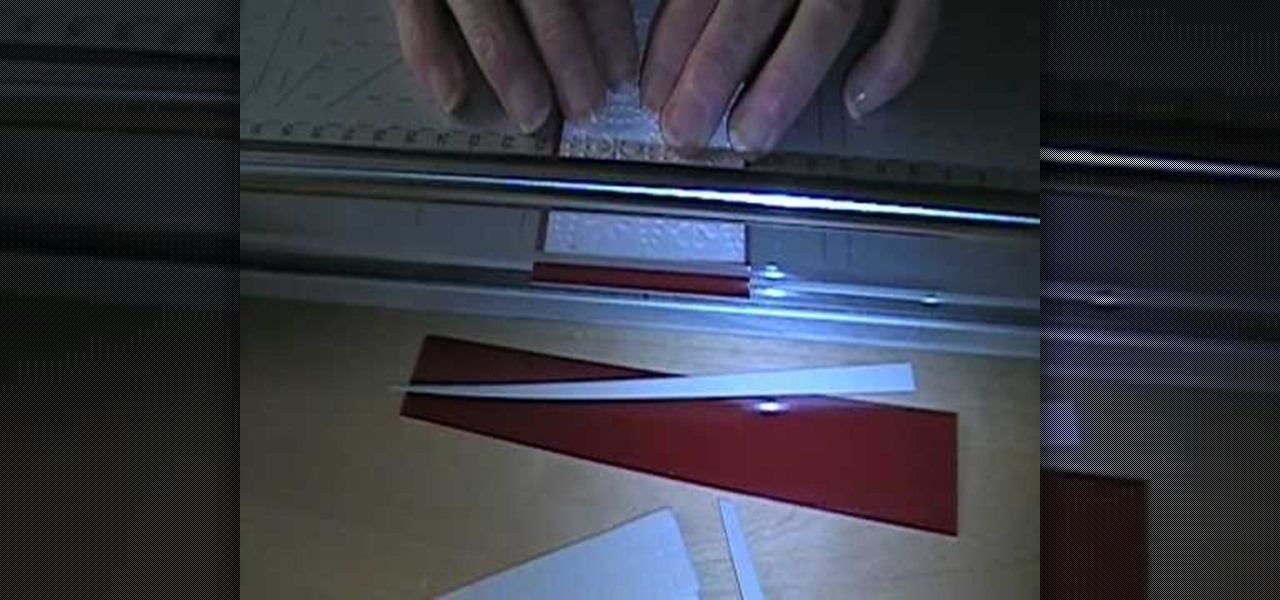
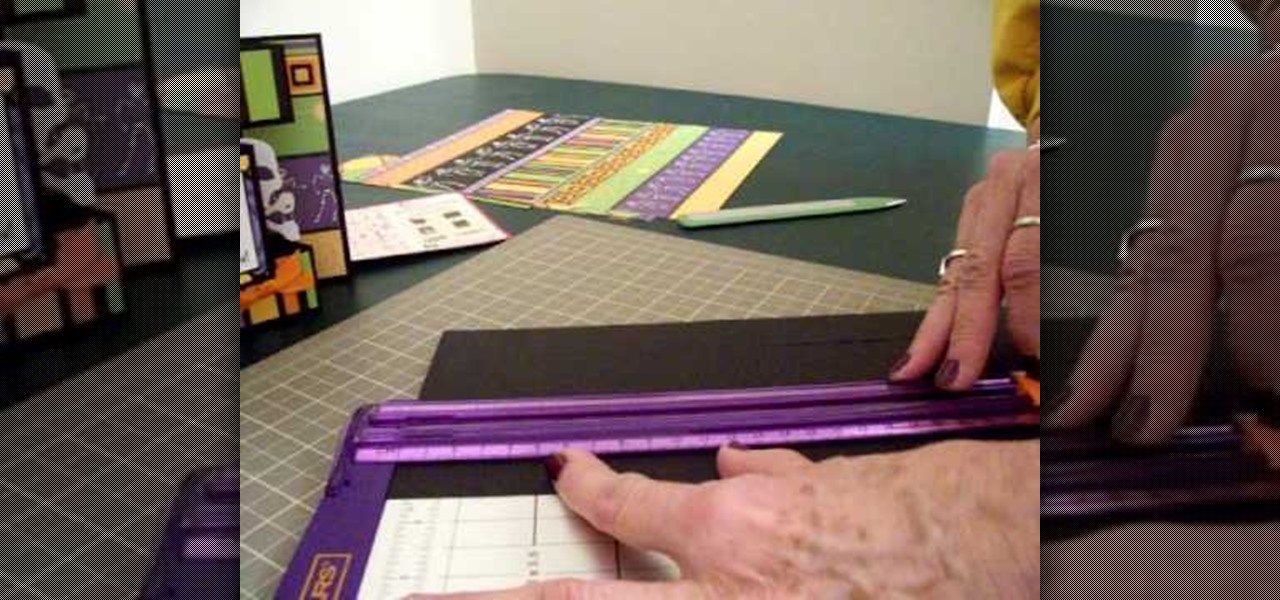
This Arts & Crafts How-to video gives a demonstration and product review of the Fiskars Portable Paper Trimmer, used in scrapbooking, card making and other paper craft projects. Learn how to use the Fiskars paper trimmer to make any paper crafting project easier.

In this landscaping video series, learn how to use an electric grass trimmer from expert Jon Olson. Jon will give you general safety precautions and electrical requirements for edging your lawn with an electric grass trimmer.

In this tutorial, we learn how to replace a primer bulb on a Stihl FS110 trimmer. First, remove the screws around the top cover. After this, remove the bolts around the bulb on the trimmer as well. Once you take this out, replace the bulb with a new one. You may need to blast the dirt away from the bolts to be able to get inside and remove them easily. Once you replace the bulb, make sure to screw the bolts in tightly around the bulb and around the cover. When finished, you will have a new pr...

In this video, we learn how to replace the line on a STIHL trimmer head. First, remove the spool from the head by stopping the engine and cutting attachment first. Then, grasp the body and insert your thumb into the tab on the head, then rotate around and press on the second tab. After this, press down on the spool and release it from the housing. Now, remove the star nut to remove the head completely. Now, you can replace it with a new one. After this, replace the parts that you took out and...

In this tutorial, we learn the proper way to start a STIHL trimmer. Before you begin, make sure you are wearing the proper protection gear. Next, check the fuel level, throttle trigger, stop switch, cutting tool, and harness. Everything should be tightened and in good starting condition. Make sure you are away from any obstructions before you turn on the cutter. Pull the starter grip and guide it to rewind it properly. Pull the rope several times, then move the choke to the starter position. ...

Learn how-to use the Fiskars Personal Paper Trimmer for your paper crafts. Use the Fiskars personal paper trimmer.

Unless you're actively going for that caveman look, it's a good idea to keep your beard in good trim. Otherwise, good luck finding a decent loincloth and club these days. . . You will need a beard in need of trimming, a mirror, a pair of barber's scissors, a wide toothed beard comb, an electric beard trimmer with guard attachment, a razor and some water. If you are using the beard trimmer, you don't need the comb - just set the trimmer's guard attachment to cut the least amount of hair possib...

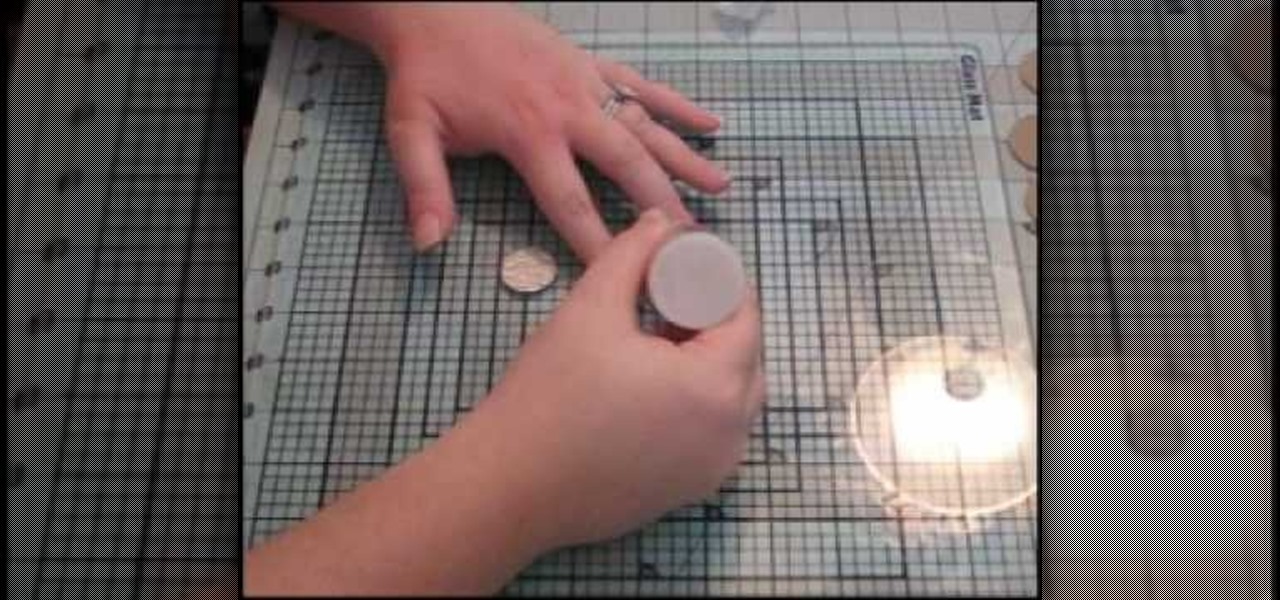
In this video, we learn how to make custom chipboard buttons for scrapbooking. First, take a scrap of chipboard and use a circle trimmer to cut circles out. Cut circles out of patterned paper in different sizes using many different patterns. Now, apply glossy finish onto the papers and wipe off the excess liquid. Ink the edges after this, then put adhesive onto the back of each of the different circles. Now, you can punch holes into the center of the circle to make it look like a button. Now,...

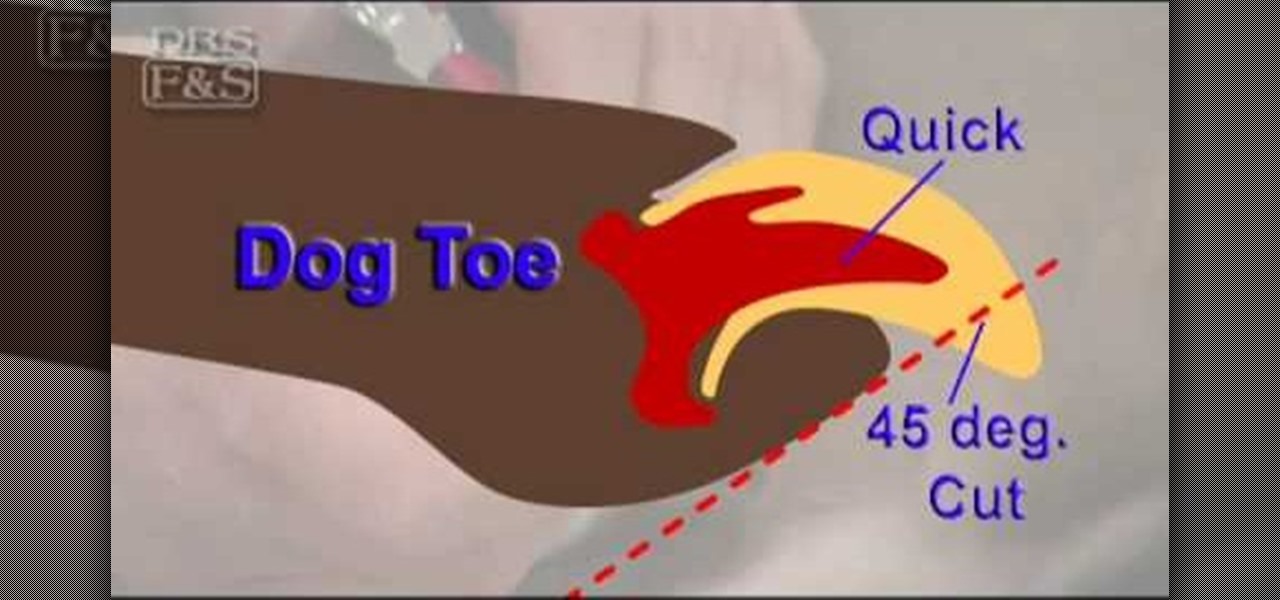
In this Pets & Animals video tutorial you will learn how to properly trim your dogs nails for their comfort. Materials that you will need are a high quality trimmer, nail file and styptic powder or pads. Begin by making yourself and your pet comfortable. Have the pet lay on the side so that all four legs are accessible. You will clip only that portion of the leg that extends beyond the quick, the blood vessel that runs down the nail. Start by clipping a thin slice of the nail and give him a t...

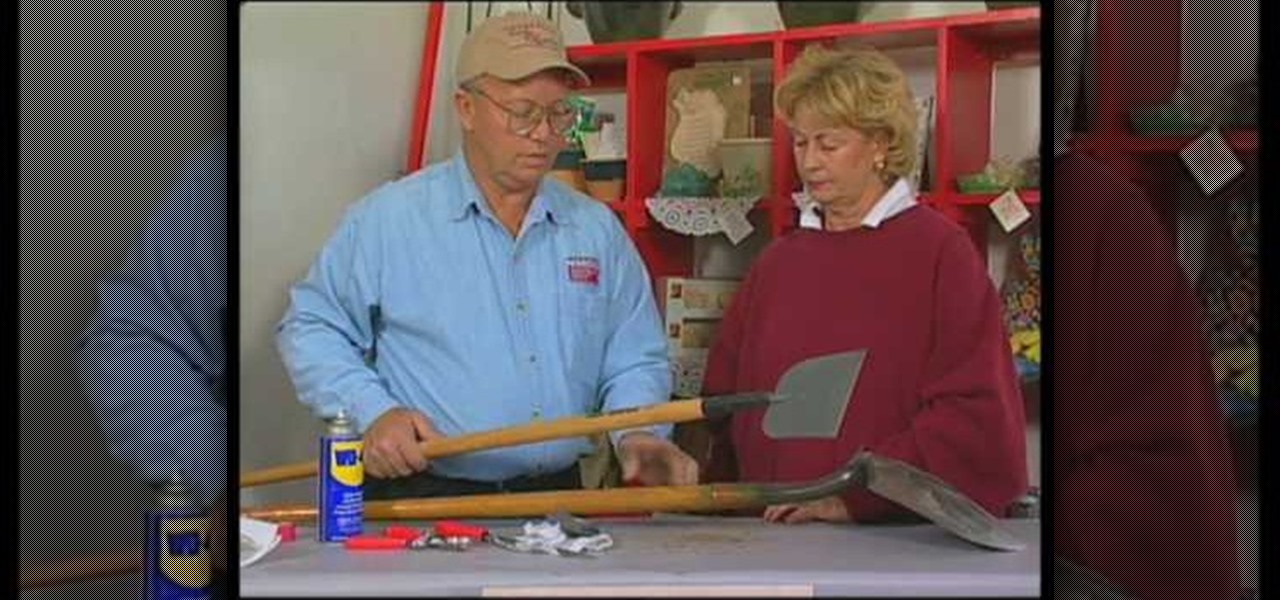
John White shows how to clean and sharpen your tools by using a file and WD40. He also advises to repair the wooden handles of your tools to prevent injury. Run the file along the back and sides of the shovel. Leave the front part smooth. Make sure you remove any mud to prevent corrosion. Use steel wool to achieve this as well as WD40. Use the file to sharpen the edges of your hoe and again clean with steel wool and WD40. The file is also useful for sharpening trimmers. Clean all the dried pl...

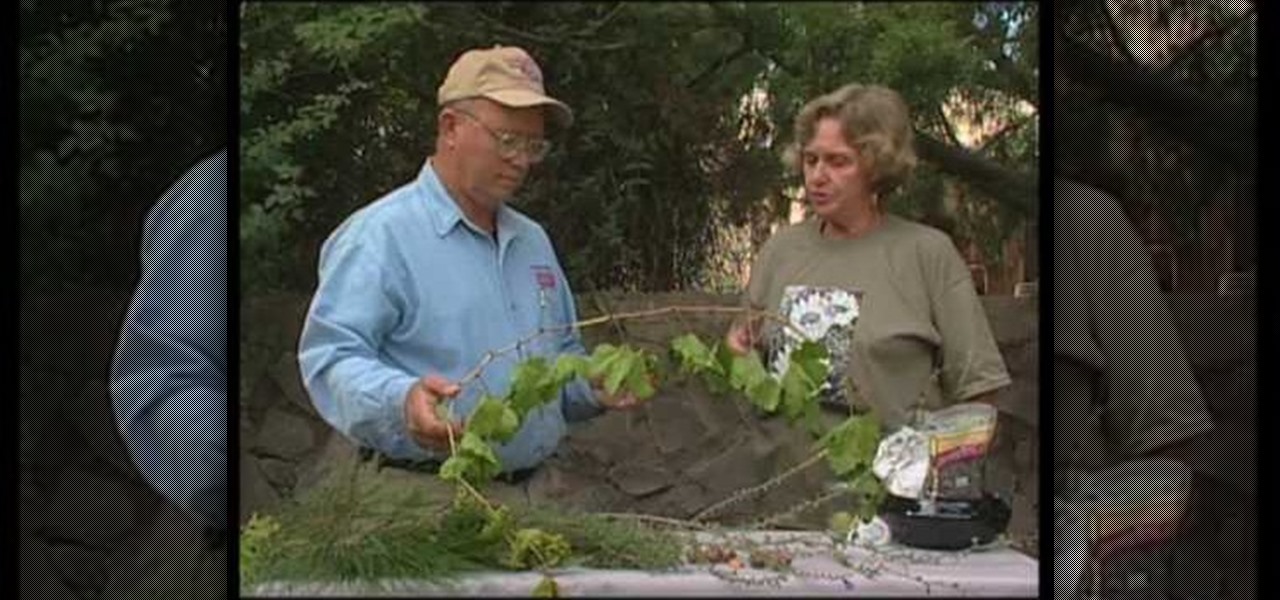
Master Gardener Rosamarie Maddox asks John White, Doña Ana County Extension Agent, about problems facing her pecans, grapevines, and native shrubs. An unidentified insect found on her pecan tree is identified by John White as a Twice Stabbed Ladybug. This ladybug is a useful insect that often over-winters on the tree and helps takes care of the aphid problems faced by pecans. Pink fuzzy coating on pecan nuts is also brought up. The coating is normal for pecan and contains bitter tannin. Too m...

In order to make cuttlebug cards, you will need the following: cuttlebugs, ribbons, two sided tape, a trimmer, and cardstock.

The pubic area is a very, very tricky area, when trying to shave and so in this video, Dan and Jennifer from Ask Dan and Jennifer try to supply some useful tips and tricks for this delicate operation. First, you need the proper tools. These include, Dan and Jennifer say, a good electric trimmer, a razor that's not a straight razor and of course shaving cream. Secondly, always use the trimmer and then razor on the surrounding pubic hair, not the main area, first. Third, you want to go, from ar...

In order to make a Two Pocket Card, you will need the following: double sided large card stock (8 x 4), precision trimmer, a ruler, tape, or glue, a pencil, and a ruler. Fold it in half, widthwise. Open it up and fold it lengthwise. Open it back up.

In order to make the side step Christmas card, using Cricut, you will need the following: card stock, cutter/trimmer, adhesive, rhinestone, ribbon, and a bone folder.

Live in an area where you won't be needing your gas-powered tools for the winter? Such as your lawnmower, trimmer, and any other tools you need gas to operate. If you store them away for the winter and come back to use them during the spring time and realize your tools are acting funny, it may be because the gas you left in them has turned into a gel and has damaged the carburetor. You can do a number of things to protect your power tools from such a thing, you can dump all the gas out of the...

This video demonstrates how to make your own Greeting Cards at home. You will need the following: water color paint in bottles with sponge tip applicators and spray, ruler, adhesive, solid color paper stocks, patterned paper, a rubber stamp, stamp cleaning products, a bone folder, and a trimmer.

Ingrown toenails happen when the nails on your toes grow in the wrong direction and dig into the surrounding skin. Follow a few easy steps to treat this painful condition, and prevent it from happening again.

In order to make a Tri-Shutter Halloween Card, you will need the following: card stock, fishing line, ribbon, paper trimmer, printed/decorated paper, and adhesive.

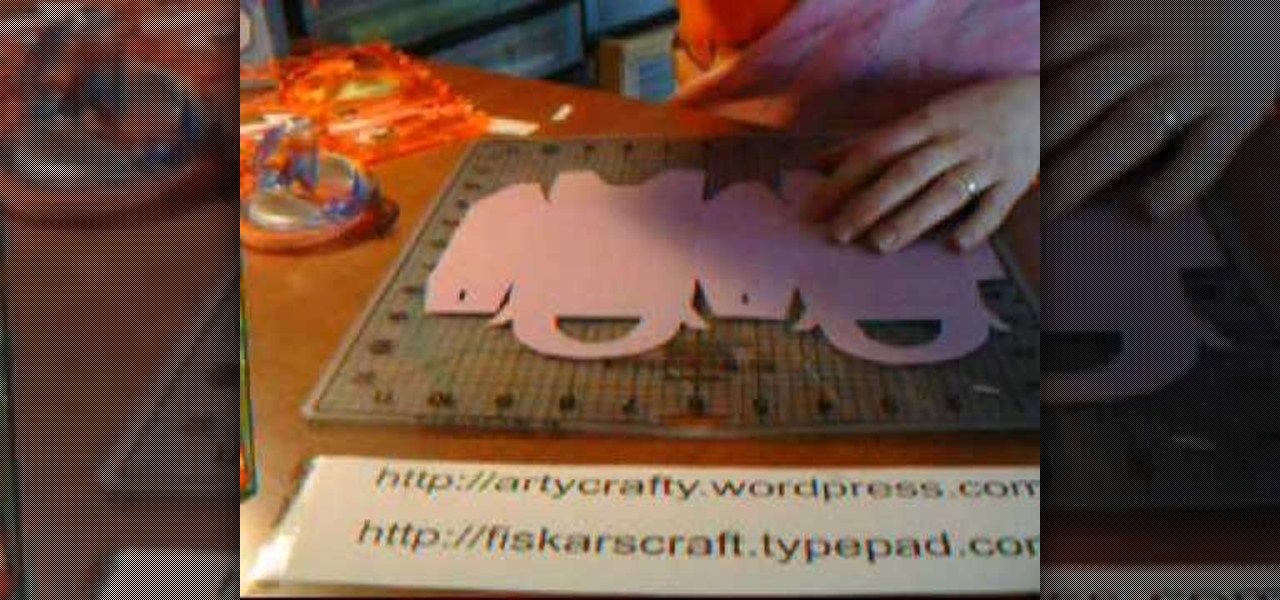
In this Arts & Crafts video tutorial you will learn how to make handmade treat boxes. Materials needed for this project are trimmer with scoring blade, PDF template, cardstock, scissors, Fiskars fingertip craft knife, Fiskars templates, Fiskars ultra shape Xpress, decorative scissors and embellishments. Download the PDF template from http://artycrafty.wordpress.com, print it out on a cardstock on the non-decorative side and cut out the shape along the thick line. Then score along the dotted l...

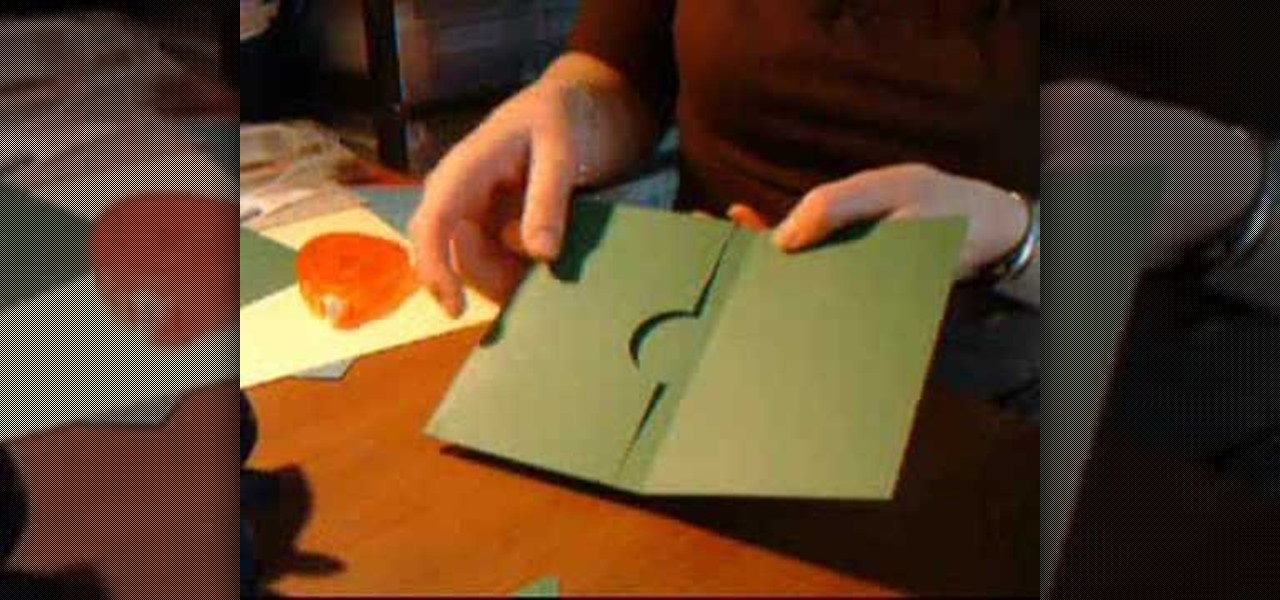
This how to video shows you how to make a pocket card. You will need a trimmer with scoring blade, fiskars corner boarder punch, circle squeeze punch, 3 pieces of 12" x 12" card stock, small pieces of patterned card stock, tape, and embellishments. First, score the stock at 4" and 8". Next, trim about 1/4" off. Now apply adhesive down to the sides of the card. From here, use the circle punch on the edge of the card stock. Fold the stock together to create a pocket. Next, trim unwanted strips ...

In this how to video, you will learn how to make bag tags. You will need a tape runner, embellishments, elastic, a plastic bag, letters, cloud 9 rain dot eyelets, a trimmer, bits of card stock, and hole punches. First, cut the card stock and make it a square shape. Next, decorate the card stock with embellishments and the name of the child it is for. You can use the adhesive to stick these on. Next, cut more card stock and wrap it the piece around the decorated card stock. From here, place th...


