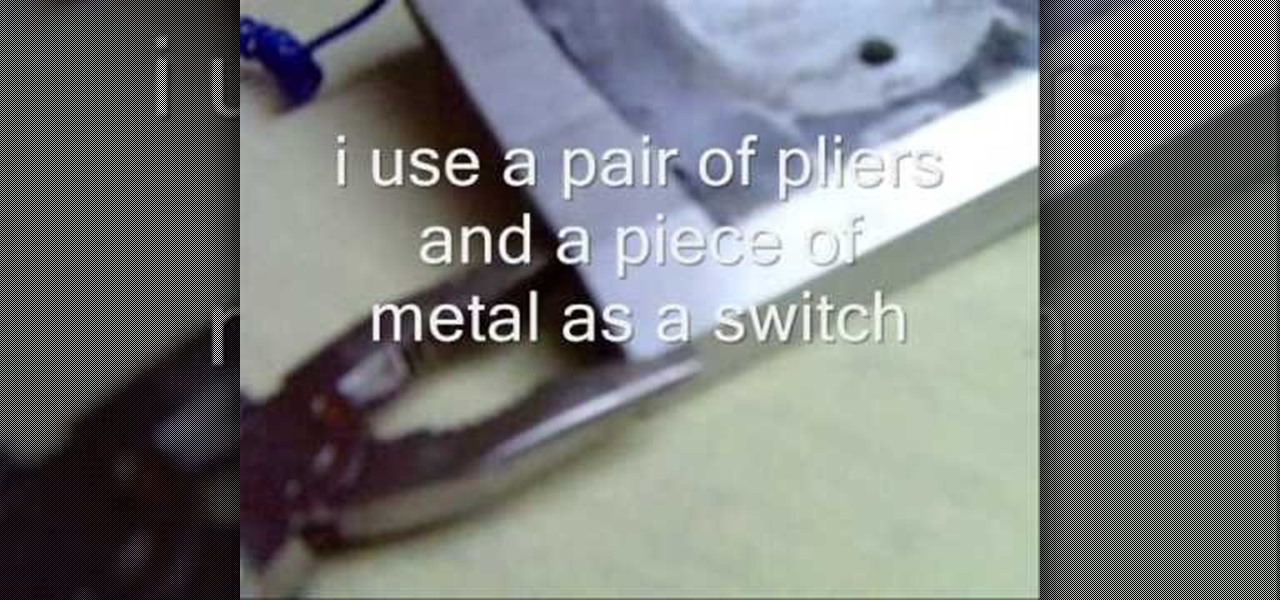
In this how to video, you will learn how to make a tight rope walking magnet. You will need a power supply with currents between 15 to 25 amps. A thick wire from a half to one centimeter is also needed for the tight rope. A small neodymium magnet will also be required. String the wire from one end to another. Place the magnet at one end. Use a pair of pliers and a piece of metal as a switch to run the current through the wire. Once that is done, the magnet should go down the wire. A magnetic ...

This video instructs you on how to clean the trackball on the Blackberry Bold 9000. Begin by turning off your Blackberry and removing the battery. Using a torque T5 screwdriver, remove the 6 screws around the edge that hold on the cover. Remember that doing this will void your warranty. Once the cover is removed, use your screwdriver to lift off the circuit board. Be aware that the USB port can get stuck. If that happens just push the port down slightly and you should be able to remove the ci...
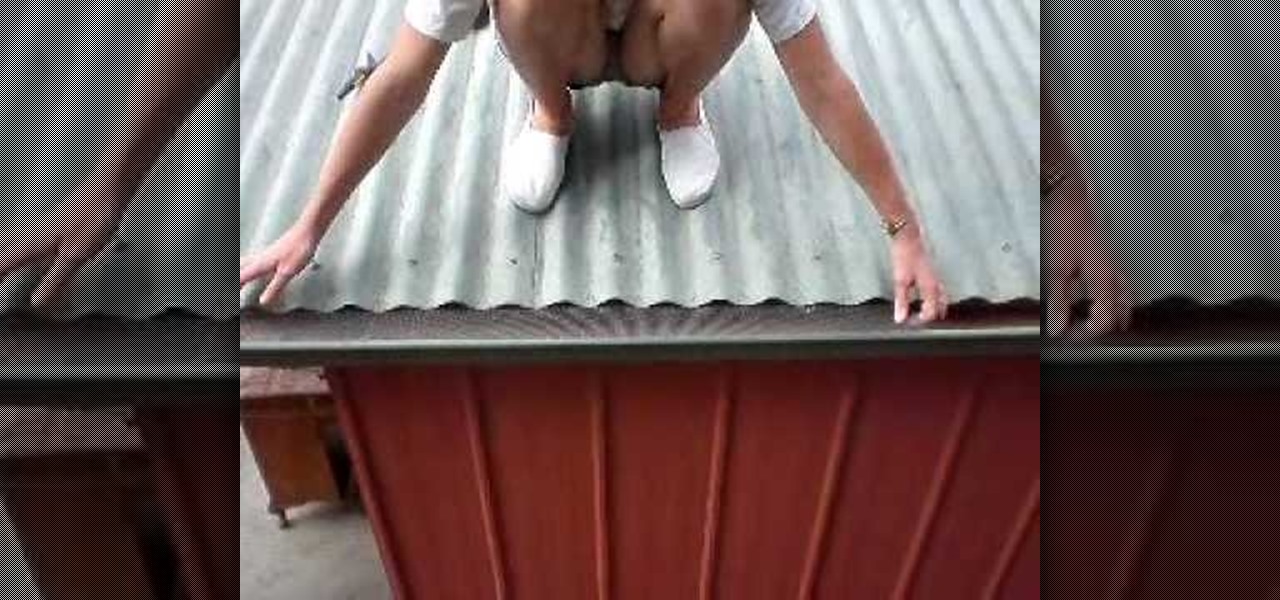
In this tutorial, we learn how to install a gutter guard. First, clean out your gutters of any rocks or leaves that may be inside of them. Next, gran the gutter guard and place it between your roof and the gutter. Gutter guard is a mesh type of metal that is flexible and easy to use. Now, take your gutter guard and place it on a long and thin piece of wood so it gets to be the same shape as the wood. Now, take the gutter guard and place it into your gutter. This is a great way to keep your gu...

In this video arsbeadsvideos instructs you on the use of crimping pliers, crimp tubes and how to use crimp covers. Make sure you use jewelry wire that is fine enough to fit through the holes in your jewelry. On your crimping pliers you'll notice there are two notches, also called stations. The first notch is furthest from tip of the pliers and has a raised bump or dimple in the middle. This helps to created figure-eight crimps. The second notch is used to form the crimp into a tube shape. To ...
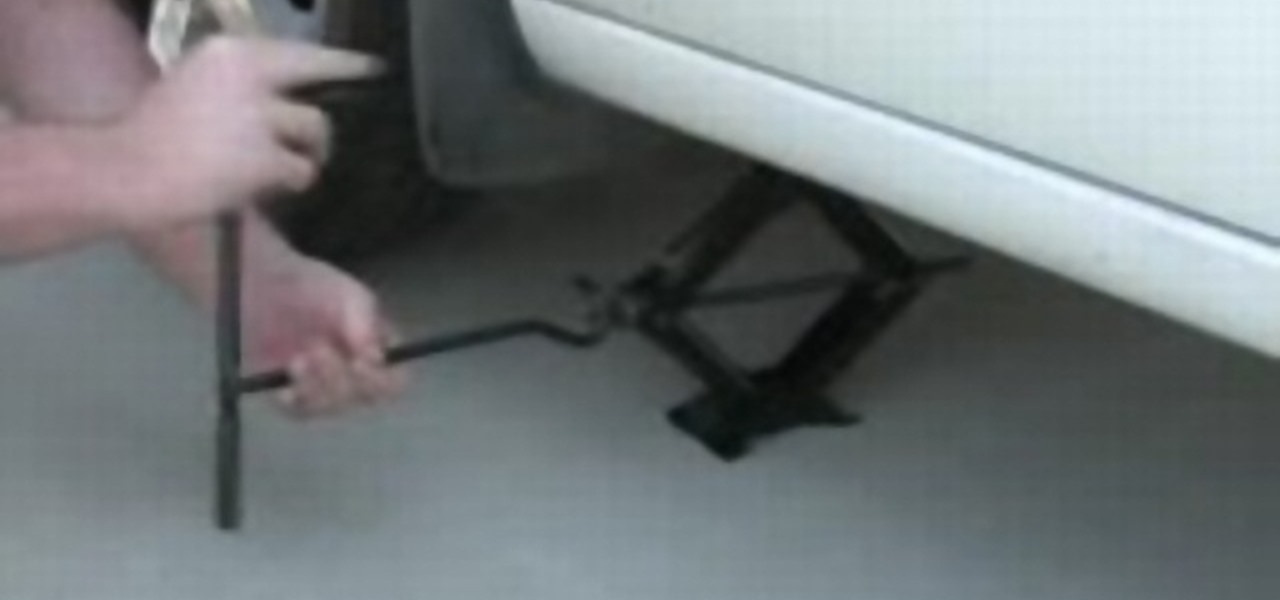
Graham from TV Lesson explains how to change a tire. In most cars, the spare tire is located in the trunk, along with the jack and tools. First, look under the car and locate the folded pieces of metal to find the jack point. Raise up the jack a bit and slide it under the jack point. Next, using the lug wrench, break the torque on the lug nuts. Then, jack up the car. Once the car is jacked up, remove the lug nuts. Next, remove the flat tire and place it into the trunk of the car. Place the do...
Whether you’re headed for a half-pipe or your driveway, always be safe. Wearing protective gear and taking a few precautions can help prevent you from landing in the ER. Watch this video to learn how to practice skateboarding safety.

Tim Carter demonstrates how to use hole saws. These tools drill perfectly round holes from one-half-inch diameter up to 2 and 1/4-inch diameter using your standard drill.
Over time, stains can collect in your crockpot. Learn how to properly clean your crockpot and remove stubborn mineral stains and water marks. When cleaning the crockpot, fill it with hot, soapy water once the cooker has cooled. Let it soak for 15 to 20 minutes, then scrub with a cloth, nylon pad, or plastic sponge. Do not use harsh cleaners or metal pads. Rinse well in hot water and dry.
This how to video will give you the basics on inward screaming (also known as pig squealing.) Improve your heavy metal vocals with this tutorial.
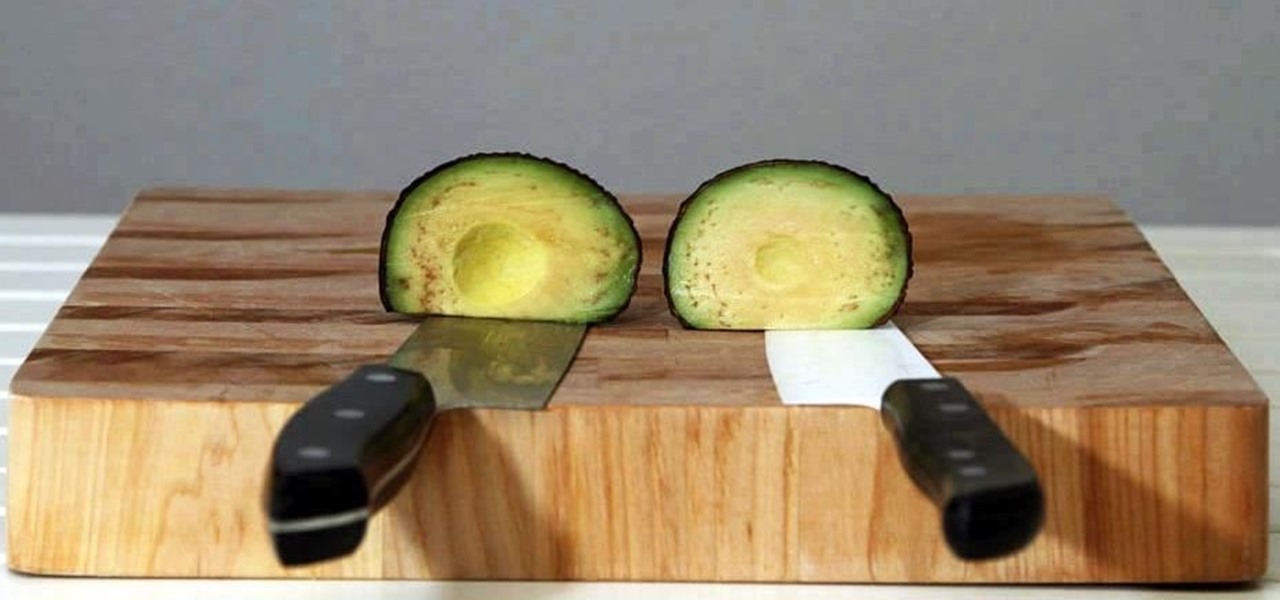
Keeping apples or avocados from browning after being cut is impossible; within minutes of being exposed to air, these fruits (yes, avocado is a fruit) begin to brown. No matter what you try—adding lemon juice, keeping the pits in place, immediately sealing the produce in an airtight bag—brown discoloration always occurs. However, air is not the only reason that foods like apples, avocados, and lettuce brown: it's also due to the knife you're using.
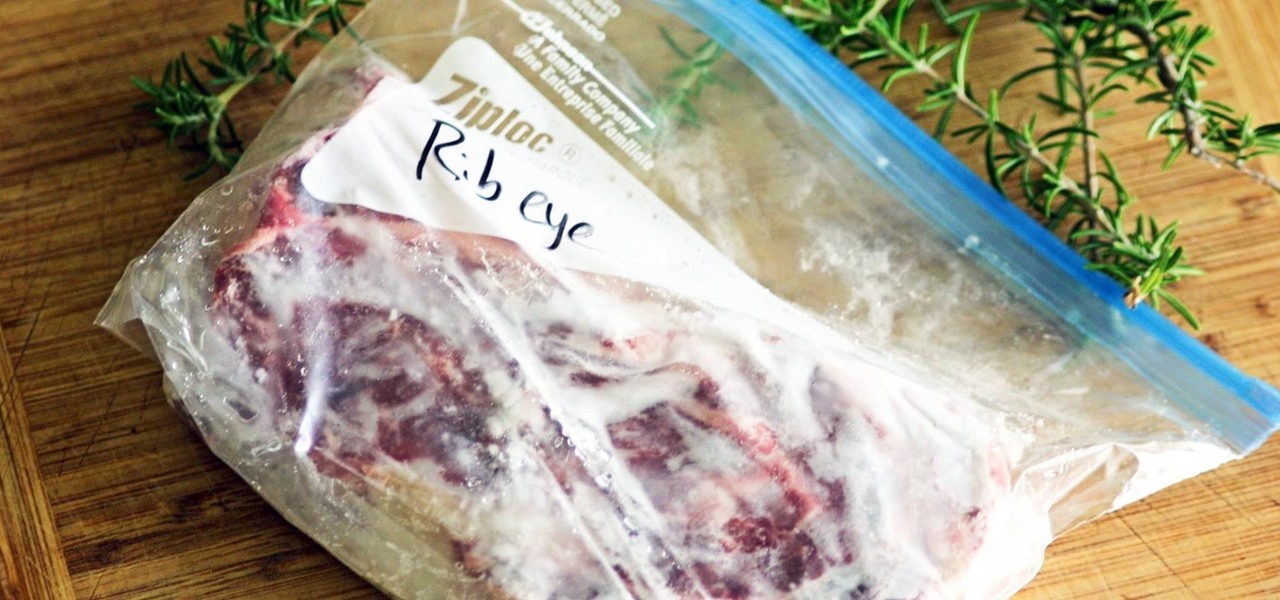
It's a basic law of cooking: whenever you're really craving something, you don't have it. All you want is a glass of wine? Chances are you finished the bottle while braising meat last night. Want nothing more than a sandwich right now? Yep, you finished the bread with breakfast. You'd kill for a steak? They're all in the freezer, and you don't want to wait while they thaw; you want your steak now.
While the official unveiling will happen at Mobile World Congress in Barcelona on March 1st, several images and promotional videos for the HTC One M9 have leaked online.
Whether you choose to hang an authentic or artificial pine Christmas wreath on your door — or an entirely different type, like ones made of paper waste or even food — chances are you've spent a year or two struggling with how to keep your decor hanging. With one easy to apply, quick to remove trick, you can skip the shiny wreath holder and any further damage to your front door.
Today was a big day for Samsung at IFA 2014, with announcements of two new devices as successors to the Galaxy Note 3: the Galaxy Note 4 and Note Edge.
Say goodbye to the age of metal robots—C-3PO and K9 are a thing of the (future) past! Anette Hosoi, Professor of Mechanical Engineering and Applied Mathematics at MIT, and her former graduate student Nadia Cheng, have created a robotic material closely resembling human skin.
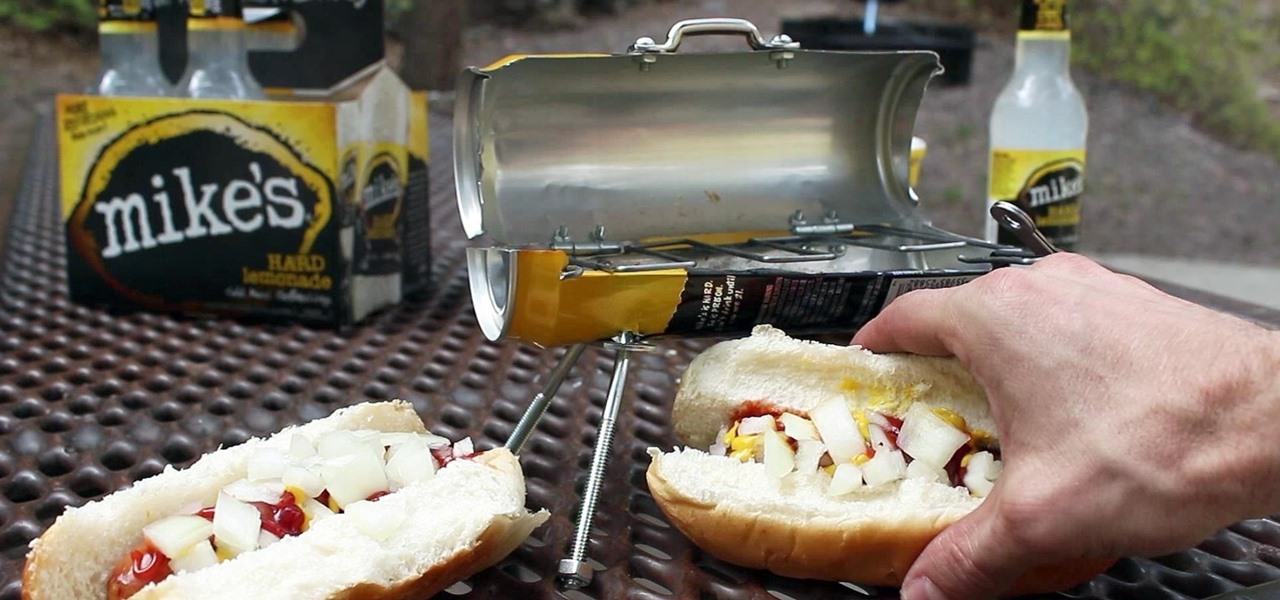
In this project, I'll show you how to make an itty-bitty outdoor BBQ from leftover beer or soda cans. It's the perfect summertime hack if you don't have a grill and are cooking for a small group of people—one bratwurst at a time. You can grab the wire grill template here.
Gravity can be a real pain when you are trying to finish a project and your supplies wind up on the ground.
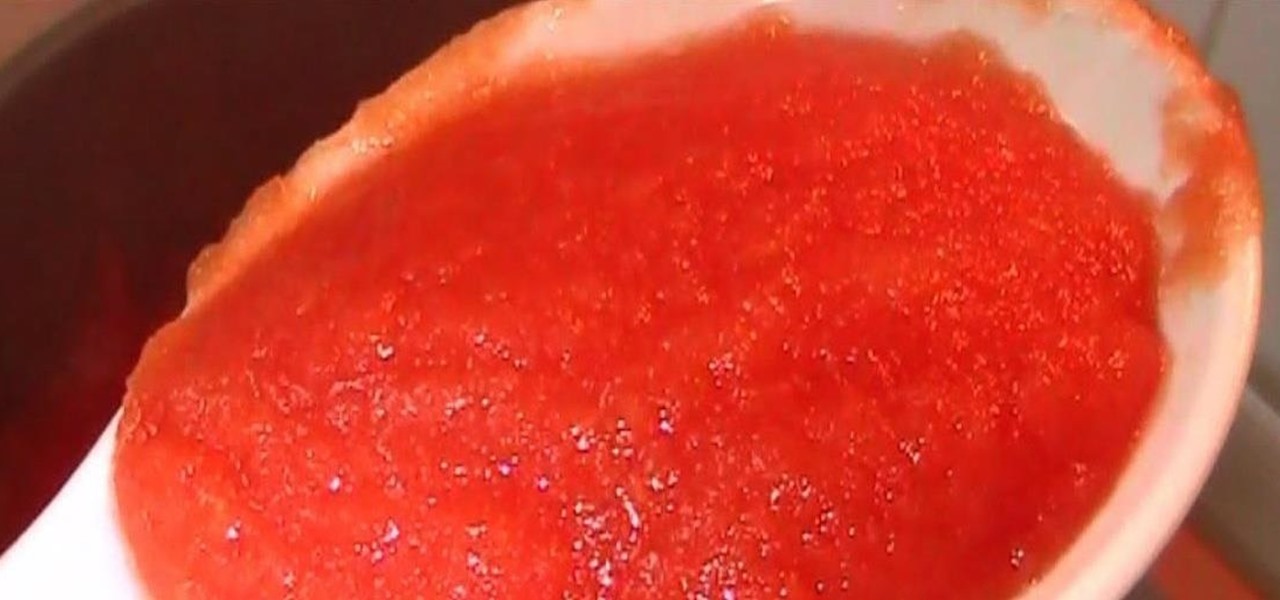
Yesterday, I was halfway through a recipe when I realized it called for puréed tomatoes, and all I had was diced. I definitely wasn't going to abandon ship and start over on something else, but I didn't want my sauce to have the wrong texture, either. So, I did a quick search and found that I could use my metal sieve to purée the tomatoes.
How to make a heart shaped fried egg for a Valentines day breakfast. Short and simple guide showing you how to make a delicious breakfast for your loved one.
Here's my latest armor tutorial...what I call the "Demon Hand". The method used in this tutorial can be used to create pretty much any armor. This one is is 18 gauge brass, but if you use stainless steel I suggest 20 or 22 gauge. This is the easiest of all of my gauntlets to create, and it takes a lot less metal. Less than an 8.5" x 11" piece (per hand). Would make cool motorcycle riding gloves!
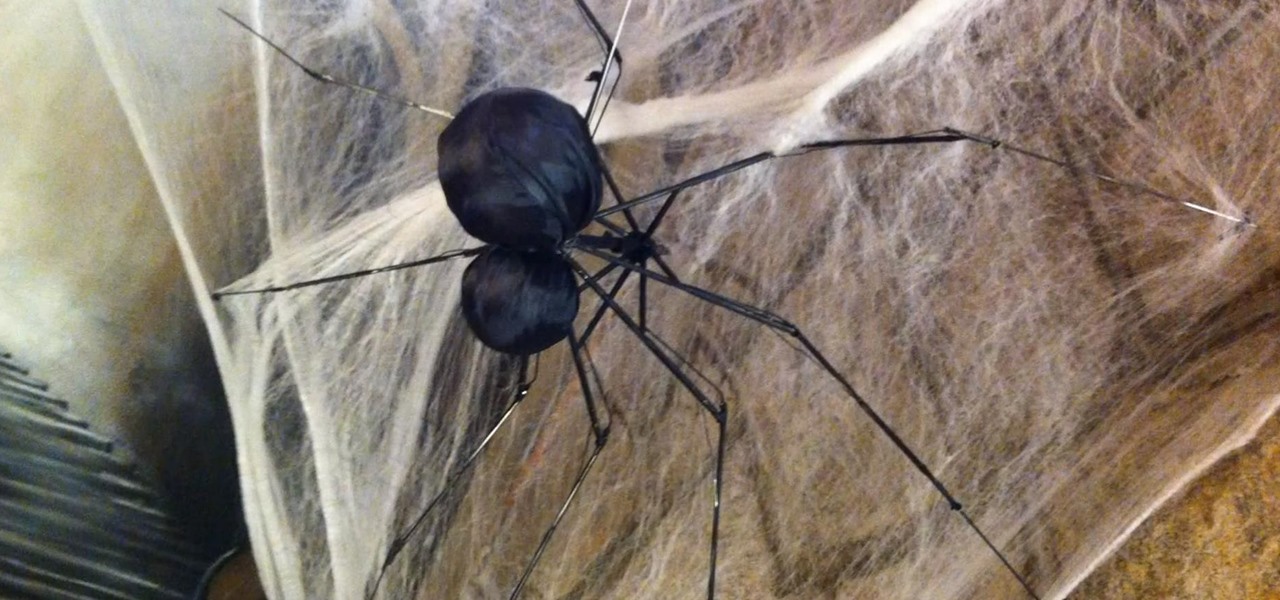
Spiders are my least favorite thing in the world. My second least favorite thing are cheap umbrellas. So, it's only fitting that the two work perfectly together as a creepy Halloween prop. In my video below, you'll see how to make a Spiderbrella, which is just the inside metal skeleton from the umbrella (which looks like a crawling spider), the umbrella's original black fabric, a couple Styrofoam balls, and some floral wire.
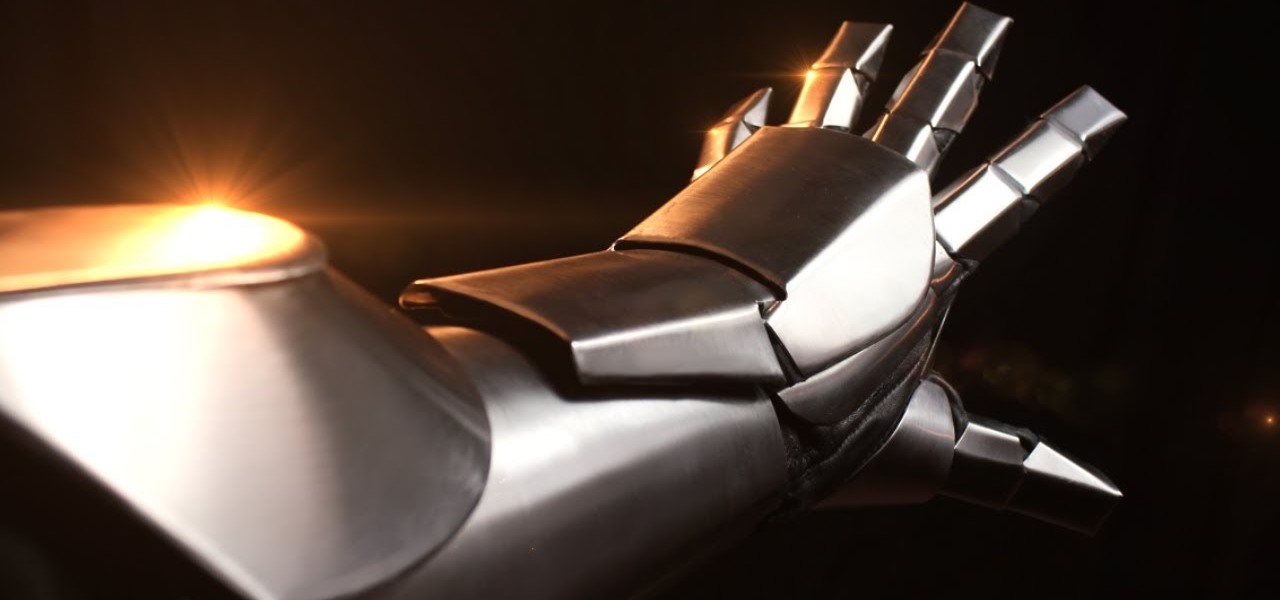
Here's my latest gauntlet, made in 22 gauge stainless steel using ordinary hand tools you probably already have in your garage. I used Iron Man for inspiration, but it's far from an exact replica. Unlike my previous gauntlets, there is minimal riveting, as most of the parts are held to the glove using epoxy, along with some small nuts and bolts. Aside from cutting out all the parts, which is a little tedious, it's actually fairly easy to do. A fun project for anyone into metalworking, prop ma...
Let me start out by saying that Steampunk isn't about being historically accurate, and that everything I'm about to tell you is entirely optional. That said, let's take a look at the history of screws! What many people don't realize is that before we had metal screws, wooden screws were in wide use for things like wine and oil presses. Generally, the invention of the screw is attributed to Archimedes in the 3rd century BC. That was a long, long time ago. Metal screws and even screwdrivers hav...
Want to search through your Samsung Galaxy S III or other Android smartphone using only a web browser? Thanks to XDA-Developers member Metal Droid, you can now access and download anything from your phone through any browser on your computer using DroidXPlorer.
There isn't as much use for old-school four-function calculators anymore since we all have them on our cell phones now. If you've still got one lying around, you can hack it to play recorded sounds, use it to make a metal detector, or turn it into a custom name plate that says anything you want...
Costume parties are in full effect this weekend, so with that said, how cool would this look at your Halloween party? Instructables user castor009 made two holes in the head (one for inserting the PVC tube, the other where the liquid will spew out) and insert the pipe and tubing, then stuffed it to secure everything. He then fit the bottom tubing through a pencil holder and attached it to a water pump. Then just add whatever you want to serve at the party (I would suggest anything red or blac...
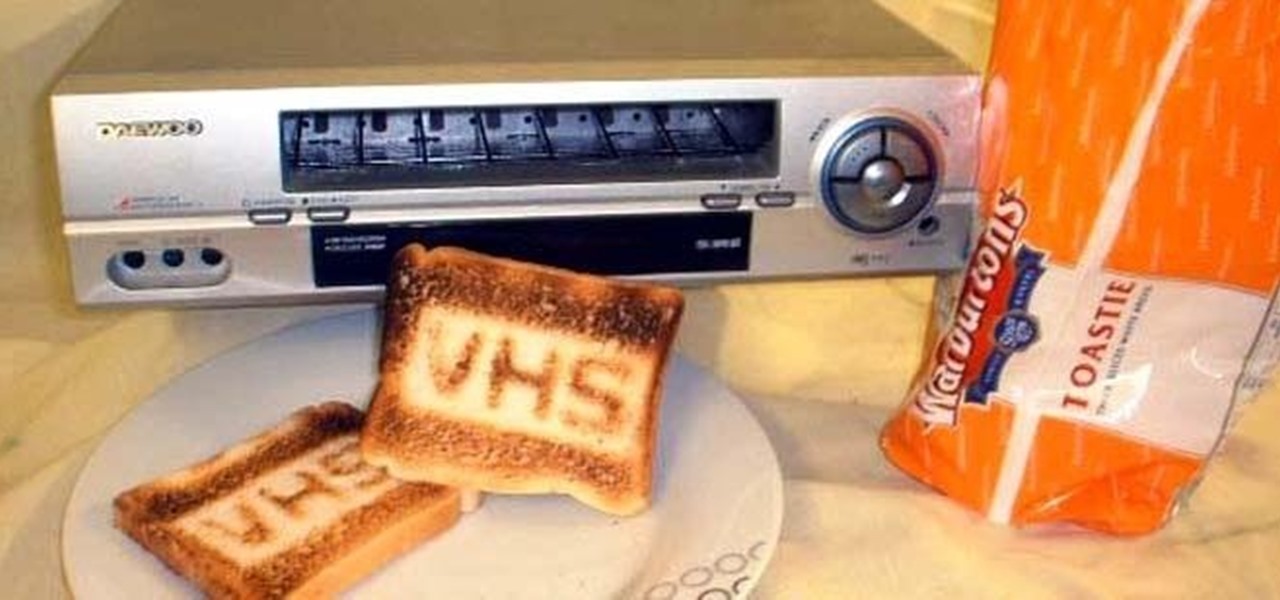
Toasters can do so much more than toast bread. A toaster oven can make your Halloween jack-o'-lanterns look pretty creepy, and you can even mod one into a reflow oven. But what about a regular ol' toaster? Well, you can turn one into a working NES console—or you can keep its bread-toasting functionality by just making it look cooler, like Instructables user lemonie did with his VHS player toaster mod.
If you've ever watched "The Hills" or have seen Lauren Conrad out at a red carpet event, then you're familiar with this hairstyle. Known as the French braided side bang, it's one of the easiest hairstyles you can do and takes minimal time. Take a gander at this hairstyling video to learn how to create this popular celebrity hairstyle.
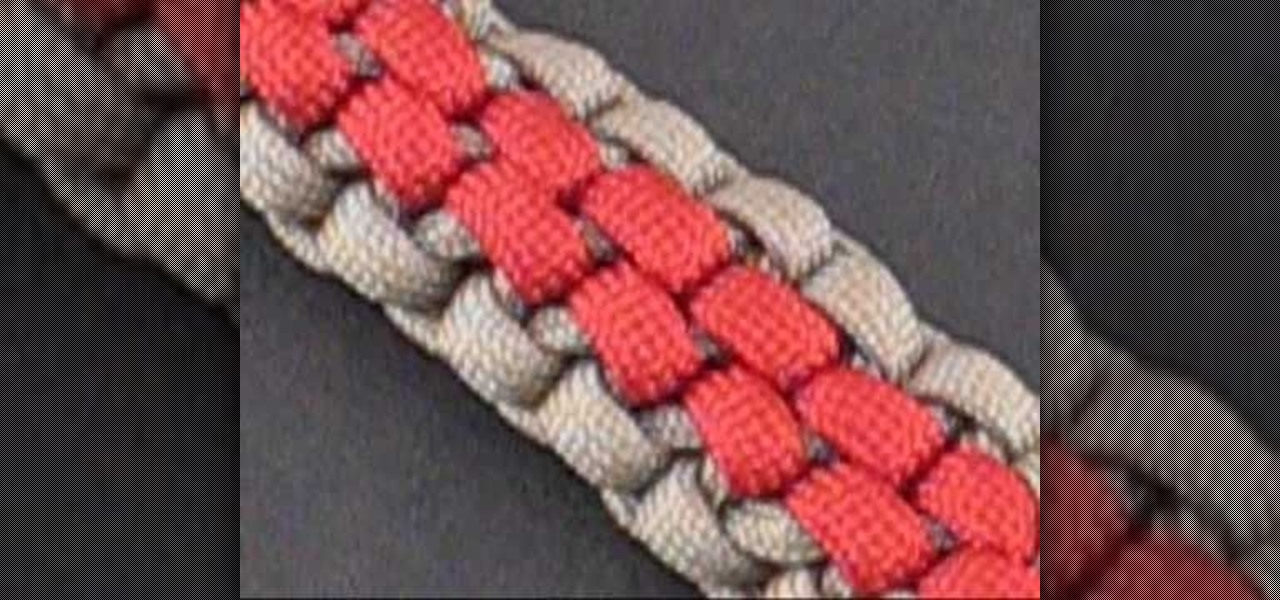
The world of decorative knots is full of twists and turns and this instructional video is no exception. In this clear and concise, step-by-step guide, we see how to create the beautiful, Striped Crown Sinnet. Makes a great key fob!
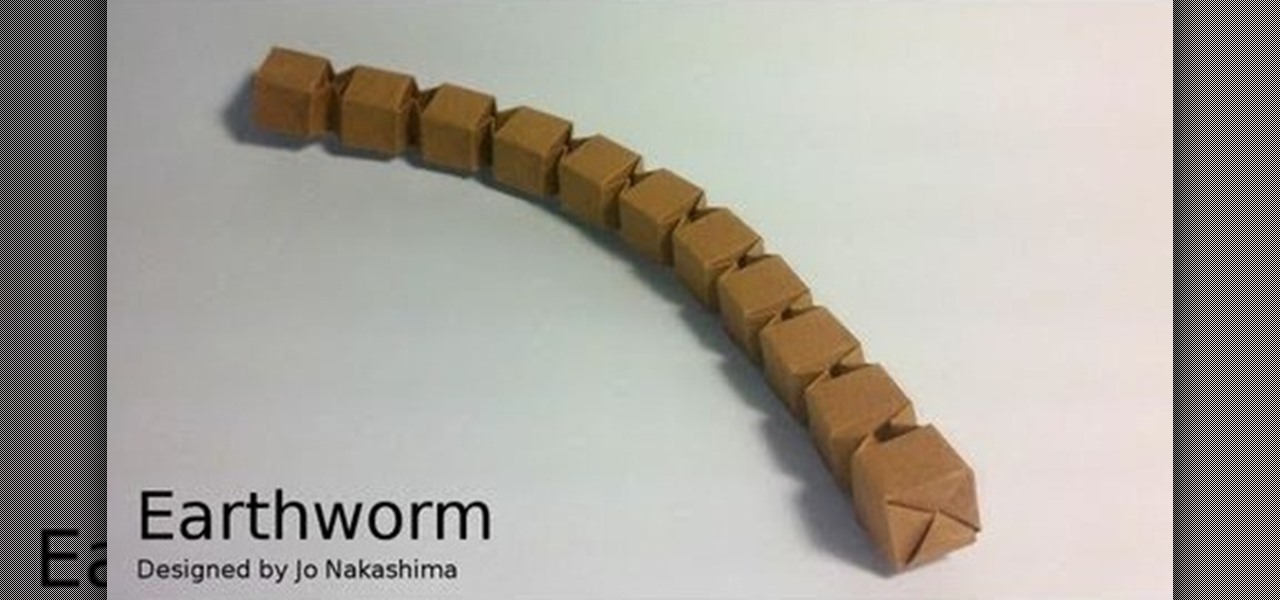
And you thought real earthworms were scary. This origami earthworm, which has segments that can bend and twist, is just as if not more icky than their living and breathing cousins.
Sometimes it's liberating to ditch the neutrals for a day and truly dress to impress - or, in this case, shock. Create an eye-opening look by checking out this makeup tutorial.
In this tutorial, we learn how to scrunch hair. You will need: hair spray, Herbal Essences Totally Twisted Curl Scrunching Gel, and clips. First, take a shower and towel dry your hair for a few minutes. After this, apply the gel to your hair all over and scrunch it up. To do this, push your hair up and grab it with your hands, crunching it. Then, spray hair spray in your hair all over. From here, bring your hair into a messy bun on the top of your head. Next, you will take the hair down and i...
In this tutorial, we learn how to use a round brush for multi-colored scroll work. First, dampen your brush and grab some bright colors. Take and lay the brush into one color at first. Then, turn the brush over and pick up another color. Now, you will push down and lift the brush up as you are twisting around. Next, reload the brush and do the same process over again. Use more of certain colors, then you will have gorgeous mixes of different colors. You can also add in another color at the ti...
In this video, we learn how to super scrunch your hair. Start off with your hair damp, not completely wet. After this, spray de-tangler into your hair and don't brush your hair out. From here, work a mousse into your hair to create volume and keep the hair firm in place. Scrunch up while your hair is upside down into the root of the hair. From here, you will get a tiny section of hair from the front of the face and start to twist it, adding in hair to it. Let this stay in your hair for a whil...
In this video, we learn how to make your synths pulse & pump in Reason. If you want to achieve the pulsing sound when you are playing your song. Then, go into the beat and add in different drum, snare, beat sounds, etc. Once you add these into your beat, you will be able to play around with them. Change the effects by twisting the knobs and changing up the reverb, chorus, and more. Move the effects around until you end up with a beat that you like. Once you are finished, save this and use it ...
In this video we learn how to make a big pink heart out of balloons. Start out with one side being a cuboctahedron. If you don't know how to make this, try checking out previous videos to make the shape. Once you have done this, you will use another balloon to connect and make the inside of the heart shape. Throughout the shape you will need to twist several bubbles inside the balloon, so make sure there is enough room left to do this. After you're finished, you will have a cute heart shaped ...
In this tutorial, we learn how to make prosciutto eggplant calzone with Guy Fiore. First, take dough and work it out on a flat floured surface. Then, mix the pine nuts with the cheese mixture, and cut up your prosciutto. Add on the eggplant and other ingredients into the center of the dough alone with a generous amount of parmesan cheese. After this, push the calzone down and twist the side to make it into a pocket shape. Place this onto a baking sheet, then wash it with an egg. Place into th...
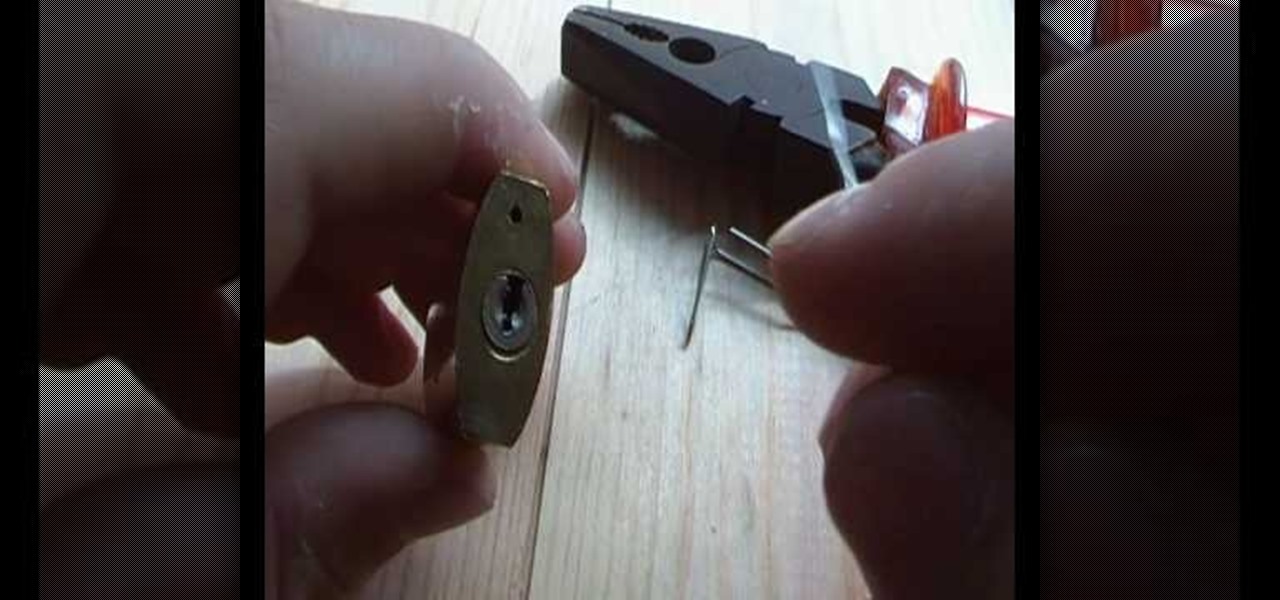
In this video, we learn how to pick a lock using two paperclips. First, take your lock and make sure it's locked. Then, grab two paperclips and open them up using your fingers. Then, take some pliers and bend the end of the paperclip so there is a small angle at the end. Now, stick the bend clip into the top of the lock. Then, take the other paperclip and make a large loop in it. After this, push it into the lock with the other and then twist the clip. Now your lock will become open and you w...
It's Mardi Gras time, but you're lacking the Shrove Tuesday spirit. Don't worry, these Mardi Gras cocktails should lighten you up and get you into party mode. Can anybody really make it through a Mardi Gras celebration without a little drunkenness? Maybe, but it's not recommended.
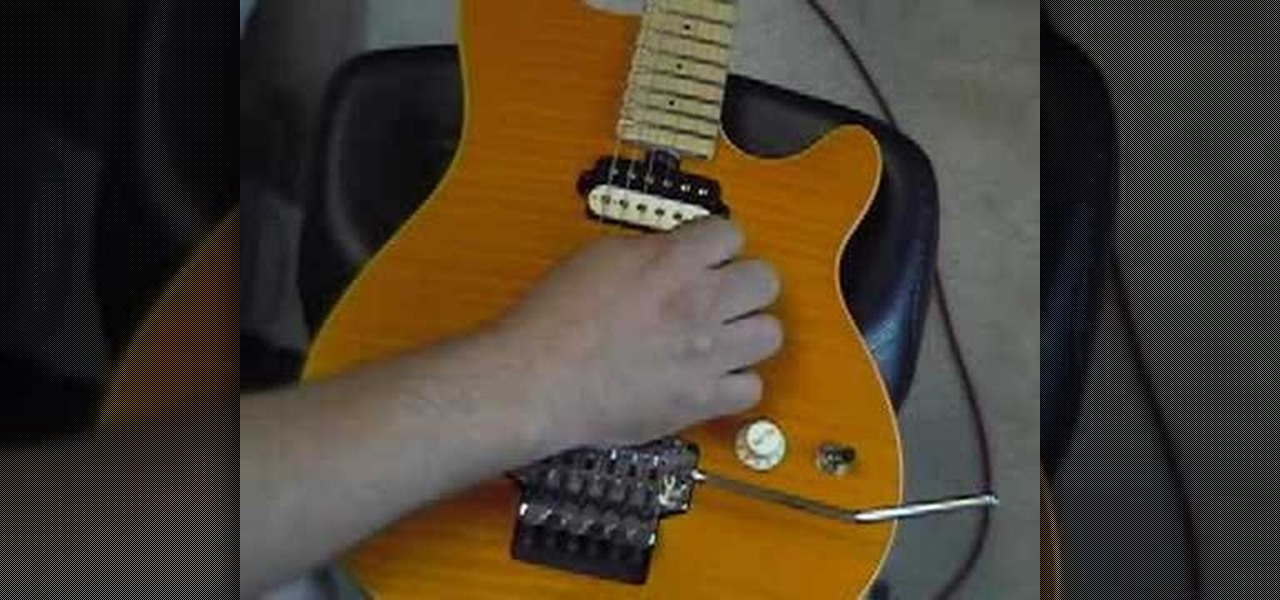
In this video, we learn how to adjust the spring tension on a Tremolo. First, find the strings in the back that are parallel to the body of the guitar. Then, unlock the nut and set the fine tuners so you have maximum range of adjustment. Start to twist the tuners at the bottom of the guitar until the tension on the strings is enough for you to play correctly. Then, go to the back of the guitar and adjust the crimp screws that are along it. When finished with tightening your guitar, test it ou...