Sugar skulls, or "calaveras de azucar," are used to celebrate El dia de los Muertos, in honor of deceased friends and family. This video tutorial shows how to make sugar skulls with basic household ingredients. Once you've shaped the mixture into a skull shape, decorate and design with food coloring to suit your personal taste.

This video shows how to make a bay girl and boy head made of clay. The first thing you need to do is get a small round ball of clay that is a skin color color. Then you get the small black beads and place it firmly on the ball they will act as the eyes. Then make the eye creases on the side of both eyes. After that you add the other physical features like nose, mouth, ears, and eyebrows. The last thing you do is fold two square pieces of clay into the shape of a bow then place it on the top o...

Learn how to draw Kenpachi Zaraki from the manga series, Bleach. "Drawing Now" teaches fans of the manga series, Bleach how to draw a sketch of the character Kenpachi Zaraki. You will need: a drawing pencil, colored pencils/markers, and a basic idea of how Kenpachi looks. Start by drawing a lighter, erasable outline of Kenpachi (this is so mistakes can easily be fixed before bringing in more color). Using a darker color (preferably black), trace over the lines you wish to keep in the drawing ...
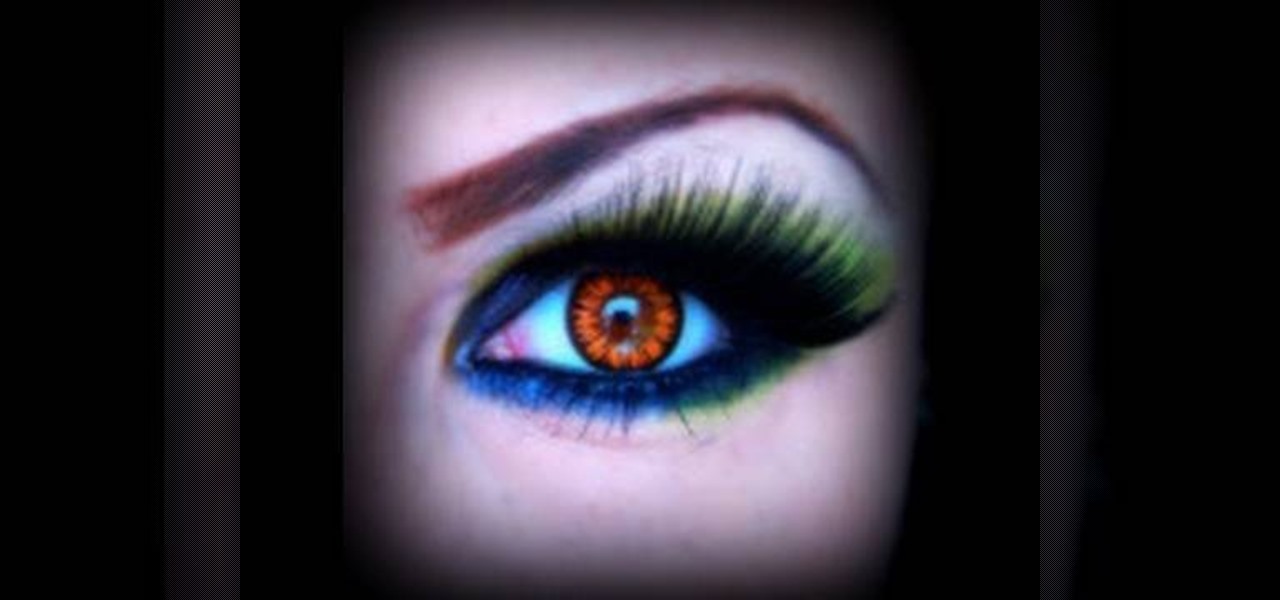
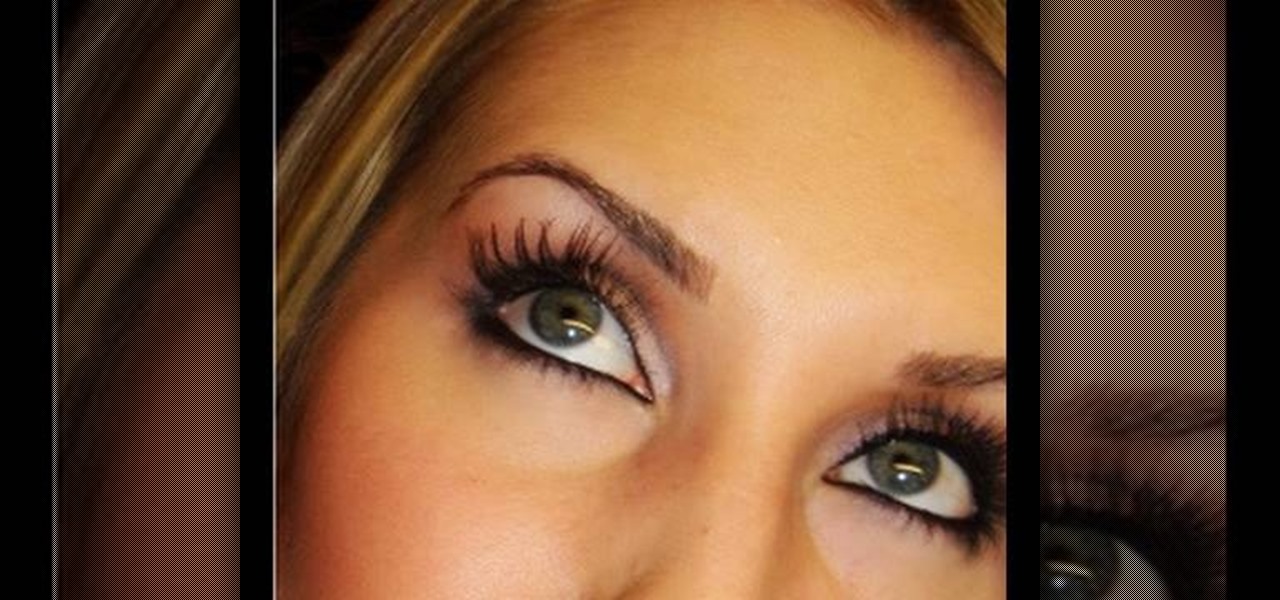
In this beauty tutorial, learn how to get the dramatic eye synonymous with Ed Hardy-Inspired makeup. The first thing you will need to do is apply a foundation over your entire eye area. Because so much makeup is being used, you really want to make sure there is a foundation in place to keep all of the color in place. Then, with a no. 217 brush, sweep a dark navy blue color over your entire lid as well as the crease. Line your lower lash line with a dark blue cream eye shadow and also fill in ...
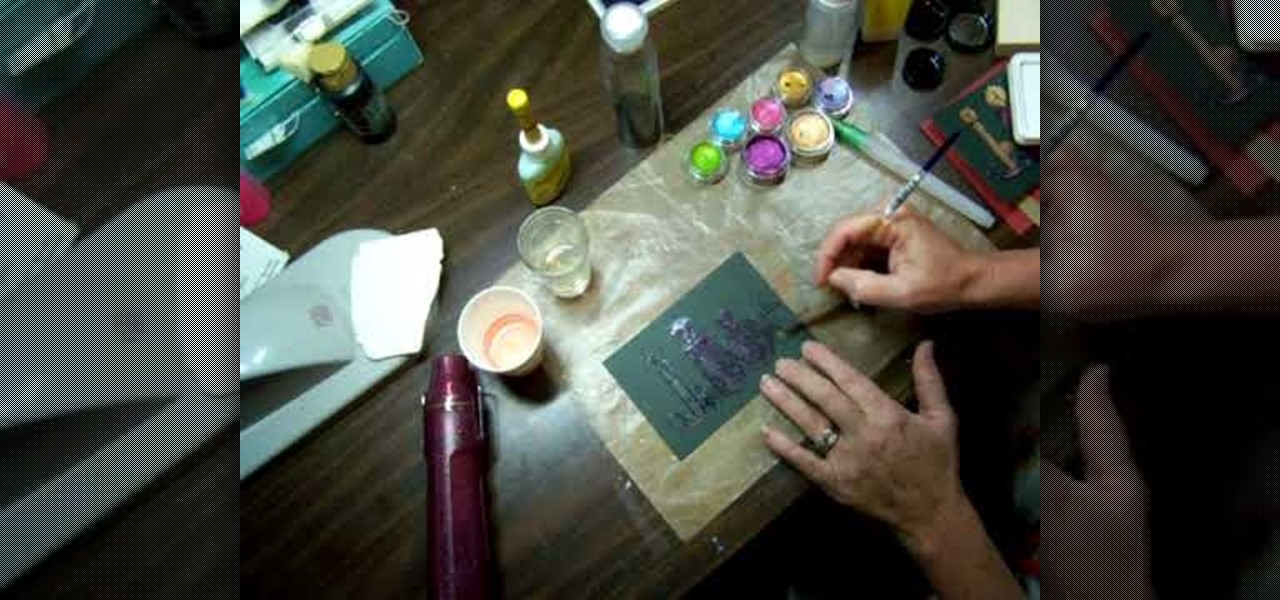
This video tutorial is going to show you how to bleach paper to make the color pop. First take a piece of black paper, apply a bit of bleach and see what color it turns. Because, different cards change color differently. Next you will need a stamp, embossing ink and black embossing powder. Apply embossing ink on the stamp, stamp the black paper and put black embossing powder on the paper and dust it off. You then need to heat the paper. Bleach out the portions that you want color. Follow the ...
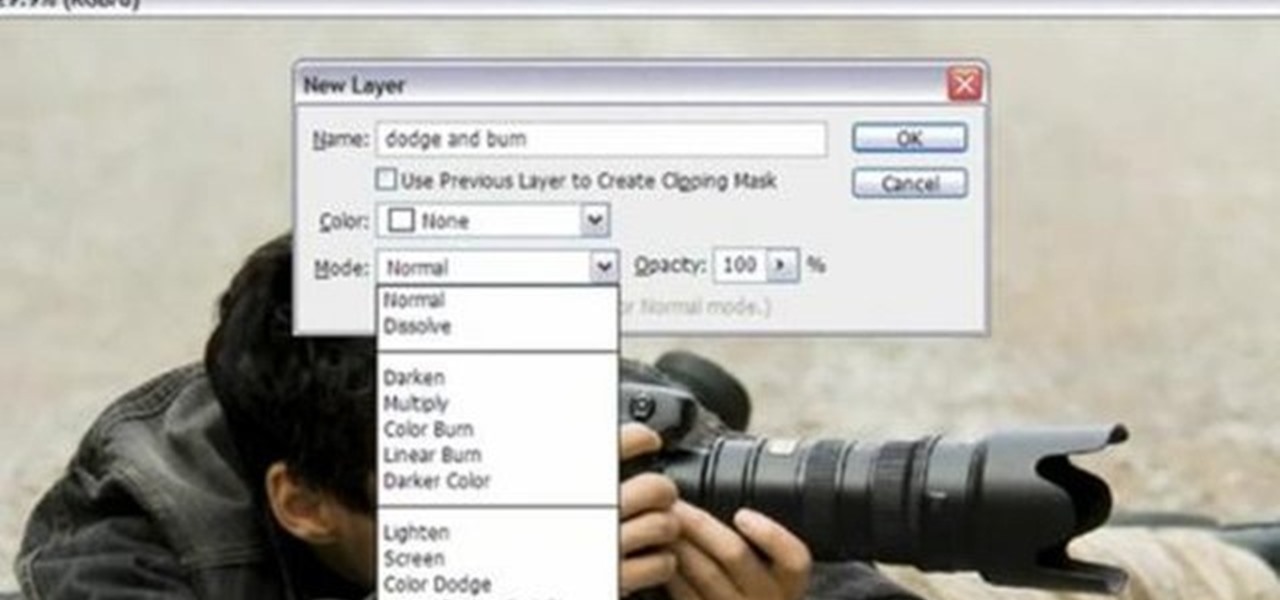
Yanik Chauvin demonstrates how to do Non Destructive Dodging (lighten) and burning (darken) of images using the tools in Photoshop. He shows the image of a man lying on earth with his camera. To start the work he wants to make a new layer which can be done in two ways either by clicking on the ‘layer’ button on top of menu or by pressing down the alt key and clicking on the new layer at button of the layer palette. It will bring up the dialogue box. He named it “dodge and burn” and from the l...

Dragontrap uses 1/2 a yard of three different colors of fleece for this scarf project. She cuts the fleece into strips of twelve to sixteen inches in length and two to three inches wide. Then she sews the strips together lengthwise, rotating the colors of fleece. Once the strips are sewn together, she has a large rectangle of pieced together fleece This is folded in half with outsides together. She sews one edge of the scarf closed and sews all the way down the long edge of the scarf. Finally...

EyeXluvXmakeup shows you how to apply Hello Kitty Too Dolly makeup. For this you will need the Hello Kitty Too Dolly palette, the Hello Kitty tippy blush, Viva Glam V L/G. Using a short haired brush, you need to start by applying a dark blue color on the bottom of top eyelid. Next, use a frosty blue color and blend those two together. On the crease of the eyelid you will add pink and blend that with the frosty blue. Last, you will need to use the frosty blue under the eyes and apply blush on ...

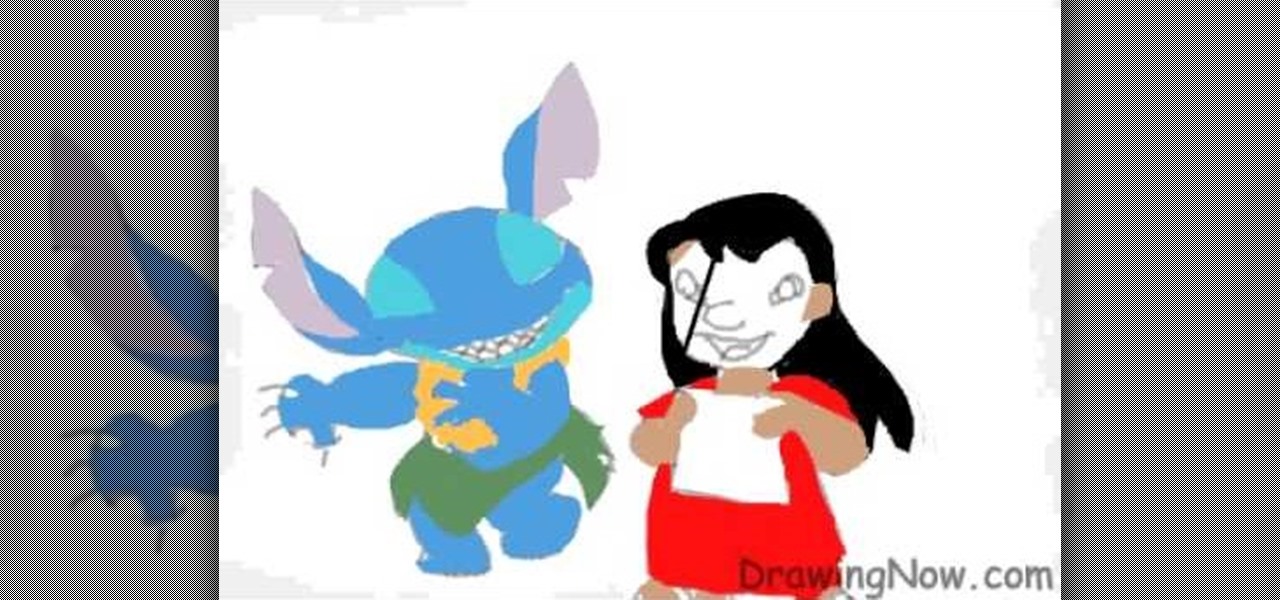
Begin by drawing an oval and attach two feathered shaped ears to head. Draw guidelines for the face. Draw the face and a marshmallow shaped torso. Add the legs and arms. Add the detail and start erasing the guidelines. Repeat the similar steps for Lilo. Once finished both characters, color them. Add a darker shade of the colors for shading. Outline the characters and add all the details. This video will benefit those viewers who enjoy drawing on the computer and would like to learn how to dra...

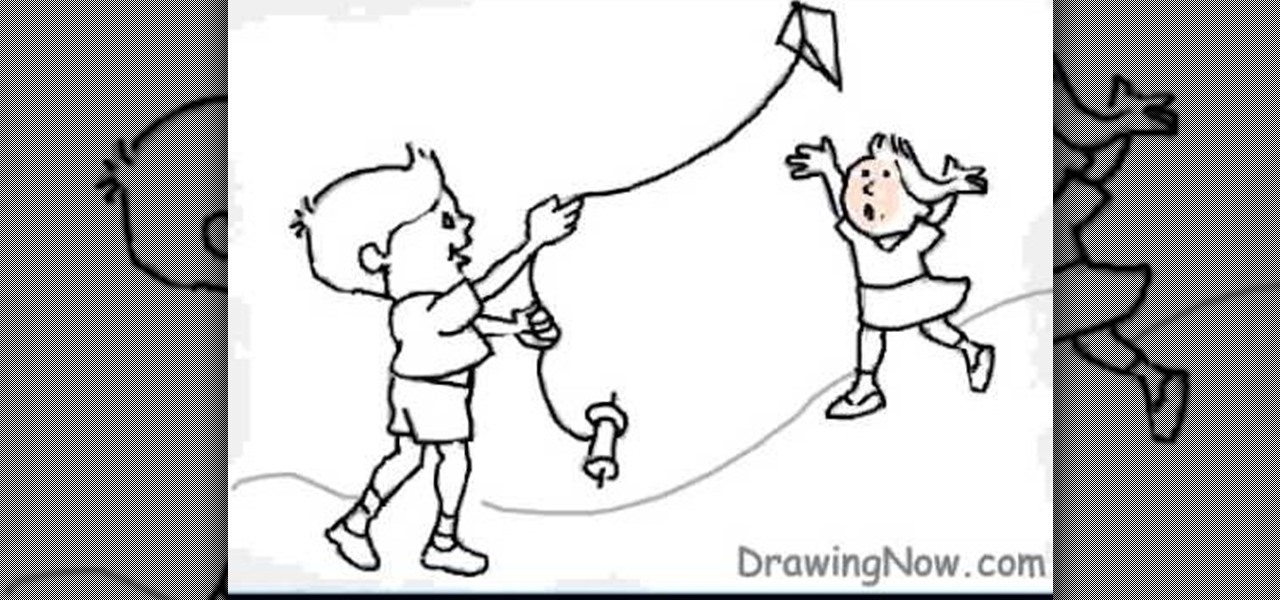
This movie is a silent animated account of how you draw the final picture (which is shown at the beginning of the clip) of two kids flying a kite. The lines are sketched roughly using pencil, and then over-inked. The original lines are erased and leaving outlines. Then you begin coloring in all the spaces just as you wish. There is no commentary and no music, but all the basic detail is there and you can follow easily the way the characters are drawn and colored from start to finish, making i...

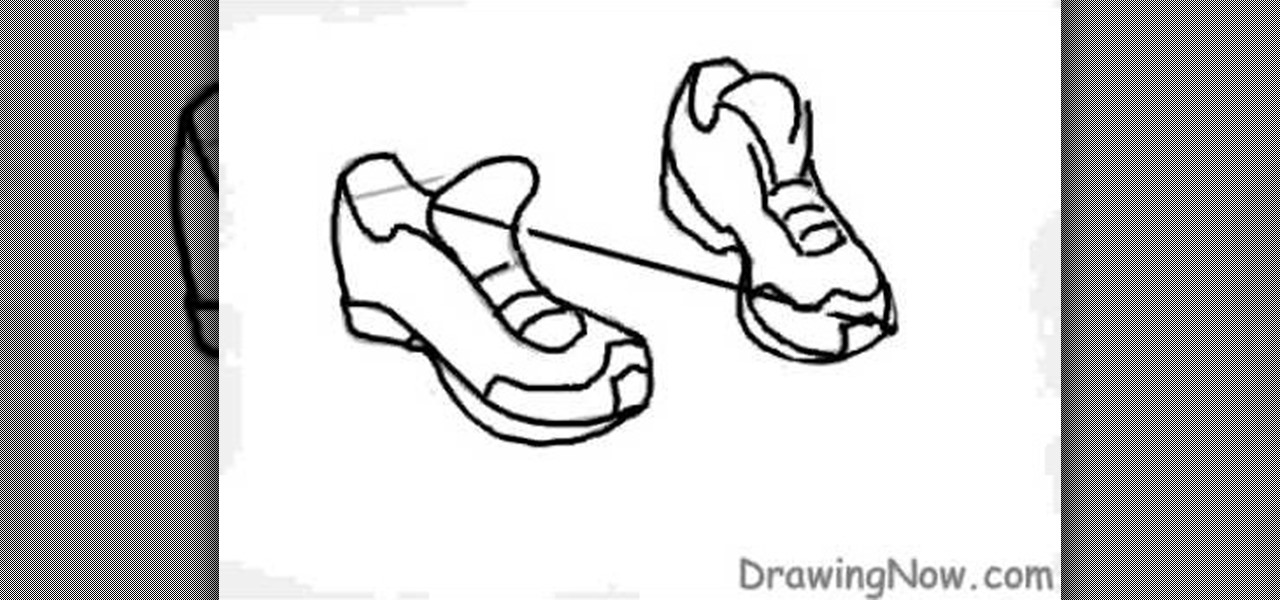
DrawingNow teaches you how to draw a pair of running shoes. Your start with two ovals, one larger than the other. These will act as the soles of the shoes. Next start sketching the shoe up and once you're happy with it, you can start drawing on top of it and erasing the original sketch. Do the same for the other shoe and start adding details. Draw the front of the foot, heel, the inside of it and the knots. Finally, all you need to do is color them in and use imaginative color combinations.

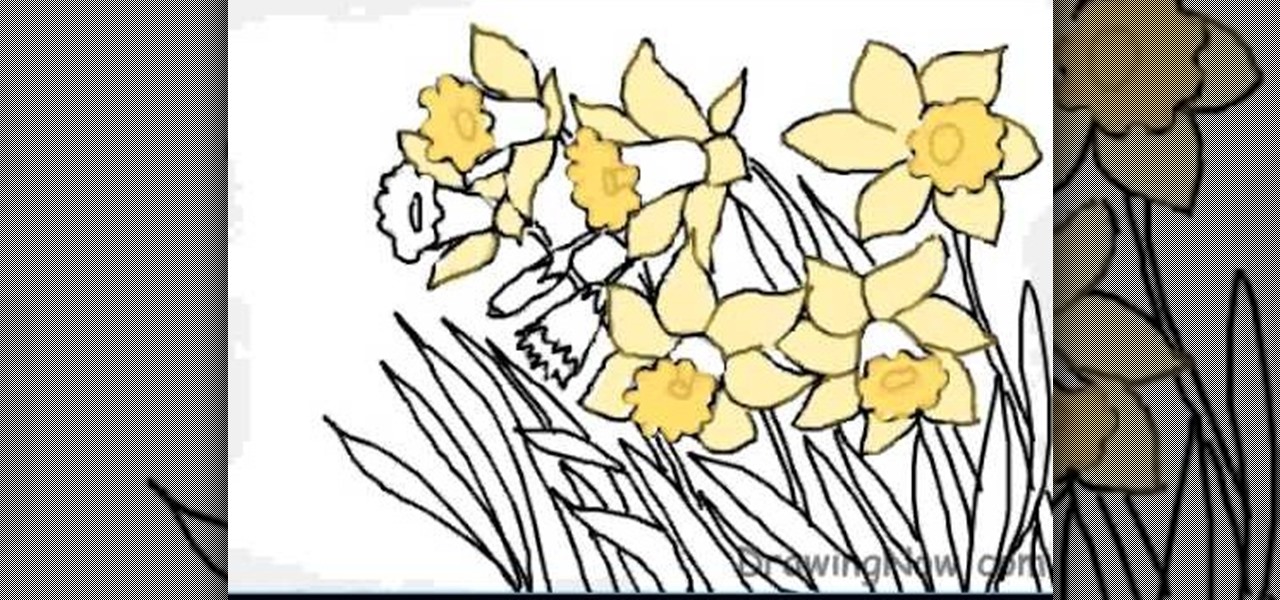
The first step is to draw the daffodil's outer parts carefully. The second step is to draw the circle shape for inner surface of flower.

FK describes how to make a Yoshimoto cube. First, print out the template. Then, trim the paper with scissors along the perimeter and glue the edges into a 3D pyramid. Repeat these steps until you have 48 cubes. Fix 3 pyramids together 16 times. Arrange pyramids in groups. Repeat 2 times and color 8 of the pyramids. Place adhesive on the joints of the cubes. Arrange the pyramid groups into a cube. Now, you can perform neat tricks with the cube, like changing the cube from white to colored with...

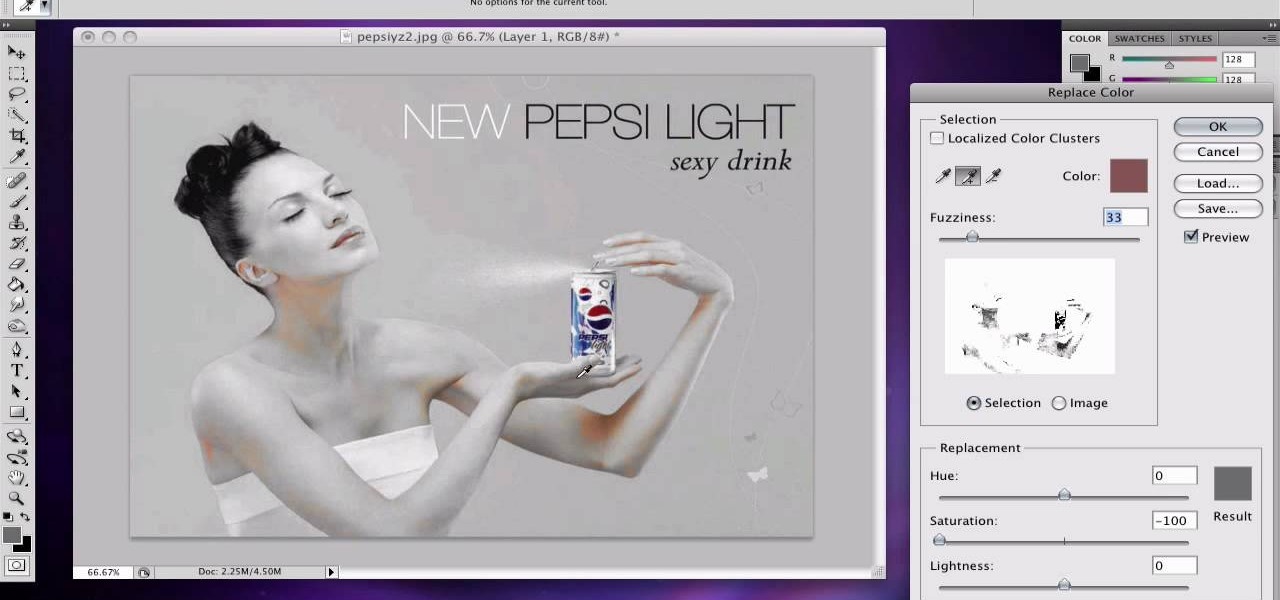
If you want to learn how to do selective desaturation in Photoshop CS4, you should watch this video. Go to File and choose Open. Open the file you want. Go to Image, select Adjustments, and then Replace Color. Select the second droplet or the droplet with a plus sign. Increase Fuzziness, say 106 but you need to decrease Saturation. Set Saturation to -100. Click on the image except for the selected part that you want to have a color. Decrease Fuzziness to know the parts that you need to click ...

In the tutorial, GeorgiAnastaso shows your how to change color of an object in Photoshop. First of all open the picture which you want to change. Then make a new layer and go to make adjustment layer option. There will be three options. Hue, saturation and lightness. If you change the hue amount it will change the color of your object. Saturation will maintain the color amount. After finishing this tutorial you will be enable to change any color in photoshop.

StephanieValentin teaches you how to draw a realistic ear in Adobe Photoshop. You create a new document of 1300x1900 pixels and then create 9 layers named L00, L01 and so on until L08. The first layer should be black. On Layer 01 use a soft round brush with a white color, 100 pixels width and 50% opacity. This is the base sketch of the ear. You then apply a gaussian blur of 30 pixels. For Layer 02 you use a soft round brush with a white color, 50 pixels width and 50% opacity. Apply a gaussian...

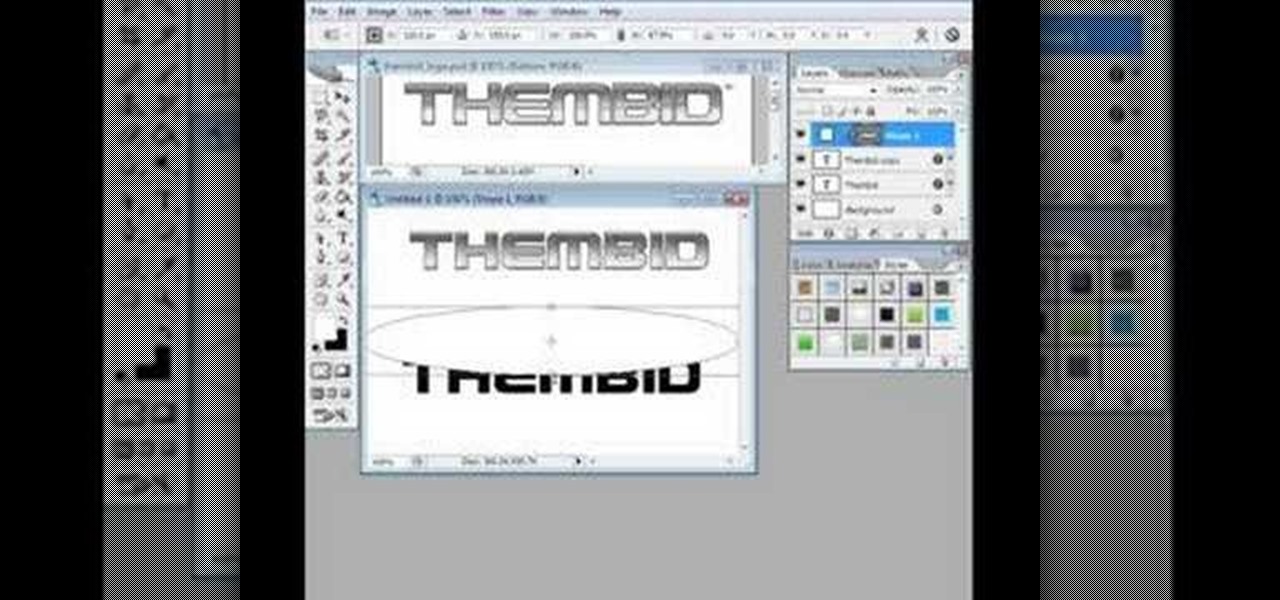
Thinkingserious teaches us how to use Adobe Photoshop to transform a normal bmp or jpeg logo into a vector logo that can be MADE as small or large as desired without losing quality. He creates the text, leaves it white and then adds a stroke. He picks the exact color from the original image. The stroke should be 1. Then the gradient is done using the colors from the bmp image. This is a two-step process. First he creates the top gradient. He also adds a soft inner bevel. The end result is sav...

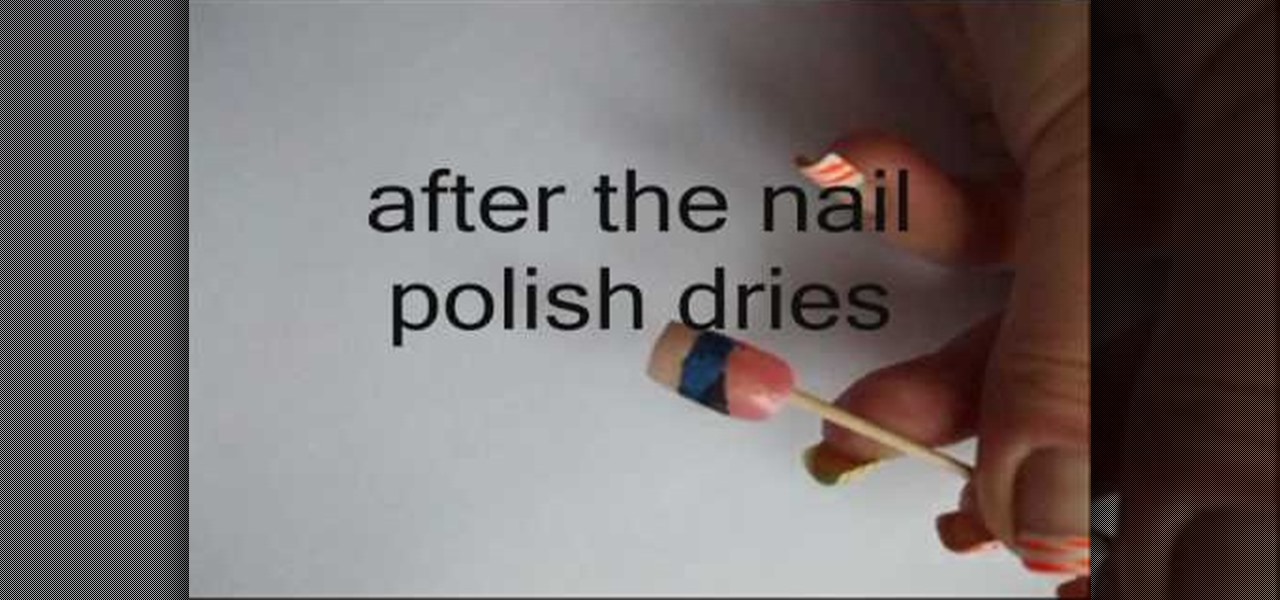
This video shows the secret of painting beach nails and light pink color with white nail. First apply the base coat, then a light purple color on it and let it dry. Now use white color and make some design by drawing small stripes criss-cross as shown. Use a glitter polish and apply it in the space between the lines. For the beach nails apply pink color polish to the bottom half of the nail. Now make a thick horizontal stripe next to the pink color using a dark blue color polish. Use a black ...

This is one of the biggest mistakes women make when it comes to eyebrows. Many women become overly aggressive when it comes to plucking their brows and end up with thin or almost nonexistent brow hairs. Unfortunately, eyebrow hairs can take months to grow back and, in some cases, plucked eyebrow hairs may not grow back at all, particularly after years of over plucking. Stop plucking and give your eyebrows a chance to grow back to their natural state. In the meantime, you can use a soft eyebro...

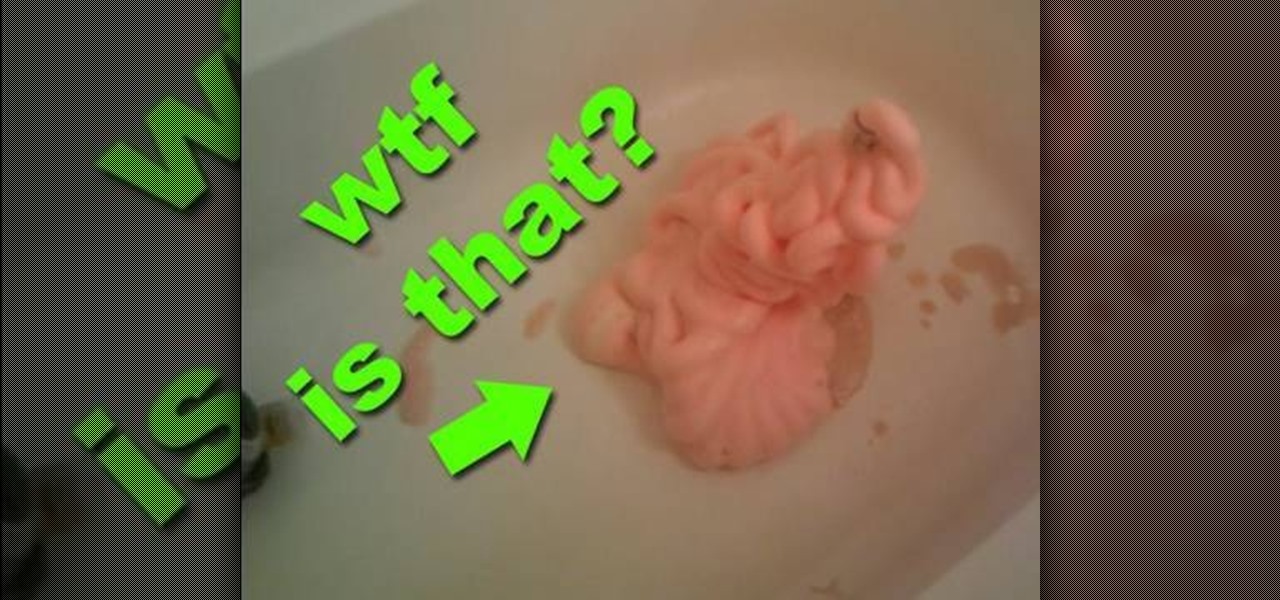
In this video the author shows how to make a never ending foam snake. He starts by speaking about how hydrogen peroxide can be fun. He starts with the requirements first which are a dish soap, a bottle of hydrogen peroxide, some dry yeast, and a red fruit color. Now he fills up a cup with hydrogen peroxide, adds the color and two table spoons of dish soap. Now he shows how to use yeast which is used to remove the oxygen from the hydrogen peroxide. And finally he demonstrates the never ending ...

Using a popular movie character as a basis, and drawing in manga style, our video host shows us visually how to properly color in whatever hair you may be attempting to draw. Using first the primary color along each strand, we are then show that a lighter or darker version of the primary color should be utilized, right alongside the initial color. And then, to complete each strand and give the hair a varied and popping appearance, you should always outline each strand in a nice simple black. ...

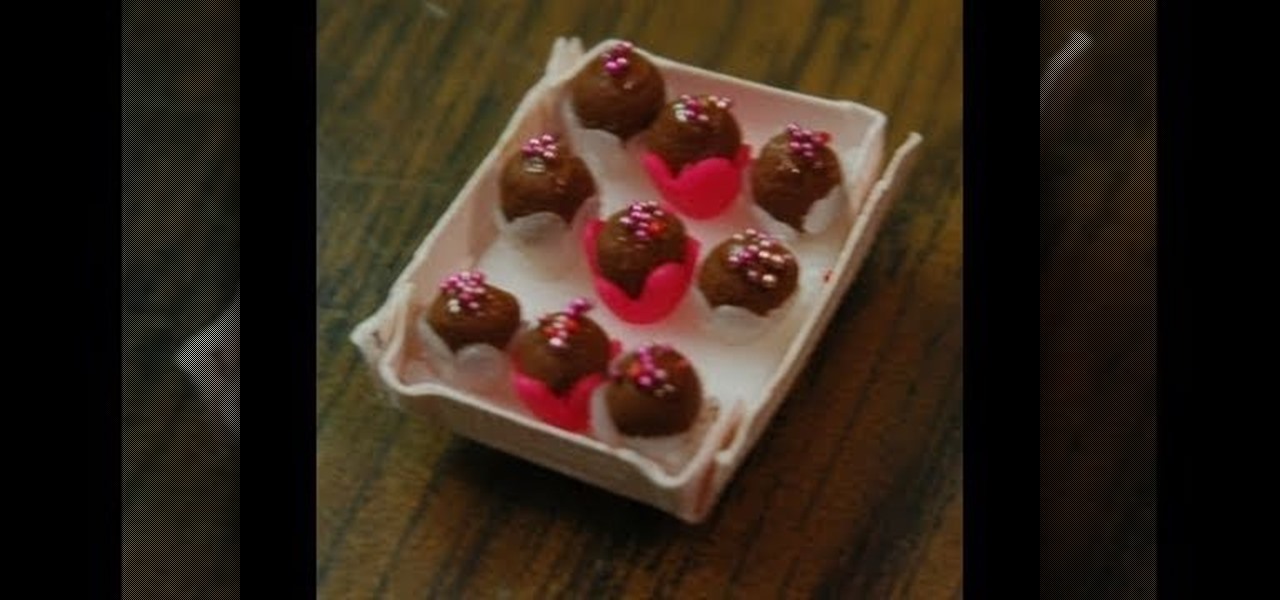
This video teaches the viewer how to make miniature Valentine swirl truffles. The most important thing to be kept in mind is that the two colors of clay being used should be of contrasting shades. The author of the video takes the viewer through a detailed, step-by-step process of making miniature swirl truffles out of polymer clay. According to the author, one can use translucent clay sheets too, but that is not a very good idea because the translucent one gets visually overlapped by the dar...

This tutorial is perfect for beginners to learn how to apply dramatic eyeshadow correctly. This technique will require several layers of eyeshadow to be applied and if done correctly, will highlight and bring attention to your eyes. First apply lighter shades of eyeshadow to your eyelids, stopping at the crease. You can then layer and blend colors on top of this, with increasingly dark colors towards the outside of your eyelid crease. A matte color should be used which matches your eye color ...

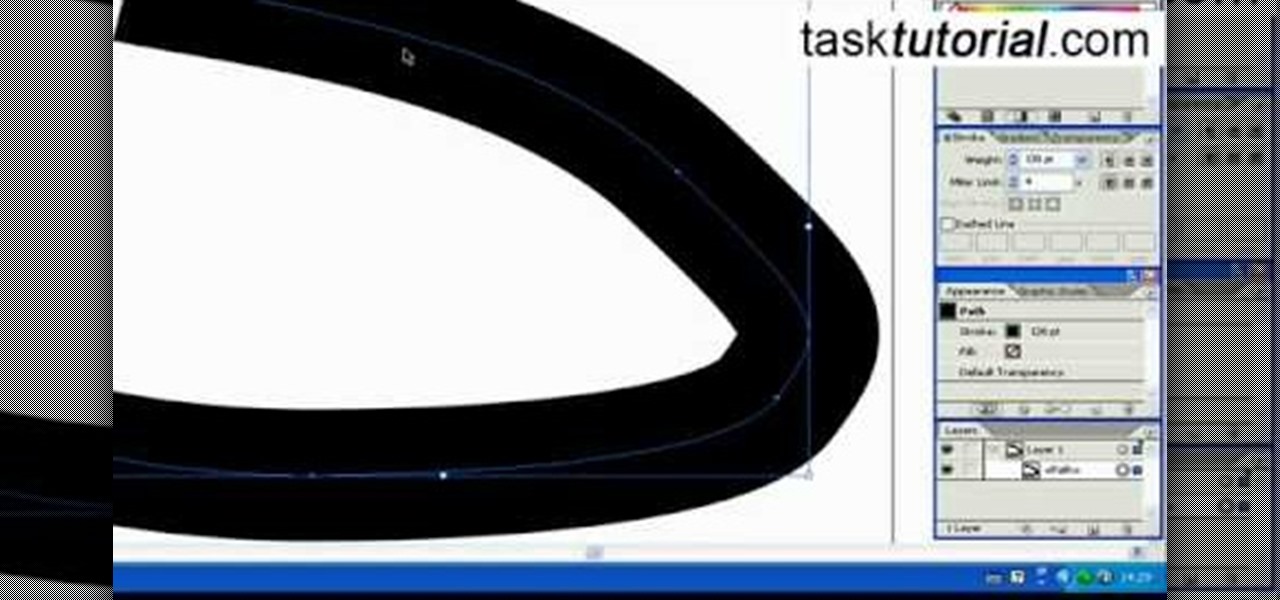
Illustrator denotes how to create a road. First select the pen and draw a path. Now go to stroke. It depend 130. Deselect dash line. Now move our path a little bit upper. Now select our path. Now duplicate of our path several times. Now turn off the new layers. Focus on our first path. Turn on the second path. Change the stroke weight value to 125 and change the color to gray. Now go to the next path. Select our path and change the stroke weight value to 115 and leave the black color. Now go ...

Looking to wow the next party you attend? How about a card trick? Leave your friends begging for your secrets by performing this bit of sleight of hand. Learn how to do the "Dream Queen" card trick with help from this video.

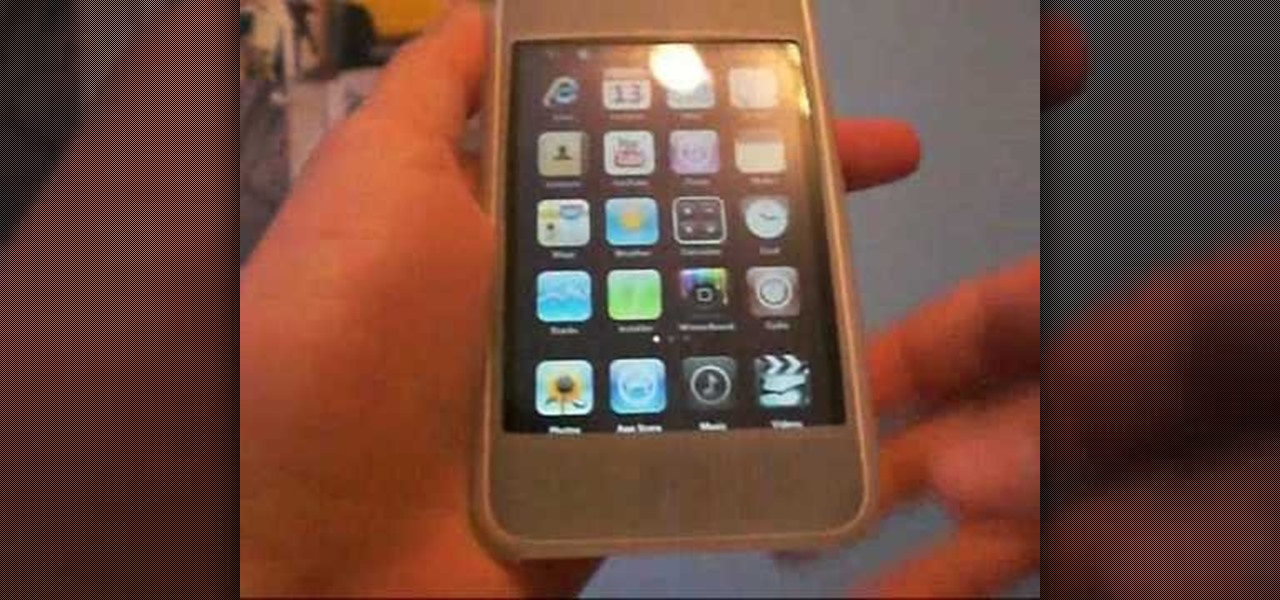
Want to personalize the color of your slider text on your iPod Touch? In this video, learn how to change the color of your "slide to unlock" text with a little help from a jailbreak/hack expert. Things you will need to complete this:

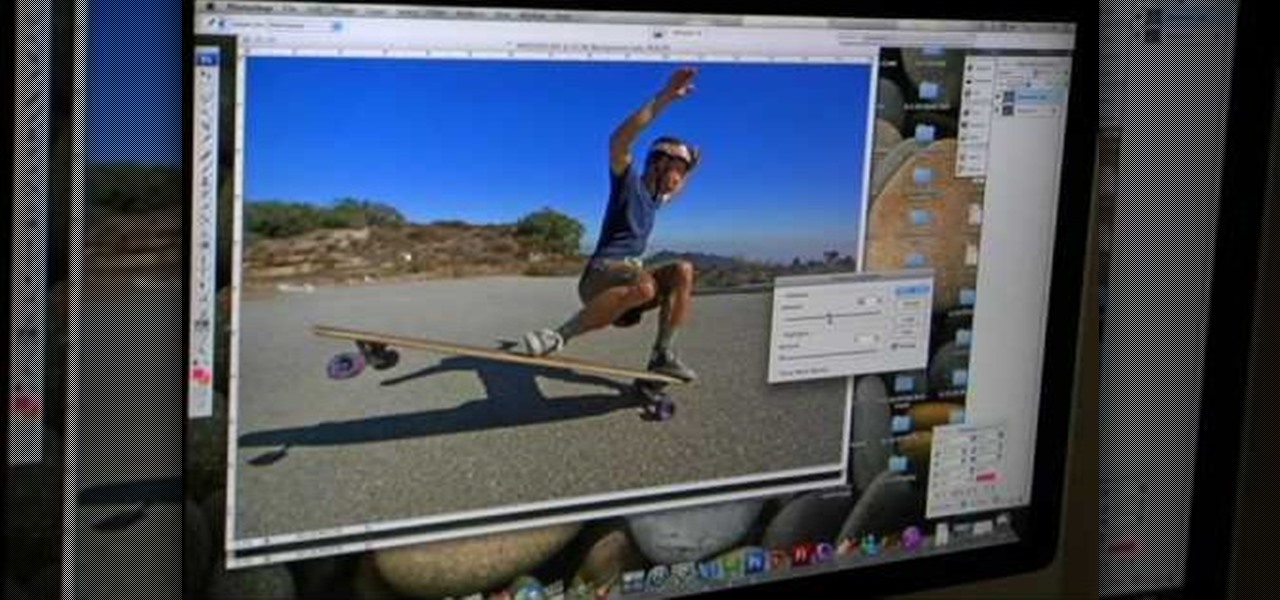
A tutorial from the folks at Loaded Boards, demonstrating color correction tips for your photos. The wrong colors can ruin even the best photos. In this clip, we're introduced to a technique to keep your pictures looking both natural and dynamic

Make the most of your height with these wardrobe tips. You Will Need

Neither Chinese nor checkers, Chinese checkers is a fun game to play. Watch this video to learn how to play Chinese checkers.

Improve your magician skills with this magic card trick video lesson. This magical tutorial will show you how to perform the color changing deck card trick. Doing the color changing deck card trick just takes a little sleight of hand and practice. See the reveal of this cool card trick.

One great feature of OnTime 8.1 is the ability to add color schemes to the main grids of OnTime Windows and OnTime Web. This installment from Axosoft's own series of video tutorials on the OnTime Project Management Suite covers how to activate this functionality to allow color changes for items based on their Priority, Status, Severity, and Workflow.

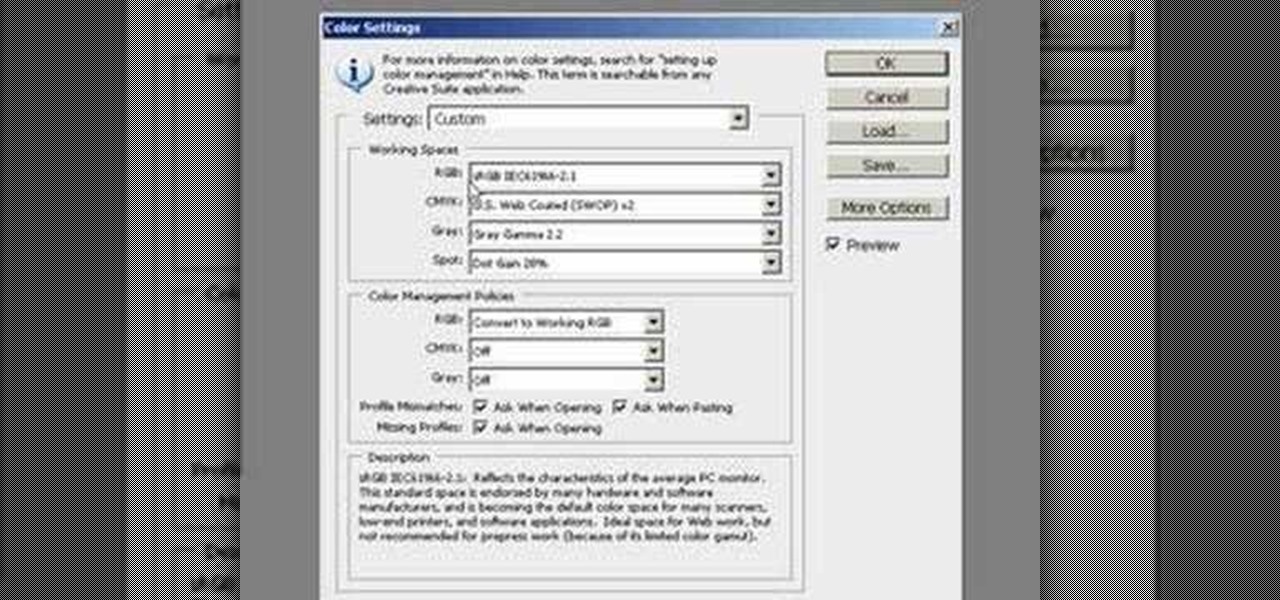
If you are a professional photographer or artist, as great as Photoshop CS3 is, it doesn't do you much good if your print quality and coloring isn't correct. This software tutorial shows you how to set up your Photoshop workspace to be sRGB in the Color Settings dialog for the purpose of lab printing.

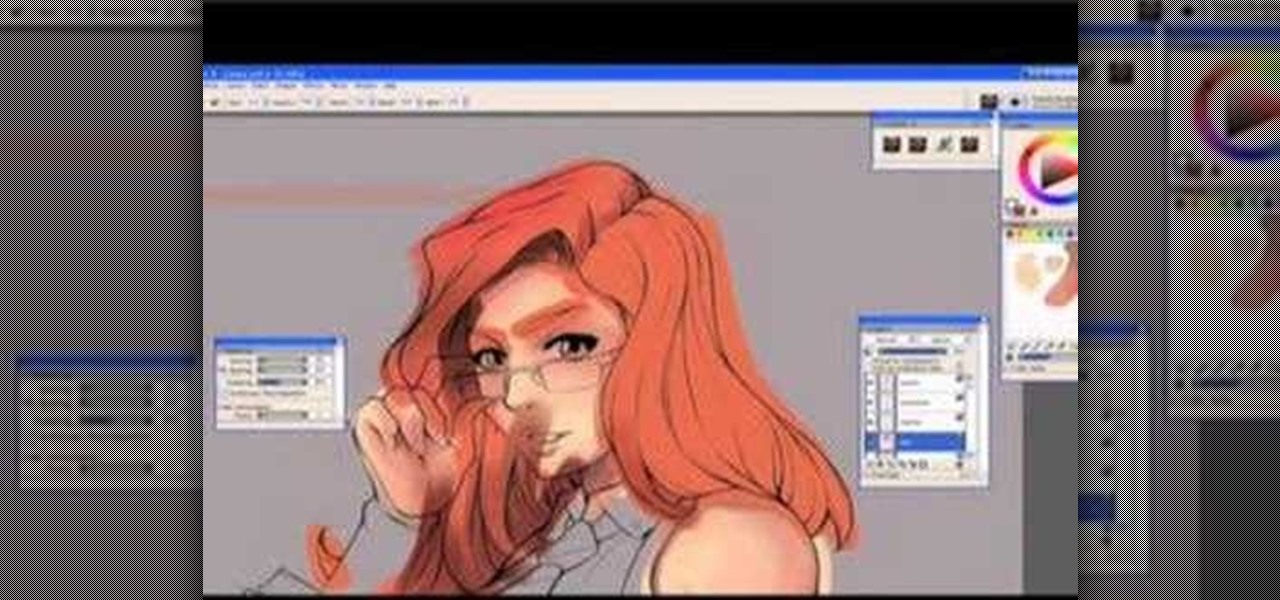
This digital drawing tutorial shows you how to color or ink a manga animation type drawing in Corel Painter. The tutorial assumes you are using a Wacom or Cintiq tablet to work. The tutorial explains the steps taken to digitally color a drawing in Corel Painter and is more about the process than the specific mouse movements.

It's Magic 101. Can you mimic the master? This magic how-to video will show you the trick. Effect: Taking two matches from different matchbooks (one black, one brown), you cause them to visibly switch places...right under their eyes. It's demonic; it's the Quicksilver Matches.

Check out this instructional science video that demonstrates how to perform the experiment "Kool Colors." From the Oregon Museum of Science and Industry's teacher curriculum, "No Hassle Messy Science with a Wow", this is an activity using Kool-Aid as a reactant. The experiment measures the reaction rate of Kook-Aid with steel wool. Perform the Kool Colors science experiment by following the simple step by step outlined in this science tutorial video.

Check out this instructional Cherokee language video that demonstrates how to pronounce all the colors in Cherokee like black, green, blue, grey, white, pink, and purple. Practice and improve your Cherokee language skills by learning how to say the colors by watching this instructional language video.

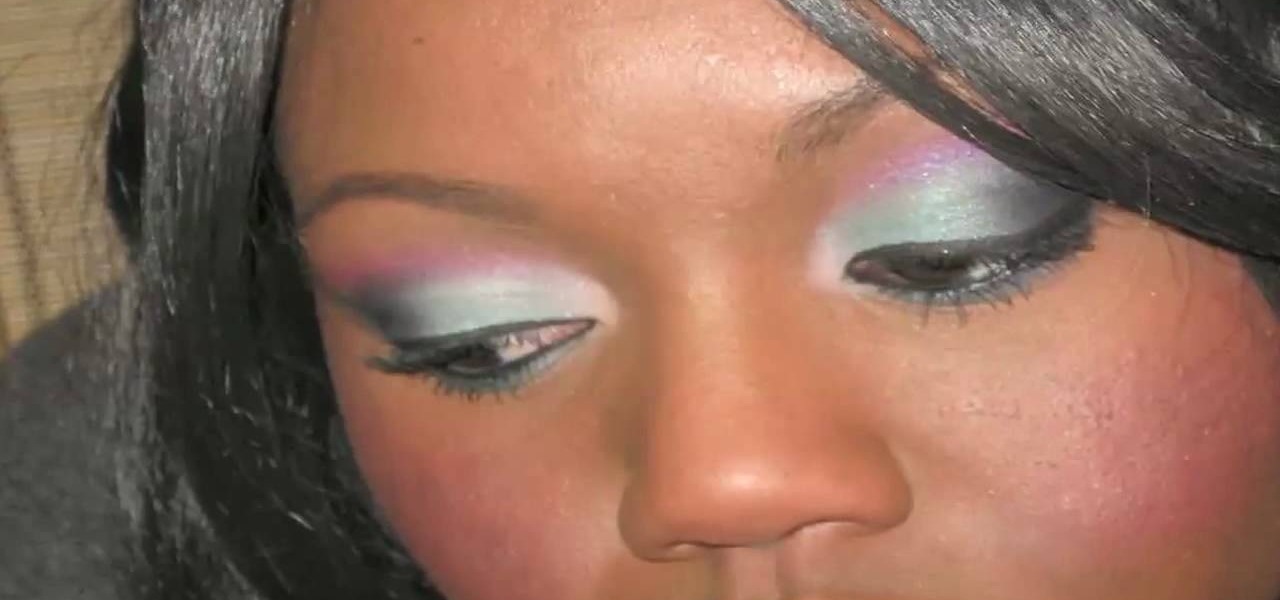
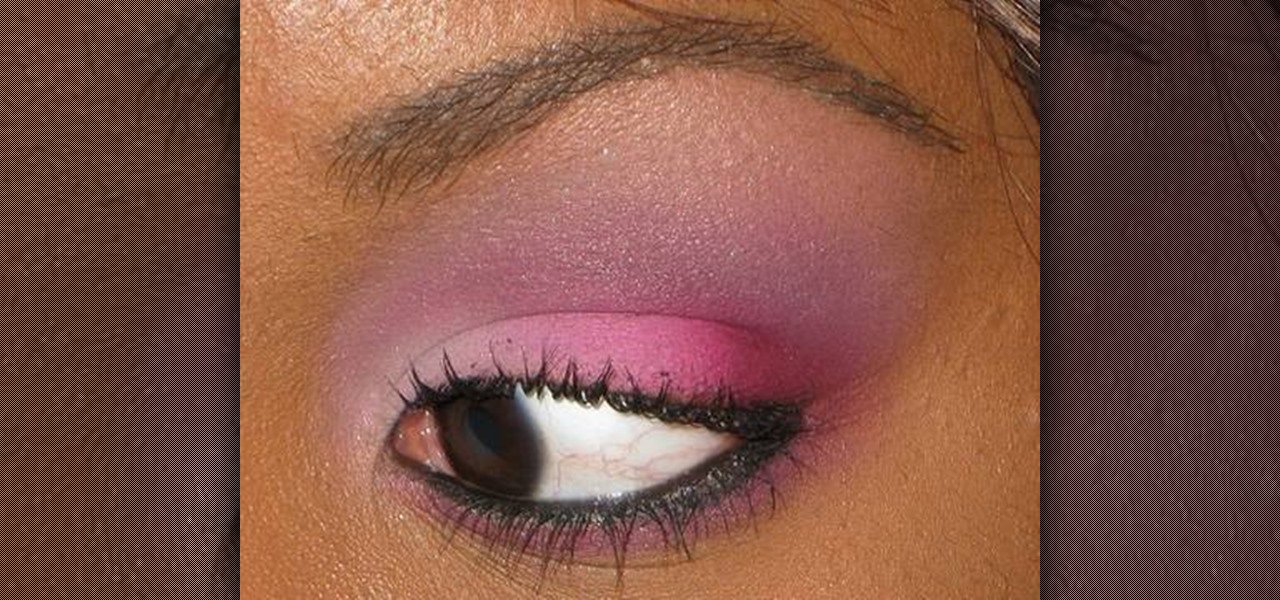
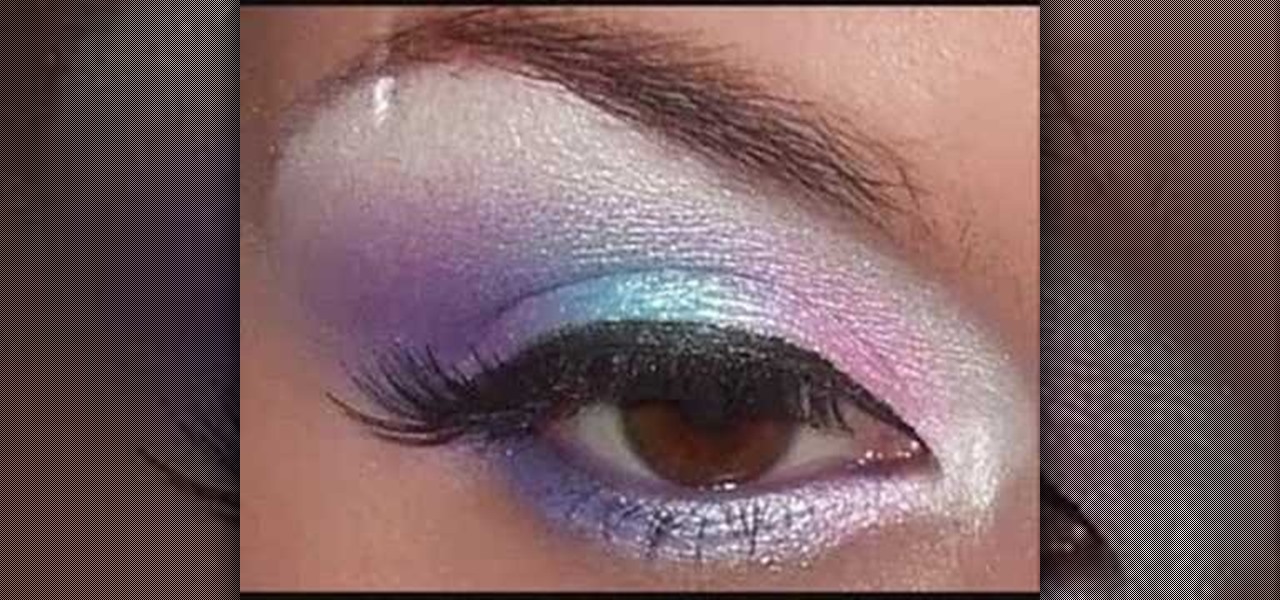
Watch this instructional cosmetics video to apply pink, purple, and blue eye shadow over a MAC cream color base. Use soft brushes to blend the color transitions. This creates a three color eye shadow fade with a dramatic shape.

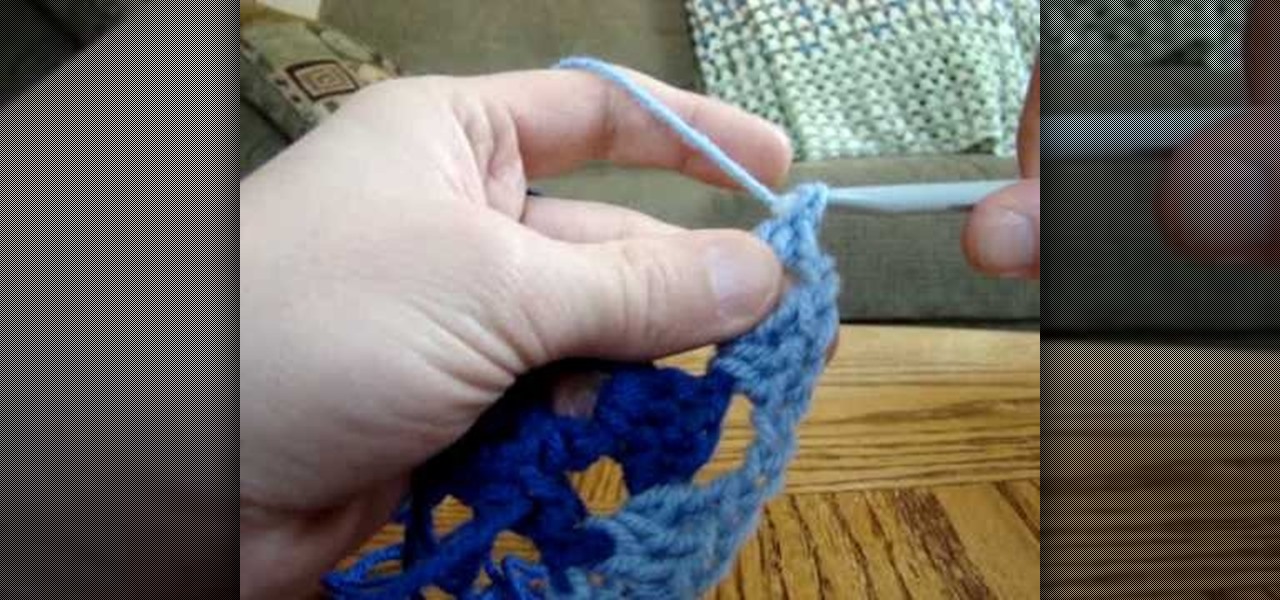
Watch this instructional crochet video to crochet a color change within a granny square pattern. These visuals make crocheting easy to understand. The granny square is more complex than the open work stitch, but once you can crochet around a corner and switch colors within a pattern, all of your projects can take on a new complexity.

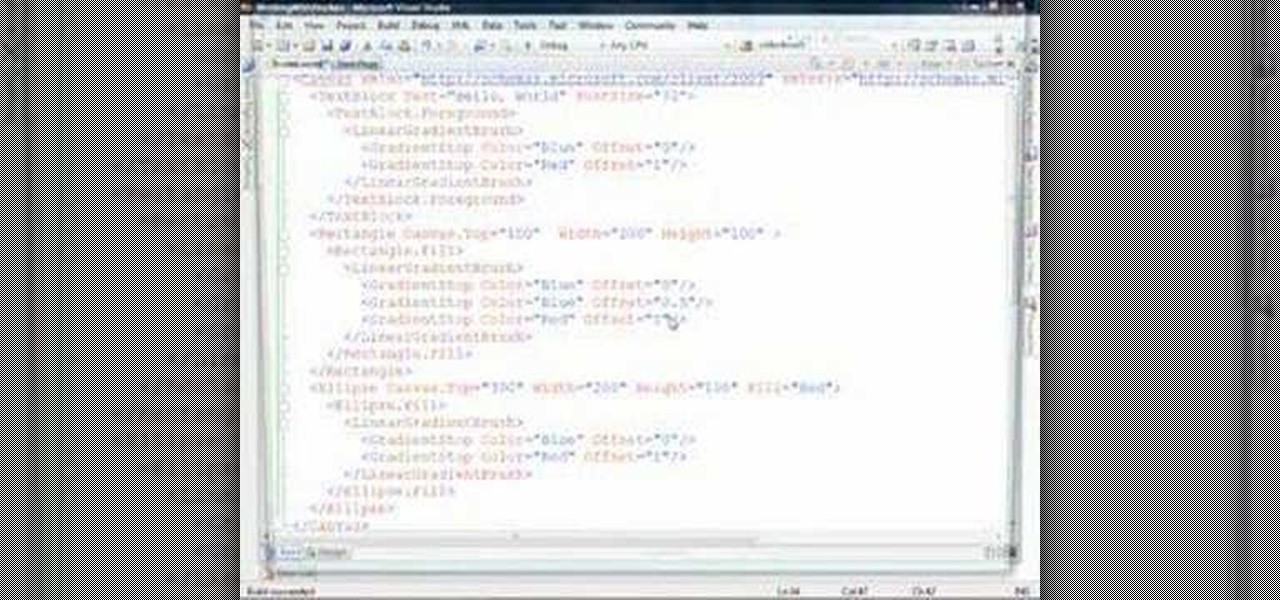
In this web application development tutorial you will learn how to use brushes in Microsoft's Silverlight for color, gradient and video. Learn how to write ASP.Net functions in Silverlight to control colors, shapes, gradient and videos on your web app or web page.

Raspberry juice will change colors with the help of a couple simple home ingredients, and creates a a great trick effect. Learn how to perform the color changing juice trick by watching this video magic tutorial.


