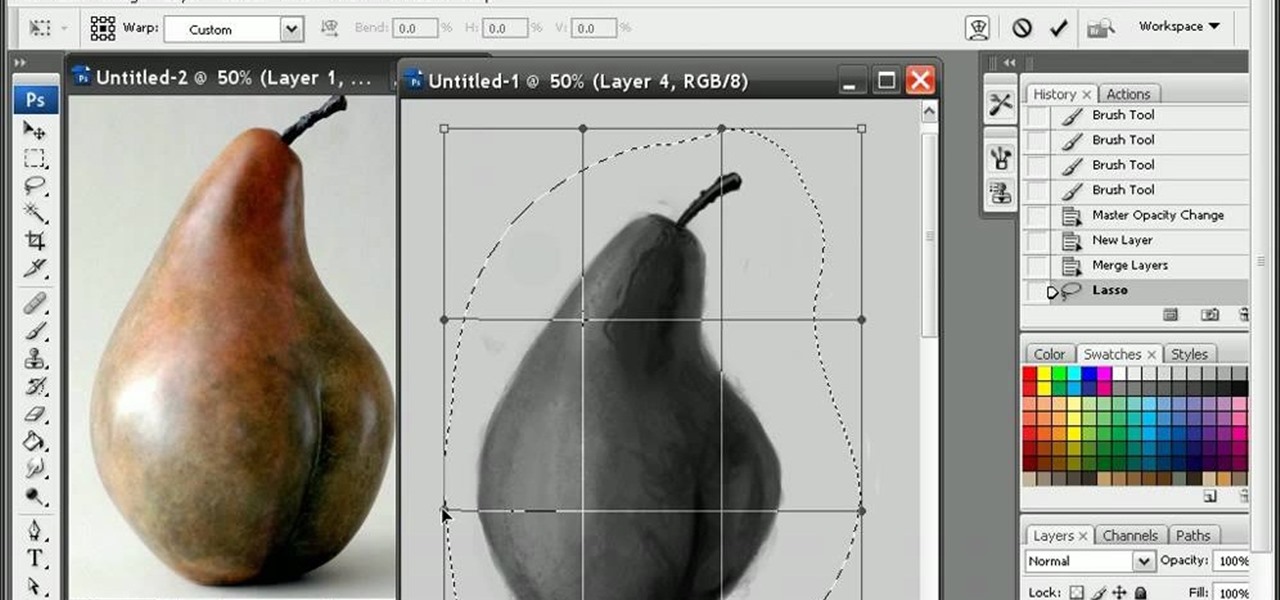
If you are looking to improve your Photoshop skills by learning how to digital paint in it, this video shows you how to do it. To do this, open a new Photoshop canvas and select your brush to paint with. In this example the author shows how to paint a pear for demonstration purposes. You start by drawing a rough sketch, just using your paint brush and reference an image of a pear that you find in this tutorial. Now do the dark textured work on the non lighting side as shown in the video. Now ...
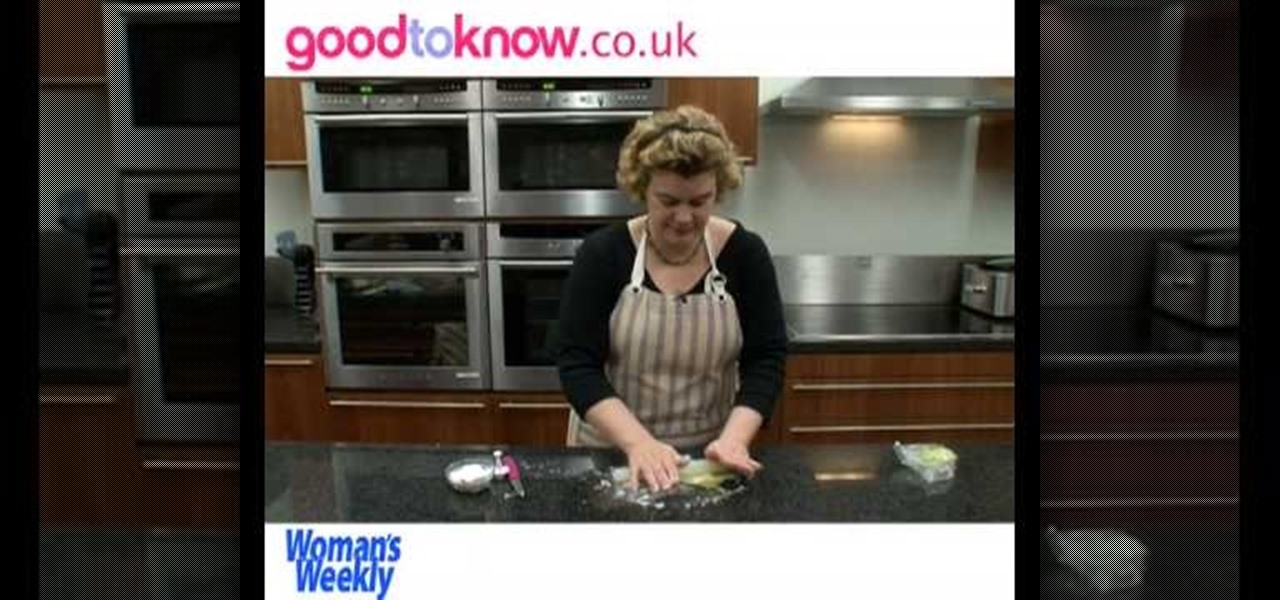
This tutorial shows how to make tiny molded roses and leaves that you could put on cupcakes. To start you only need a few ingredients: icing sugar, water, paste coloring, fondant icing sugar, and a piping bag (optional). Mix all ingredients together, then put them in a bag so they stay soft. Make the color of the rose or petals any color you want. Knead the dough so that you will have the color you would like. Next, break off a piece of the kneaded dough and form it into a cone shape. Break o...
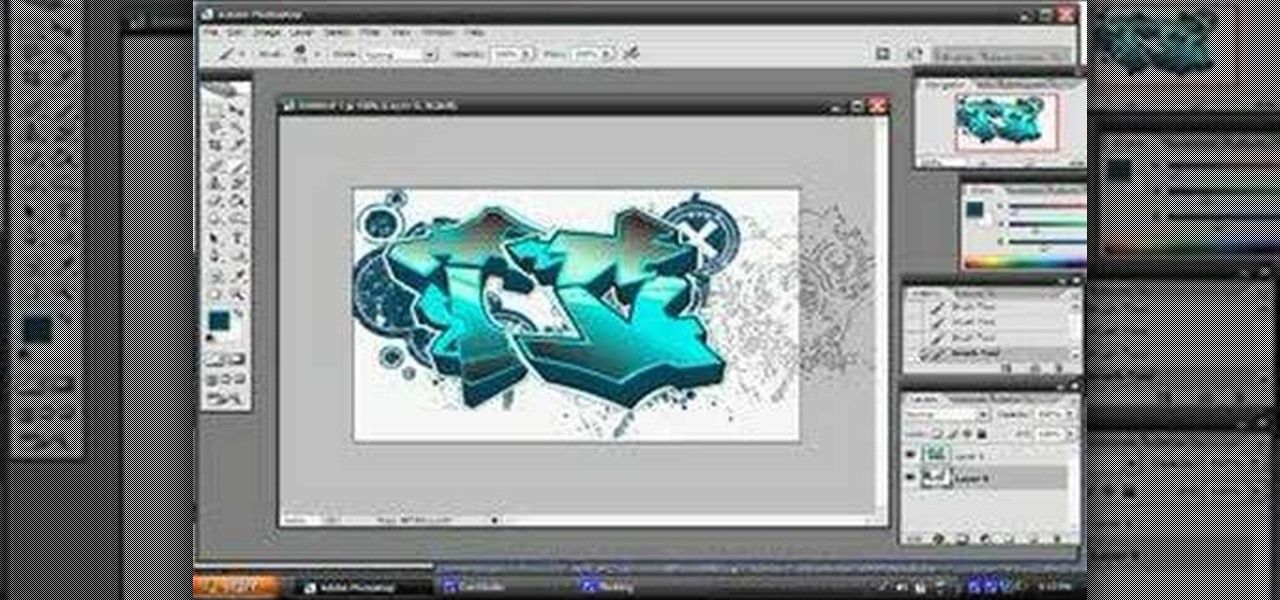
Walagers helps us learn how to make graffiti in Photoshop. First, go to "Select" and click on "Color Range". Use the eye dropper tool to select the color of the background, then press delete. Next, press "alt" and double click on the background layer to convert it to a normal layer. Using the brush tool, select the type of brush you want and the brush's size. Brushes can be downloaded from Brusheezy.com. Use the eyedropper tool to select part of the graffiti. It is recommended to use the same...
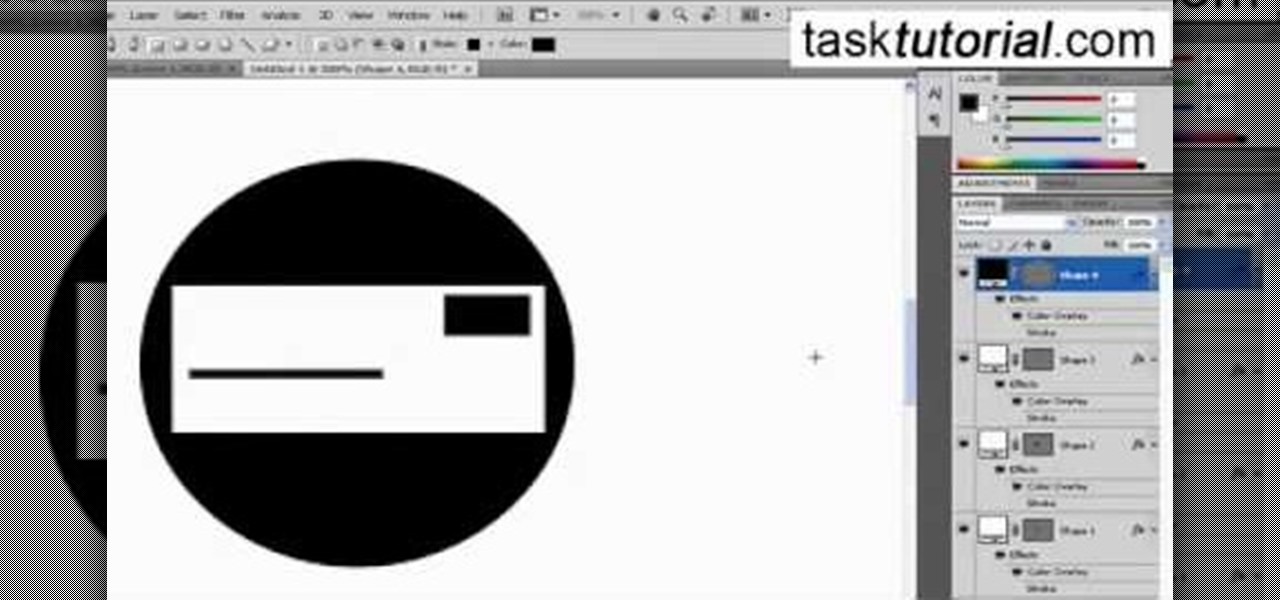
This video will walk you through the process of creating your very own icon to use for your email by using Adobe Photoshop. Photoshop is a great tool to use for a variety of purposes and in this instance can make the perfect icon in just minutes.

Open the Adobe Photoshop program. Choose a picture with a head shot. This maybe something that is already in your pictures folder on your computer, downloaded from the internet or transferred from your flash drives, and those photos you may have scanned and saved in your computer.

Simon Plant of ProPhotoInsights.com shows how to use Photoshop to blend colors in images. He uses a photo of his son standing in front of Stonehenge to take us through each layer of the photo to alter the levels of hues, saturation, and opacity. The key to blending colors is a matter of playing with different hues and saturation levels in Photoshop to get the subject in the foreground to match the background. Follow Plant's thorough tutorial to find out how to get professional looking photos ...

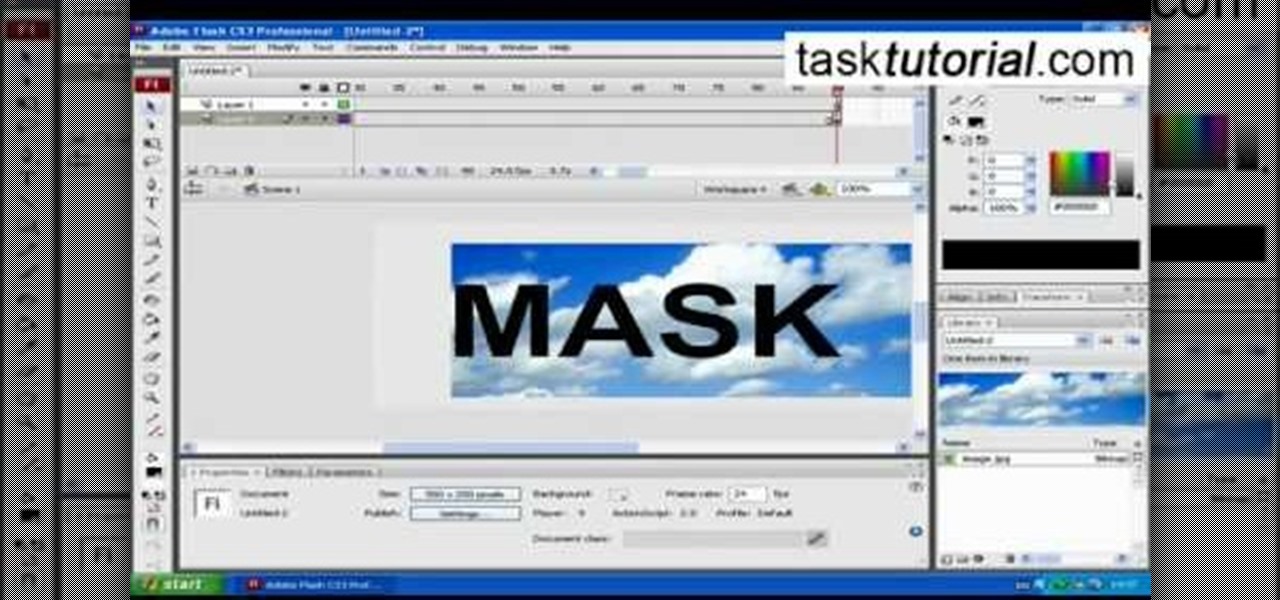
clipping mask Sponsored by SimpleRetouch.com Start by creating a task with the name Mask, then Choose a color and a font size.

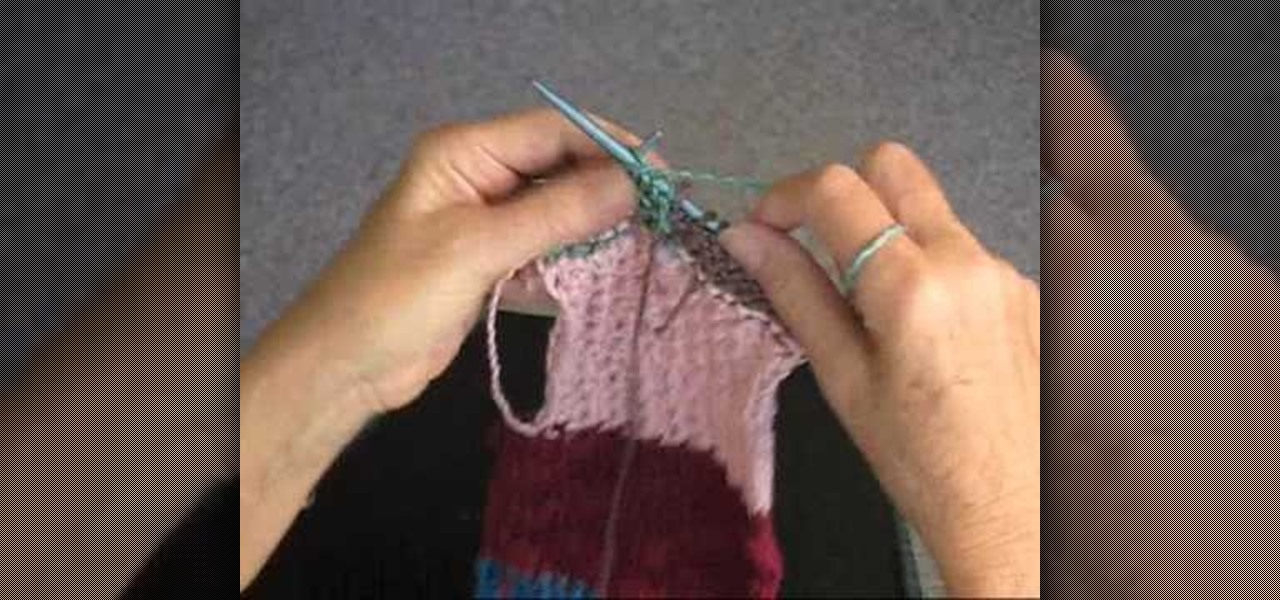
It's easy to add a new yarn color in the middle of your row. See how to change colors in the middle of the row when knitting, with this easy, up close demonstration by Judy Graham, Knitter to the Stars.

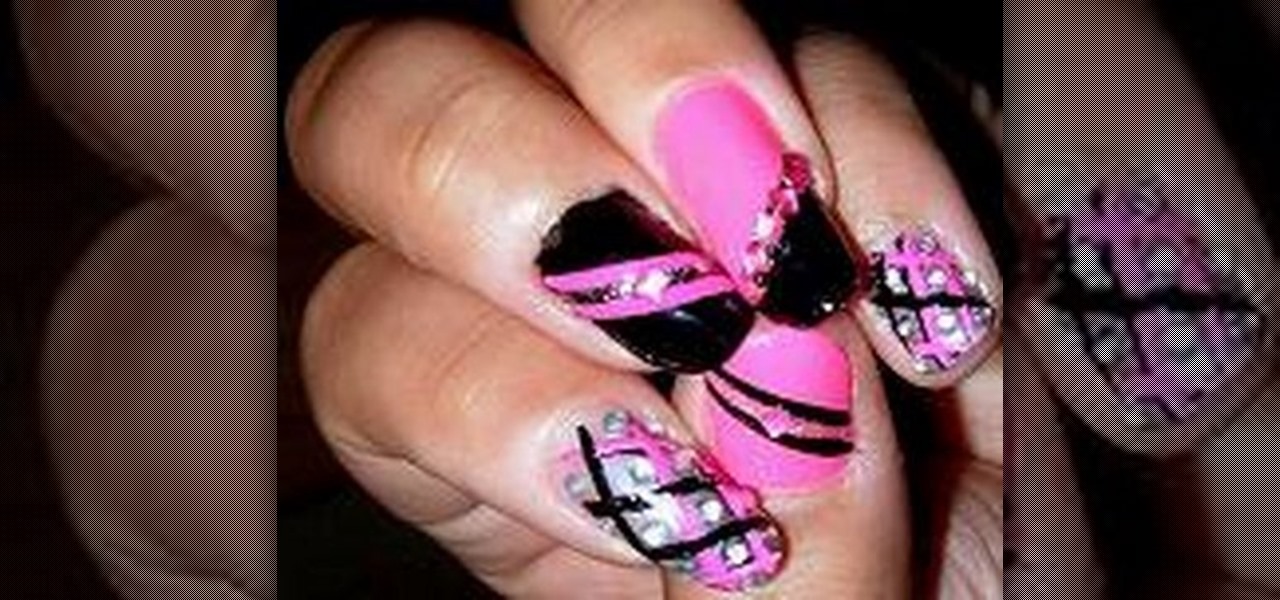
Lauren, AKA QueenofBlendingMUA has joined the ranks with the other YouTube beauty gurus. Lauren is a makeup artist with a large collection of eye makeup & nail art video tutorials. Her eye makeup look span from everyday makeup to creative, more expressive party looks. Her nail art/ manicure looks are also lots of fun. Check out this nail art tutorial video to learn how to create a hot pink and black nail art design. Search QueenofBlendingMUA on WonderHowTo for more beauty videos.

This video shows you how to create beautiful make-up using the loreal hip products. Products Used:

New to the ukulele or simple looking to add to your bag of tricks? This two-part video tutorial series enumerates a number of tips and techniques that will add color to your ukulele playing. Become a better ukulele player with this free video lesson series.

Studying to be a nurse? Then here is a nursing how-to video that teaches you how to change the dressing on a stage II wound. Every nurse should know the basics of this technique, follow along and see how easy it is to use wound care products to change the dressing on a stage II wound. These medical tips are sure to help you pass your nursing exam with flying colors.

Watch this two part lampworking video series to learn how to make a glass hollow donut pendant. Learn to coilpot some color and then make a donut and turn it into a pendant.

In order to create 3D lettered signs in lights, you will need to first create an object. Open Illustrator. Type your letters on the page. Adjust the font to the style you would like. Click on "effect". Then, click on "3D". This will allow you to rotate the image for the angle that you will want to see it at.

In this tutorial, we learn how to make Jell-o shooters in less than 60 seconds. First, you will boil 1 c of water, then mix it together with your choice of Jell-O. After this, stir for two minutes that add in 1 c of vodka. Next, fill your cups up with the liquid, then add caps and place in the fridge. Wait a few hours for these to set up, then enjoy them! You can use many different types of Jell-O with these, so get creative and make a whole bunch of different colored ones! You can also have ...

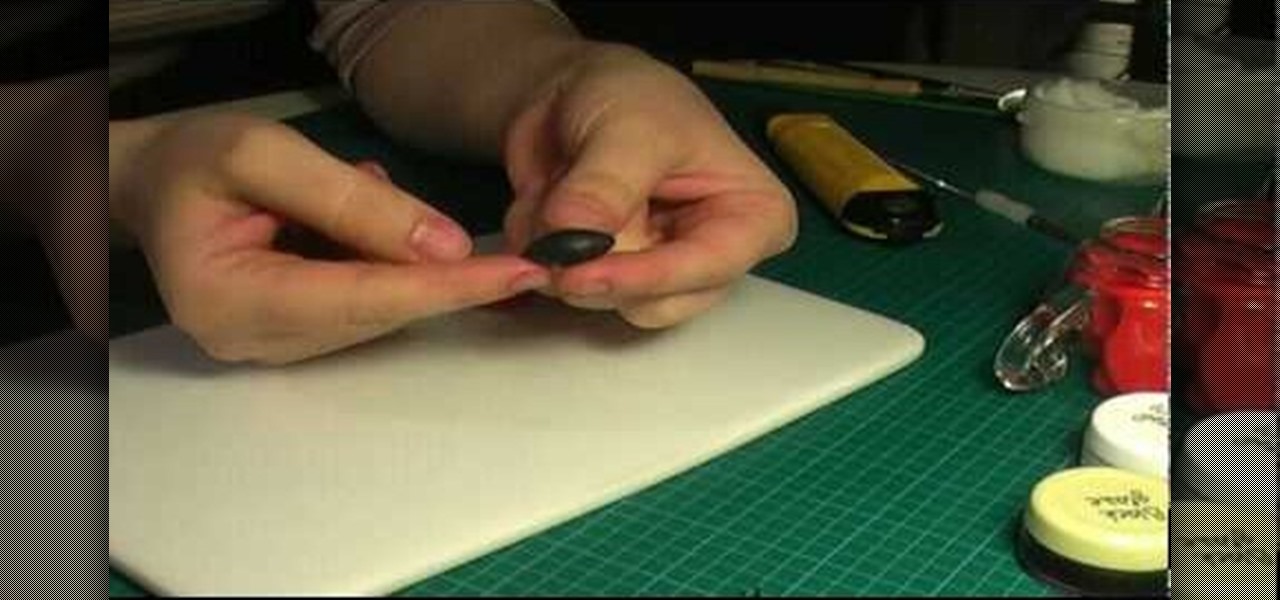
Ever wonder how the chefs on TV make those realistic looking cakes? Well, this tutorial will show you how to make an adorable looking ladybug for the top of your cake. In this two part video, you will learn how to make a shiny fondant (gum paste) ladybug with edible antennae.

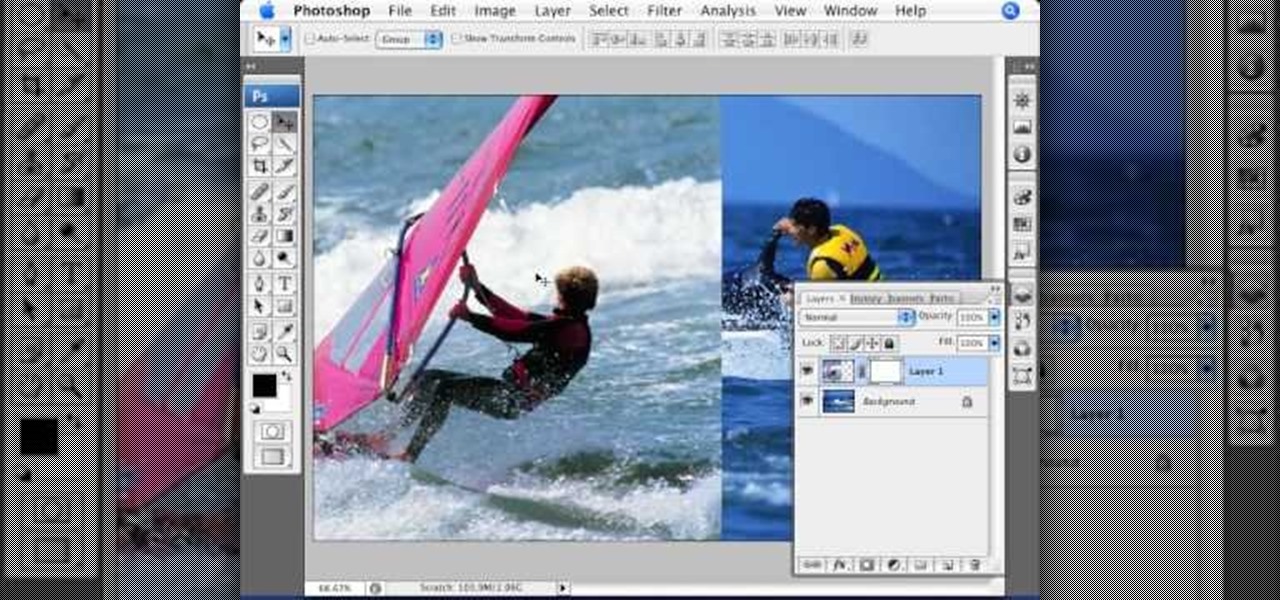
This video tutorial by photoshopuniverse teaches you how to blend two images seamlessly using Photoshop. For this you need two or more images that need to be blended together. Using the move tool in Photoshop move one image over to the other image. Open the layers window and make a layer mask as shown and select the gradient tool making sure the colors are white on black and connect the two images as shown. Using the brush and the opacity at 50% reveal the parts of the image that need to be c...

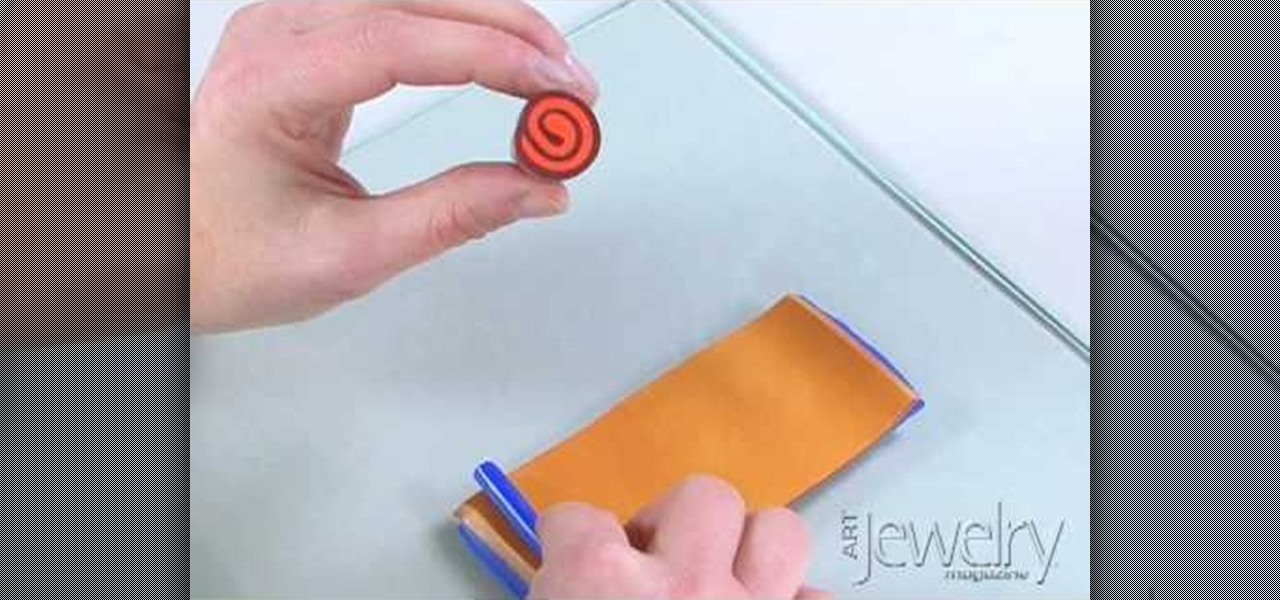
Jill Erickson from Art Jewelry Magazine demonstrates how to make a Jellyroll cane with polymer clay. Condition two different colors of clay by running them through a pasta machine set on medium. Then, trim off any rough edges. Stack the clay on top of each other and place a little bit of pressure on it to confirm the two layers. Using a blade slightly bevel the edges. Slide the blade underneath the two layers of clay for easier handling. Place a think snake of clay in the contrasting color on...

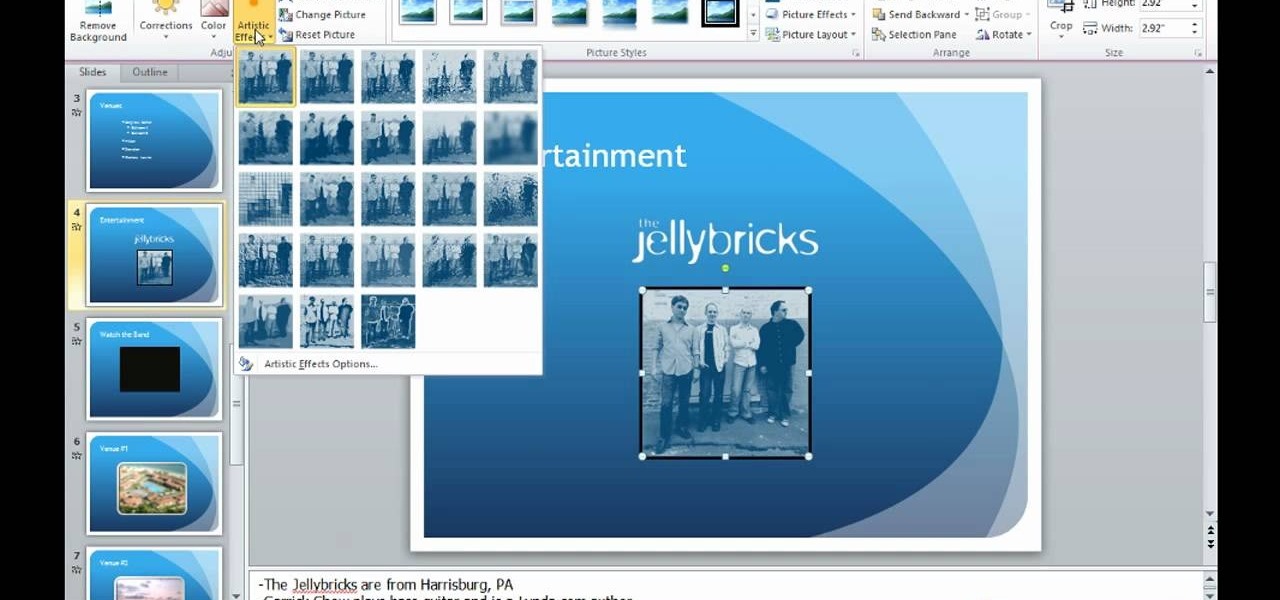
This video describes how to edit images and videos in MS Power Point 2010. For example, we will take a slide with picture added. If you want to edit the picture, first go to the "Picture Tool" button and click on the format tab. If you want to change the contrast and sharpness of the picture use the "Corrections" menu, and to change the saturation, tones, and to do recoloring we can use the color option tab, and then the "Artistic effects" which can be used to see a real time preview like usi...

Pixel Perfect is the "perfect" show to help you with your Photoshop skills. Be amazed and learn as master digital artist Bert Monroy takes a stylus and a digital pad and treats it as Monet and Picasso do with oil and canvas. Learn the tips and tricks you need to whip those digital pictures into shape with Adobe Photoshop and Illustrator. In this episode, Ben shows you how to create cloud over a sea in Photoshop.

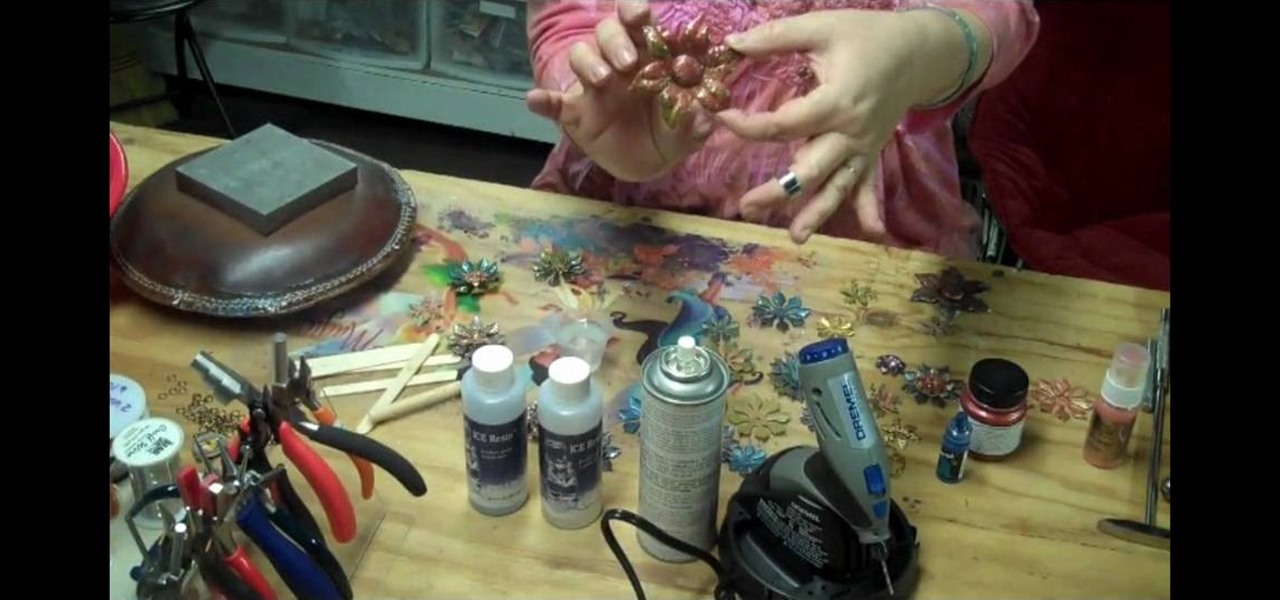
If you enjoy creating vintage inspired jewelry, then there's no way you can get around not using brass stampings. Already infused with a rusty colored hue, they're very antique-looking and their colors can be altered. Check out this jewelry crafting video to learn how to color vintage flower brass stampings using materials including acrylic paint and resin.

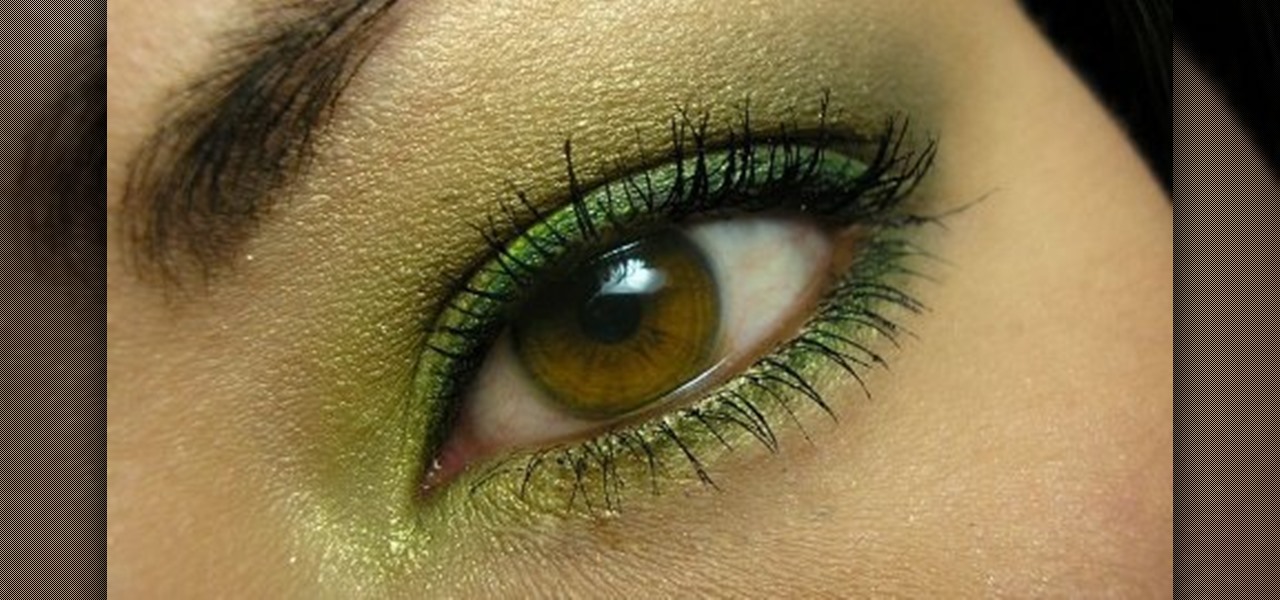
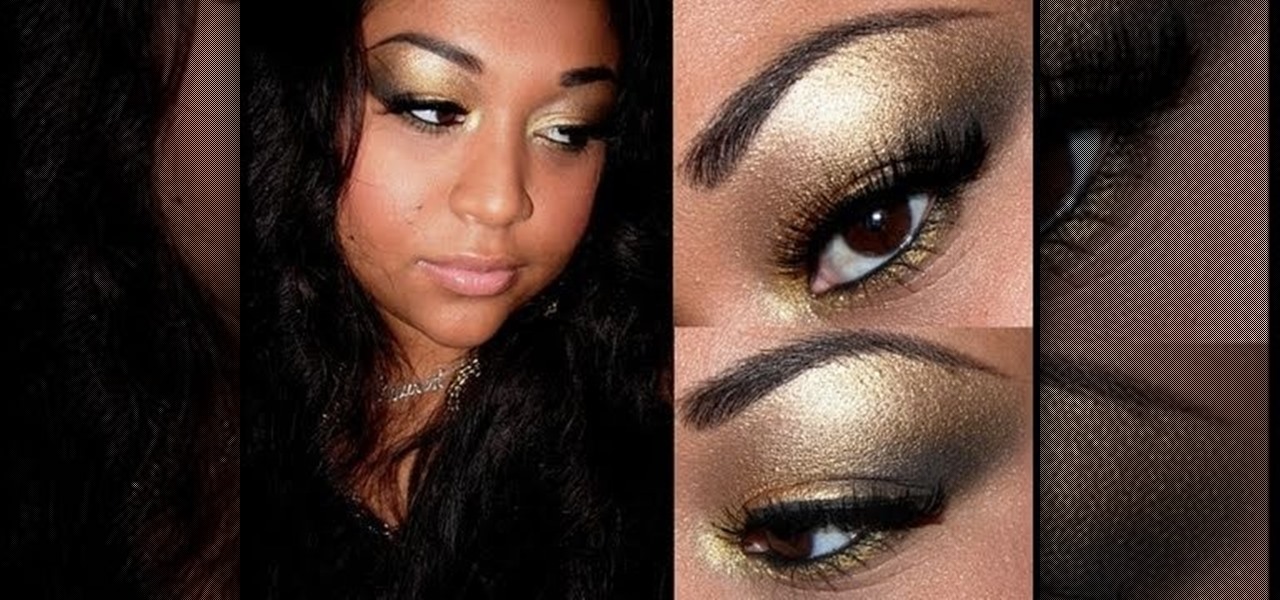
You should always base your eyeshadow color choices on the color of your eyes, but there are in fact some colors that look amazing on everybody. One of these universally flattering hues is gold. Whether you have brown eyes or green, gold brings out the tiny golden flecks in your iris.

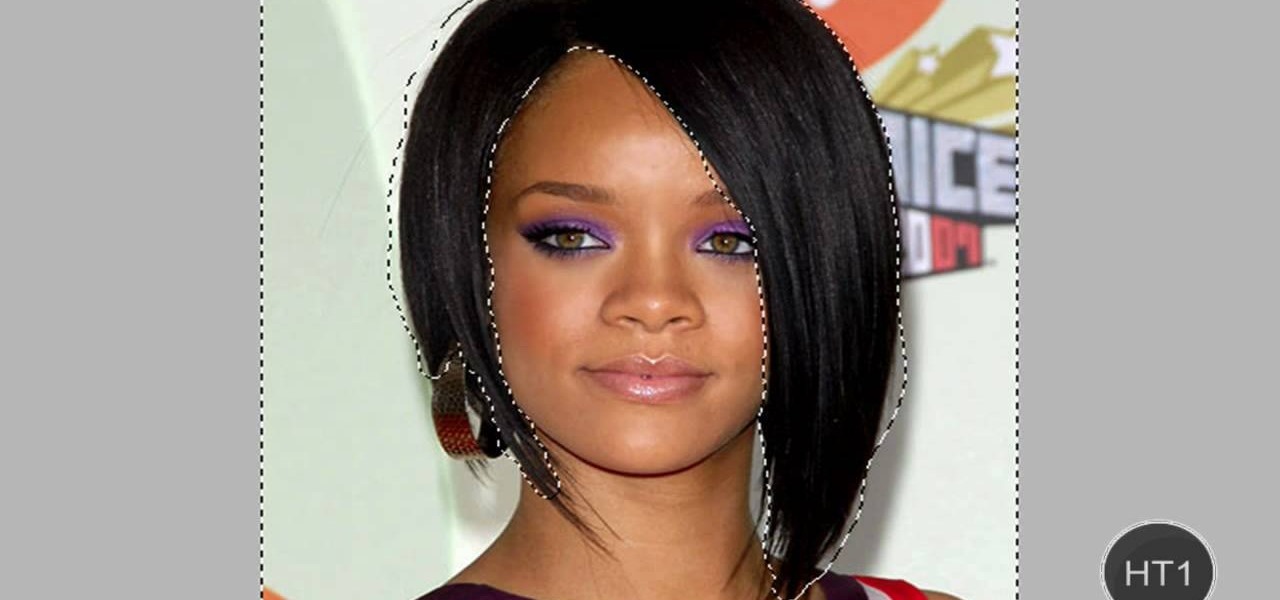
In this video, we learn how to change hair color in Photoshop CS3 and CS4. First, open up your image and zoom in on the hair. From here, you will click on the selection tool with a circle to select your image. Now, make sure this is the perfect size for the entire image. Right click and make sure it's sized out right. Now, select the hair and a red marker will appear. Select the whole surface of the hair, and as you get to the short hair use a smaller circle tool, don't worry about the smalle...

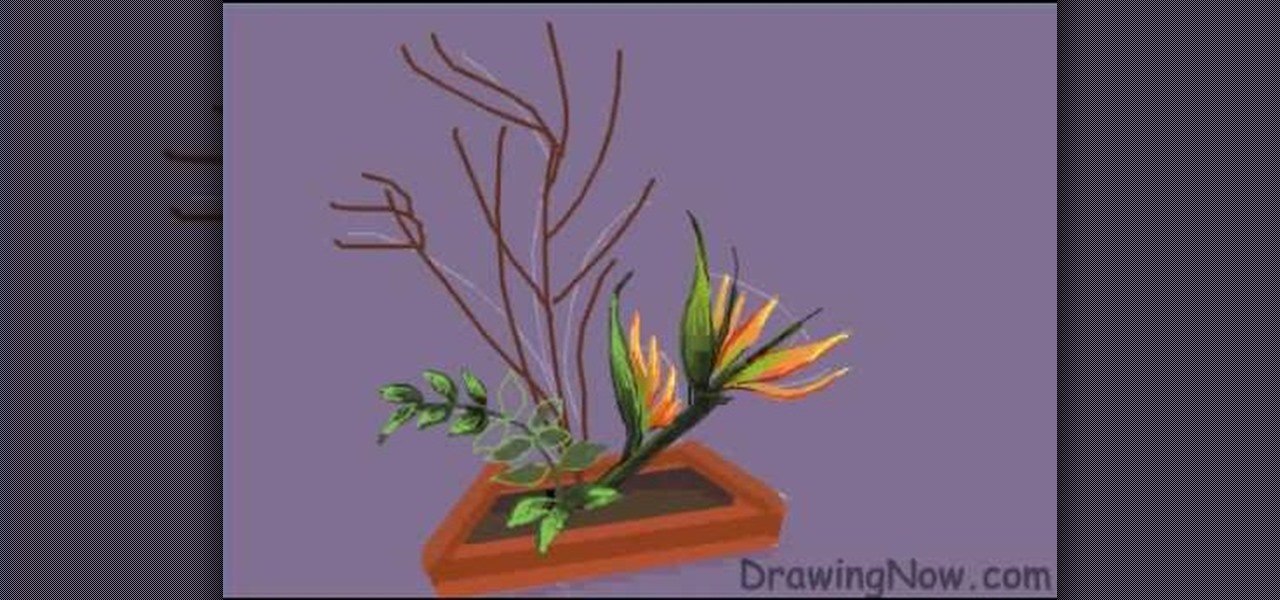
In this tutorial, we learn how to draw an arrangement of flowers. To start this off, you will need to draw lines on the paper where you want each of the flowers to go. Once you get this figured out, draw on each flower individually. After this, add in the detail to the flower to make it look more realistic. From here, fill in the colors to the flowers and then color in the stems on them as well. After this, you will make a box that they are sitting in and color the bottom of it brown for dirt...

In this tutorial, we learn how to use color, texture, and style in your home. When choosing a paint color for your walls, first make sure the color is something you don't mind seeing everyday. After this, choose furniture that has different textures on it. Use a combination of different flooring materials to create contrast in each of the rooms. Use plants and paintings for decoration, but have them in popping colors to make the room come together. Use area rugs on floors, this can bring the ...

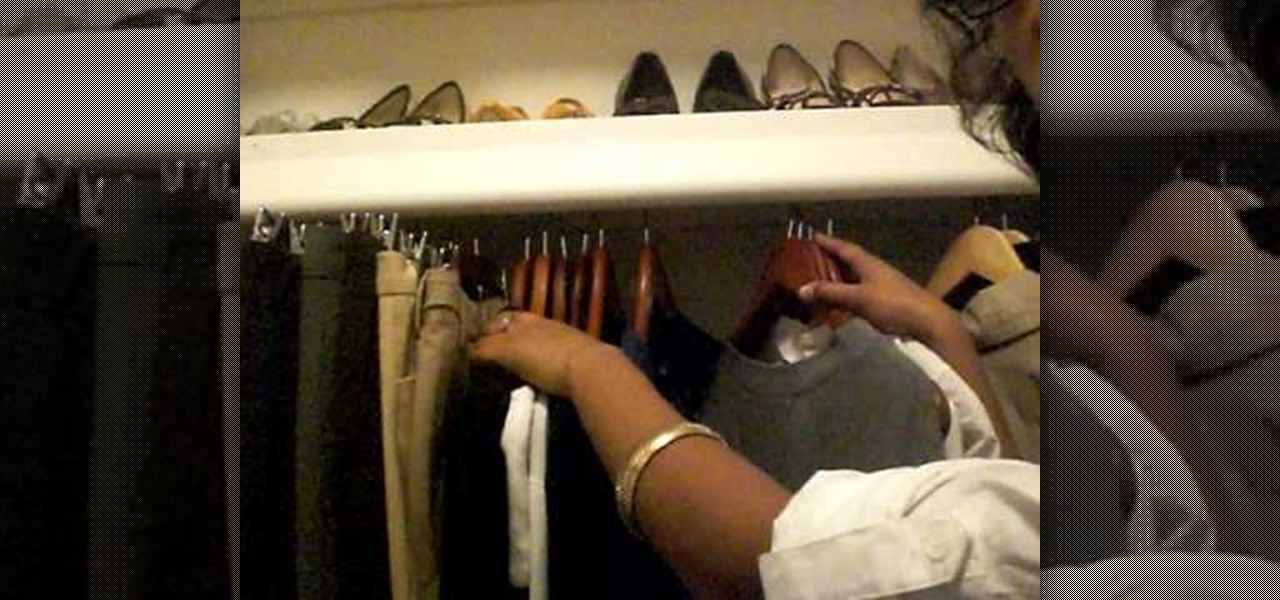
In this tutorial, we learn how to organize your closet by establishing a wardrobe system. If you have tops that you wear during the day, put these on a different colored hanger than your nighttime tops. Color code these in your closet and then hang up your nighttime tops with a light wood or your choice hanger. If you have other random tops, you can hang them according to how you would wear them the most. Dresses can be hung on another color hanger and then pants can be worn on another color ...

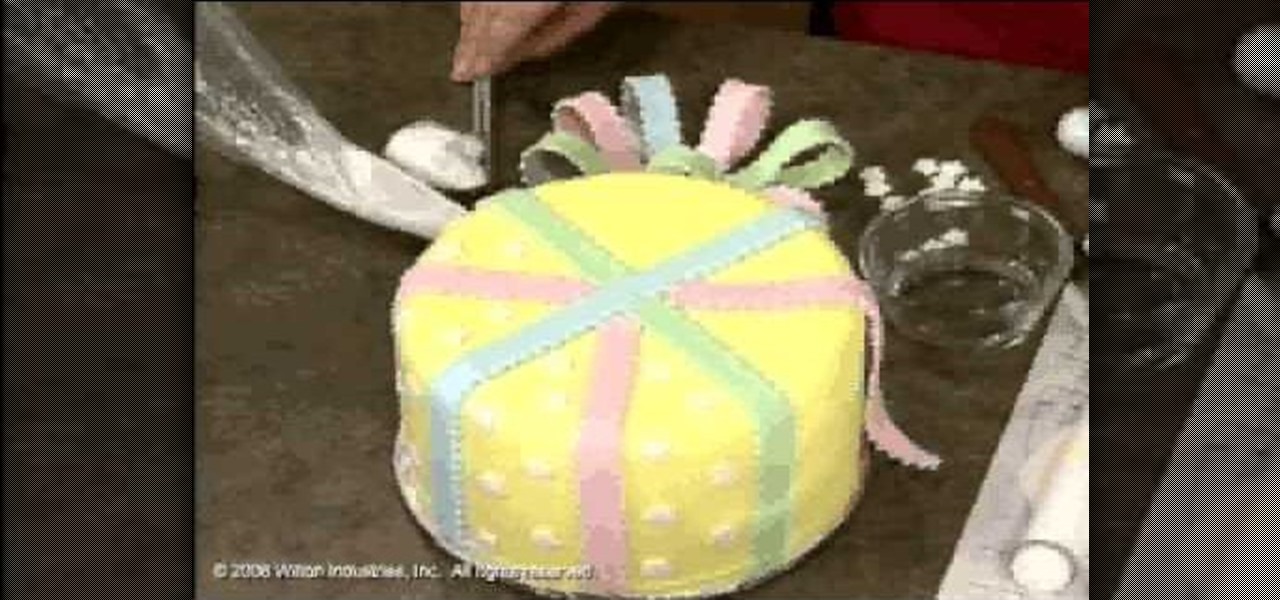
In this video, we learn how to use fondant when making & decorating cakes. Fondant is a dull type of sugar paste that you can form different shapes with and add colors to. When you add the color to the fondant, simply work it with your hands until the color runs all the way through and is smooth. Roll it out when finished, then you can apply it to the cake. To apply it, you will simply drape the fondant over the cake so it's hanging off on the sides. Then, flatten it out on the top and sides ...

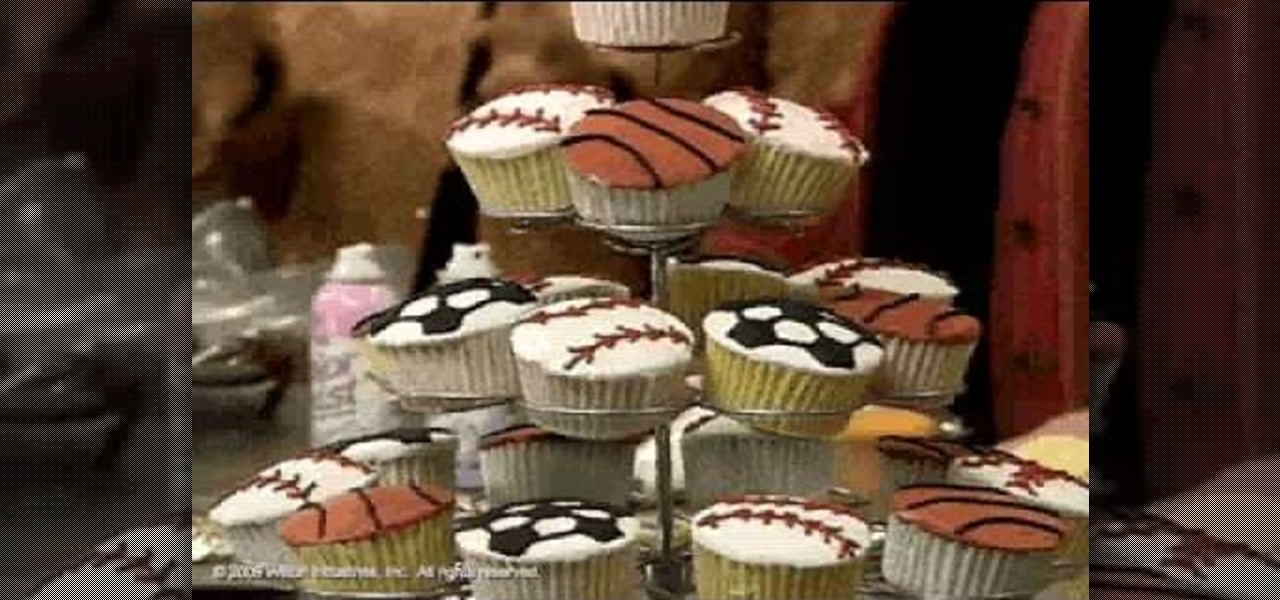
In this tutorial, we learn how to get creative the next time you make cupcakes. The first way to make a cute cupcake is to cover it with tall icing and then sprinkles, you can add a candle for a birthday. You can use different colors of icing to make it more exciting, then add a sugar color decoration to the top of it. Use airbrush in a can to color the icing on top of the cupcake. Kids can help you with this and have a lot of fun! You can also make a sports cupcake by using different colors ...

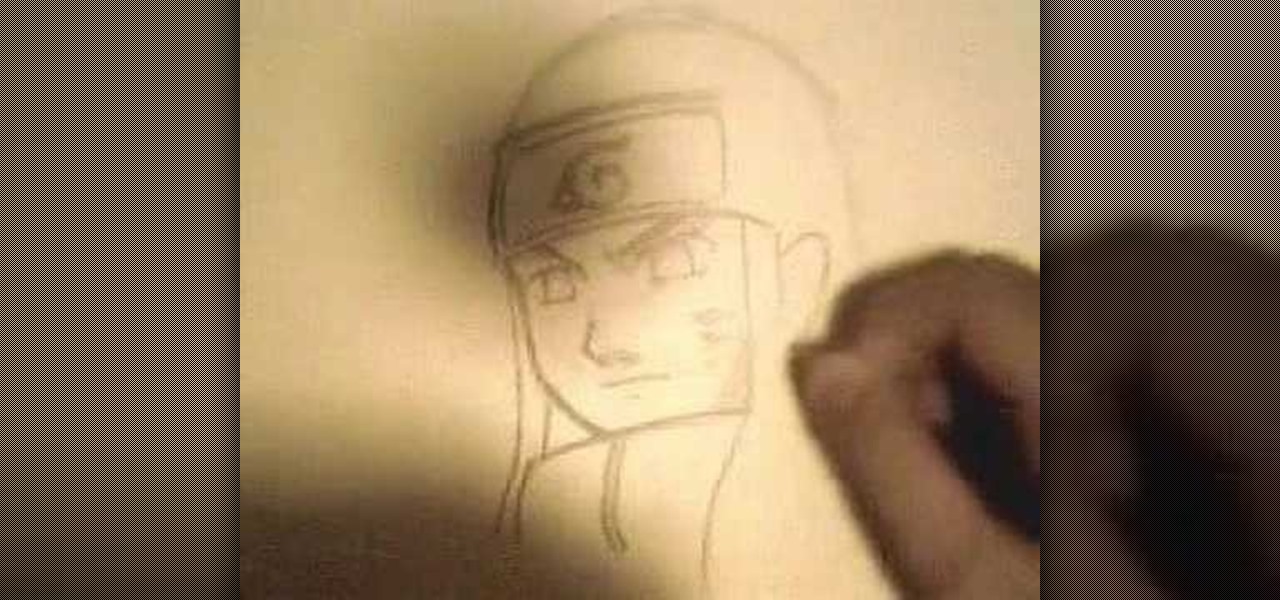
In this tutorial, we learn how to draw manga Neji. Start off by drawing the outline of the character. Don't forget to include the parts where the facial features, limbs, and hair are at. From here, you will use a darker pen to draw in the rest of the character. Next, you will start to draw in the additional lines and shading to make the character look more realistic. Once you do this, you can start adding some color! Use any colors that you would like or use the normal colors that are on Neji...

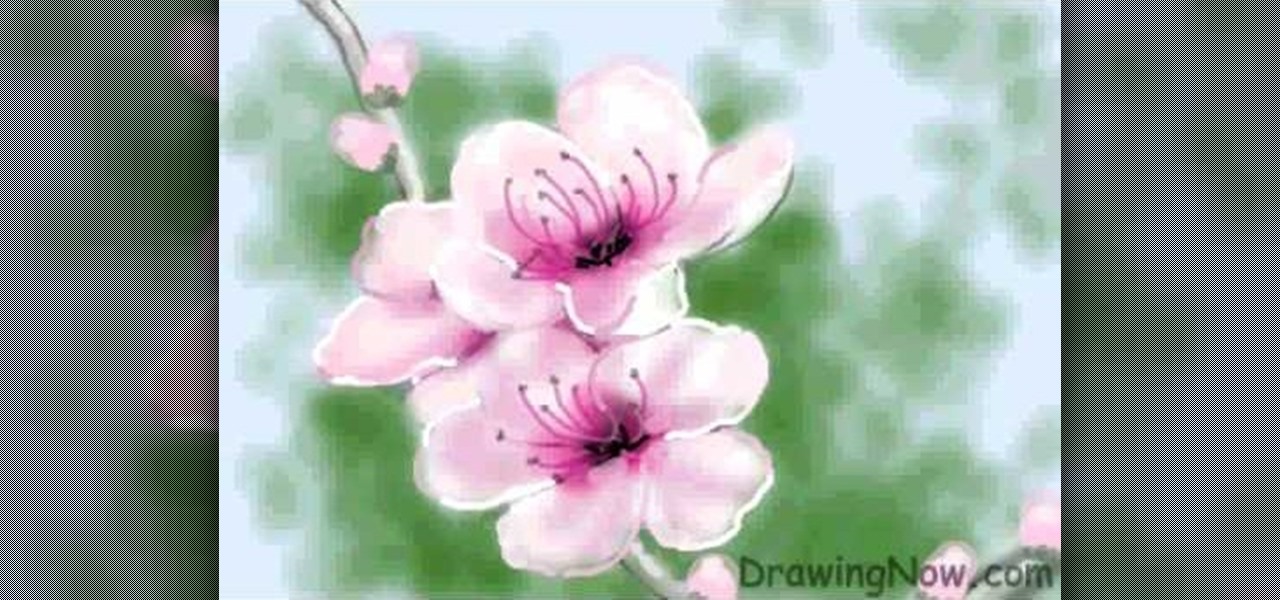
In this tutorial, we learn how to draw a peach blossom. First, draw the vine where the flowers will be. Then, draw the petals for the flowers, creating a basic outline. From here, you will color in the middle of the flowers with black and then a darker color of what the petals will be. After this, color in the petals and then create the background of the drawing. Next, color the vine in where the petals are on. Then, add white to the edges of the petals to show light hitting them. When finish...

You will need two different colors of complimentary yarn to take full advantage of this lovely pattern! You should also be prepared to cast between 90 to 105 stitches to start, and you can end with a lovely and elegent Moroccan scarf.

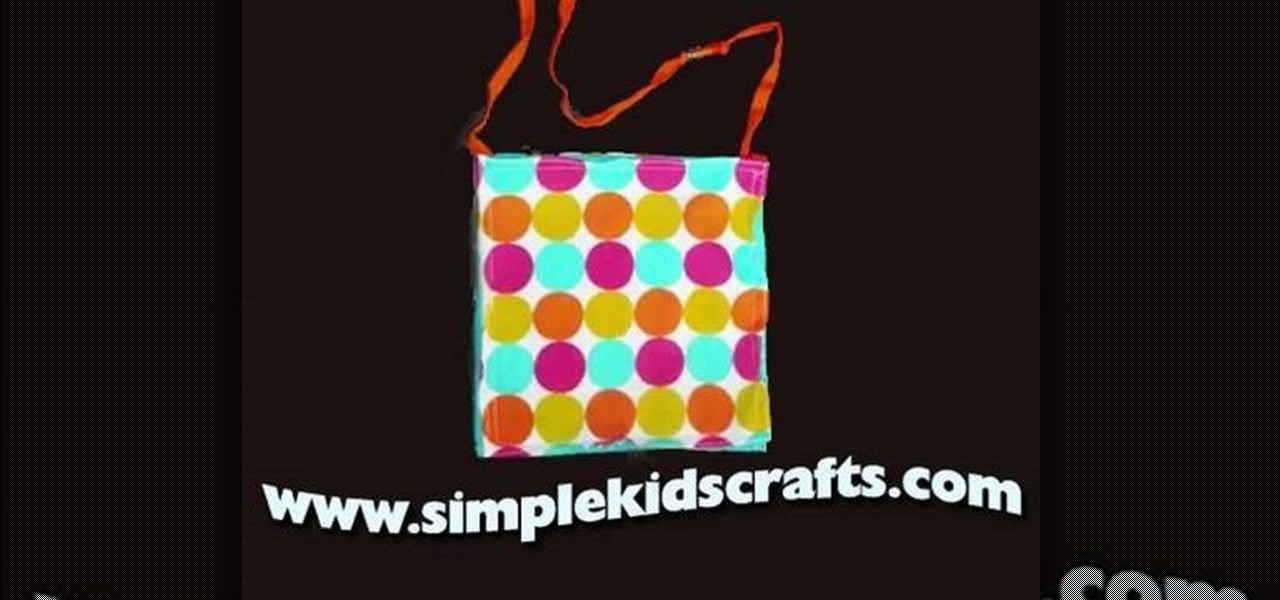
Make a fashion purse for your little princess! You'll need four squares of fabric in two separate colors (one for the outside and one for the lining), beads for decoration, a shoelace to use as a strap, needle and thread (or a craft sewing machine) and a pair of scissors.

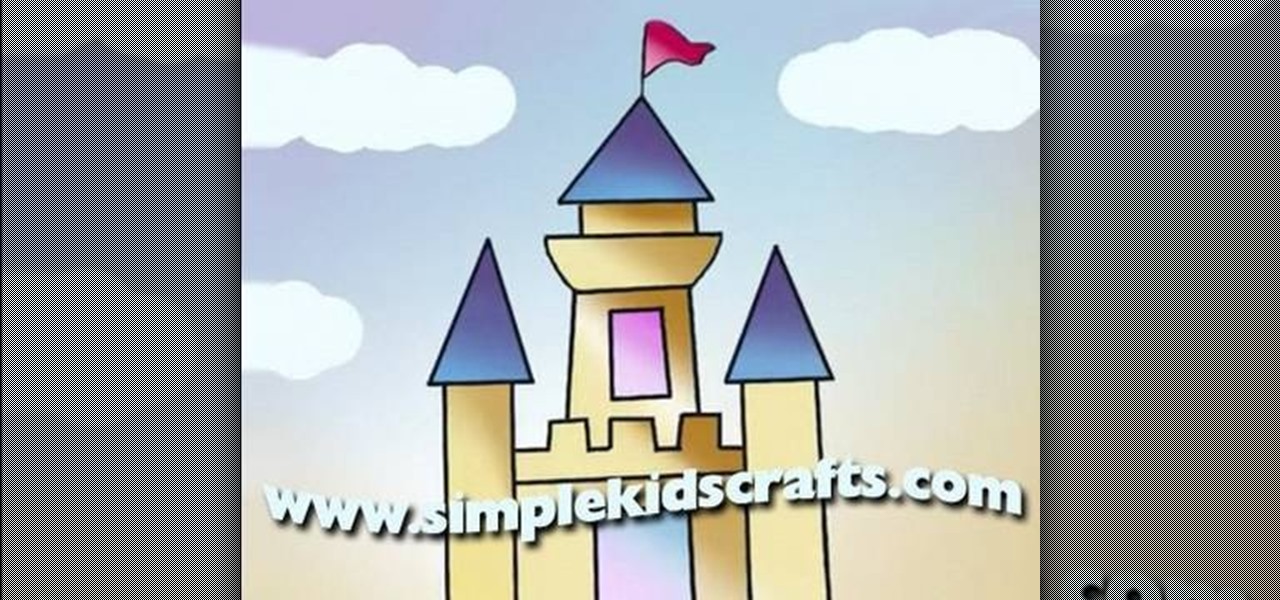
This basic drawing tutorial is aimed at young children who want to learn how to draw a very basic castle, with one middle tower and two smaller turrets off to the side. Follow along with your child - all you'll need is some paper, a pencil with an eraser and a few markers!

In this tutorial, we learn how to get Leona Lewis' Avatar themed "I See You" makeup look. First, you will need to apply black eyeshadow to your entire lid up until you reach the crease. After this, use a brush to blend the color out and create a winged effect on the outside corner of the eye. Next, apply this color on the bottom lash line, making a slightly smudged effect with your finger. From here, you will apply a teal colored shadow all over the eye and on the outside flare as well. Then,...

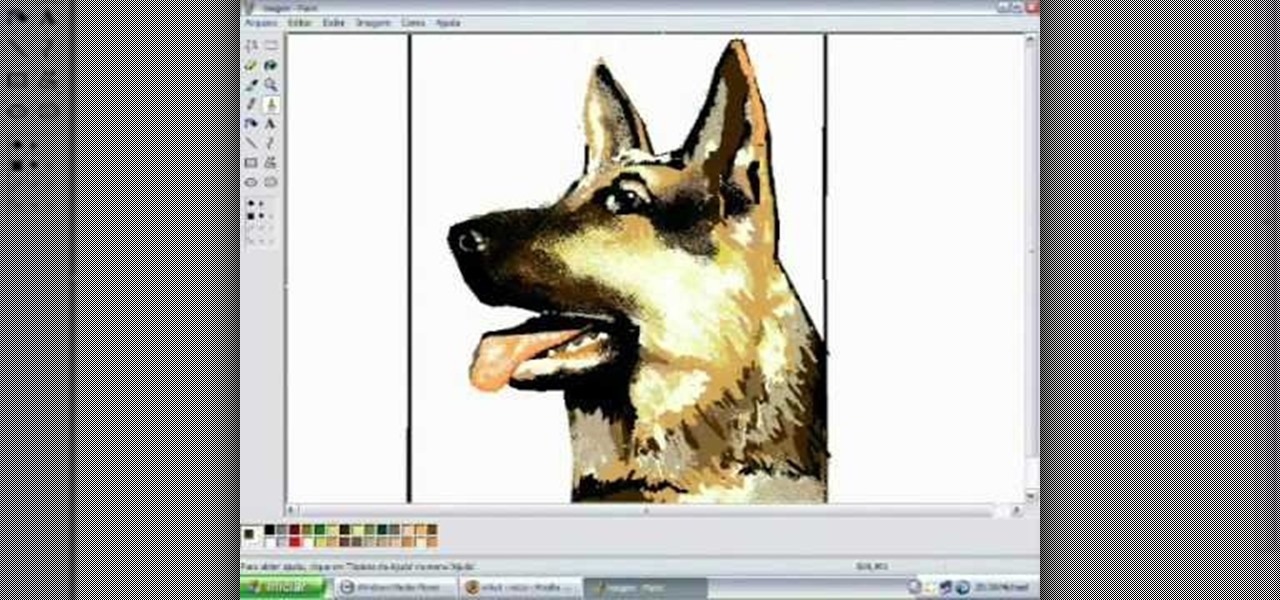
In this tutorial, we learn how to draw a dog in MS Paint. You will do this by using Paint and your mouse, not using a tablet or a pen on the PC. Start out by drawing the outline of the dog in the middle of the page. Next, fill in the nose, mouth, and eyes with black. Then, color the tongue and draw on the ridges of the teeth in the mouth. From here, you will spray paint the color of the dog onto the edges. Spray brown around the edges, then add in white, tan, black, and other colors to make t...

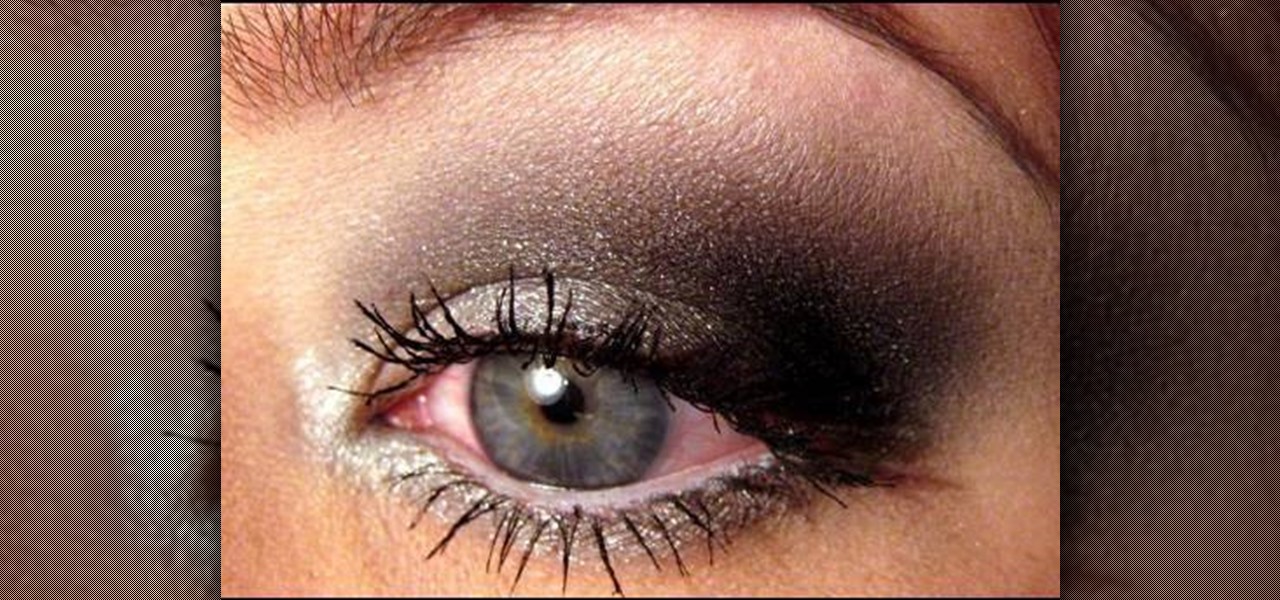
In this tutorial, we learn how to apply a silver smoky makeup look for a hooded eye. Start out with a silver color brushed all over the eyelid. After this, brush a darker color in the crease of the eye, blending in the outer corner of the eye. From here, blend this up towards the brow bone. Place black on the outer corner of the eye to deepen the area, then blend out. After this, apply a light shimmer underneath the brow for a highlight and blend with the bottom colors. Apply the silver color...

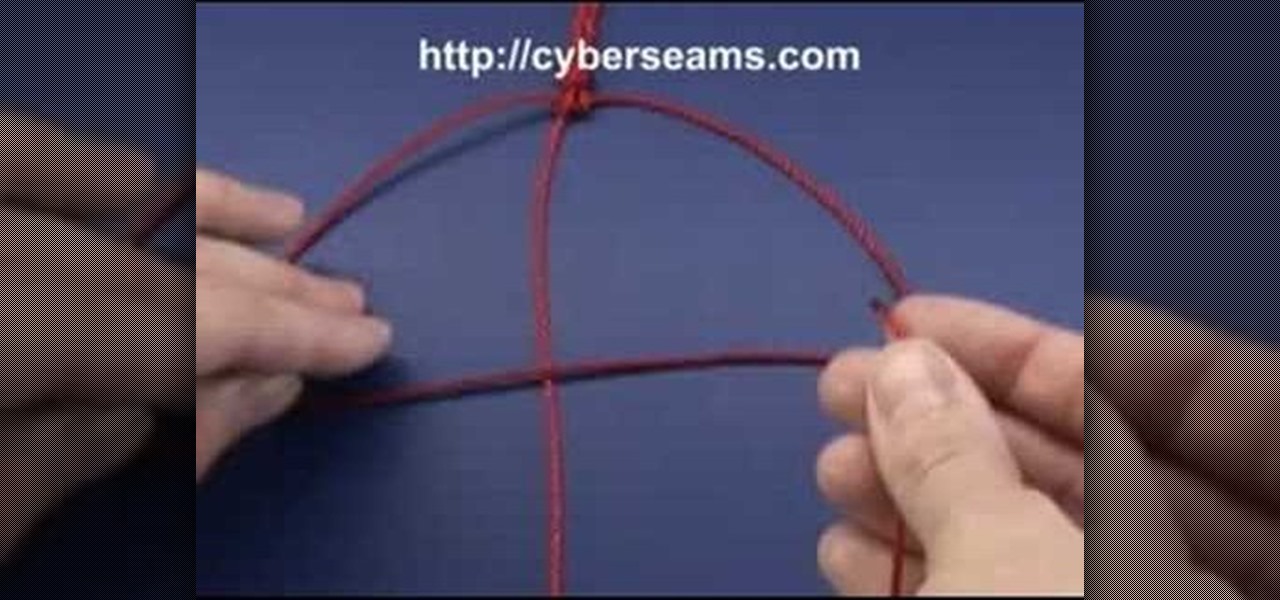
The granny knot, or square not, is one of the most basic knots used in macrame. This easy to follow tutorial shows you how to tie this knot using two separate strands of macrame, and even different colors for your next project.

In this video, we learn how to apply eyeshadow. First, you need to see what your skin tone is and research colors that work best with it. Then, you need to get the right tools. Once you have the right brushes and eyeshadow colors, you are ready to apply. Some brushes that might work include: fluffy, straight, small and large. Now, close your eyes and dab the eyeshadow onto your choice of brush. Brush the color all over the eye, making it darker on the end of the outer edge of the eye. Then, a...

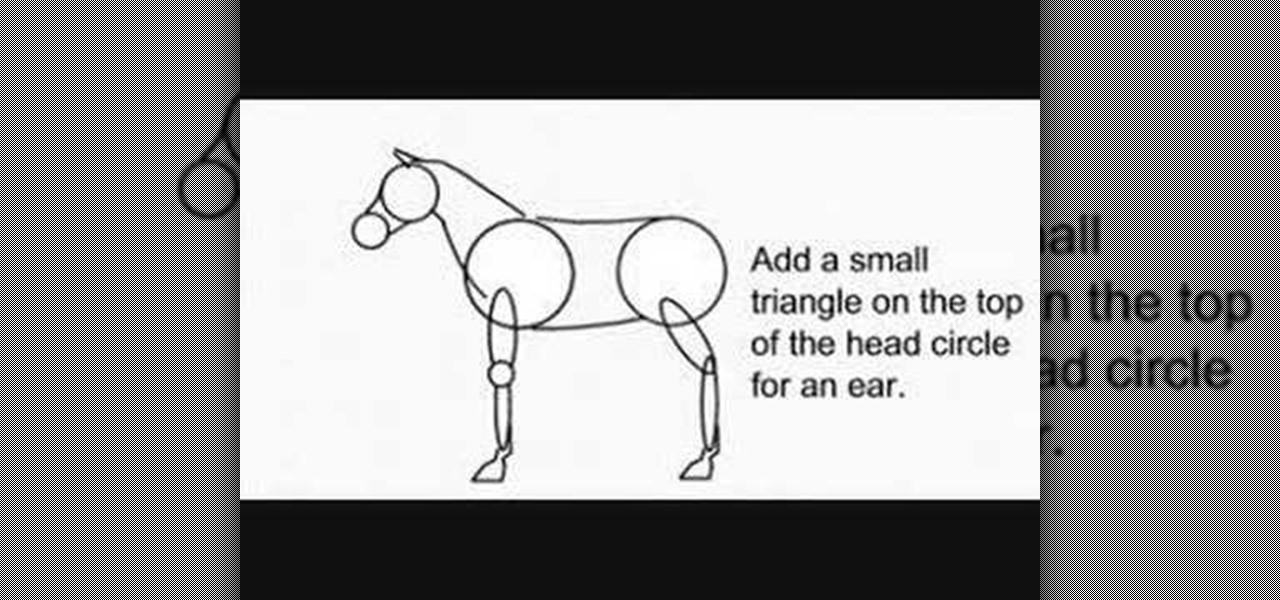
In this video, we learn how to draw a decent horse. First, start with two circles connected by two curved lines. Next, add a sausage for the top of each leg and add a small circle for the front of the knee. Then, add another for the lower part, and add two hoof outlines at the base of each leg. Then, add the back of the hooves. Next, draw two more lines that are far apart at the bottom and narrow at the top for the neck. Then, draw two circles for the top of the head and the muzzle. Join the ...

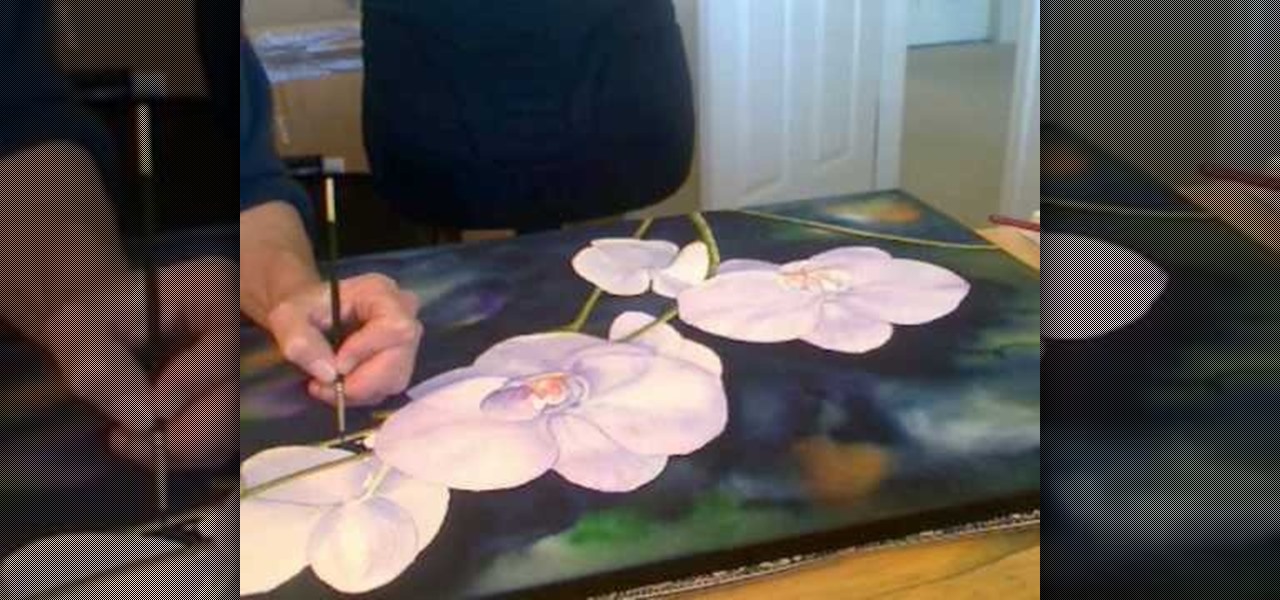
In this video, we learn how to pain orchid flowers with watercolor paints. Start out by using a light lilac color on the petals. Use a thin brush to push the colors around on the picture so you have slight shading around the different petals. Use a darker purple color in the middle of the flower. Then, use a yellow color in the very middle. Add in a green leaf and stem on the bottom of the flower. Use a paper towel to smudge any excess moisture or water off of the flower to make it more prist...


