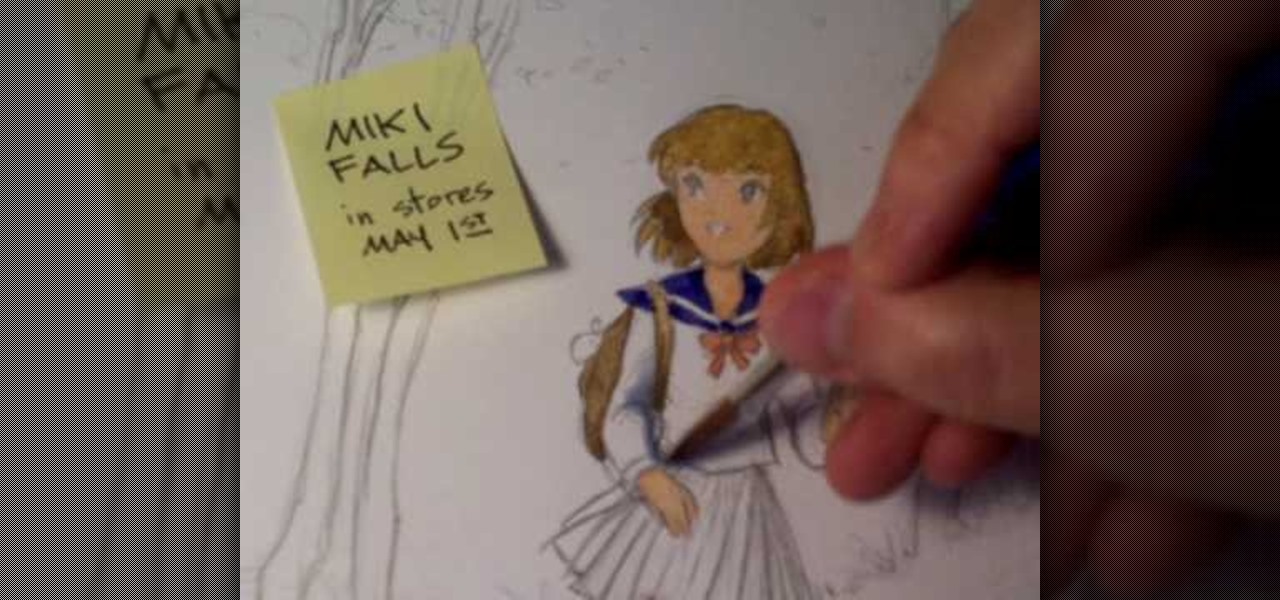
How To: Color and ink anime/manga illustrations
In this two part video, Mark Crilley shows his approach to using watercolors and how to use ink and colored pencils to finish things up.


In this two part video, Mark Crilley shows his approach to using watercolors and how to use ink and colored pencils to finish things up.
This two part video shows you how to build a multi-color stringer for making beads for lampworking glass necklaces.

In order to make a multi-colored paper cube, you will need the following: 6 pre-made folded squares, which can be found separately.

Purple and burgundy are not two colors that immediately come into mind when you think about eyeshadow colors. After all, deep reds and purples are much more suited to bold lipstick hues than to pretty peepers.

A Mastermorphix is sort of like a more intense version of a Rubik's Cube. This tutorial will show you how to solve this triangular puzzle. Basically, once you know how to solve a normal Rubik's Cube, you will be able to master this in no time.
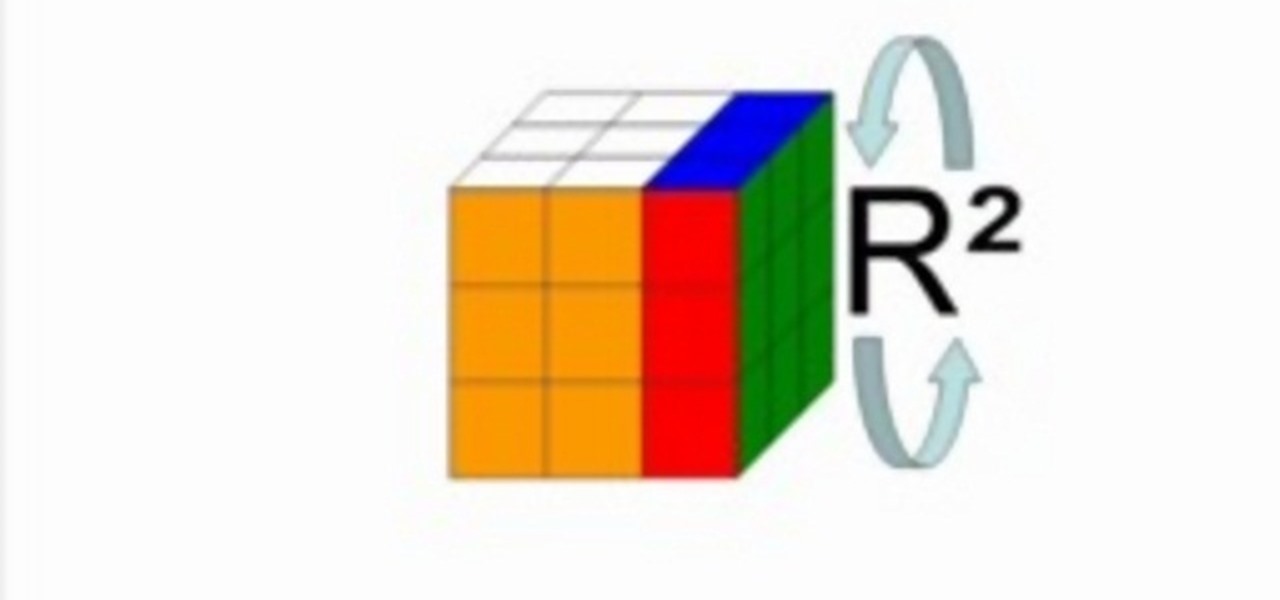
Since its invention in 1974, the Rubik's Cube has become a favorite pastime among geeks, puzzle lovers, and other similarly unique individuals. It is currently available in four basic flavors; Rubik's Mini, Rubik's Cube, Rubiks Revenge, and Professor's Cube. This video tutorial will cover the basic terminology and notation used in solutions for each.
In this episode, Jennifer goes over expressions related to colors in the English language. This is great for all levels of students learning English as a second language (ESL).
Pixel Perfect is the "perfect" show to help you with your Photoshop skills. Be amazed and learn as master digital artist Bert Monroy takes a stylus and a digital pad and treats it as Monet and Picasso do with oil and canvas. Learn the tips and tricks you need to whip those digital pictures into shape with Adobe Photoshop and Illustrator. In this episode, Ben shows you how to transform a photo into a flashy poster in Photoshop.
Customize the colors of your homescreen icons on your HTC 7 Trophy Windows 7 smartphone! It's easy and only takes a few seconds. This WP7 user's guide will walk you step-by-step through the process. For more information, and to learn how to set up custom-colored icons on your own HTC 7, watch the clip!
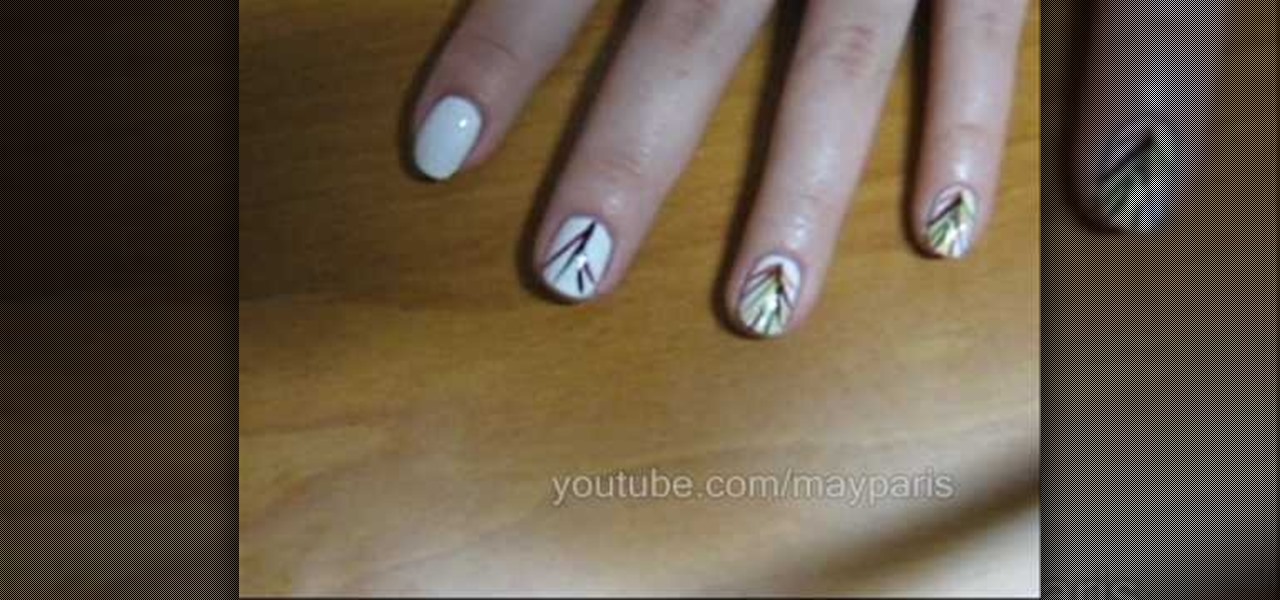
In order to paint palm trees on your nails, you will need the following: white matte base nail polish and a variety of other colors. You will need toothpicks, if you do not have fine brushes in your polish.

First, outline the upper portion and lower portion of the right eye. Make the upper line darker than the lower one. Copy and paste this to create the left eye of your anime artwork. Create the eyeball using the Circle tool. Create two more circles inside the eyeball - one bigger and the other smaller. Make eyelashes by using a set of curved lines. Create at least three thick strands of these eyelashes. Create another circle inside the eyeball that intersects the two smaller circles created ea...

Are you bored with the limited color options available for your pets by default in the Facebook game Wild Ones? Brighten your life by hacking! This two-part video will teach you how to hack Wild Ones using Cheat Engine to change the main and detail color of your pets to any color that you can find the HTML color code for.
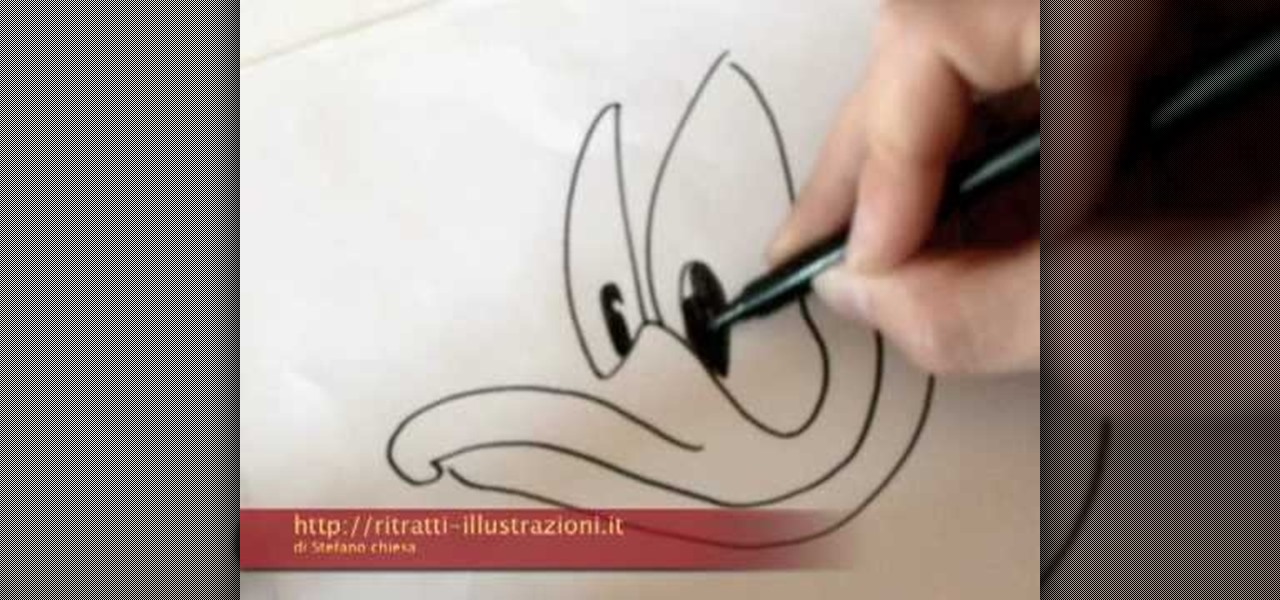
This video illustrate us how to draw Donald Duck. Here are the following steps: Step 1: First of all take sheet of paper, pencil and colors.
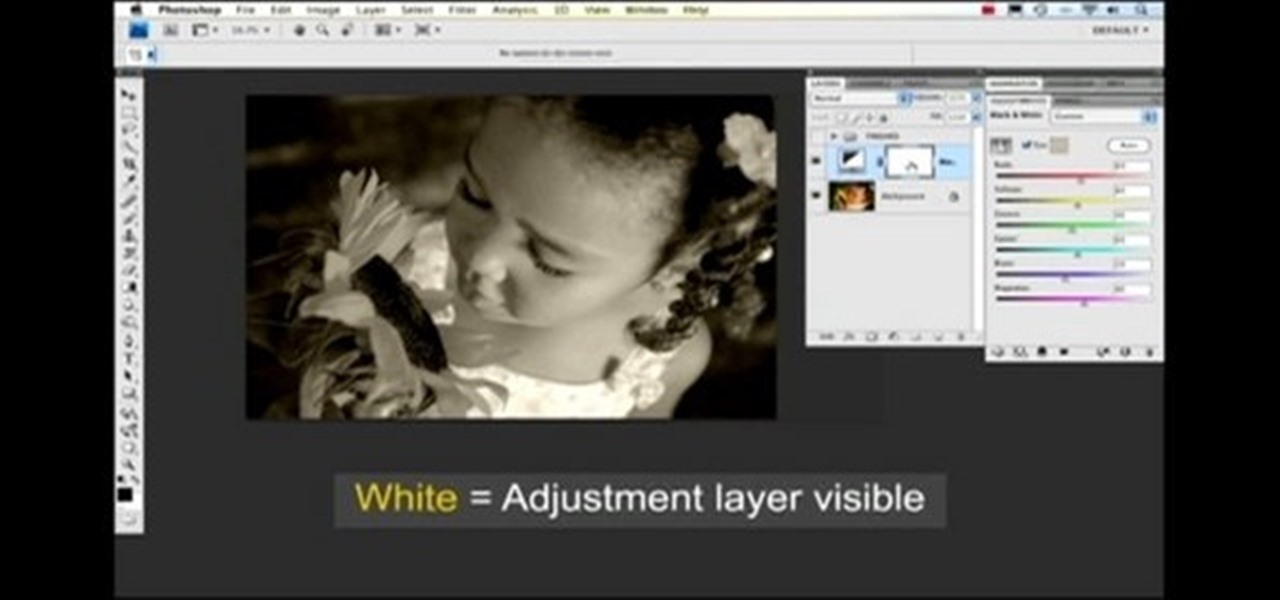
Nichole Young demonstrates how to hand color using layer masks in Photoshop CS4, which also works in Photoshop CS3. The procedure can be summarized in two stages: turning the picture you would like to edit black and white and then bringing color back into it to give it a hand-colored look. The black-and-white effect is achieved by creating a new layer over the background layer. The next step is to give the picture a warm look by adjusting the layer’s respective color balance. Then bring the c...
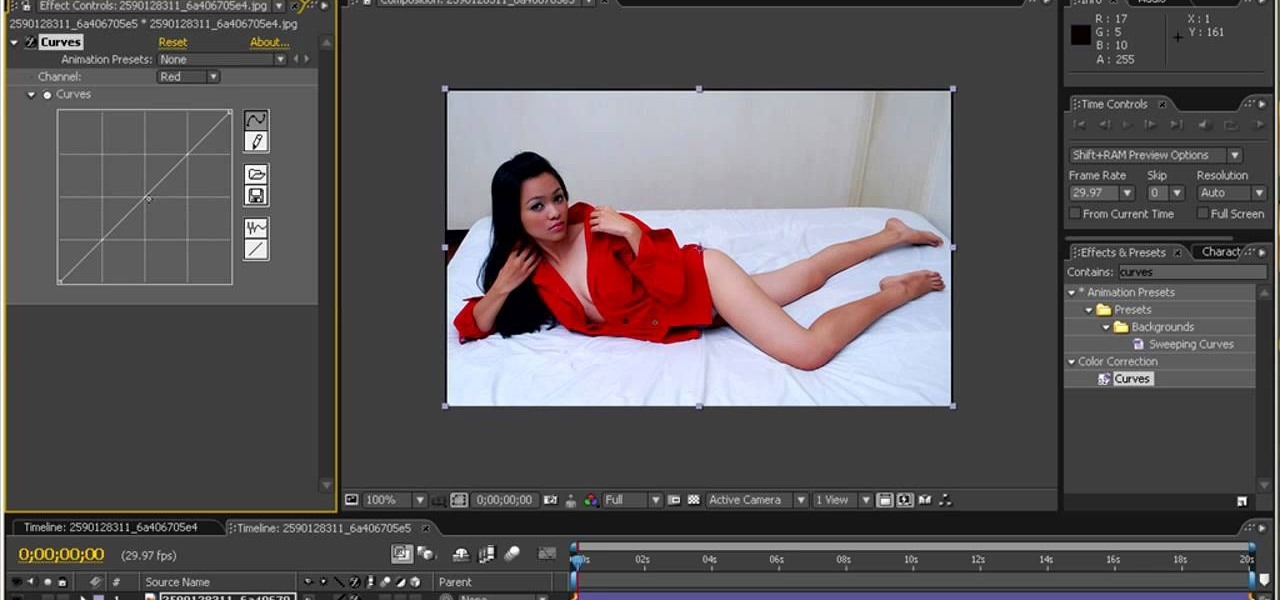
If you've seen the 2005 film Sin City, you most likely remember how most of the film was black and white, but some objects were rendered in livid color. This video will teach you how to create the same effect yourself using After Effects! The creator of this two-part video works with a photo of a fetching young woman and her red blouse, which retains it's color as he turns the rest of the image black and white.
Need to color correct your photos and you're not sure how? In this video, the basics of RGB and CMYK colors are discussed as well as how to use them to color correct everything from everyday snapshots to portrait photographs. By using the eyedropper and the info palette to read the colors in the photos, you can then color correct. Based on the CMYK read out of the color sample targets, you can then adjust the color channels using a curves adjustment to achieve the kind of colors you'd like. A...
This 7 part Houdini 9 tutorial series is about how to transfer color using dynamics is a great place to start to understand Houdini's dynamics in a significant way. Part one covers painting setup, two establishing a paint source, three creating paint, four defining paint colors with a solver, five painting with dynamics, six reviews how it works, seven setting up for render output. Learn to paint and transfer color with dynamics in Houdini 9 and get more control over your work in this tutorial.
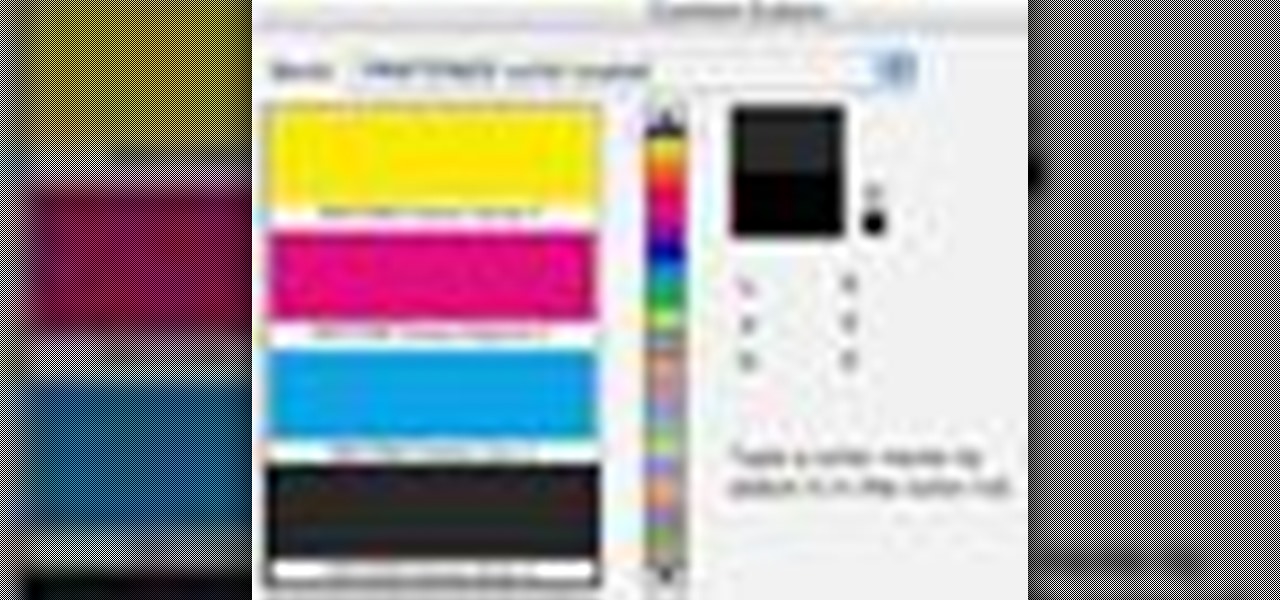
This Photoshop tutorial covers color selection. Part one is about using the Color Picker and part two is about the color and swatches palettes.

In this video, we learn how to make friendship bracelets: The Wrap. First, clip your strings to a clip board at the top. Then, separate them into three colors, two strings for each color. Then, wrap the other colors around one color until you reach the end, then push it up to the top and continue to do this. Once you reach down the top of the bracelet, switch the colors and start to wrap the other color doing the same process. Then, switch to the last color and continue to do this until you a...

In this how to video, you will learn how to draw a Cookie Monster cupcake. First, draw two circles for the eyes. Follow this with a furry texture oval shape for the face. Add a mouth with a cookie in it and draw the bottom as a cupcake wrapper. Draw the pupils of the eyes. Next, color the face a blue color. You can draw the cookie inside of the mouth a brown color. Use a black color to outline the areas around the mouth. Fill in the chocolate chips of the cookie with a darker brown color, and...
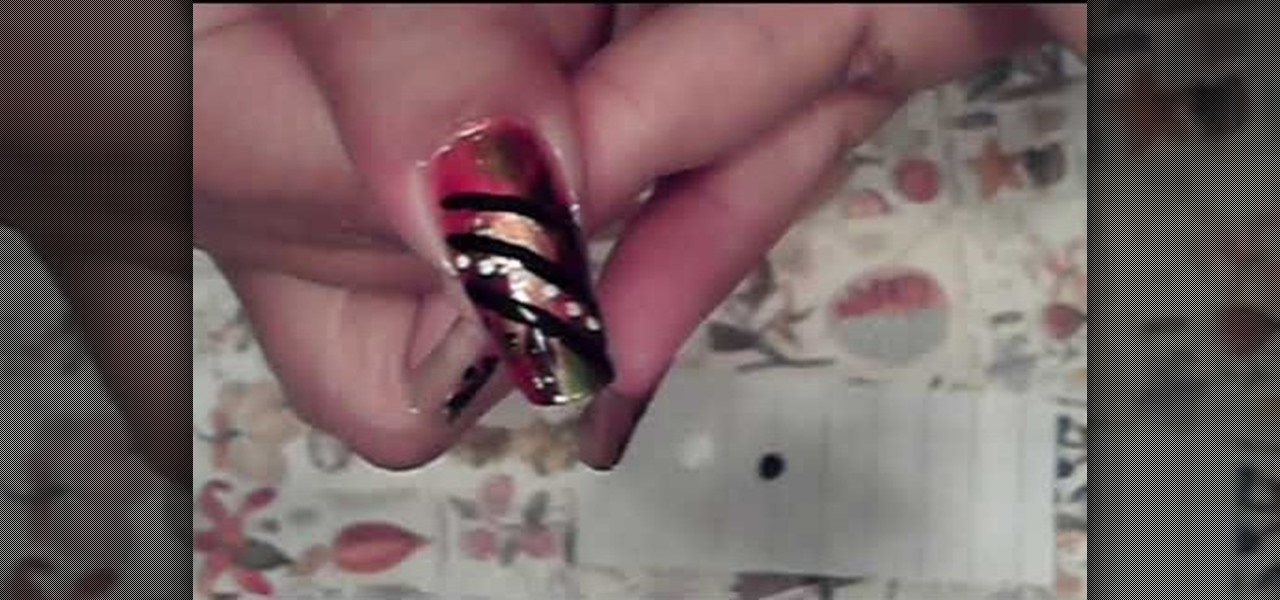
In this video you will learn how to do an autumn nail design. To start out, you will need 5 nail colors of your choice. First, you paint your nails in a background color. In this video the woman chooses Mandarin by Icing, a pretty peach color. The next color she uses is a vibrant green called Money Tree, also by Icing. Do 5 slashes with the green or other color of your choice, anywhere on the nail you want. Next she uses a gold color to paint one slash in the middle. With a dark brown color, ...
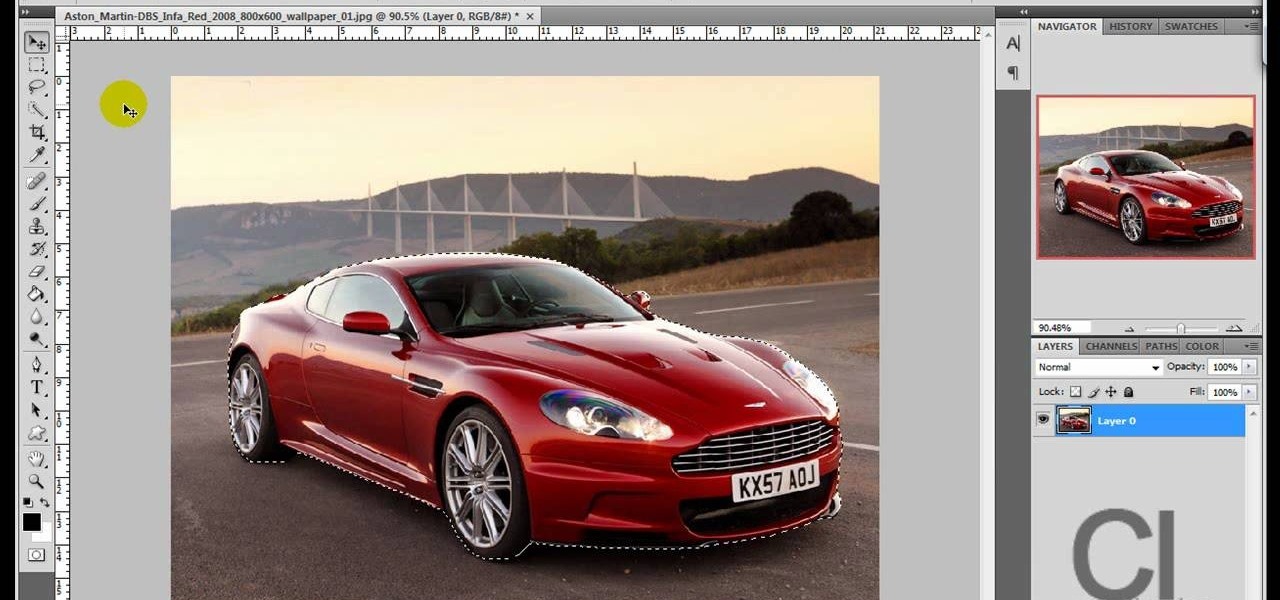
Use the "Magic Wand" tool to select the color you wish to change. The next step is to open the replace color box. Go to Image > Adjustments > Replace Color. After the Replace Color box is open, you may have to select the color that you want to change in the image. Sometimes, it will automatically select the color you're changing, but sometimes you will have to use the Eyedropper Tool and click a hue of the color you wish to change. After the color is selected in the "Replace Color" box, you c...

This video is a tutorial on how to create "friendship bracelets". In particular this style is called the "Egyptian" which is a particular style. You need to make two forward knots on your most left strand, you then do it with the next strand only this time you make a backward knot (two of them.) The most inner color you pick (you must pick four different colors, two strands each) will be your most prominent color. You continue this front knot, backward knot pattern etc, and eventually you wil...
With quick preparation you can perform a mind boggling card trick for your friends. You Will Need
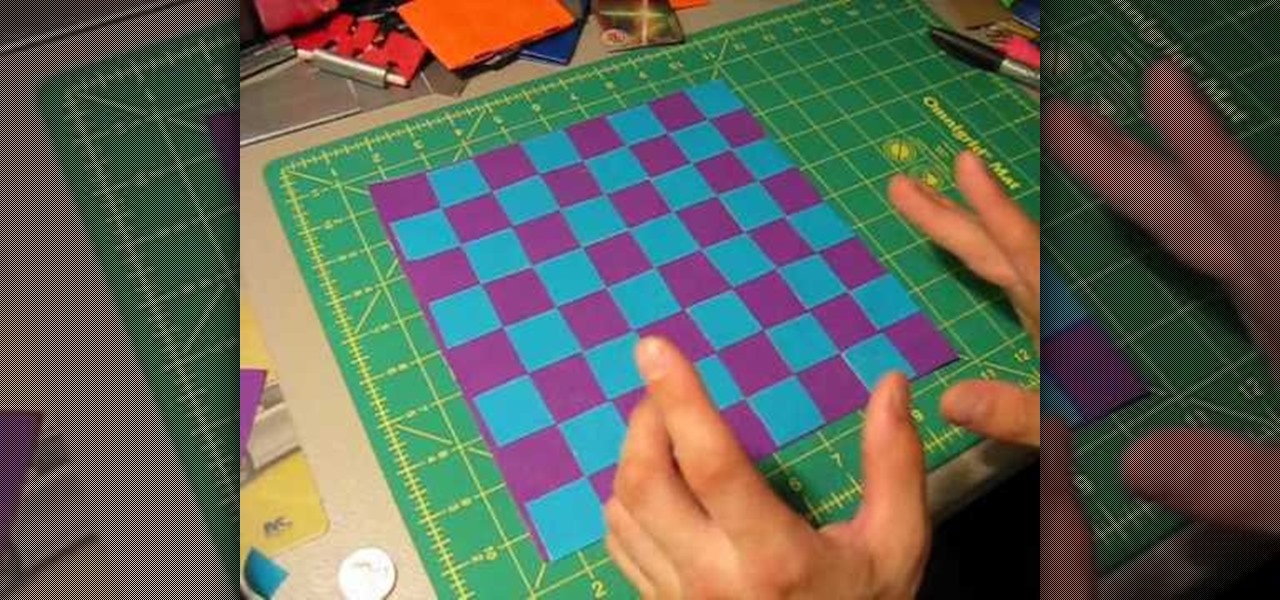
Think you still need to purchase all your games at the store? If you have two differently colored duct tapes, then you can actually craft your own chessboard or checkerboard easily.
In this two-part video tutorial, you'll see what it takes to color grade and correct footage with Magic Bullet Colorista in After Effects. Whether you're new to Adobe's compositing software or a seasoned video professional just looking to better acquaint yourself with the program and its various features and filters, you're sure to be well served by this video tutorial. For more information, including detailed, step-by-step instructions, watch this free video guide.
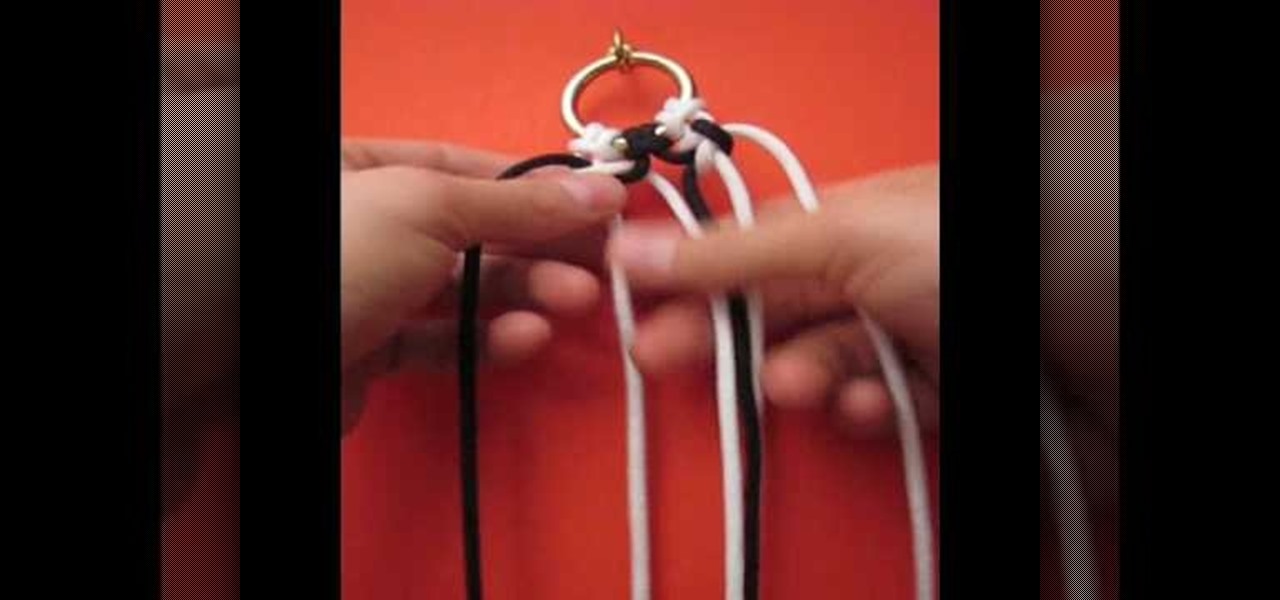
In this video by knot tying collective Tying it All Together, you'll learn how to create a wide Solomon bar knot, which is composed of two differently colored ropes that brush against each other in near parallel formation.
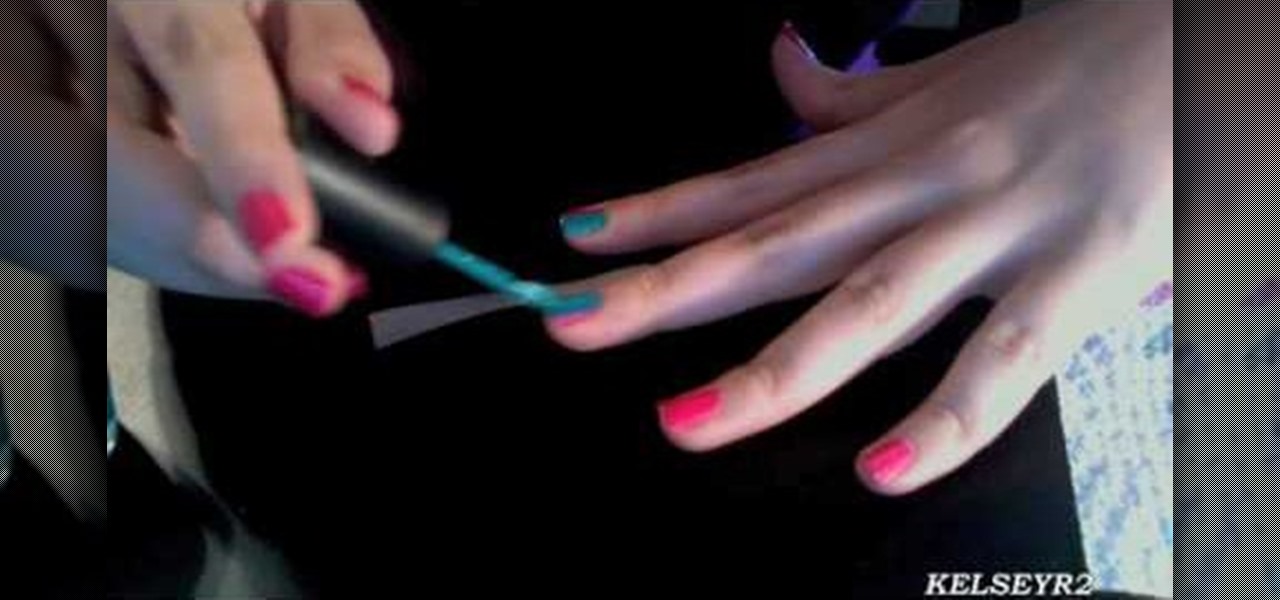
Can't decide between two new nail colors you snagged at a Sephora sale on Essie nail lacquers? We understand it's sometimes difficult to choose a color when both look so tempting.

Have you ever wished that you had different colored eyes? Or, for that matter, wished that Vanessa Hudgens had different colored eyes? Changing your real eye color is difficult and expensive, but this video tutorial will show you how to change the color of the eyes in photographs using Adobe Photoshop CS4. Make your whole family have blue eyes for your Christmas cards!
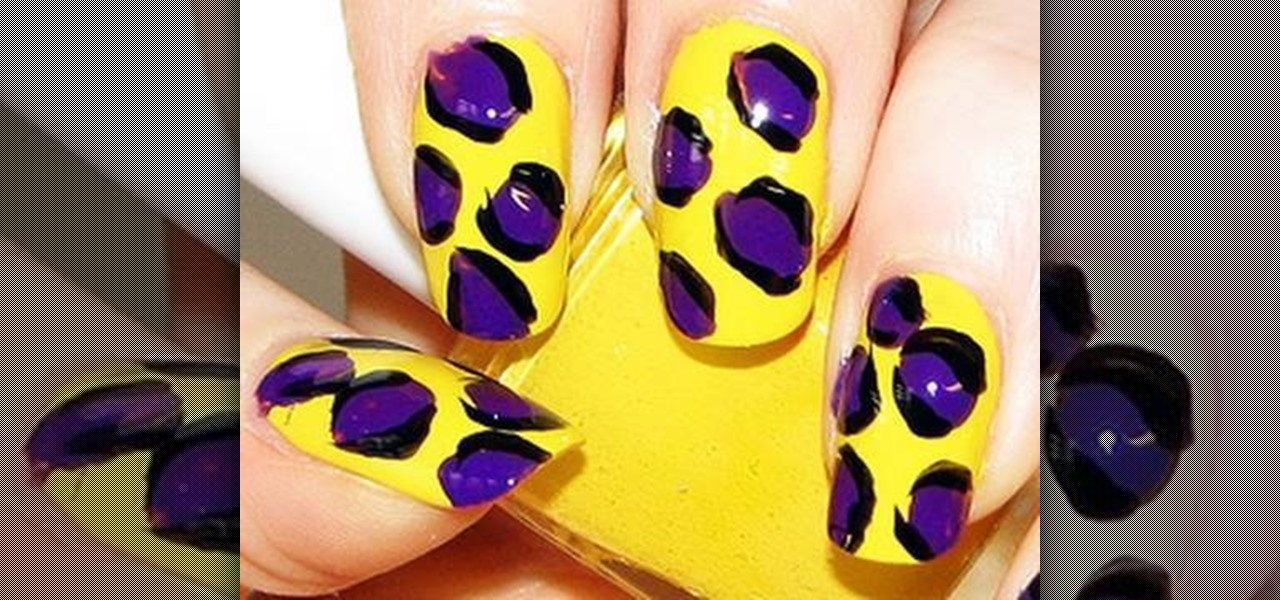
This video is about how to create colorful leopard print nails. So the first thing that you will have to do is to choose any colors of the nail polish that you want. After deciding for the first color of the nail polish, apply it to your nails and let it dry. The next step is to get a plastic plate and place a bit of a small amount of the second color that you chose. With the use of the nail art brush, carefully start forming small random spots on the nail. Apply these to the rest of your nai...
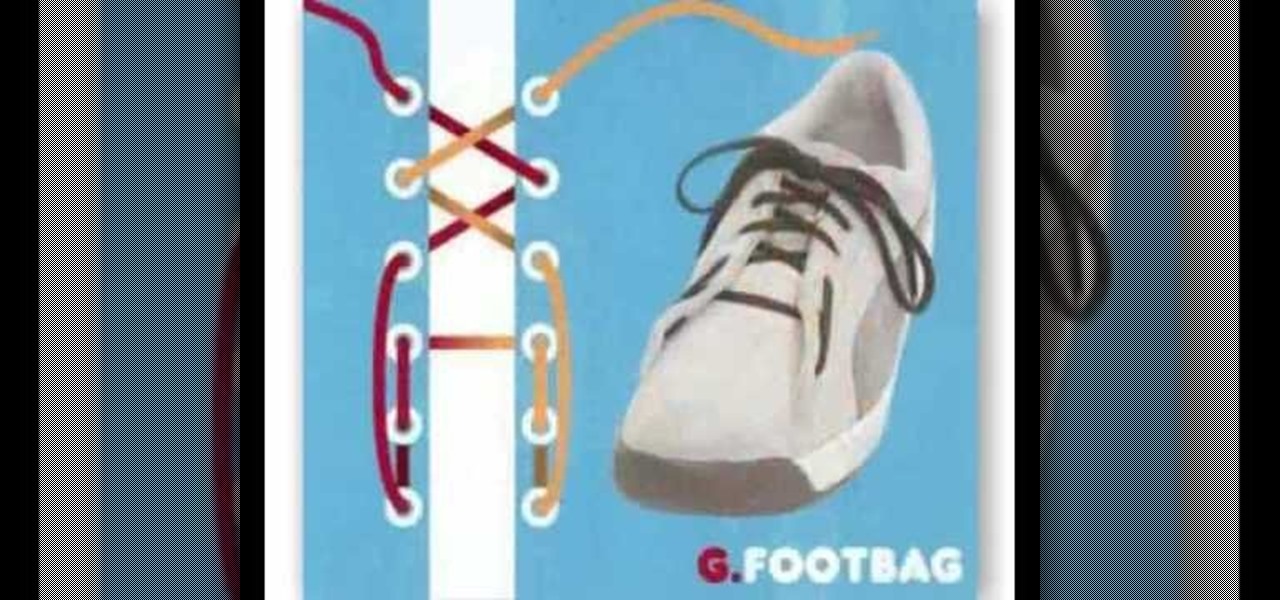
Looking to get super creative with your shoelaces? In this video, fifteen different shoelace styles are gone over with diagram as to how they were done. Such styles include the checkerboard, the double back, loop back, sawtooth, riding bow, twistie, lattice style, footbag, ladder, bushwalk, bi-color, display, hidden knot, and the zipper style. Use two different colored laces when doing these styles to jazz things up!
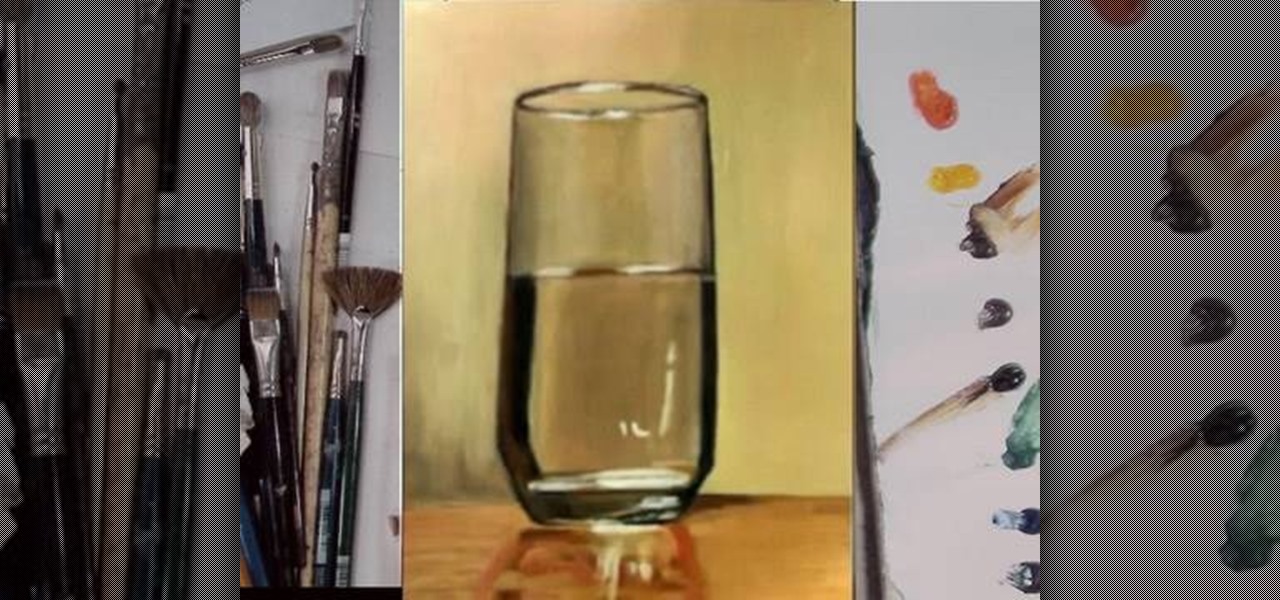
Watch this fine art video tutorial to learn how to Draw a glass of water with illustration markers, colored pencils & oil paint.
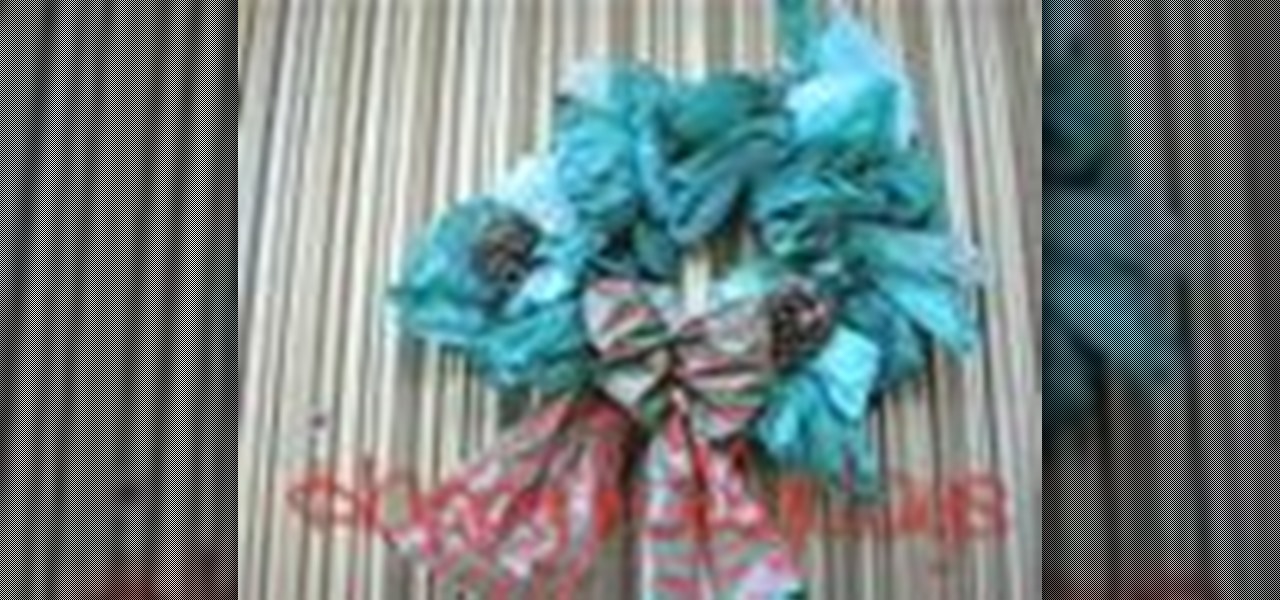
The old frame of the wreath of a previous year containing only two old ornaments is used. Placed on the frame are plastic bags from the grocery store . The bags were green in color however colored bags may be used for creativity . Fluff and fold the bags and wrap them around the frame. Nearly a dozen bags are used. A boy is made using two pieces of the same cloth of a complimenting color to that of the wreath, to form a bow. The bow is attached to wreath and placed on the outside part of a do...
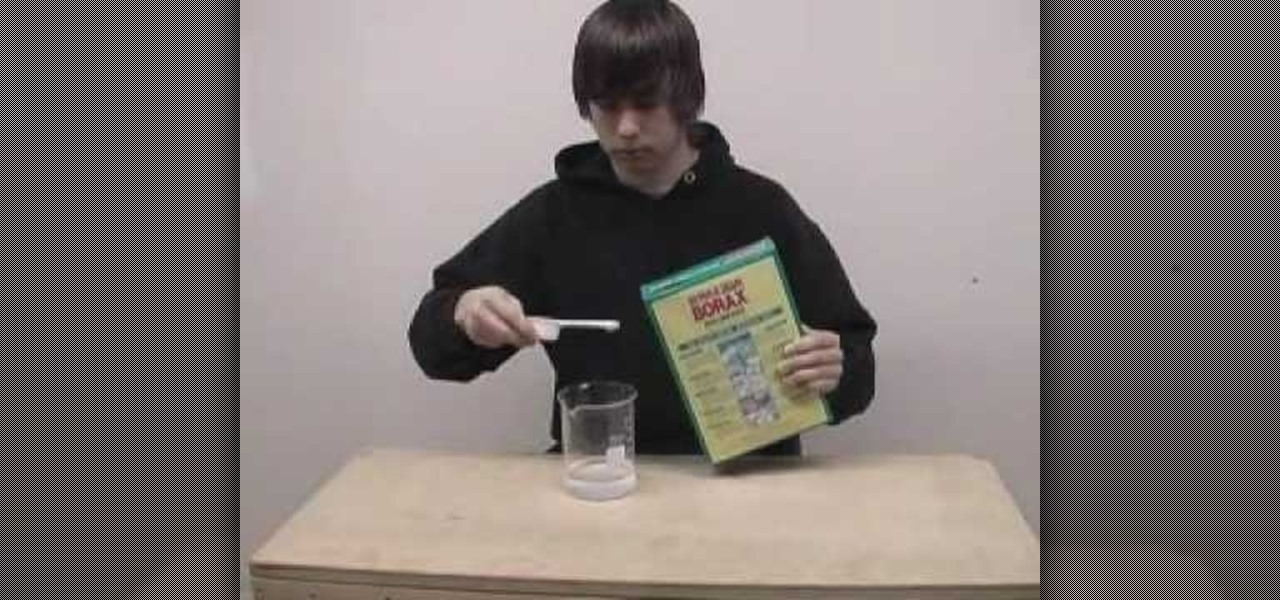
This is a hobbies and toys video tutorial where you will learn how to make flubber with household supplies. Put three fourths cup of warm water into one jar. Measure half a cup of glue. Take food coloring or any other color and pour it into the glue. Stir the glue so that the color mixes well. Now add the glue into the warm water and stir well. For the second mixture, take two teaspoons of borax and half a cup of warm water and stir. Now combine both the mixtures together in a jar. With both ...
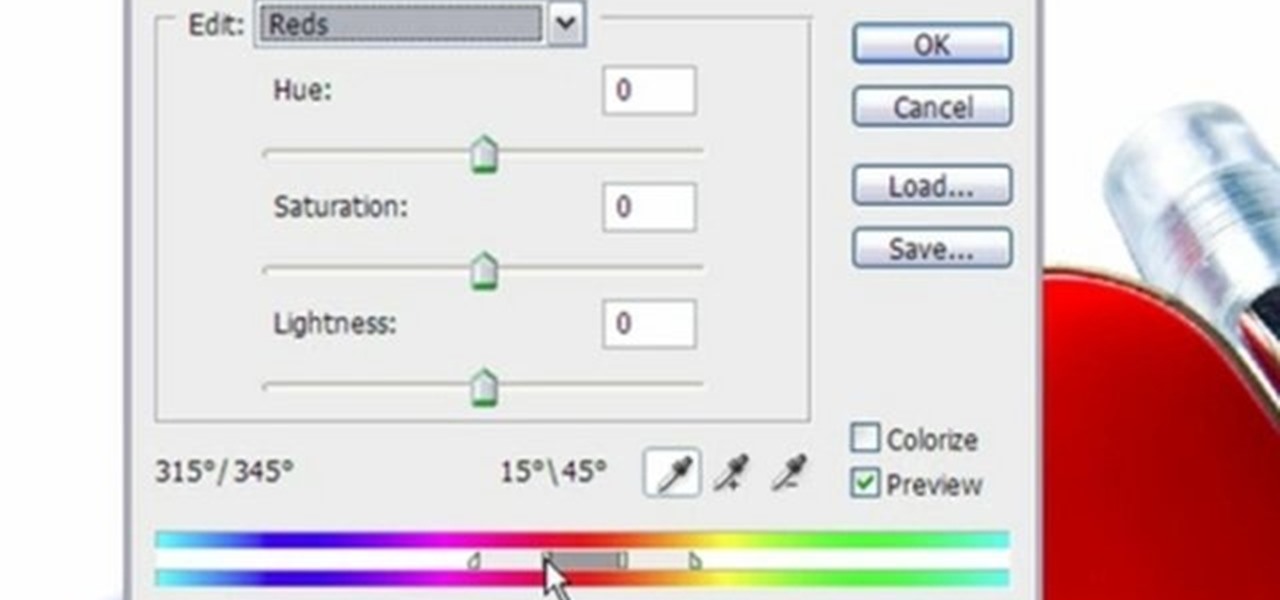
This video shows three ways to change the color of an object in Photoshop. The first method is of hue and saturation. Go to 'Image' & 'Adjustments' and choose 'Hue/Saturation' or press Ctrl+U as shortcut. Go to Edit and choose the color you want to change. As you select the color, a grey bar appears in between the rainbow bars at the bottom representing the color you want to change and the feathering which it will cause. You can change it by sliding it outwards. Slide the 'Hue' slider to chan...
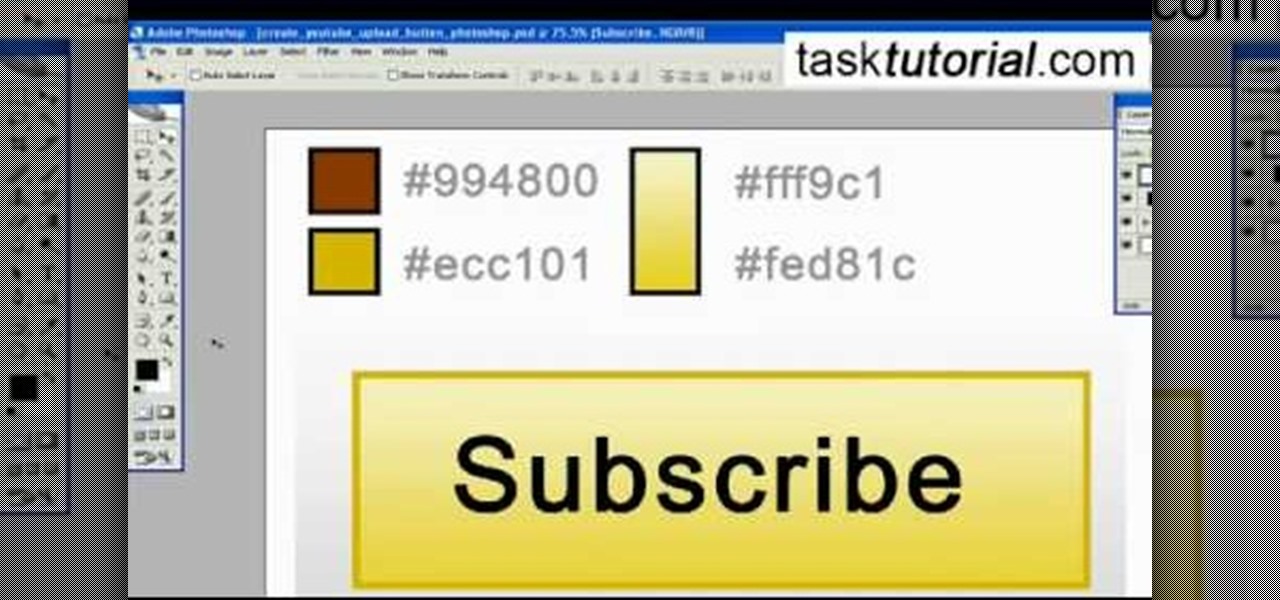
This task tutorial explains how to use Photoshop to create a YouTube subscribe button. First, select the rectangle tool and draw a bar. Select color options and deselect the color overlay. Then, go to gradient. Using the dropper tool, select the first and second color. Open layer options again and select the stroke color using the eyedropper tool. Increase the stroke size and change the position to inside. Click okay. Select type tool, create text field and type in the text. Open layer style ...
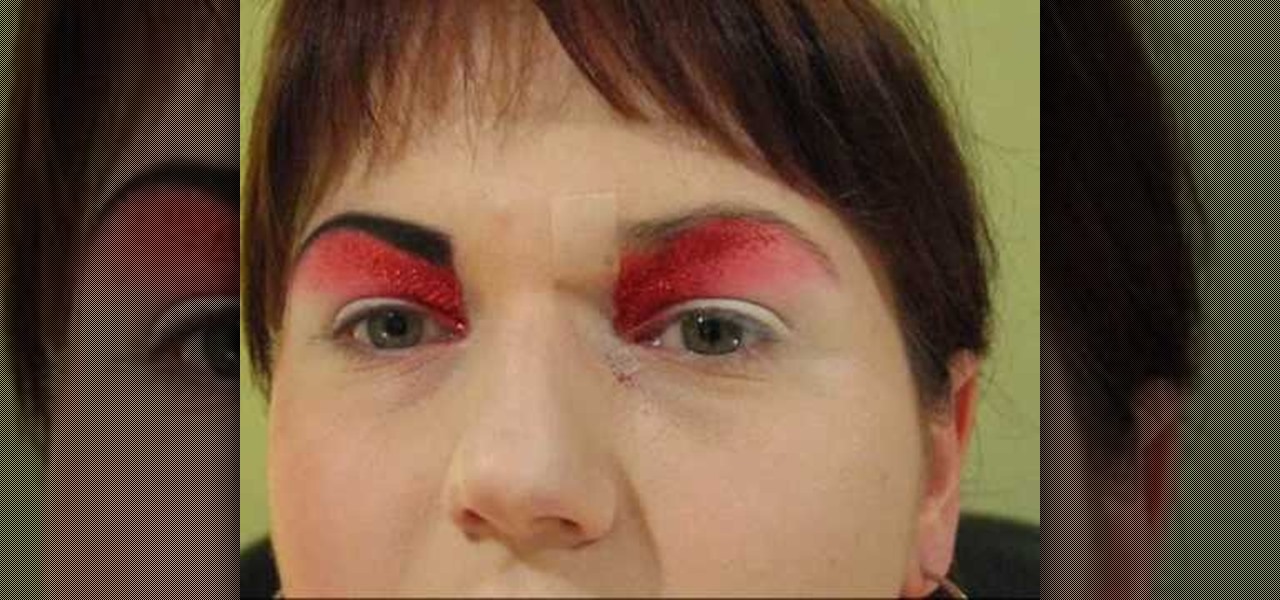
First thing you've got to do is to clean your brows with the brow brush to clean the brows and the surface as well.
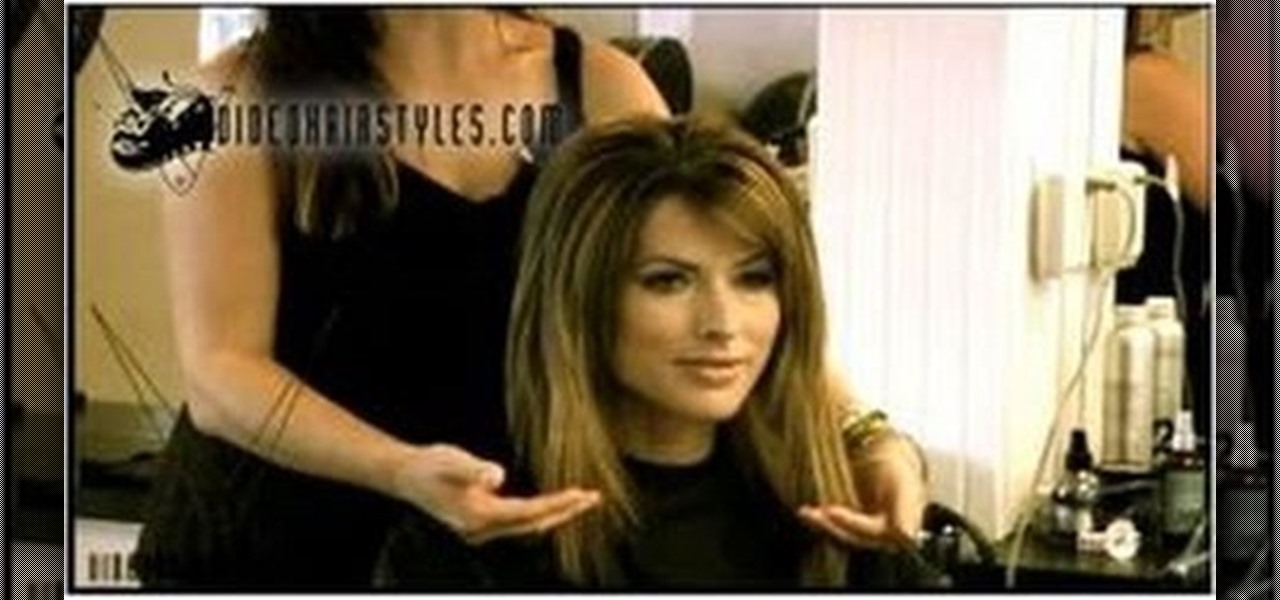
Highlighting your hair at a salon - or maintaining a certain shade - is a real pain in the bedonkadonk. After all, good color maintenance means salon visits every month or two, which costs quite a hefty penny.

In this video, Linnea Rose teaches us how to paint in a Norwegian folk style called "rosemaling". With this, you will double load your brush and do the strokes in the correct way. To double load your brush, first dip one corner into a color, then dip another color into the other color. After this, stroke again in between the two colors. Next, go to your canvas and simply stroke a looped shake on the paper. Firmly press down with your brush and as your curve around you lift it up to the chisel...
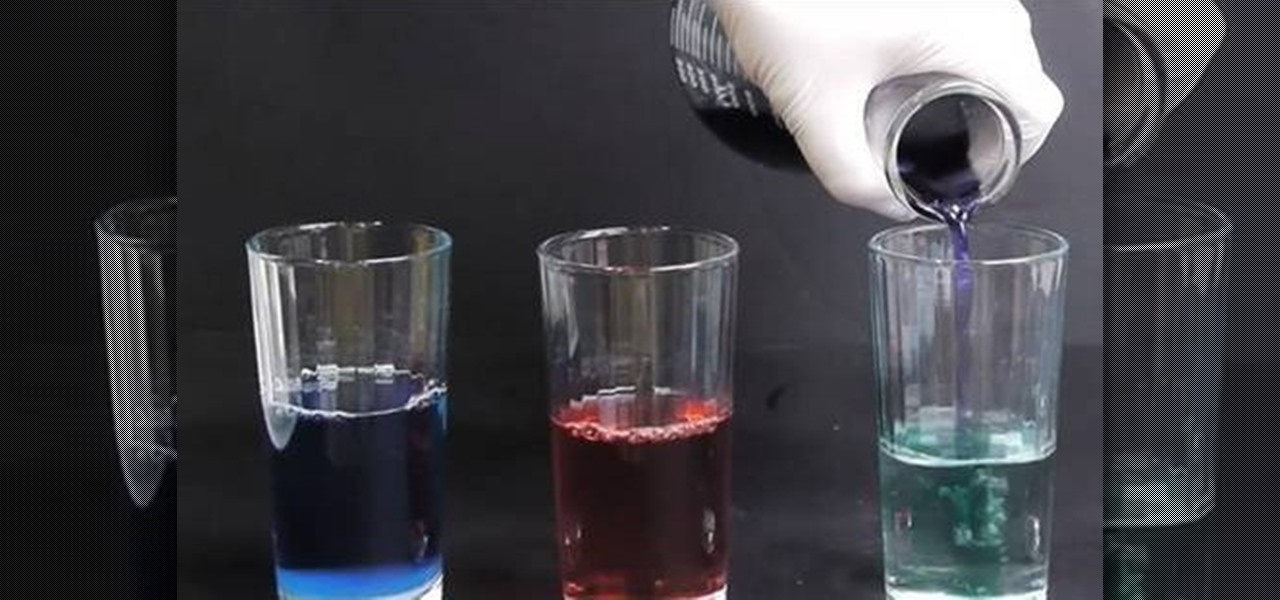
Get a red cabbage from the grocery store, and tear up about two or three leaves and put them in a glass jar. Cover the leaves with water and microwave, then strain out the leaves. You can mix the extract with different household chemicals and watch the color change!