Want to learn how to mask text using gradient in Flash? In this 3 minute video, the viewers will learn just that. First of all, create the text that you want to mask. Next, prepare the gradient that you will be masking your text with, remember to set alpha to zero. Select the free transform tool and rotate the shape over the text. Now convert it into a movie clip and have the gradient shape move from one side of the text to the other using the timeline.
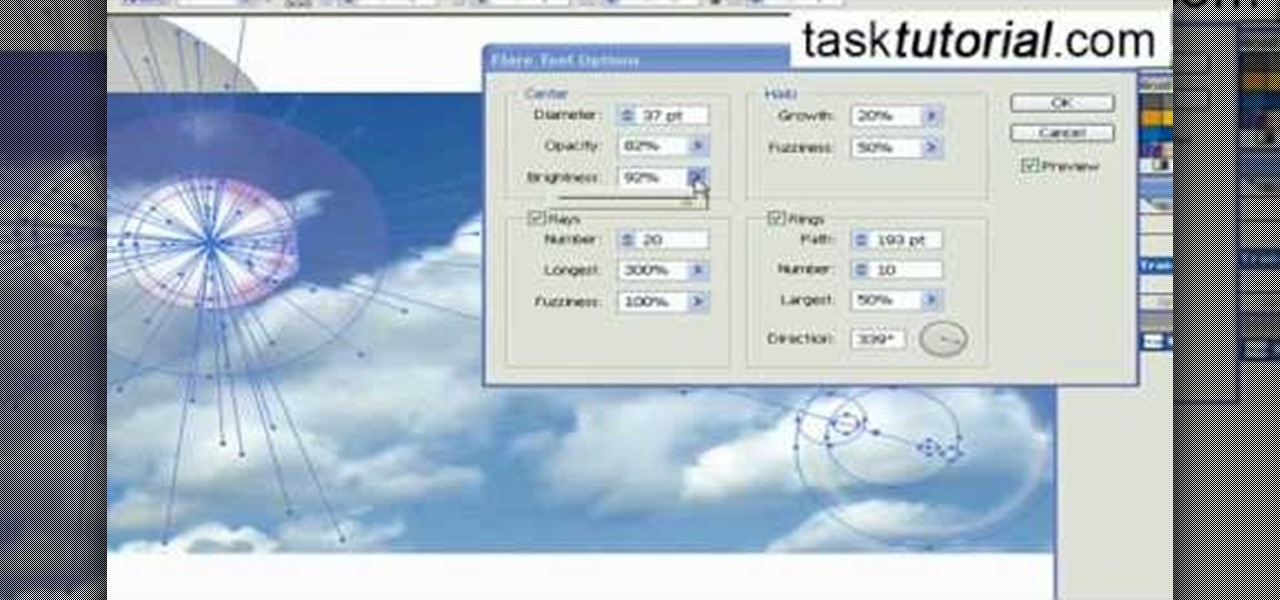
Ever wondered about the flare hitting your eyes from reflective surfaces (vehicle mirrors)? Let's create one. Open Adobe Illustrator with an image and embed it. Take the flare tool from tool palette. Draw the first shape and then second shape. To change settings, go to flare options. You can change the brightness, opacity and diameter of the flare which will add life to the image(open sky). This will help bring out some cool effects as well as realism to the image.
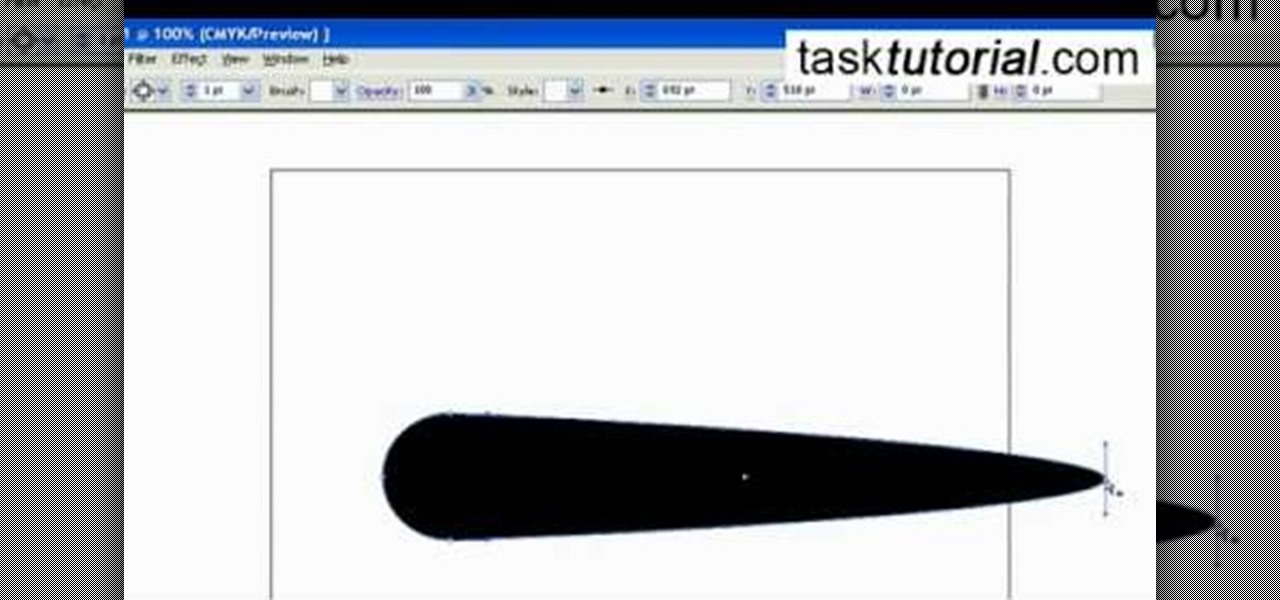
Let's get creative! In this video learn how to transform that boring old paintbrush in Illustrator into a totally new shape and size. You can turn your art brush into an arrow to a paint stroke to charcoal or even a fire truck or another fun shape! This tutorial will show you how to change your brush, step by step, and get the most out of Illustrator's drawing capabilities. Follow along with the video and soon you will be making unique designs with ease.
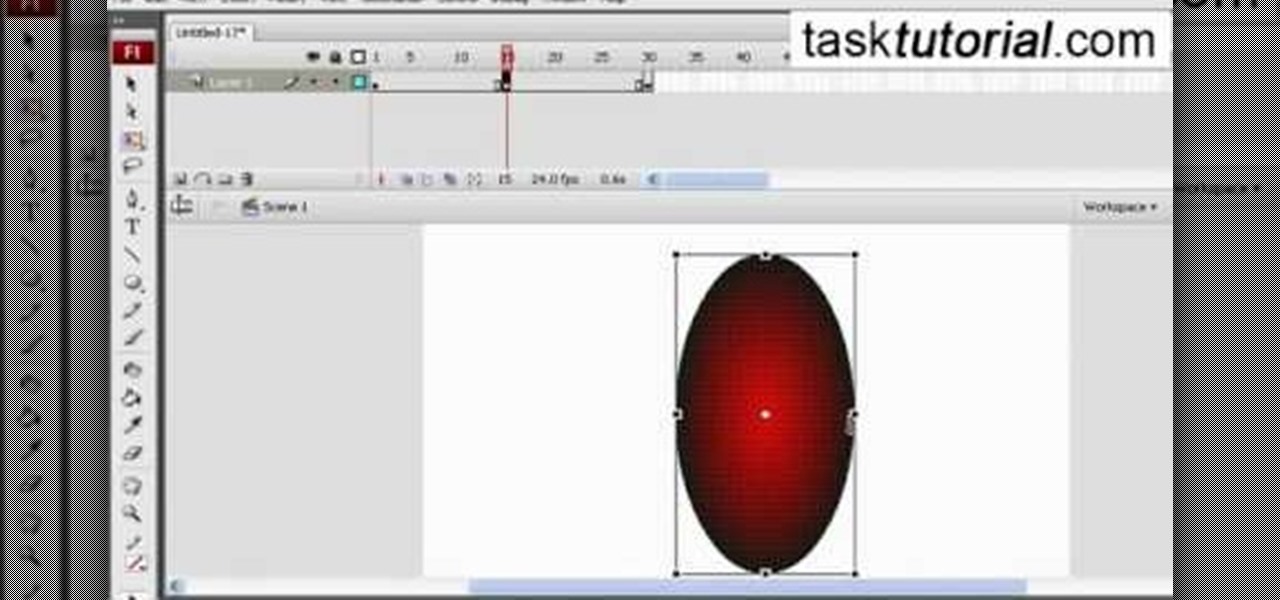
In this video tutorial the author shows how to stretch objects and text in flash. To do this open the flash tool and select the radial gradient. Pressing shift key draws a shape. Go to frame 30 and create a key frame by pressing F6. Now similarly do it at frame 15. Now at frame 15 select the free transform tool and stretch the image. Now create the shape twins in the locations shown in the video. Repeat the same process for a text starting with adding some text to the scene. Finally convert i...
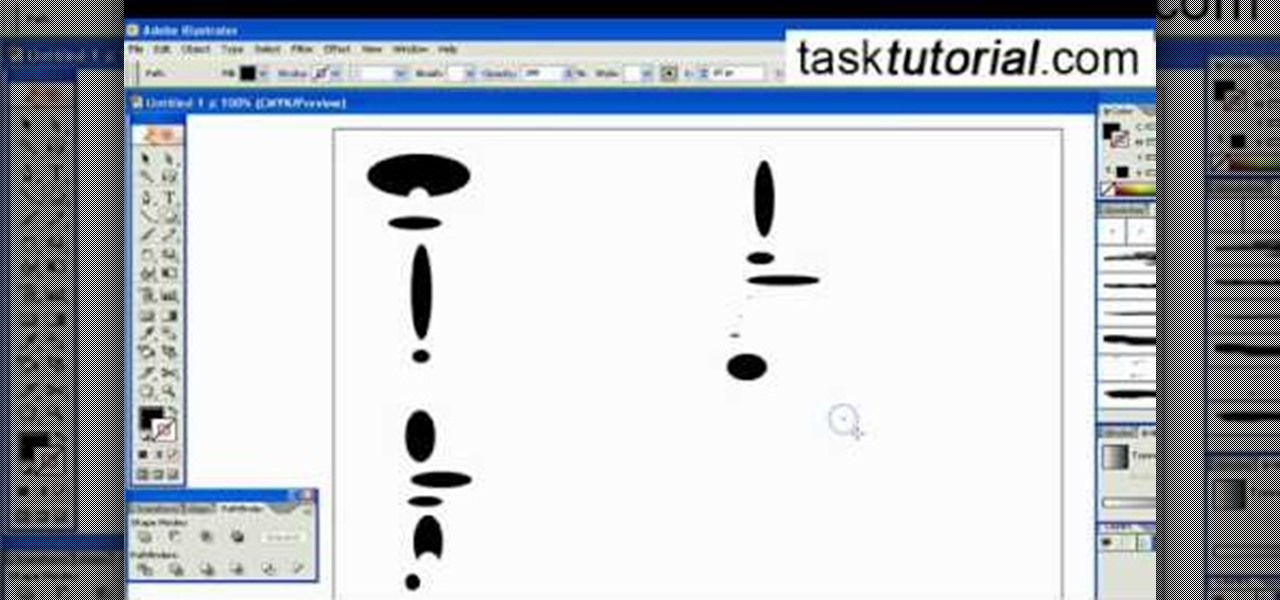
Pattern brushes in Illustrator can create additional interest and a custom look to shapes in Photoshop. Follow the steps in this tutorial to learn how to create new pattern brushes in Illustrator. In a series of steps creating different shapes aligned in different patterns, the create new brush command can duplicate those patterns as a brush stroke. The end effect allows us to create different designs quickly that can then be used for logos, art projects, and many other things.
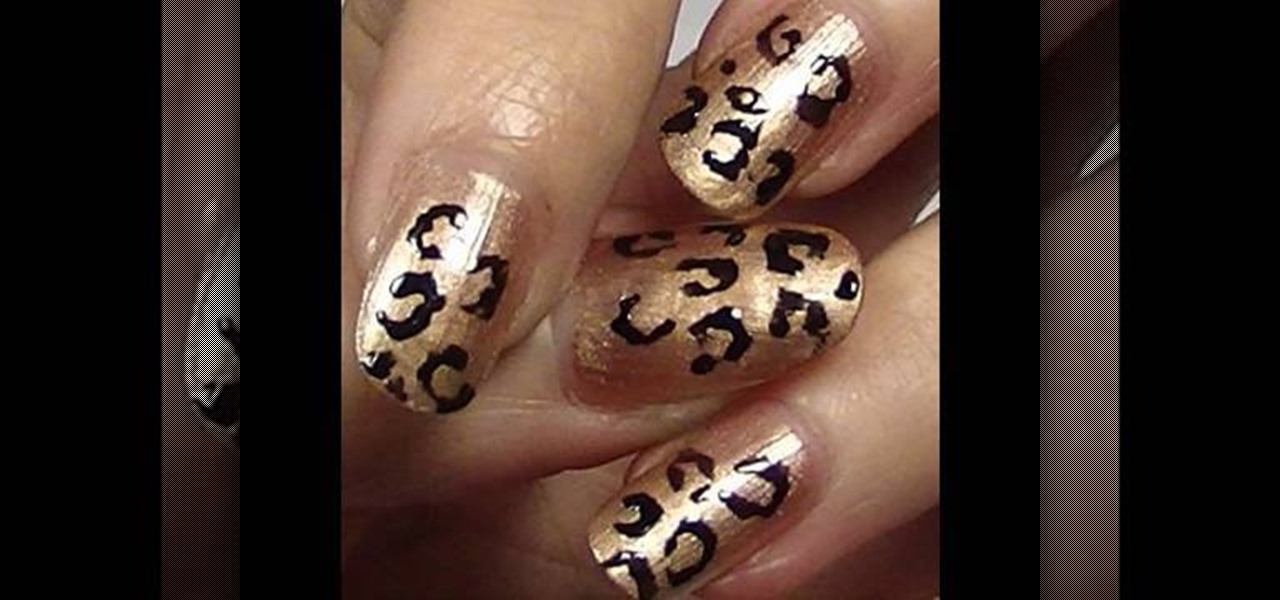
Pixie Litt, from Mama Do Nails helps us learn how to get a leopard printed nails. Firstly, using a E.L.F nail varnish in 'Blush', give a gentle coat on the nails starting from the tip of the nails go down to as close to the cuticle as possible leaving some edge space. Now, for the second coat use the brush in the same way but here you will be going down just half way so that it gives a more prominent look for the nails. Now for the leopard print, just use an ordinary black color nail polish f...

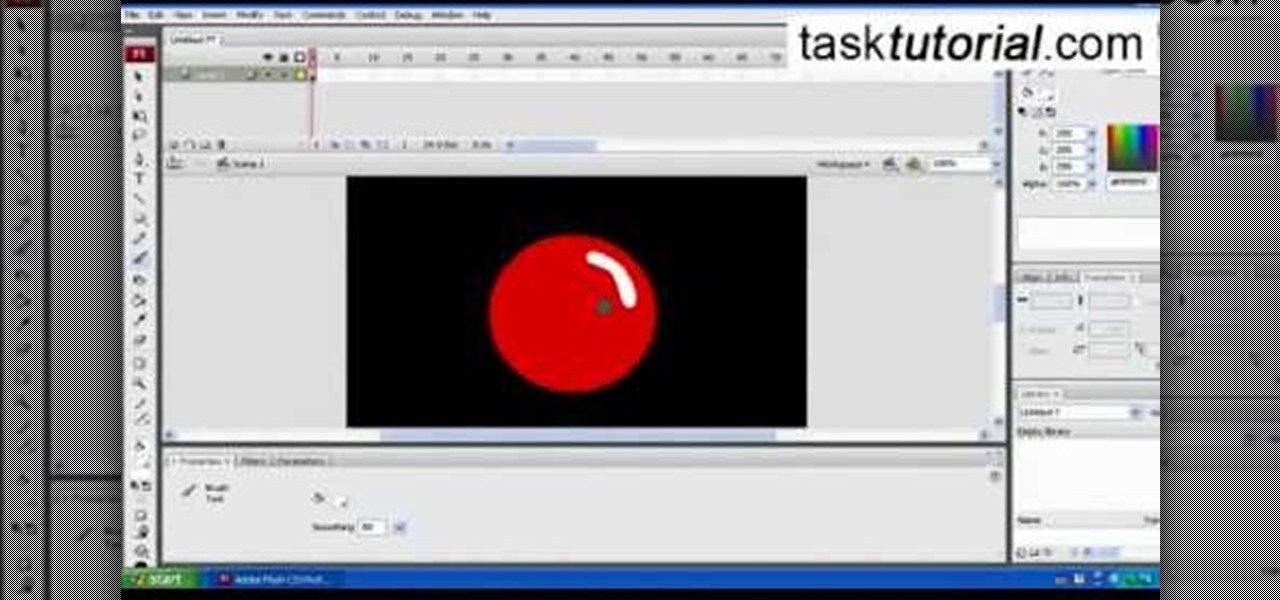
This video shows you how to create a glowing object in Adobe Flash CS3 Professional software. This is a tutorial video for beginner level viewers. Making objects glow is one of the many effects that can be applied in Flash. In this video the narrator draws a shape, converts the shape into a movie and adds a glow filter to the object. Watch this video and learn the correct parameters to be supplied to the program to get the desired glow effect.
Ever wondered about when your mouse moves over a website and some animation plays? Well, that's an invisible button. To create one, first type some text in Flash. Then create a new layer, draw some basic shape, and convert it to a button. Then double-click and create a new keyframe on hit. Scale the shape according to the size of the text. Now, when one moves the cursor on the text,the cursor becomes active. It really helps for some animation with greeting cards.
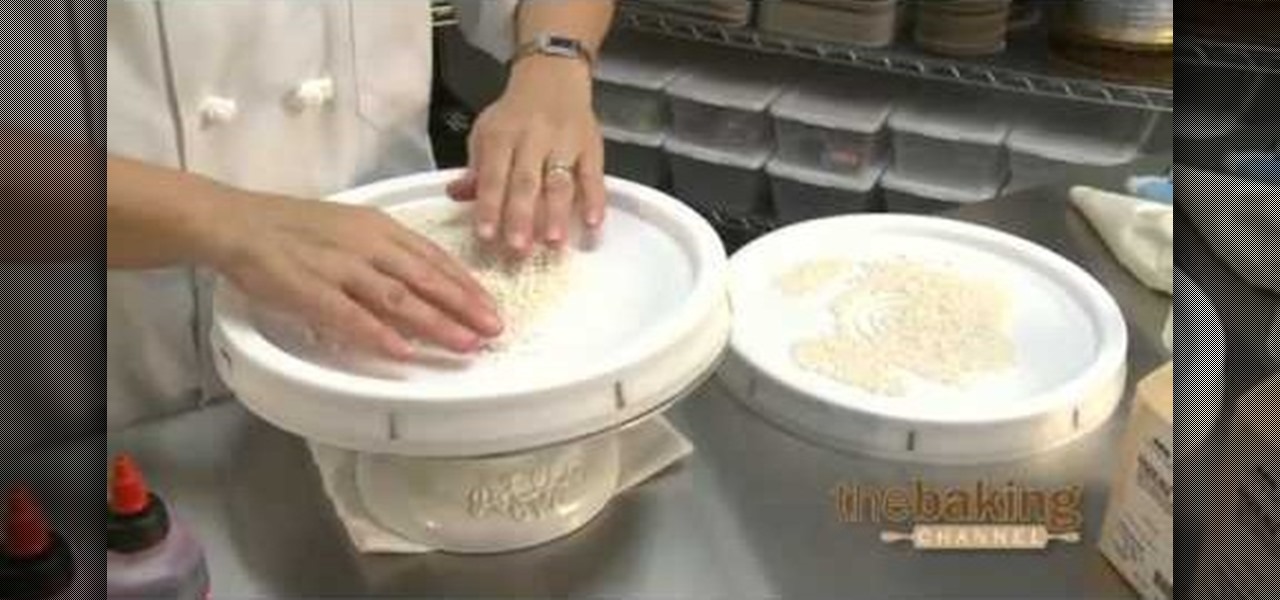
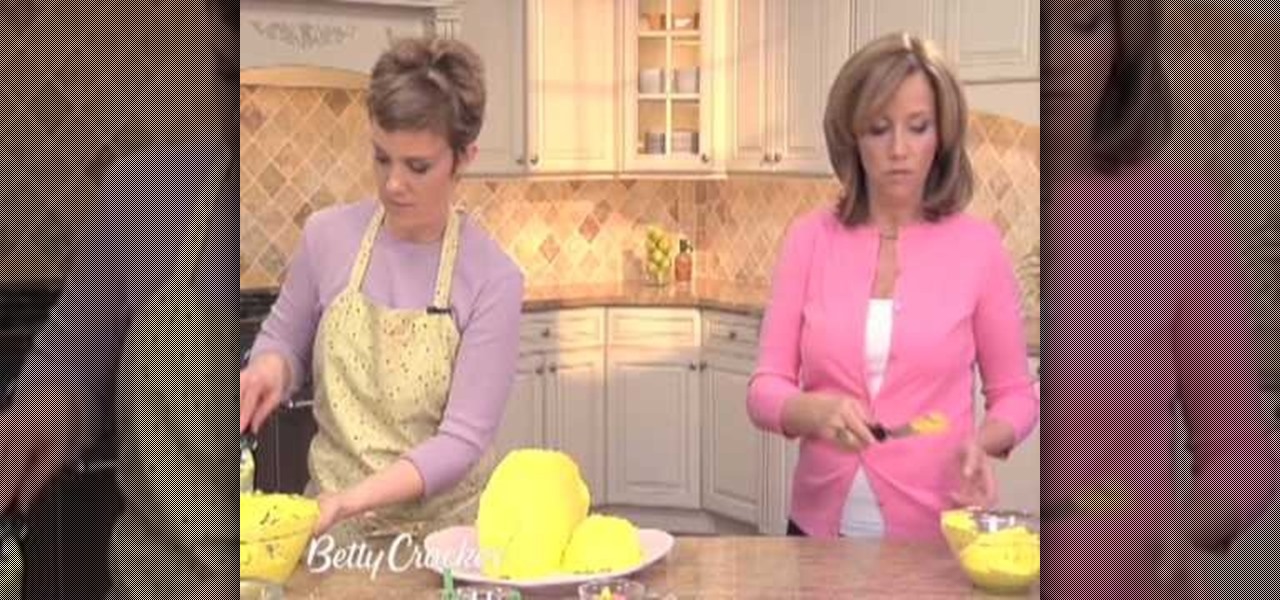
This tutorial shows how to make tiny molded roses and leaves that you could put on cupcakes. To start you only need a few ingredients: icing sugar, water, paste coloring, fondant icing sugar, and a piping bag (optional). Mix all ingredients together, then put them in a bag so they stay soft. Make the color of the rose or petals any color you want. Knead the dough so that you will have the color you would like. Next, break off a piece of the kneaded dough and form it into a cone shape. Break o...
You can make a rollover button in Flash by following the instructions shown. You start by opening up Flash to work on your project. You then follow along and draw a shape for the actual button. Then follow the steps given to turn your shape into a button that is click-able and links to your movie clip. This is great for placing on a website instead of placing a bulky video clip on the site. If you complete the directions correctly you will have a fully working click-able button that will link...
This video illustrates the transfer of paper patterns on woodworking projects with Lowe's. If you have a pattern in a piece of paper for the woodworking project. Draw the grid for the pattern in a piece of paper. Even though, the piece of wood is six times larger than the pattern in paper. Draw the grid in the wood with One and half inches by the use of ruler. Then check out each and every box of grid in a pattern, trace the shape of each boxes in the wood. After finishing all the grid boxes ...
This is Part 1 in a series from FollowThePaperTrail. In this arts and crafts how to video the host will lead you through the process of preparing the materials necessary to create paper roses, from punched or die cut flower patterns. She teaches you how to soak the materials, once they've been cut, and spray them with starch so that they retain their shape. Following up on that she demonstrates the techniques she uses to form the flower patterns into a more three dimensional shape.
In this Photoshop tutorial the instructor shows how to create a glossy sphere. Now to get started open the tool and select the oval tool. Using the oval tool create a sphere shape. Draw holding the shift key button and set it to green color. Now similarly draw ellipse and give it white color. Create a few more ellipses this way. Now go to filers and then glowers and then Gaussian glower. Now go to shape free and select gradient and set the gradient. Now you can apply color changes to it and g...
Ironing a button up shirt is an important way to make sure you are always looking in top shape. When ironing a man's shirt, you should always start with the collar first and then move to the shoulders and back. Make sure the shirt is stretched out properly over the ironing board. Then move from the shoulders and down the sleeves, making sure you iron both sides, moving slowly and carefully. After ironing your shirt, make sure you hang it up to prevent more wrinkles from forming. Using this ca...
Guitar riffs are like any other musical exercise; practicing them can be a terrific means of building manual dexterity and improving your overall playing technique. We can say of riffs, then, that they are not so much about rote repetition as making available to the guitarist new and different ways of playing. Every new riff you learn will make you a more able and versatile guitarist and better equip you to stay away from rock clichés. In this installment from his Riff of the Week series, Dav...
Watch this step by step fashion design tutorial on how to bleach shirt designs. Print out a design onto durable paper and cut out the individual pieces. Iron the shapes in place atop the t-shirt. Place a protective lining on the inside of the shirt. Fill an empty spray bottle with bleach and spray your design lightly from about two feet away. The areas where you placed paper shapes and letters will not soak up the bleach.
This video demonstrates how to construct a sling shot out of a soccer ball. You will need an old soccer ball or tire tube, a "Y" shaped stick, and a pair of scissors. Slice the soccer ball open to remove the rubber lining. Next, cut two thin strips of the rubber lining. Cut out one hexagon shaped piece of leather from the deflated soccer ball. You can use this for the sling shot pouch. These visual guidelines depict how to use these materials to construct a sturdy slingshot in a matter of min...
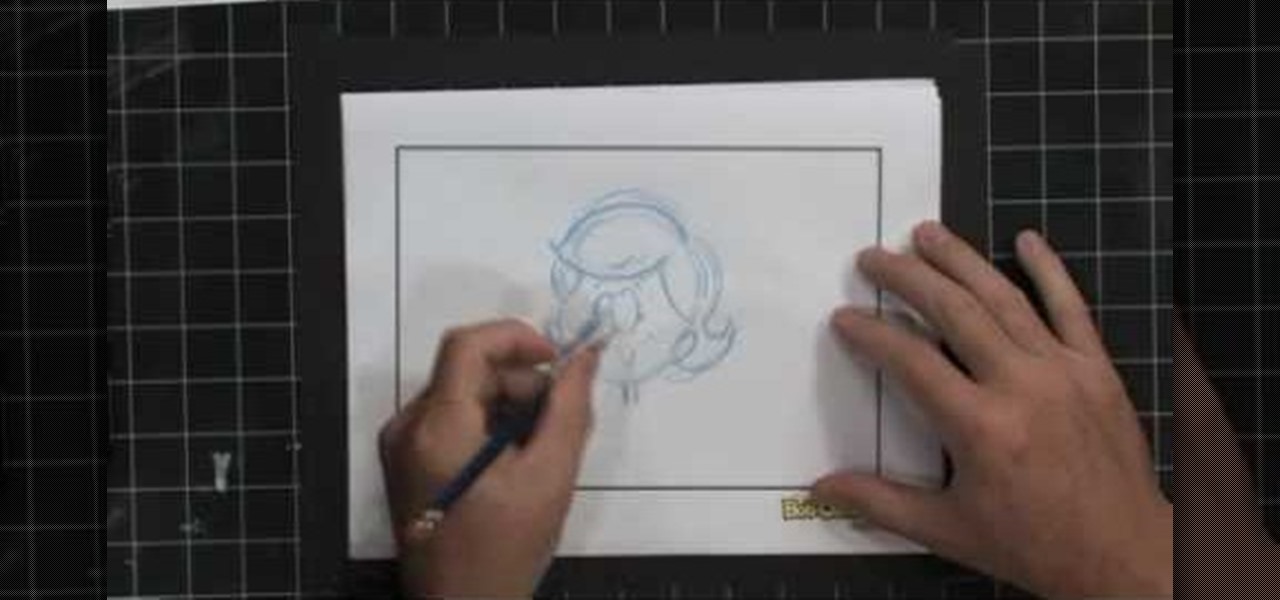
Do you swoon over Justin Bieber and wish you could have him all to yourself? Though he's probably not going to pay a personal house call to you anytime soon, you can draw yourself a very lifelike picture of him!
Whether you're prepping for an outdoor picnic with your loved ones or creating a finger food menu for afternoon tea, tea sandwiches never fail to be a healthy yet appetizing treat.
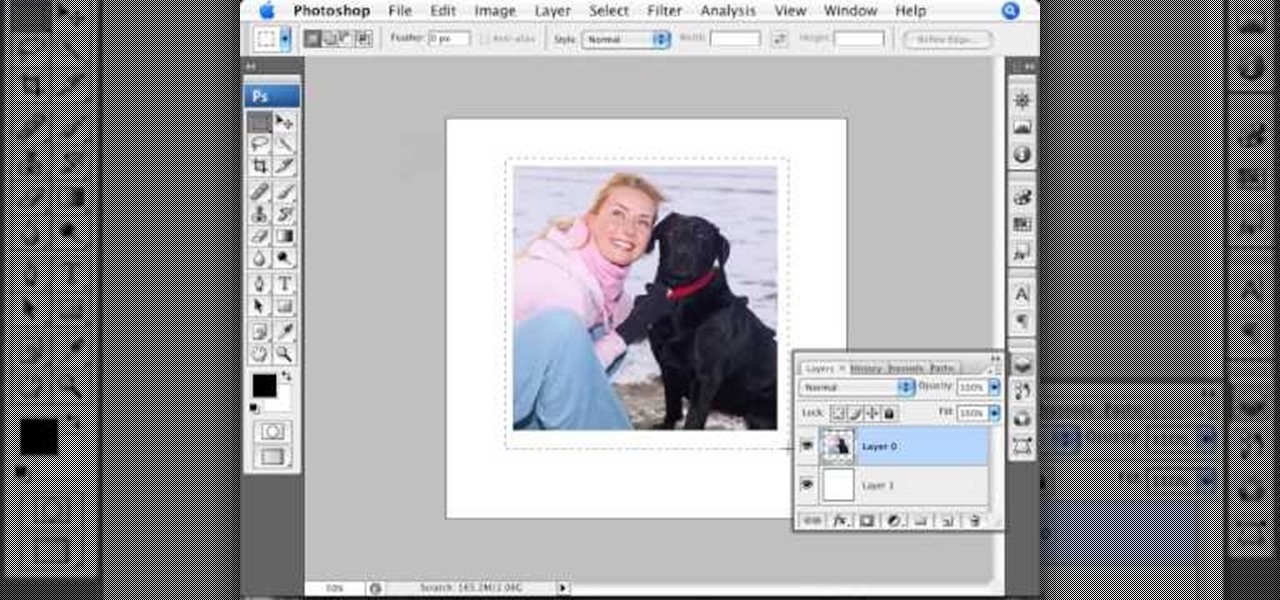
In this Photoshop tutorial the instructor shows how to create a Polaroid photo. First open the regular photo and make it into square shape as Polaroid images are in square shape. So use the selection tool and crop it into square shape. Now unlock the layer from background mode. Now go to the image canvas size and increase the size of canvas like up to 800 X 800 pixels. Now the layer can be moved around in the canvas. Now add another layer and fill it with white. Now select the image leaving a...
Pixel Perfect is the "perfect" show to help you with your Photoshop skills. Be amazed and learn as master digital artist Bert Monroy takes a stylus and a digital pad and treats it as Monet and Picasso do with oil and canvas. Learn the tips and tricks you need to whip those digital pictures into shape with Adobe Photoshop and Illustrator. In this episode, Ben shows you how to work with layers in Photoshop.
Pixel Perfect is the "perfect" show to help you with your Photoshop skills. Be amazed and learn as master digital artist Bert Monroy takes a stylus and a digital pad and treats it as Monet and Picasso do with oil and canvas. Learn the tips and tricks you need to whip those digital pictures into shape with Adobe Photoshop and Illustrator. In this episode, Ben shows you how to create a magical enchanted dagger in Photoshop.
Pixel Perfect is the "perfect" show to help you with your Photoshop skills. Be amazed and learn as master digital artist Bert Monroy takes a stylus and a digital pad and treats it as Monet and Picasso do with oil and canvas. Learn the tips and tricks you need to whip those digital pictures into shape with Adobe Photoshop and Illustrator. In this episode, Ben shows you how to create cloud over a sea in Photoshop.
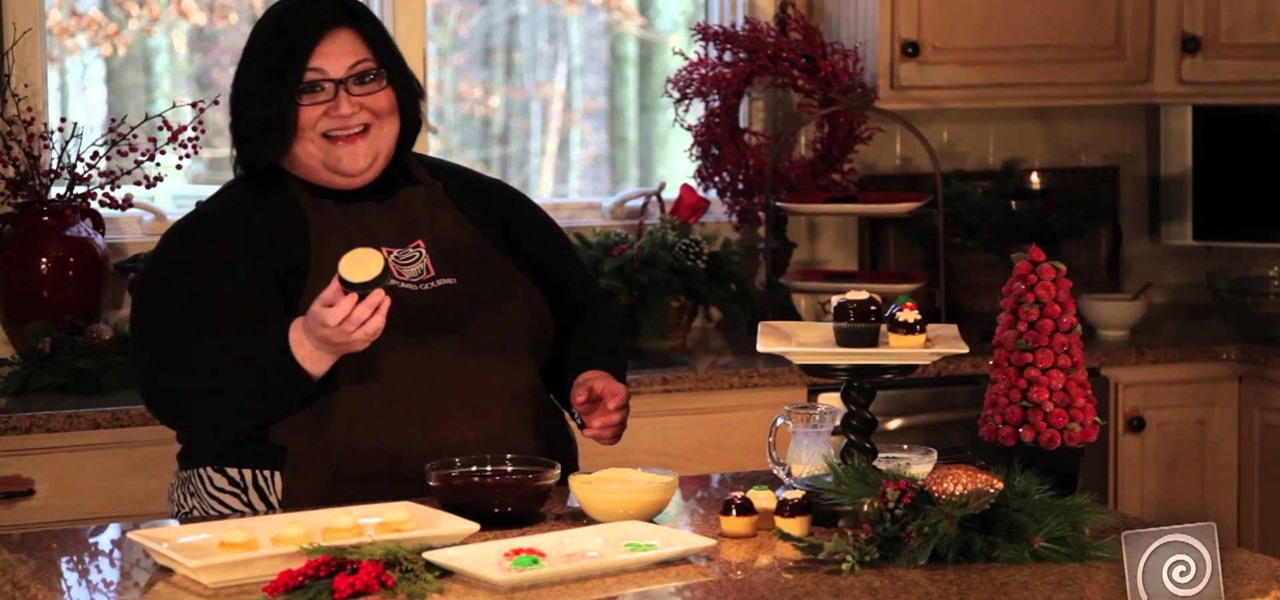
Cupcakes? Yes, please. As we all know, Christmas is a foodie's dream holiday, with oodles of Christmas cookies shaped like elves, pumpkin-spiced muffins, and of course cupcakes decorated into all sorts of festive shapes.
We didn't think it could get any better than cupcakes laden with buttercream icing until we saw these dark chocolate ganache-dipped cupcakes. Dripping in rich, velvety layers of ganache, these cupcakes are then topped with iced on Christmas shapes like trees and snowflakes for a festive flair.
The first step to create a boomerang paper airplane is to take a square piece of paper and measure to make sure it is a perfect square. You must then fold all of the corners of the cut of paper into the middle and then fold in half. The wings must then be folded down on the two chosen side. The final step is to fold the wings up to give the crease and cut of paper it's boomerang like shape. The video ends with examples of the type of flight that can be expected from a boomerang shaped paper a...
The first part of the video shows examples of completed Spartan leg guards. The materials needed for this project include boxes of cardboard, two liters of soda pop, gold paint, masking tape, scissors and wire. you must first print out the template shown by the narrator and use it to cut out the leggings to the appropriate size. Now use the two liters to fold the cardboard around the two liters to give the legs their shape. Once the cardboard has shape use the wire to hold to the paper in it'...
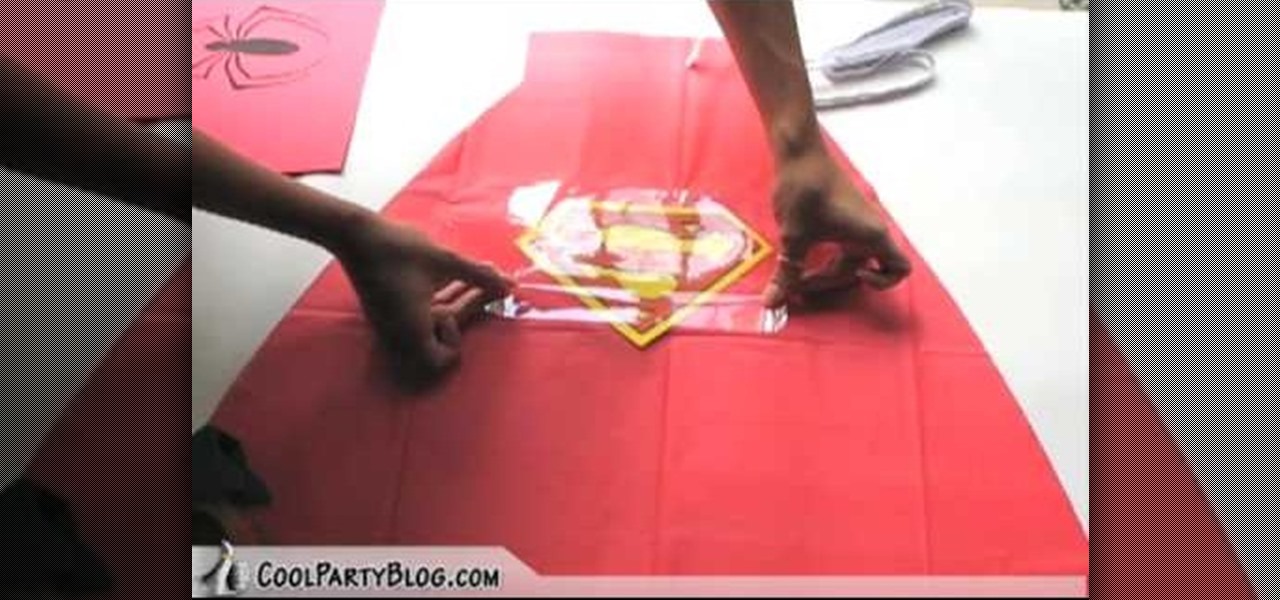
In this tutorial, we learn how to create super hero cape party favors. First, take a plastic red table cover and remove it from the package. Next, open it up and fold it in half twice, so you end up with a rectangle. Then, take scissors and cut a large triangle shape out of the material. When finished, open up the cover and it will be in the shape of a cape! Then, cut out some "s" for Superman signs and tape it on the back of the cape. Then, tie string around the top so it can be worn and you...
In this tutorial, we learn how to draw detailed hair. When you are drawing hair, you must remember to draw with the shape of the head not just the lines. You should also draw in the lines curved and feather them to show the different strands on the head. When drawing a guy or girl, draw different lengths in the hair and show the waves on them as well. For girls, when you are drawing curls you must make them ring shapes so they curve like curls. Just make sure you draw enough lines to show the...
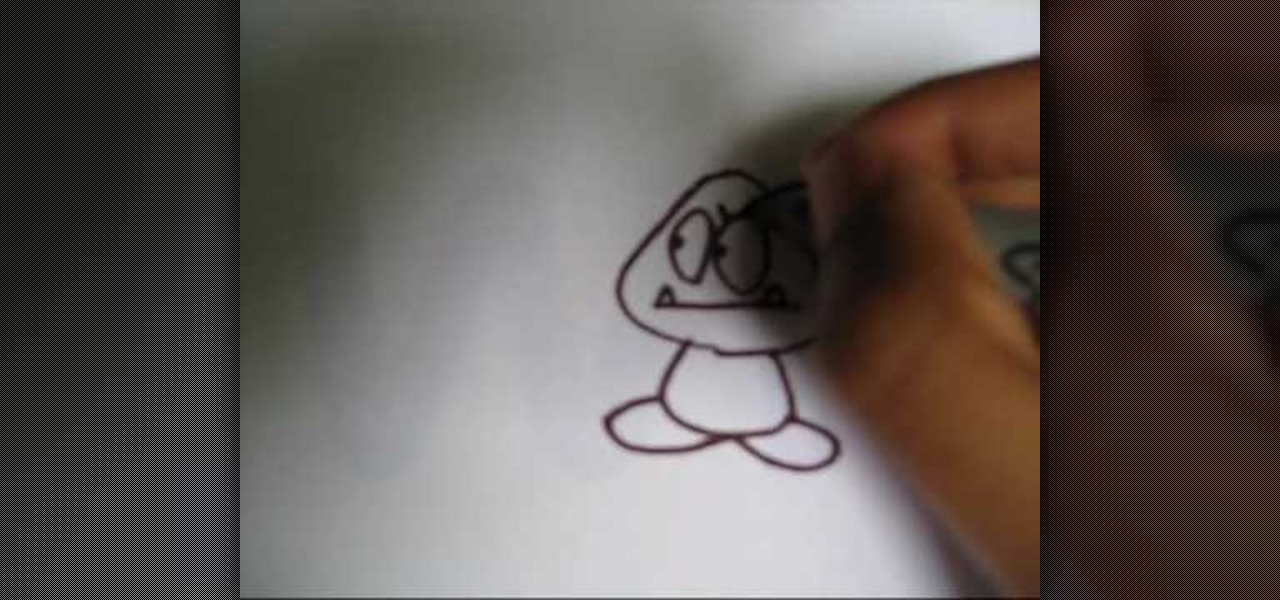
In this tutorial, we learn how to draw a Goomba from Super Mario. First, draw the softened triangle shape of the top of the head, then draw the body and the oval feet at the bottom. After this, draw on the oval eyes and then a flat mouth with two triangle teeth on both sides. From here, draw on the eyebrows to Goomba in thick lines. To draw another type of Goomba, draw the same basic shape, but then make the eyes squished into small lines and then draw the mouth with crunched teeth on the ins...
This video explains how to make paper flowers in just a few simple steps. The first step to make a paper flower is to take a simple piece of white printer paper and draw any design you find suitable on the blank paper. The next step is to fold the paper over two times to create a smaller square. The second step requires the paper be folded from it's edges into a triangle shape. The last step involved opening the paper from below to give the flower a three dimensional shape. It is shown that m...
In this tutorial, we learn how to style your hair into side spikes. First, you will brush the back of the top of your hair up into the air and then put it into a rubber band. After this, repeat for two more pieces until they are in a line ready for spikes. Then, grab the first section and remove the band from it. Then, spray hair spray in it and tease it until it's standing straight up in the air. Hold it up while you are spraying it so it keeps shape. Repeat this for the other spikes. When f...
In this tutorial, we learn how to make an array of paper roses. Use any colors of paper you want with this to add a special touch to them! Now, you will take the pattern or color of your choice and fold it up into a square. after this, fold it into a triangle and then cut the edges of this off. After this, cut the bottom off and open it up, it should be a flower shape with a hole in the center. After this, repeat with several other papers and then cut the flowers up into halves. From here, yo...
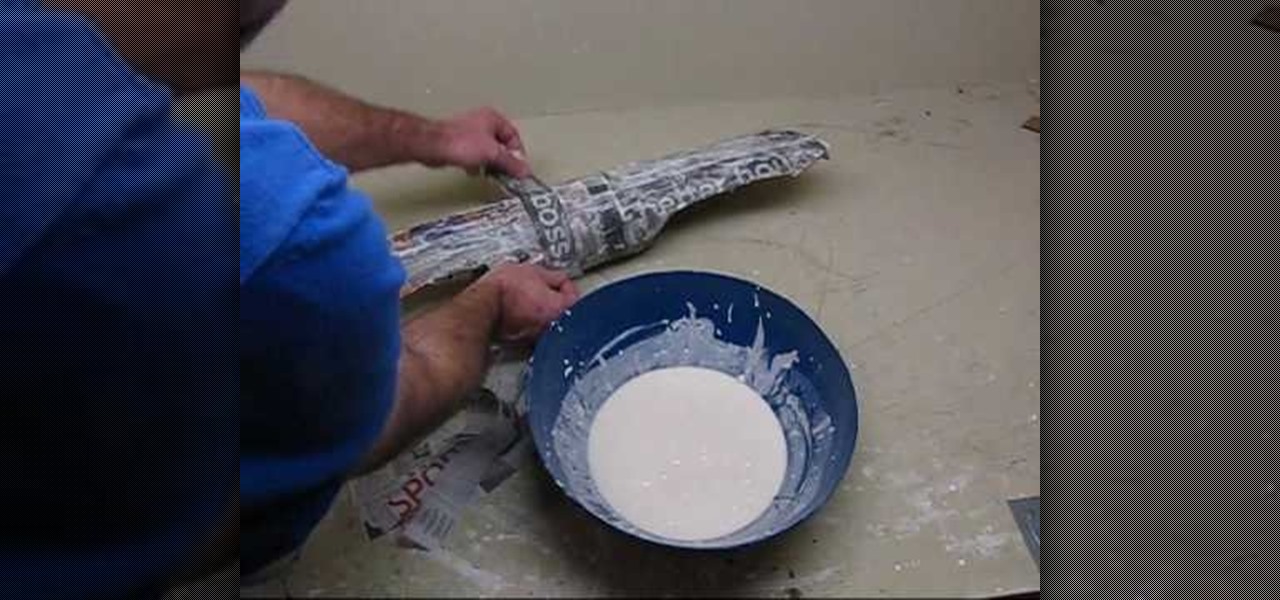
In this tutorial, we learn how to make a Spartan 300 shield. You will need: paper mache, durable cloth, gold spray paint, newspapers, cardboard, nuts and bolts, and the cap to a trash can. After you have these, cut out a large piece of cardboard and place it over the trash can cap in a circle shape. Then, dip newspaper strips into the paper mache mixture and apply it to your shield, taking your time to make it smooth. Let this dry, then cut two strips of cardboard and place it in a 'v' shape ...
In this tutorial, we learn how to draw Plankton. Start out by drawing a long oval shape for Plankton's body. After this, draw on a large eye to the upper middle section of the eye. Next, you will draw in the mouth underneath the eye and make sure to draw in an angry expression and pointed teeth. Next, draw in the eyebrow on top of the eye followed by legs on the very bottom of the oval. The legs should be soft triangle shapes and nothing more. You can color this green to finish up the drawing...
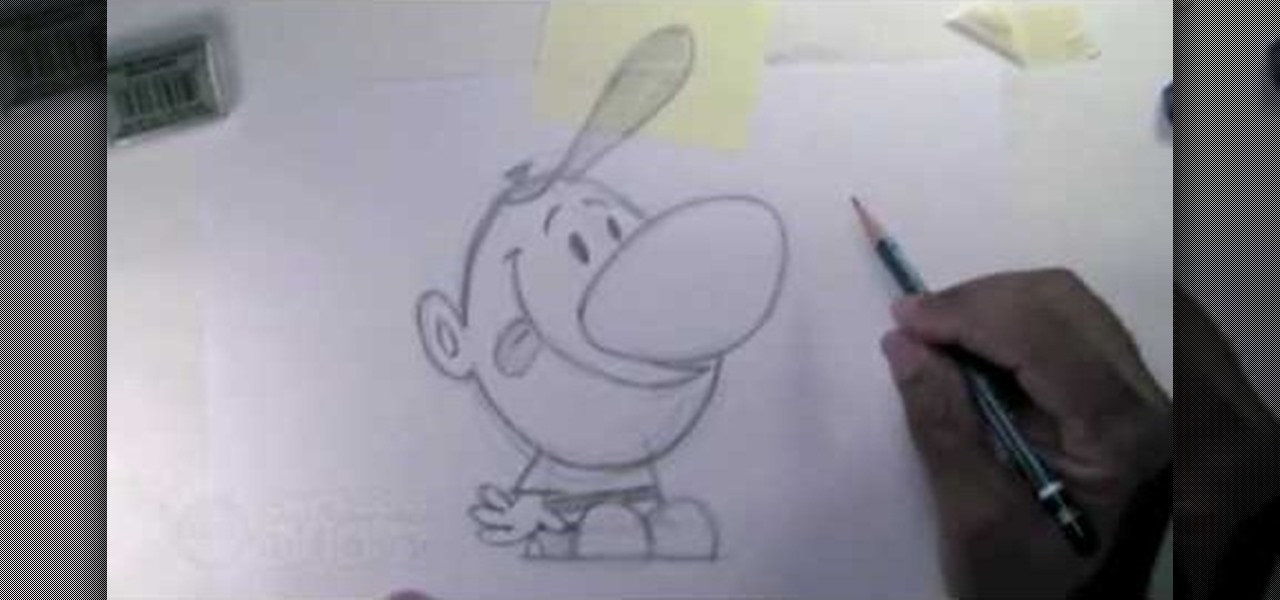
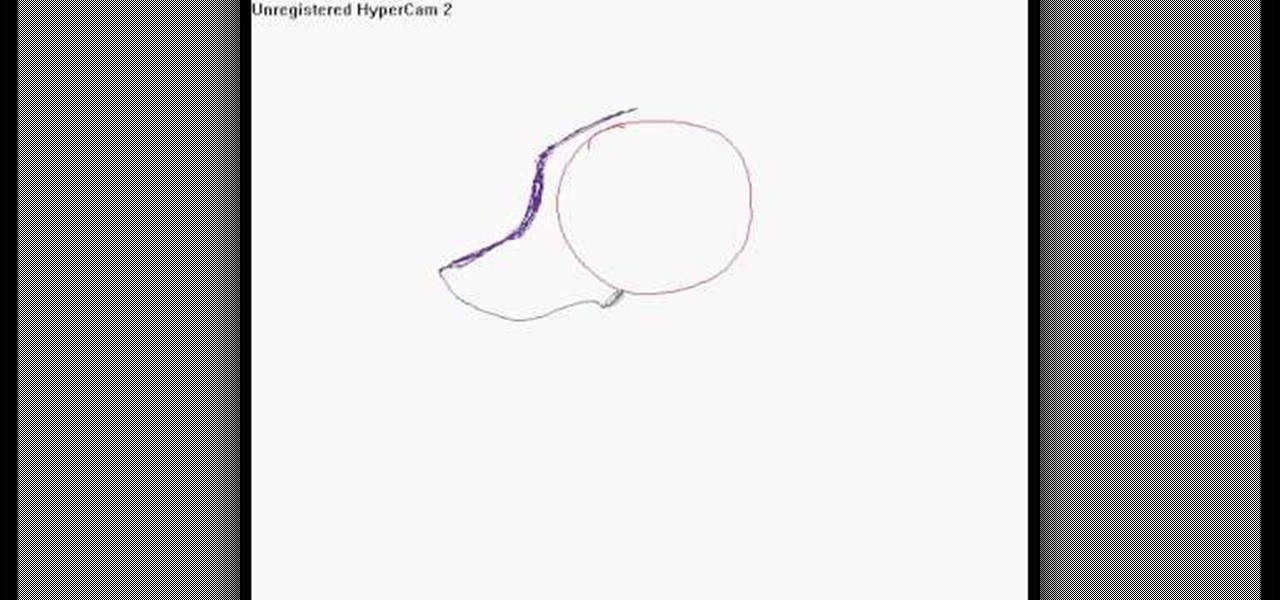
In this video, we learn how to draw Billy from The Grim Adventures of Billy & Mandy. Start out by drawing the egg shaped head with a pencil. From here, sketch on the body by using a block shape then draw the shoes as simple half circles. The arms and hands will be hanging to the sides. Now, draw on the huge nose in the middle of the circle. Attach the mouth to this and draw it all the way up near the eyes, which are simple dots. The brows are simple slashes. After this, add in the minor detai...
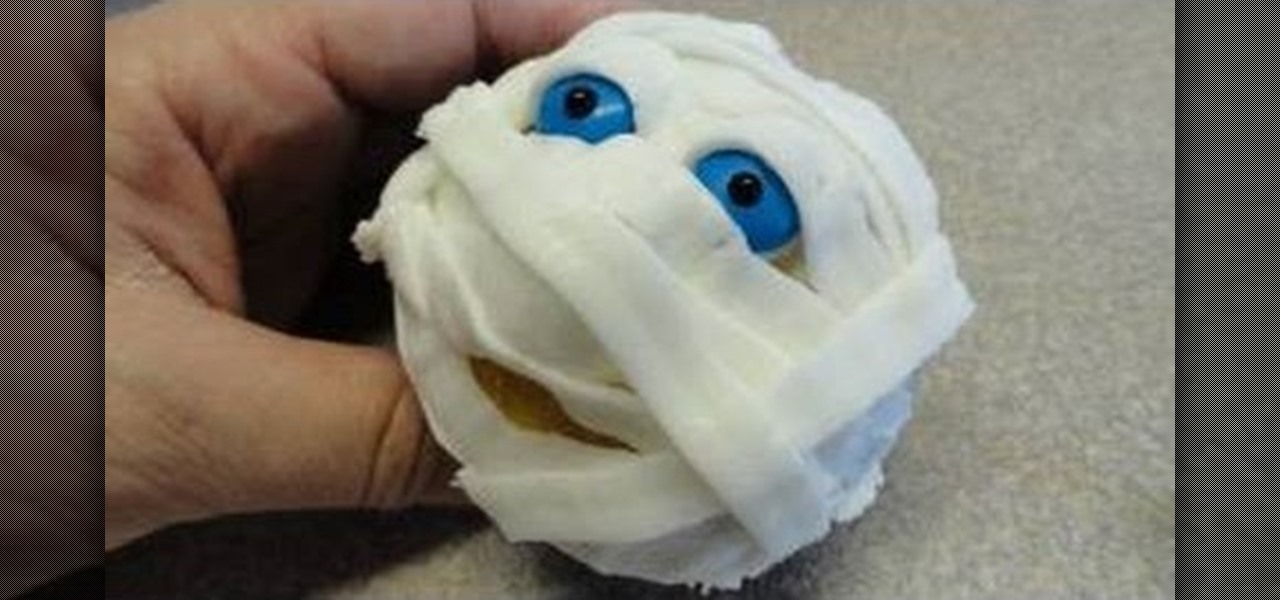
This mummy-shaped cupcake will be a ka-razy big hit on your Halloween buffet table. Flat, noodle-like layers of icing create a bandaged mummy effect, while an assortment of blue and red candies mimic the mummy's creepy eyes and mouth.
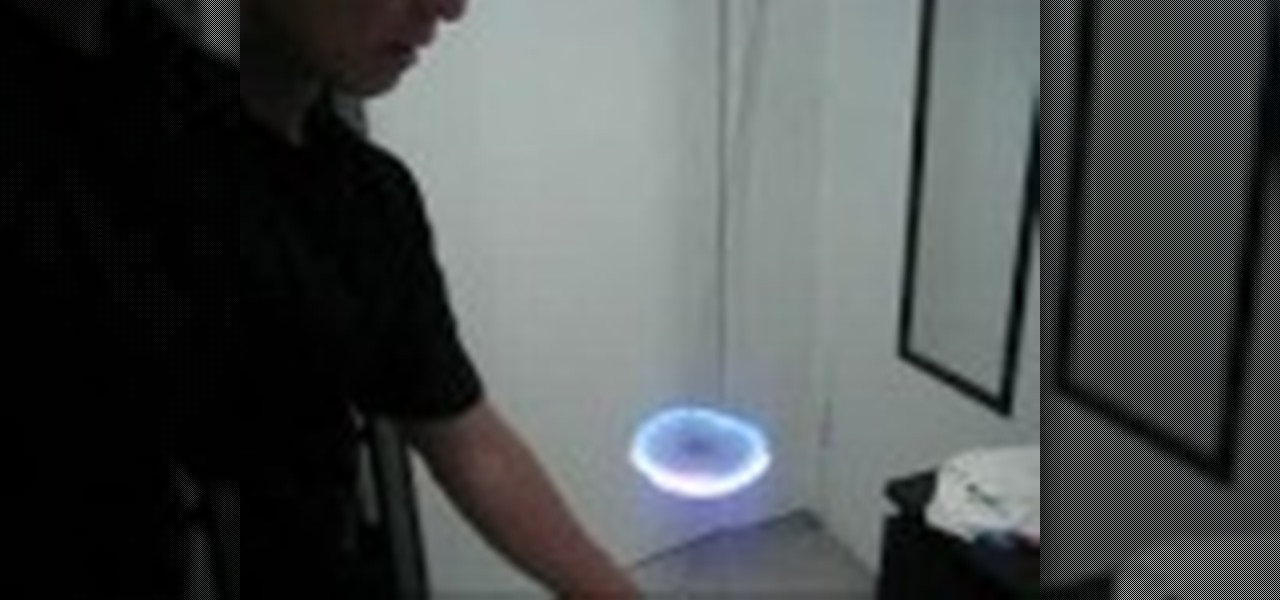
In this video, we learn how to do an orbit at an orbit light show. The light should spin clockwise in one and and counter clockwise in the other. You must pay close attention to keep these spinning back and for. Start out by winding the lights up and mastering this so you can produce different shapes. After you learn the wind up, learn how to make the stars with it by winding it up one direction and let the orbit in the middle unwind itself in the opposite way. Once you're comfortable, you wi...
In this video, we learn how to draw wolf eyes. Start out by drawing the outline for the wolf head. Then you will draw the eyes in an almond shape dragging downward on the nose. After this, zoom in on the eyes with the computer and then fill in darker lines around the eyes. Draw in the pupils on the eyes and add in the details for the corners of the eyes as well. If you want to draw wolf eyes from a side view, draw the outline of the head to give you reference, then draw the shape of one of th...
In this tutorial, we learn how to make a birthday cake in the shape of a purse. First, bake two round cakes and place them in the fridge. After this, cut off the edge of both the cakes that are the same size. Then, take some frosting and spread it onto the cake to adhere both together. Now, push the cakes together and have them stand up straight. Use the other pieces to make a mini cake and frost both cakes all over. Then, smooth out the frosting all over the surface. Now you can start to dec...