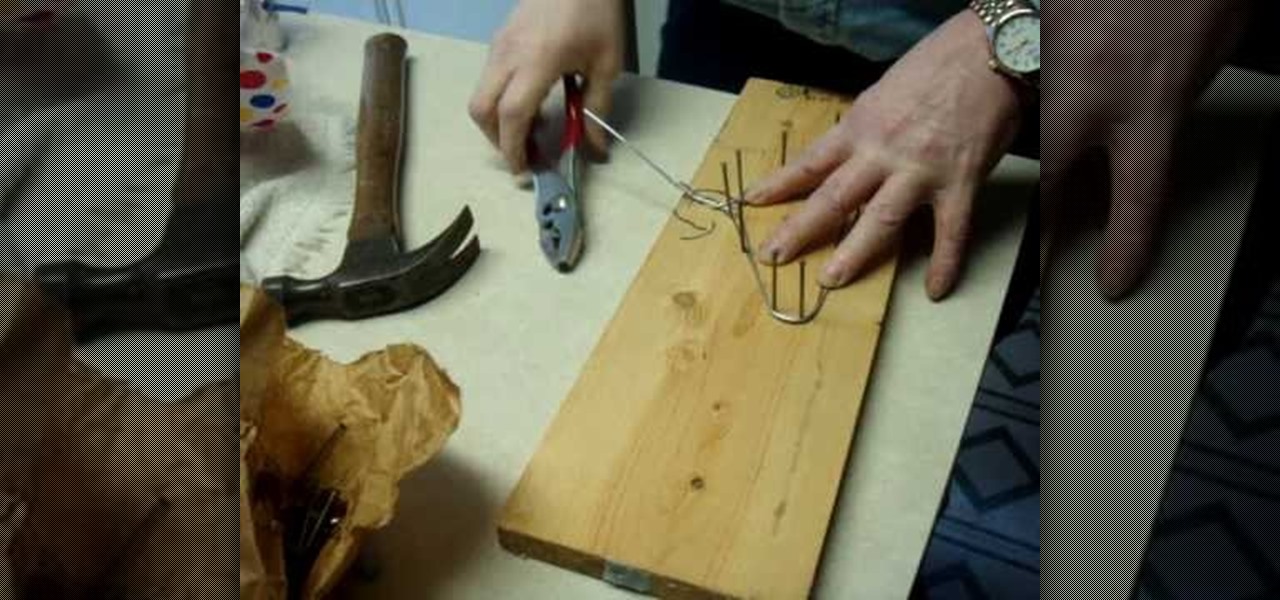
In order to make your own hangers for your American Girl Dolls' clothes, you will need the following: wood, nails, a hammer, a marker, one American Doll hanger (to be used as a pattern), 14 gauge wire, pliers, and wire cutters.

In this video, we learn how to make gnocchi with Chef Avram Wiseman. This recipe first starts off with 2 lbs of Idaho potatoes and add in 2 egg yolks after they are riced. Next add in some pepper and a couple pinches of flour and salt. Mix everything together until it's well combined and in 1 cup of flour. Now, dust your cutting board with the dough and knead the dough on the cutting board. Now, flatten out the dough and cut into gnocchi shapes and place into the freezer until the shape is ha...
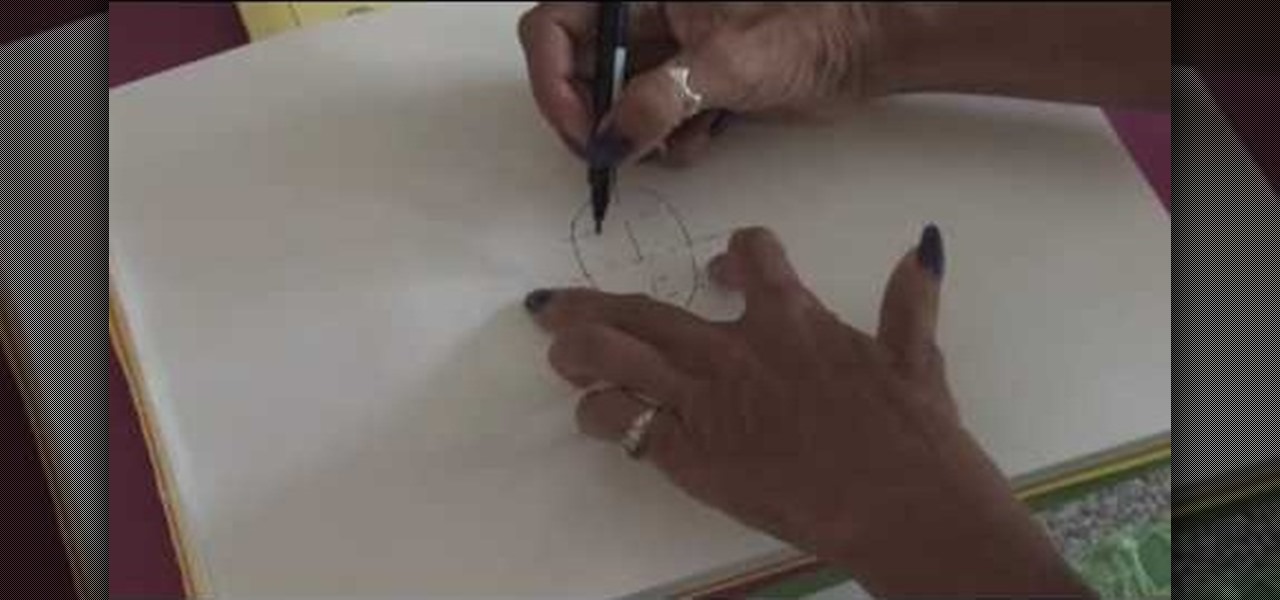
Draw a persons face with this lesson by a professional artist. Start with a basic oval shape. Draw a light guideline through the middle of the face, then a cross line where the eyes might go. Then, draw a line for the nose and mouth. This will leave your drawling divided in three sections. Next, you begin the eyes. Draw oval shapes on the eye line. Then, draw the circles for the middle of the eyes. Then draw in the brows. Next, begin drawing the nose then the mouth. Now you're ready to draw t...

In this Arts & Crafts video tutorial you will learn how to make an egg carton tulip. Cut out two cups from an egg carton. Then cut petals into the cups by cutting out triangular shapes. Make four petals on each cup. Then with a pencil, poke two holes on the bottom of one cup opposite each other in line with the two lowest points of the petals. Do a similar thing on the other cup but, in line with the two highest points of the petals. Then take a pipe cleaner and pass it through one hole of on...

In this video tutorial, viewers learn how to fold a pocket square into the winged puff and rolled puff. For the winged puff, begin by folding the pocket square diagonally in half to form a isosceles triangle. Then fold the two edges towards the middle to form a diamond shape. Now fold the two outer points into the center and fold the bottom flap up, creating a pentagon shape. For the rolled puff, cup the pocket square in one hand, then roll the top of the pocket square downwards with the othe...
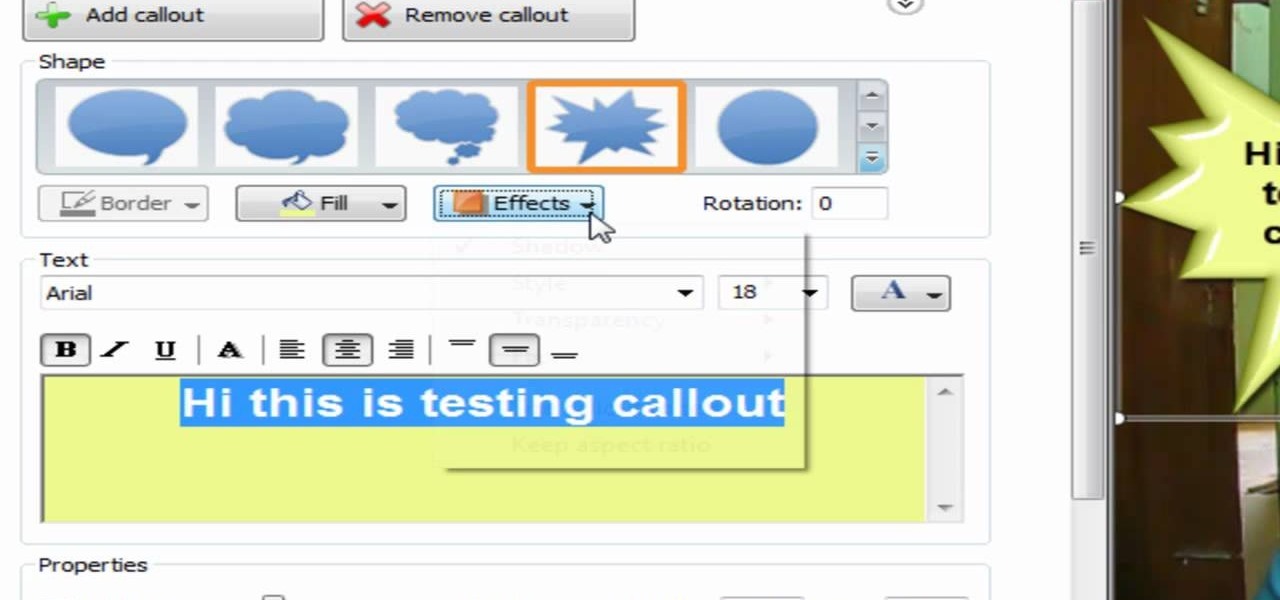
There's cool features in Camtasia 7, including a zoom option for video and a little thing called "Callouts". Zooming is pretty self-explanatory, but what are callouts? There cool shapes, like arrows or explosions, that you can add to your video to bring attention to something. You can also write text inside the shapes for whatever reason needed. This video will show you how to use the zoom and callouts feature, and will show you how to add the text you need.

Eyebrows are an important part of your face. They really define your eyes and even your cheeks! If you are having trouble with your brows, check out this tutorial. In it, you will learn how to shape and fill in your eyebrows so that they stand out and make an impact. If you have sparse brows or are just looking for a bit of definition, take the advice offered in this tutorial and stand out.
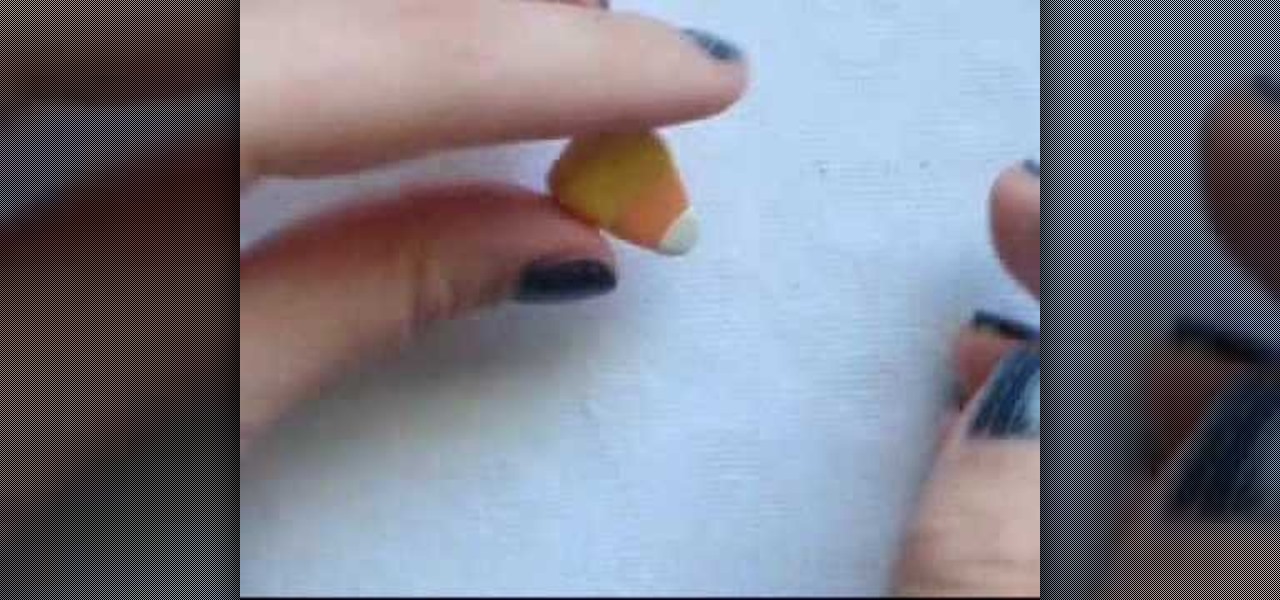
In this video tutorial, viewers learn how to make candy corn out of polymer clay. Users will need yellow, orange and white polymer clay. The yellow is the largest, the orange is the medium and the white is the smallest. Begin by rolling each of the clay into balls and stack them on each other like an ice cream cone. Then flatten it and press on the sides to inflate and square it. Make the top part the widest (yellow) and make the bottom the most narrow (white). It should be in a shape of a tr...
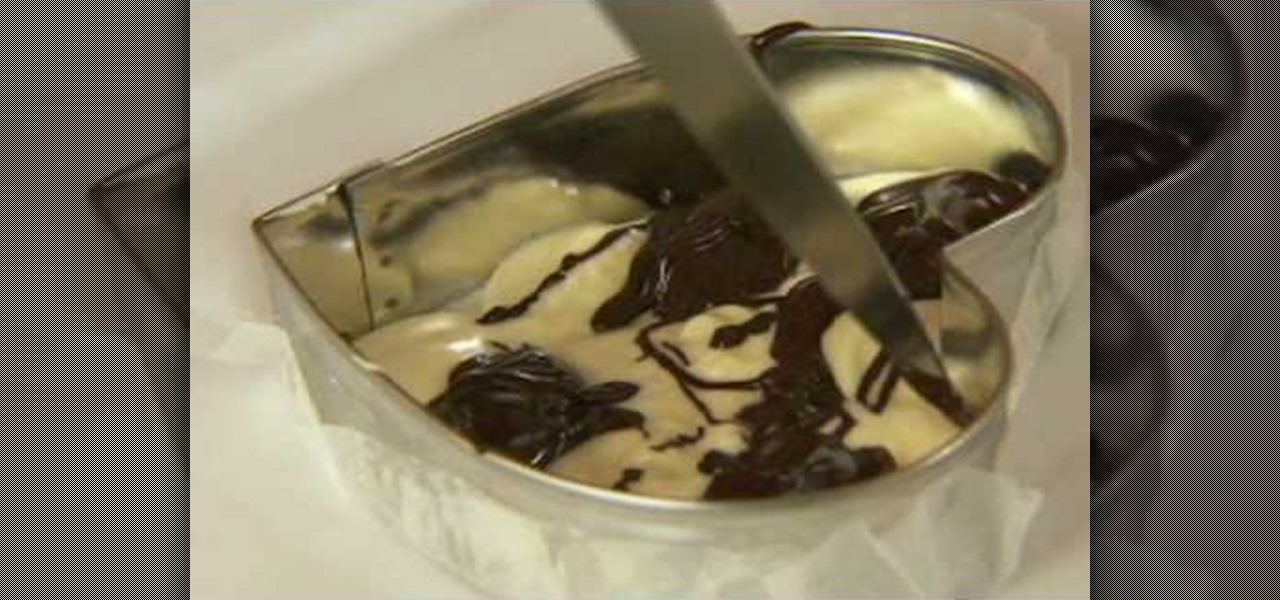
In this video tutorial, viewers learn how to make swirled chocolate heart cake decorations. Users will need a heart shape cookie cutter. Brush some oil inside the cookie cutter and some butter one the outside. Then press on some wax paper on the outside of the cookie cutter to create mold. Now pour in some melted white chocolate and fill in the heart shape. Now add the chocolate. Using the sharp point of a knife, swirl it around the chocolate to create a swirl design. Place the cake into the ...
In this video tutorial, viewers learn how to tie a double handkerchief for tuxedos. Begin with 2 triangle handkerchiefs and fold one over the other. Over lap the triangle to form one mixed triangle handkerchief. There are 2 ways to fold. The first ways is to take a corner and fold it up. Then flip it over and fold a corner down to form a square shape. The second way is to roll in the tow corners to create a cone shape. Put a card inside the fold and hold it together with a pin. This video wil...
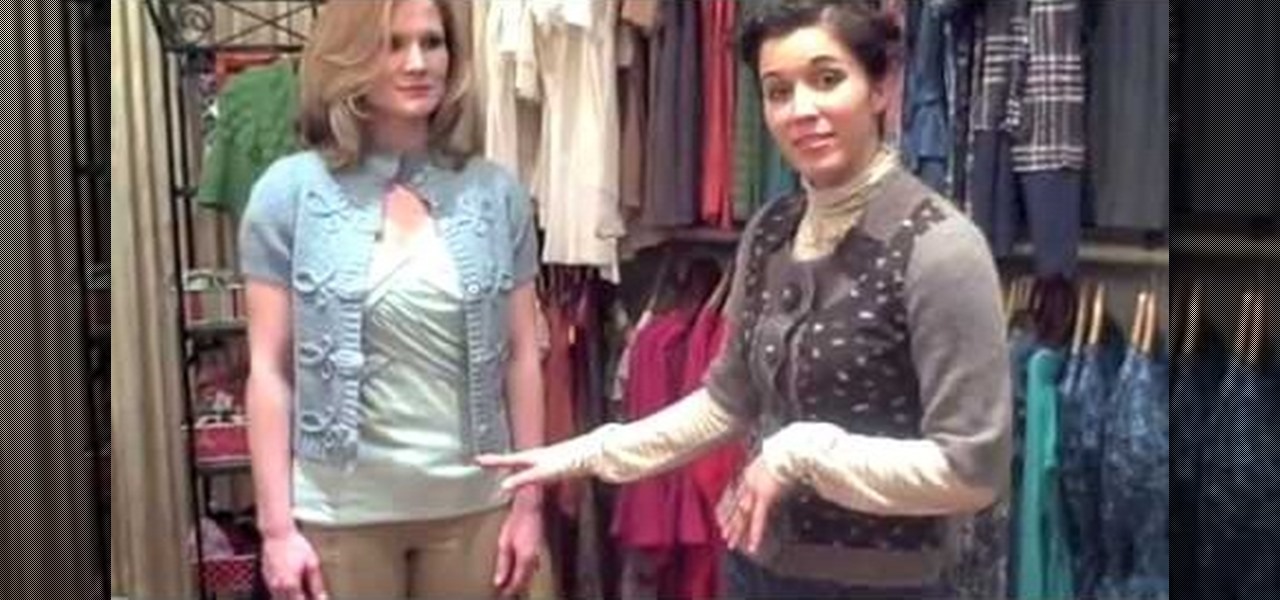
In this how-to video, you will learn how get a perfect fit for an hour glass body shape. This means the bust and hip width are the same. This means you have to find the right clothes. A mid rise trouser, simple top, and cardigan will work with this type. As for dresses, many types work well for this shape. A one piece works especially well with an hour glass figure. A belt can also help emphasize the waist. A jersey dress are also perfect for this figure, as it is the same size on the top as ...
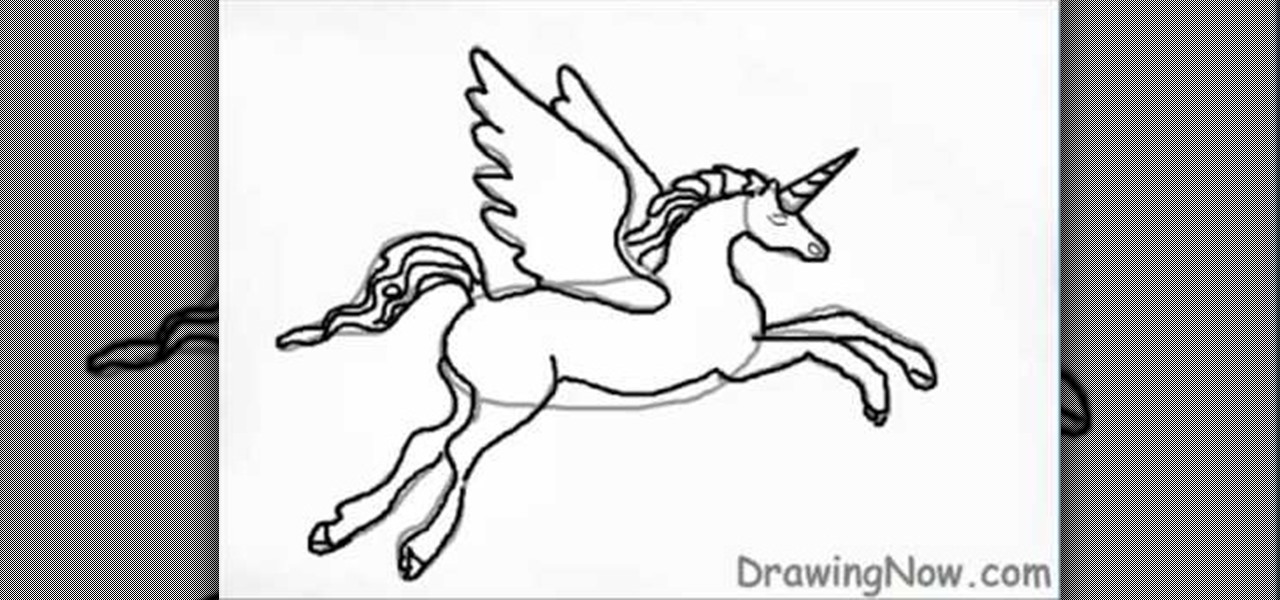
This video illustrates how to draw a fantasy unicorn. Here are the following steps: Step 1: First of all take a sheet of paper and pencil and start drawing the head in a cone shape with the cone having round edge ,this cone represents the head.
This video is about how to apply glitter dust. So the first step that you will have to do is to add two to three drops of activator in the glitter dust which helps stick the glitters on the eyelids. Then the next step is to carefully pat the glitter on the eyelid. Just slowly spread the glitters all over the eyelid and remember to follow the eye shape. Then the next thing that you will have to do is to apply the same process in the other eye. Carefully apply the glitter dust on the eyelid fol...
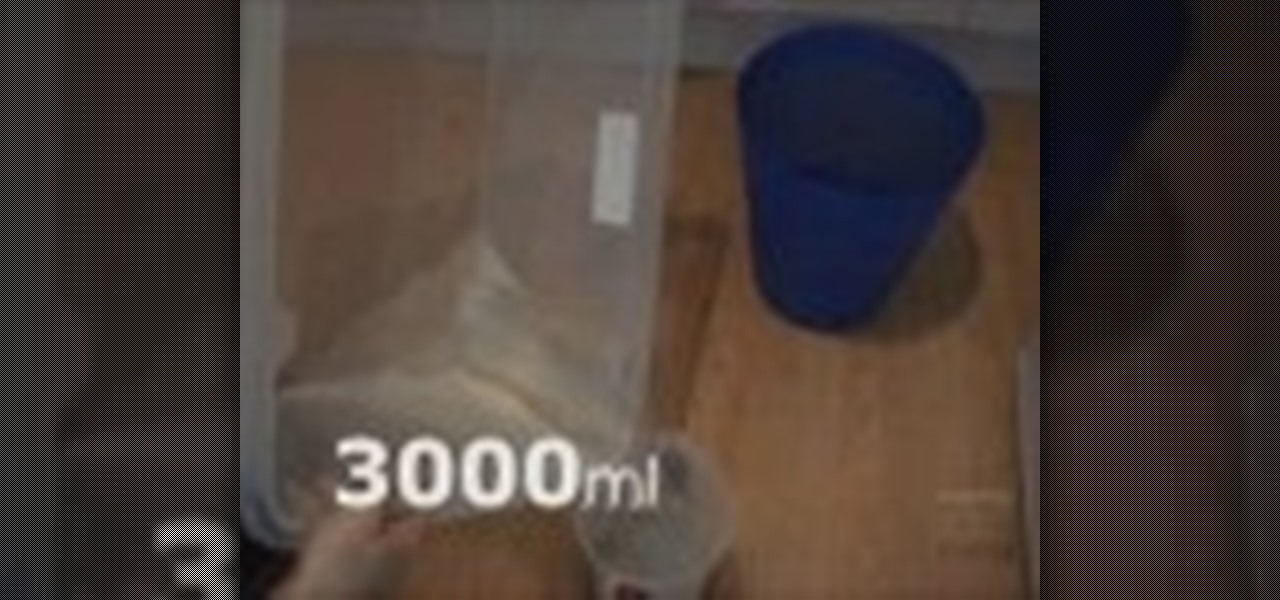
Here we will demonstrate how to measure the volume of a balloon. A balloon is not a straight edged polygon shape, usually, so the mathematical equations get that much harder, on the flip side, it may be a spherical or ovalish shape, but measurements with math alone are detrimental due to the uneven sizes of the balloon. Here is how to do it properly. You will need a bucket, preferably, to hold water, a larger container than your original bucket, and a measuring container. Place the bucket ins...
This is a video tutorial describing how to construct a mini loofah for your dollhouse. The first step is to gather your supplies. You will need a needle, scissors, thread, and tulle. The tulle and the thread should be the same color. Next your tulle should be cut to be 1.5 feet long. Then bunch up the tulle so that it is small and compact just like a loofah. Next you should thread your needle. Next sew the tulle so that it stays in the shape that you would like it to be in. Finally cut off al...
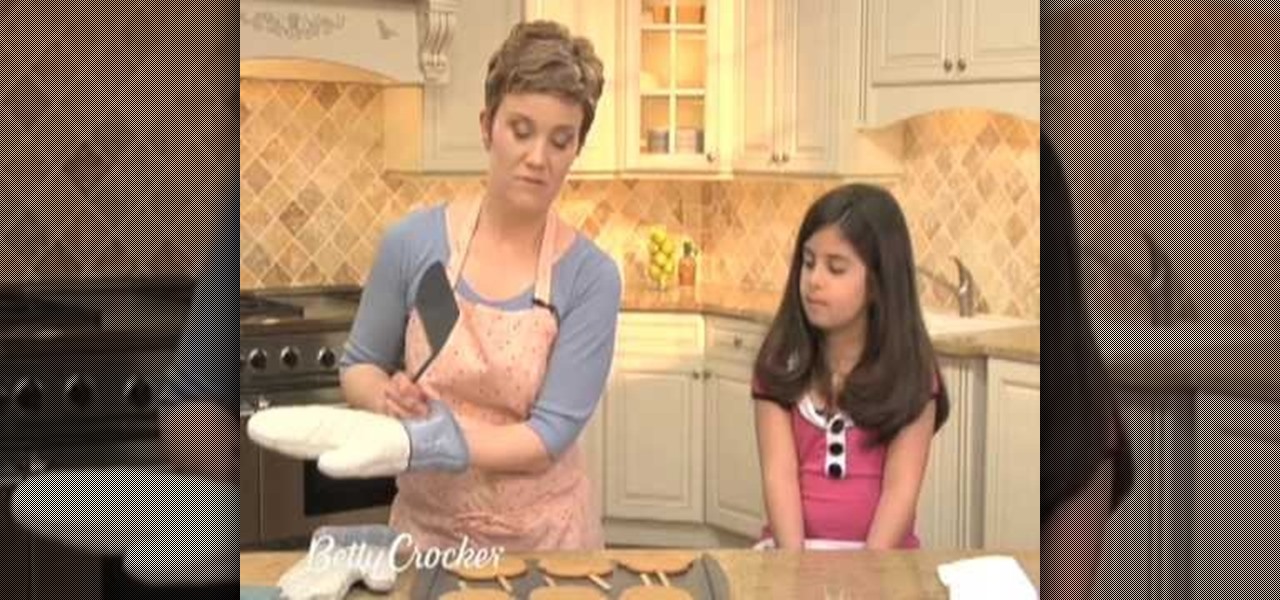
In this video, we learn how to make teddy bear cookie pops. To start, preheat your oven to 375 degrees. Ingredients you will need: 1 pouch pre-made peanut butter cookie mix, 3 tbsp vegetable oil, 1 tbsp water, 1 egg, 12 wooden sticks, 24 flat round candies, 12 Hersheys kisses and 1 tube red decorating gel. In a mixing bowl, mix together cookie mix, oil, water and egg until you have a dough. Next, shape your dough into small balls, making a bear head shape, and place on an un-greased cookie sh...
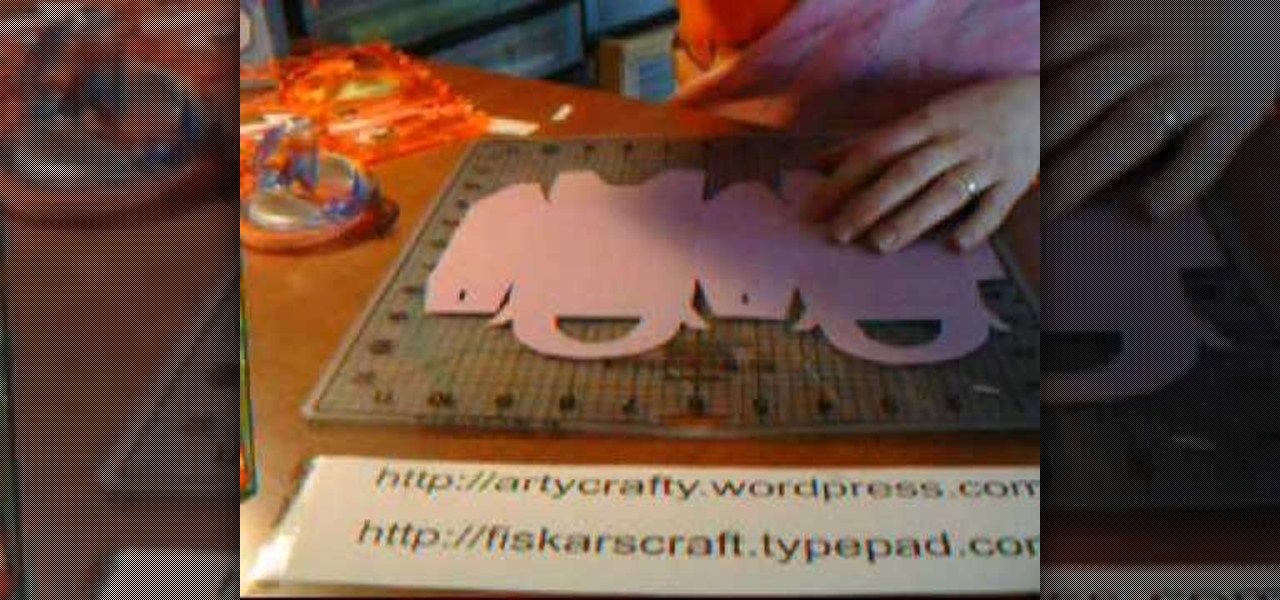
In this Arts & Crafts video tutorial you will learn how to make handmade treat boxes. Materials needed for this project are trimmer with scoring blade, PDF template, cardstock, scissors, Fiskars fingertip craft knife, Fiskars templates, Fiskars ultra shape Xpress, decorative scissors and embellishments. Download the PDF template from http://artycrafty.wordpress.com, print it out on a cardstock on the non-decorative side and cut out the shape along the thick line. Then score along the dotted l...
This video is about how to dress to flatter your body type. Curvy body types look good with vertical stripes and clothing that accentuates the waist. High-waisted and belted bottoms and over-sized accessories work well for this body type. Pear body shapes look good in structured clothing. Form fitting tops work well with a smaller bust, making "pears" look slimmer. Cinching in the waist is also flattering for pear body shapes. For athletic body types look good in skinny jeans to show off thei...
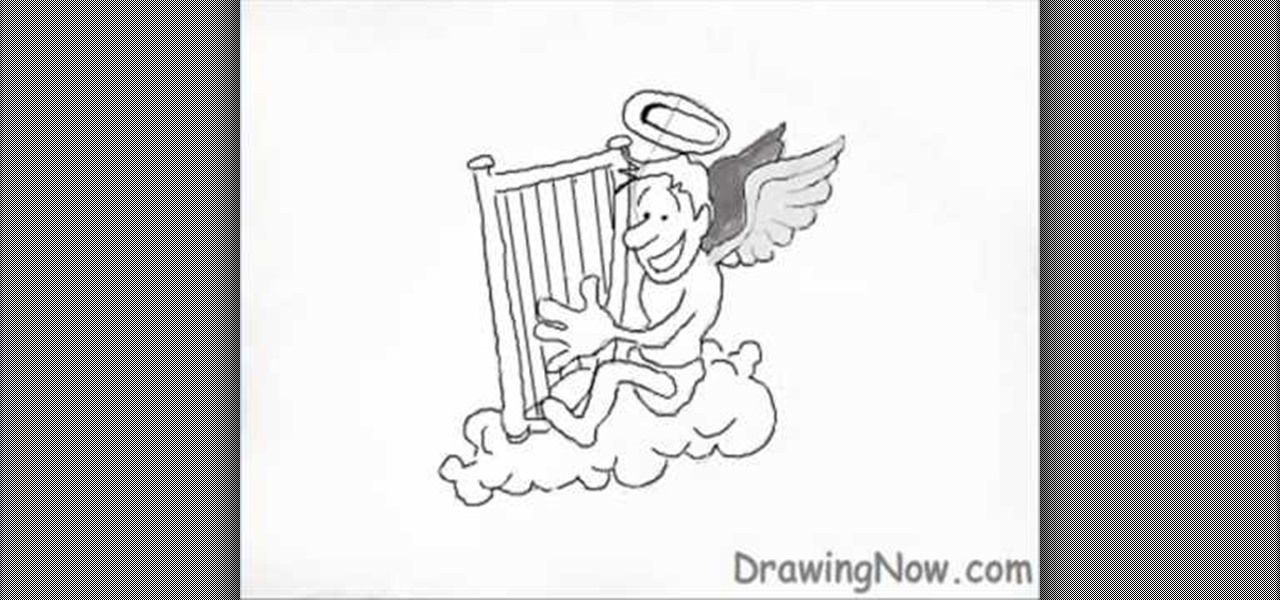
Three circles are drawn ontop of each other and a foot and a hand is added to the left side of the bottom and middle circles respectively; with the foot in a running motion. A rectangular shape is added in a way that the hand grasps it. A cloud is added below the forming person, so that he sits on it. Wings, a crown, a nose, an ear, hair, eyebrows, eye and a mouth with a smile are created in and above the first circle. The middle circle is traced onwards to the hand, to create the back,chest ...
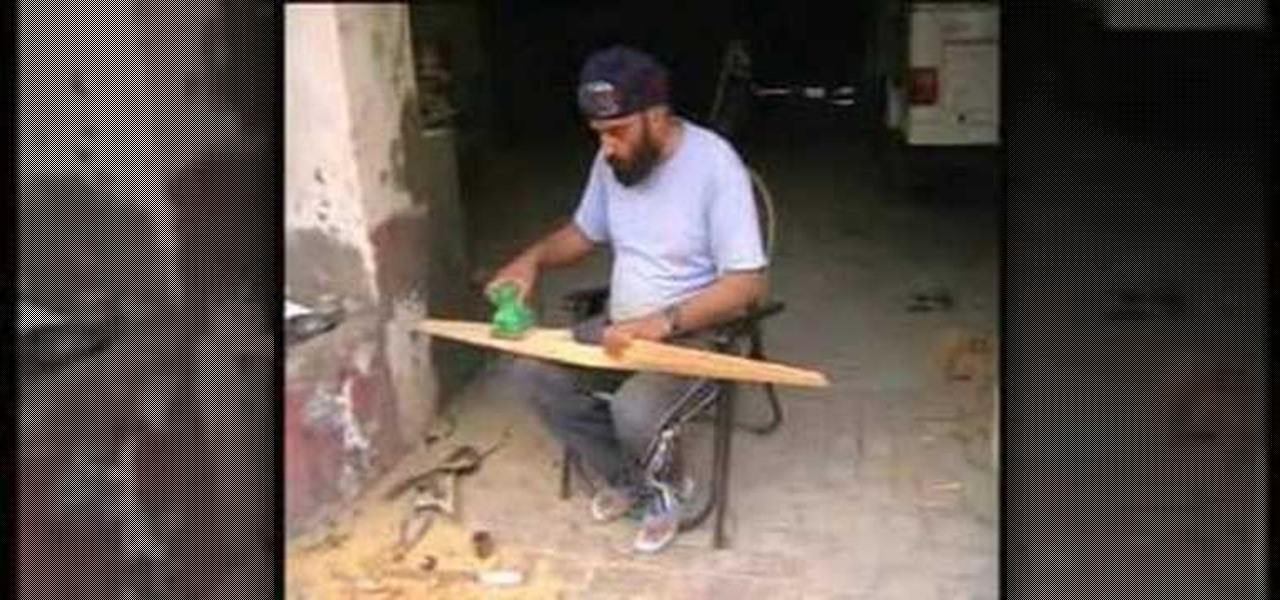
To carve a wooden propeller first join six pieces of wood together to form a block. Mark the outline of the propeller on the block in pencil. Use a hand chisel and hammer to form the rough shape of the propeller. Once the rough shape is complete use a motorized hand grinder and then a motorized hand held sander to make the propeller smooth. After the sanding is complete you will need to finish it off with a coat of polish. Finally, you will need to balance the motor before fitting it into pla...
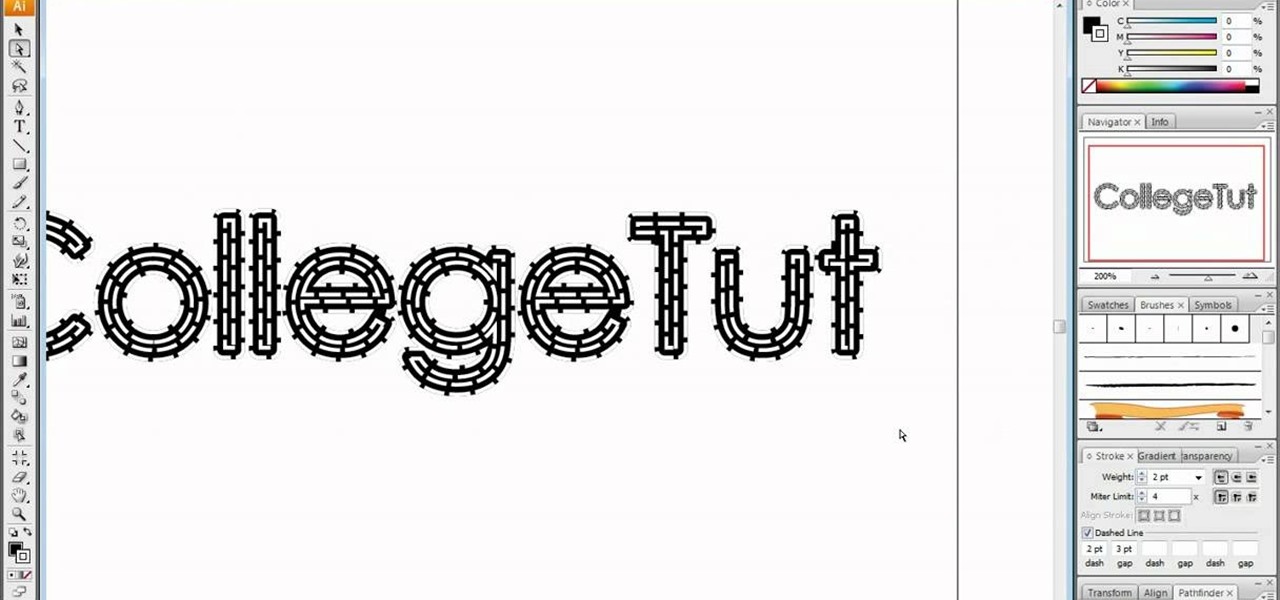
In this tutorial, user CollegeTut shows you how to customize the shapes of various fonts and text, essentially creating your own custom fonts, by converting the text of any font to outlines and then editing those outlines (bezier paths/strokes). You can modify the points on the path to create different shapes for the letters in your text, or you can manipulate the strokes of the text. You'll create some cool text effects such as text that looks like it's made of bricks, by converting the stro...
In this how to video, you will learn how to draw a violin. First, start off with the shape of the basic shape of the body. Next, draw the neck of the violin and the tuning pegs at the top. From here, you can draw the bridge, shoulder pad, and the F holes of the body. Next, fill in the outlines of the body. Color in the bridge and the neck with a black color. Now you can fill in the body with a brown color. Create highlights by selecting a lighter shade of brown and painting it at the right sp...
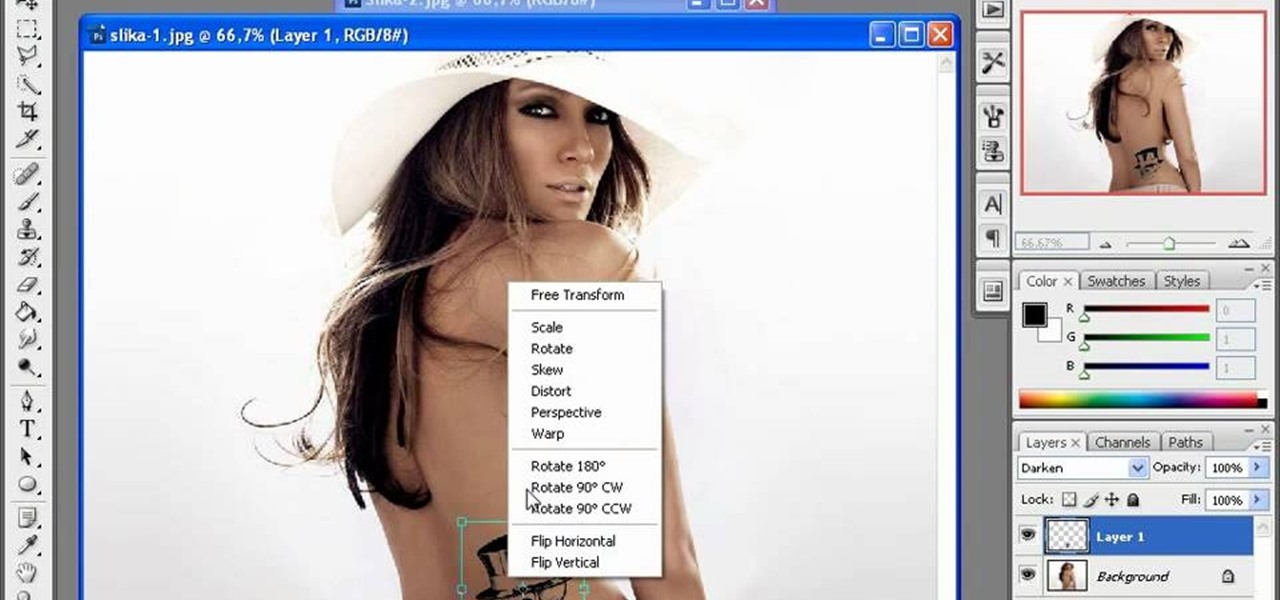
The first thing to do is open up Photoshop. Find a pic of a person and clip art you would like to use. Open those documents. On the side of the toolbar, find the brush tool to adjust the clip art correctly. Make a rectangle inside the clip art. Then hit Ctrl+c to cut the clip art out of the box and paste in the picture of the person. Then you remove the white in the picture by clicking on layers, and darken. When you do that, you are ready to shape the clip art to the body by clicking the box...
In this video, we learn how to dress if you have an apple shape. Go for styles that show off our cleavage, like a deep v-neck top. An empire line will disguise your waist and make your bust the focal point. A coat with a belt around the wait will trim your waist in no time. Long dark top will draw attention away from your waist and light jeans will pair nicely. Use as many accessories in bright colors and you wish. These accessories will draw any attention away from your waist and make you lo...
This video illustrate us how to draw a furry cartoon fox. Here are the following steps.Step 1: First of all take a sheet of paper and pencil and start by drawing a oval shape representing the face of the fox.Step 2: Now draw a nose and two oval shape eyes in the face.Now from the bottom of the face draw an oval structure representing the belly of the fox.Step 3: Now from the lower belly draw two small legs with feet.Step 4: Now draw a tail from the back of the mid lower portion representing t...
Seven easy basic art methods and steps to drawing Anakin Skywalker. The first 1-3 steps illustrates the basic drawing methods for the human head shape, and line placement for a basic human head. The fourth step illustrates basic drawing of the eyes, nose, mouth and ears. Step five illustrates the basic shading around the eyes, nose, ears and mouth. Step six illustrates how to add the shaping and styling of the hair and facial features. The final step illustrates how to shade the hair. It also...
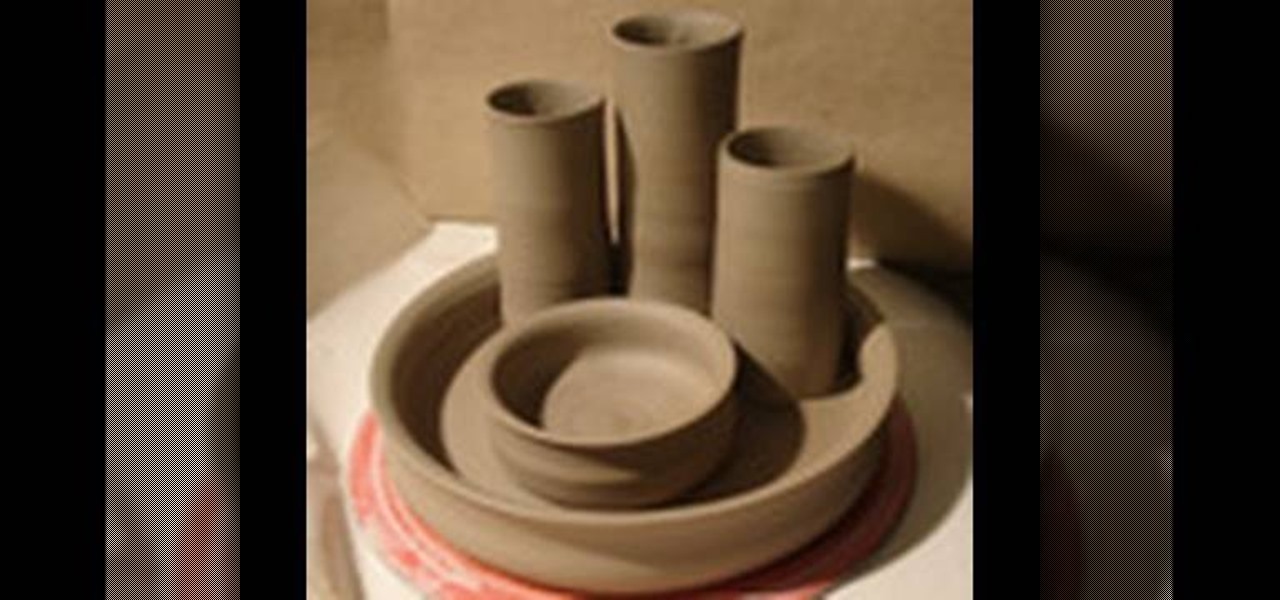
This video illustrate us how to make a desk organizer out of clay. Here are the following steps:Step 1: First of all take clay in different colors and now shape them round.Step 2: Now take one ball and press it into a flat sheet.step 3: Now take another ball and shape them in cylinders.Step 3: Now place these cylinders on the flat sheet keeping space between them.Step 4: Now take two balls and make small vessel out of these two balls .Step 5: Place these vessels between the cylinders, these v...
This video illustrates the method to Make a nuno felt purse. You need colored paper, a piece of cloth and a pair of scissors to make it. This process is comprised of the following steps -Step 1Cut a oval shaped figure from the sheet of colored paper. Make a crease in the middle and fold the paper.Step 2Cover the paper with the cloth piece. Stitch the end of the piece of cloth and cut the cloth in a proper manner.Step 3Make the oval shaped figure into a rectangular figure. Add some nuno paste ...
This video shows the method to use a puggmill in pottery throwing. Take the two packets of clay and take the clay out on the table. Take a thread and cut the two pieces of clay in the middle to form four bricks. Put the bricks in the puggmill one by one and wait for it to come out. The pugged clay comes out from the bottom in a cylindrical shape. Take out the four cylinders from the four bricks of clay. After this, put the cylinders in the pugmill again so that they are pugged thoroughly. Put...
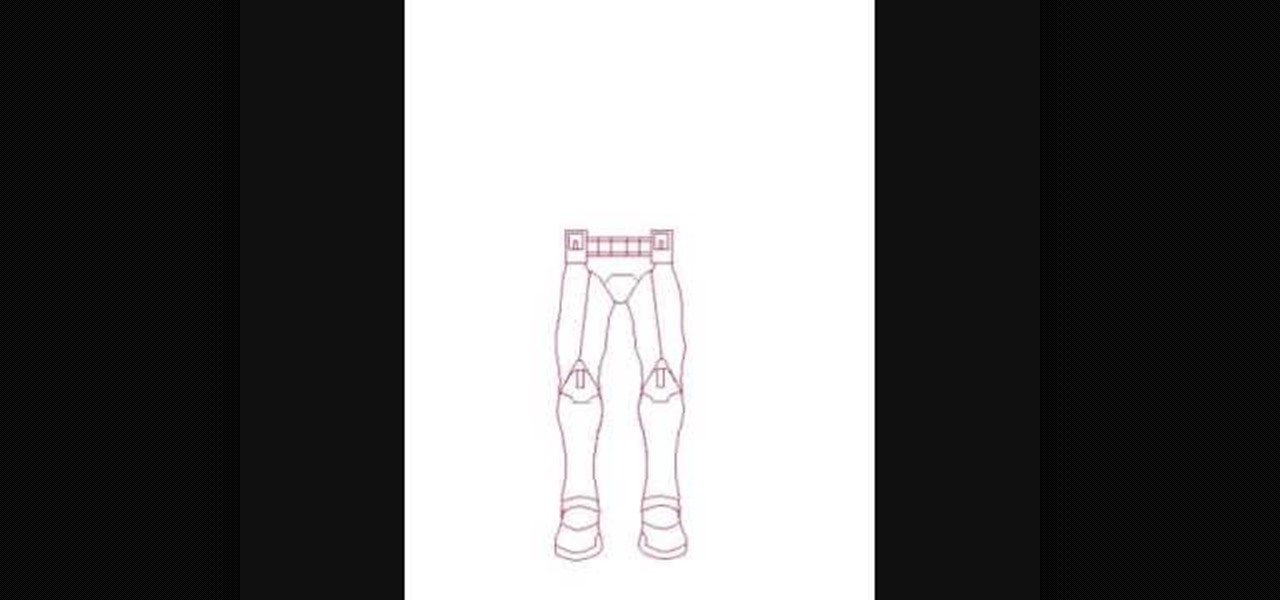
In this video, you can see how to easily draw the Storm Troopers from the Star Wars movies. Start out with the feet, which are a couple of easy circles. Then draw the lower half of the legs, with basic shapes again to form up to the knee. For the knees themselves you draw a shape somewhat resembling an animal hoof right above where you stopped before. The upper legs look somewhat like the lower half, but with a line down the middle. Add the belt and torso, then move onto the head. Finish it o...
In this how-to video, you will learn how to draw Ned Flanders from The Simpsons. First, start off with the basic outline of the body. Use simple shapes for this. Next, fill in the eyes, hair, nose, mustache, ears, and mouth of the figure. From there, you can move on to the details of the clothing such as the collar and cuffs of the sweater. Finish with the shoes and the fingers on the hand. The basic outline is finished. Now, go in and erase the simple shapes from the drawing and fill in more...
1.First take 1 cup of All purpose flour in a plate and 2 cups of same flour in another plate. And then take a stuffer can be anything like sweet coconut, chocolate flavor to put inside the puff.2.First add one tablespoon of vegetable oil to each plate and slowly make it out by hand and add some water and make flour mix. Now separate the 2 cups flour mix into 4 to 5 big pieces and separate the 1 cup flour mix into 4 to 5 small pieces.3.cover the small pieces with big pieces of each. Now just r...
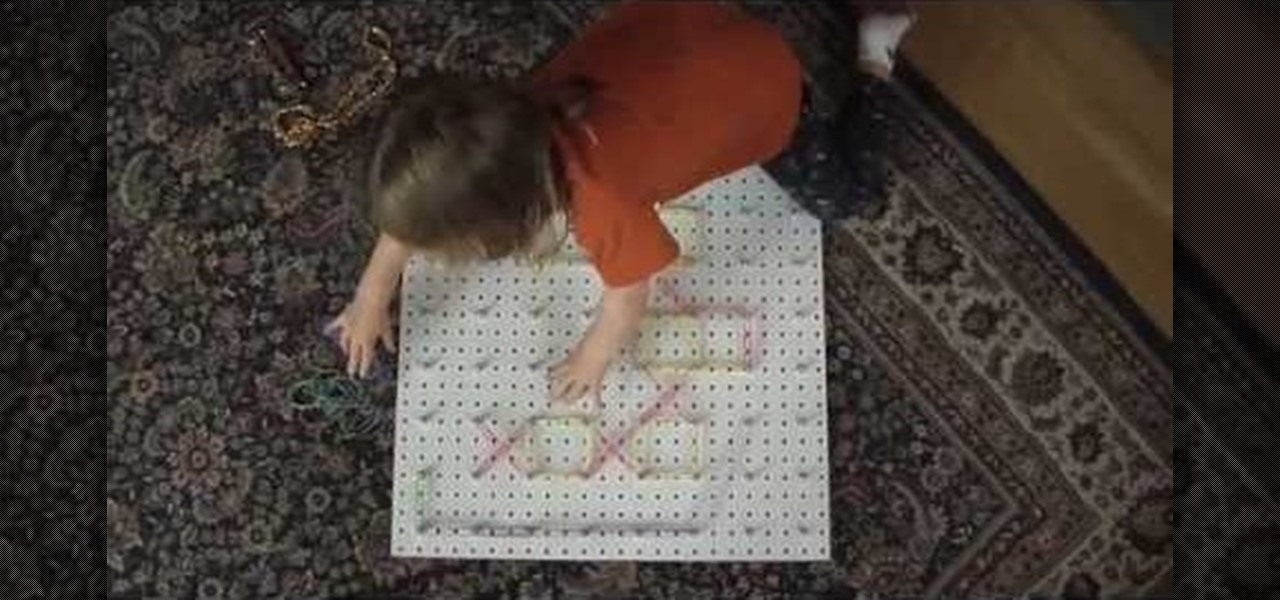
Geoboards are fun tools to teach your child the basic concepts of shapes and how they work in math; any kid would love a gigantic one! Firstly, you need to obtain a pegboard (what they hang merchandise on in hardware and similar stores). They usually come in 4x8' sheets, so you may need to ask an employee to cut one into fourths for you. The fourth piece should have 64 holes in 8 rows of 8, which means you need 64 nuts and bolts to make the board. Assembly is a no-brainer; you and your kids s...
In this video, Mr. G demonstrates how to draw a wintery snowflake. You will need a plain pencil, or a blue and black colored pencil for this drawing. Start by writing your name and the date on a white sheet of paper. Then, begin lightly drawing the base of your snowflake. After you have drawn your base, Mr. G will show you how to make the lines darker to form the shape of your snowflake. Then, you will learn how to detail your snowflake by drawing small triangles inside the basic shape that y...
Folding fitted sheets is always trickier than folding a conventional rectangular sheet. First, throw the sheet onto the bed. Then use your hands to tuck all the corners in on themselves. Then lay the sheet back down and straighten it. It makes a horseshoe shape with its elastic. Then fold one corner over the top so that all your elastic hangs over one hand. With the other hand grab the other corner so you can lay it down flat in a half moon shape with all the elastic together in one place. Th...
This video shows how to make a bay girl and boy head made of clay. The first thing you need to do is get a small round ball of clay that is a skin color color. Then you get the small black beads and place it firmly on the ball they will act as the eyes. Then make the eye creases on the side of both eyes. After that you add the other physical features like nose, mouth, ears, and eyebrows. The last thing you do is fold two square pieces of clay into the shape of a bow then place it on the top o...
This video gives instructions on how to make a stencil from a manila folder and a number of additional supplies. Supplies required aside from the manila folder include an X-acto knife, a pencil, an eraser, and a cutting board, the cutting board and manila folder are recommended. First step to producing the stencil is to draw an image to serve as the stencil pattern. After making the design, cuts must be placed in the design known as 'Bridges', bridges are links in the design which holds the p...
TVLessonDotCom teaches you how to draw a person's face from the front. Start with a basic oval shape. You can do this part in pencil and then erase it. Use a vertical cross line and a horizontal one. Add two more horizontal ones to break the face into sections: hairline, eyes, nose and mouth and then chin. The eyes are small oval shapes. You can also create a small circle in the middle and then eyebrows. Draw the nose next and then add the mouth. Everything must be in proportion, so the verti...
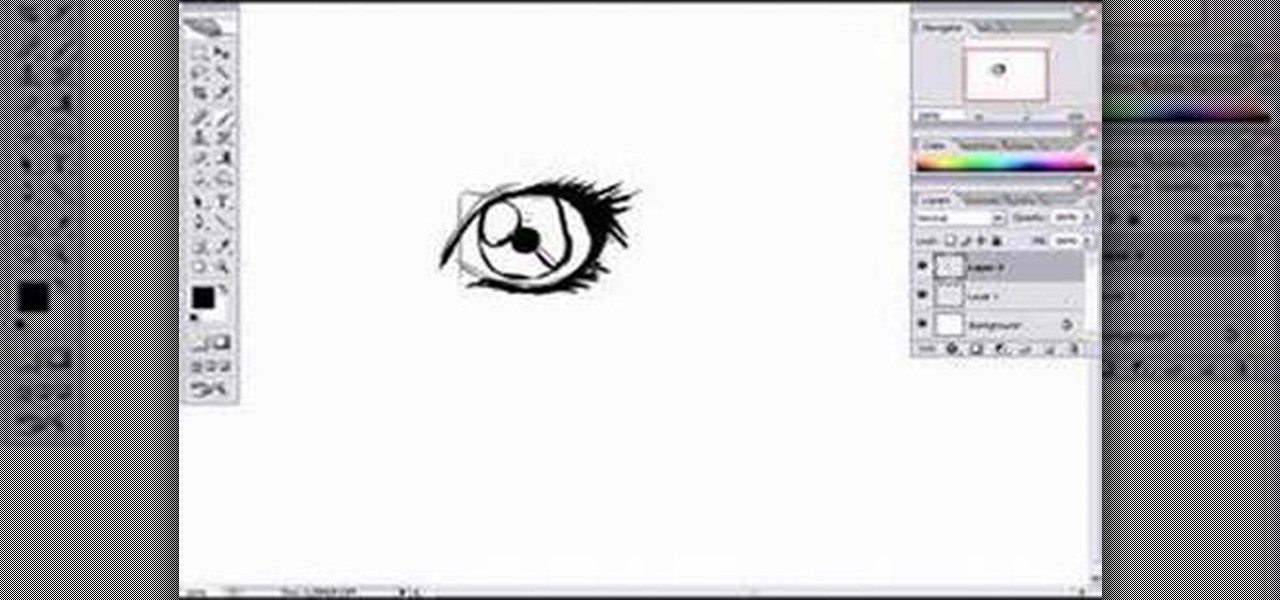
In this video tutorial, viewers learn how to draw a female eye using Photoshop. Begin by creating a rectangular box. This will contain the eye. Now draw the shape of the eye in the box. Now add in the details. Draw in the shape, eyelashes, eye brows, eye lids and eye ball. When drawing the lashes, draw them as a mass instead of individually. Then add the eye lids with a few lines above the eye. Then draw two circles for the eye (eye ball and pupil). This video will benefit those viewers who e...
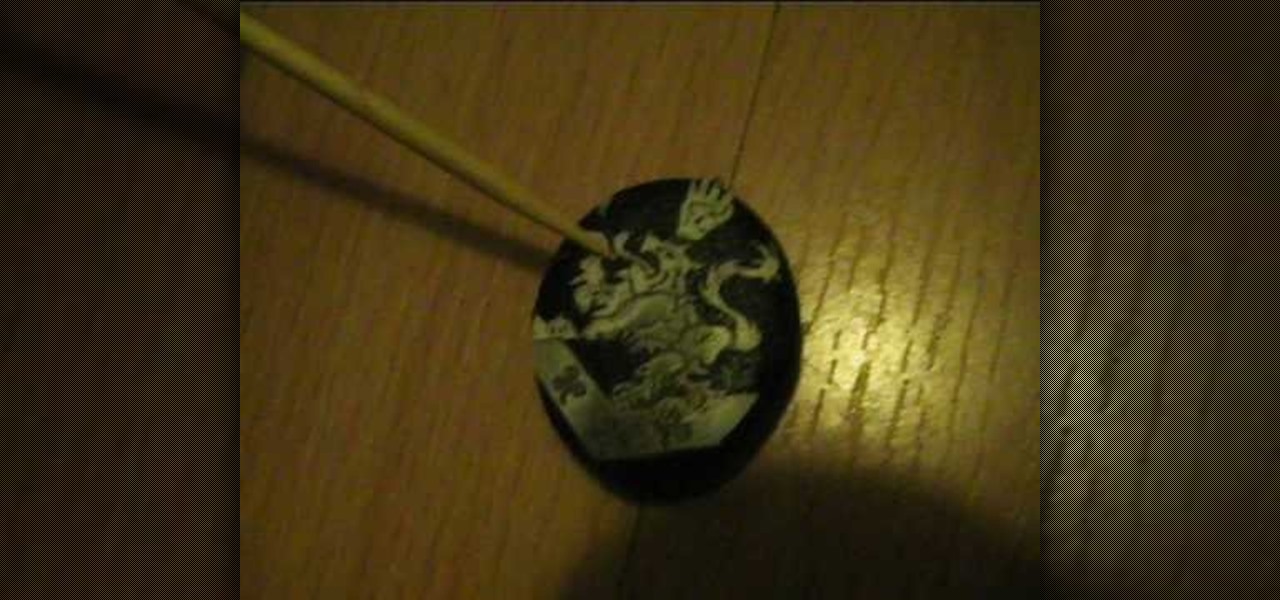
In this video, Alice demonstrates how to make a crest necklace using simple things. For making this necklace she collects some materials such as oblong shaped rock or polymer clay, some paints, a computer print of a cullen crest and so on. She uses the ordinary black paint to paint the rock completely. Next, she collect a computer print of a layout for the culler crest and carefully cutout the shape and using craft glue she stick it on the painted rock to see it fit. she takes some white pain...