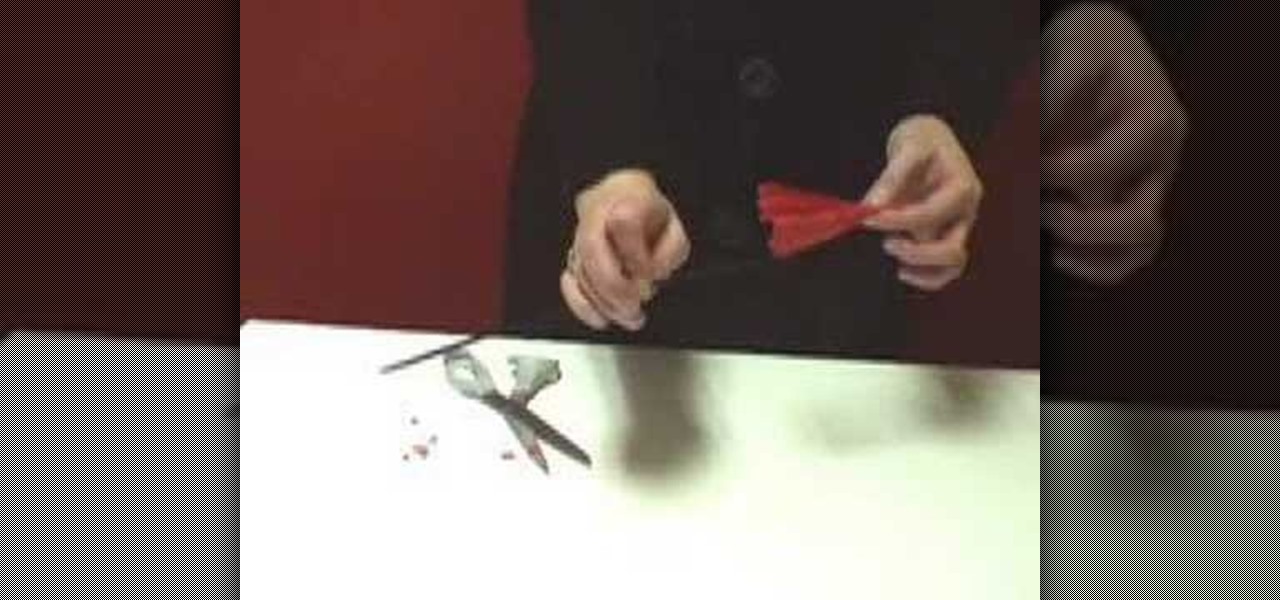
Instead of throwing away the streamers from your latest party, why not be eco-friendly and recycle it as a lovely folded flower? In this tutorial, learn how to make cute homemade roses from left over streamers.
In order to make flower magnets and faux brads, you will need the following: card stock, a hole punch, a sponge applicator, and crystal effects.
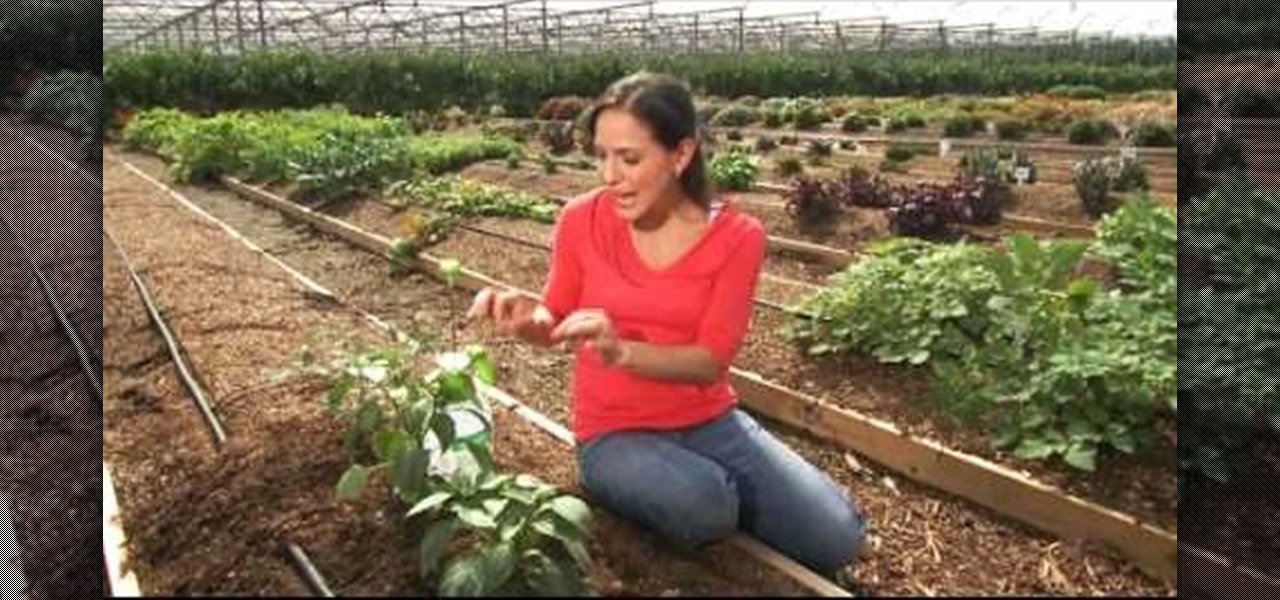
Gardening can be relaxing in the summertime. The sun is shining, the flowers smell delicious and it can be great exercise..it would be absolutely perfect if it weren't for all those pesky bugs.
The equipment that you need is pliers, beads, beading wire, tinsel, some miniature flowers and a plain wreath. Twist a section of beads onto the wire, 5 beads make a nice grouping. Twist the 5 beads onto a single wire to make a bunch. Make enough bunches to cover the wreath. Fold a piece of tinsel between your fingers. Wrap the beading wire around the tinsel to hold it firm. Fluff the tinsel to give it some depth. Wrap the bead bunches and tinsel wraps around the wreath. Wrap the miniature pa...

Andy in this video explains us how to perform the "count on it" card trick. First of all it involves with him taking a pack of cards. He asks the person who is about to witness the trick to take a certain amount of cards and asks the person to count the number. After the person has done it. He is asked to see the card corresponding to the count he has when Andy show him one by one. After the person is done with it there here comes the trick. Andy counts the card from one to king. That is coun...
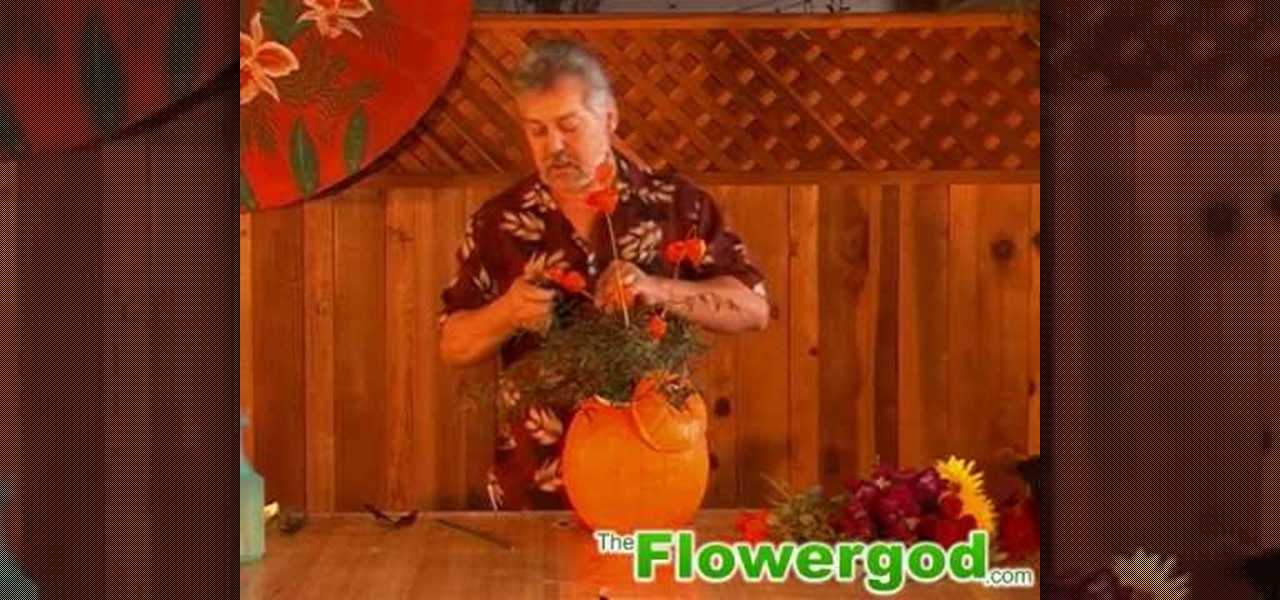
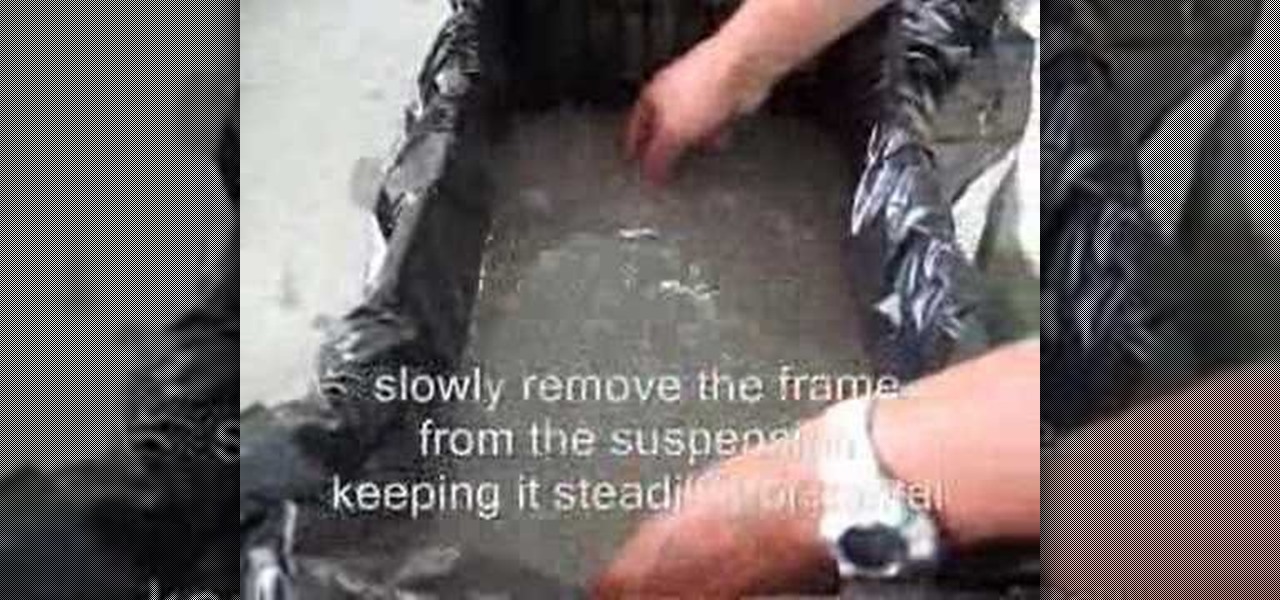
He starts with a pumpkin and some flowers from the supermarket, and some greens that he trimmed from a bush in his yard. He first cuts off the top of the pumpkin and cleans it out. He put newspaper in the bottom of the pumpkin, then puts a container with floral foam inside the pumpkin so the foam is sticking up a bit. He attaches the lid of the pumpkin to the foam with a piece of wire. He starts with the foliage and then begins adding flowers. He puts a tall stem of Japanese Lantern in the mi...

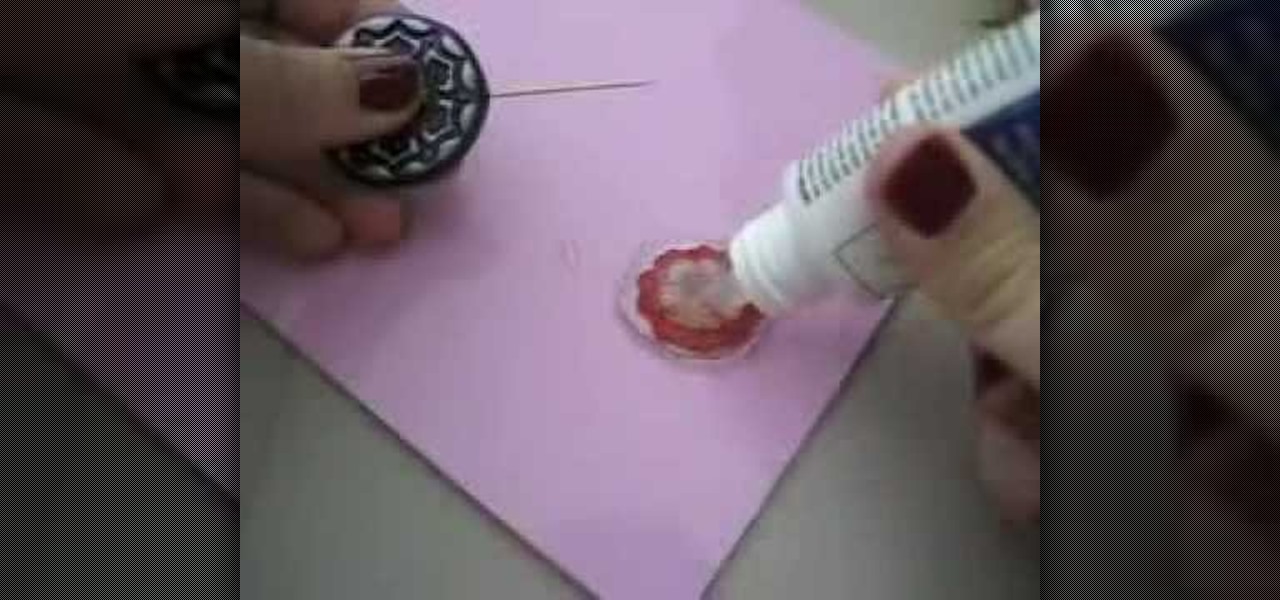
Polymer clay has become a very popular modeling material. This narrator uses magic gloss UV resin and a needle tool for this video. A silicone pad is useful for the mixing process. Once a small amount of resin has been squeezed out, you can sprinkle glitter onto it, spread it out and allow it to cure a little. Once this has happened, a pressed flower can be stuck onto the surface and sandwiched between another layer of Magic Gloss. Once hardened, the flower is encased in the clear layers. Thi...
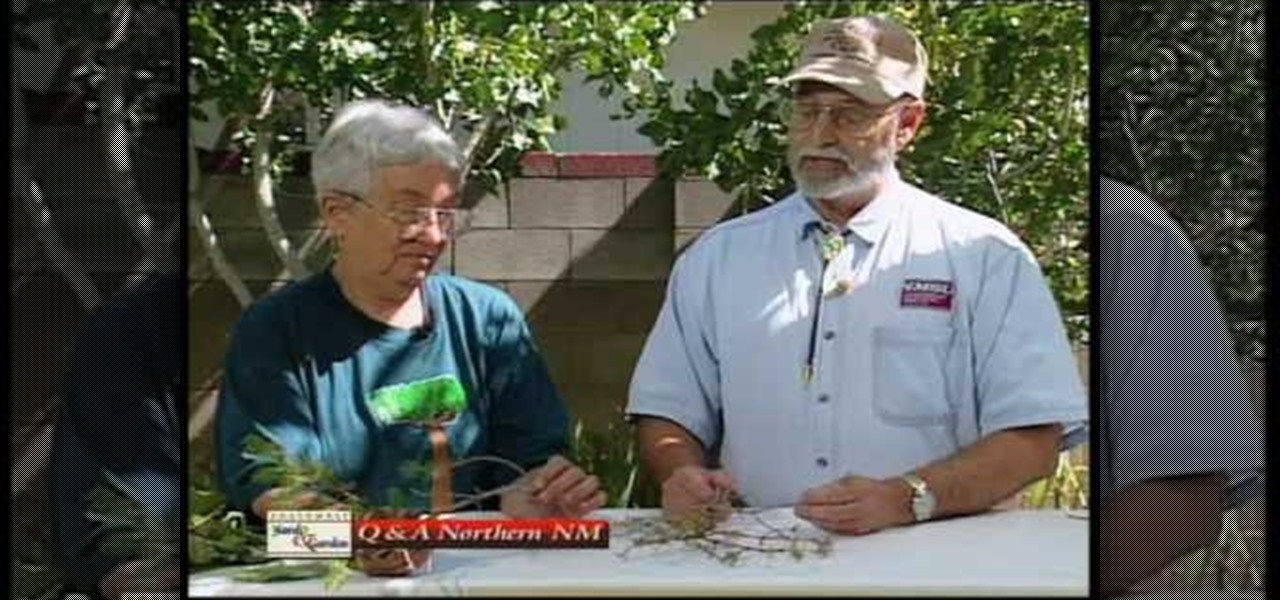
In this Home & Garden video tutorial you will learn how to identify problems with the cotton wood and aster tree. Curtis Smith, extension horticulturist, presents this video along with Judy Nickell, master gardener. Female Junipers make berries and male Junipers make pollens. Lot of people are allergic to the pollens. So, you will be better advised to avoid male junipers in your landscapes. On the other hand berries of female junipers attract birds and are good for increasing bird activity. F...
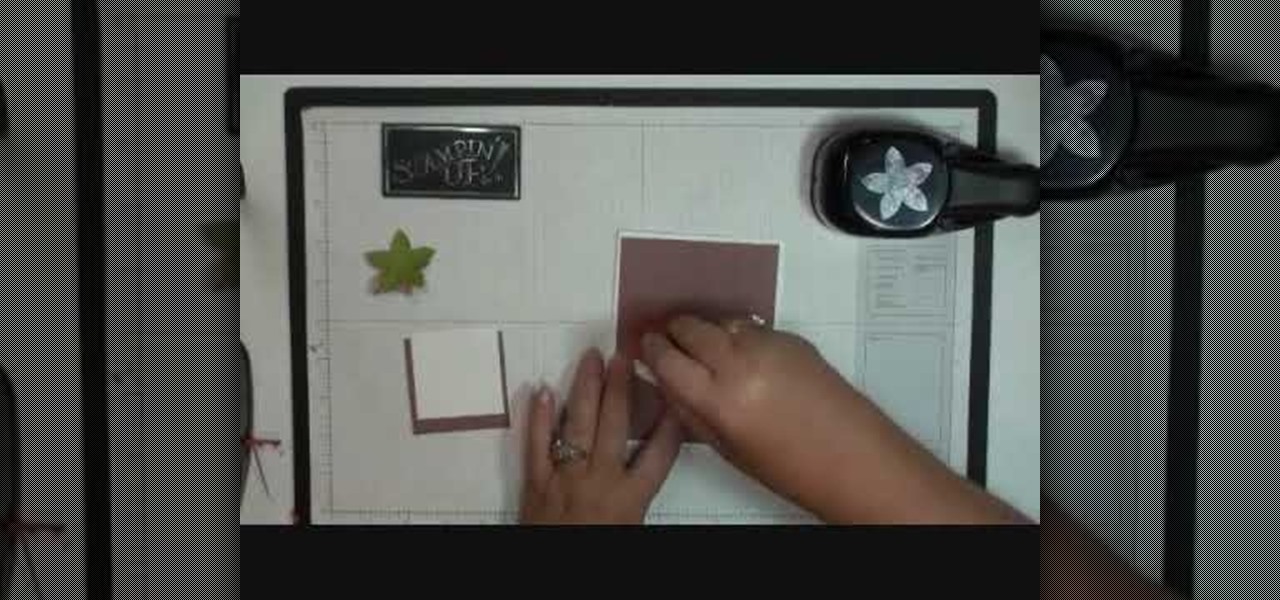
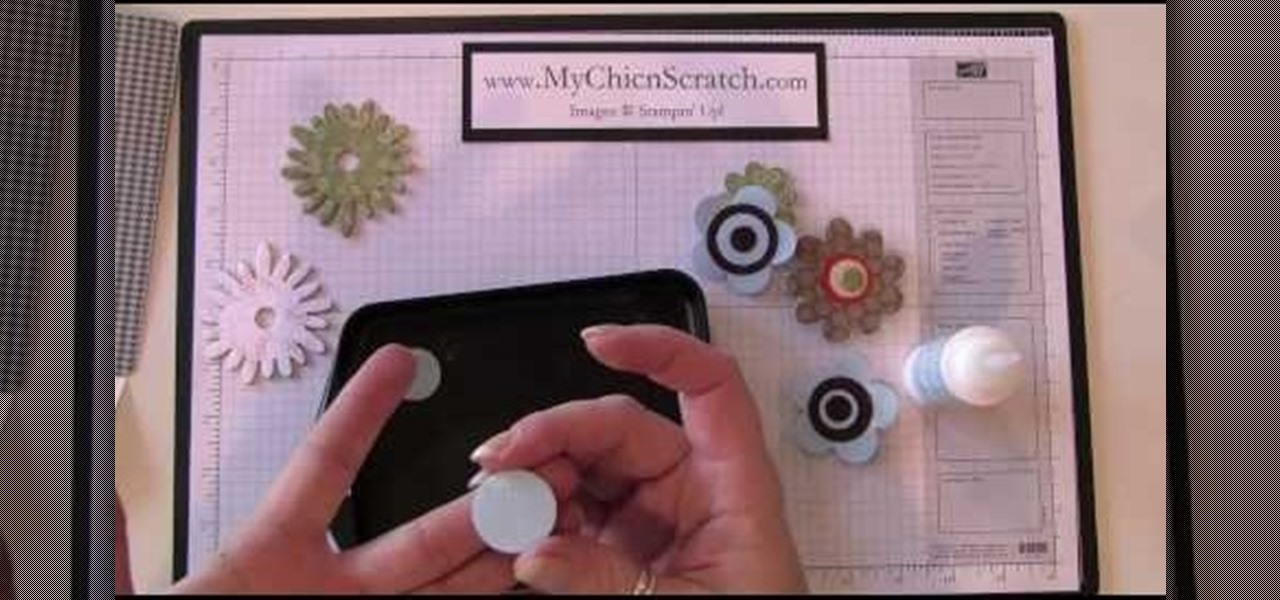
This art and craft video shows us how to make a five petal paper flower with stamping up. One can make this pretty card easily by following the instructions which is given clearly in the video. One can come become aware of various modern craft materials like different papers, punches available in the market and how to use them creatively. By watching this video one would be more interested in such craft work as it is done neatly without any mess.
This is Part 1 in a series from FollowThePaperTrail. In this arts and crafts how to video the host will lead you through the process of preparing the materials necessary to create paper roses, from punched or die cut flower patterns. She teaches you how to soak the materials, once they've been cut, and spray them with starch so that they retain their shape. Following up on that she demonstrates the techniques she uses to form the flower patterns into a more three dimensional shape.
Cheat at ANY game of cards using this neat method. Scam School shows you how to make slight alterations to a deck of cards, completely unnoticable to anyone, allowing you to know what card(s) they have.
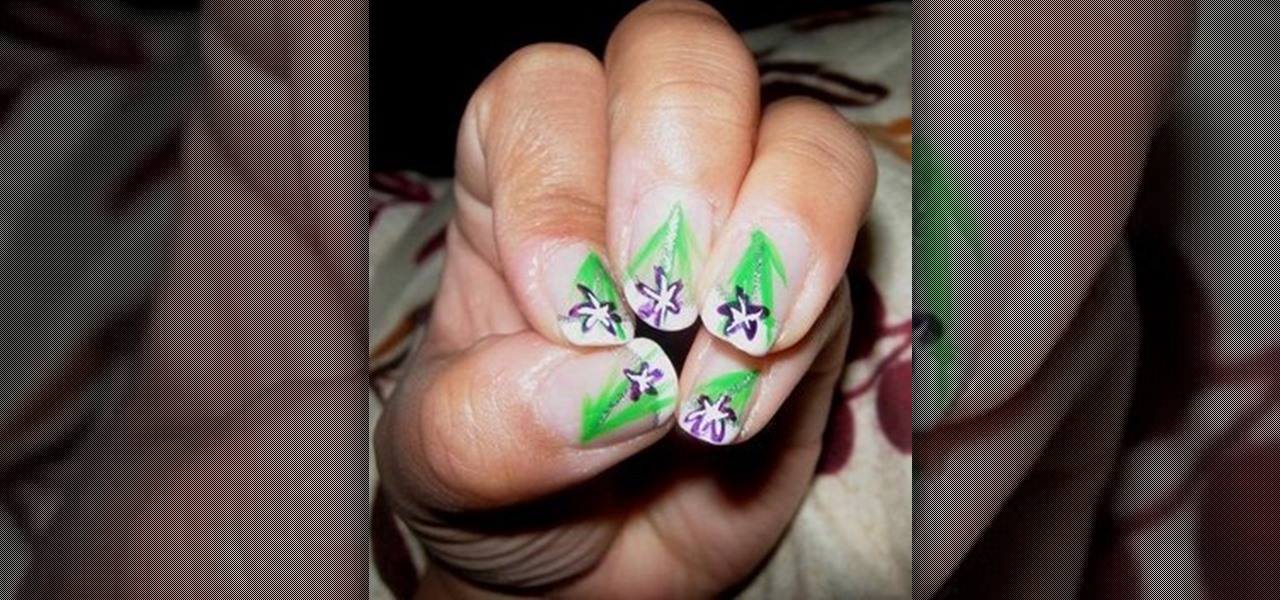
Lauren, AKA QueenofBlendingMUA has joined the ranks with the other YouTube beauty gurus. Lauren is a makeup artist with a large collection of eye makeup & nail art video tutorials. Her eye makeup look span from everyday makeup to creative, more expressive party looks. Her nail art/ manicure looks are also lots of fun. Check out this nail art tutorial video to learn how to create a purple flower nail art design. Search QueenofBlendingMUA on WonderHowTo for more beauty videos.
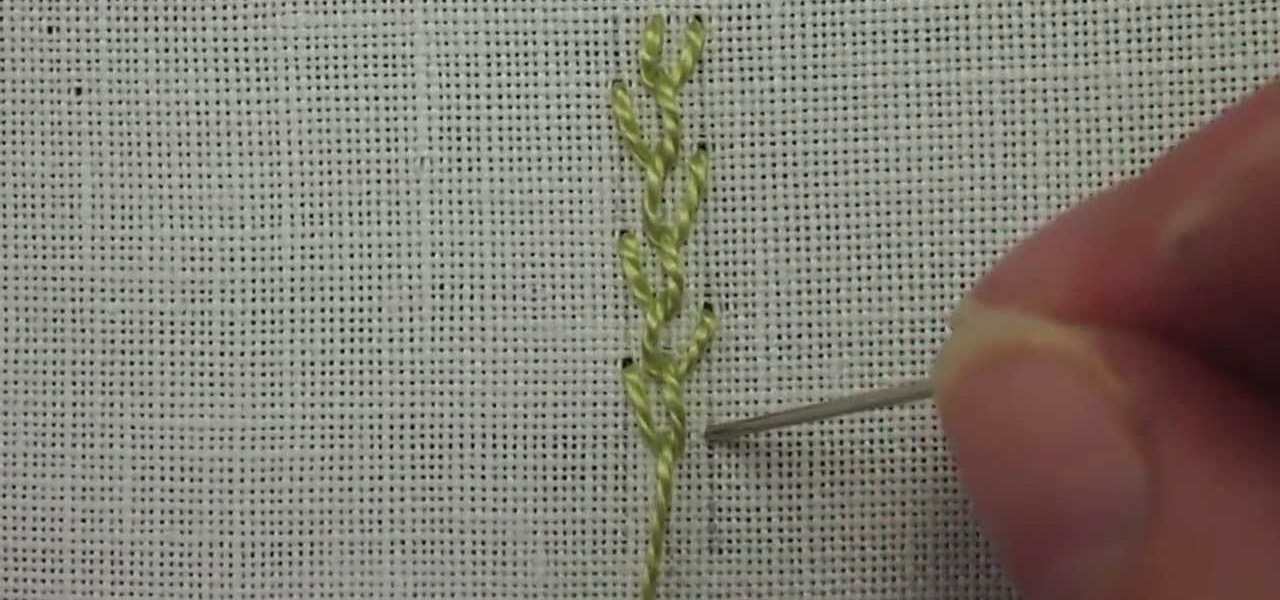
The feather stitch is an easy stitch for hand embroidery. It's worked vertically, from top to bottom in a kind of back-and-forth, right-and-left motion. You can use the feather stitch in hand embroidery for edges and borders, it's used often in crazy quilting as a seam embellishment, and it also makes a good foundation of foliage or stems in flower designs, in Brazilian embroidery, and more. Watch this video from Needle 'n Thread to see how it's done.
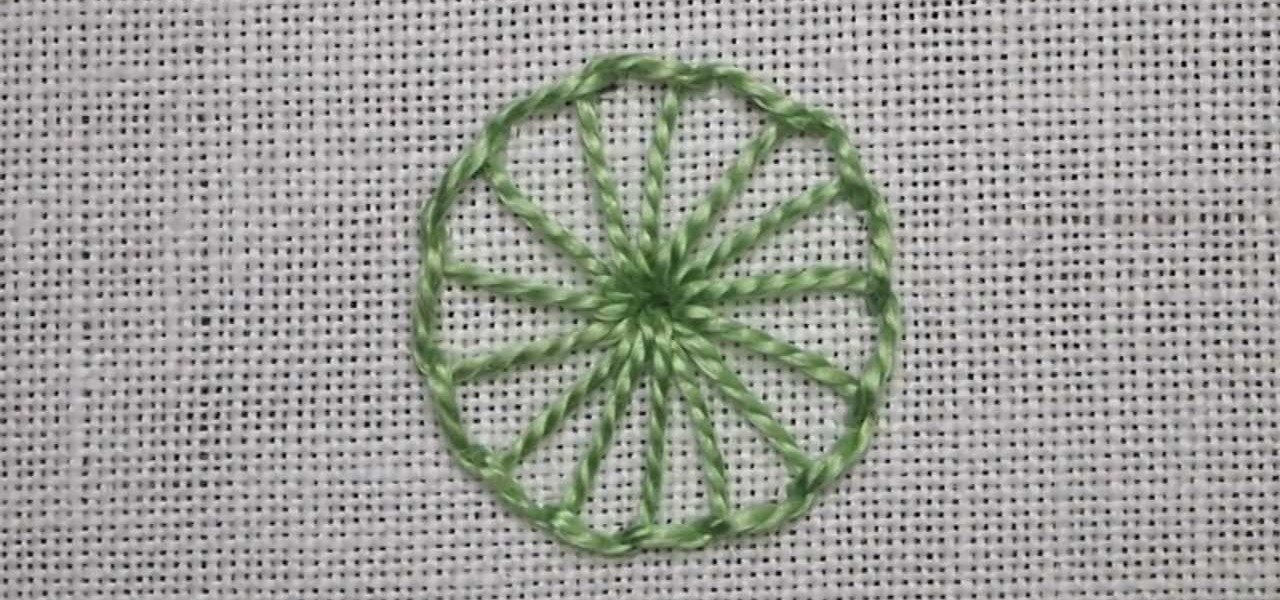
Once you know how to do the buttonhole stitch, it's just a matter of "working it" a bit to master variations of the stitch. In this video from Needle 'n Thread, you'll learn how to work a buttonhole wheel, which can be effectively used in all kinds of embroidery - especially flower-like accents and for adding texture to designs.
The detached chain stitch, also known as the "lazy daisy" or just "daisy" stitch, is a pretty popular embroidery stitch. It's perfect, of course, for flowers, but can be used in lots of different ways. Watch this video from Needle 'n Thread to see how it's done.
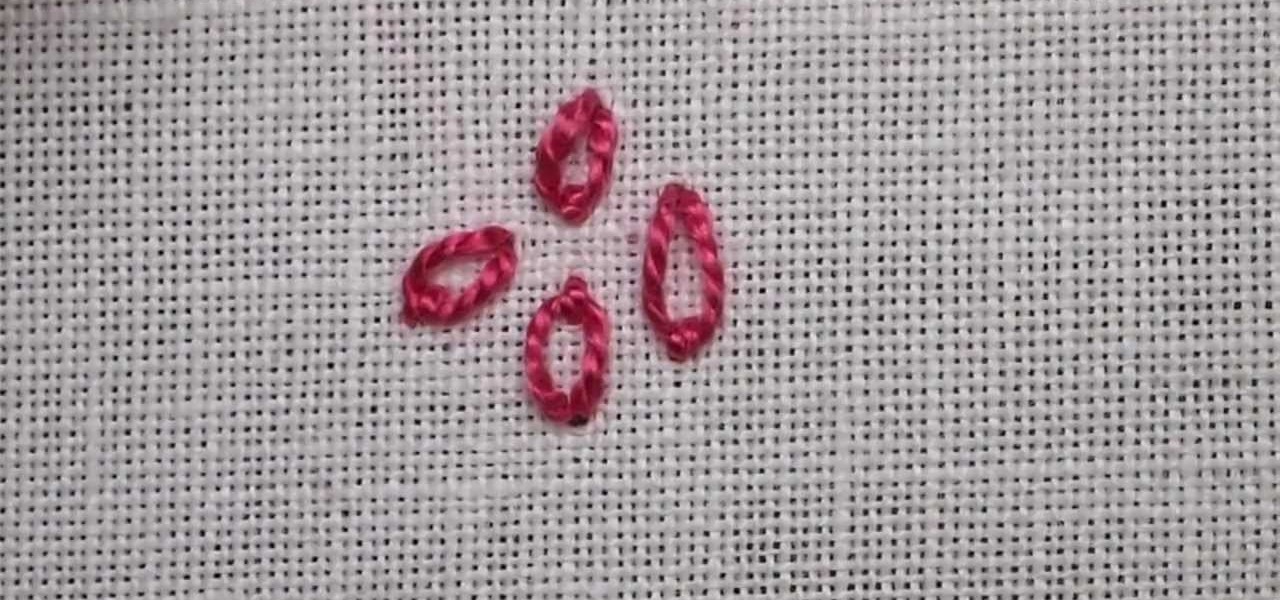
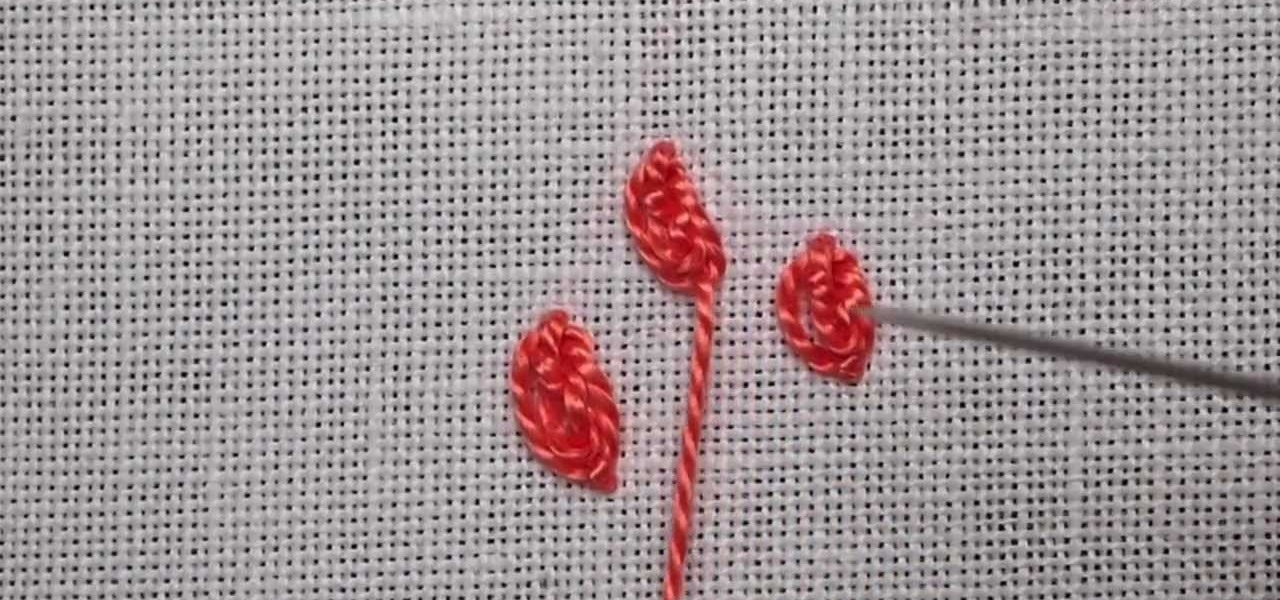
The oyster stitch is an isolated stitch. It is a combination stitch using the twisted detached chain stitch which is "surrounded" by an "open" chain stitch, or even a fly stitch. The oyster stitch makes a filled oval shape, suitable for flower petals or individual buds and accents. Watch this video from Needle 'n Thread to see how it's done.
Learn how to recycle used paper. It's just a little project for your kids/students. You can add food colors or small flowers in order to make original paper for love letters, greetings, etc. You can also store the remaining mixture for future paper-making.
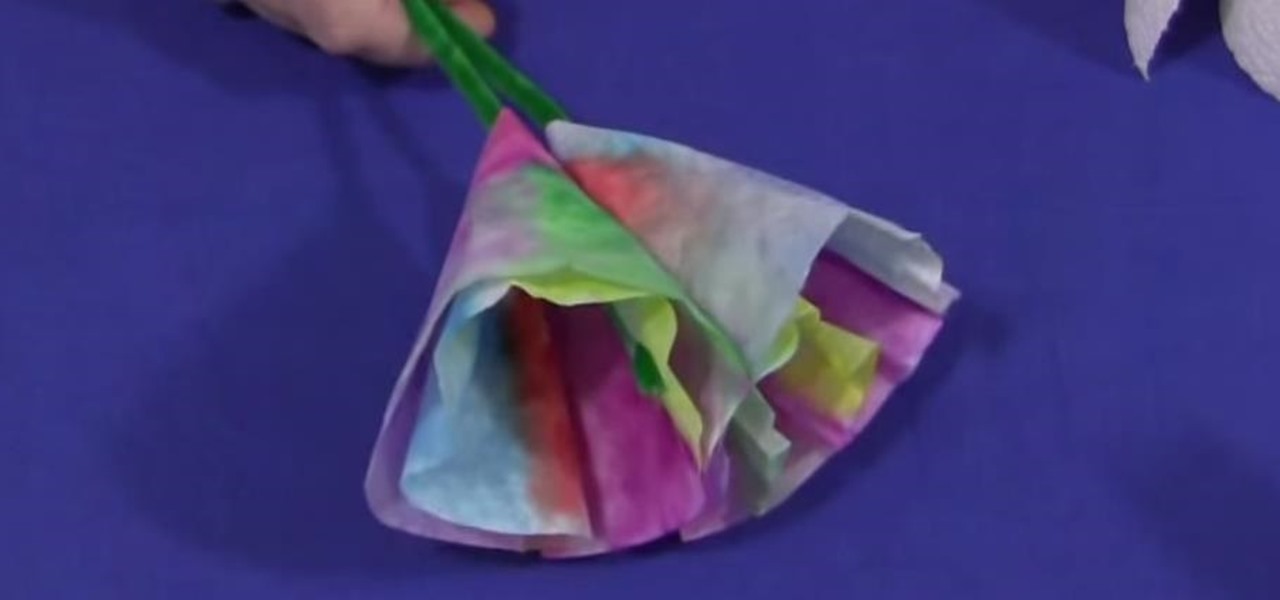
Childcareland has shared with us the most easy way possible to make attractive colorful flowers using nothing but coffee filters, pipe cleaners, felt pens, water spray, and tape.
In this online video series learn from expert freelance florist Amelia Tallman as she teaches how to design floral arrangements, how to use floral foam, and what tools to use when creating an arrangement.
Not to diss real flowers or anything, but while they're pretty and all up front wrapped up in that tight bouquet, after a few days they start to look more dreary and sad than the last Nicolas Sparks movie.
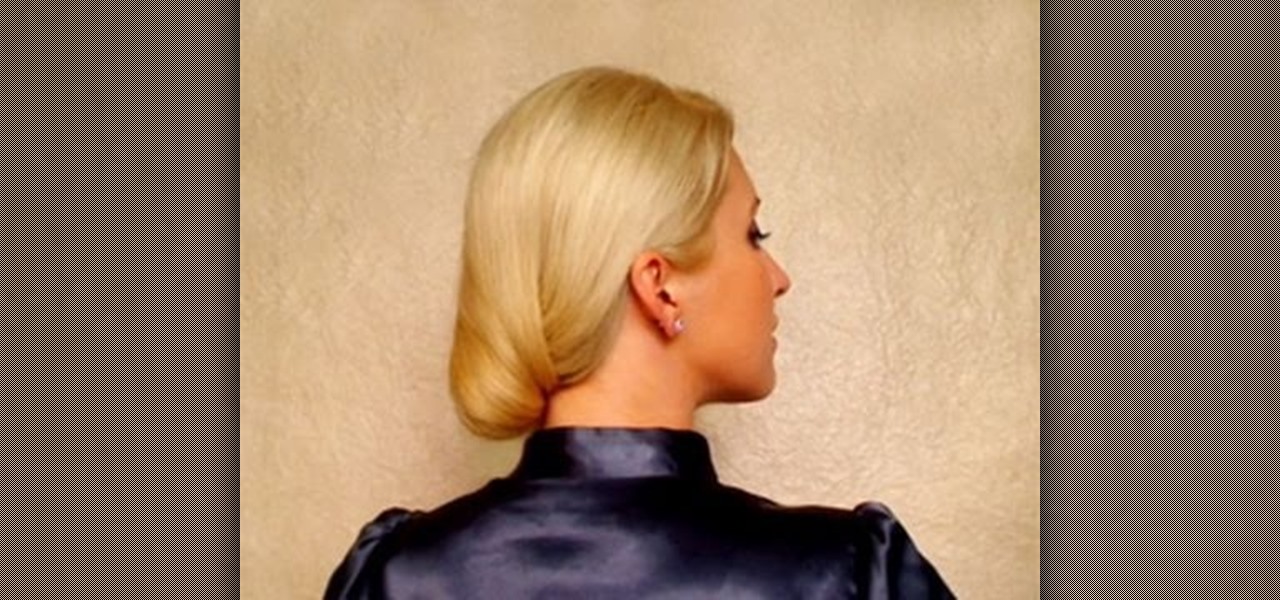
Got a wedding to attend? Got a wedding of your own coming up? Then you need to not only make sure not only that your makeup matches the elegant occasion, but also your hair. Rather than going with done and done again high buns, why not create this classic low rolled bun?
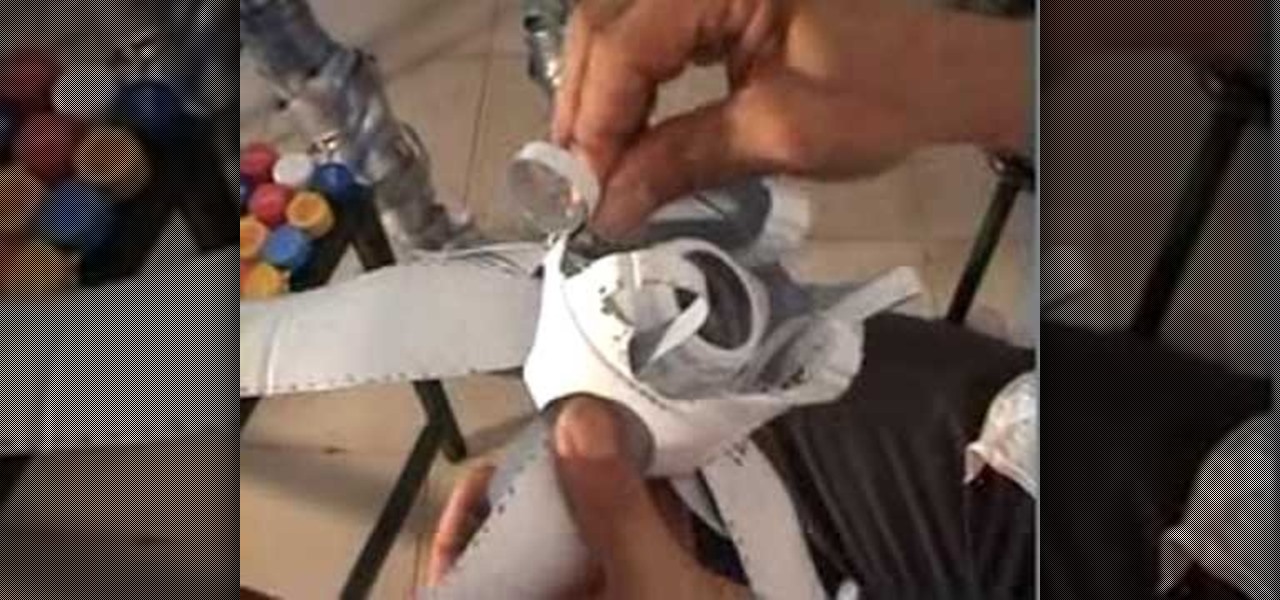
In this tutorial, we learn how to recycle plastic bottles and make decorative flower art. Start out by cutting around the cap of the bottle until the body is cut off. Then, cut small slits in the bottle until it's completely cut up. From here, you will spread these out so they are opened up like petals. Take different colored plastic bottles and repeat this process. When you're finished, you will then attach these together using heat and use them as decorative art for your wall! This is great...
In this video, we learn how to make a cake American beauty rose. First, place your icing into a plastic bag and then place the tip inside of it. From here, you will twist the surface where you are putting your rose and let the icing roll into a round shape. After this, make additional rows of petals until you have the size of flower that you want to create. When finished, you will have a gorgeous rose on your cake or cupcakes! Add in green icing to make leaves on the side of the flower and yo...
With this video, we learn how to recycle milk bottles to make decorative flowers. First, mark eight coupled marks on four sides of the bottom of the bottom. Then, poke holes into them and cut into them with sharp scissors. From here, you will continue to do this all the way around the bottom of the bottle until you have created petals. Then, cut above these to make long oval types of shapes and then spread the petals out on the bottom and on the top. Pull the longer petals into the open areas...
This video will show you how to draw roses in MS Paint or using a pencil, a marker, a sheet of paper and some colors. Just follow these instructions from the video. The first thing that you will need to draw is the sketch of it. Complete the tulpin with all the details just like in the video and continue it with the flower. Now make two more flowers and now you can use the marker over the sketch. The last thing to do is to color the drawing with the colors used in the video. And now you're done.
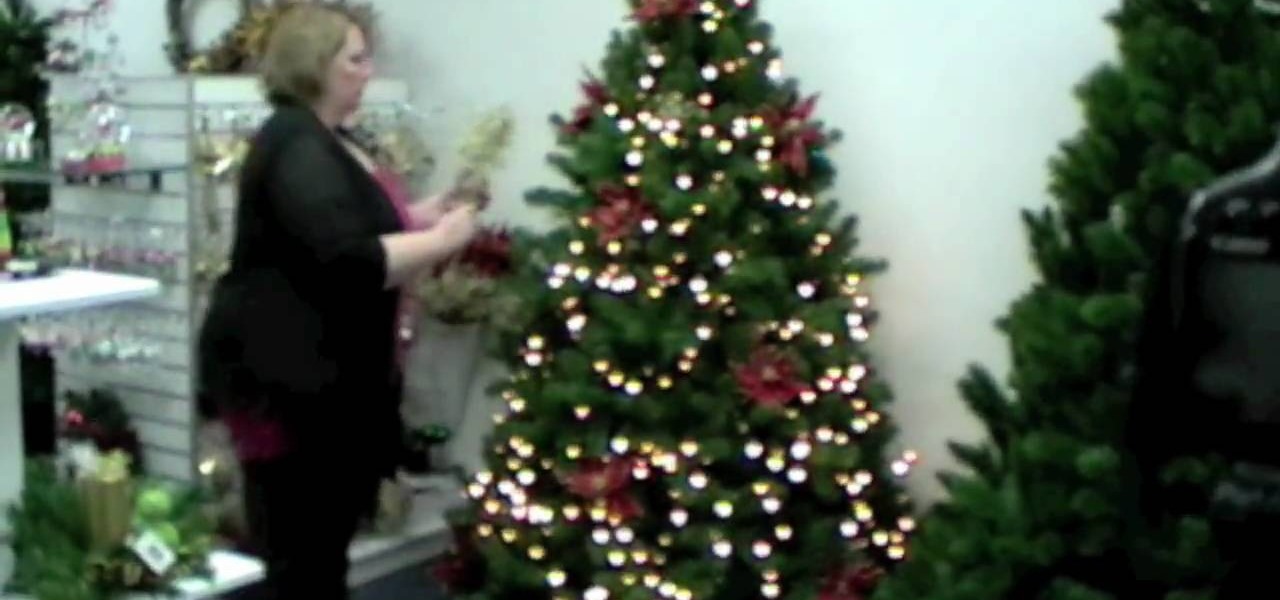
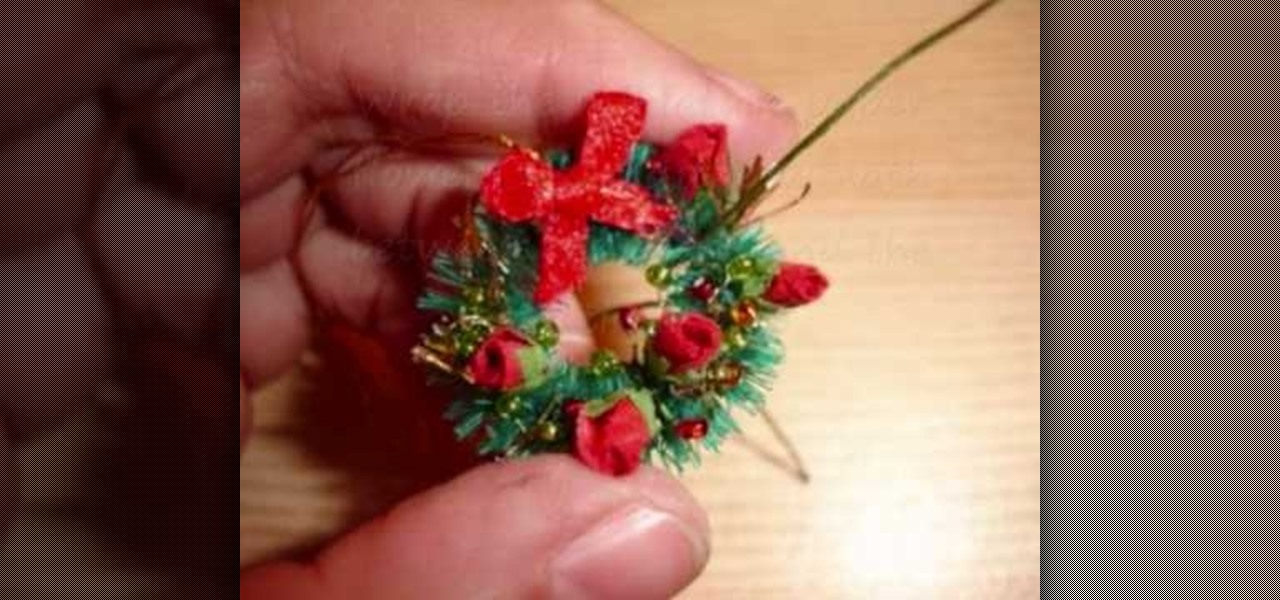
In this video we learn how to decorate your Christmas tree inexpensively. If you have a lot of different decorations, you can place them in your tree. You can use poinsettia flowers to place inside your tree next to each other to create a design or pattern throughout the tree. This will not only look great, it's cheap! Place in various other fake flowers in the tree that you have laying around the house. After this, you will have a beautiful tree that you have decorated with things that are j...
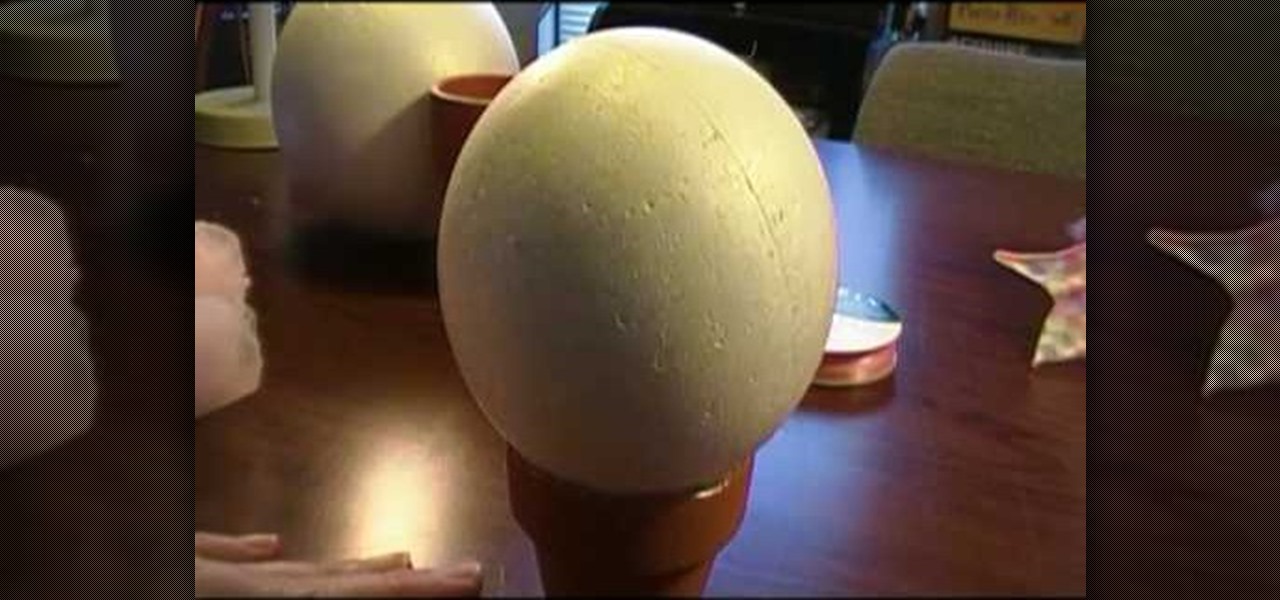
In this video we learn how to make a baby and child hat stand. First, you will need to purchase flower pots from the store along with Styrofoam balls. Use different sizes of balls to fit the size of hats that you are creating. Use marbles to weigh down the flower pots. From here, you will use a hot glue gun to glue the ball to the stand and then let it cool From here, you will be able to use this as a stand for your hat. This will help your hat set after you are done decorating it and display...
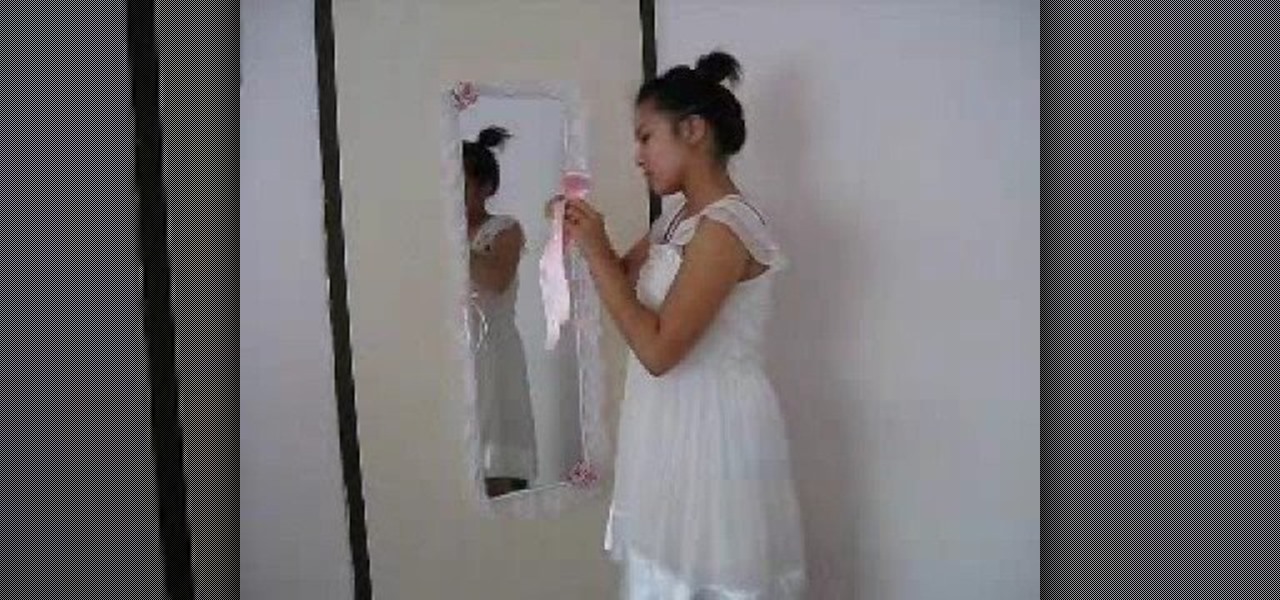
In this video we learn how to makeover your mirror with accessories. First, grab lace, string, ribbon, fake flowers, and anything else decorative that you want to hang around on your mirror. Once you have all of your supplies, get to work! Use double sided tape to stick to the sides of the mirror so you can safely stick on all of your accessories. Start out by taping some lace or ribbon around the mirror. You can also tie some ribbons and place those as on as well. If you have fake flowers, t...
In this tutorial, we learn how to make a clown punch using Stampin' Up! products. You will need: a red scallop circle, green key punch, orange scallop circle, heart shape, circle, oval, red circle, flower, black eyes, and a yellow small circle. After you have these punched out, make the hat out of the green large and oval shapes, then apply the flower to the top of the hat. Next, glue the circle behind this, then cut up the orange and red scalloped circles to create hair on the sides. Next, a...
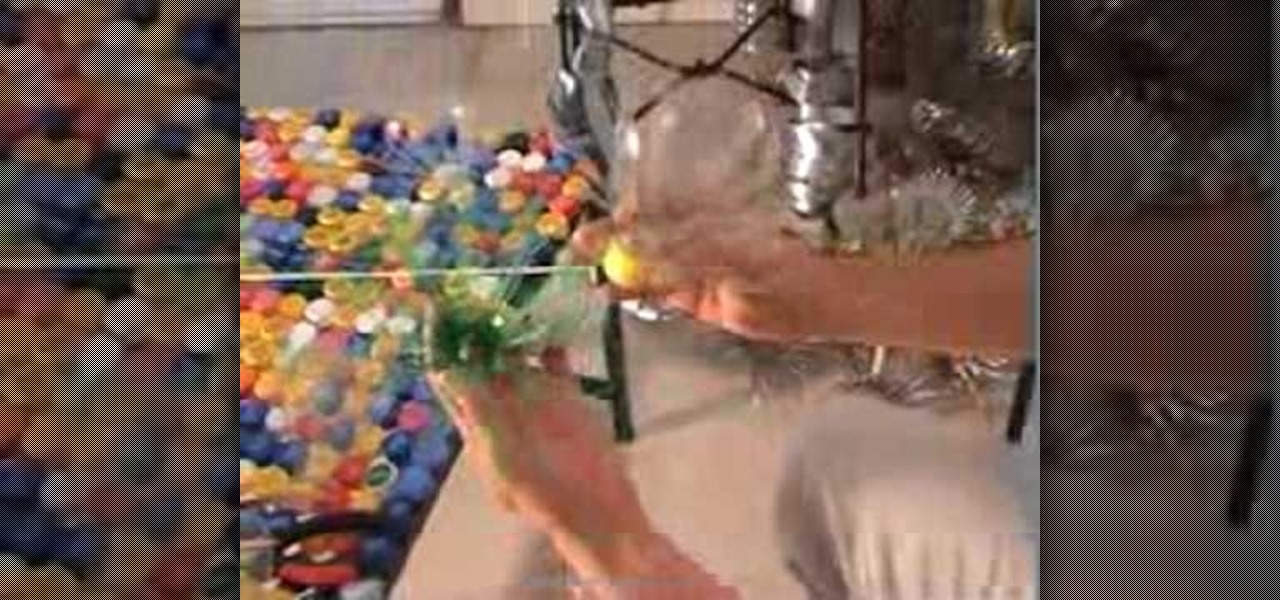
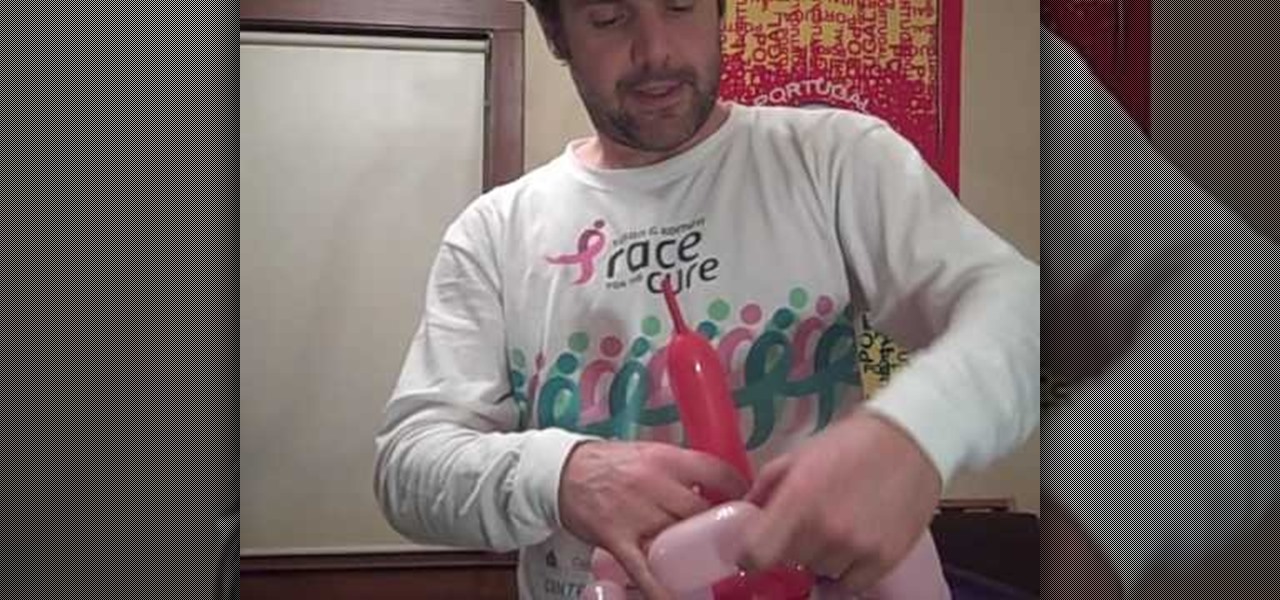
Balloons come in various shapes and sizes and if used properly, can be combined to create complex shapes that mimic real life objects. Choosing the correct color of balloons also adds to the realism in the completed object.
In this video, we learn how to make a beaded 7 petal faerie flower pendant. First, string 14 beads on an 18 inch piece of string. Next, create a circle in the beads, then tie it off. After this, add three blue beads to your first pico stitch, then go through two more beads after this. Continue to do this all the way around the bracelet until you reach the other side. After this, go through the first pico stitch and add one red bead, followed by blue and red beads to make petals. Continue this...
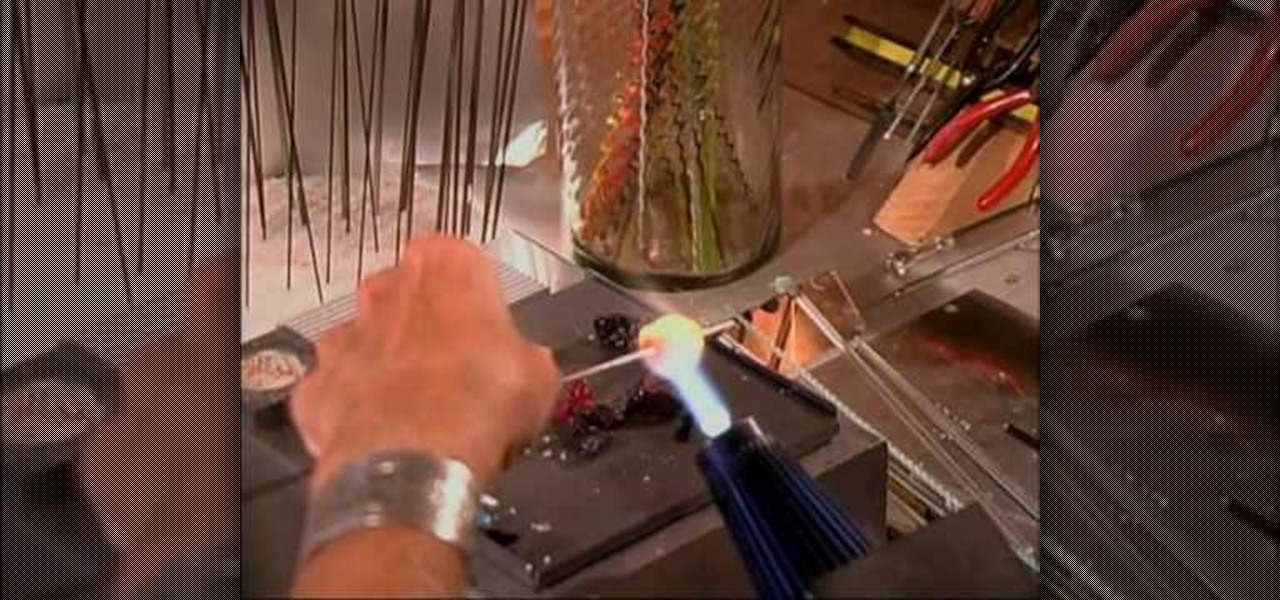
One of the coolest beading effects is the kind that suspends various materials - from flowers to Latticinos - in a clear glass case. Swirled or marbeled shapes can also be added for interest, but either way the resulting work is like looking into a prehistoric block of amber and peeking around at such curious fragments.
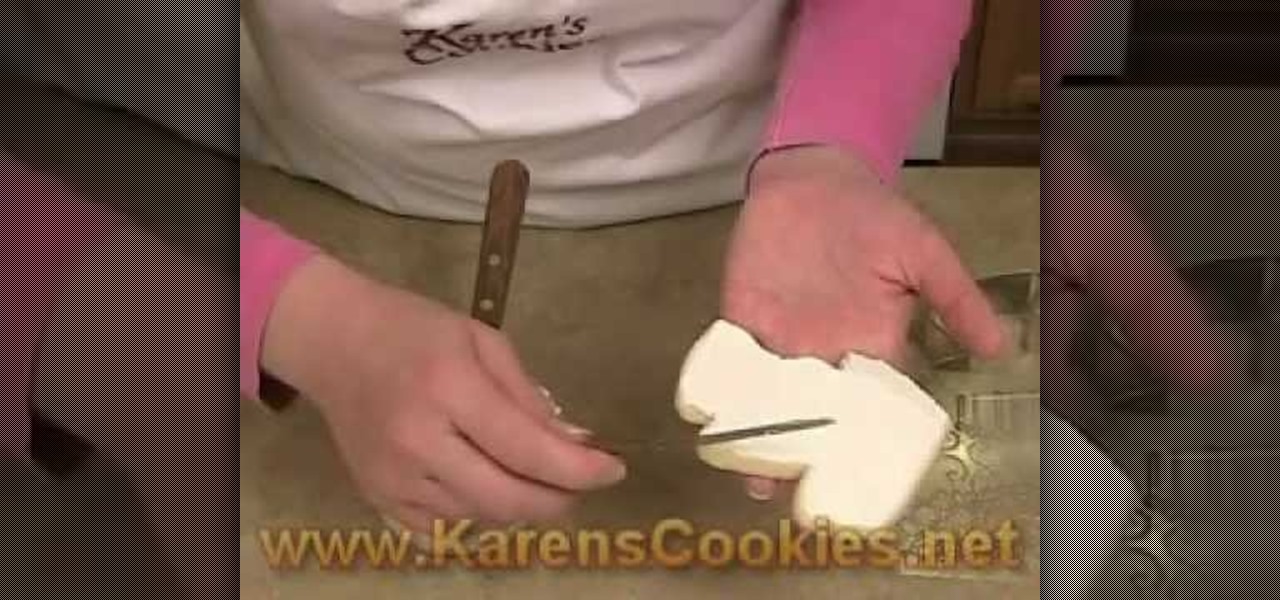
What's one way to add interest to your cookies without carving out an entire afternoon devoted to crafting neverending sets of peonie flower fondant flowers? Using cookie texture mats. Texture mats are usually pounded onto fondant and candy clay to create an interesting pattern, but they can be used on buttercream icing as well.
In this tutorial, we learn how to draw a daffodil for St. David's Day. Start off by drawing a circle to measure out where all of the different petals are going to go, then draw a circle in the middle you know where the middle will go. Next, start to draw out the petals onto the circle. After this, draw the middle of the daffodil with the seeds that are in the middle. After this, draw the lines that are in the middle of the leaves. You might want to use a real flower for a reference picture on...
In this tutorial, we learn how to draw a rose, step by step. start off drawing the petals of the rose, making the inside of the flower first. After this, start to draw in more details and draw around the inside of the flower, making the rose larger and larger. After you have done this, draw on the stem underneath where the petals are, and add leaves onto the stem. Continue to add in any details that you see fit throughout the picture. When you are done drawing, color it if you prefer, then si...
In this video, we learn how to transplant raspberry bushes. First, you will want to add in soil to your raised bed or garden where you have your other plants. After you get the soil in and have mixed manure in, cut the bands off of your raspberry bushes and put them in a bucket. The bucket should have water and flower food inside of them. After you have placed the flowers into the bucket, you will then be able to place it inside of the soil. Then pour water over your soil and wait for your bu...
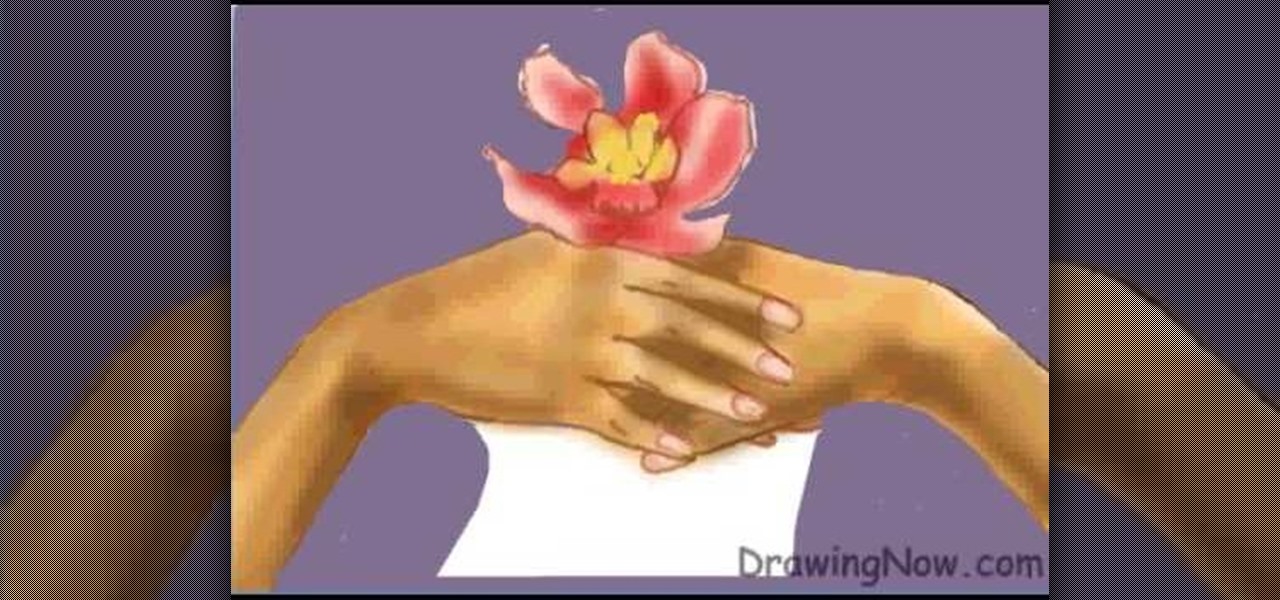
In this video, we learn how to draw two clasping hands. Start off by drawing the two hands holding each others hand. Next, draw a circle above the hands like they are holding something. After this, draw a large flower on the circle and then start to erase the base lines from the drawing. Draw in the fingernails on the picture, then color in the skin color on the nail. Color the flower any color that you would like, then draw in the background to any color you prefer. Shade the wrist of the ar...
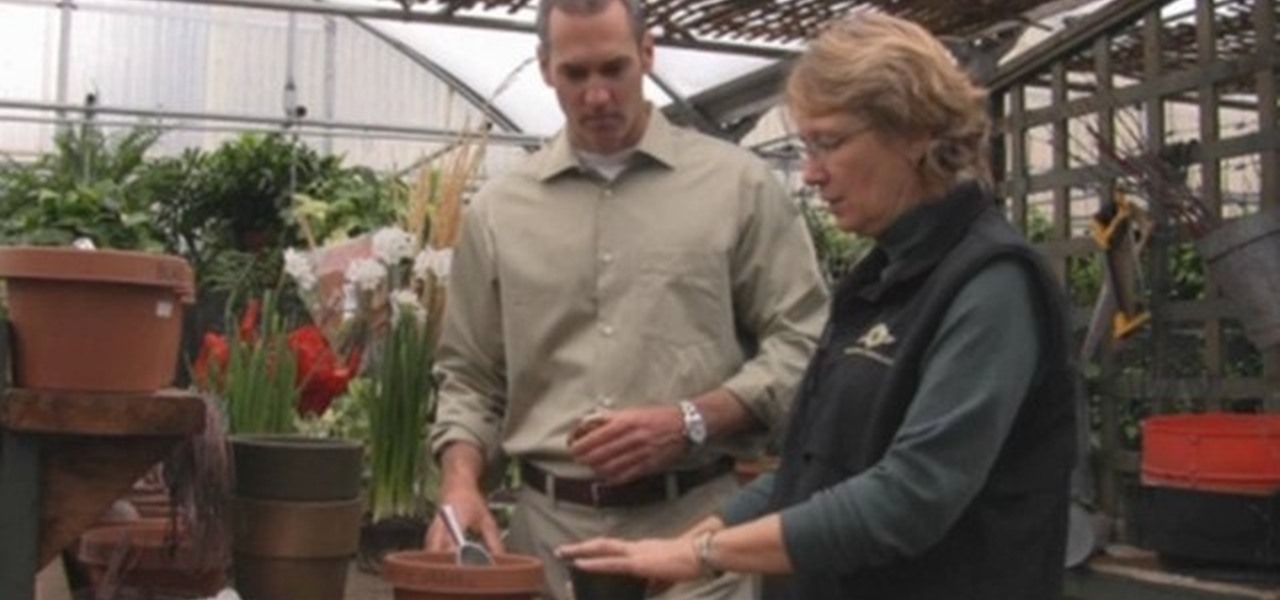
In this tutorial, we learn how to plant narcissus bulbs. To pick out the best bulbs, look for a nice healthy sprout and a nice firm bulb. These plants grow very fast and they grow during the winter. You can plant these and within 2-4 weeks you will have flowers growing. You can plant either a small or large bulb, just make sure it's healthy. To plant these, you can either grow them in rocks and water or soil. To grow in soil, place the bulb all the way into the soil then pour water into the p...
In this video tutorial, viewers learn how to make a paper rose with a napkin, Begin by orienting the napkin lengthwise. Then pinch the napkin corner with your right index and middle fingers. Now wrap it around the fingers. With your left hand, squeeze to create the size of the rose flower. Then hold the flower with your left hand and twist the stem. Now hold the end of the stem twist and pull the corner upward to create a rose leaf. Pinch the leaf into place and pull the excess napkin downwar...
A good cupcake is a good cupcake - there's no reason to add extra stuff like pretty designs or fancy holders when it tastes like Heaven on our tongue. But this tutorial presents a truly ingenious way to package cupcakes that we're really digging.