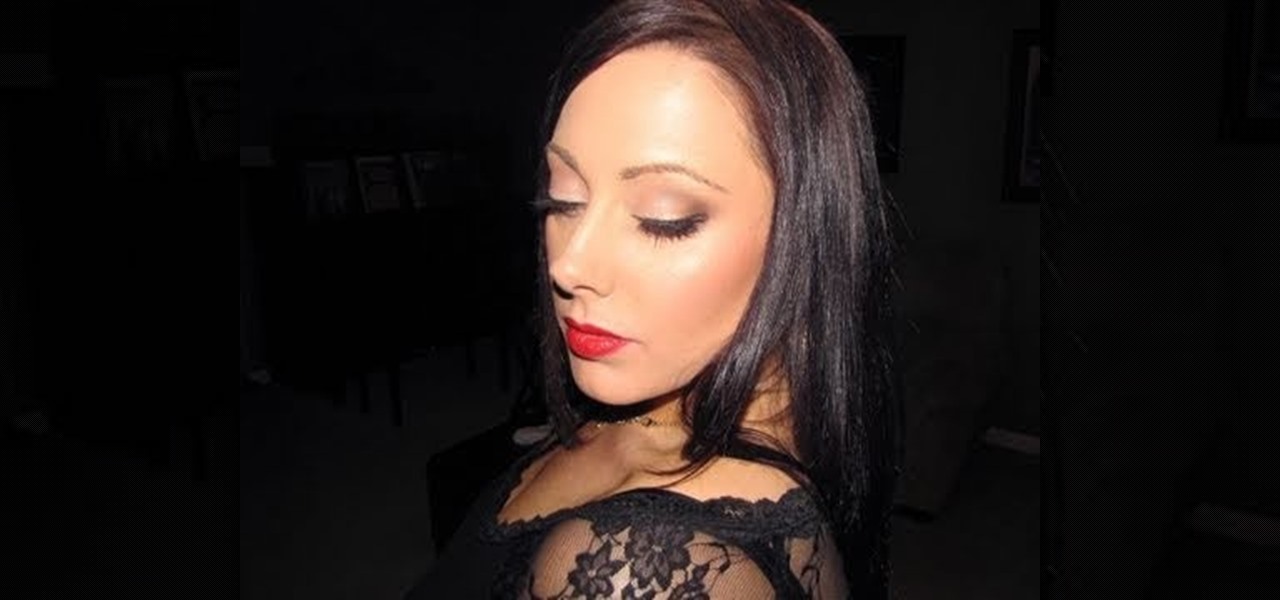
The holidays are all about beautiful, jewel-tone colors and richness in all facets of dressing up, from sequined cashmere scarves to warm wool coats. The same richness should be appled to makeup looks.
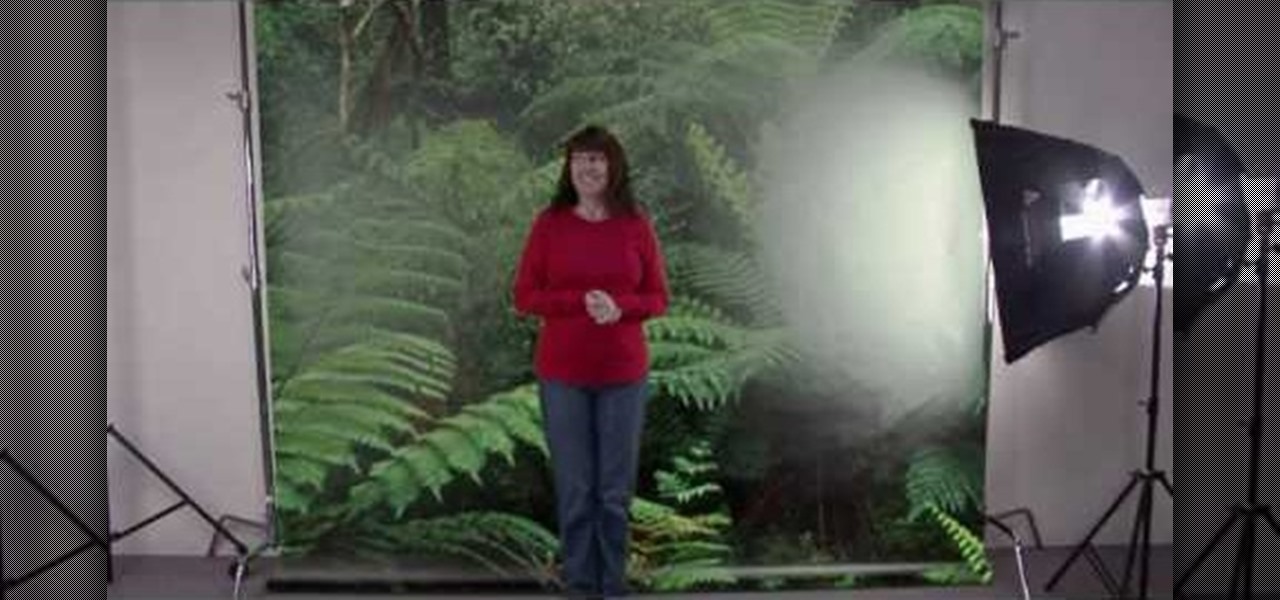
Some film makers fall into a few pitfalls when working with a green screen. This video lists a few common problems, such as having your talent wear costumes in similar color keys or using uneven lighting, and how to avoid them completely.
With the first installment of the last "Harry Potter" movie coming out in just a few days, now is the time to break out your "Harry Potter" paraphernalia and paint your face with the colors of your favorite house.
The end is near - at least for Harry Potter fans. Spanning ten years and half the actors' lives, the "Harry Potter" movie series is finally concluding with "Harry Potter and the Deathly Hallows," part 1 of which comes out in just a few days.
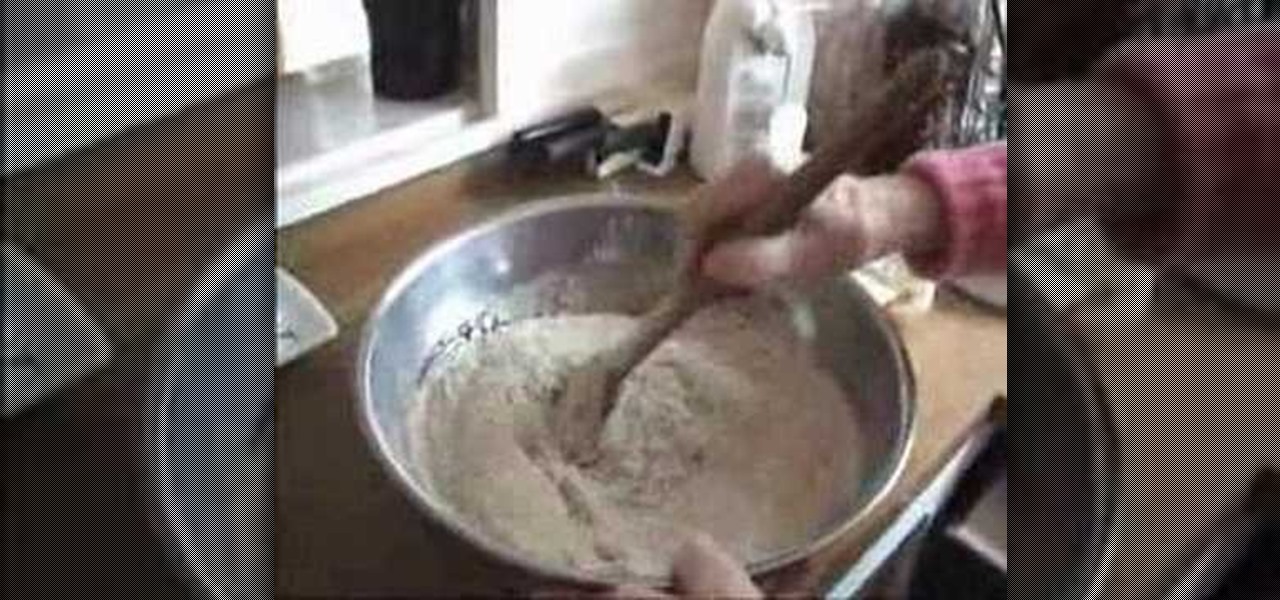
In this video, we learn how to make silly putty from scratch. You will first need to take some flour and mix it with warm water in a small plastic container. After you mix this together and it turns into a putty type of shape, you will then add in some food coloring to the container as well. Add in some borax to this and continue to mix until it's completely finished mixing together. When done, you will be able to play with this and make other colors to mix together. This is a great project f...

In this tutorial, we learn how to quickly draw Shadow the Hedgehog. First, you will need to draw the outline of Shadow, drawing in the entire body. After this, darken up the lines to make the final outline of the character. Next, draw in the details of the face and the body. Then, shadow in the sides of the character and create more details to make him look more realistic. When finished, you can choose to color him with the right colors or just keep it shaded. Add in more details if you need ...
Daytime makeup doesn't have to be blah. In fact, isn't the point of wearing makeup so you can show off your gorgeous features? Yeah, we thought so too.
One of the most traditional foods that one can enjoy at a Guy Fawkes Night celebration is the Lancashire Parkin. It's a relative of gingerbread made with treacle (molasses) and oatmeal to give it a distinctive color and flavor. Watch this video to learn how to make a Lancashire Parkin from an old British gran named Hilda.
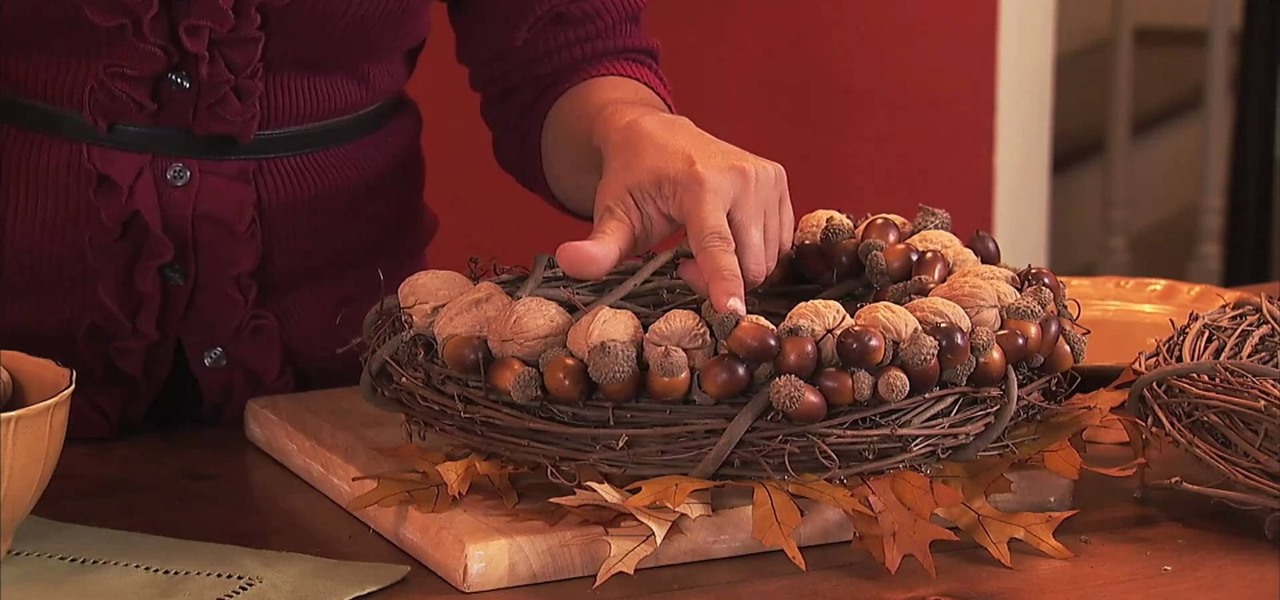
Fall means an abundant supply of beautifully colored autumnal leaves, acorns, walnuts, and other nuts. Harness the natural beauty of this season and also preserve it for years to come by crafting this beautiful fall wreath.
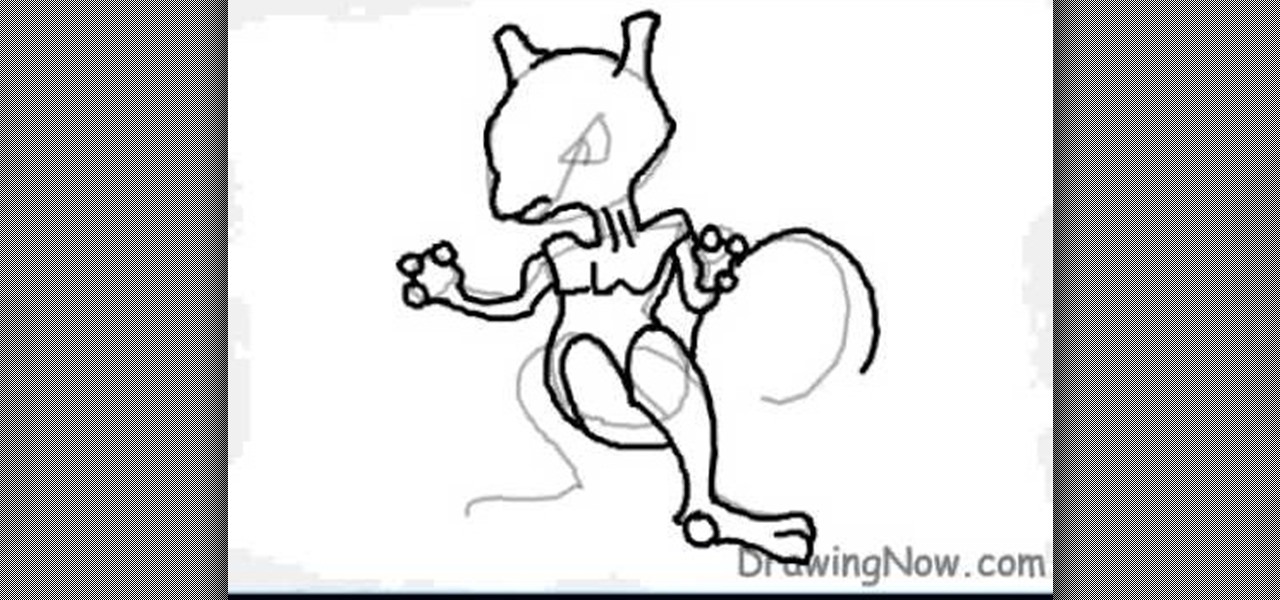
In this tutorial we learn how to draw Mewtwo. Start out by drawing the outline of the head and the rest of the body with a light pencil. Then, start to add in the details of the body and the face. Once completed, you will draw the permanent outline onto the picture over the first one and erase the first one. Next, you will color in the skin and clothing that Mewtwo is wearing. Add in shading around the character to make it look more realistic. Also make sure to use different colors on the ori...
In this tutorial, we learn how to draw Sonic the Hedgehog in Paint. First, draw a round circle for the head and then connect the spiked hair to the back of it. From here, draw in the arm and the hands as well as the body and the legs. After this, draw on the socks and the feet. Then, draw in the details of the character and the rest of the shading. From here, color in the blue and the whites on the body and then color in green on the eyes. When finished, make sure to save this and then you're...
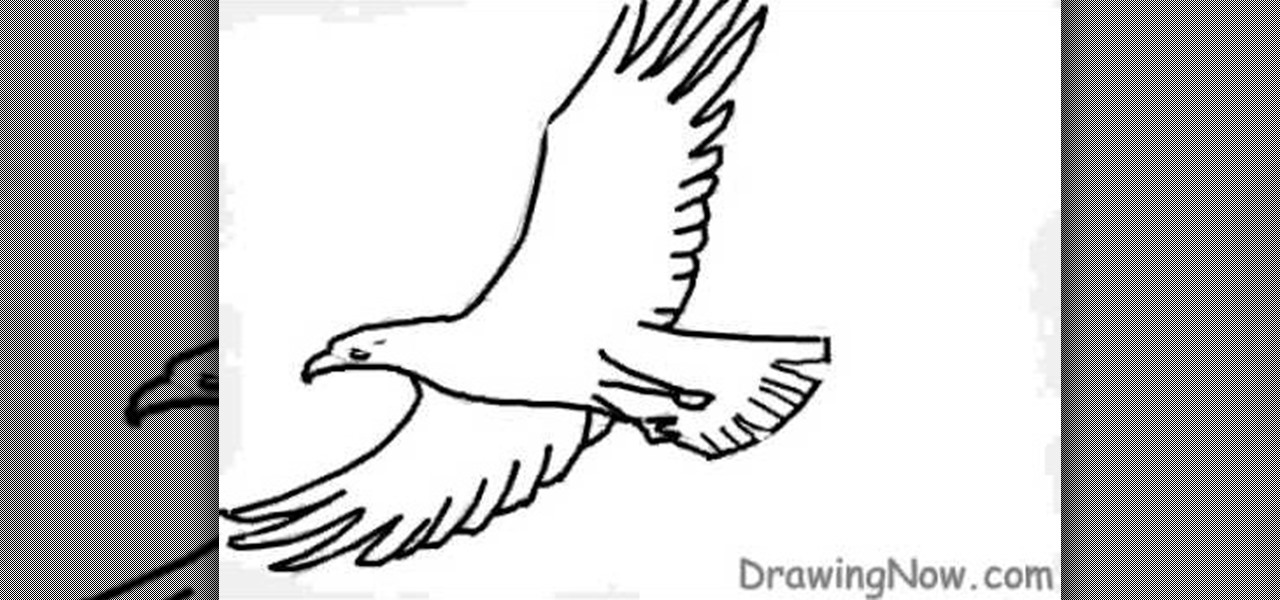
In this video, we learn how to draw a basic eagle. Start off with the outline of the eagle with a light pencil. After this, use a bold paintbrush to fill in the outline of the bird and then use marks to make the wings show the feathers better. Next, draw in the facial features and the beak, as well as the tiny feet on the bottom of the body. Next, color in the bird to be brown and then color the sky white with blue to show it's cloudy. When finished, save this and enjoy your basic eagle drawing!
In this tutorial, we learn how to draw a PSP in Ms Paint. First, draw the outline of the PSP with a light pencil marking. After this, draw in the details to the controller. Use details to make the buttons and make them look 3D. After this, you will add in shading to the buttons and around the console. Then, add color to the front of the console in any colors that you would like. After you have added in all of the details you want, you are finished! Save this and then come back to it later if ...
In this tutorial, we learn how to heat emboss a stamped image for a handmade card. First, use the stamp to grab ink and then lay it down on a piece of card stock. After this, cover it in ink and start to add heat to it. You will see the image start to change color when you do this. It will turn to a metallic sort of color when you add the heat to it. Once you have added heat to the entire thing, you will be finished with the embossed stamp effect! Do this for any type of stamp you want and ha...
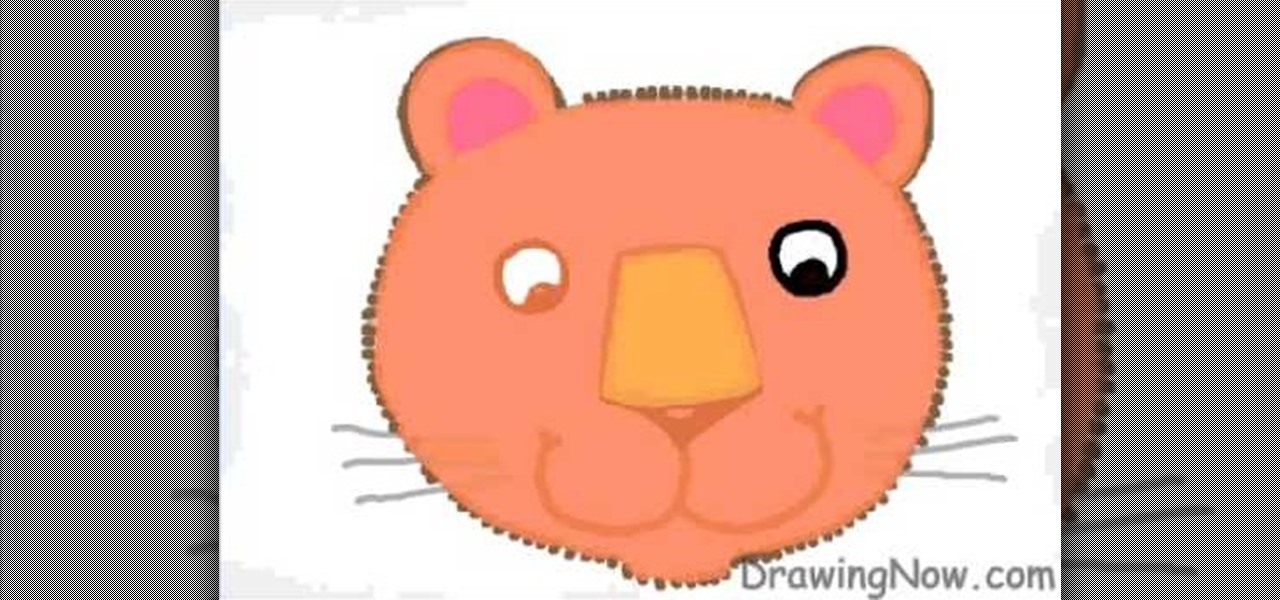
In this video, we learn how to draw a cute cartoon tiger. First, draw a circle for the head with two circles on top for the ears. After this, draw in the eyes, nose, mouth, and whiskers. Next, draw small dots around the head in brown for the fur. Then, draw over the mouth and nose with brown to match the outside color of fur. After this, color the eyes and the nose black, then add pink to the inside of the ears. From here, add in stripes to the side of the face and on the top of the head. Sav...
We're sure guys only wish Mother Earth could be this hot. Sure, she's a bit tempermental with her alternating tornadoes, thunderstorms and heat waves, but she's also super sexy and beautiful.
Rihanna, like her BFF Katy Perry, is not one to shy away from color and craziness when it comes to makeup. Rules were made to be broken, right?
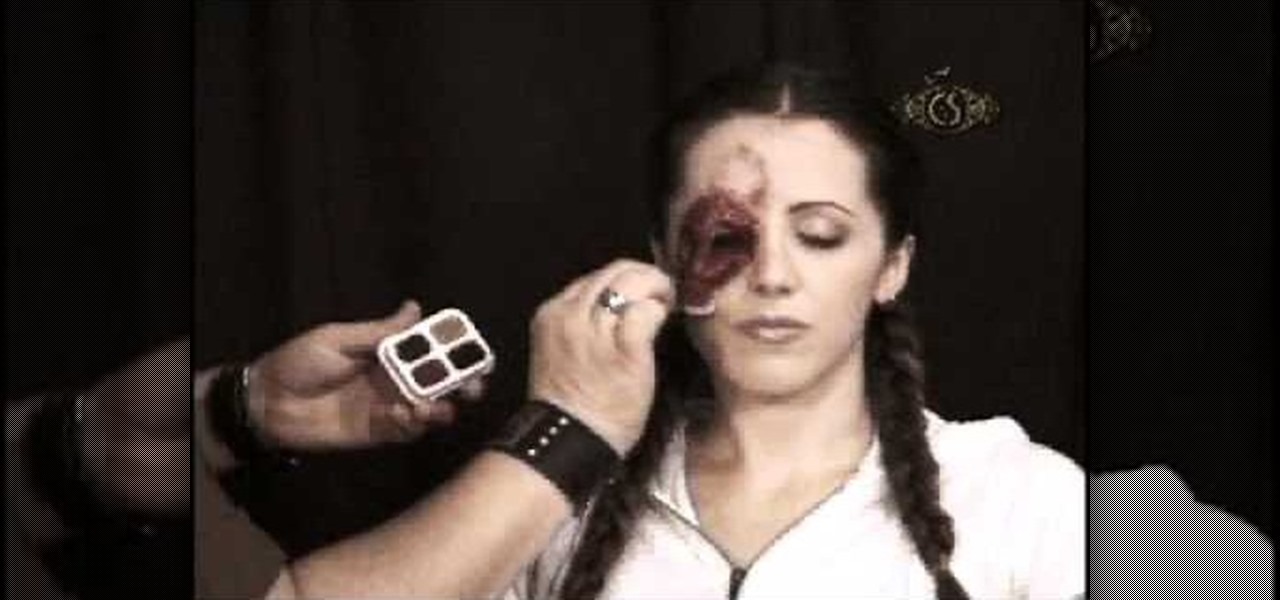
This is a great tutorial you can use for any costume or special effects you can think of. Make it look like your eyeball has popped out of it's socket by using Cinema Secrets makeup, especially the Injury colors palette.
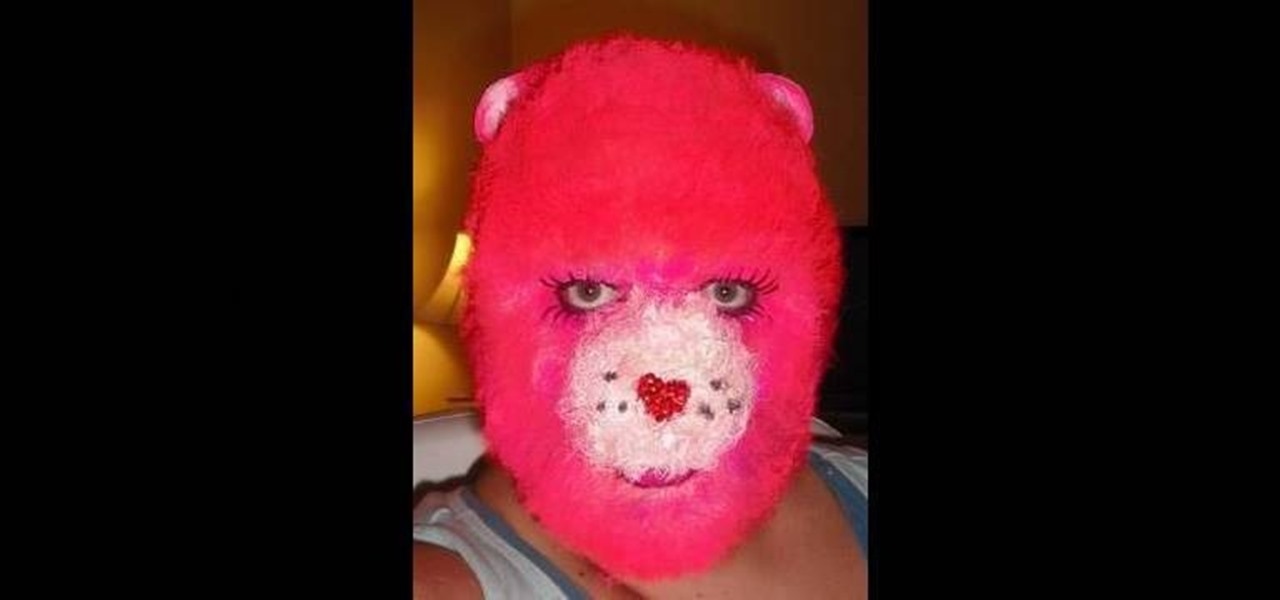
The Care Bears have stood the test of time, from their first appearance on greeting cards, to cutesy, plush teddy bears, to animated television series, to adventure-filled movies. The Care Bears may be long gone from television, but not from out hearts (especially Sara Griffith's of SharksBiteOfLife).
The Paper Bag Princess is one of the most beloved children's books for girls of all time, and it's heroine is a great role model for young girls everywhere. If you love the book, watch this video to learn how you can make an easy, sexy Paper Bag Princess Halloween costume.
Add a bit of sparkle and pizzaz to your wardrobe! This short tutorial demonstrates how you can add small crystals in whatever pattern you want using the Kandi Kane hotfix wand to add color, sparkle and your own unique touch.
Ever wonder why Jupiter has those colored bands across its surface? Jupiter's enormous mass is made from an array of different liquids, and those fluids do not play well together because of their different makeup. All of the hydrogen- and helium-based fluids are thought not to be miscible, which means that they aren't homogeneous in nature, resulting in strikingly beautiful bands across the planet's surface. But what about viscosity and how that correlates to the development of planets? What ...
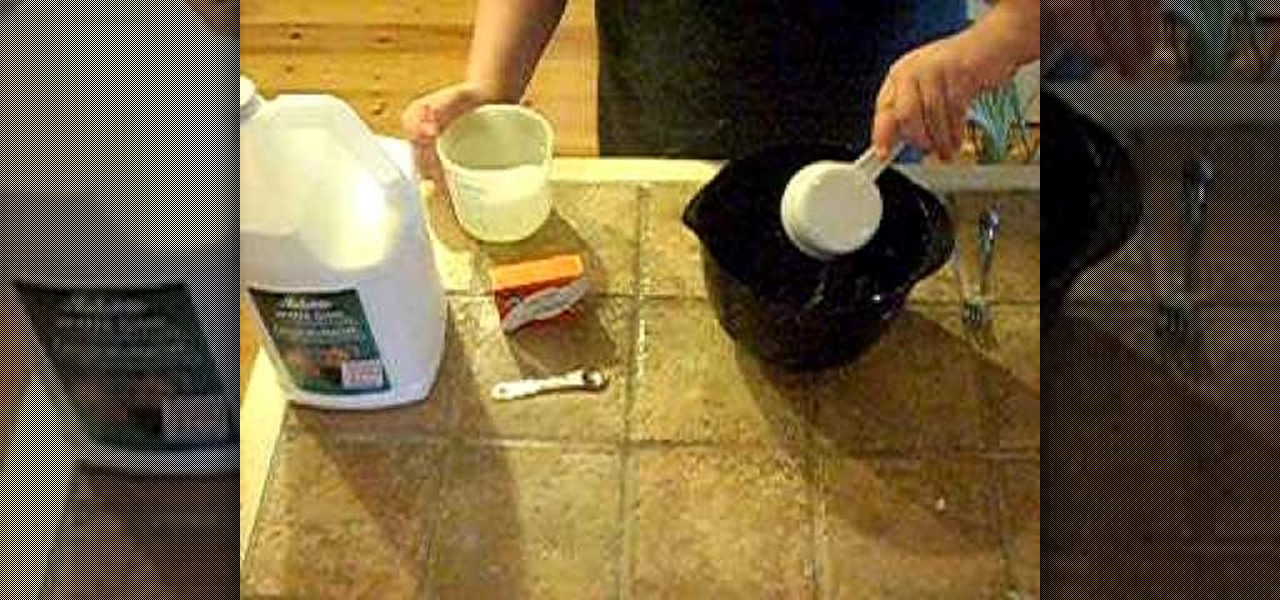
In this video, we learn how to make slime for under 5 dollars. You will need: a large pan, gallon of water, food coloring, and 1 c corn starch. Mix in warm water and continue to mix until everything is well combined. Keep adding more water to corn starch until it's the consistency that you would like. After it's hot and a slimy substance, add in some food coloring that you would like. After this, pour the slime into individual containers and allow it to cool so you can use at a later time. Wh...
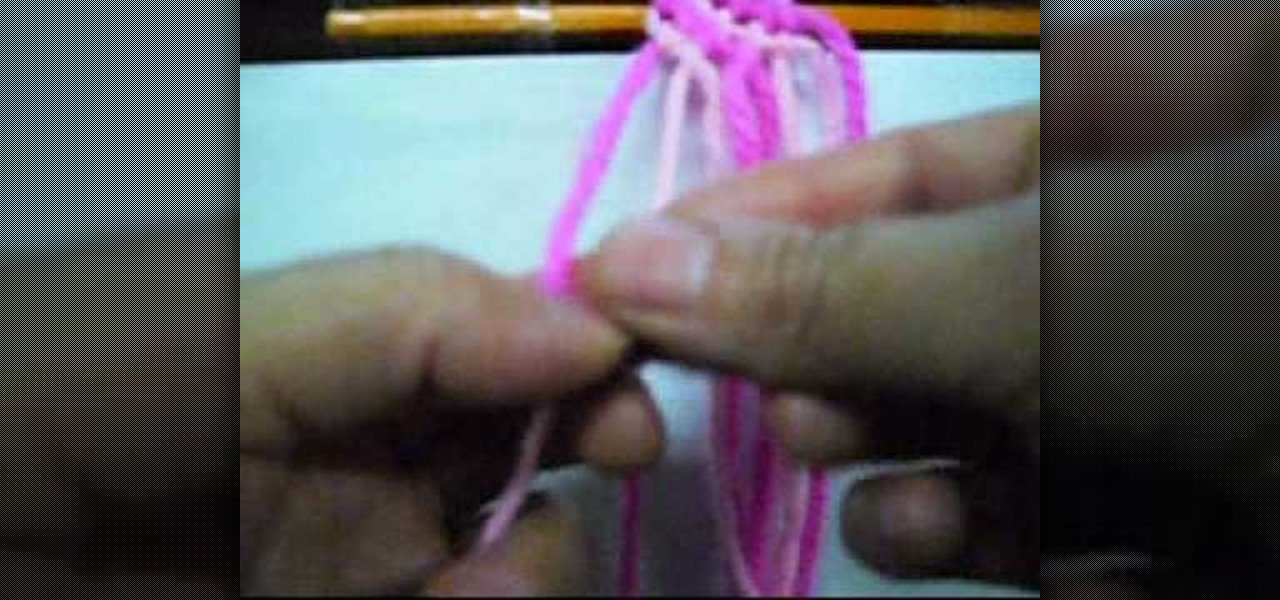
In this tutorial, we learn how to make a confused-style friendship bracelet. First, you will need to clip down your thread on the top and then start to braid the thread together. You will need to have two different colors, white and blue. Then, you will tie the right and left side together and start to braid the middle of it. Then, you will start to braid the bracelet together until you reach the bottom. When you are finished, you can tie this around your wrist and wear it whenever you would ...
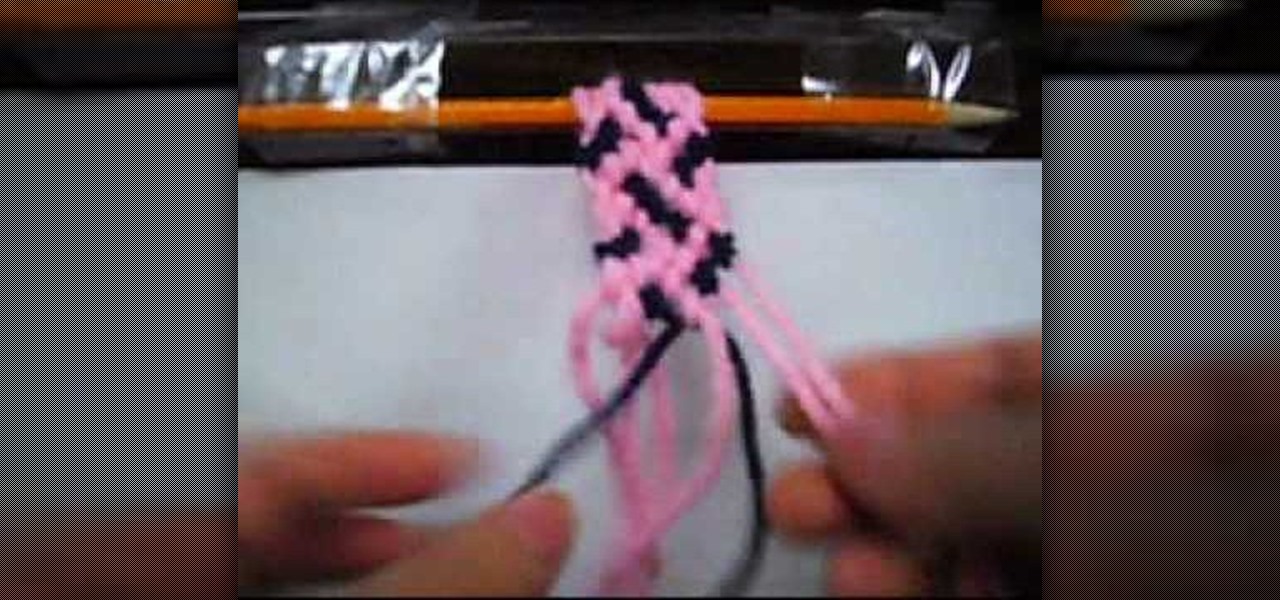
In this tutorial, we learn how to make a dual-colored line friendship bracelet. Start by creating knots in the strings going from left to right. After you have covered all of the strings on the bracelet, you can start to braid. Make sure the strings are clipped at the top to keep them in place. When you start to braid, take the two to strings on the left, and braid them in with the others going from left to right. Then you can continue to do this process until you reach the end of the strings...
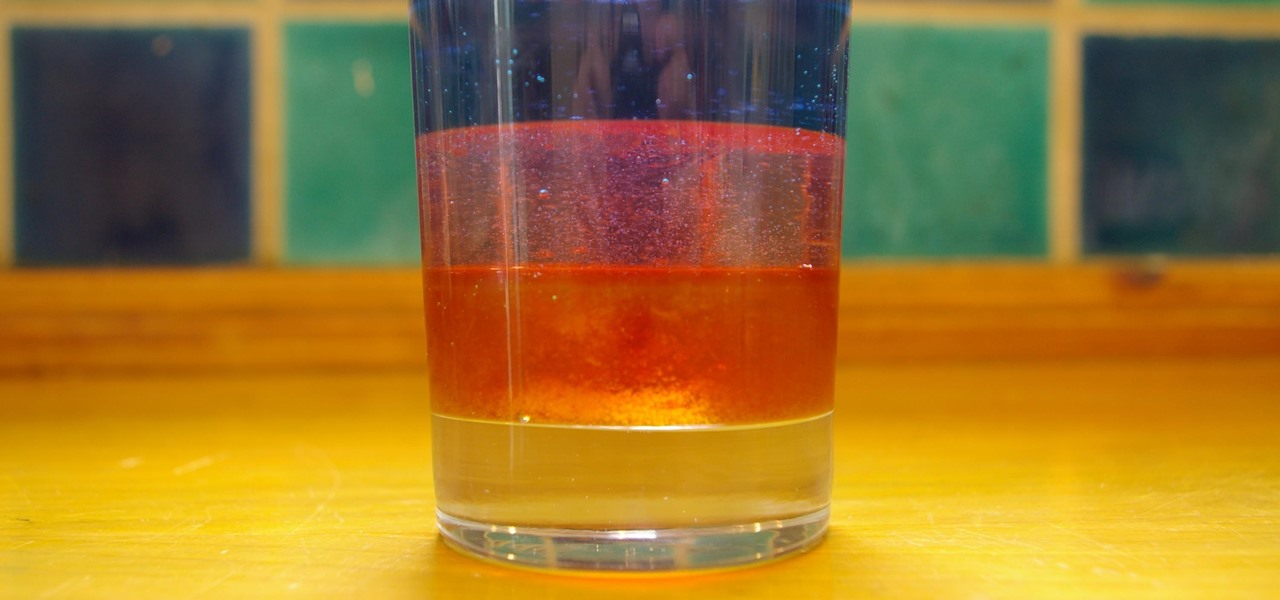
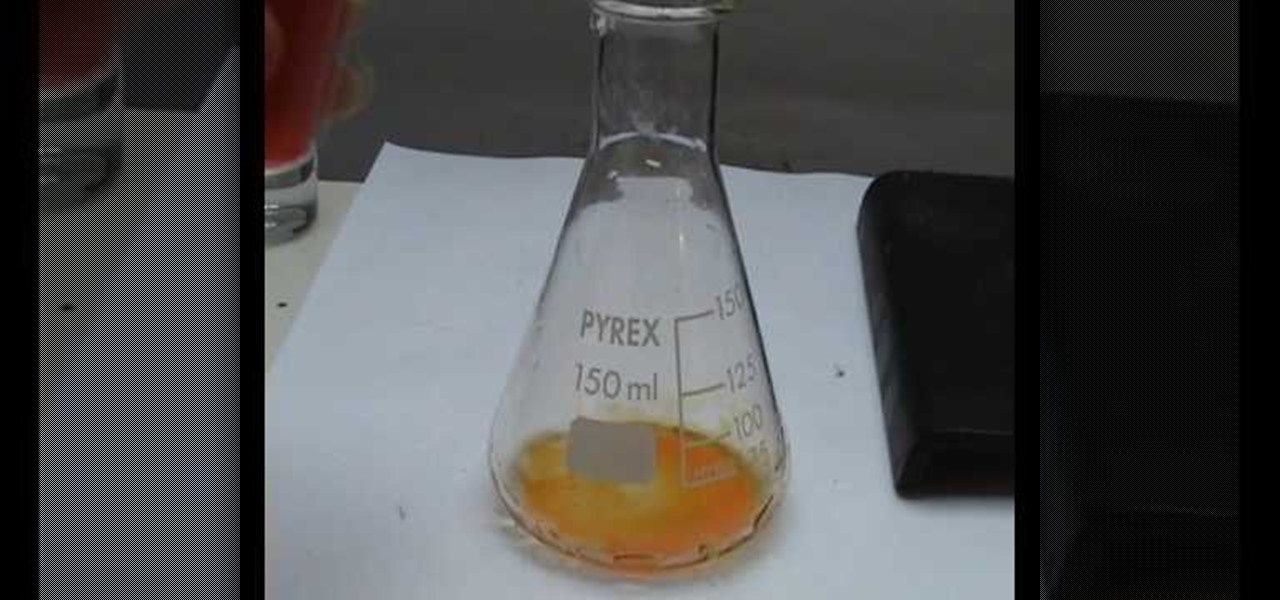
In this tutorial, we learn how to make a chemical indicator from kitchen items. First, make an indicator by grabbing some red cabbage and some vodka. Now, heat up some water until it's boiling, then place a smaller beaker inside the water with vodka inside of it. Place the red cabbage inside of the smaller beaker, then stir it up and let sit for 10 minutes. A lot of the color will come out with the cabbage being inside of the alcohol. After this, pour this into a storage bottle and pour the w...
Replicate King Leonidas from the hit movie '300'. This tutorial shows you an easy to follow along with, step by step guide to drawing a pencil sketch from the film. Once you're done, you can shade it, or ink and add your own color!
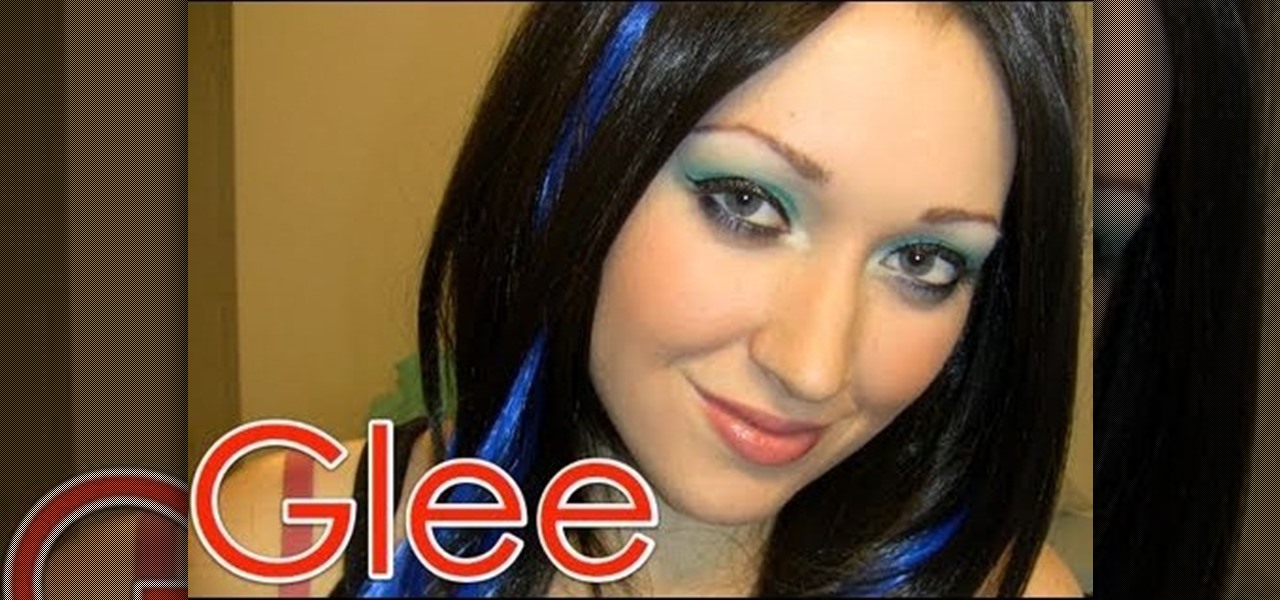
Out of all the funky characters on "Glee," Tina still manages to be the funkiest. Whether it's her midnight black hair, sometimes highlighted with blue and other bright colors, or her eye makeup, which is unfailingly some electric neon hue, Tina loves taking risks when it comes to dressing up.
Most would (unfortunately) picture Vincent Gallo when "gallo" is spoken aloud. But it's actually a Spanish word, which translates to rooster, and even cock, which just happens to bring up connotations of the swollen controversy over Gallo's film "The Brown Bunny".
You can drag and drop an email onto your Calendar icon in Microsoft Outlook, which then immediately gives you the option of setting up a new calendar entry. You can even color code your various events for easy reference later!
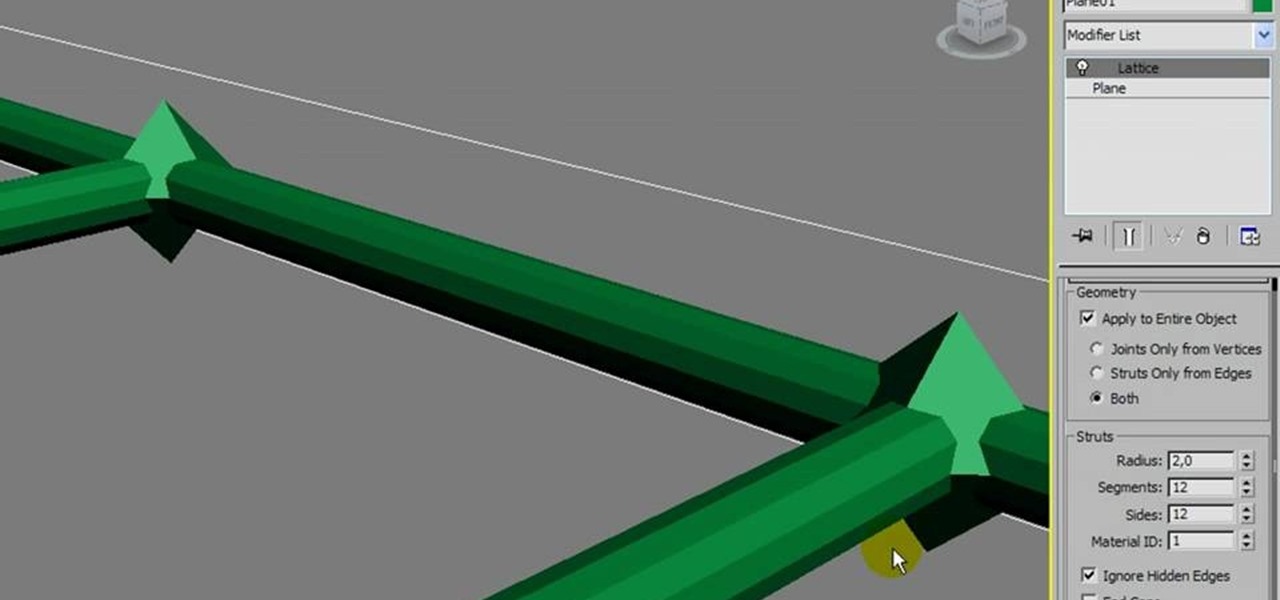
Replicate the famous double helix structure of DNA using the 3-D modeler Autodesk. This tutorial shows you how you can create your own 3-D model of a strand of DNA by applying the lattice modifier and then twisting and coloring it.
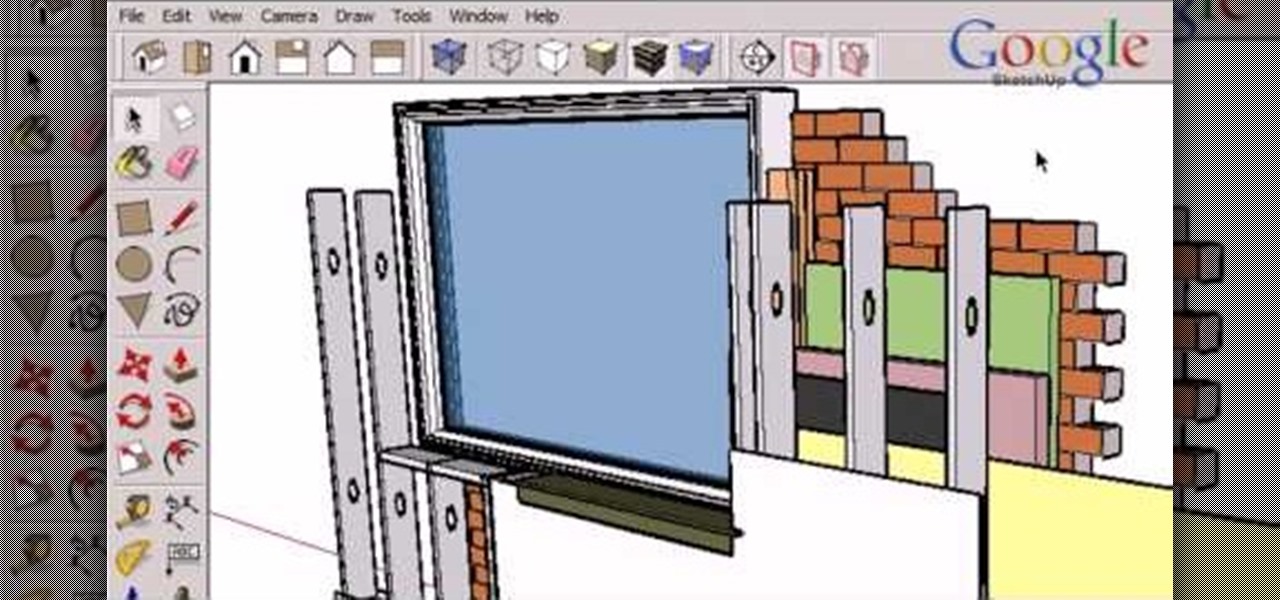
This tutorial goes into a few more advanced uses of the sections tool in Google SketchUp. You can use this tool to control the display of section cuts, change the width and color of section planes and even create section animations.
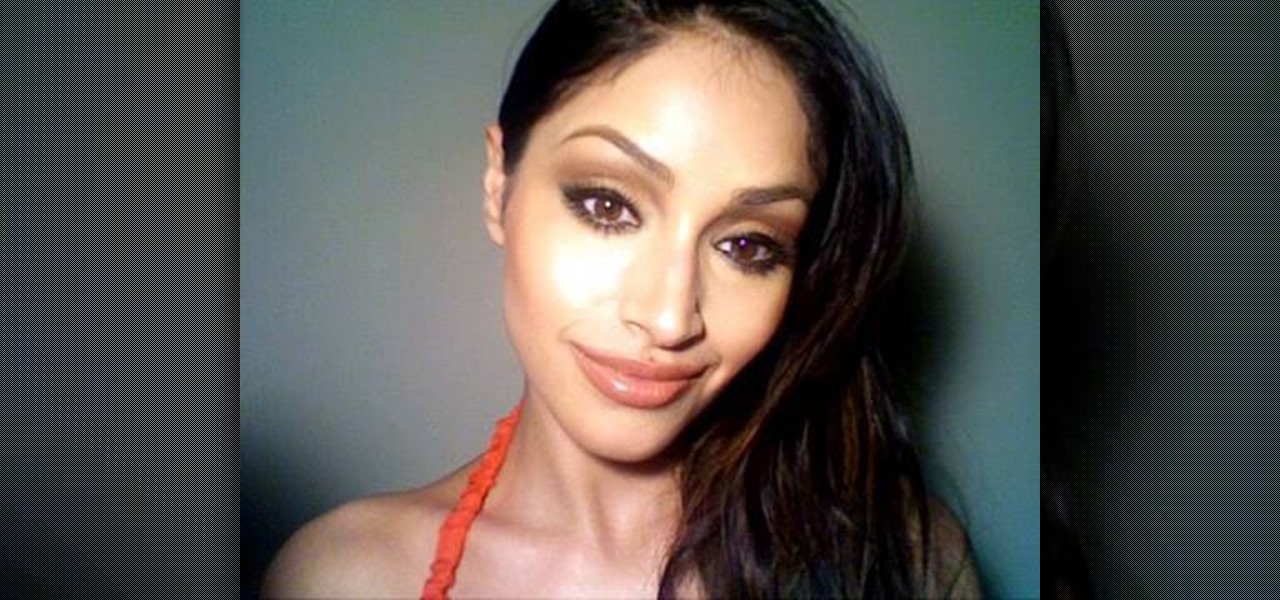
If you're a Penelope Cruz fan, then this makeup tutorial is a must-see! You'll learn how to recreate her makeup look seen in these pictures. The makeup she dons is very classy, but also wearable for any woman, no matter the skin type or color. Her seductive eyes draw in all the attention, as well as her defined, neutral pouty lips.
If you're tired of the cement-and-motor-oil coloring you're currently rocking on the floor of your garage, you've come to the right place. This video will show you how to prepare the concrete floor in a garage for staining by etching and degreasing it, ensuring that it is clean and ready to hold the stain.
Vault Boy has been around for a long time now, and appeared in the few but proud Fallout games as their mascot and skill-demonstrator. Pay homage to this plucky little guy by creating an XBox 360 Avatar in his likeness using the materials below and following the steps in the video. He looks a little skinny to me, but you can change it if you want right?
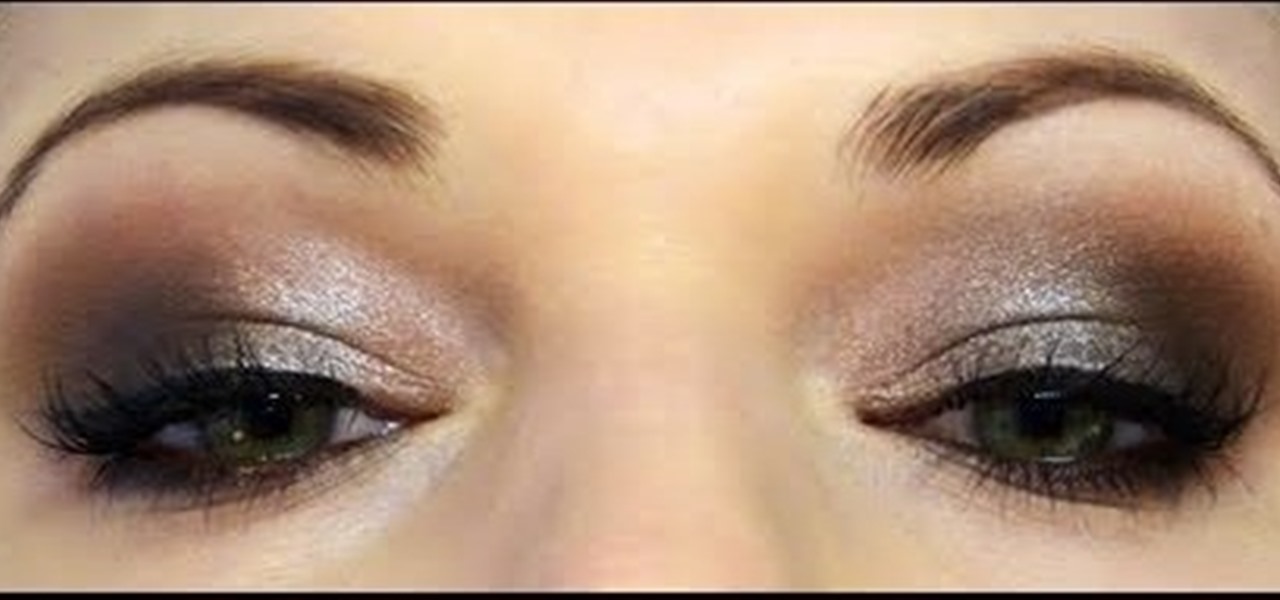
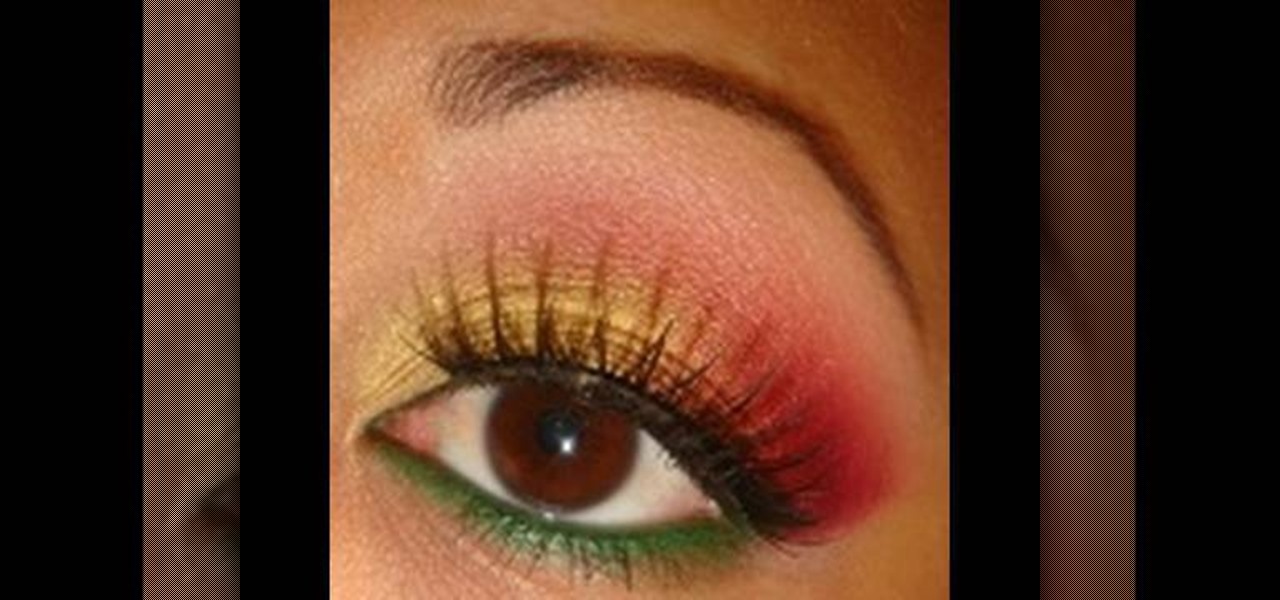
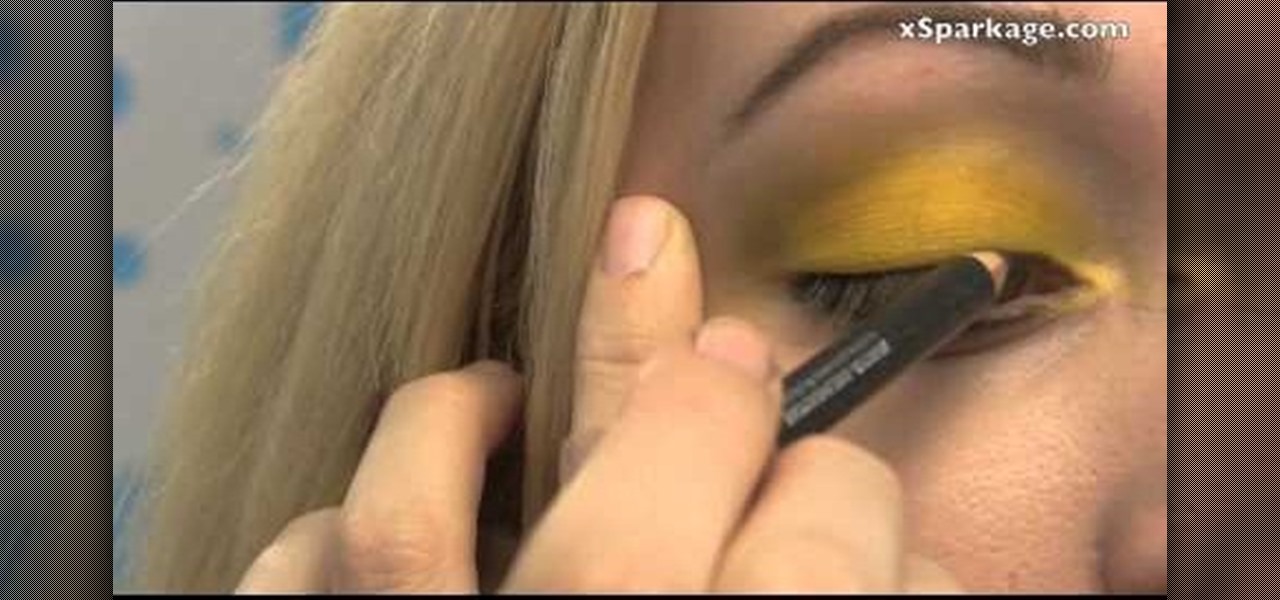
In this video, we learn how to apply red, green, and gold shades for Christmas. First, apply a light concealer underneath the eyes and primer on the lids. After this, apply a gold shadow to the inner crease of the eye to half of the lid. Pat this color on so it's bright, then apply a pink shadow to the middle and outer edge of the eye. After this, apply a bright pink to the outer edge and blend it into the crease and with the gold color. After this, take a green eyeliner and line the bottom o...
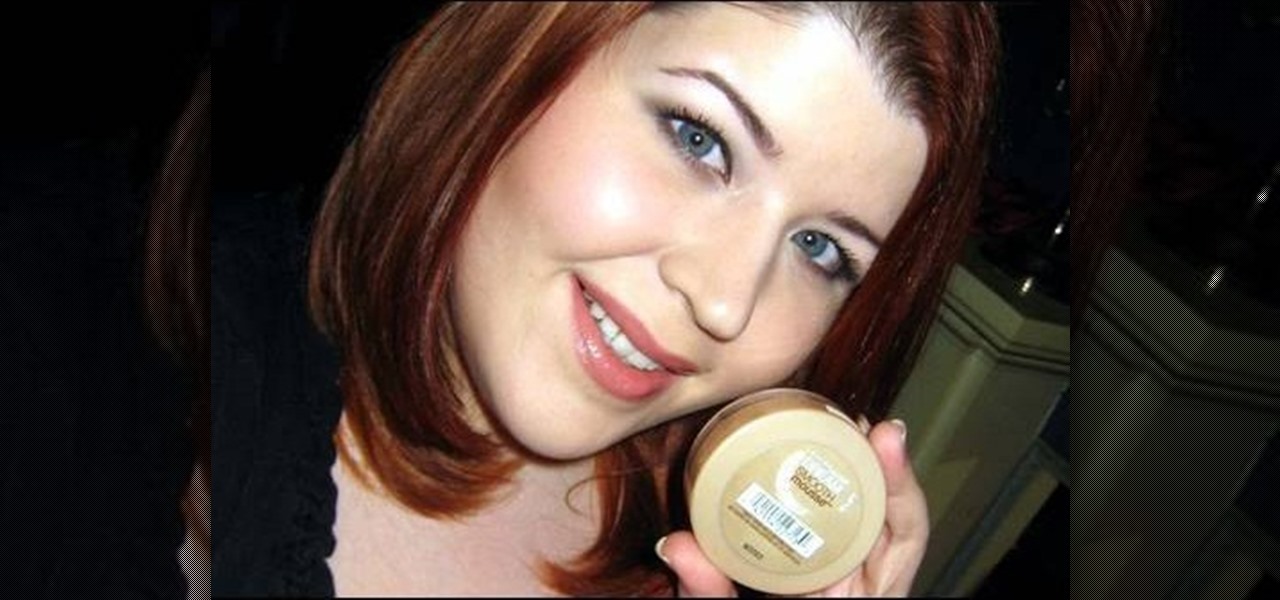
Applying foundation is one of the most basic and most important makeup skills a girl needs to know, yet for many women this is the hardest step. Problems with application, such as not matching the foundation color with your skin color, not choosing the right formulation, and not applying correctly result in foundation that looks fake and caked on.
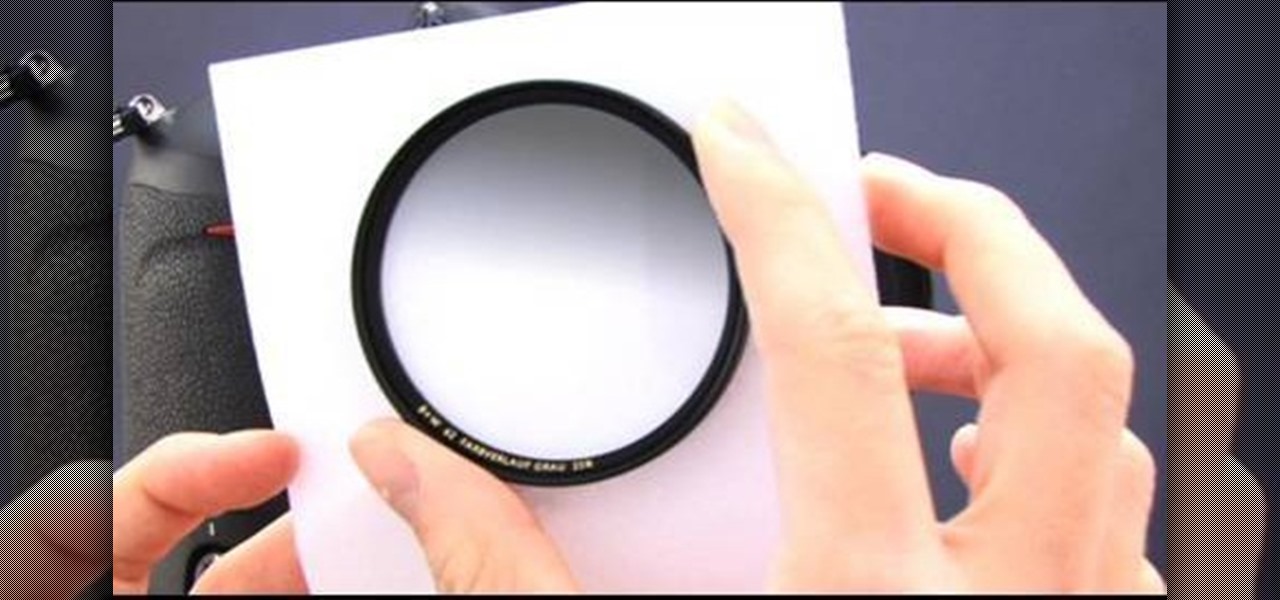
In this amazingly in-depth tutorial video they go into great detail on all of the methods of using GND glass filters, along with it's general purpose is and what it can do for you! For those not in the know, GND filters are glass lens attachments that come in graduated varying tints of grays and colors!
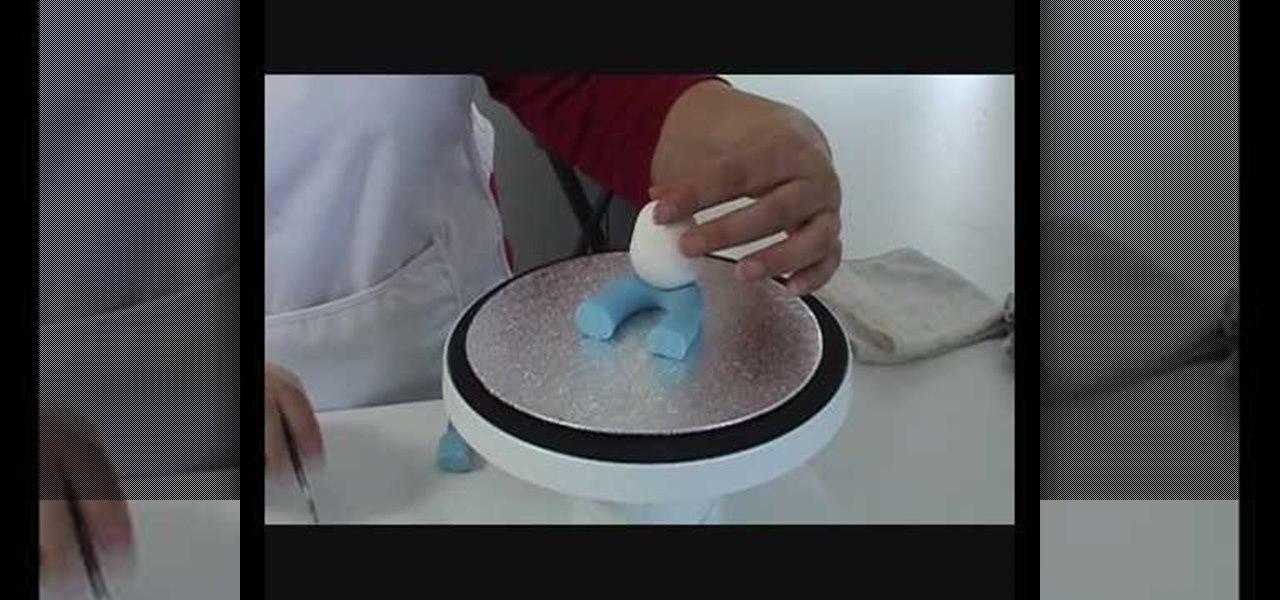
A fun and simple project, you can make little figures of people out of sugar paste. This is a simple and tasty decorating tip to top your next cake or confection. All you need is a little food coloring and a few dabs of water.