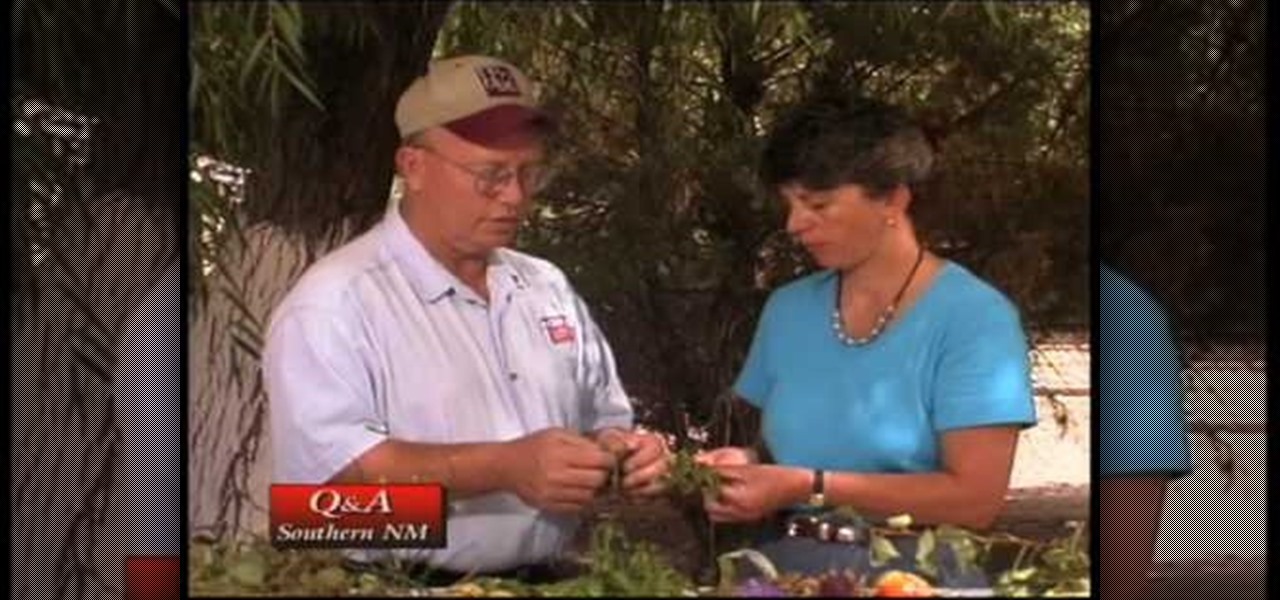
This video illustrate us how to identify problems with the rubber plant and the pomegranate. Here are the following steps:Step 1:First of all look whether both the plant leaves are in right shape that is they are not deformed, in case if it is then look for any bacterial or fungal infection.Step 2: Look whether there is any yellowing of the leaves. If so this may be due to over watering.Step 3: Look for whether there in any latex blocking in the rubber plant, if so then remove it or latex won...
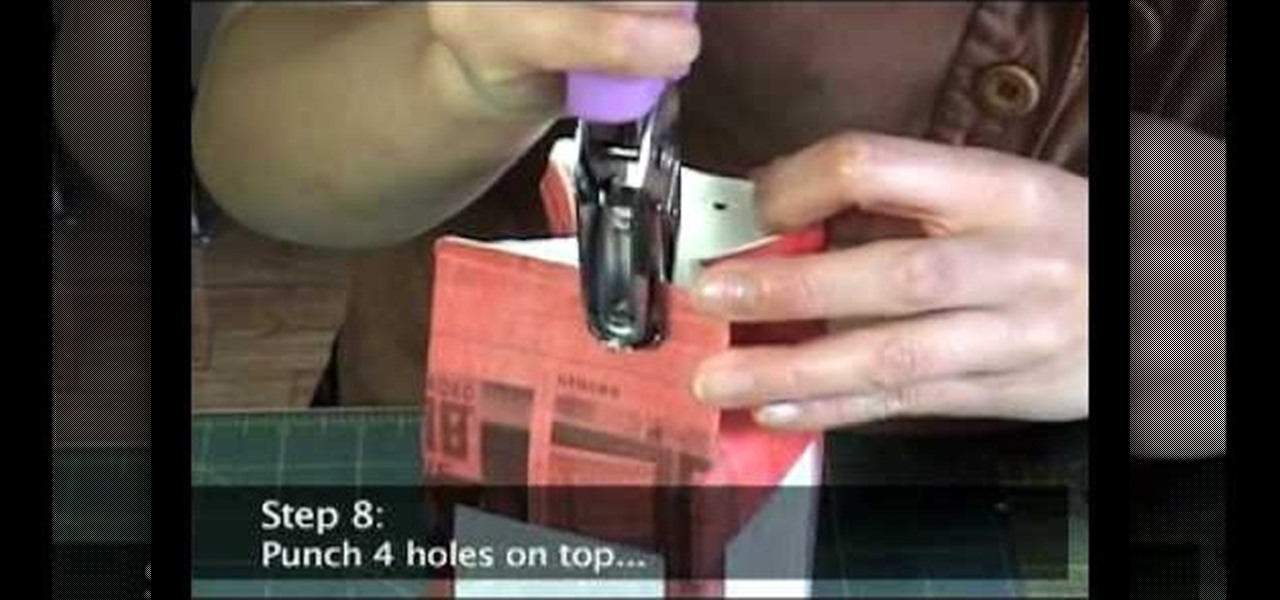
In this video tutorial, viewers will learn how to make a milk carton lantern. This lantern uses recycled items. The materials required for this lamp are: a milk carton, unryu paper, colored newspaper, raffia, ruler, glue gun, hole puncher, X-acto knife, glue stick and scissors. Flatten the milk carton. Draw a rectangle with each panel and measure about 1/2" form each of the sides. Measure about 3/4" from bottom and top. Cut out the rectangles with the X-acto knife. Glue the newspaper to the c...
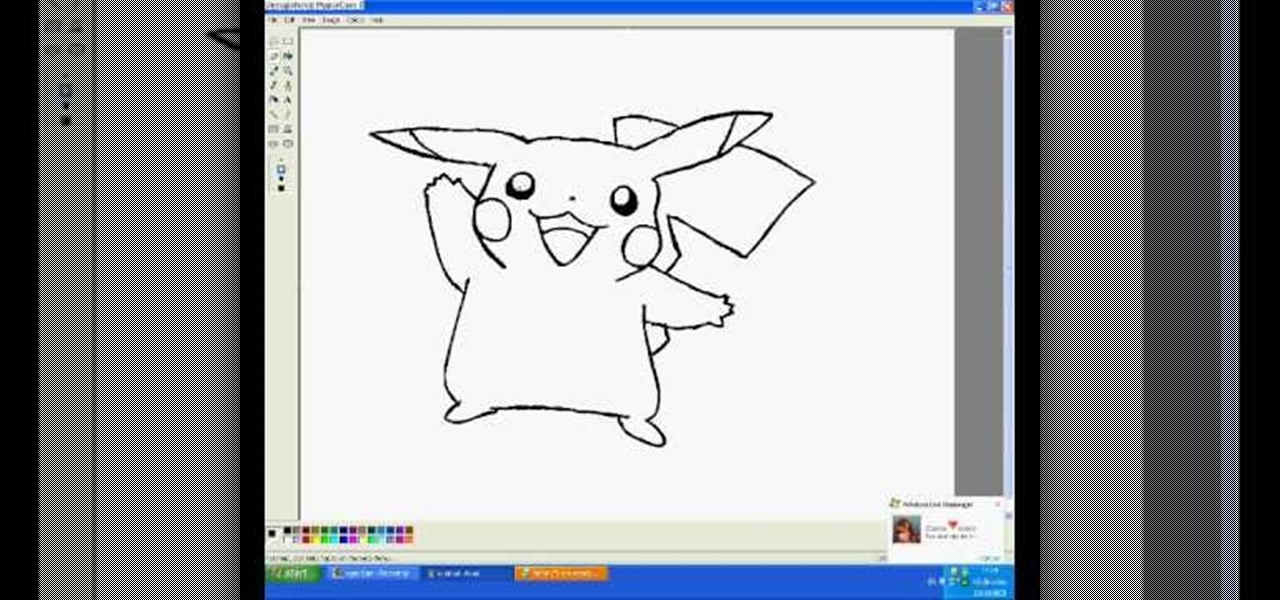
Have you ever wanted to draw Pikachu is MS paint? Well, this video will show you exactly how to do it! The eyes are first. Then, a great big grin. Next, the complicated contours of his face, followed by his long floppy ears. He adds a few details to the face, including the patches on his cheeks. Then, he adds his chubby little arms. He draws the squarish body and his feet. He adds a tail. Then, he does some touch-up work. Last, he starts on color, paying close to detail. He adds some shadows ...
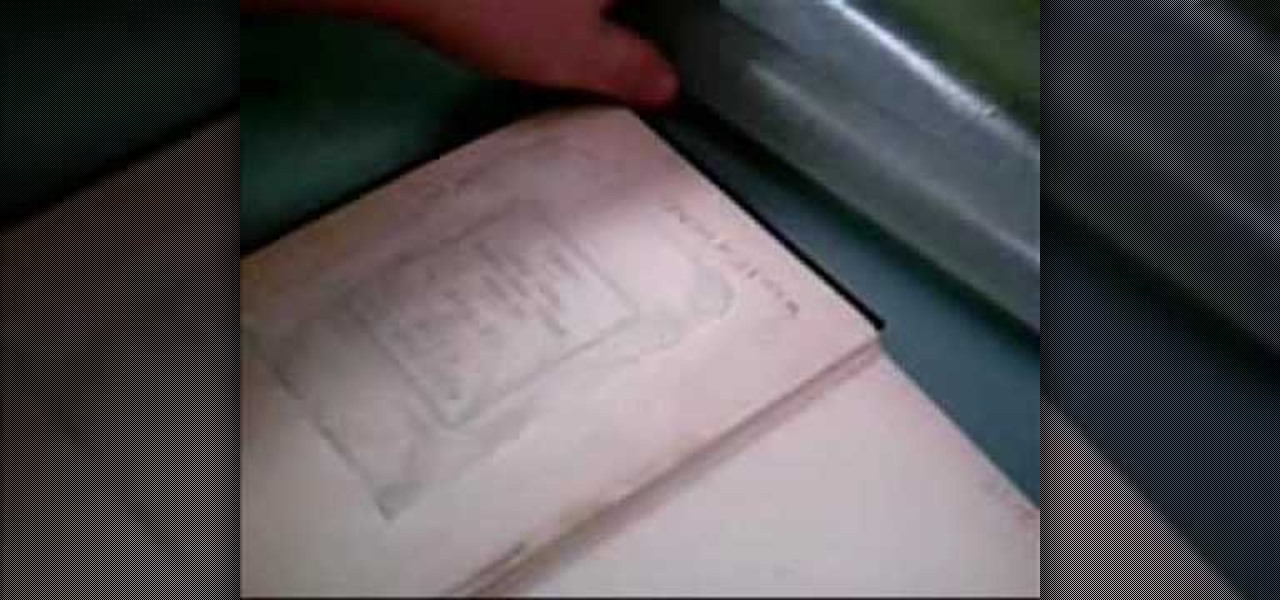
To remove a bookplate, you will need paper towels, wax paper, distilled water, water colored paper, a weight, and a blunt knife. Cut the paper towel slightly larger than the bookplate itself with scissors. Wet the paper towel and blot it dry with another piece so it is damp. Fit the paper towel over the bookplate, put the wax paper on top of it, and let it sit under the weight for twenty to thirty minutes. Once the paper towel has soaked into the bookplate, gently peel the bookplate off with ...
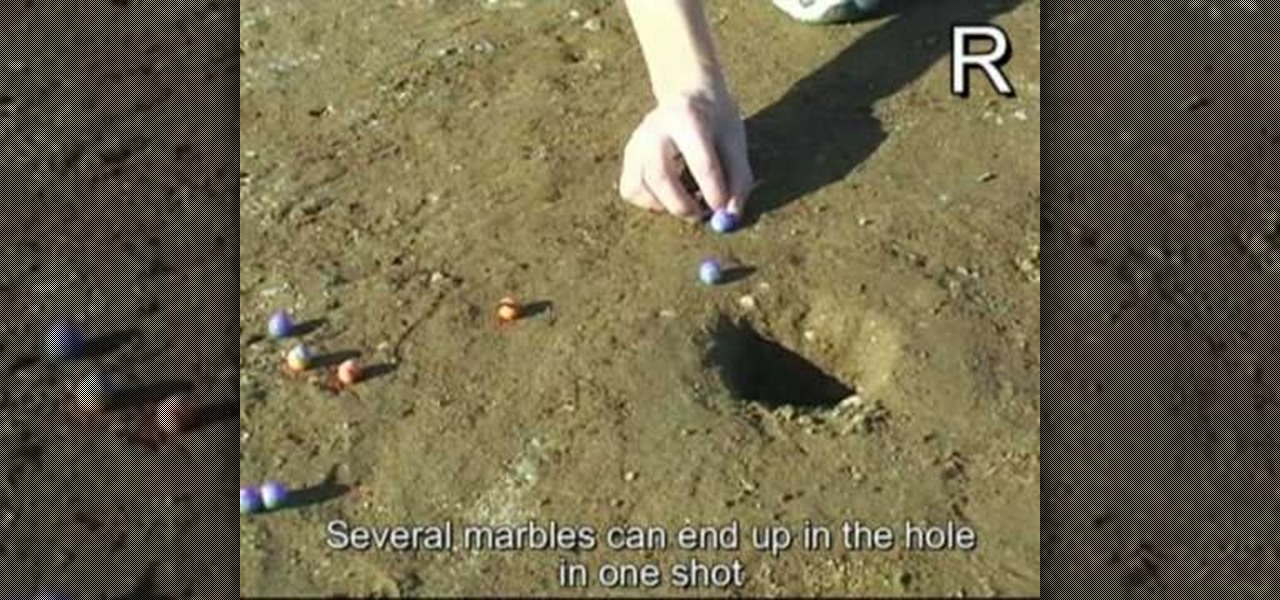
Each player starts with 15 marbles that are a color distinct from his opponents marbles. Toss a coin to choose a start line, placed 3 meters from the hole. The players then take turns shooting marbles, first from the start lines, then from wherever the marbles land on the field, all the while trying to make their marbles in to the hole. The player to shoot all his marbles in to the hole first wins. In a case where both players have 1 marble left and the final shot is made by the person who to...

In this Software video tutorial you will learn how to make a book cover in Photoshop. Go to file -> new. Give it a name, set width 900, height 1200 and resolution 300 and click OK. You can change these settings if you like. Go to your paint bucket tool and paint the background black. Then go to layer -> new ->new layer -> OK. Now select the elliptical marquee tool and holding ‘shift’ drag from the top left hand corner and make a circle. Go to your paint bucket tool and paint the circle with a...

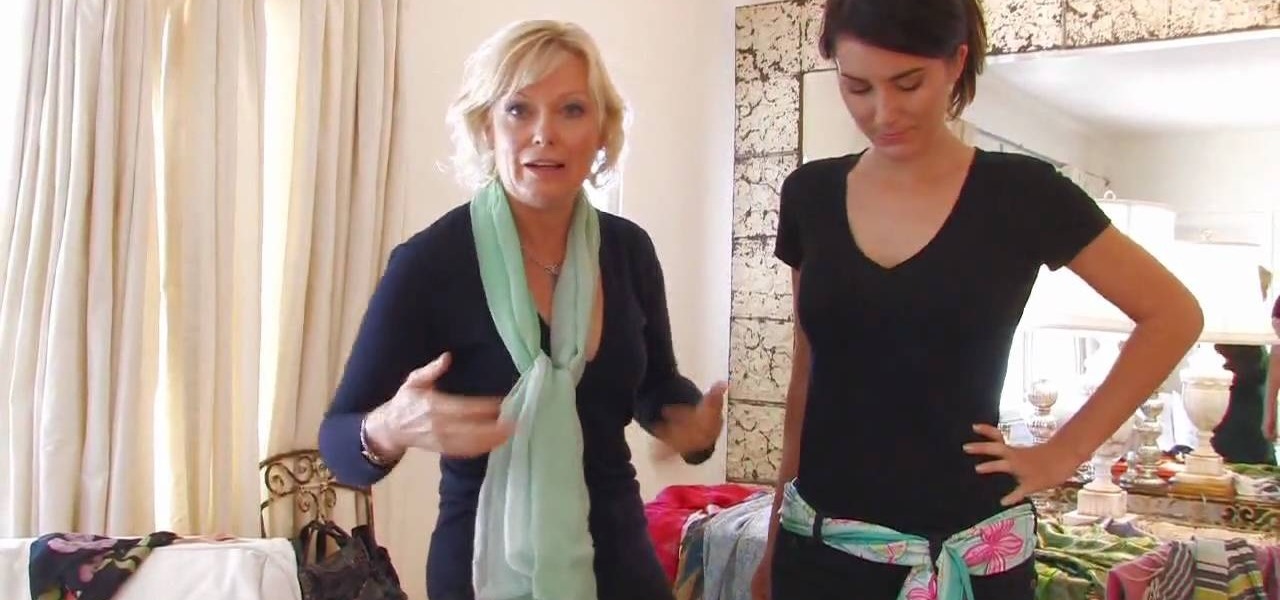
In this Modern Mom video, costume designer and fashion consultant Cate Adair shows how to wear a spring scarf. She shows how to use a long thin scarf as a belt. She threads the scarf through belt loops and tying it in a simple knot around the belt loop at the end. During the video, she discusses using fabric as a scarf, or changing the width of the scarf depending on body shape. Finally, she uses a large square scarf folded in half from corner to corner to tie a "sarong" style splash of color...
To decorate a fall flower centerpiece for your home, create a table centerpiece. Get some dry flowers with attractive colors of your choice. Take a metallic pot for centerpiece. Place a Styrofoam ring in the bottom of pot or vase. Carefully insert stems of dried flowers into the foam. The interior design technique is to be perfect to fall, so that it looks natural. Make sure to have the tallest flower at the center of the pot. Work from the center outwards applying more flowers and stems. Mak...
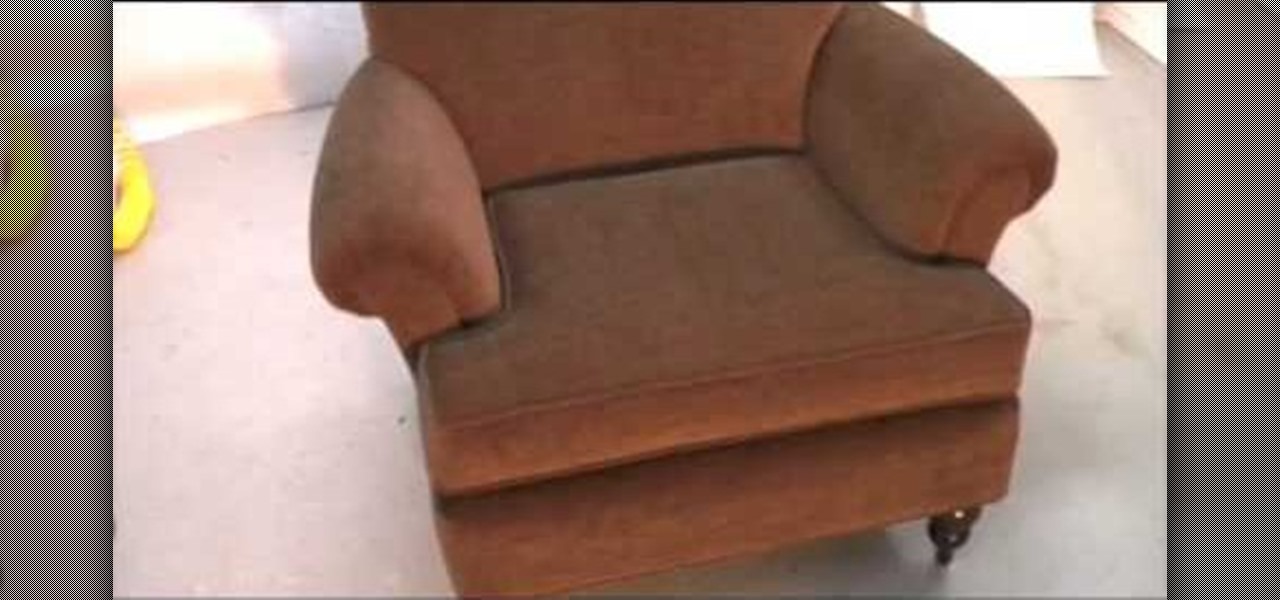
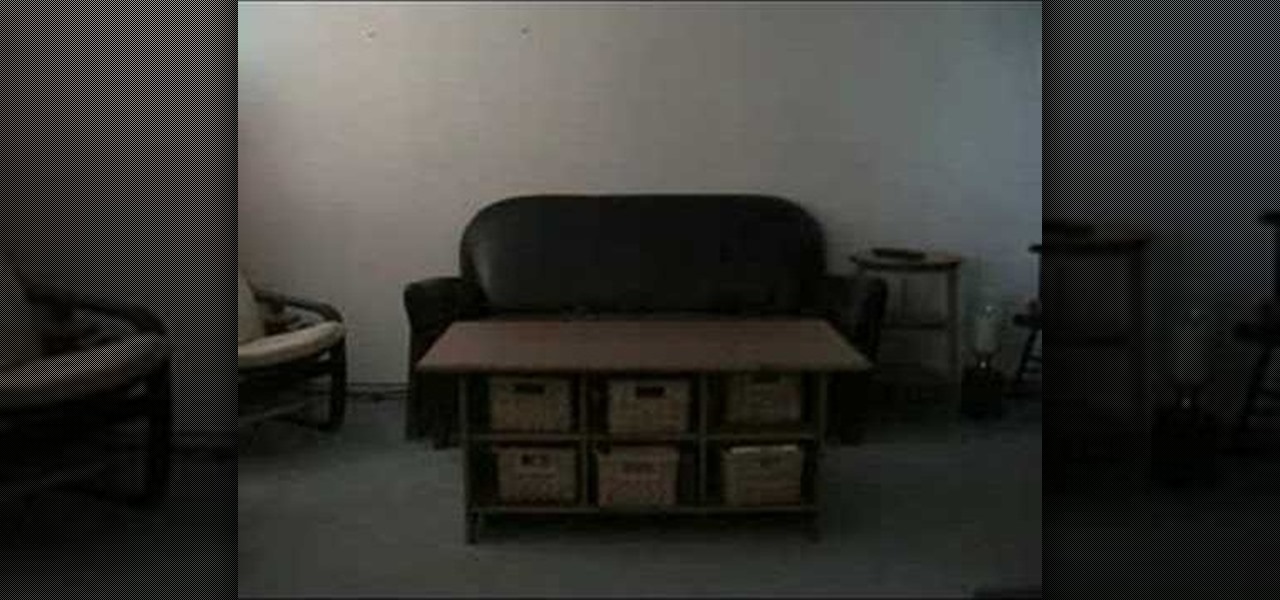
This is a demonstration of how to upholster full an occasion chair. First the seat upholster is removed carefully. The new cloth is cut accordingly to the shape. The edges are folded and stitched. The cloth is spread over the seat, tucked under the hand rest stretched to the bottom and nailed. For the hand rest a rectangular cloth of required color is cut. A piece of foam is spread over the hand rest and covered with the upholstery cloth and stapled at the sides and bottom. The back rest is r...
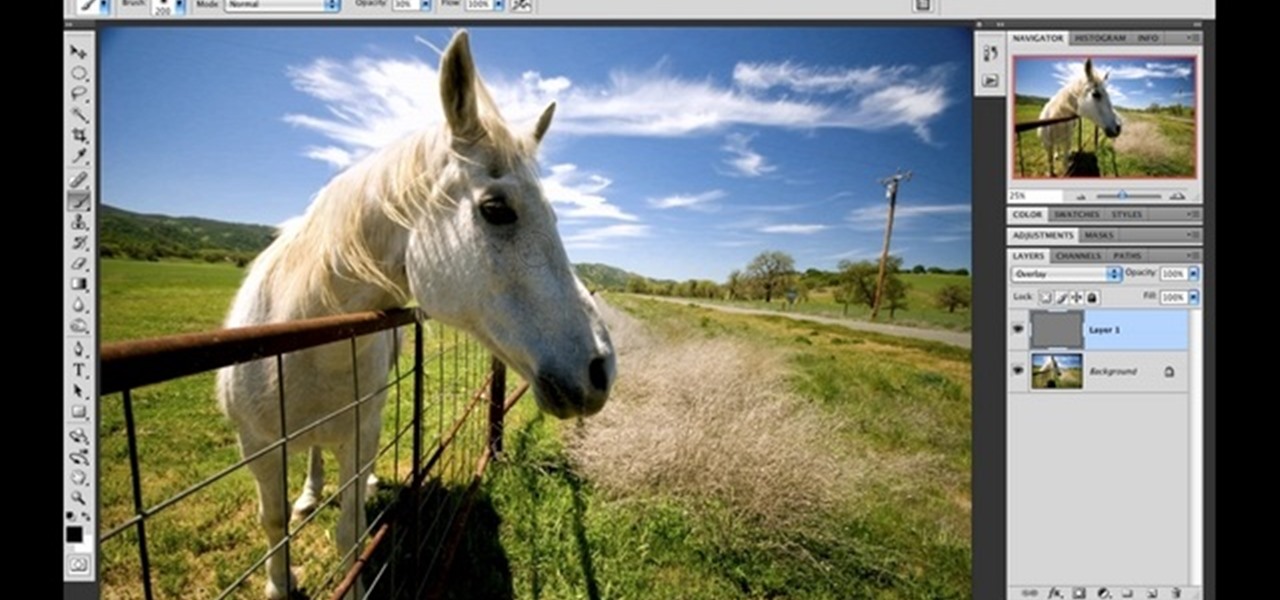
Nicole Young demonstrates how to use non-destructive dodging and burning using layers in Photoshop. Your first move is to create a new layer and then hit shift + delete to select the level of opacity. You want the layer to be fifty percent grey. Now select overlay from the menu which will make anything that is fifty percent grey will be transparent. You will be dodging and burning with white and black brushstrokes. To switch from black and white background colors just hit x. Other keyboard sh...
The metal clay must be completely dry before you begin the torch fire procedure. Set up your work space in a well-ventilated area with your metal clay on a fire brick. Start your flame and move around the piece in a circular motion, not staying on one point for long. You might see little flashes of flame. Don't panic. That is to be expected. Time yourself for about a minute. Your metal clay should take on a peach color. It is important not to use a butane torch and metal clays that contain or...
Showing how to make of a cucumber out of polymer clay. The instructor begins with the color of clay she is going to be using, greens and translucent. She makes six inner 'seeds', then she shapes them around a core piece. Around the middle, she wraps 2 layers of translucent clay, then a light green, and the final dark green outside. The whole time she's lightly shaping the piece into a tighter compact whole, saying this needs to be done while the clay is warm, and not to walk away or take any ...
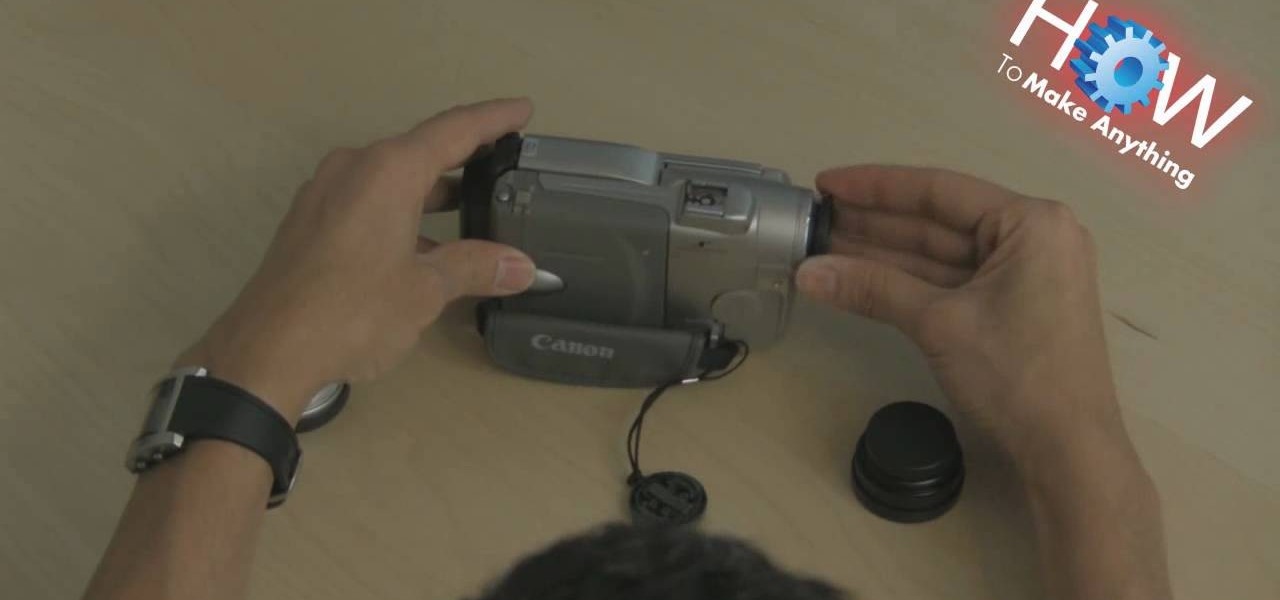
Make sure you have the appropriate lens for your digital camera. Look for markers on the lens that correspond with any mark on the camera body. Different brands have different markers. Some have square dots while some have red dots. Line these marks In one hand, hold your camera body firmly pointing to you. While holding it, push the lens button. Firmly hold the bottom of the lens (where the lens meets the camera body), and twist. Some cameras let you twist clockwise, others counterclockwise....
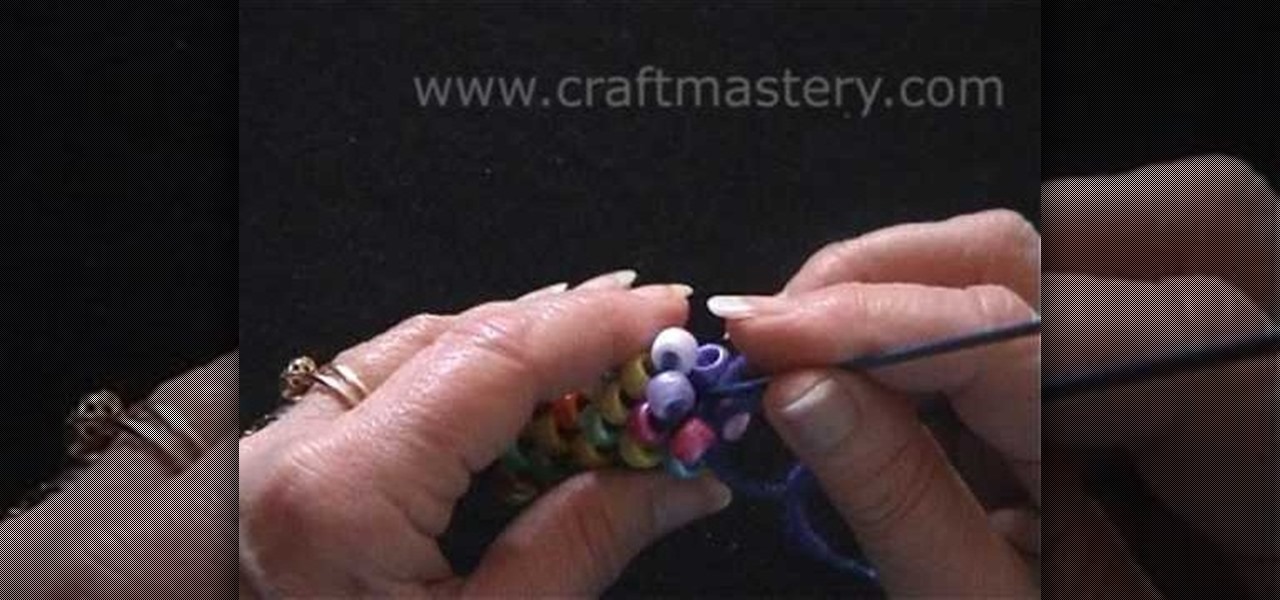
For anyone interested in learning a new jewelry technique, this video tutorial shows how to crochet a bead rope necklace. You can use large pony beads like the video tutorial, or use much smaller beads. The pony beads are suggested for beginners so that you can see what you are doing. To begin, thread all of the beads you will use onto your yarn. You can alternate colors or place them onto the string at random. Both techniques will yield two different effects. Begin with six chains slip stitc...
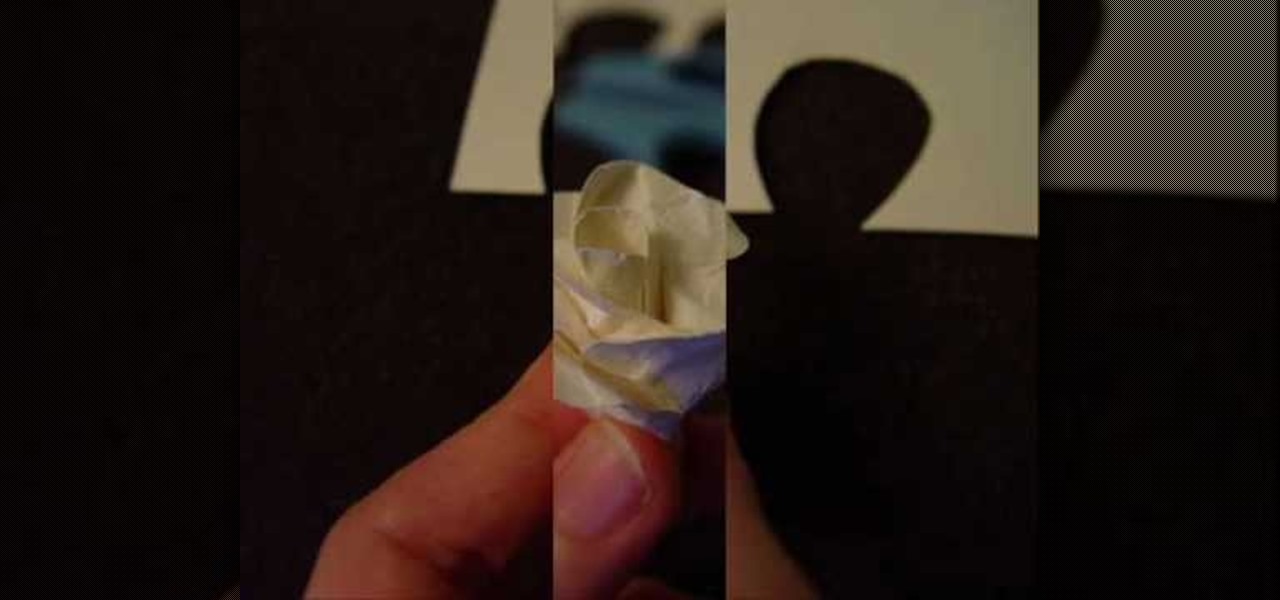
This tutorial demonstrates how to make simple yet beautiful paper roses using only a few materials. The image displayed at the end of this video is just one example of how realistic a paper rose can look. In order to do this, you will need at least one sheet of plain or colored paper, tacky glue, wire and a pair of scissors. Initially, you must first cut your paper in to the shape of your pedals, then crumple them up. Crumpling your pedals not only makes them more flexible, but can also add a...
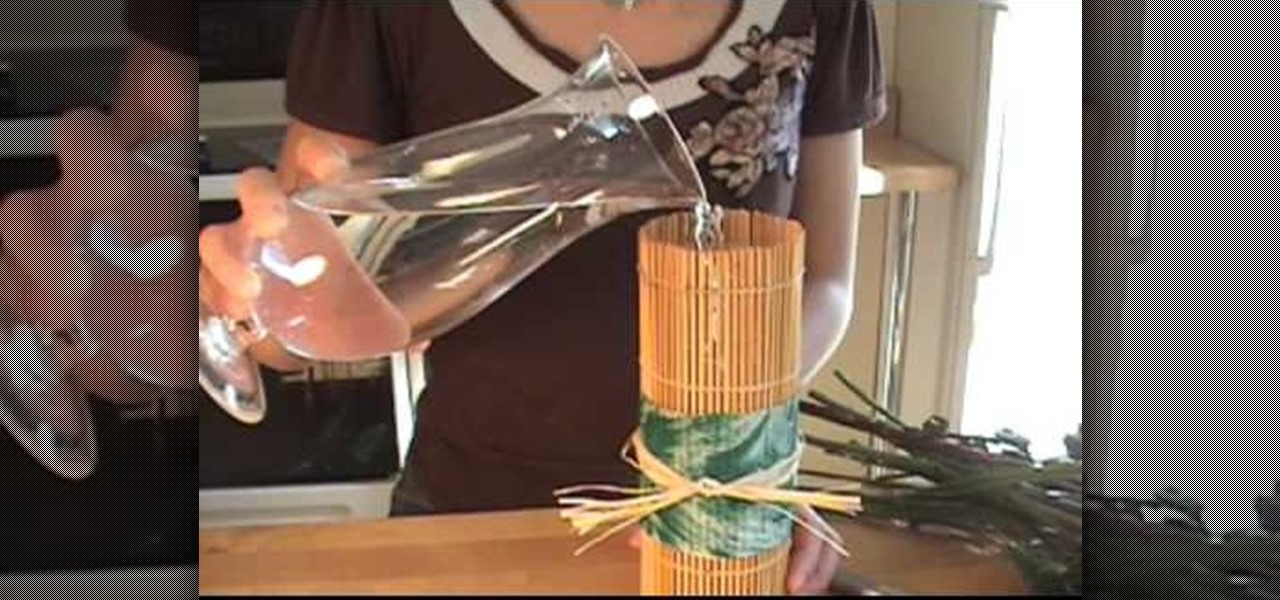
In this video tutorial, viewers learn how to make a Japanese-style sushi roller flower vase. This flower vase uses recycled items. The materials required to makes this vase are: a newspaper, scissors, raffia, sushi roller, acrylic paint, brush, tin foil, tape (or glue gun) and an empty bottle (300 ml). Cut the newspaper to about 3" x 12". Paint the newspaper to your preferred color. Cut the top part of the bottle. Roll the bottle in the sushi roller. Wrap the newspaper around it and tape it. ...
Yanik Chauvin shows viewers how to add a reflection using Photoshop. This tutorial focuses on how to do a reflection on a white background. You can do this with objects as well as people. Bring up your image with a white background to add the reflection to. First, you should press ctrl+j to add a second layer. In order to do a reflection, you need room, so you need to increase your canvas size. To do this click image, click canvas size, and click the bottom arrow so it can expand downward. Yo...
Rather than throwing out your old furniture, learn how to give your old dresser a modern makeover by following this video tutorial. To begin, pull off all of the old drawers and other pieces that do not work. You will need to sand down the frame of the dresser and then replace all of the problematic parts. You may also need to rebuild the center supports so that your dresser drawers slide in and out easily. Wipe down the dresser with a cloth and then coat it with a latex primer. The primer is...
This video, by Garden of Imagination, shows you how to make a polymer clay pizza. To begin with, have a small piece of wood to act as a tray for your pizza. Take off-white clay for the crust and warm it up between your hands. Roll it out on your pasta machine on the number one setting. Using a circle cutter, push down on the clay to create a circle. Use an object that is a bit smaller of a circle to create the inside area of the pizza by pushing down. While doing that, blunt the edges of the ...
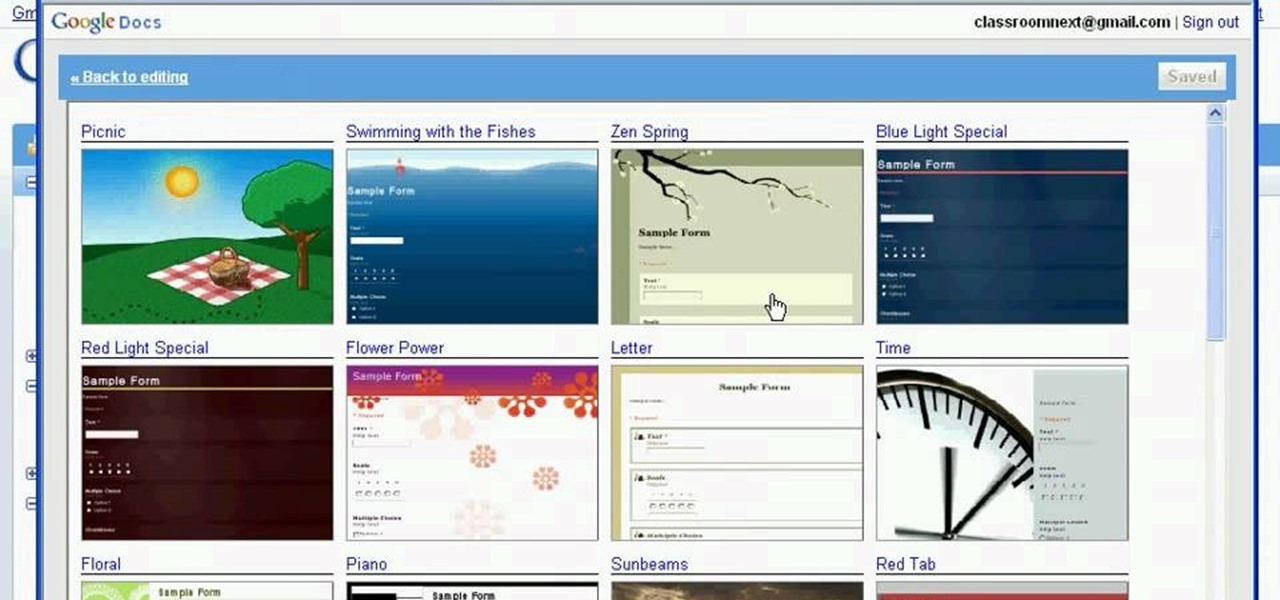
Classroomnext describes how to create a Google form with your own custom colors and designs to give it a personal touch. Once you are logged into the Google Docs main screen, click on the button that says "New" and choose the option "Form" from the dropdown menu. Once your new form appears onscreen, type in a simple test name in the title field and a placeholder question. Save the document. Click on the button that says "Theme" and you will be shown a variety of styles to choose from. Save th...
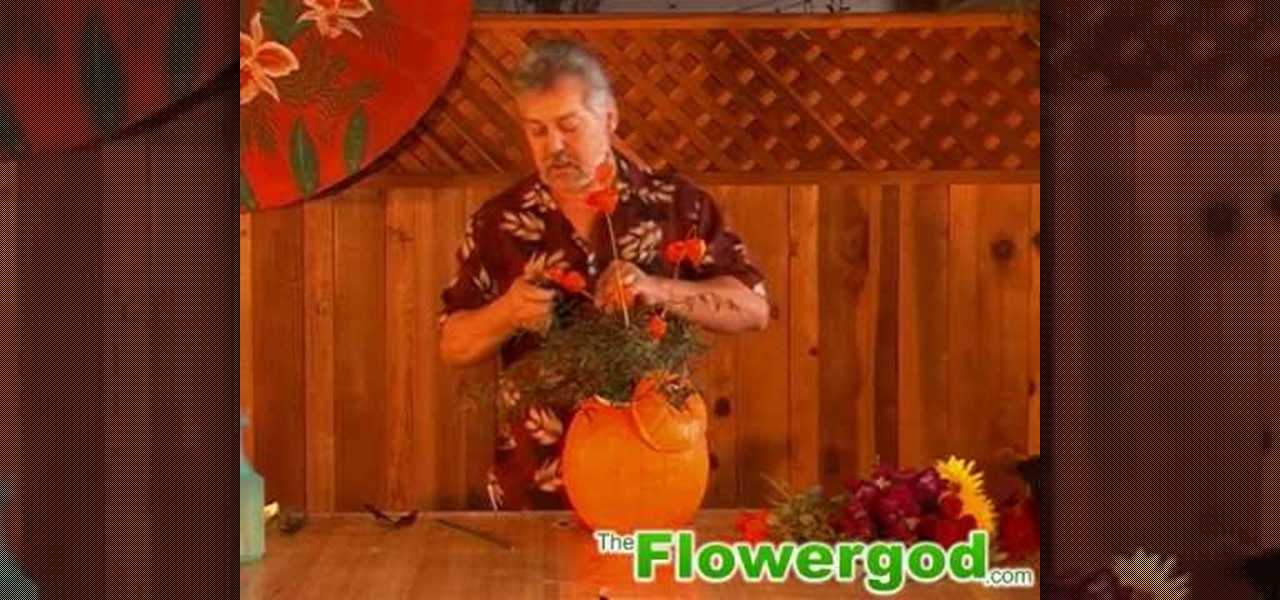
He starts with a pumpkin and some flowers from the supermarket, and some greens that he trimmed from a bush in his yard. He first cuts off the top of the pumpkin and cleans it out. He put newspaper in the bottom of the pumpkin, then puts a container with floral foam inside the pumpkin so the foam is sticking up a bit. He attaches the lid of the pumpkin to the foam with a piece of wire. He starts with the foliage and then begins adding flowers. He puts a tall stem of Japanese Lantern in the mi...
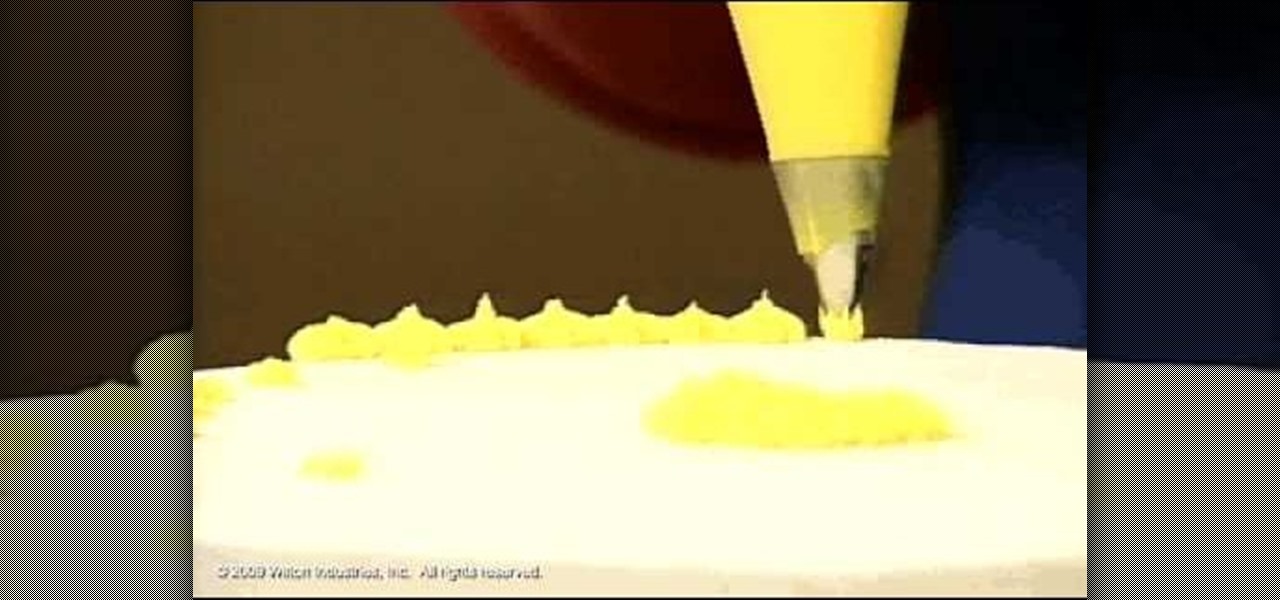
Decorating Tips demonstrates how to use the star tip to decorate a cake or cookies. Use a medium consistency icing and position the bag at a 90 degree angle. Hold the tip 1/4 of an inch above the surface of the cake or cookie. Use the count squeeze, stop squeezing and stop to create a delicate star look with a size #13 star tip. With a size #18 star tip, shorten the count and put the icing stars right next to each other to fill in a cake. Use different colored icings as accents. You can also ...
The Flower god gets us all ready for the Chinese New year with a quick and very simple flower arrangement for a table centerpiece. You'll need some good luck bamboo, some ivy, little pieces of ginger and some passion flowers to accent the green. Take some of the ivy leaves and cover the centerpiece base. Cut them short at a sharp angle to cover everything. Next use the good luck bamboo to add height. Cut these at a sharp angle as well so that they will stay secure. The angles help it work as ...
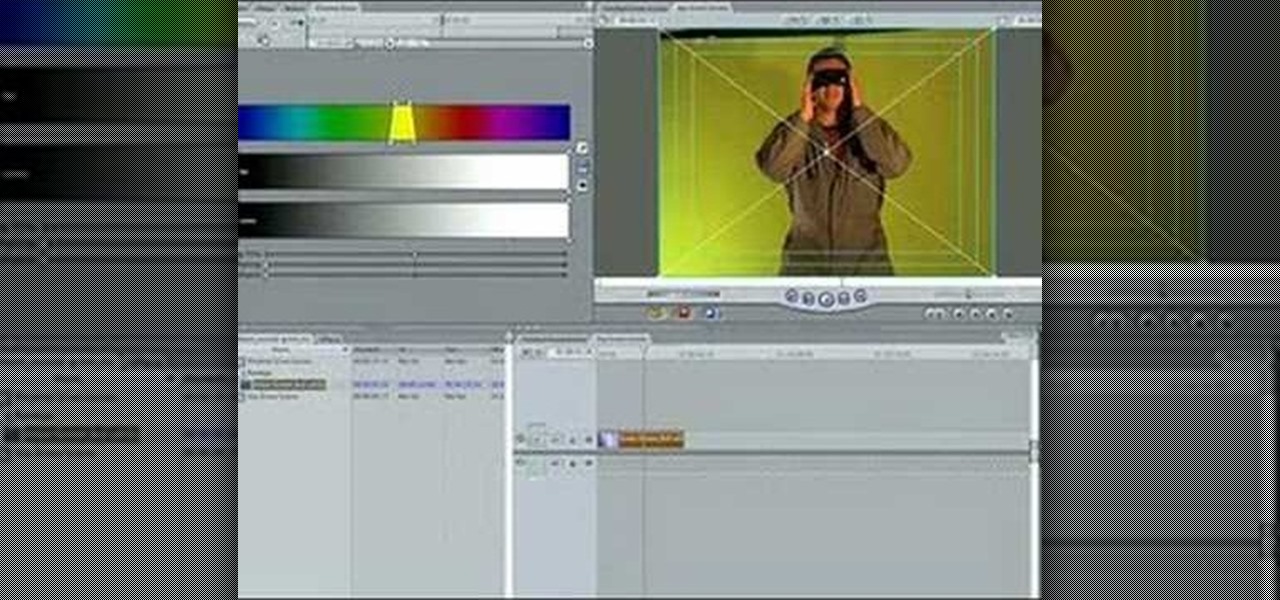
Let FiveSprockets help you get rid of the green screen effect in your videos and add great backgrounds to your movies at home! By using the Final Cut Pro program, follow along as you set your green screen clip in the display. From there you select the Effects, then Video Filter and follow it down into the Key menu. Grab the eyedropper and select the green color and make it fade away with just a few simple clicks. You can crop out any areas that didn't fade away, or use the softening tool to f...
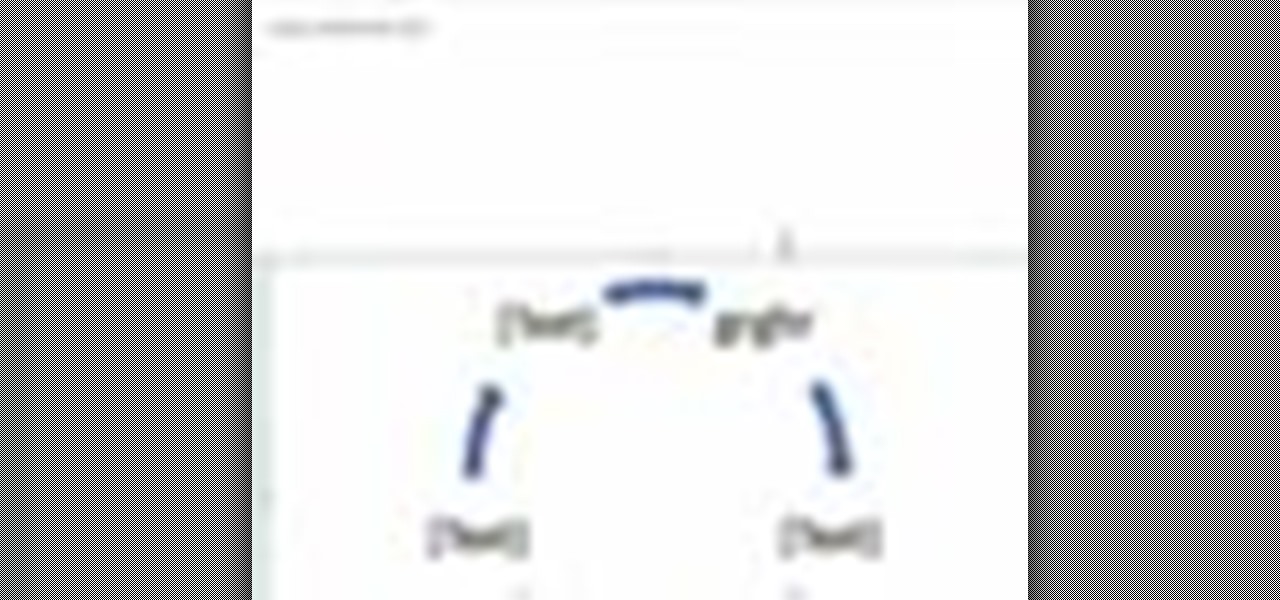
In this video we learn how to use Smart Art graphics including creation of Hierarchal charts, flow charts, modify, adding gradients, style, and colors, in Word 2007. The first step is to click on the Smart Art icon in Microsoft Word 2007. Next, you can scroll through the Smart Art object choices. In this example we first want to click on the Text Cycle icon. Once we do that click on OK and the rough drawing will be placed on your document. After that click on design and you can format the gra...
In this video from FiveSprockets we learn how to light an interior space while filming on a budget. For this you need two Chinese lanterns which he found for $2.95 each. You need 2 light bulbs which he found for $3.95 each. Make sure you get extra ones. Then get a couple of pan lights. They are day light and mood light. They were $7 and $5. You also need a multi colored gel pack which is $6.00. He uses C-stands to hold the lights up but he suggests coming up with other ways if you don't have ...
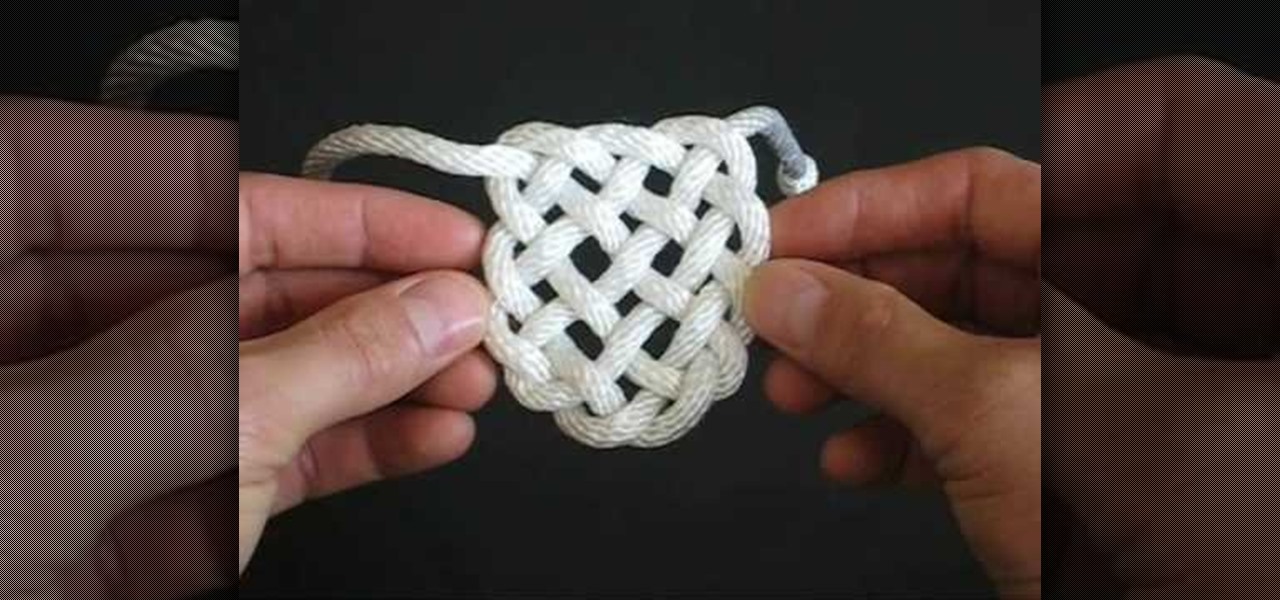
The Panel Knot can be used for a number of different occasions. These knots are a great decoration piece and can be done with different styles and colors of rope to get a splash of life in your home. These knots can also be used as an accessory to any outfit. All you need is a piece of sturdy rope, your hand, and about 3 minutes to learn this great trade. This can also be a great activity for your family to enjoy making together.
This video will show you how to create a flow chart in MS Word 2007. First click on the Insert tab. You can see the smart art option, click on it. A "Smart Art Graphic" window will appear.
You can't be dumb to pull off this ventriloquist dummy look. This is a perfect look for any Halloween party or event, or even if you just want to scare a couple of friends. In this video Youtube user goldiestarling gives us an instructional video on how to emulate a ventriloquist dummy look for any occasion. To achieve this look you will need a number of colored matte shadows, your application brushes, and about 15 minutes to get this awesomely spooky look.
Take a metal piece and use the gas gun and blow with appropriate pressure so that one can observe the color change. You can see a white layer on the metal. Apply flux on the metal piece and rub it gently so that the small holes are covered. Let it dry for sometime. Start heating the metal gently with high flame for about five minutes. You can see water evaporating out of the flux on the metal. It protects metal from fire scale and will not allow oxygen to stay there. Now turn off the gas gun ...
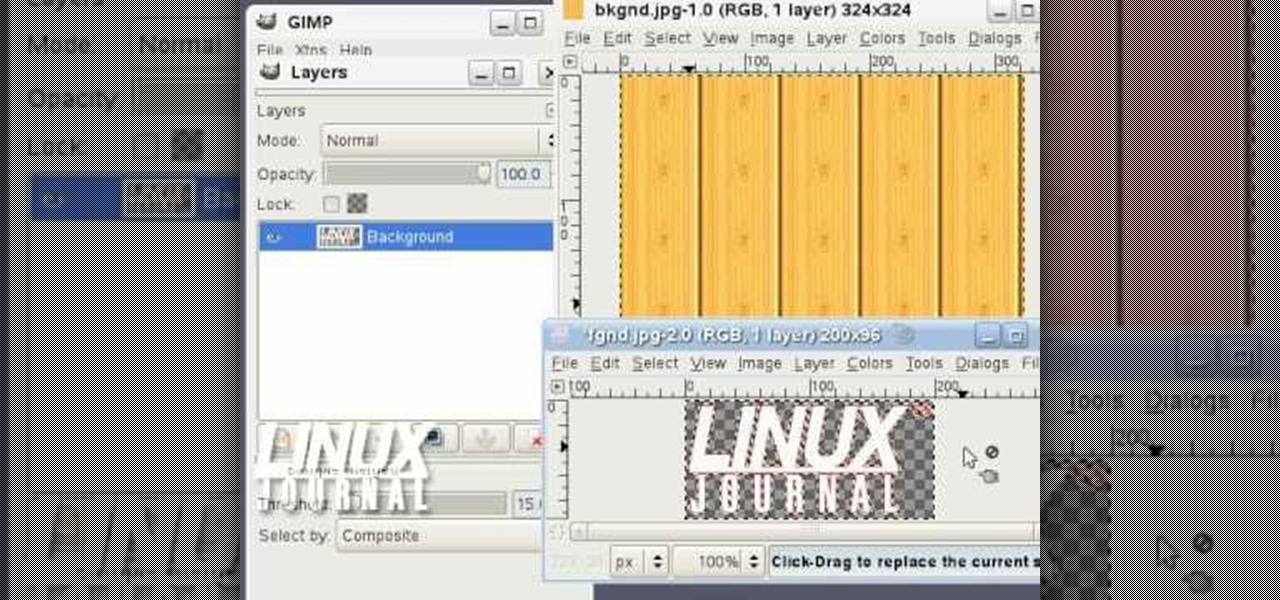
Learn how to add a new background to an image using Gimp. 1 Open the original image and the new background in Gimp. 2 Open the layers dialog and then click on add an alpha channel. 3 On the original image choose 'Select by color' from the menu and then hit delete. 4 Copy the image. 5 On the new background, select 'Add a layer'. 6 Paste on the new background. 7 Save and you are ready to go.
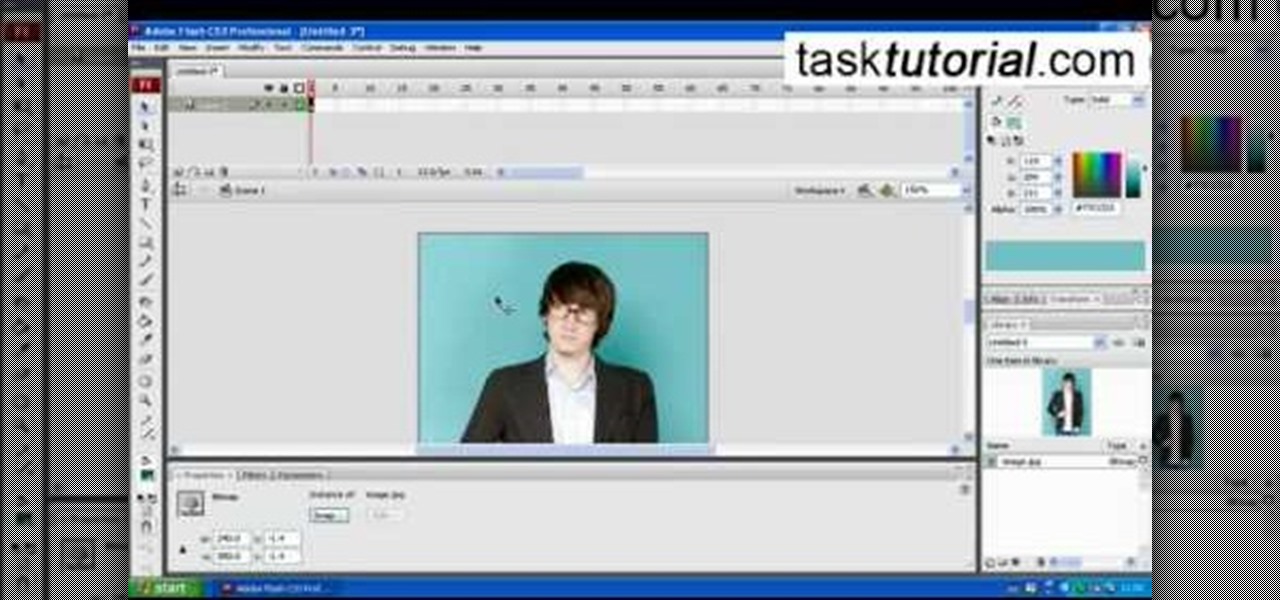
Are you interested in 2D animation in Flash? First import a image in flash. Then create a new layer and choose oval tool and take a radial gradient. In the middle of the shape, we need to have zero alpha value and pick the colors from the background of the image. Create the shape over the image and take another frame at no.10 and increase alpha. Then create another keyframe and convert it to movie clip. Then create shape and motion tween. On the new layer, write a stop command in action scrip...
Now you can easily animate gradient image using Flash. For this you need to open flash, and then import an image which you want to work with. Create a new layer. Draw a rectangular. Go to color option and choose liner. You have to keep alpha in one side of gradient. Ad few key frames and use motion tween. Now go to your picture. You also make the same key frames of that. So it will be regular. After watching this tutorial you will be able to make nice gradient animation using Flash.
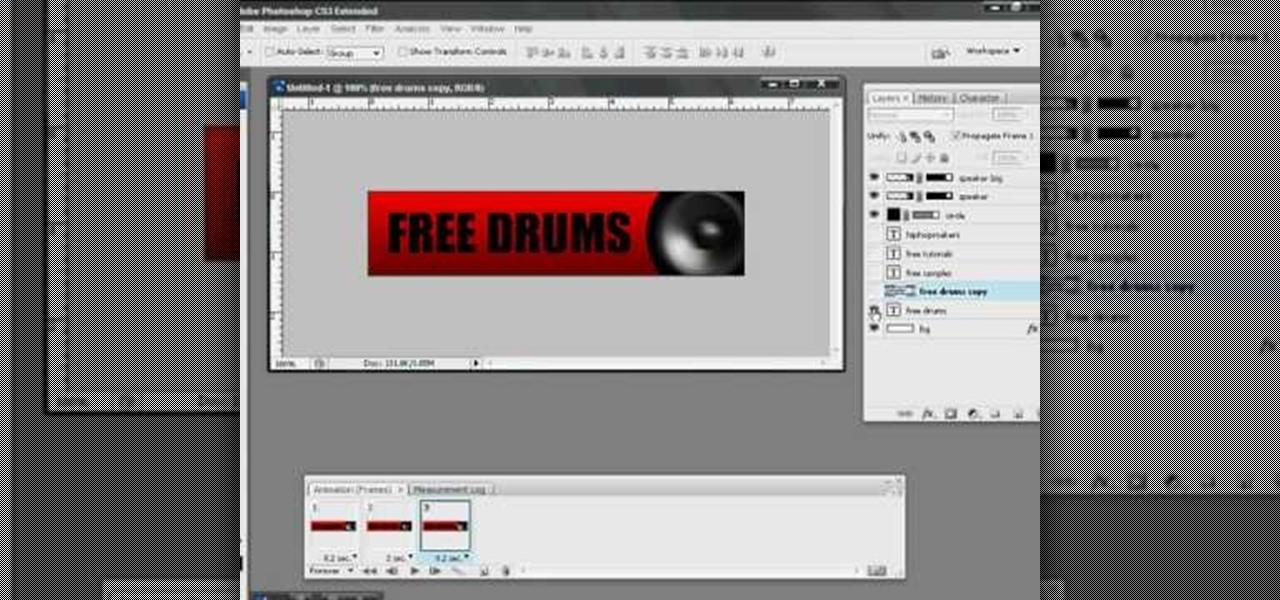
The video explains how to make a animated banner in photoshop. The narrator explains step by step how to create the banner, what colors he used in the banner and the width and length of it as well. He also shows other techniques that he used to create the banner. The video is about ten minutes long and is very informational for those interested in creating animated banners for their website. The narrator has other instructional videos on the same subject as well.
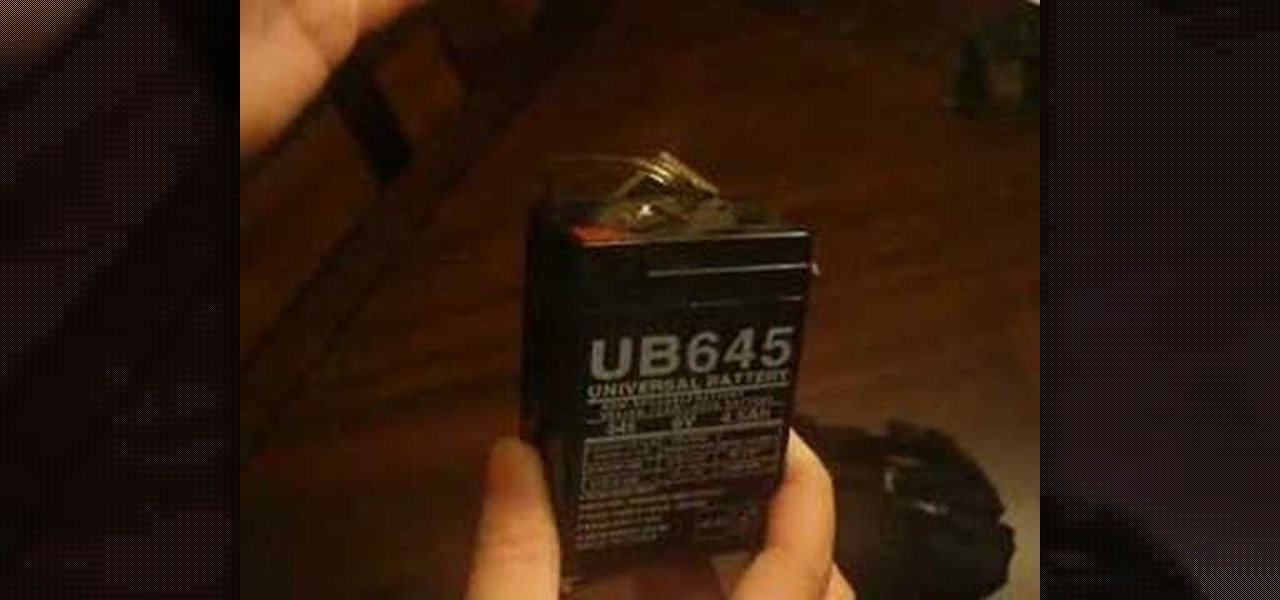
You can make your own 6 volt battery pack for the Vivitar 285HV camera. The Vivitar 285 is known as the "cockroach" flash because it is well put together and it is very hard to kill the flash. Manual mode settings and the color setting are explained briefly. Instead of using four double A batteries to power this flash you can make your own 6V battery to power it. This is beneficial because the 6V battery will last longer and some of them have the ability to be charged up.
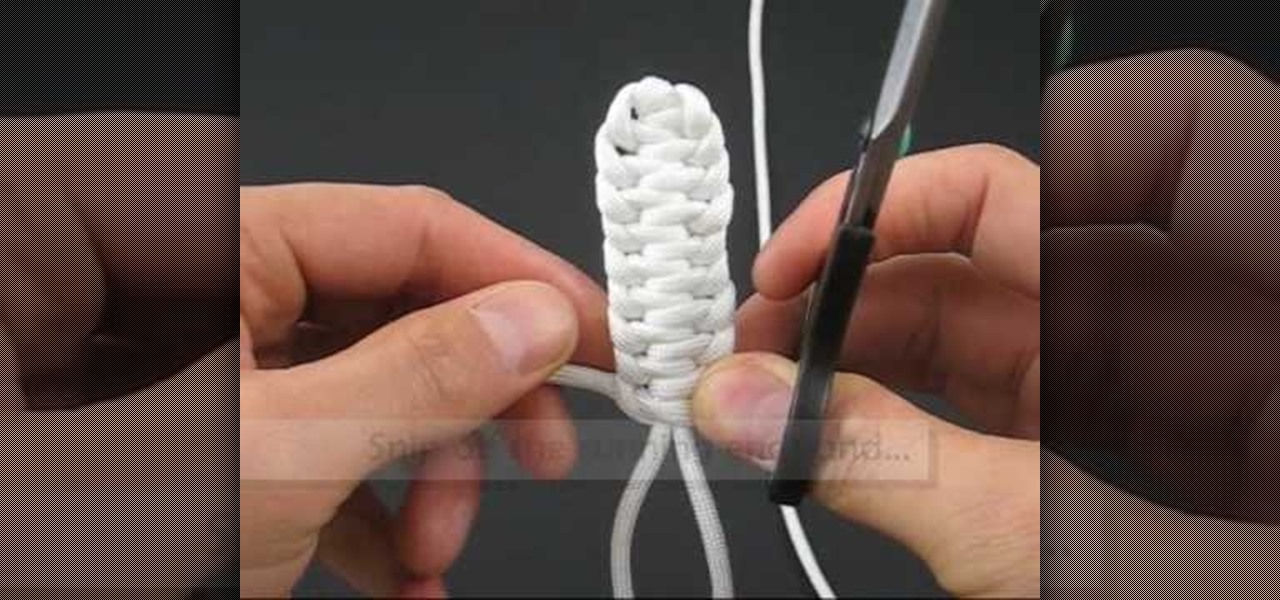
This video describes the technique used to tie a single Genoese bar knot. The presenter shows what the completed knot looks like, and then shows the technique used to tie the knot. The process for tying this knot is similar to braiding as the ends of the string are looped around and through the previous section. Each segment must be pulled very tight or the knot will fail to reach the correct shape. The hitches continue until the desired length of the knot is reached at which point the excess...
Converting bitmap images to vector in Adobe Flash sometimes can come as a nuisance. This video will give you a step by step tutorial on how to convert bitmap images to vector images in Adobe Flash.
In this video tutorial by Tasktutorial, learn how to make a paper scroll in Photoahop. Select the rounded rectangle tool and draw a shape similar to the shape shown. Open layer options. Go to gradient. Select the indicated gradient and delete the marker shown. Adjust the other markers as indicated and use the control+g shortcut to duplicate the layer. Position the shape as shown and using the pen tool draw the paper outline by clicking and holding to obtain the required shape. move the paper ...
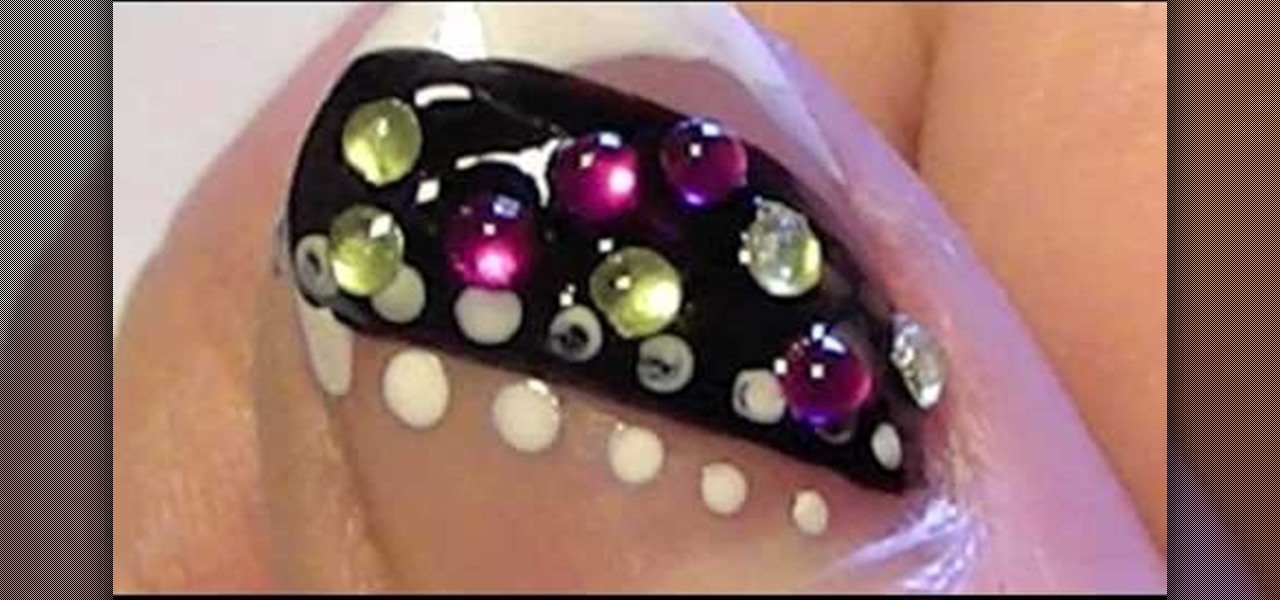
The rhinestone studded nails will be more attractive. To make your nails a perfect complement to any acrylic or polished nails use your wildest imagination to make it more attractive. The following steps will help to make beautiful, rocker rhinestone studded nails. The first step is to clean the nail surface where you want the stickers to be placed. The second step is to apply a base coat, and the third step is to apply nail polish color. The fourth step is to peel off the stickers carefully ...
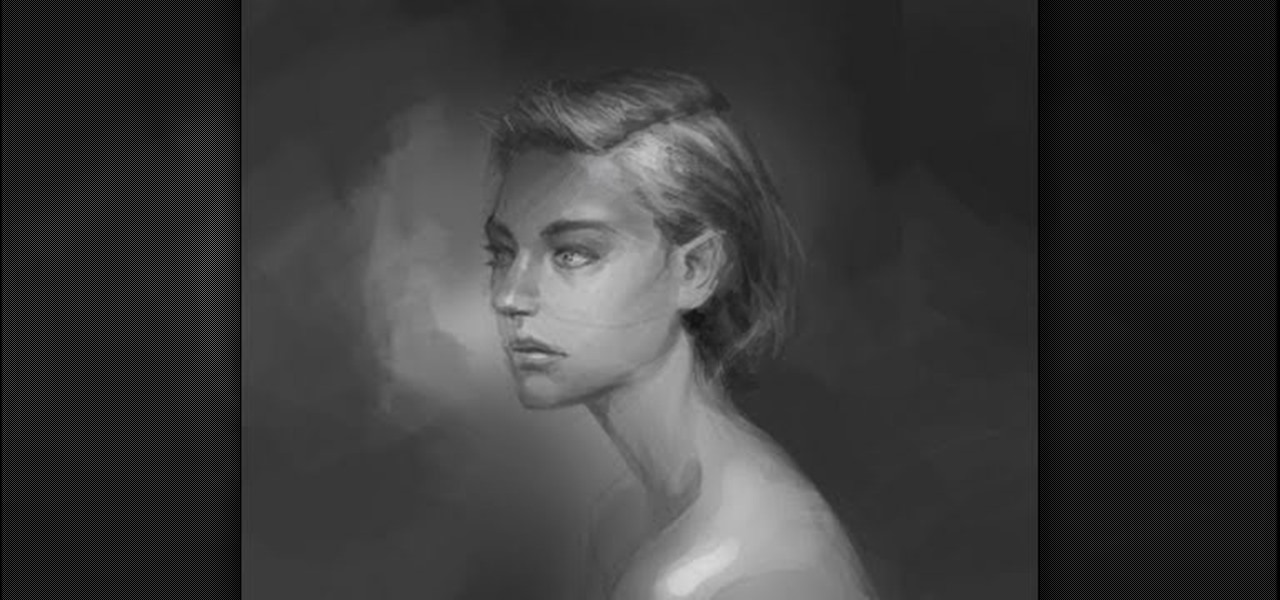
Learn how to sketch a realistic 3/4 profile of a female head and face. Begin by drawing a simple circle. Add a few more construction lines which outline the general shape of the drawing. The rough features of the face come next. Now you are ready for more artistic touches, such as shadows underneath the nose and lower lip. Experiment with different brushes and intensity of color until you like the result. Learn to play with lines and shadows to create a sketch of a female head.