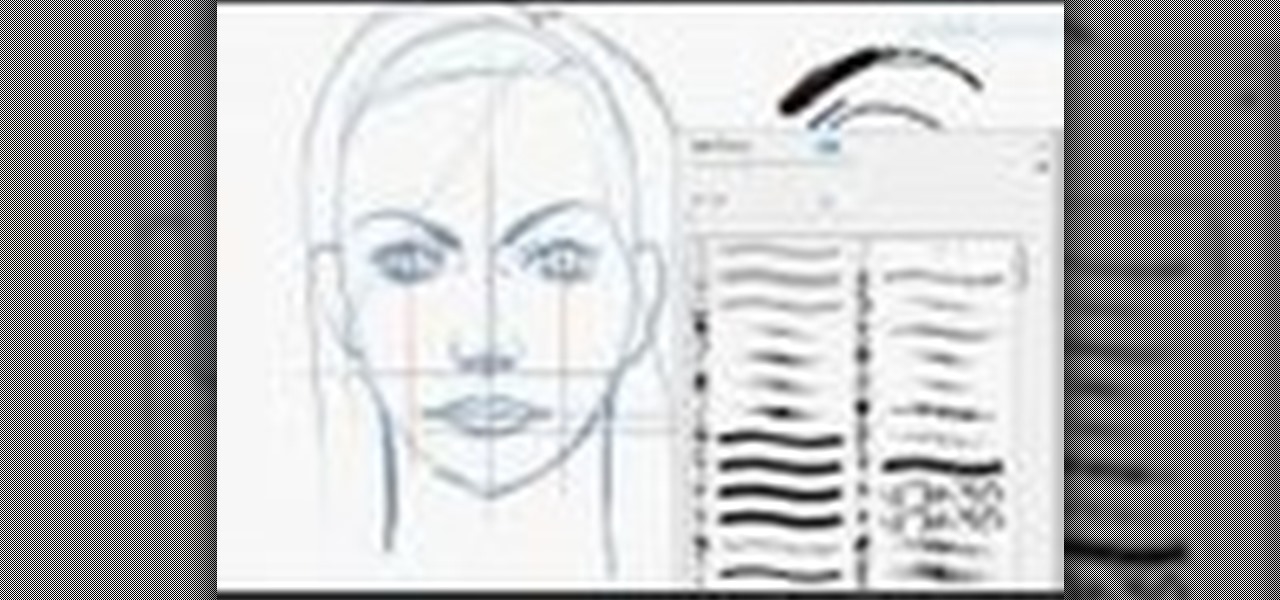
In this tutorial, we learn how to sketch a female face. Start with an upside down egg shape for the face, then draw in the contours of the chin. Use reference lines on the face to help you place where the eyes, nose, and mouth are going to go. After this, start to draw in the additional features, using a lot of lines to contour the face and make it look as realistic as possible. It's very important to use the lines in the background of the face so everything is even and lined up. After this, ...

In this tutorial, we learn how to wash, stain & seal an outdoor deck with Lowe's. First, determine the type of stain for your project, there are four main types of finishes. Check the instructions to calculate the amount of stain you need to purchase. To start, you will need to clean and dry the deck, making sure you cover your body before you begin. You will also need to use sand paper to even out the surface of the deck. After this, start to seal your deck with your choice of color. Let thi...

In this tutorial, we learn how to draw Tohru Honda. Start out by drawing a circle for the head, then lines on the face to reference where the facial features go. After this, draw a stick for the body alone with a neck. Draw in circles where the shoulders go, then start drawing around that to create the body. Draw on the school uniform for her, then draw on the ear and additional details for the uniform. After this, draw on the bangs and the hair, then add on the bows to the hair. Then, draw o...

In this tutorial, we learn how to draw Axel. Start out by drawing the head, then add in the facial features including the eyes, nose, ears, and mouth. After this, draw in the spiky hair that goes around Axel's head. Next, draw the neck and shoulders. Continue to draw down the body until you reach the feet. Add in the details of what the character is wearing, using lines on the clothing to make it look more realistic. After this, you will need to draw in shadowing on the drawing to make it loo...

In this tutorial, we learn how to cut your friends in half with film effects. To do this, you will need an actor, a still frame of blood, and some gory looking meat. Have your wounded actor lay on the floor with another actor laying next to him. Then, have them all leave the frame. Next, bring all the footage in After Effects and bring in the meat picture as well. Add blood and the meat in the pictures and remove the lower half of the body. Play with the colors to make it look more realistic,...
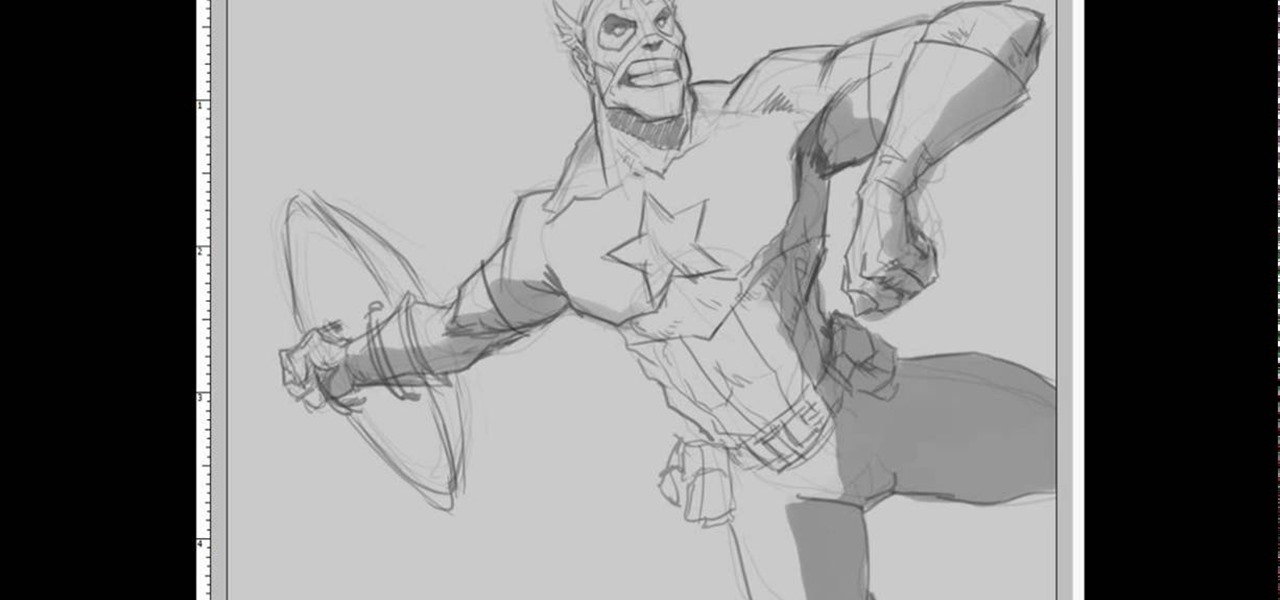
In this video, we learn how to draw Captain America in an action pose. Start out by drawing the torso, then the rib cage and pecks. Continue to draw the outline and small details of the rest of the body. Draw in arms gong out of the body so that they are spread apart, then draw in the head. Draw in lines for where the muscles are, then start to draw in the mouth, nose, lips, eyes, and other facial features. Once you do this, start to add in even more details of the outfit that the body has on...

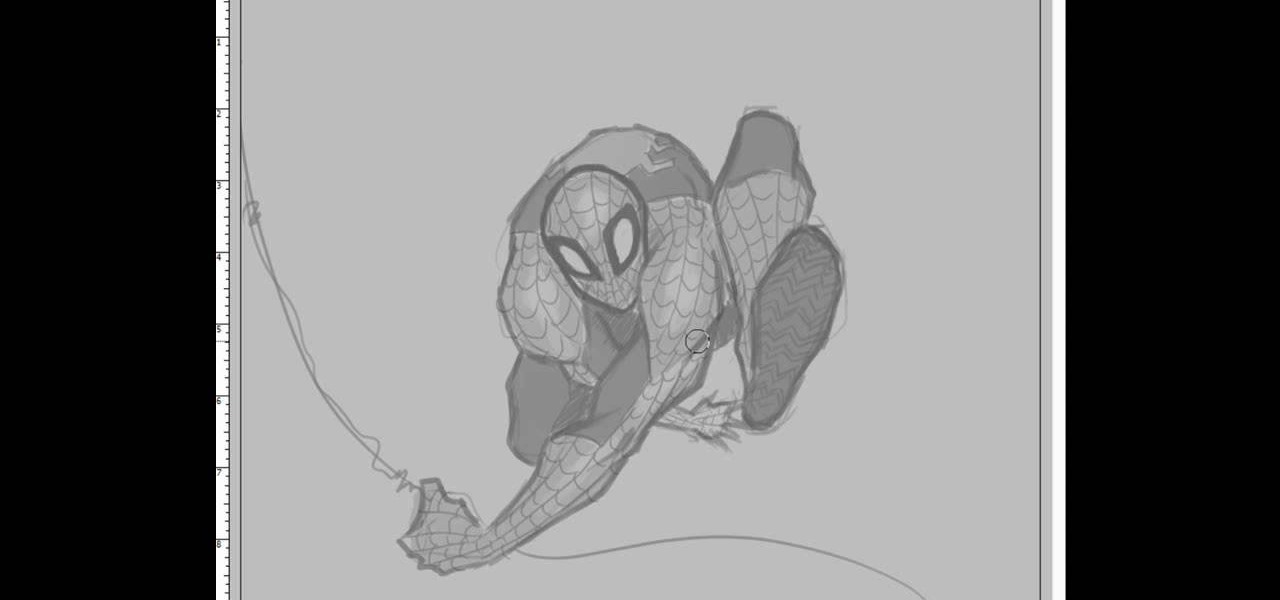
In this tutorial, we learn how to draw Spiderman. First, draw the outline of Spiderman's body while hanging from a web up in the air. Then, use a darker line to draw over the original sketch of the body. Start to fill in details of the entire body and the face of the character. Next, fill in the small details of Spiderman. Draw the details down to what the bottom of the shoes on his suit look like. Make sure the face has all the right details, then add in lines to the web to make it look more...
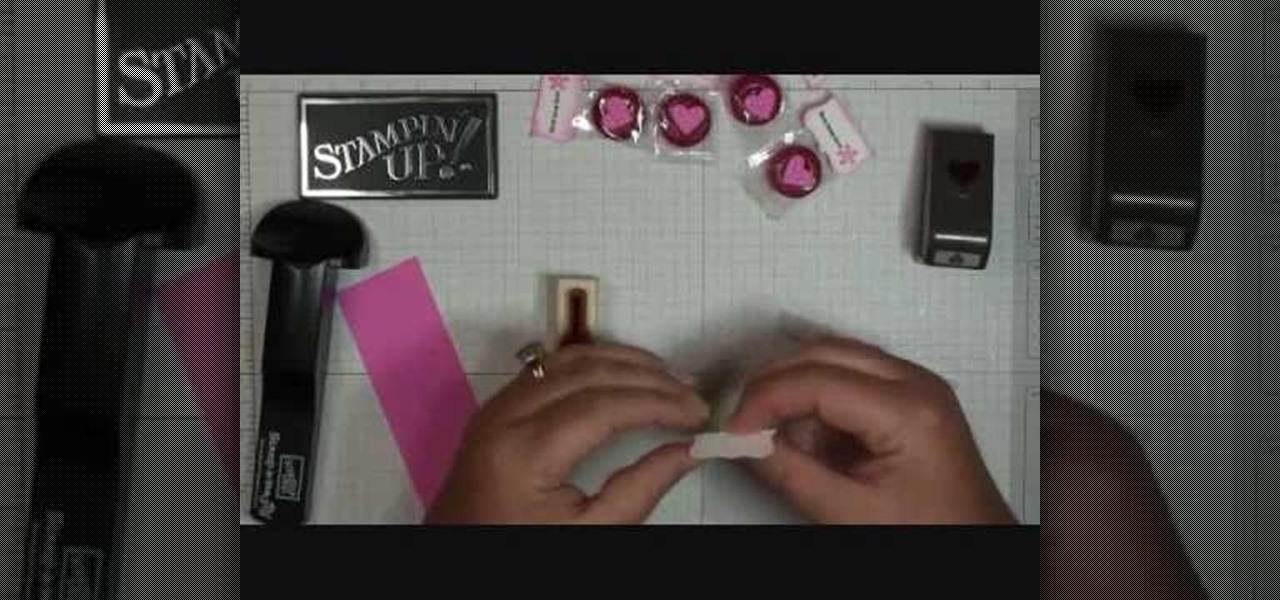
In this video, we learn how to make Life Savers treats. First, use the curly label punch and punch it out of a white paper. Next, fold this in half and then use your stamp-a-ma-Jig on card stock with a love and flower stamp. Use a black and pink marker to fill in the colors of the stamp. Next, stamp this on the piece that was folded in half, then punch out a heart and use sticky strip to adhere the individual life saver to the middle of the sentiment. Once finished, apply the heart and you ar...
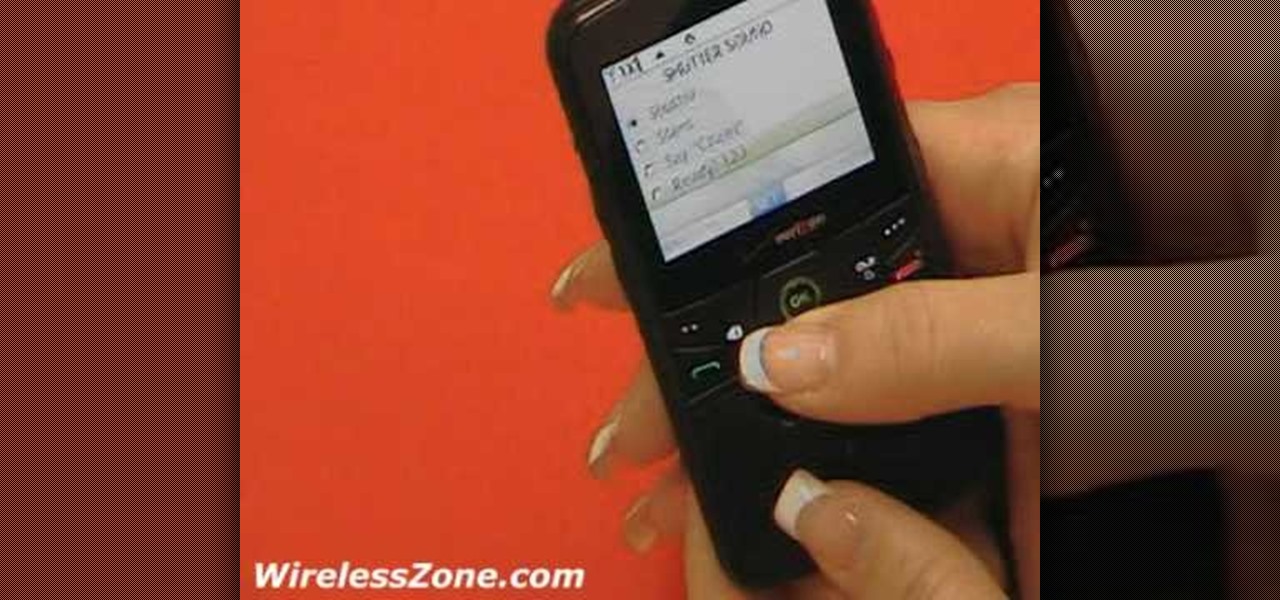
In this tutorial, we learn how to use the Verizon Wireless Razzle TXT8030 camera. This is 1.3 megapixels and has a self-portrait option on it as well. To access the camera, press the camera key on the side of the phone. Now, you will be able to view the gallery, take a picture, or see your options. The options will change the color effects, self timer, and other options for each of your pictures. Once you have chosen all of your options, face the camera at the subject, then press the middle "...
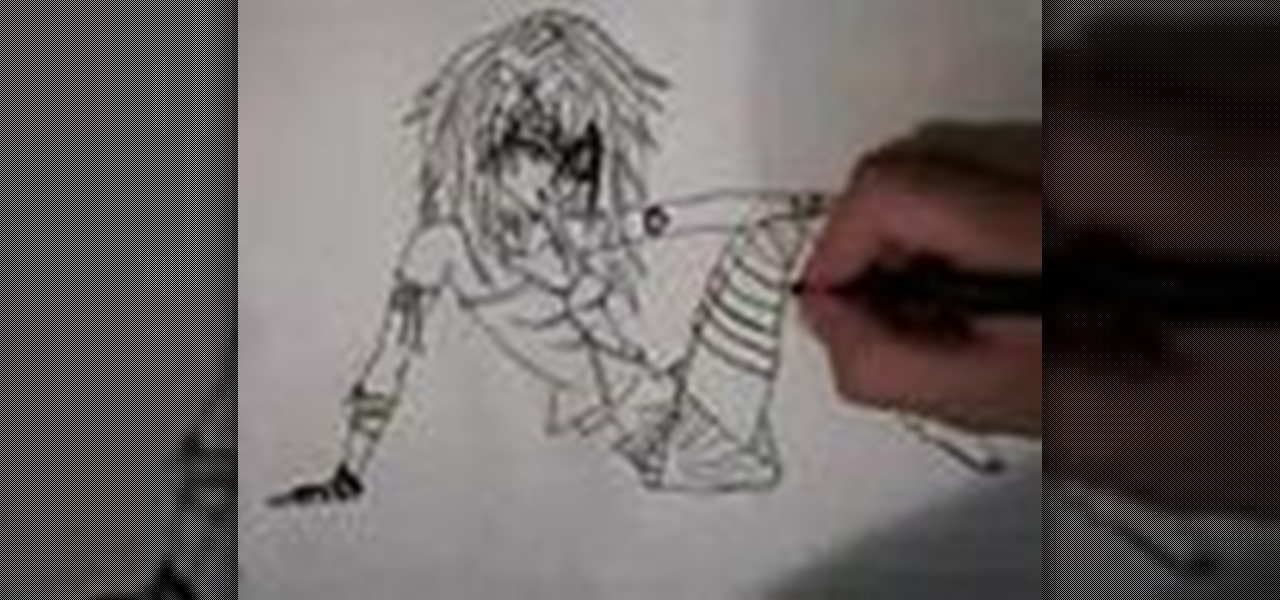
In this tutorial, we learn how to draw a manga cute emo girl. Start out by drawing the outline of the body, then add in the surrounding details. After this, use a darker marker to draw in the outline and the rest of the details inside the character. Make sure to draw in hair and all of the facial features to make her look feminine. Draw down the rest of the body, giving her a woman's shape and cleavage. Also make sure to draw on a pleated skirt and a tank top. Draw on the legs and feet, with ...
In this video, we learn how to draw a Pikachu PokŽmon. First, you should have a picture of the character in front of you so you can better draw it. Start out by drawing the eyes and filling them in with marker. Next, draw in the rest of the face, including the nose and the mouth. After this, draw the ears at the top of the head, then connect in the middle to create the head shape. Draw the sides and bottom of the head, then draw the body. Add in circles for the cheeks, then continue to draw u...
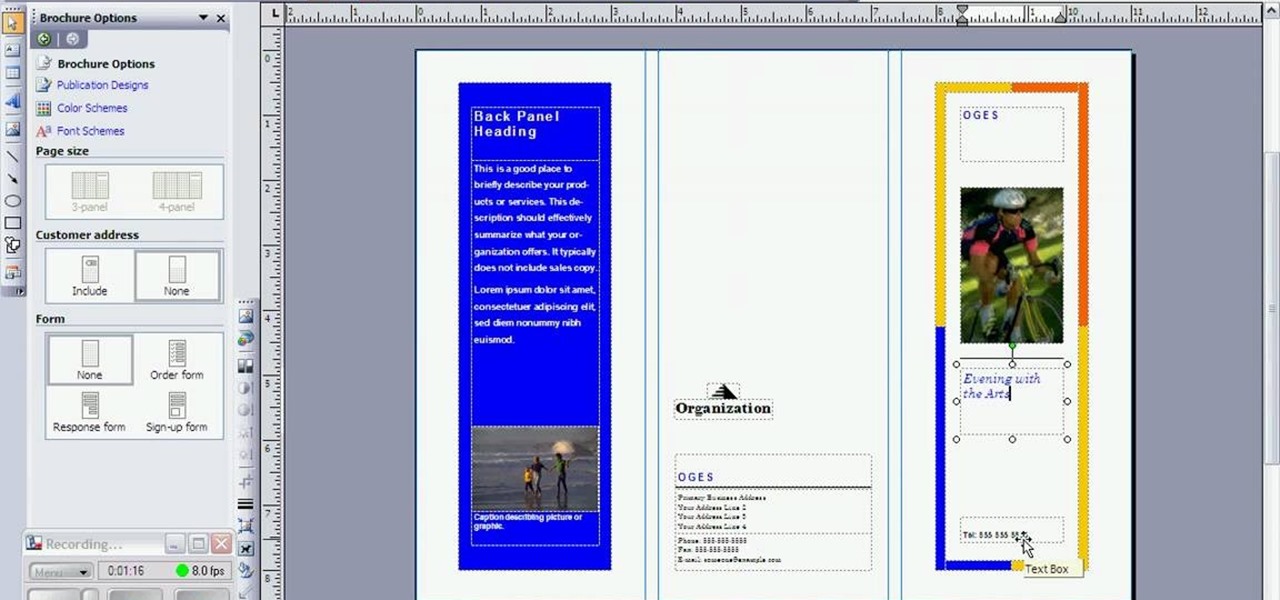
A simple tutorial video that demonstrates the procedure for creating a brochure quickly and easily using the Microsoft Publisher program, which is shipped as a part of the Microsoft Office Suite.
In this tutorial, we learn how to draw Misty from PokŽmon. Start by drawing the basic shape of the head, a circle with lines inside of it to use as reference lines. After this, draw on ears to the side of the face and then draw in the cheeks. Now, draw a stick figure for the body and then draw in circles to create the other lines for the body. Then, draw the back of the neck and start to fill in details. Erase any background lines as you continue to draw. Make sure to add in details and facia...
In this video, we learn how to draw Maplestory Bigfoot. Start out by drawing the outline of the character, then start to draw on the details. Once you have finished the outline of the entire character, start to use a darker pencil or pen to make it darker. Add in shading on different parts to make it look 3D, then add in lines to make the character look more realistic. Add as many details as you would like, then when you are finished you can color in the picture as you would like. You can rep...
In this tutorial, we learn how to make an easy hair bow. First, grab some thick ribbon in any color or material that you want to have. Use more ribbon if you want a larger one and less if you want a smaller one. Measure it out or use your eye to measure. After this, heat seal the ends so they don't fray by passing them through a lighter quickly. Now, fold the ribbon in half length wise, then place a crease there. After this, use a hot glue gun to fold down the two sides of the ribbon with a k...
With dim, minimal lighting and lots of naked bodies swarming around, night clubs don't exactly offer the chance to put you in the spotlight. That means that if you want to stand out what you wear - both on your body and on your face - has to stand out as well.
Unfortunately when it comes to makeup, what works for one girl may not work for another. That's because each of our faces is special, some rounder, sime longer, some squarish. And that means our cheekbones and the apples of our cheeks are situated slightly differently.
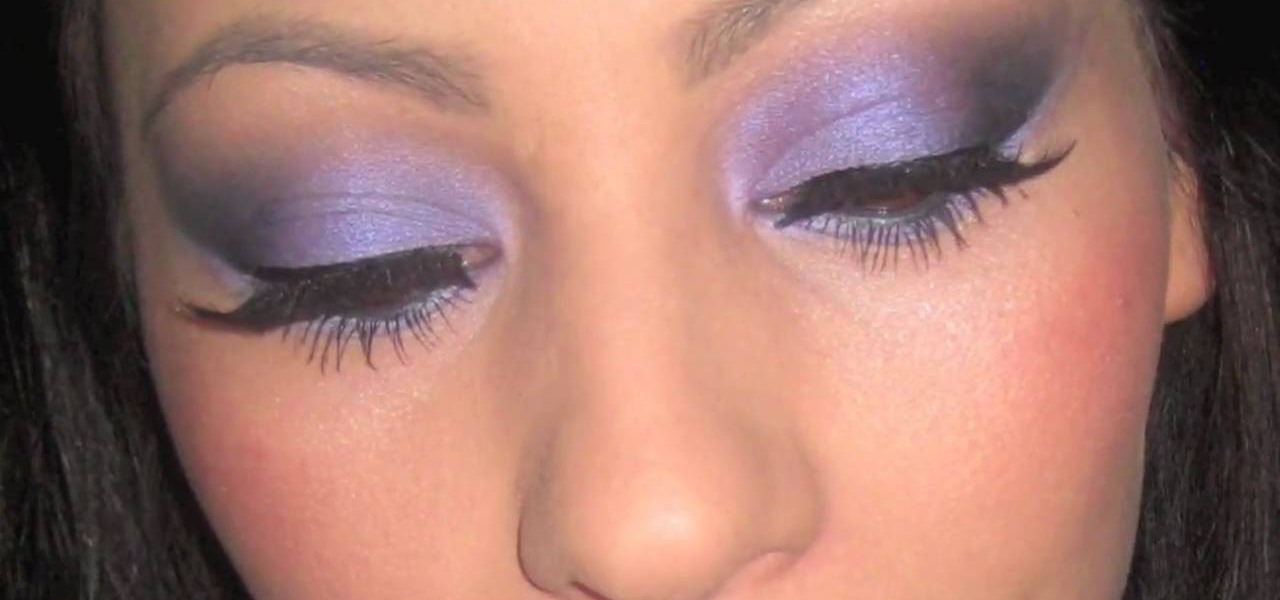
The trick to achieving the perfect smoky eye is glitter. Not too much glitter; rather, a strategic application adds instant pizzazz and liveliness to any matte black and brown shadows.
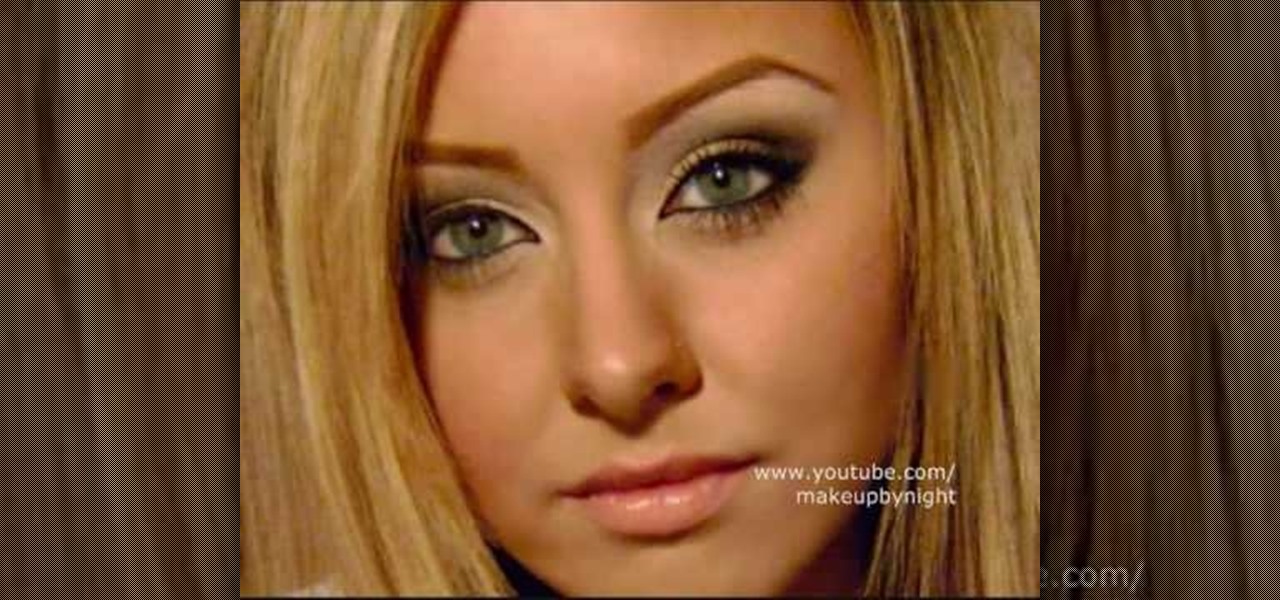
After spending nearly half her life in show business, Miley Cyrus knows a thing or two about what type of makeup - and what colors - look good on her. If you follow her red carpet appearances you'll notice she usually goes with similar eye looks. Specifically, a very smokey cat eye and nude lips. If it ain't broke, don't fix it, right?
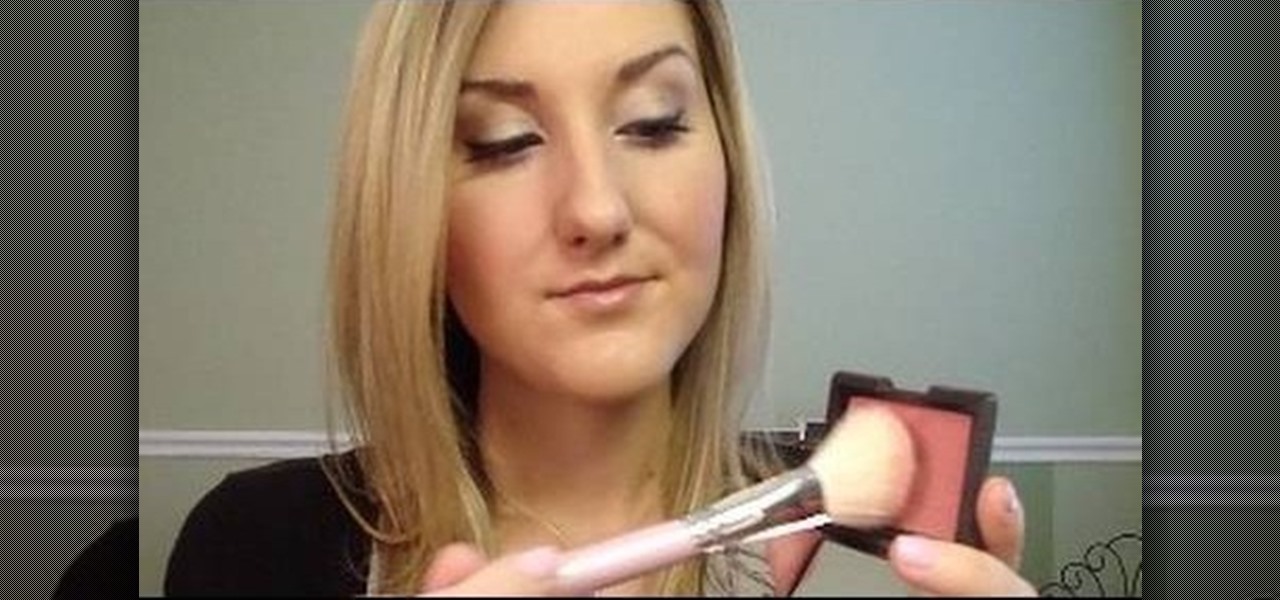
You don't need a ton of makeup to look fresh and sexy. You can tone down your makeup and still look hot! Zhareena shows you how to tone down you look and still appear fabulous, just by using less cosmetics. This makeup look is great for school, running errands, dates, and more! It's really easy to apply and consists of affordable products.
Smokey eyes get a rep for being a nighttime makeup look, the ultimate transformative tool to go from clean and conservative to sultry and sexy. But they don't have to be reserved just for nighttime activities.
We may not have Brigitte Bardot's perfect plush lips or her French sex appeal so natural she seems to have been born with it, but we can steal her makeup tricks! Bardot was most famous for her bedroom eyes - you know, the half closed, half open wink she would lay upon cinema viewers and men that sent the good kind of chills down their spines.
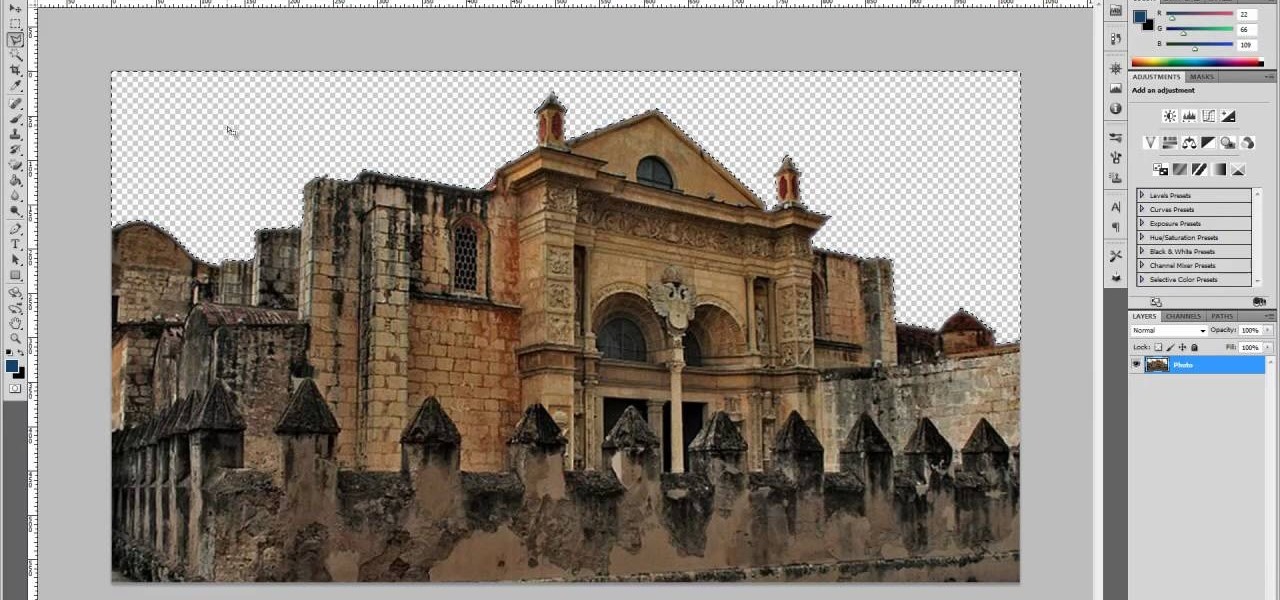
This four-part Adobe After Effects tutorial from Laurence Grayson shows how to take an ordinary photograph of a building (in this case, a cathedral) and turn it into a spooky looking house from hell. The majority of the work done uses the standard toolset in After Effects CS3, CS4, and CS5. Adobe Photoshop is used for the sky replacement section. Create hellish clouds, eery flickering windows, sheet lightning, color correction, 3D motion and depth of field effects for your next Halloween spec...
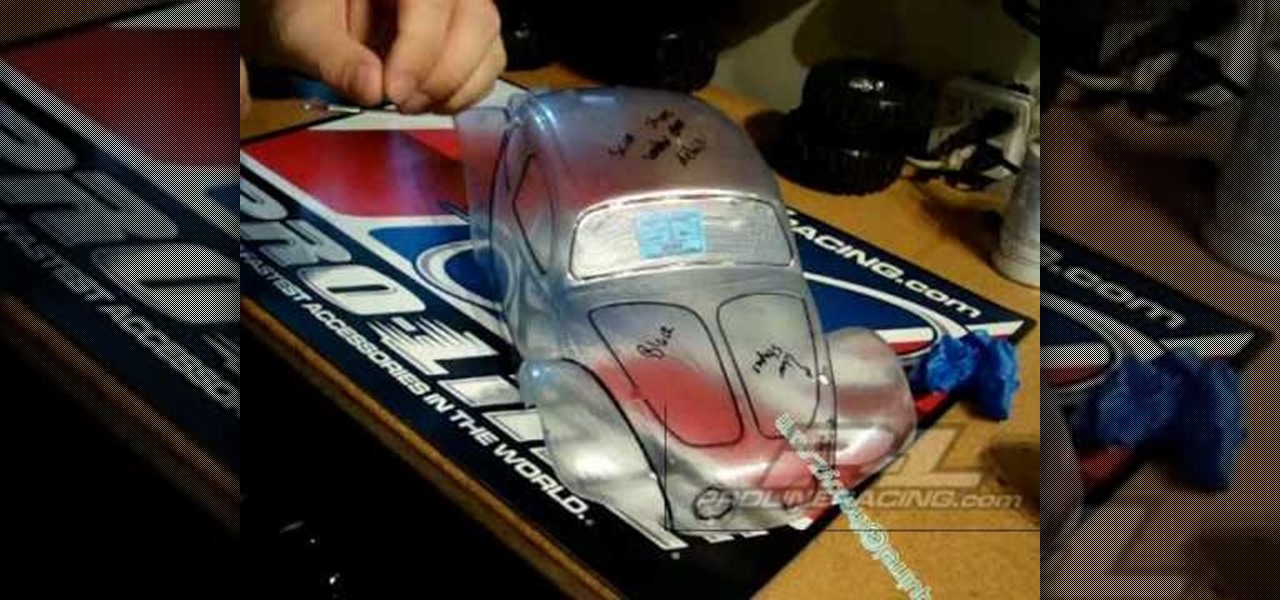
In this video, we learn how to apply stripes and add lines to RV cars. You can do curved lines or straight lines, depending on the look you want. For straight lines, you will take tape and mark from the hood to where you want the tape to end. Use different sizes to create the look you want to achieve. To get the lines straight, place the tape on a straight surface as a guide with the clear top that goes over the vehicle. Once you do this, you can paint around this to form opposite colors. The...
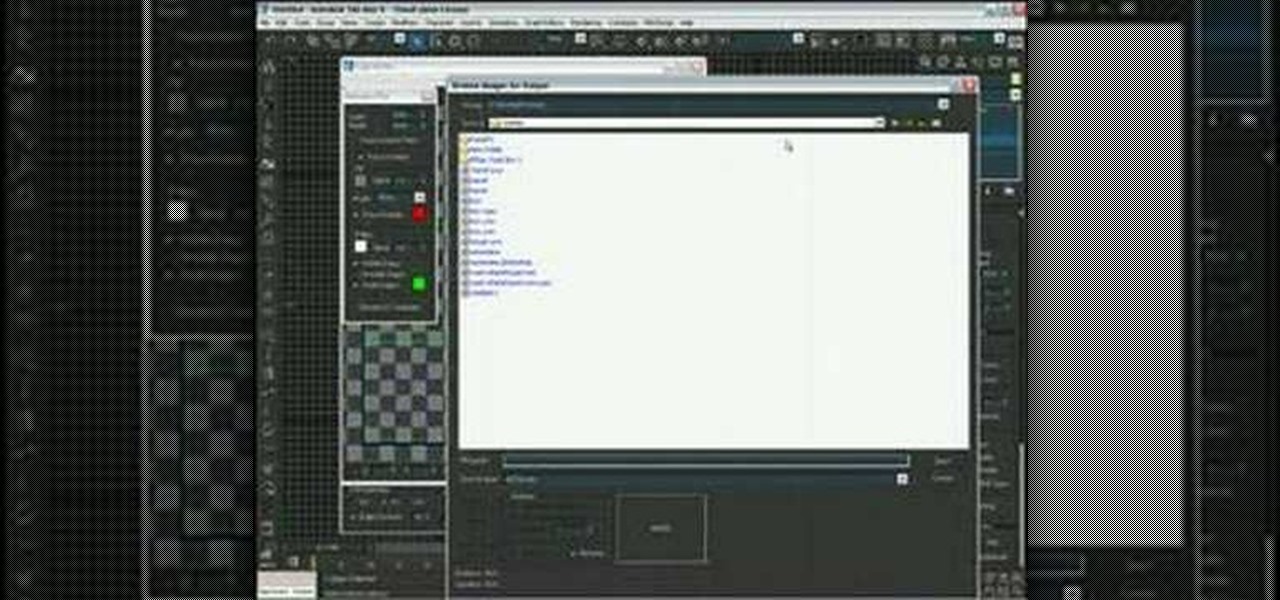
In this video, we learn how to use the UVW unwrap function in 3D Studio Max. First, go to the UV modifier wrap and select all the faces. Once here, edit the parameters and then go to the mapping menu. After this, you will be able to change the object as you would like. After you are finished with this, save your object to your computer in a spot you won't forget it. You can create several different layers and change the colors as you prefer. You can completely customize your experience on thi...
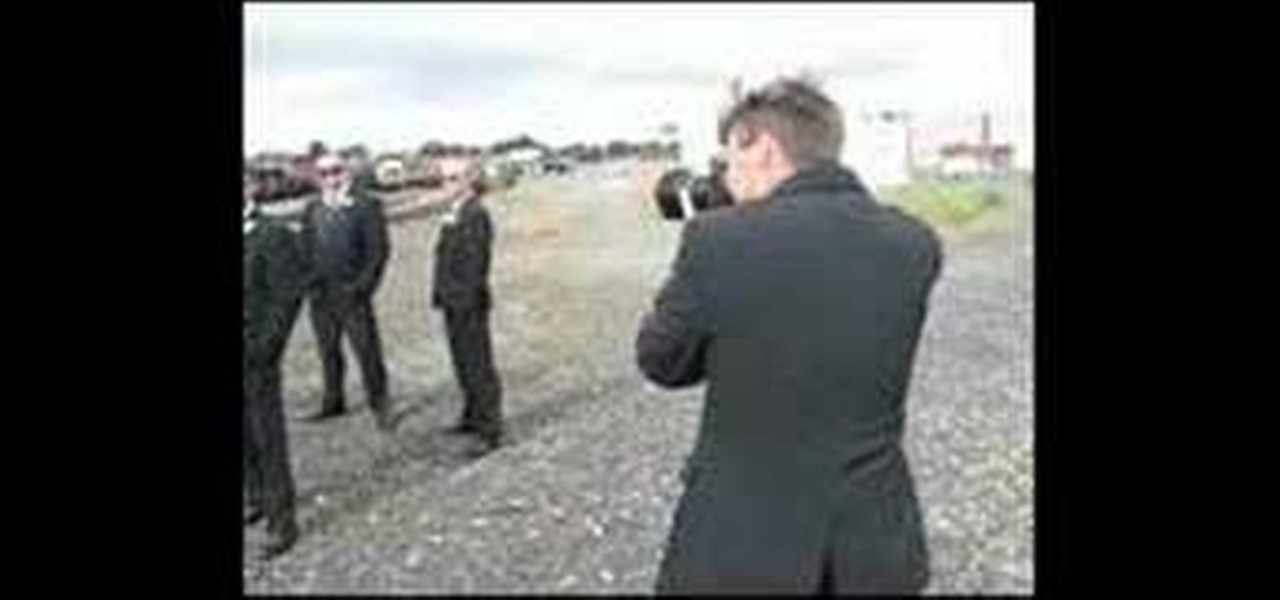
In this video, we learn how to shoot wedding photography like a pro. Start off by having the wedding party in front of a clear background. Try taking their picture outside with trees and a clear sky in the background behind them. Use the surroundings to add a special touch to the pictures and use the correct flash so that the wedding party shows more than the background does. Accentuate the background and use white flash absorbers around the wedding party so their faces have more color that s...
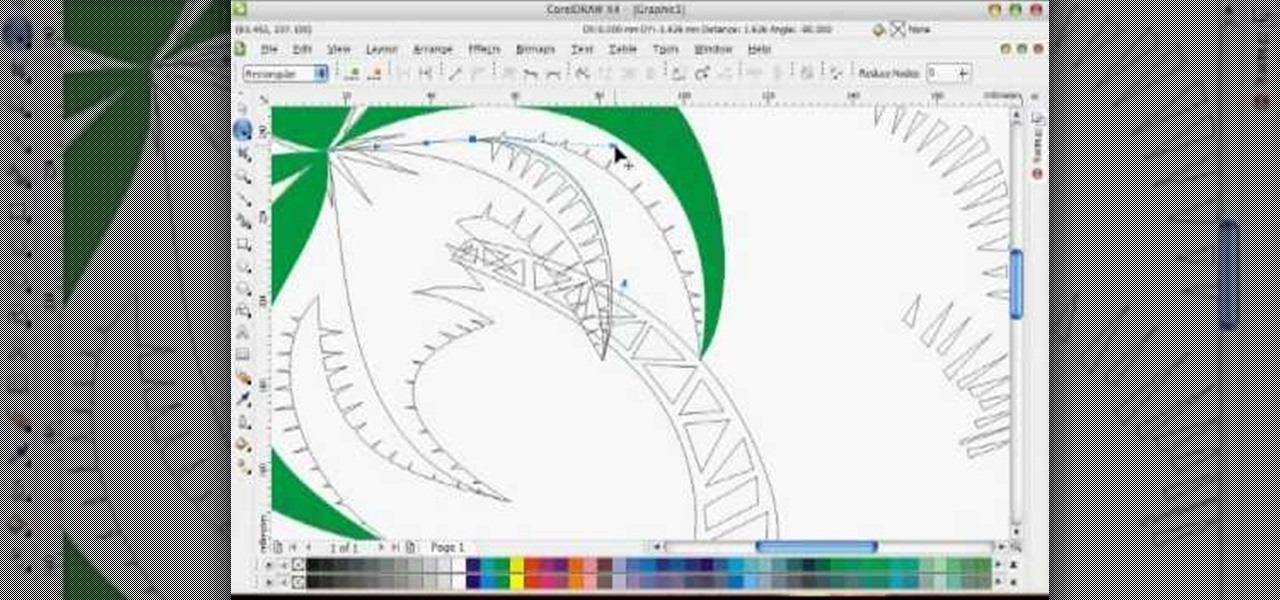
In this tutorial, we learn how to draw a vector art palm tree in CorelDraw X4. Start off in the CorelDraw program and create the base of the tree with a drawing tool in black. After this, draw small triangles inside of the base of the tree and then draw the leaves and branches of the palm tree. Fill this in with small spikes and then erase the middle nodes. From here, use a shaping tool to make the spikes on the palm tree more rounded and lifelike. After you do this, start to color in the ent...
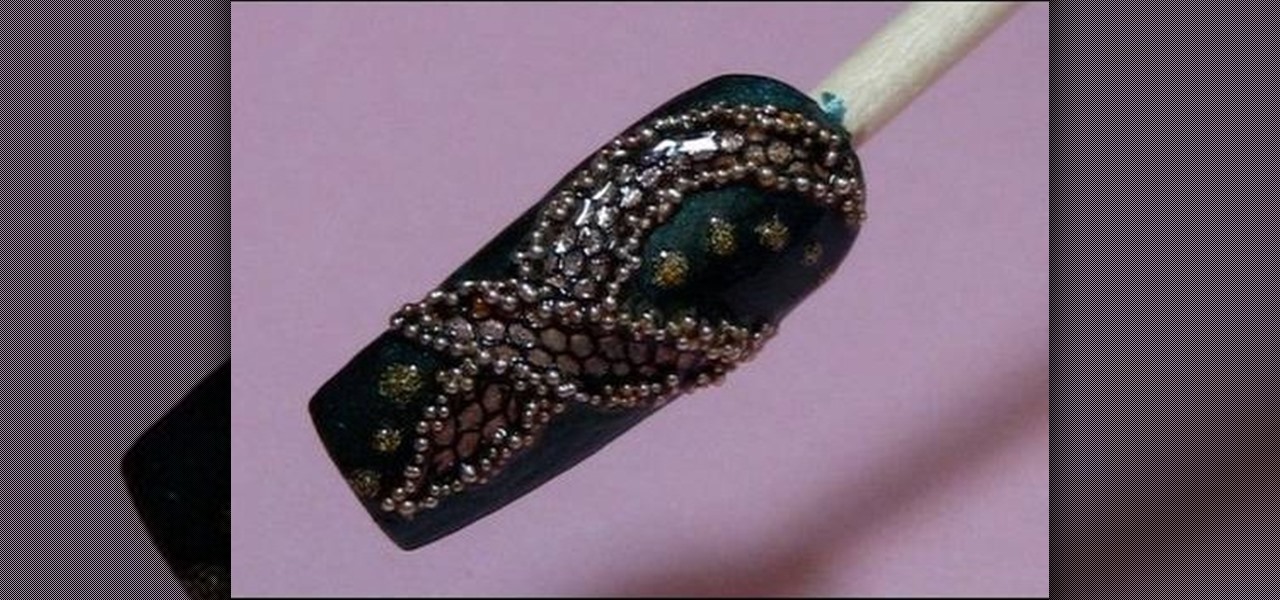
If you've got all day and have a nail obsession, then this is the perfect nail polish and decor experiment for you. Check out this manicure tutorial to learn how to create a rocker chic look with teal nail polish, flecks of gold nail polish, lace, and bullion for a studded opulence.
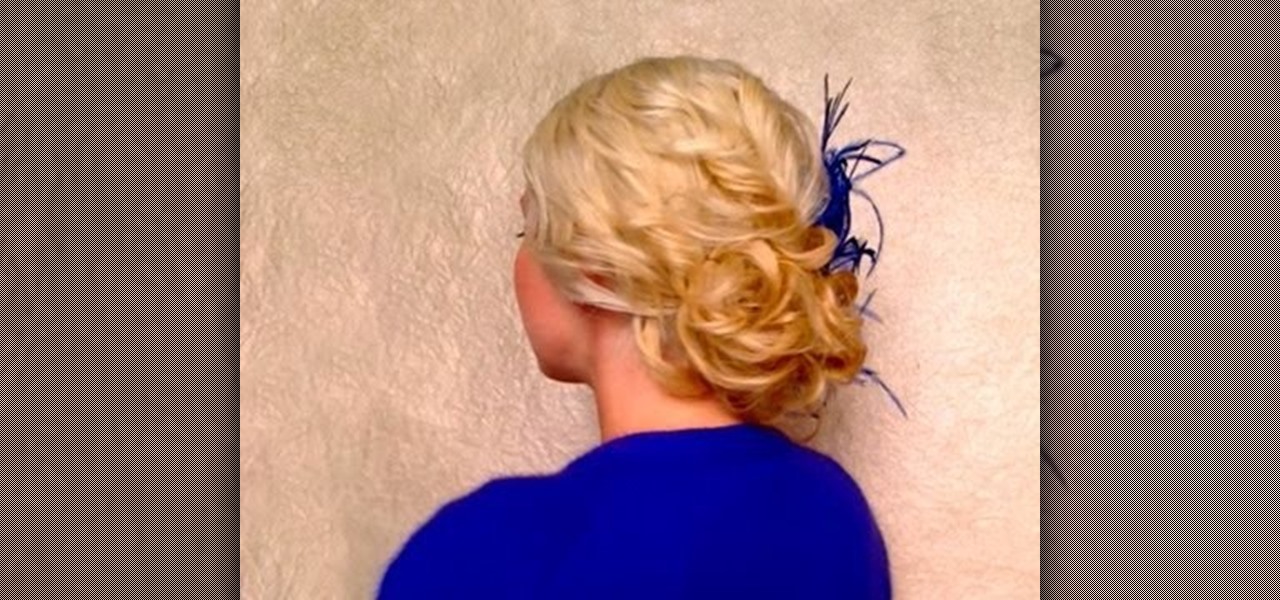
Let's face it: You're exploding with joy at the fact that your best friend is getting married, but the bridesmaid dress? Sorry, but the last time you pulled off chartreuse was in second grade when your mother dressed you as a duckie for Halloween.
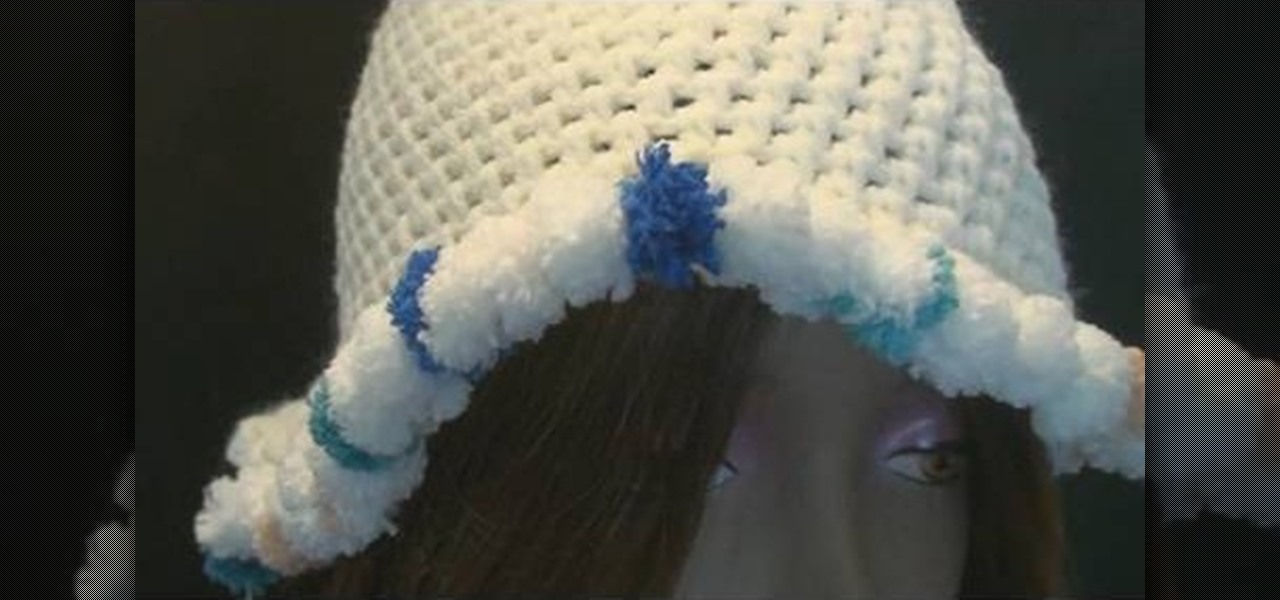
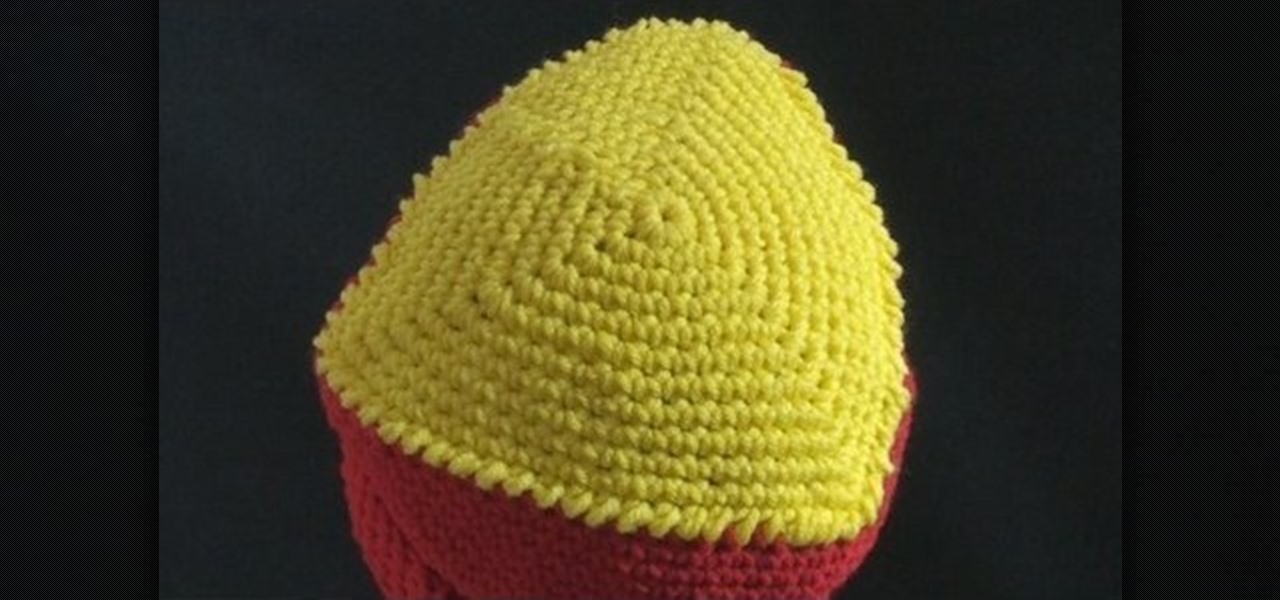
Despite what you may believe, making a crochet cap doesn't end at the last knitting row. In fact, crochet caps can be embellished in a number of different ways, including this Pomp-A-Doodle trim.
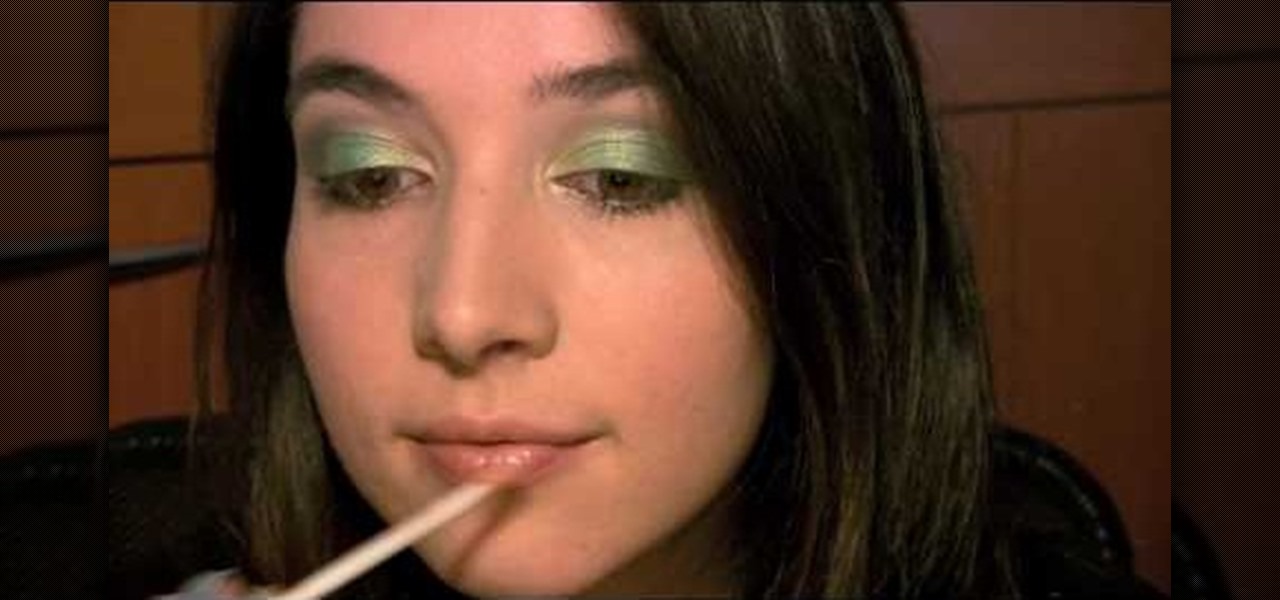
This makeup style was inspired by the Irish folklore creatures called Leprechauns, with their greens and pots of gold. Marinshe shows you this green makeup look that's perfect for Saint Patrick's Day, with a little bit of gold to top it off!
In this tutorial, we learn how to use a yarn bowl when knitting. The side of the bowl will have a slit in it where you can place your yarn while you are working on a project. Use hand wound balls or any other type. First place the yarn in the bowl and then string it through the slit, feeding it through as you do your project. If you have a larger ball, set it on the side and use it the same way. The bowl is glossy and smooth so the ball will roll around and won't get stuck inside. There's als...
In this video, we learn how to paint a black and white French design for short nails. First, paint a diagonal stripe down the nails with white nail polish. You may need to apply two coats of white polish to get a strong color on the nail. Let this dry, then grab a very fine brush and use black nail polish to paint a design onto the white part of the nail. Apply dots and different lines to make the pattern turn out how you want it to be. When finished, you will have a beautiful nail design tha...
In this video, we learn how to convert an image into a sketch in Photoshop. First, open up Photoshop and open the picture you want to convert. Now, click the layer and unlock the background. After this, go to "image", "adjustments", and remove all the saturation from the photo so it's black and white. Then, duplicate this and invert it by going back to the adjustments section. Now, go on the top of the layers tab and select "color dodge" from the drop down menu. Now, go to "filter", "other", ...
In this video, we learn how to crochet a triangle-shaped bikini beanie hat. First, crochet nine single crochets through a simple loop. After this, join with the beginning single crochet and work a single crochet three times. next, work one single crochets in each of the next two, then three single crochets in the next stitch. Now, go join with the first single crochet. Continue to go around until you have a large circle shape, going down on the sides to make the entire beanie shape. After thi...
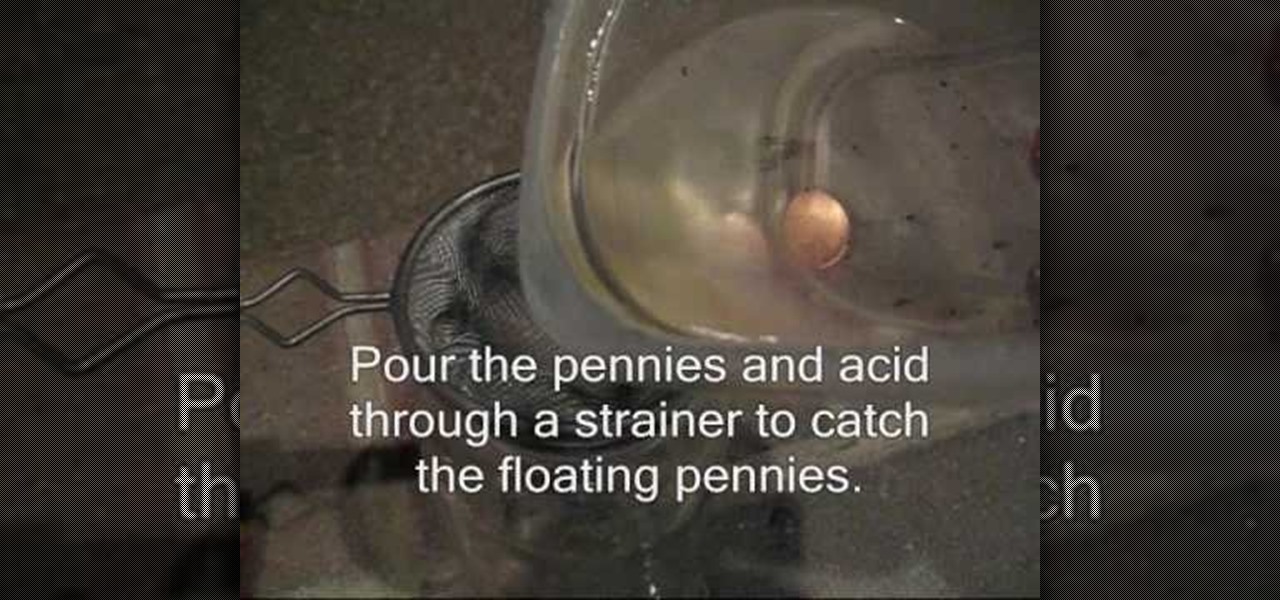
In this video, we learn how to hollow out a penny. First, you need pennies that are dated after 1982, muriatic acid, a plastic container, and sandpaper. First, rub the edge of the penny on sandpaper until the silver color is exposed. Do this on two pennies, then place them in the plastic container. Now, while wearing gloves, pour the acid into the container so the pennies are completely covered. Now the pennies will start to bubble, leaves these in the acid for around six hours. Next, pour th...
In this video, we learn how to capture your holiday in eight digital photos. This is a challenge for most people, but it can help you remember your vacation without taking hundreds of photos. First, make sure you have different lenses to capture shorter and longer distances. Find photographs of the most beautiful places, using travel guides and locals as help on where they are. Capture a beautiful sunset or a memorable church with your camera, this will help you remember your surroundings. Al...
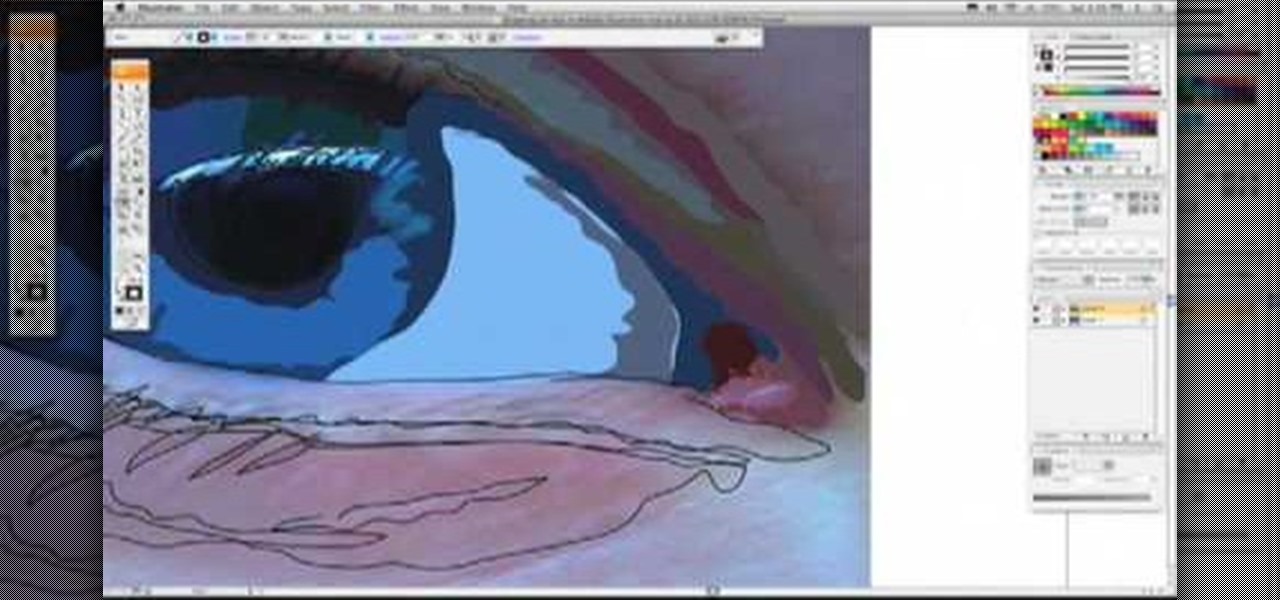
If you love Adobe Illustrator and are looking for an interesting and creative way really to bring the life out of your pictures, this video has an interesting twist. If you remember the movie, "A Scanner Darkly" and the art style that they used, it was quite impressive and unique and called rotoscoping. In this video Karl Gude goes into great lengths showing you his method of tracing the picture and then adding the right colors all the way to the finished product.
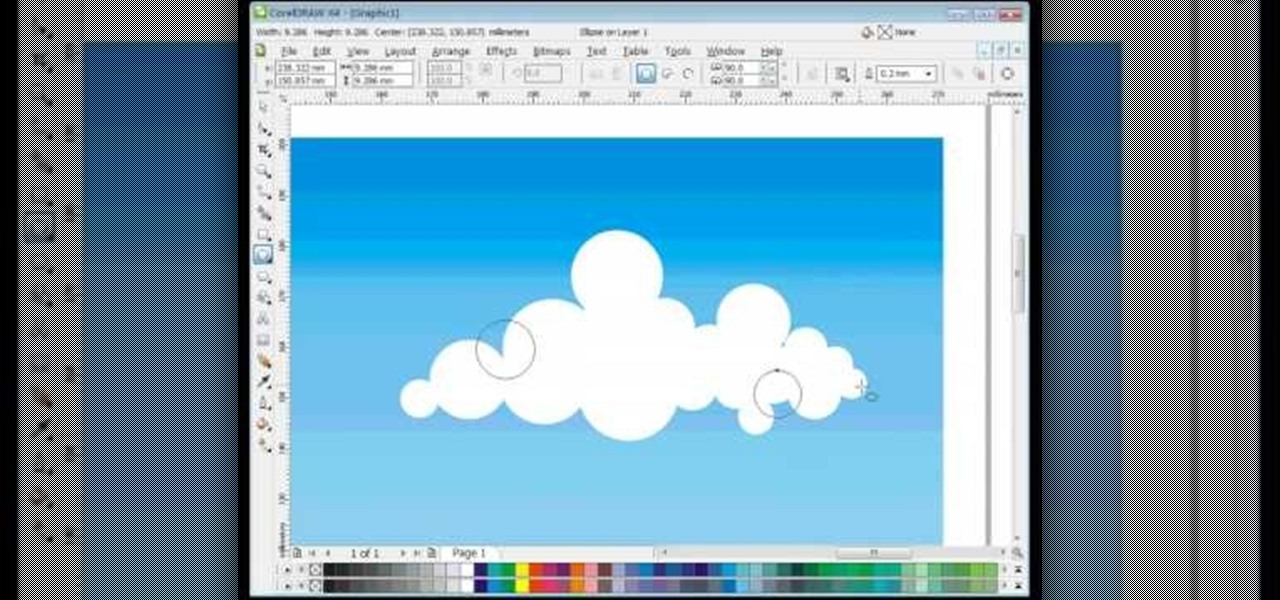
In this video, we learn how to draw vector clouds in CorelDraw X4. First, open the program and make a circle using "ctrl+shift". Make these circles touching and overlapping each other on the top of the page. After this, select all and then weld it. Next, press "ctrl+k" to break the curves apart, then erase the parts inside of the clouds. When this is done, select all, then copy and paste for additional clouds. Trim the bottom to make the clouds sit on a mountain or straight edge, then you are...
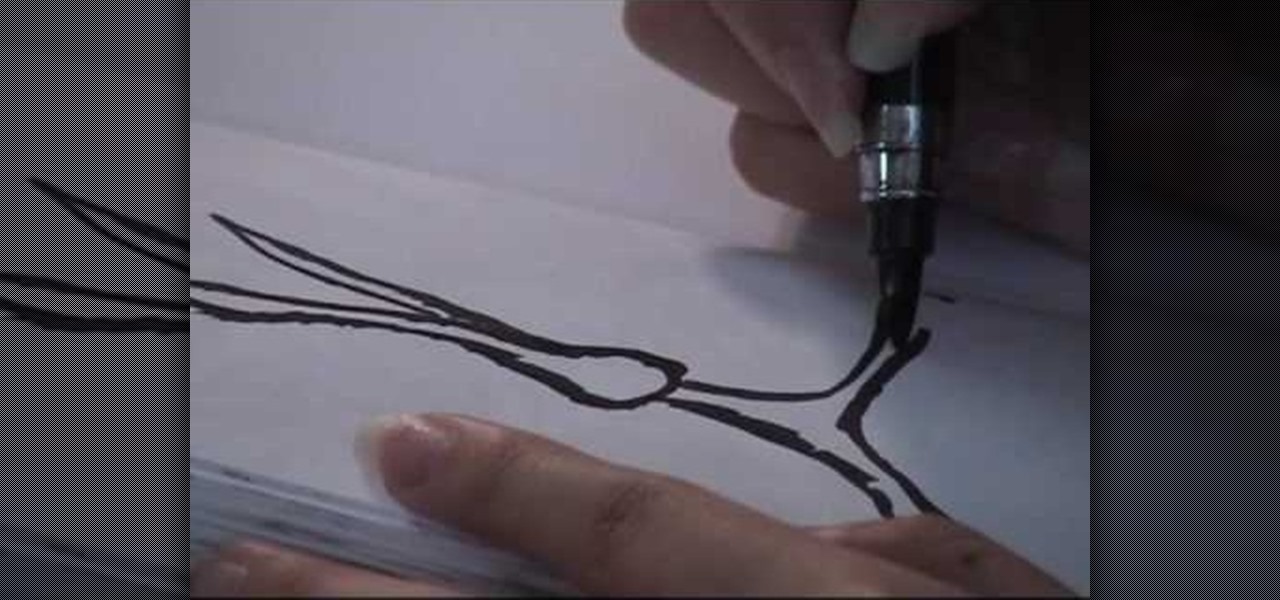
In this video, we learn how to refill ink a pocket brush pen with Henry Lee. First, mix water with the ink, depending on the color of ink you want. After this, you will take the pen and soak it in water, then into the ink. Turn the knob on the handle as you do this so the ink starts to infuse into the pen. To get more ink in, point the brush to the sky and turn the knob slowly to drive the extra air out of the pen. Then, dip the pen into the ink and turn the knob in the other direction. Conti...