Need some help figuring out just how long to let your hair process when dying it at home? It's easy! And this clip will show you how it's done. So easy, in fact, that this home beauty video tutorial can presenta complete and thorough overview of the process in about a minute's time. For more information, including detailed, step-by-step instructions, watch this handy hairstyling how-to.
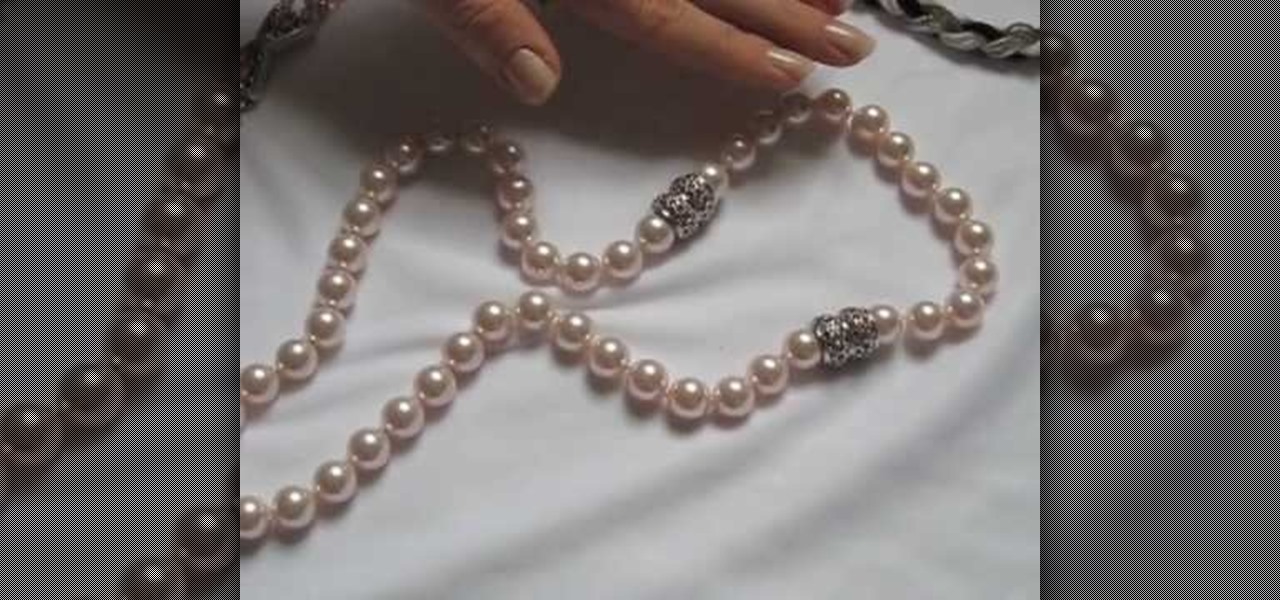
Jewelry clasps don't seem all that important, right? After all, when compared to the shape of your beads and the color scheme of your jewelry piece, a clasp is merely the finisher, something that helps close off your necklace.
Cherry blossoms aren't just special because they're Bath and Body Works' best-selling scent of all time. No, in addition to their delicate floral smell, cherry blossoms are special because they are the first flower buds to open in spring. Spring officially stars when you see the cherry blossom trees bursting into color, and what a wonderful way to celebrate the new season!
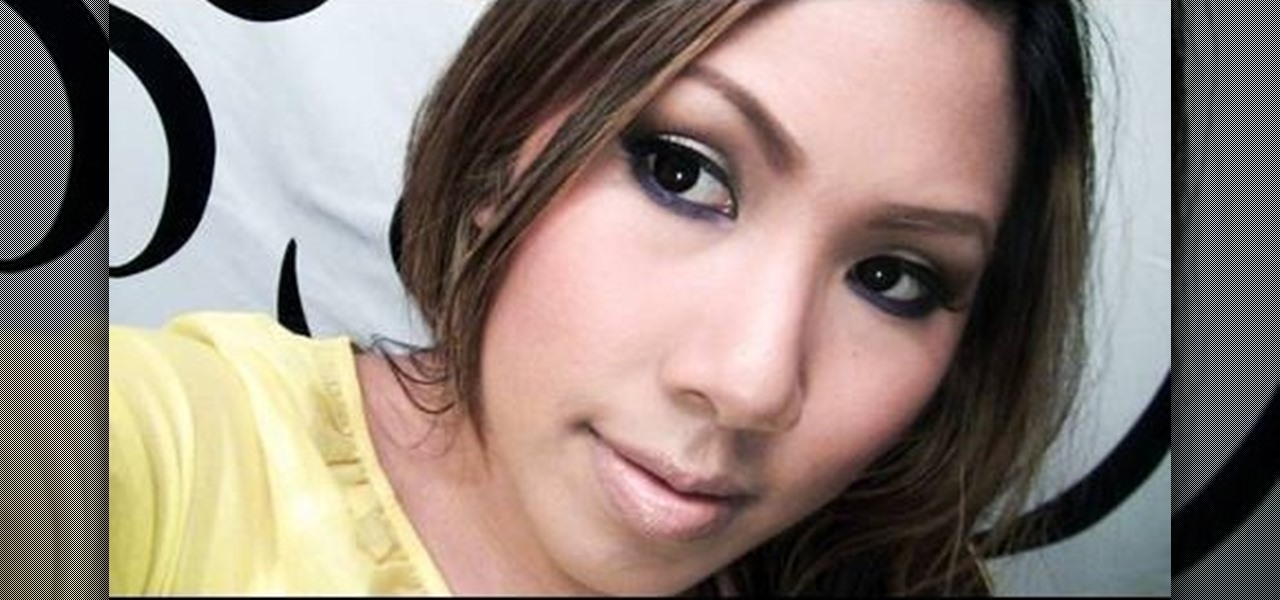
In this tutorial, we learn how to apply a smoky eye look with pink lip gloss. To begin, apply a primer underneath your eye and throughout your entire eyelid. After this, apply a blue shimmer eyeshadow to the entire eyelid over your primer coat. After this, blend a pink color onto the crease of the eye and around the upper lid. Next, apply a light blue eyeshadow to the inner crease of the eye, blending it out towards the outer corner. When finished, use a brush to blend a dark blue on the outs...

In this tutorial, we learn how to draw Timmy Turner. Start off by drawing the head, making the front round and the body will be a triangle shape. The back of his head should be a triangle as well. Draw two large circles on the face, followed by arms and legs coming off of the body. Next, draw ears onto his face followed by a shirt and pants on his legs. Draw Timmy's mouth with a large smile and two teeth at the top. His eyebrows should almost touch in the middle, then don't forget to add on h...
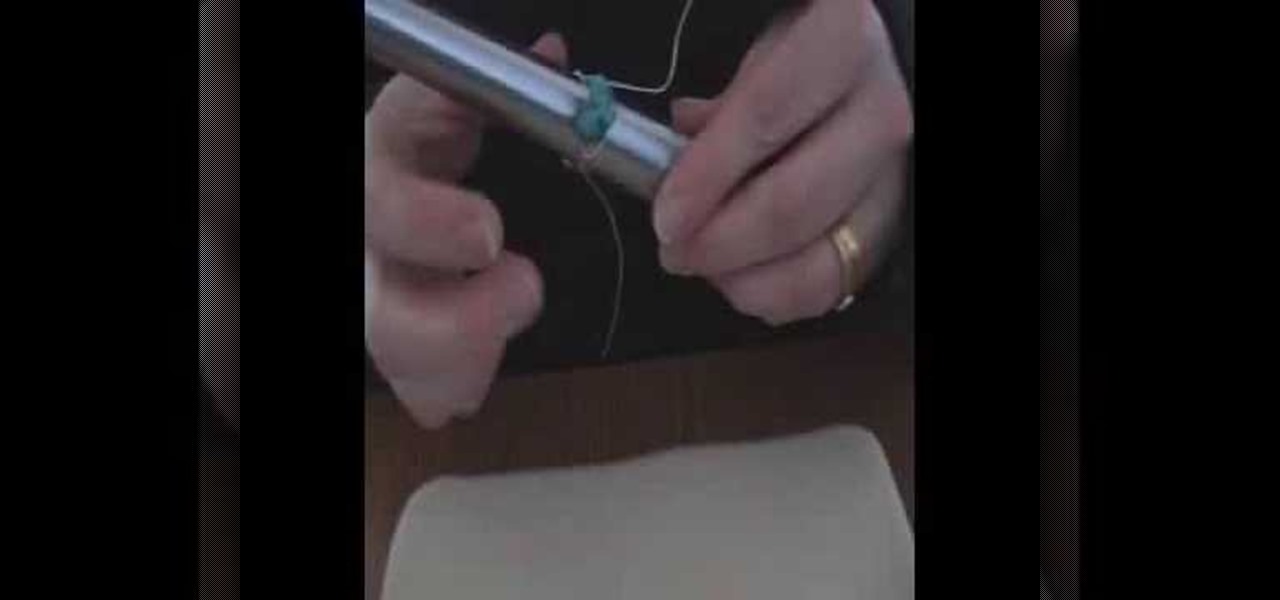
In this tutorial, we learn how to make eyes for clay animation puppets. First, drill a hole inside of a block of wood, then insert a bull so it fits snug inside of the hole. After you have done this, use a drill to make a hole that goes half way down through the pupil. Now, use paint to fill in the hole where the pupil would be at. Push the balls into clay to hold them in place while painting. Make sure the dots you have on both eyes are even. When finished, paint a black circle around them, ...

In this video, we learn how to draw Charmander. Start off by drawing the large eyes with lines inside of them. After that, you will connect the head around it, followed by the nose. Next, you will draw in the rest of the body including the feet. Draw in the tail with flames coming out the end of it. Add in lines around the body to make the figure look more realistic, then draw in pupils for the eyes. When you are finished, you can color the character or just leave it how it is and shade in on...
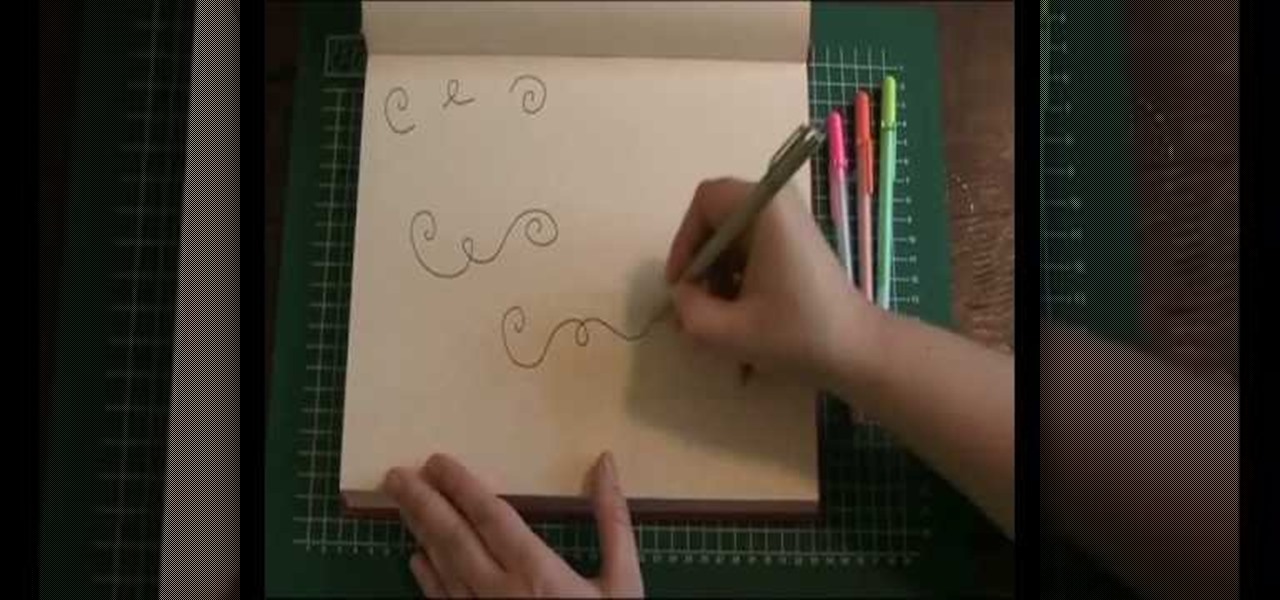
In this video, we learn how to draw a doodle with Marieke Blokland. Start off by writing the letter "e" in cursive, several times, making the letter larger as you go. Link the e's together, then when you get to the bottom of the paper it will be just a scribbled loop. Now, on the next page, draw more of these looped e's, dragging out the lines. On the next paper, draw spirals going from smaller to larger and going clockwise and counter-clockwise. Start to incorporate all of these shapes toget...
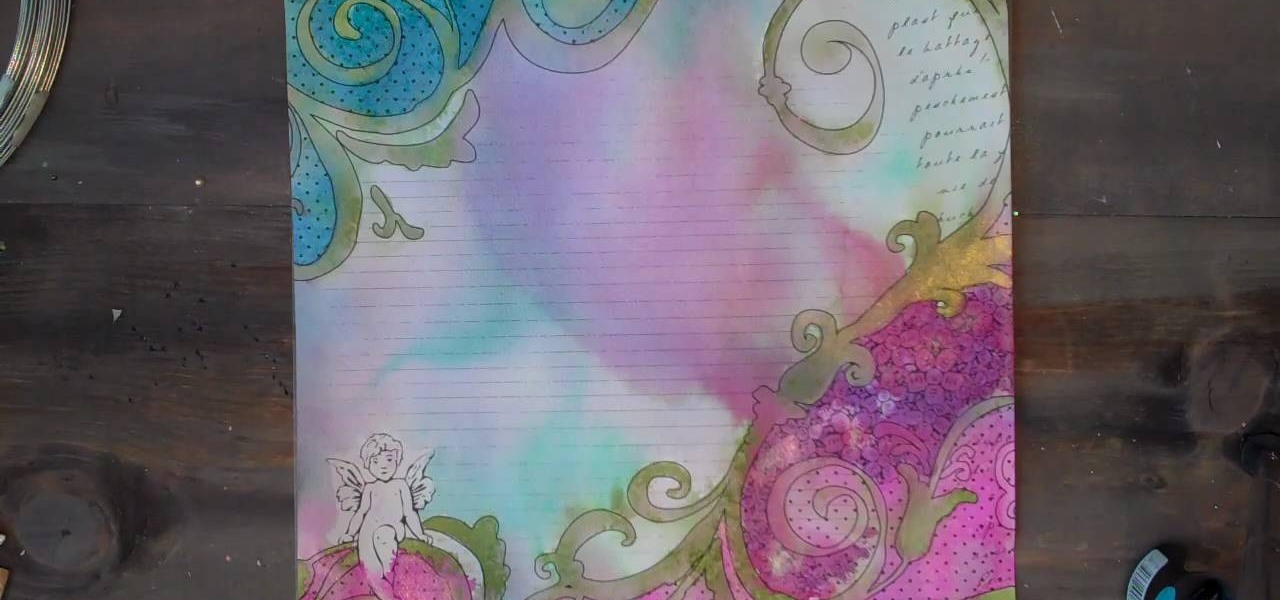
In this tutorial, we learn how to use Prima Paintables paper. These are meant to watercolor on and are very thick pieces of paper. You can take a paint brush and open up a bunch of different paint colors. Start to paint your picture, then allow it to dry. When finished, you can spray a water bottle on it to bleed the picture and make it look unique and your very own. This is something that is fun to do and makes it easy to paint your own creations using this paper that is made just for painti...
In this tutorial, we learn how to do UVmapping with 3D Studio Max. Open up your image in the software, then go to "unwrap UV". Scroll down to edit and you will be able to see the basic scale. Grab the mass and scale it down, then use your element turn on to select the different pieces. The UV mapping will now turn a different color and show you where you have edited it. Continue to do this throughout the entire program. Make sure you have all other programs closed while you are doing this, an...
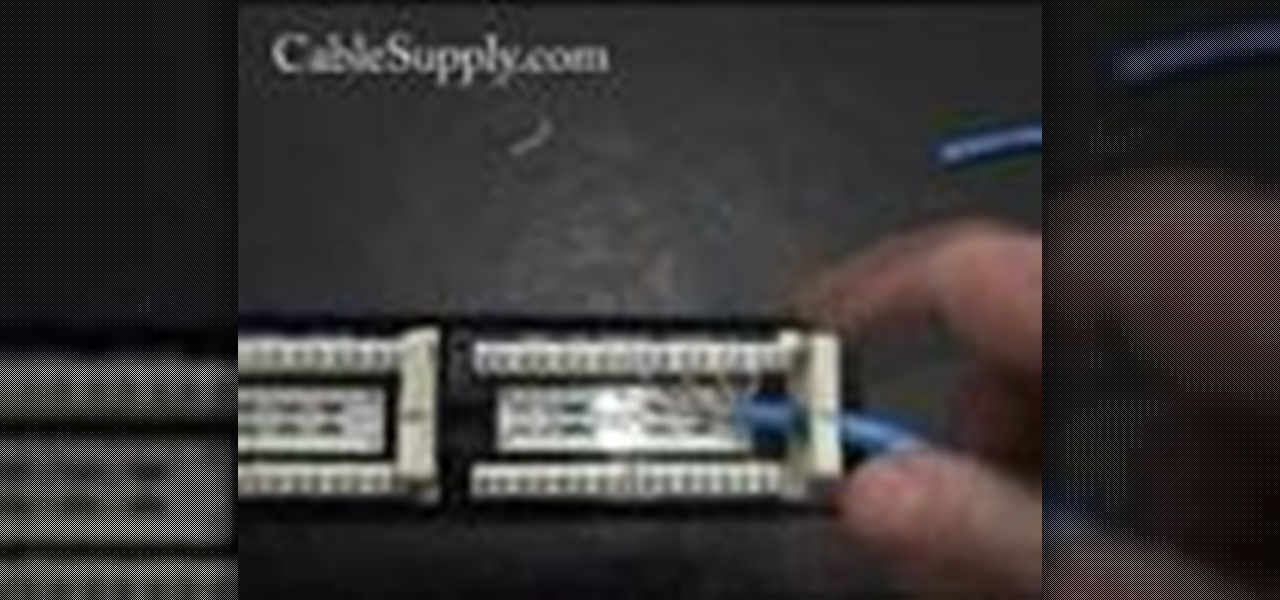
In this video, we learn how to punch down a 12 port patch panel. Start off by grabbing your cable and using scissors to cut off the outer covering of the cable. Next, use the wire scissors to cut off the end of the wires (about 1-2 inches). After this, place the stripped down wires into the appropriate spots that correspond to the colors that are on the 12 port patch panel. After you finished this, you will need to grab your punch down tool. Use this tool to push down on the wires, then it wi...
In this video, we learn how to draw the Twitter bird with circles. First, draw a blue circle and place two large white circles inside of it on both sides. next, make two small gray circles inside to make the pupils of the eyes. After this, use the circle brush to make a beak and feet. Next, fill in gray on the eyes and orange on the beak and feet. Make sure the eyes are positioned close together and then shade the different parts of the bird. Add in different colors, then when finished make s...
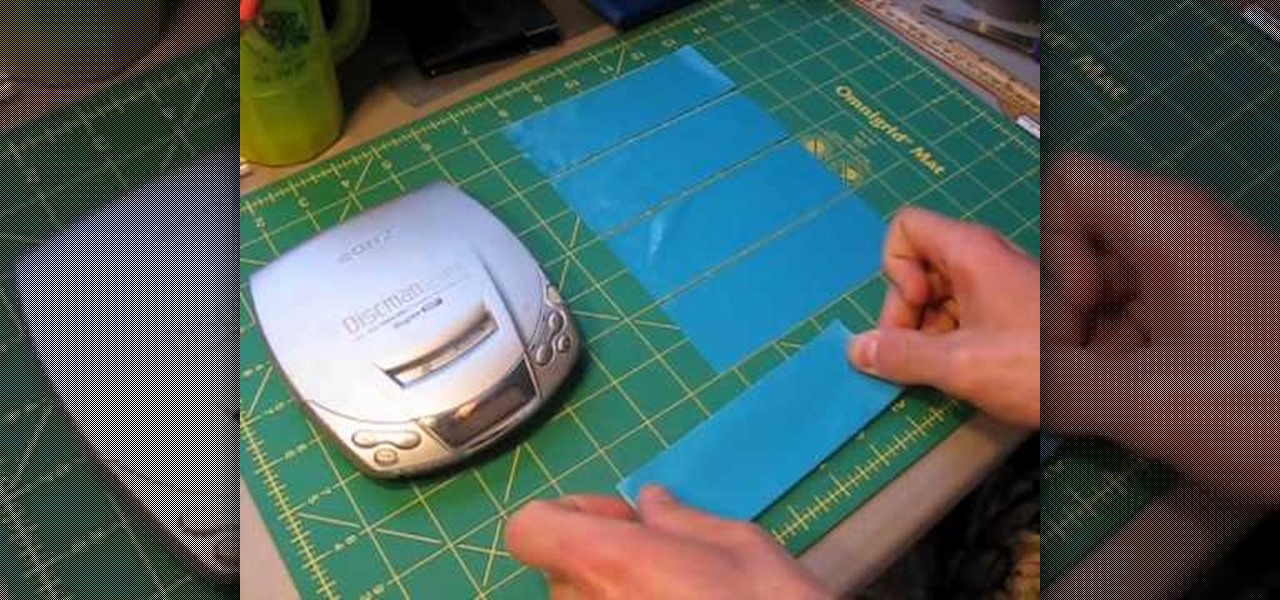
In this tutorial we learn how to make a duct tape CD player holder. First, measure your length, width, and height of your CD player. After this, cut out the color duct tape you like in strips that are the right size for your player. Now, take your first two strips and stick them together. Now, take the third one and apply it to the bottom, flip it over and stick another one on top. Keep overlapping these with several strips until you get to the height of the CD player. After this, place the s...
In this tutorial, we learn how to draw a cartoon critter. Start out by drawing a little fat body with two arms and two legs. Next, draw on two large bunny ears on the head and create eyes that are giving a mean look. After this, create the mouth to be open with sharp teeth inside. Next, use a dark paint brush to outline the image and draw a gun in the bunny's hand. Draw details onto the critter by making hair and a belly button. After this, paint in any colors you would like, then save and pr...
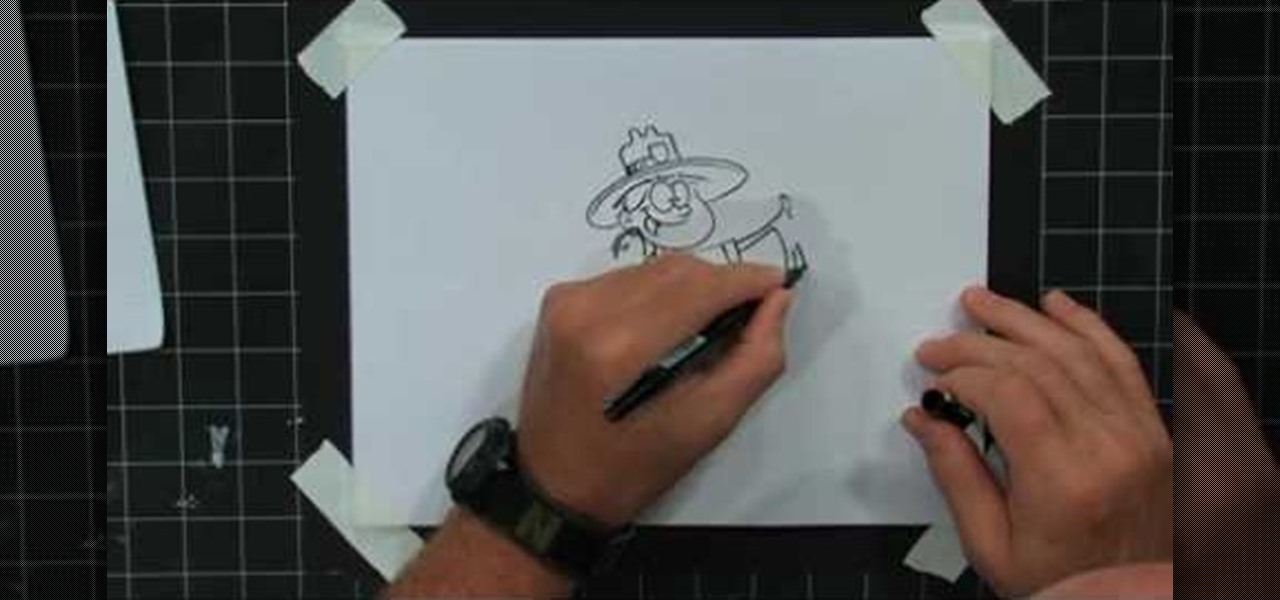
In this tutorial, we learn how to draw a cartoon park ranger with Bob Ostrom. Start off by drawing two eyes touching each other, and a nose coming off of the second eye. Next, draw a large mouth for the smile, and now draw the head around the character. Draw ears on, then give her a park ranger hat and long hair. Next, draw a neck coming down from the head, then draw the chest and arms. Draw a park ranger shirt onto her and a badge as well. Keep drawing down until you make the legs and shoes....
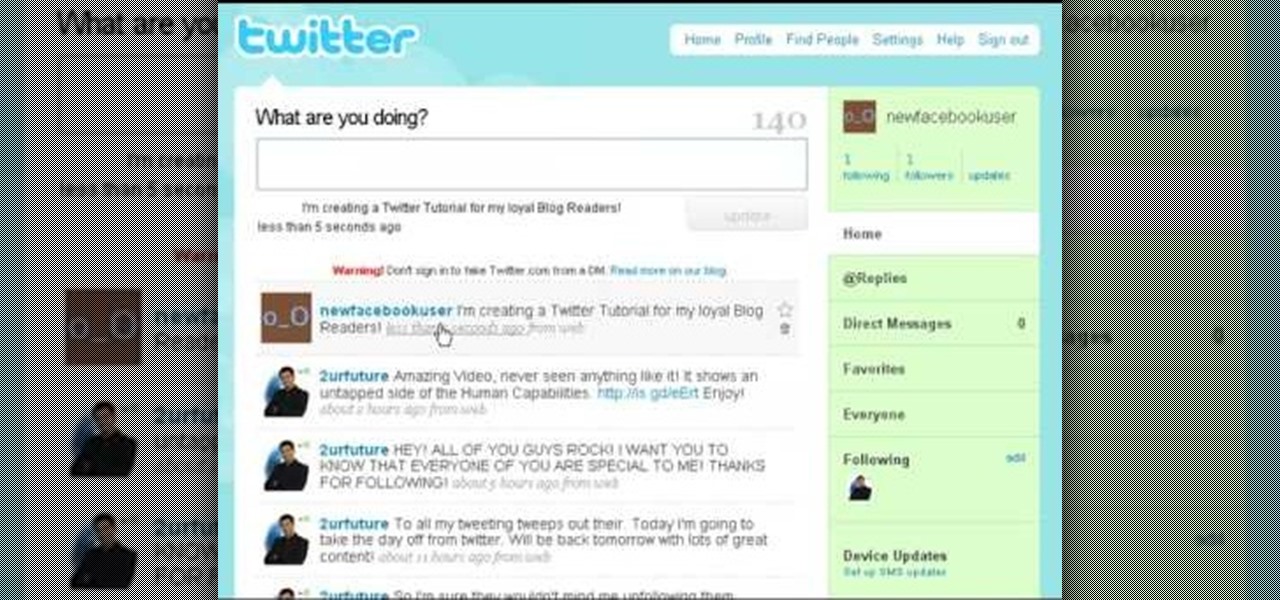
In this tutorial, we learn how to establish an account on Twitter. First, log onto Twitter. After you get onto the website, click on the sign up button, then enter your screen name and other personal information in. When you are finished signing up, you will be able to change your settings and import friends from your e-mail addresses. Under your settings, you will be able to change the background and colors on your page, as well as your icon picture. Next, start to follow people on Twitter, ...
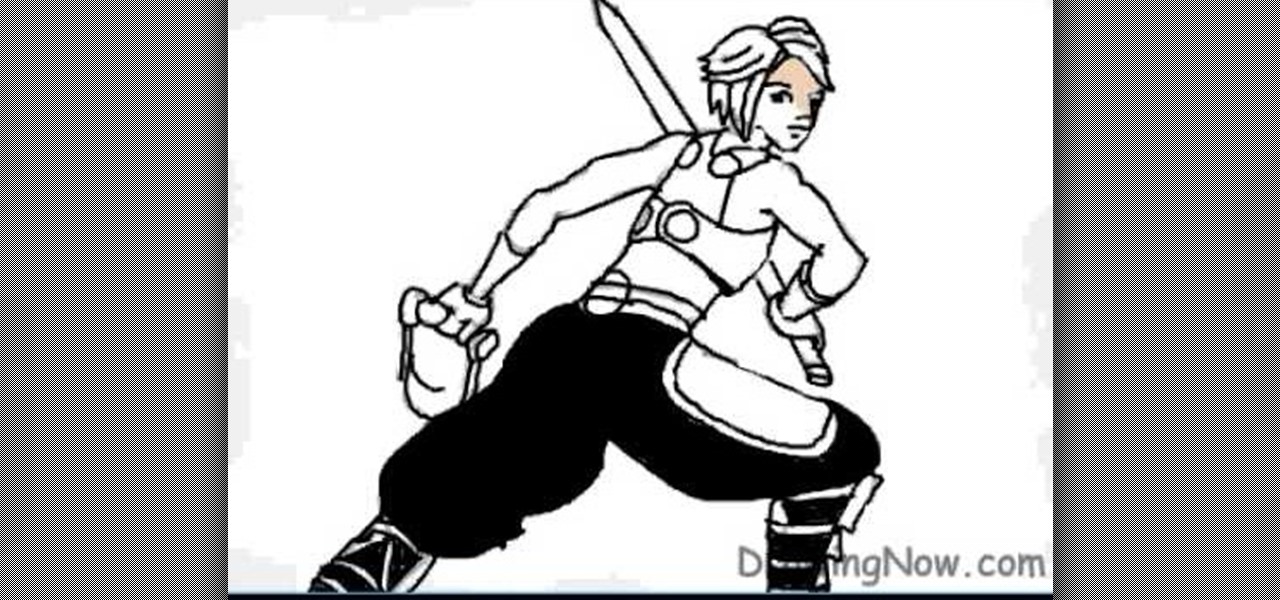
In this video, we learn how to draw a Final Fantasy character. Start out by drawing a rough outline of the entire body, starting with the head then doing the rest of the body and ending with the hands and arms. After this, draw over the initial markings with a black paint brush. Draw in eyes and hair, then start to draw in the details of the body armor and clothing. Make sure to draw on pants and make a sword that the character is holding. After this, fill in the painting with different color...
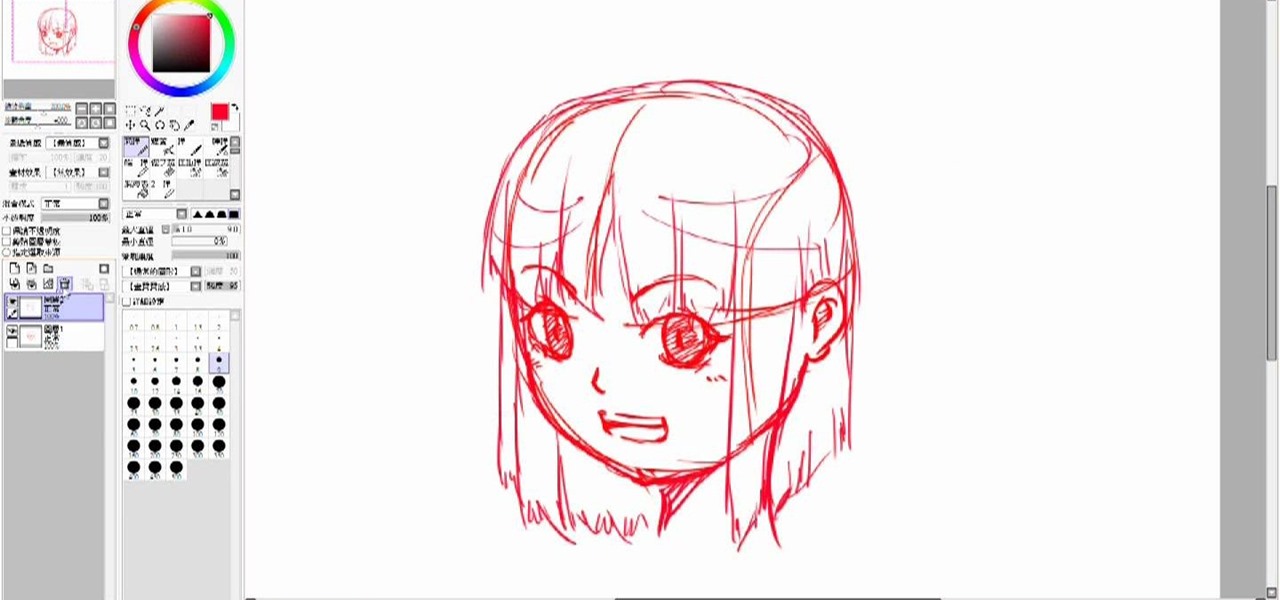
In this tutorial we learn how to draw a manga face. Start off by drawing a circle, after that add a cross in the middle as a reference point for where to draw the eyes, mouth, and nose. After you do this, you can start adding in further details to the face to make it look more realistic. Don't forget to add in lines on the face for wrinkles and pupils to the eyes. Ears should be placed on both sides of the head and don't forget to draw in hair as well. Outline the pictures with a darker brush...
Jim teaches us how to punch down a 24 port patch panel in this tutorial. You will need: cable scissors, a punch down tool, and 24 port patch panel. Now, strip the cable by cutting it and stripping down the wires. Now, attach the wires to the port punch panel by following the pattern of where the different colors are at. When you have these connected, use the punching tool to punch the wires down, then it will cut off the excess wire from the panel. When this is all done, you will want to tie ...
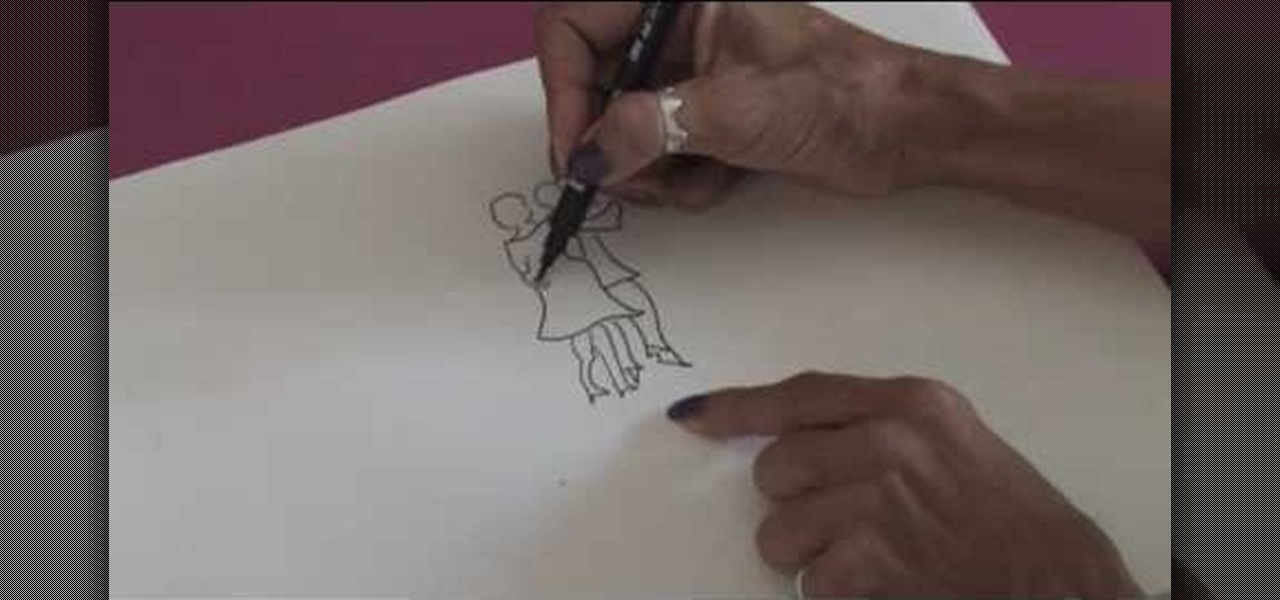
In this video, we learn how to draw people in motion. Start off by drawing a shoulder and an arm. After this, draw the body, then continue down to draw the legs. Next, draw the head on the body and draw the second body dancing with the first one. Draw the clothes on then add details to make it look more realistic. Once you add lines in around the people, it gives the illusion of them moving their feet. Draw in the dance floor, then finished with additional lines around the figured. When done,...
In this tutorial, we learn how to make crystal text in Sony Vegas. First, drag in your clip in the software, then right click on the track area and insert a new video track. Now, go to "custom", then "sony height map". On amplitude, change this to .76. On the first level, change the mode to multiply. Now, drag your text into the second video track and replace the text with what you want to write. After this, change the color and make sure it fits into the screen. You can also make it scroll a...
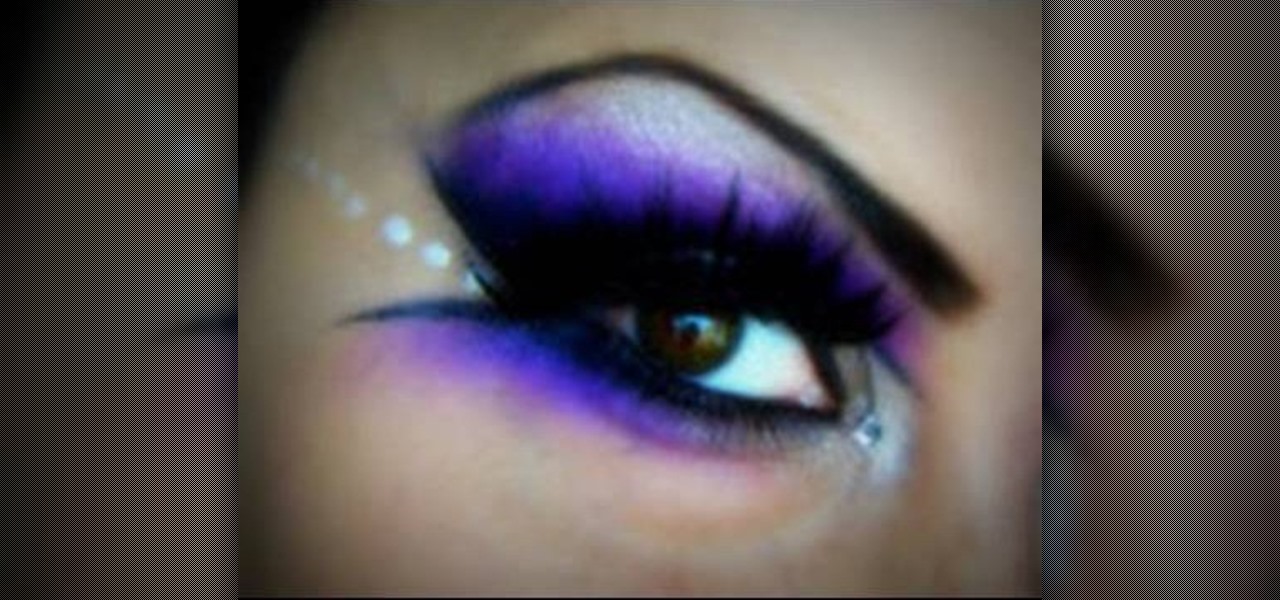
In this tutorial, we learn how to mix purple & silver for a dramatic makeup look. First, apply primer to your entire eye lid. After this, use purple paint and brush it onto the outer edge of the eye and the crease on top. Next, paint the purple under the brow bone, and then paint a darker purple underneath the first purple. Use light blue on the inner edge of the eye, then paint purple underneath and add eyeliner to both the top and bottom of the eyes. Use a small black brush to outline where...
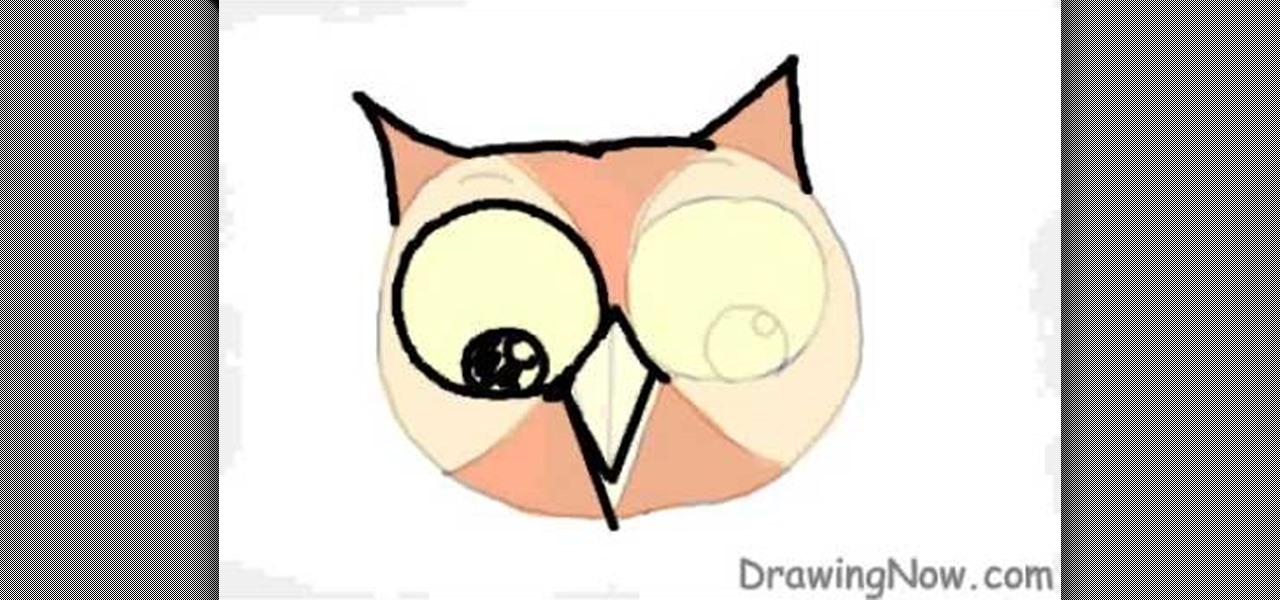
In this video, we learn how to draw an owl on a computer. First, draw a circle, then two small triangles on both sides of the top of the head. Next, draw two very large circles in the middle of the face, separated by an upside down triangle and two large triangles on either side of that. Next, add pupils to the eyes, and add a line in the beak. Outline the eyes, beak, and eyebrows after this. Color in the owl brown and light brown, then add small black lines to the sides to make it appear lik...
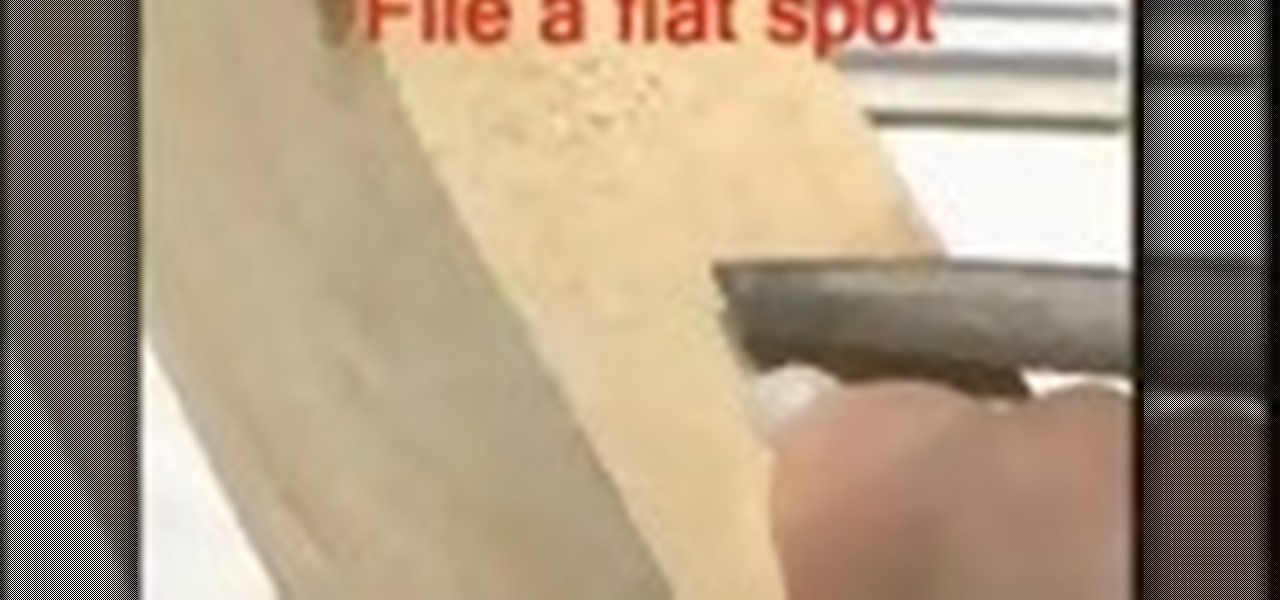
So after much hard labor and patience, you've finally thrown your first vase, fired it carefully in the kiln, and let it harden to a fine finish. What to do next in your pottery making journey? While a beautiful vase is a beautiful vase no matter the finish or color, applying a glaze is like putting on makeup: sure, you don't NEED it, but having it on dramatically improves and accentuates your features, making cheekbones more sculpted, eyes wider and brighter, and lips more well defined. In t...
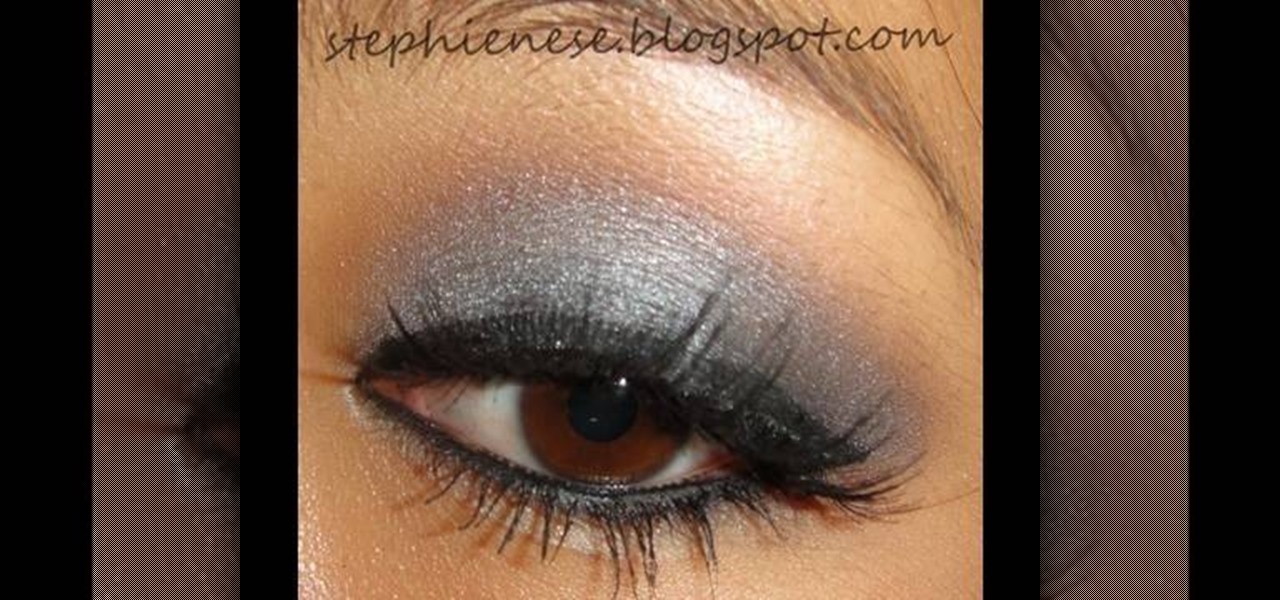
Smokey eyes are so boring, don't you think? Whether or not you vary the colors (blue smokey eye versus black and silver smokey eye) the same idea is there: layer it on, smoke it out, and presto! Smokey eyes. But with so many gals turning to smokey eyes to get their sexy makeup fill, don't you want to stand out just a little bit?
Walk into L.A. hotspot Kitson any day of the week and you're sure to find a teeming collection of celebrity endorsed jewelry, at least half of which are bohemian and breezy, made out of skilled wire wrapping and exotically colored gemstones. They're pretty, yes, but unless you have a celebrity's budget they're also hard to attain for the average person.
In this tutorial, we learn how to decorate your jeans with embroidery. First, you will lay your jeans flat on a surface, then trace out the space you want to make on a piece of paper and cut it out. After this, place the paper on an embroidery sheet to transfer the design. When finished, cut the embroidery out. After this, use a needle and the same color thread as the design to sew it onto the desired spot. When you are finished, you will have a unique embroidery that you designed! This can b...
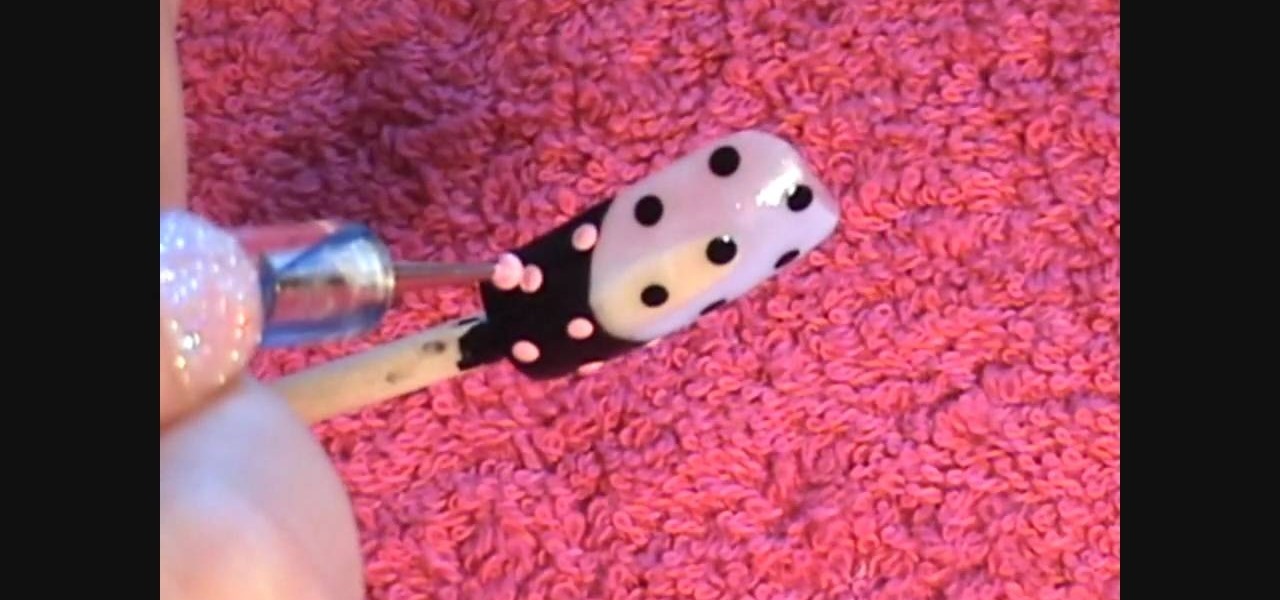
In this Beauty & Style video tutorial you will learn how to create cute polka dot acrylic nails. For this you will need acrylic paint and acrylic nails. First paint the lower part of the nail with black paint in a curved manner. Then you put three black polka dots in the unpainted area along the centerline of the nail. Now put two more black dots on either edges of the nail. Then you put light pink dots over the painted area in line with the black dots. Paint the smile line and the bow with l...
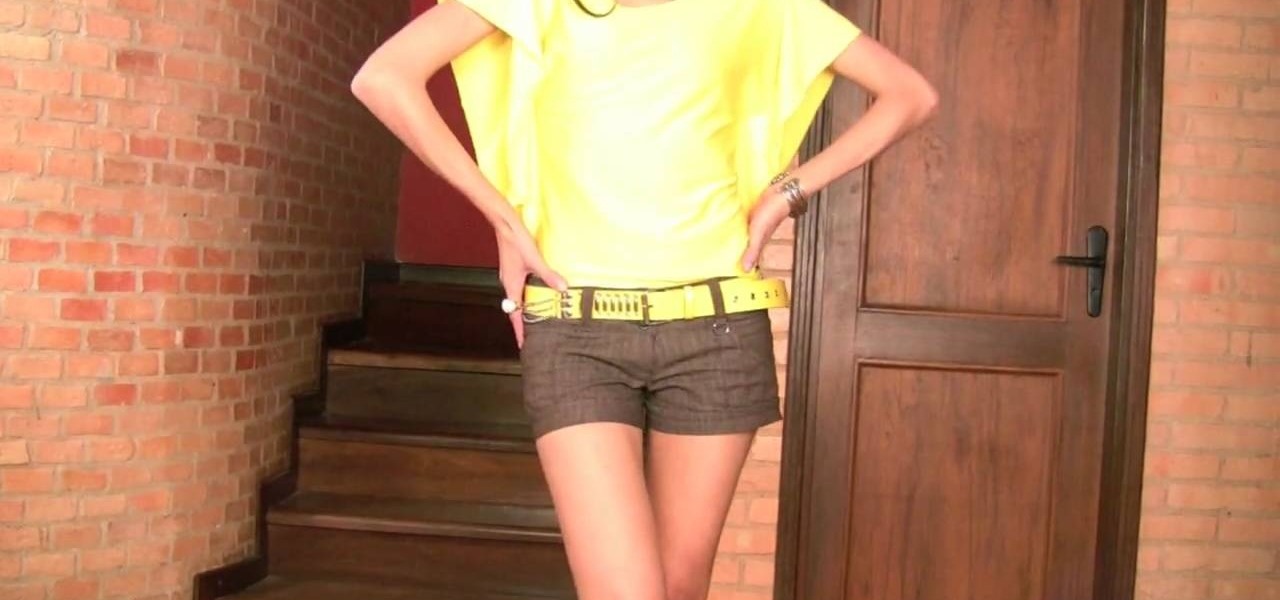
In this tutorial, we learn how to make a stylish bat sleeve. First, take a large piece of fabric and measure it from your shoulder to the armpit on the other arm. Now, fold the fabric up and mark pins where you want the cuts to be. Now, sew the seams where you placed the pins. Do this for both sides and when you are done you will have bat sleeves on a blouse in just a few short minutes. You can do this on any color of fabric and use different types of fabrics as well. Just make sure to measur...
In this tutorial, we learn how to make a Victorian hat from a lampshade with Gwen. You will need: a lampshade, scissors, acrylic paint, paint brushes, glue, a compass, and cardboard. First, take the compass and make the circle as wide as you want your hat to be, then trace your lampshade on the cardboard. Now place the small end of the lampshade around the large circle that you drew. Next, cut these circles out of the cardboard. Leave extra room, don't cut it out exactly on the line. When fin...
Kandee shows us how to apply a glamorous makeup look for your wedding in this video tutorial. To begin, apply foundation to your entire face, followed by a blush on the apples of the cheeks. After this, fill in your eyebrows to the appropriate color that matches your hair. Next, you will want to apply a silver eyeshadow along the brow bone and on the entire eyelid. Next, apply eyeliner to your top and bottom lashes. Now you will apply a black eyeshadow to the outer edge of your eye and into t...
In this tutorial, we learn how to draw a sports logo. You will need: paper and a writing utensil to do this. Do a rough draft of the logo with a light pencil before beginning. When finished, draw a basic helmet shape with a Sharpie marker. Trace around the lines that you made and make sure to draw the face guard when you are finished with the helmet outline. Next, add on a grille to the mask and then add more detail to the helmet as it would look in real life. When you are finished, add color...
In this video tutorial, viewers learn how to draw Obi-Wan from Star Wars. Begin by drawing a circle for the head and rectangular shape for the jaw. Then draw a line 1/3 way across the circle. Draw the eyes on the line and the nose just underneath the line. Now draw 2 lines from the ends of the eyes to the rectangular shape. Use those lines as a guide to draw the length of the mouth. Then add the ears, eyebrows and beard. Now lightly draw the hair. Finish by coloring and shading the image. Thi...
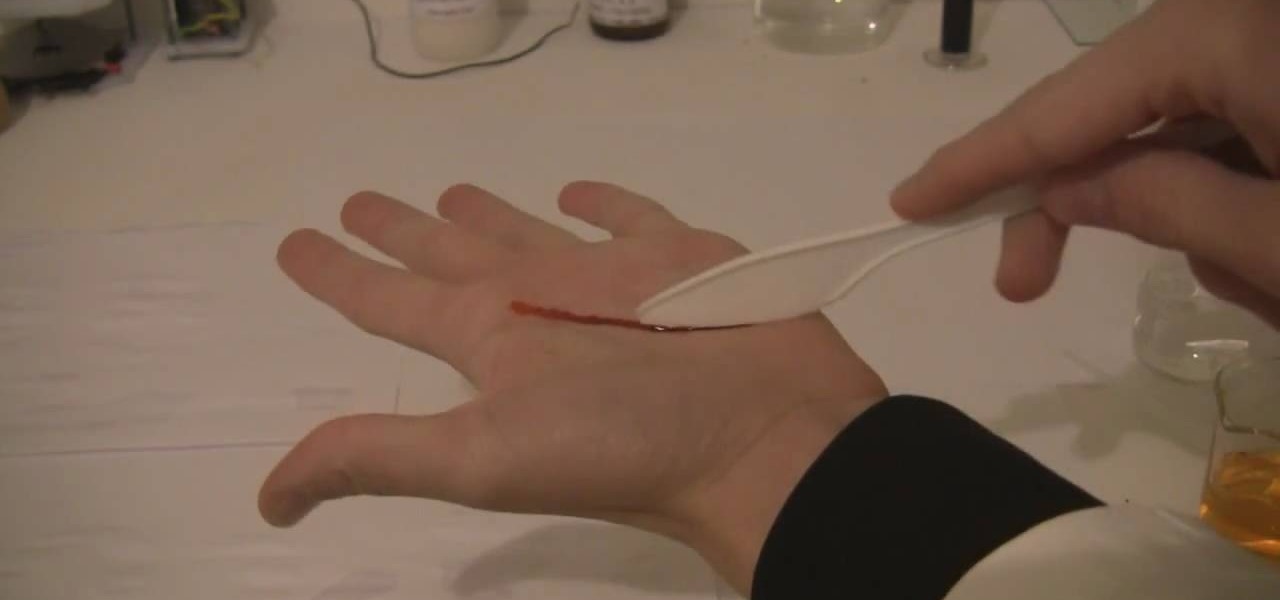
In order to make fake blood, for special effects or for Halloween, you will need the following: Potassium Thiocyanate (KSCN), Iron (III) Chloride (FeCL3), which is also known as ferric chloride or may substitute Iron Nitrate (Ferric Nitrate). You will also need water or dihydrogen monoxide.
Lace yarn is not a very pretentious crafting medium. Lightweight and delicate, lace yarn is used by knitters to crochet lace patterns for scarves, berets, and other accessories. But turning lace yarn into said final creation is no easy walk in the park.
In this video tutorial, viewers learn how to draw the black Spider-man in Adobe Photo-shop. Begin by drawing the shape of Spider-man and then scan it. Now extract the ink from the white page. Then change the ink from black to white. Make the background black. Then fill the entire figure of the character in black color, using the pencil tool. Now create a blue layer over the entire image. Add white to the eyes and center spider symbol. Finish by adding details and a spider web in the backgroun...
In this tutorial, we learn how to make tasty whipped cream with Marie. First, put in heavy cream to a mixing bowl, then add in almond extract. Whip this mixture with an electric mixer until you get heavy folds in the combination. Start out at a low speed so you don't get splashes going everywhere in your kitchen. It will take several minutes to get to the right consistency. When the mixture starts to grow, gently fold in your sugar to the mixture. Only add in a small amount at a time until al...
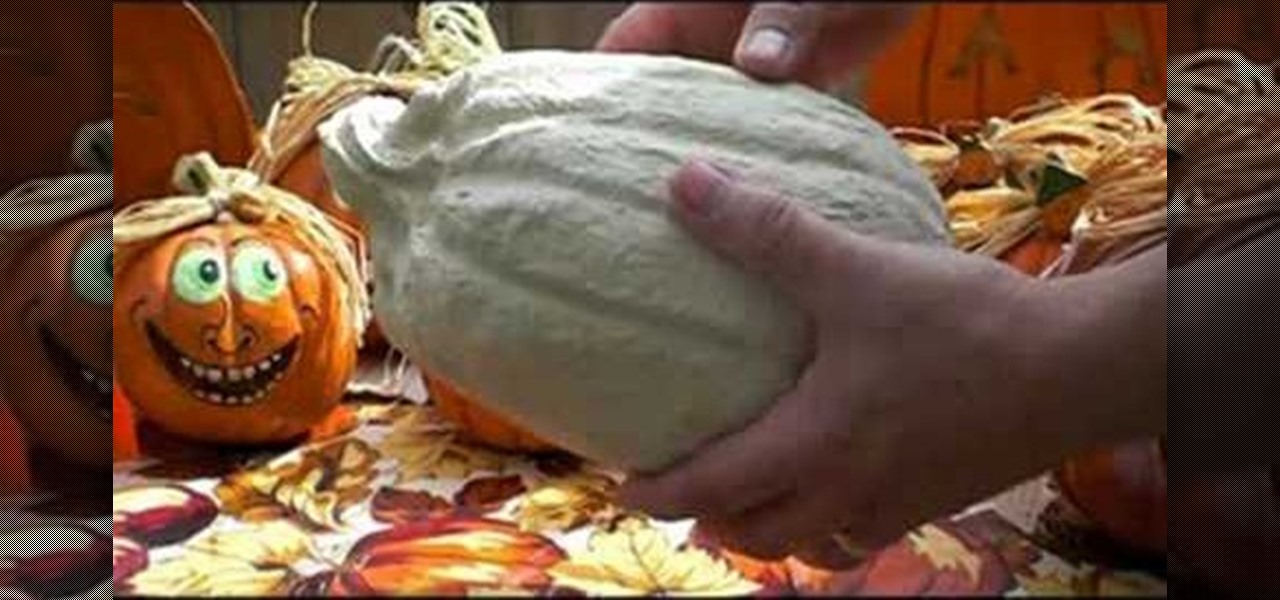
In this tutorial, we learn how to make paper mache Halloween pumpkins. You can purchase the pumpkin already made in the correct shape. When you are read to paint it, use orange pain and then a darker color in the creases to make it look realistic. You may need to smooth the pumpkin out before you paint, to make it easier to paint. Let the paint dry when finished, then add a gloss on. You can also paint on faces and different designs if you want to spice things up. You don't have to paint them...
In this tutorial, we learn how to get started on Twitter. First, log onto Twitter, then click on the "join" button towards the bottom. On the next page, enter in your username you want, as well as a password and your email address. After this information is entered, click on the sign up button. next, you will be able to enter in your other social networking emails, so you can see if your friends from there are using Twitter. For the next step, you will be brought to your home page, where you ...
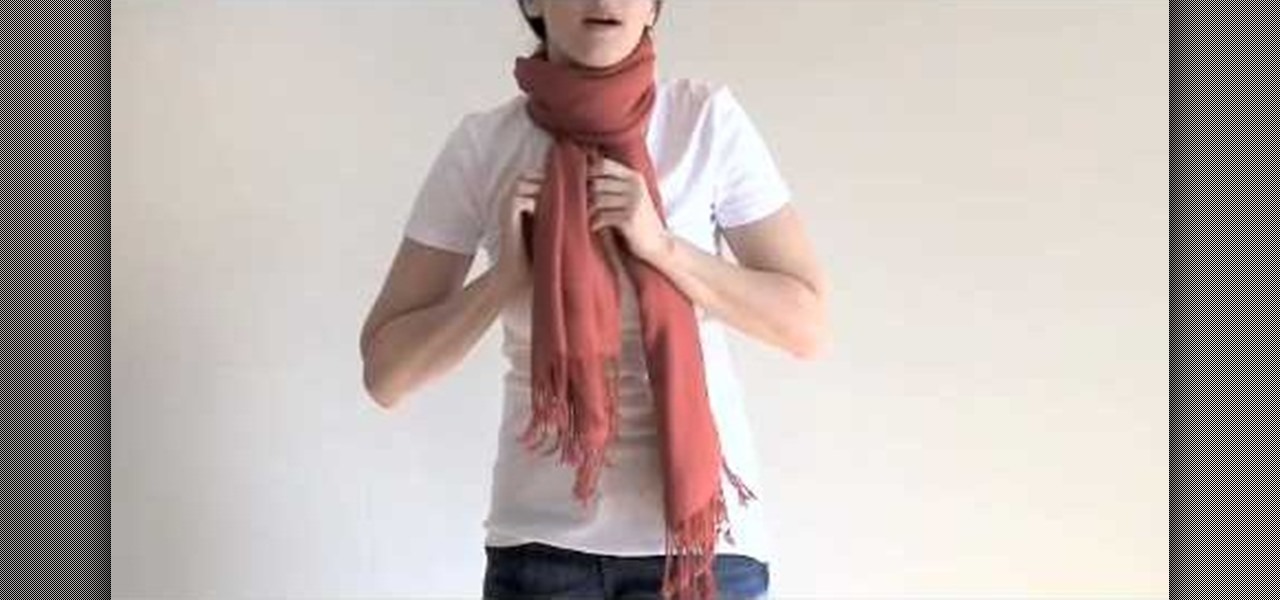
In this tutorial, we learn how to tie a turtleneck knot. First, take your long scarf and find the middle. Next, wrap the scarf behind the back, and bring the ends to the front. Loosen the scarf up on the neck, then make a knot. Try to get the scarf to lay as flat as possible, then tuck the knot into the neck cover. You can let it hang loosely, or flare it out on the sides. This is a great way to wear your scarf in the winter, because it will keep your neck warm as well as your body! You can a...