In this Adobe Illustrator tutorial, Bert Monroy from PixelPerfect shows you how to use the Gradient Mesh tool, which lets you divide pretty much any shape (like an apple) into a mesh. Wish a mesh created, you can alter the color of an intersecting point of the mesh with a solid color. This tool will help give your Illustrator objects more dimension and realism.

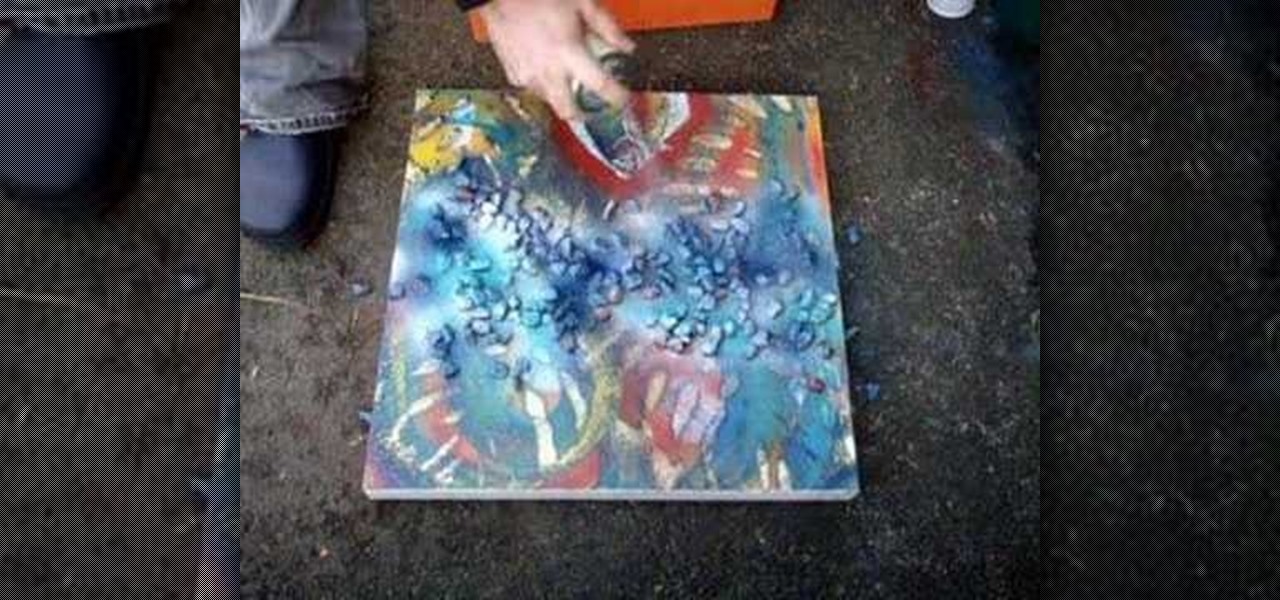
Watch this demonstration of a spray paint layering technique. All you need is some gravel and spray paint to add a unique stenciling effect to the surface of your artwork. Use any object to create negative space with spray paint. Use this technique on collages, paintings, assemblage pieces, and clothing.

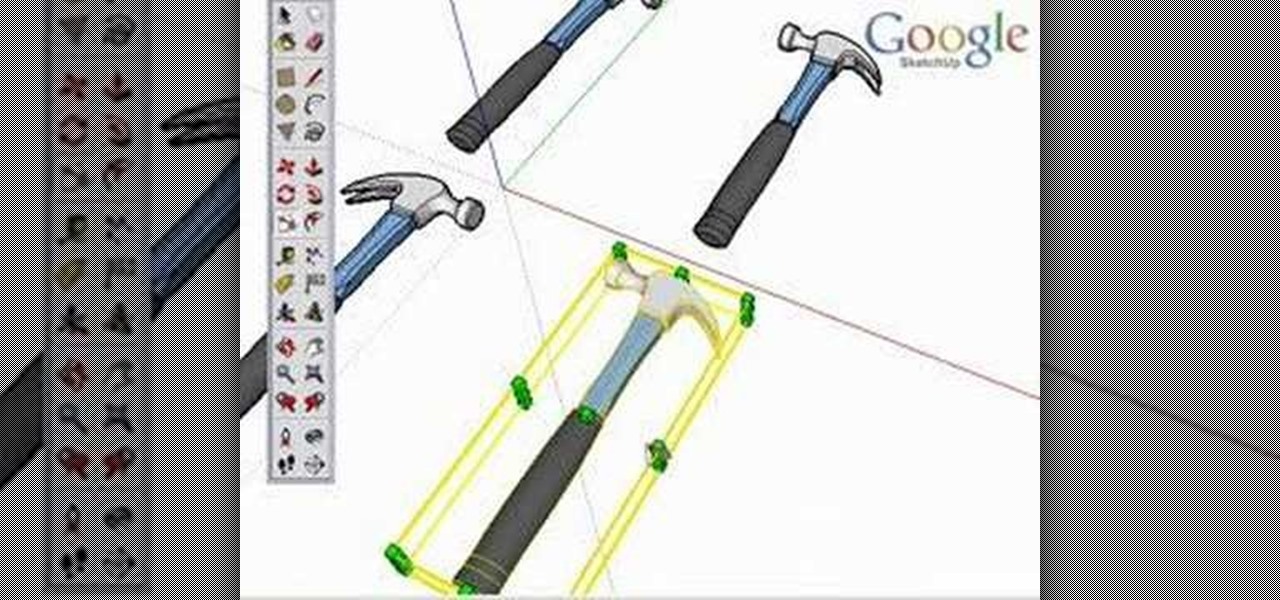
Although there isn't an actual mirror tool in SketchUp, it is easy to mirror anything with the scale tool. Take a look at this instructional video and learn how to use the scale tool for mirroring purposes in SketchUp. This tutorial covers, how to mirror objects using the scale tool, how to use modifier keys, and mirroring symmetrical components or shapes for efficiency.

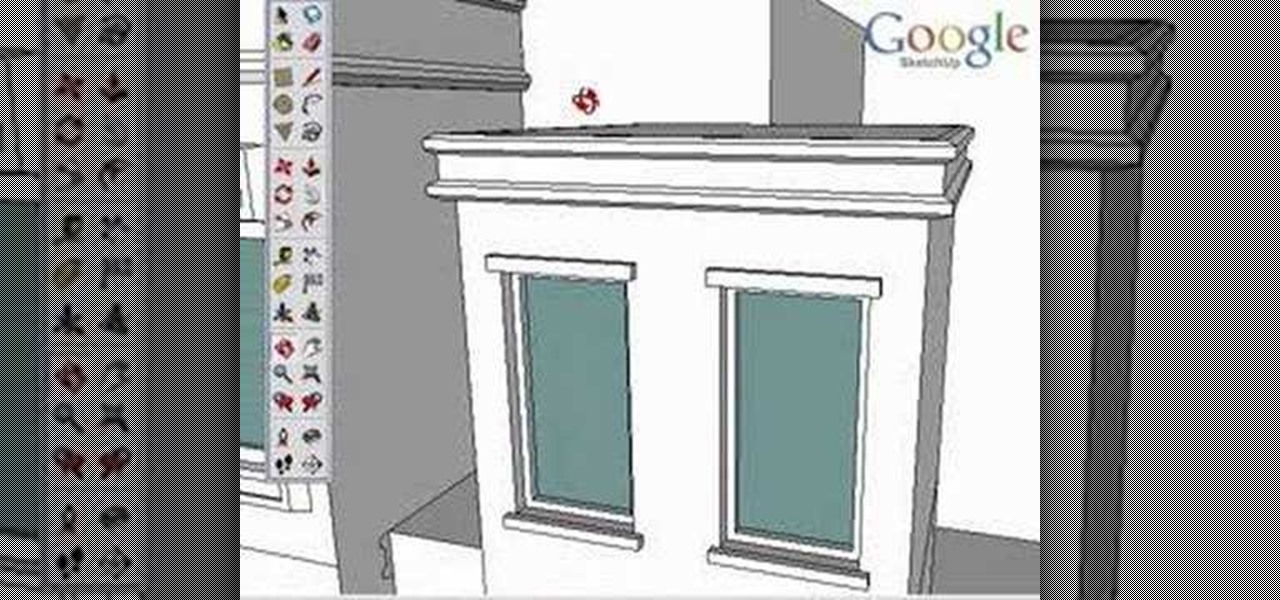
Take a look at this instructional video and learn how to use the "follow me" tool in Google SketchUp. Merging different shapes with different paths renders powerful combinations. This tutorial covers an introduction to follow-me capabilities, tips on how the shape and path work together, how to create instant follow-me results, and creating lathed objects.

In this Houdini 9 modeling tutorial you will learn how to use the surface operator the carve sop. Carving objects is a fast way to model and manipulate them using curves and lines or other shapes. Watch and learn how to use the carve sop in Houdini 9.

In this Adobe Photoshop tutorial you will learn how to create water drops on an object. Making a realistic water droplet effect is easier than you think. Watch and learn how to add water drops to images in Photoshop.

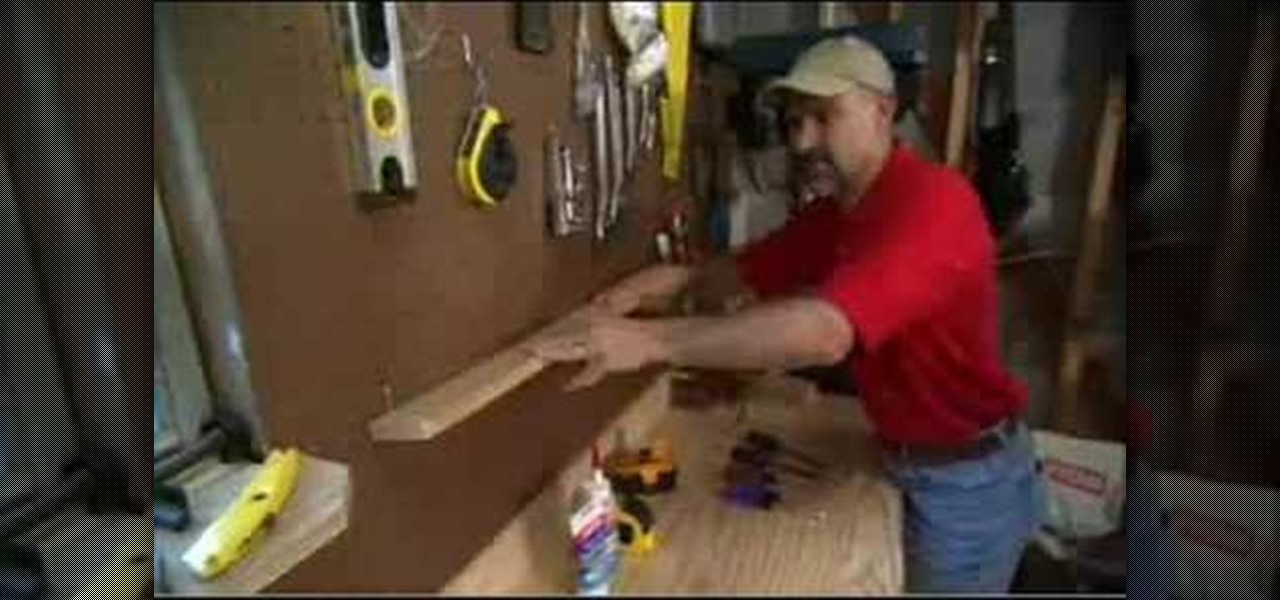
Danny Lipford talks with Joe Truini about a simple solution to storing objects on your pegboard which may not be suited to using typical pegboard hooks. Keep your workspace organized with these easy to install pegboard shelves.

This is a short Blender tutorial that illustrates how to move a vertex along an arbitrary edge of an object no matter how the edge is rotated in 3D space. This 3D tutorial is from Stage6 so check it out and learn how to control the vertices on your Blender models.

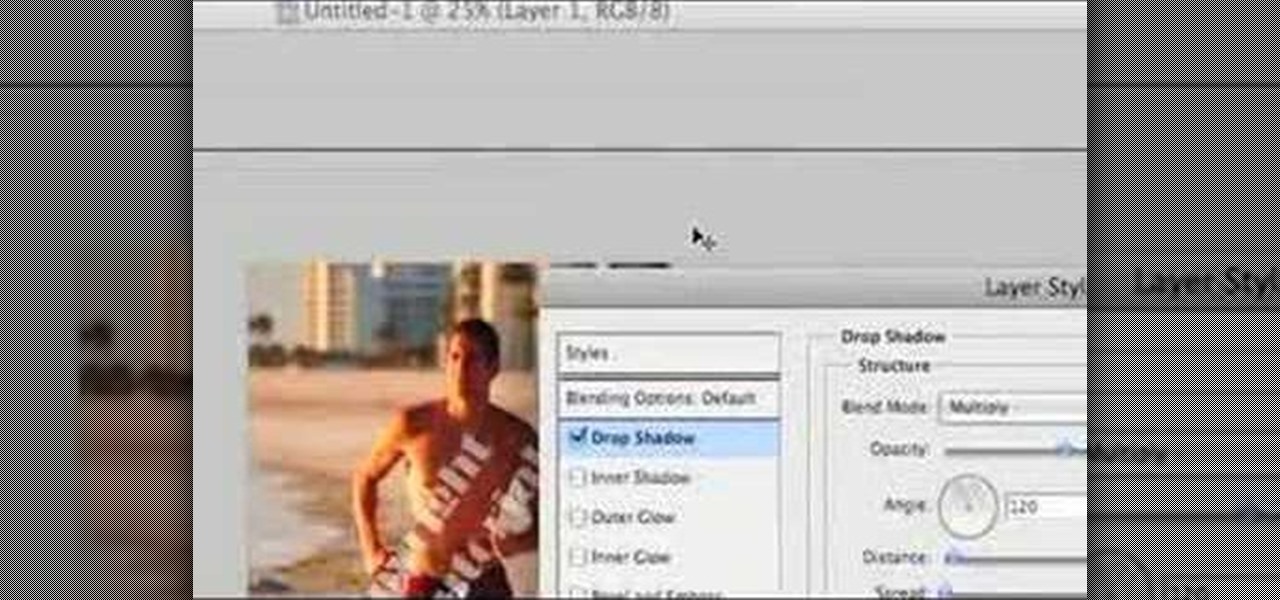
In this software tutorial you will learn how to make a drop shadow in Photoshop easily. Drop shadows can be applied to any object or text you are using in Photoshop and give elements a more 3 dimensional and realistic look.

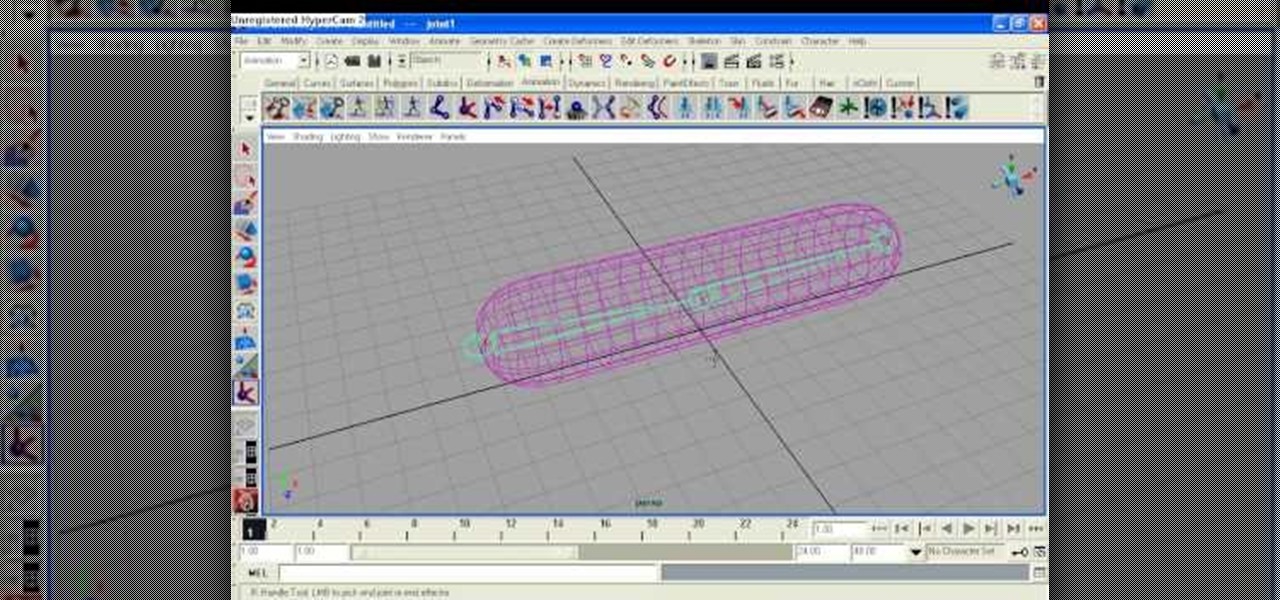
In this tutorial you will learn how to setup a basic rig in Maya. Animation rigs are the bone and muscle structures used to animate and move characters and objects made in Maya. If you plan to make anything you model in Maya come to life, you will need to learn the basics of rigging. So watch this tutorial and get started building basic animation rigs in Maya.

Learn how to setup a Reference Plane

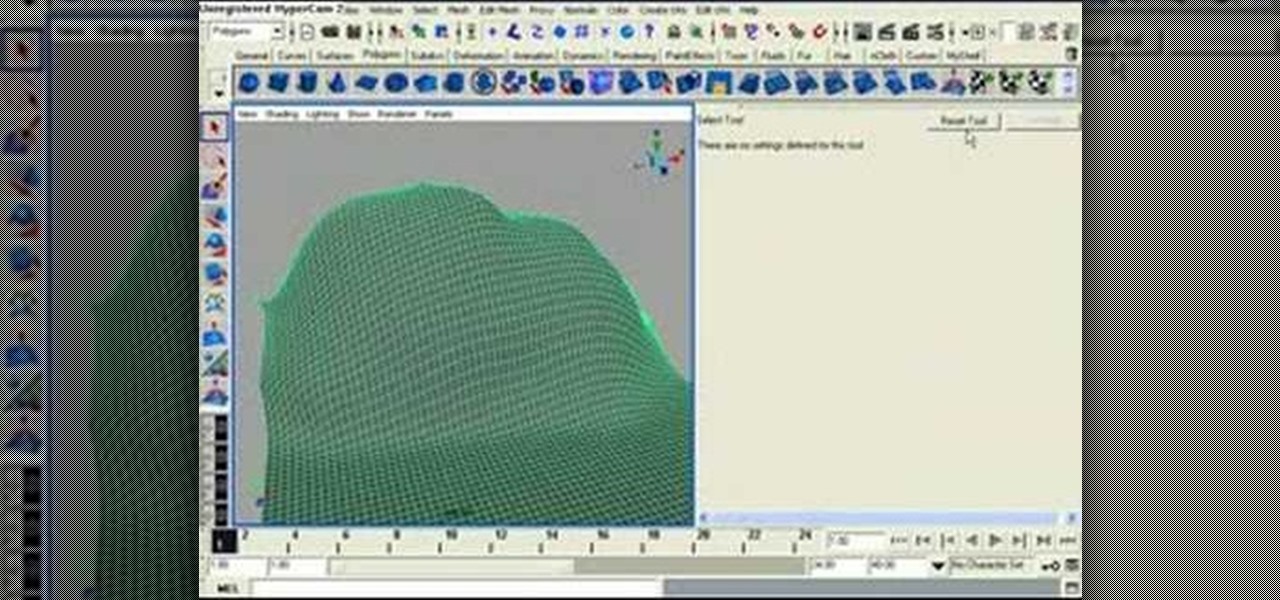
In this software tutorial you will learn how to sculpt geometry using the sculpt geometry tool in Maya. The sculpt geometry tool is like a paint brush that allows you to paint the surface of an object in 3D. It is best used for creating terrains and other organic geometry. This tutorial will cover all the basics of learning to sculpt geometry in Maya.

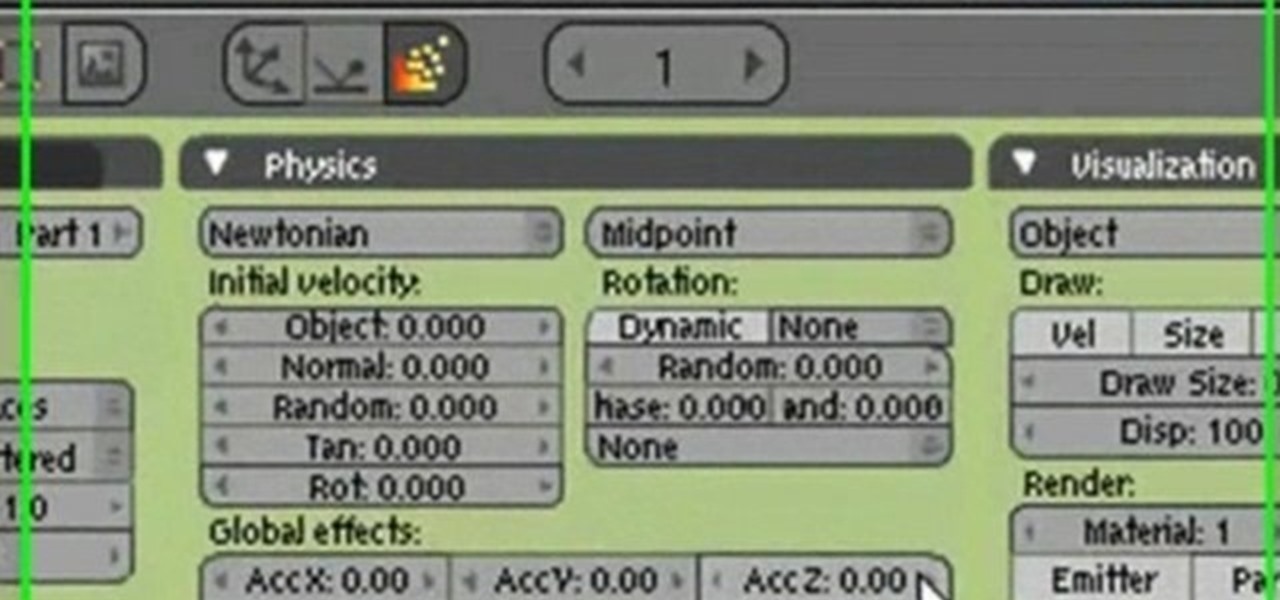
This tutorial shows you how to create bubbles emitting from a point or object in Blender 3D. Perfect for any underwater scene you may want to create.

Learn how to extrude polygon faces and start to really make objects. Extruding is the most important and most often used method for manipulating and modeling with polygons in Maya so if you are learning Maya, you definitely want to check out this tutorial.

Learn about the things that make up polygon objects - Components. We go over how to access them and how to manipulate them. This is truly the core of 3D modeling in Maya!

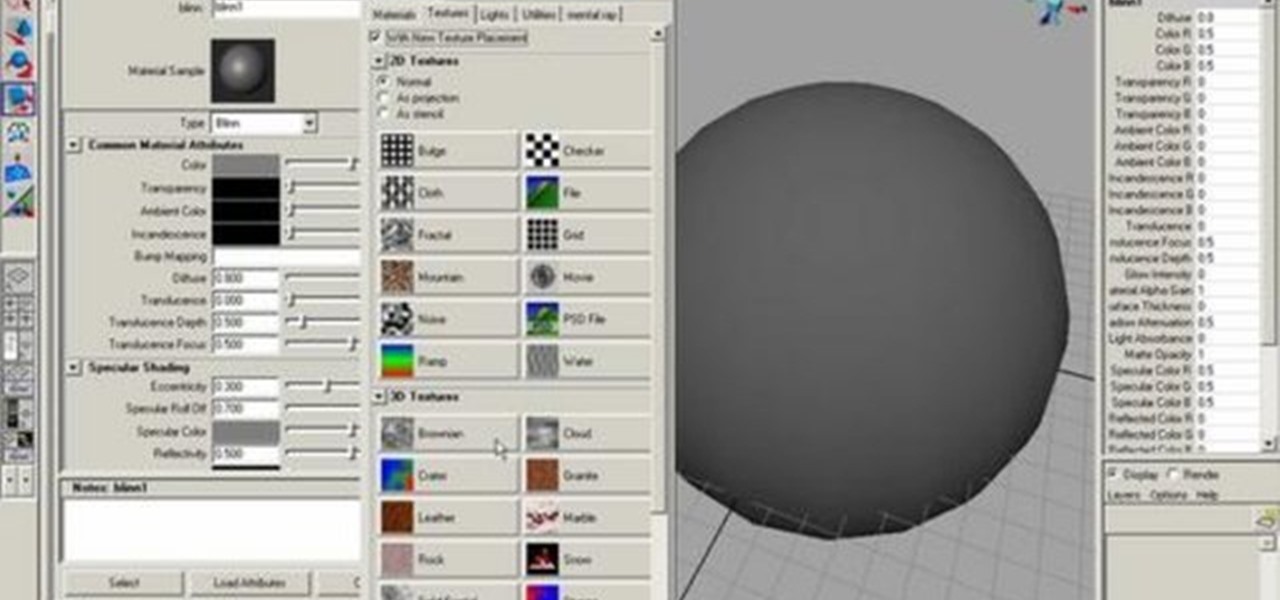
This lesson will show how to create and apply textures to objects in Maya.

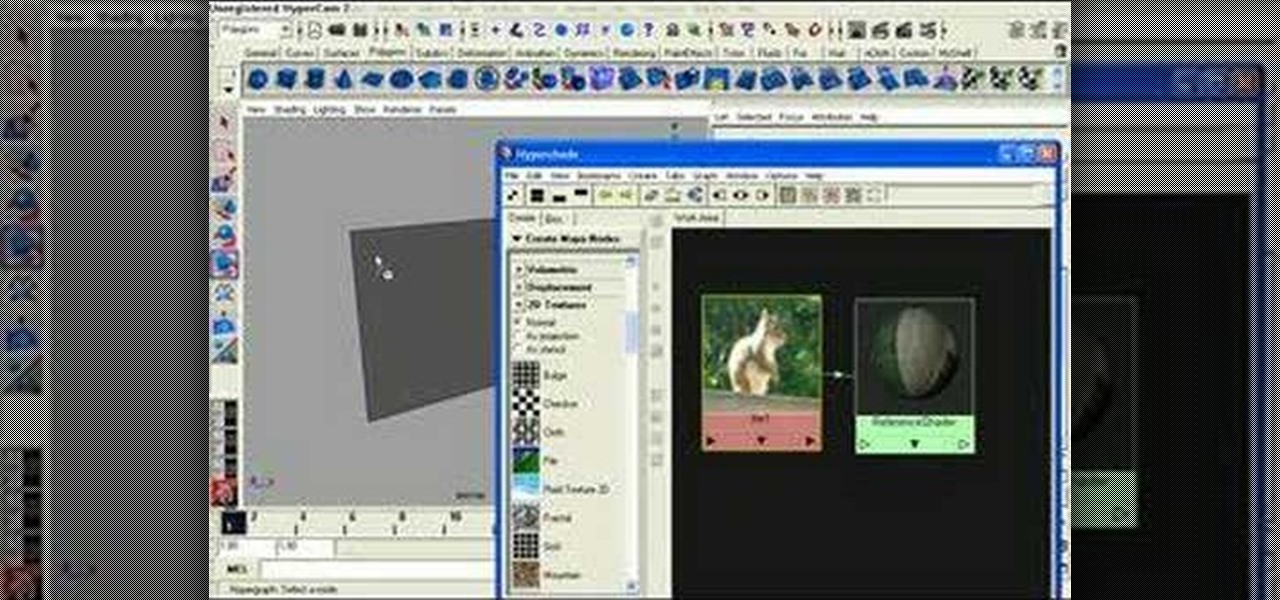
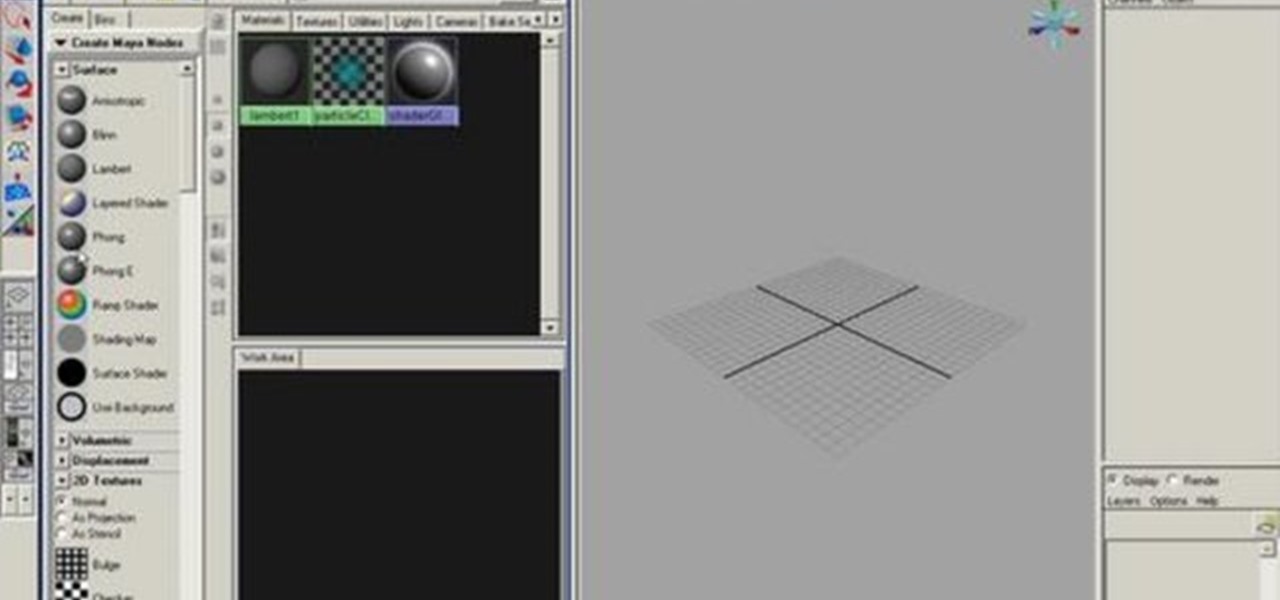
First off, a bit of explanation. The hypershade in Maya is a quick way to create and connect rendering nodes, which include textures, materials, lights, and special effects. Hypershade is one of the most important features in Maya to learn and master.

Watch this fashion tutorial video to learn how to distress your jeans quickly and easily. You'll need old jeans, a cheese grater or nail file, a hard object, a white crayon or chalk, and a pen knife or cutter. You'll be rocking your own distressed jeans in no time after watching this helpful how-to video.

This how-to video is about "The Spin" or "Full Turn" of a discus. A discus is a hard object to master, but with enough practice, it should come easily to anyone.

This video tutorial shows how to use Smooth-On's ReoFlex urethane mold rubber to cast a simple 1-piece block mold. Learn how to mix, pour, form, and create a one piece mold to create duplicates of an original object.

Hey all you 3D digital animators out there, check out this 3ds Max video tutorial on how to precisely align the texture/image on your object using projection UV coordinates.

Take a look at this 3ds Max video tutorial on how to add shadows. Shadows show details in your scene and anchor objects in the scene. Learn what options you have as 3D modelers/animators/sculptors.

Check out this 3ds Max video tutorial on how to turn those objects into an image or movie you can share with others by rendering your modeled 3D scene. This is helpful to all digital animators/modelers/sculptors.

This 3ds Max video tutorial will show you how to create procedural objects from your 2D shapes, extrusions, and bevels. This is a must for all you graphic digital animators/modelers.

Check out this 3ds Max video tutorial on how to modify a 3D object. If you plan on being a 3D modeler/animator, then why not take a gander at these educational software videos?

This 3ds Max video tutorial will show you various ways to mirror your object and the pros and cons of each. Then, it will demonstrate various methods of subdividing your mesh in Autodesk's 3D Studio Max digital graphic modeling software.

This video tutorial goes over methods for defining the topology of an organic object in Adobe Photoshop. This is helpful as a planning stage before you begin your 3ds Max 8 digital 3D modeling to make sure that your have proper distribution of faces and your target mesh will deform nicely. So, if you're using Autodesk's 3D Studio Max for awesome 3D graphics, this could help you out with Photoshop topology.

Before you learn the hard stuff of 3D digital animation with Pixologic's Zbrush 3.1 sculpting software, you might want to learn the navigation of things. Navigation is a very boring thing in Zbrush, but is very important for 3D modeling. This video will teach you to move objects, rotate, and more.

Need a little help with your Autodesk Maya 8.5? Are those 3D animated objects frustrating you? Is 3D modeling just a huge headache for you? Well, this video Maya tutorial might help a bit. You need to know what to constrain and what not to constrain. So, you'll learn here how to create clusters.

This AutoCAD 2008 tutorial covers making changes in your drawing and moving objects.

This tutorial offers an introduction to how dynamics work in Maya and how to create a passive ground plane and active objects that react to it.

This Blender tutorial covers snapping points and merging objects as well as lofting between edges.

This time Jason Welsh imports a mesh into the Unreal Engine 3.0 for Gears of War and makes a special material for the object. The Material editor is huge in unreal editor so don't get lost!

Before painting any room, you want to ensure that the paint only lands on the wall surfaces you intend to paint. See how to tape room walls and other objects to reduce unwanted splatter.

This is a video tutorial showing how to wrap text in Photoshop to put text on photos or on objects in photos using Photoshop.

This tutorial shows you how to edit primitives, also known as box modeling, to create objects in Maya. This video is geared towards younger students new to Maya.

This two part Maya tutorial explains many elements of modeling and how to make sure you create geometry that is well constructed with good flow. It covers cutting holes in objects / Flowing one weird form into the next and still maintaining uniformed polys across the 3d surface.

So, you want to add some weird things, like horns to your 3D animated character in Pixologic's Zbrush 3.1 sculpting software. Well, you've come to the right place. This video tutorial will teach you how to add Zspheres to your sculpt in Zbrush and why. Your 3D animated model will look great when you stage another object and add it to your character.

This Pixologic Zbrush 3.1 video tutorial shows you how to place eyes in your 3D animated character's head. You'll have to sculpt out those eye sockets out first and then grab a squirkle to work with, using a few tools. If you want to be a great 3D digital animator, learning the basics of Zbrush modeling is a must. You'll see how to move, rotate, and scale an object, too.


