Take a look at this tutorial and learn how to use the push pull tool in Google SketchUp. This tool is the core of SketchUp. It allows you to pull any flat shape into 3D. This instructional video covers how to pull any flat shape into 3D, tips for accuracy and efficiency, how to cut away geometry and infer to other geometry.
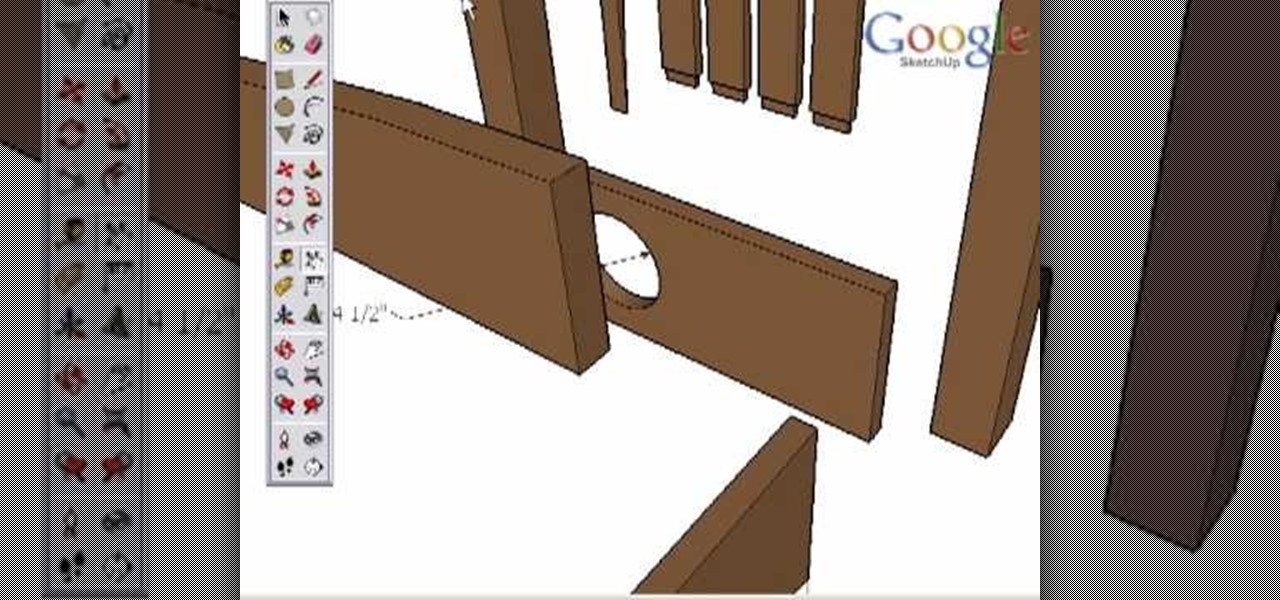
Take a look at this instructional video and learn how to use the dimension tool in Google SketchUp. This tutorial covers how to add dimensions directly to your model and how to adjust dimension settings. To dimension a distance between two points, simply select the dimension tool and click between the two points your want to measure. Pull away and click to finish.
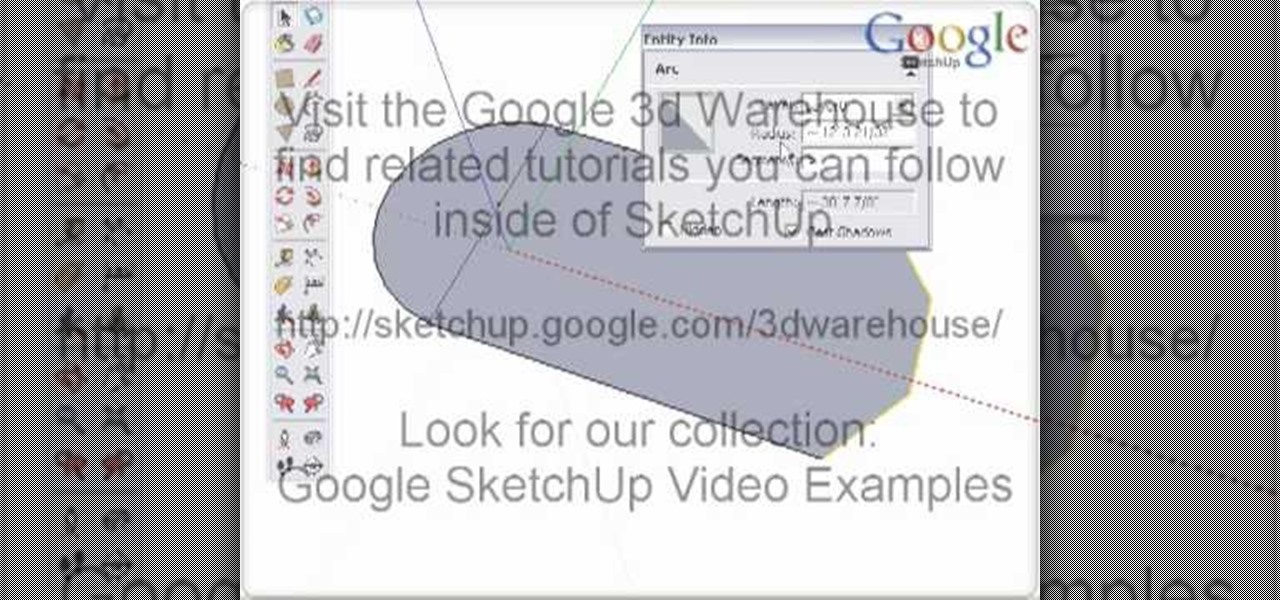
Take a look at this instructional video and learn how to use the arc tool in Google SketchUp. Using the arc tool is a three step process based on defining the two endpoints of the arc first and then pulling out the radius of the arc. This tutorial covers how to draw arcs, drawing tangent arcs, continuous smooth arcs, and defining the number of arc segments.
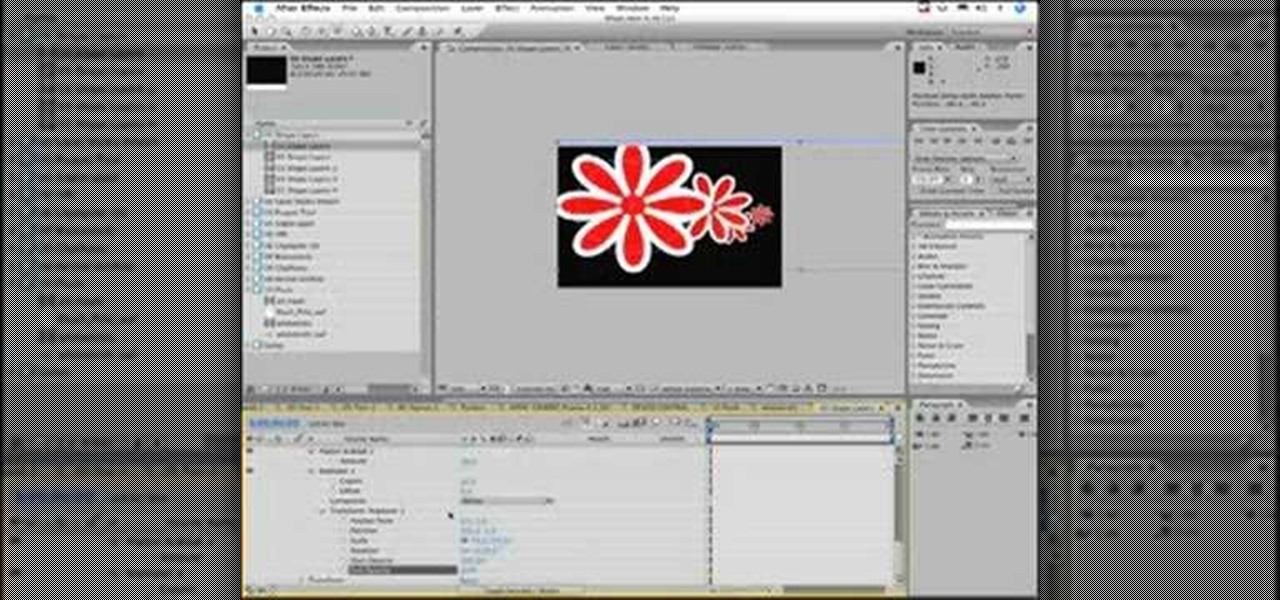
Learn how to use the Shape Tools to create dynamic motion graphics elements in After Effects. This tutorial was recorded as part of a session at the 2007 NY Post Production Conference. Watch and learn how to effectively use the shape tools in After Effects CS3 for your motion graphics and compositing projects.

Non-linear video editing tools are great, but they're not always the best tool for the job. This is where a powerful tool like ffmpeg becomes useful. This tutorial covers the basics of transcoding video, as well as more advanced tricks like creating animations, screen captures, and slow motion effects.
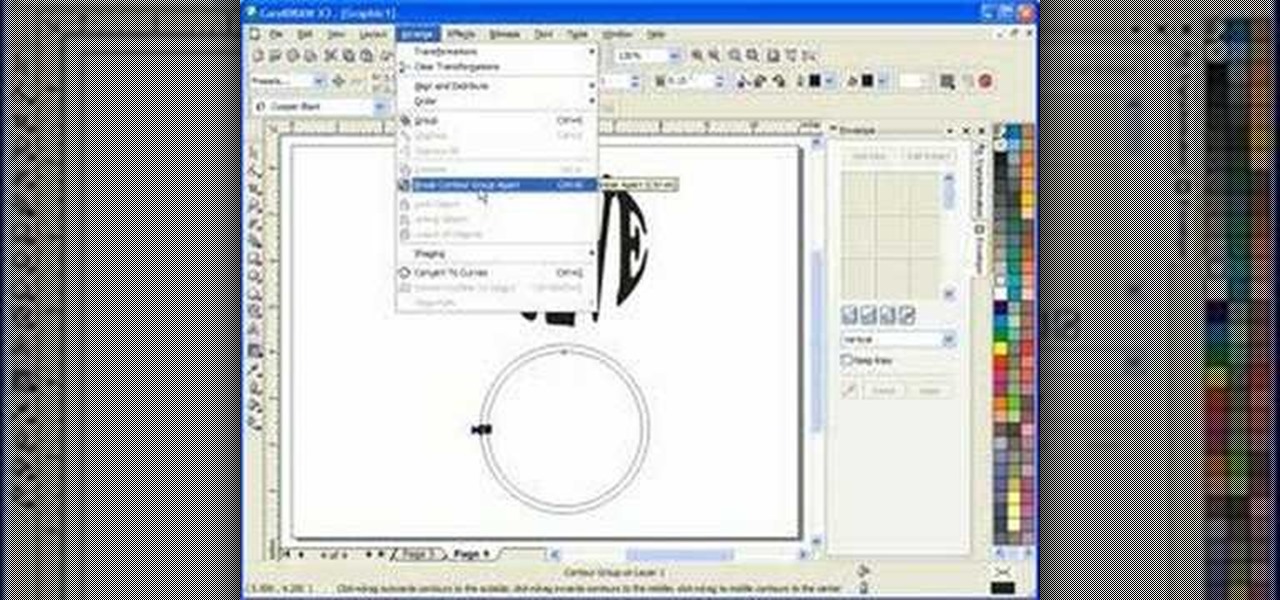
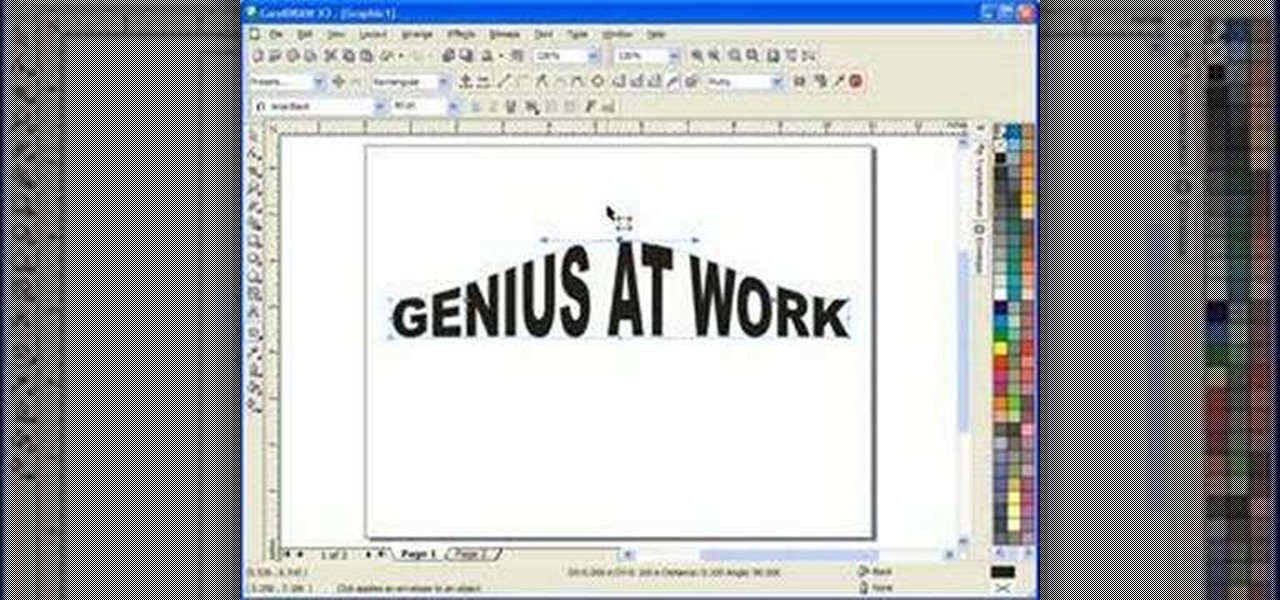
In this scroll saw pattern creation tutorial you will learn how to work with another tool in Corel Draw. Watch and learn how to use the envelope tool in Corel Draw to aid in your scroll saw pattern design.

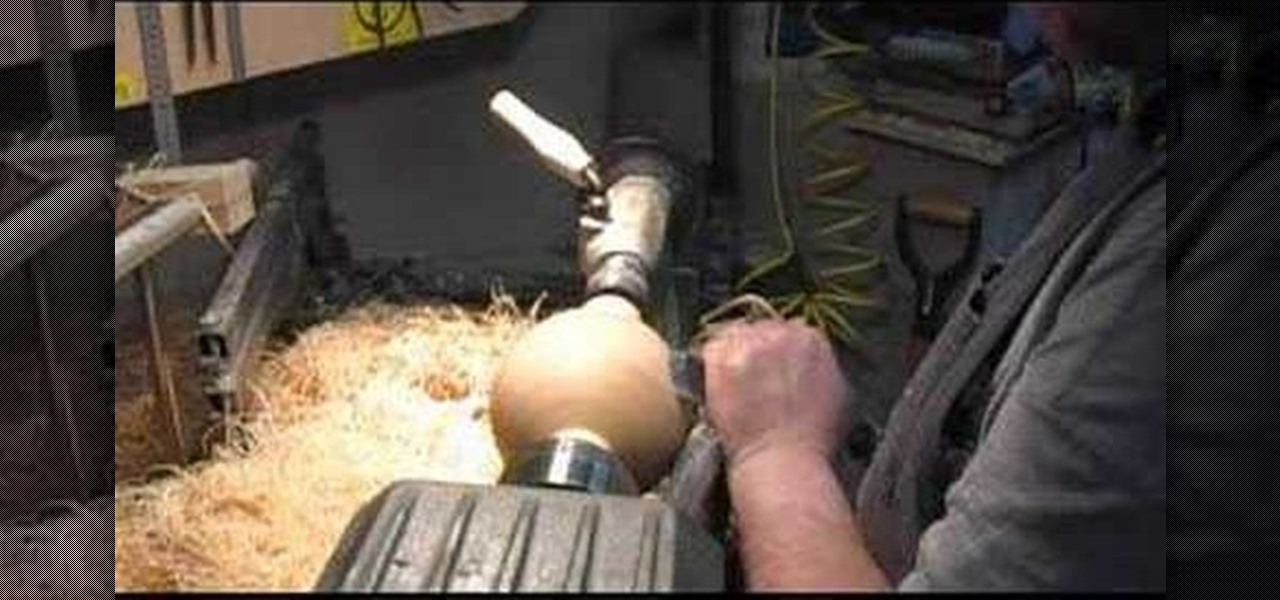
Watch this instructional woodworking video to learn how to use a skew tool. This is a difficult and slightly dangerous tool to use. Pay attention to these safety tips to help you carve wood with accuracy.

This software tutorial shows you how to use the interactive envelope tool in Corel Draw X3 to create scroll saw patterns. If you are a scroll saw woodworker and want to create your own patterns, you can learn how with the interactive envelope tool and Corel Draw X3.

Here are some of necessary the tools for hobby crafting and diorama making. This model maker uses wood rasps, sanding pencils, wire cutters, small pliers, a box cutter, a wood carving knife, and a Japanese pull saw. When building miniatures you may find yourself making your own tools or finding useful sculpting aids around the house. Occasionally, a wood burning gun can help you achieve detail for tiny window shutters and other fine work.

Women's self defense strikes are extremely valuable in a world where women are attacked everyday. Learn self defense strikes, kicks and punches with tips from a martial arts expert in this free self defense video series.

Learning American sign language is valuable for anyone who is deaf or has dead friends and family. Learn how to sign words for emotions in American sign language with tips from an audiology expert in this free sign language video series.

In this Corel Draw X3 tutorial you will learn how to work with the line tools. This video is geared towards wood workers who use scroll saw and want to create designs in Corel Draw X3. No matter what your Corel Draw needs, if you are just learning and want to understand how to use the line tools, this tutorial will break them all down for you.

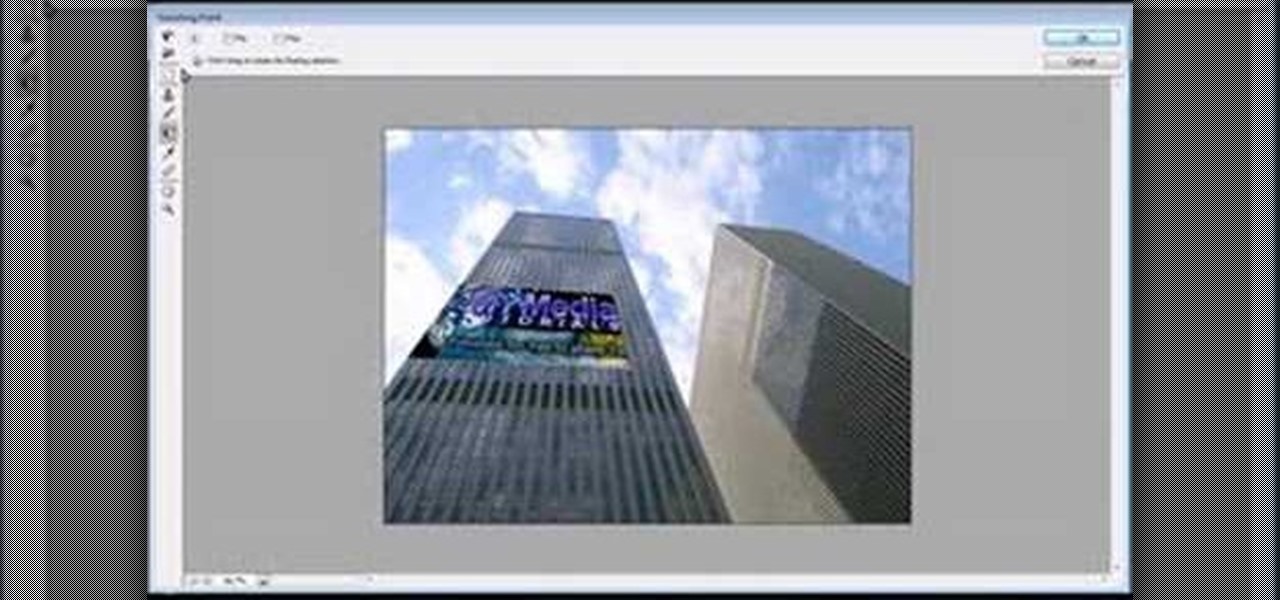
Jordan shows how to use Vanishing Point - a useful tool is Photoshop! The vanishing point tool is Photoshop's way of allowing you to create images that look 3-dimensional and allows you to add components and lighting to an image while maintaining the proper perspective. So check out this Photoshop tutorial on the vanishing point tool and prepare to add some cool 3D effects to your photos.

Jewelry can be quick to make at home, not to mention cheaper and more customized. All you need are the right tools and equipment, and to know how to use them. Learn how to make jewelry at home and what tools are needed to make any kind of jewelry.

Often we neglect simple tools because the big fancy machine tools are so attractive. But often these basic tools are the best for the jobs. This how to video is a quick review of some basic hand tool techniques with Kaleo Kala.

Learn how to say the names of kitchen tools in French

Learn about using the Dremel™ tool for engraving glass. A Dremel tool can be used for creating decorative effects.

Terry White likes a lot of things in Illustrator however, the tool that he's having the most fun with in Illustrator CS3 is the new Eraser Tool. In this video we'll take a closer look at it and learn about some of its hidden capabilities.

Photoshop re-touchers rely on the Clone Stamp tool to correct image flaws. Learn tips for using this tool to wipe out imperfections using sampling and alignment options.

Determining the antivirus and firewall software installed on a Windows computer is crucial to an attacker preparing to create a targeted stager or payload. With covert deep packet inspection, that information is easily identified.

A potentially groundbreaking new app targeting retail financial services hopes to bring augmented reality to your local bank and credit union.

Hello everyone. I've recently made the annoucement of the Null Byte suite of tools, and we've covered how to download and install it. Now it's time we cover how to submit a tool for inclusion into the suite. It's relatively simple, but we need to get a few ground rules out of the way.

Those of you who have been a part of the Null Byte community for even a short while know that I sincerely and firmly believe that hacking is the most important skill set of the future.
In the business world, it is always best to have the people you work with. For you to become the best you could give, here are at least 5 tips in using team building tools.

In this web design tutorial learn how to use the straight line tool. Although the straight line tool might seem like a useless tool I can tell you from experience it is very useful. Especially if you have ever attempted to draw a straight line with a tool other than the straight line tool. There are many ways you could use the straight line tool such as dividing content, design graphics, separating navigation menu headers and much more. My recommendation would be that you take a look at some ...

If you loved The Da Vinci Code by Dan Brown, then listen up— there's been a new discovery found hidden within Leonardo da Vinci's most famous painting— the Mona Lisa.

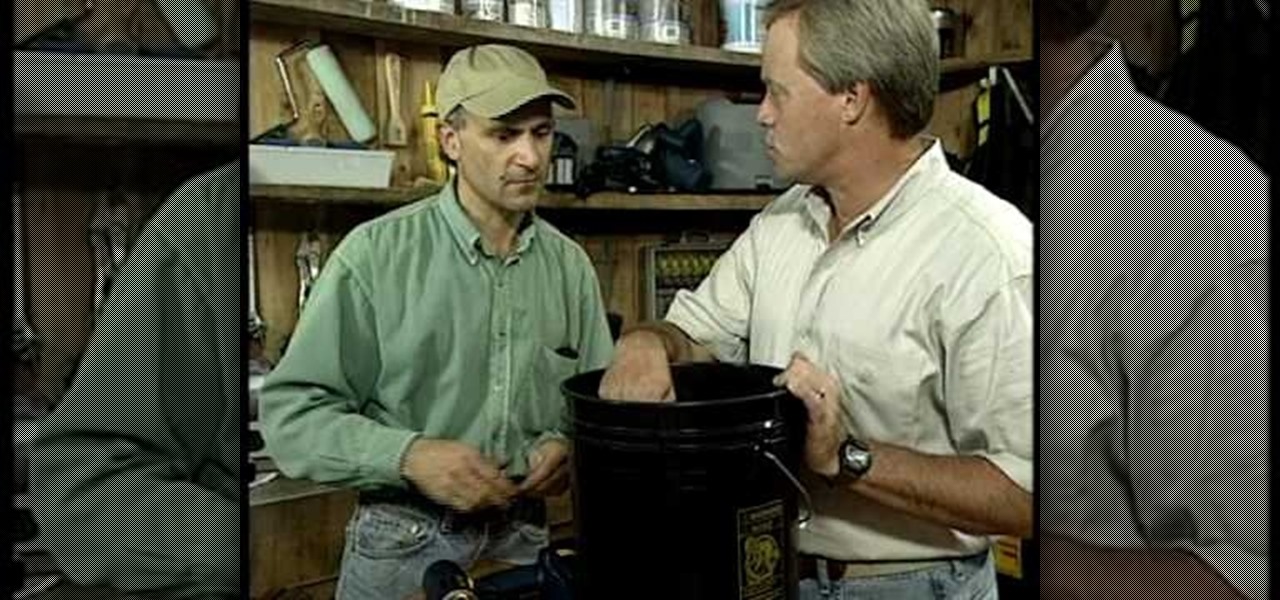
In this tutorial, we learn how to make an extension cord caddy out of a bucket. First, you will need an old bucket that you aren't using for anything else. Then, drill a 1" hole into the bucket on the bottom with a drill. Then, feed your extension cord through the hole in the bottom and place your extension cord in the bucket for transport. You can also place tools you need into the bucket. This is a lot more convenient than having to run around to pick up different tools. This is also a grea...

Get a little use out of those empty tin cans you are going to throw away. Recycle them into a cutting disc. So, check out this video tutorial to see how to make a cutting disc for a Dremel rotary tool. These Dremel cutting disks are pretty easy to make. Just get a can opener, take off the lid of one of your junk aluminum cans, and begin to disc away. You'll need a Dremel sanding disc for a stencil reference. These are less dangerous than normal sharp cutting disks, not to mention cheap.

EA has released a world builder tool which allows you to create your own neighborhoods, towns and worlds for your sims to live in. Make a mountain community, a beach settlement, a small town or a suburban paradise! It's up to you, and this tutorial shows you how.

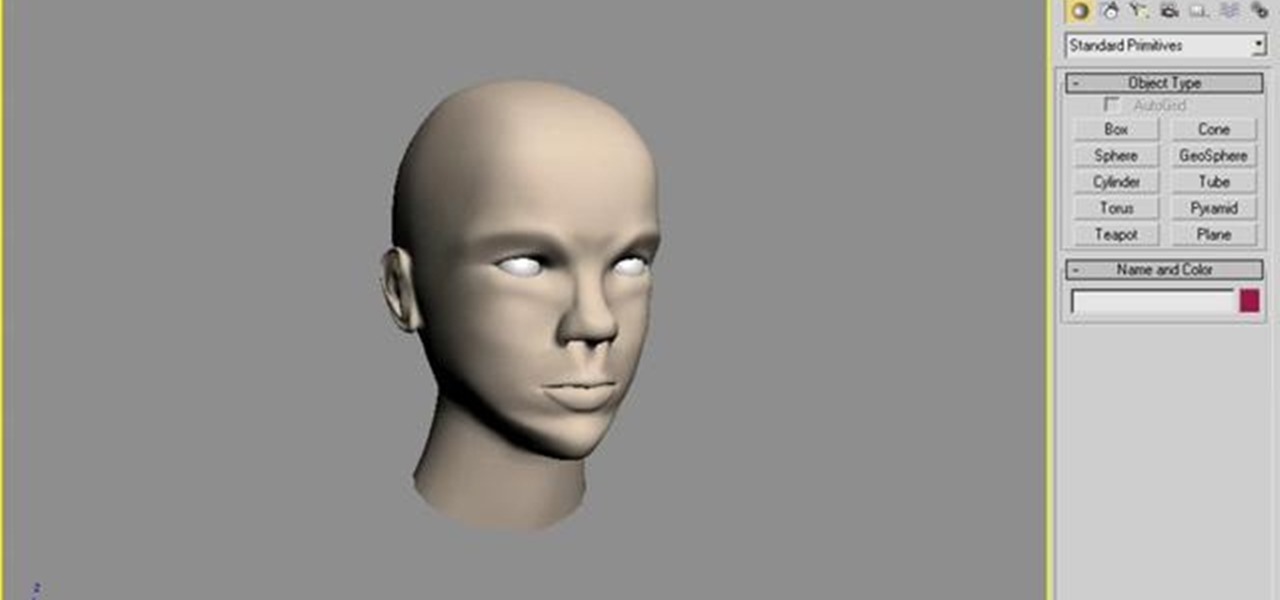
A polymodel head is being mapped. Keep the turbo smooth active to smooth out edges and seams. Use the relax tool to help even out the mesh and areas around the mouth, the ears and the neck as work proceeds. Use the stitch modifier to attach and combine the top and bottom of the head. To get all the seams and areas to match they must be moved, rotated and scaled. Use the weld tool on all the vertices and use the relax tool to get all the seams to match. Use the pelt map for the ears. Use the s...

In this video, we learn how to use the polygonal lasso tool in Photoshop. This will allow you to create a selection on your photo in a freehand style. First, select the tool from your toolbar, it's the third selection down. Once you select this, go to your picture and find the piece you want to cut out or copy. Press and hold the control and space bar, then highlight the area you want to. This is great to make a selection that has a straight edge. If you just click with it, it will have a dia...

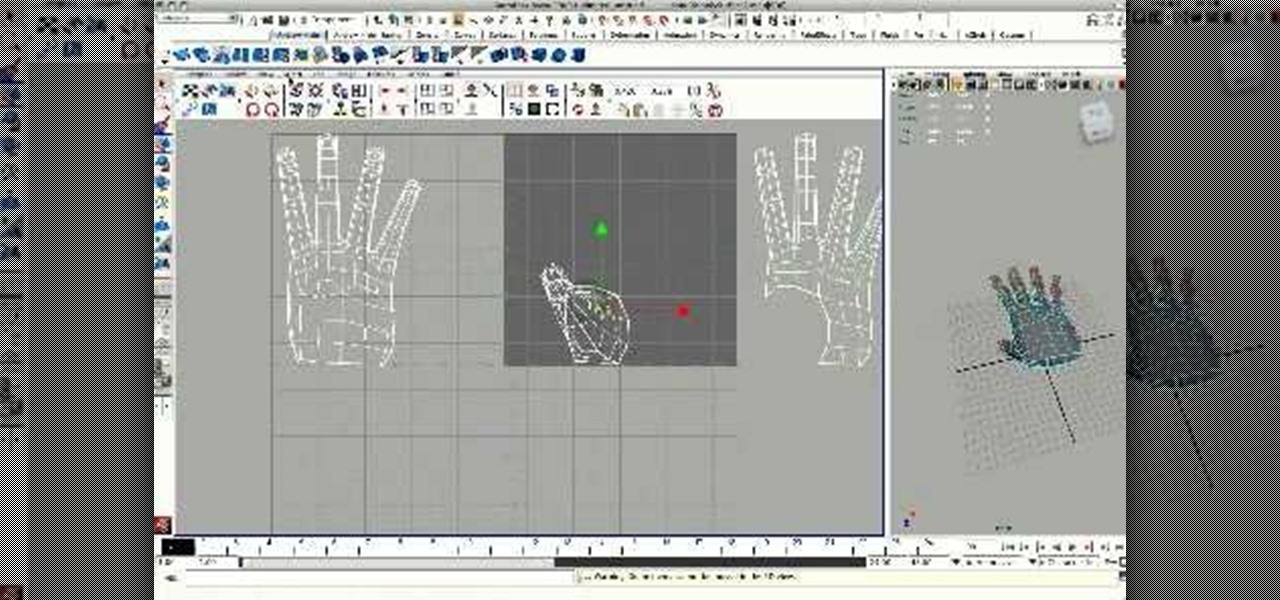
Maya 2009 introduced a lot of cool new UV tools to the already-powerful Maya 3D modeling software. This two-part video will teach you how to use some of these features to cut apart a 3D model of a hand by its UV edges. This technique is perfect for very fast organic UV unwraps, and should improve your skills and speed of modeling dramatically.

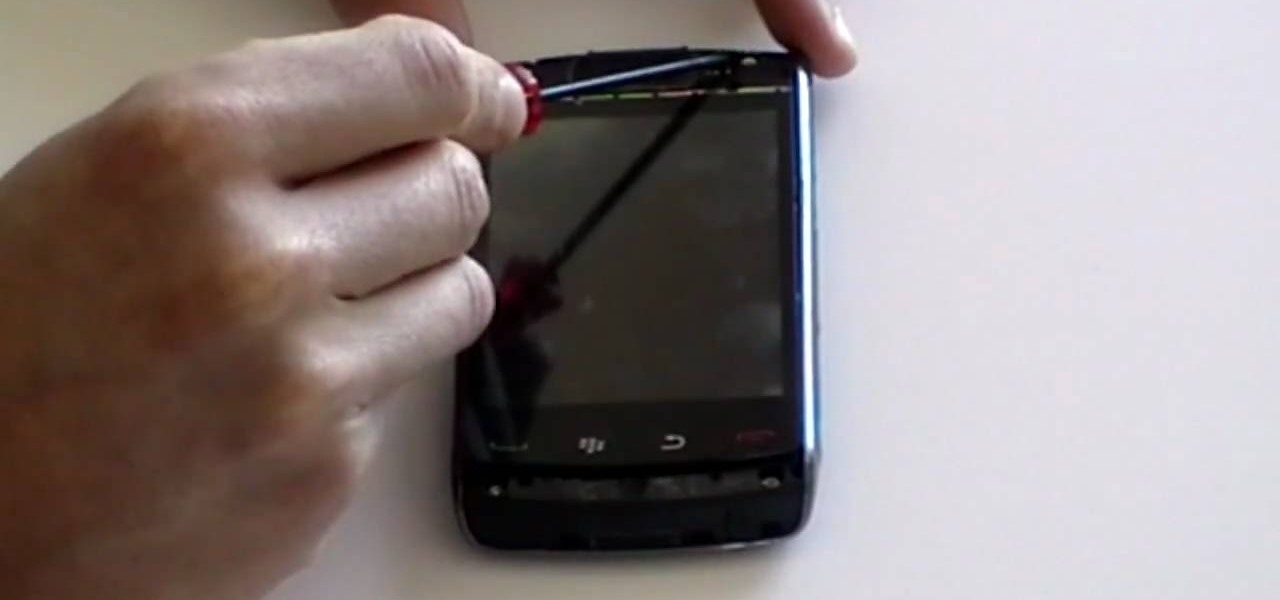
Repairs Universe demonstrates how to take apart the BlackBerry Storm 2 to replace the LCD. First, flip the phone over and take out the battery, SIM card and memory card. Then, use a safe pry tool to pry off the top and bottom covers which are held on by adhesive and clips. Next, use a T-6 screwdriver, remove the size screws on the front of the device. Flip the phone over and remove two more screws. Use the pry tool to release the clips and remove the outer casing. Flip the phone over and usin...

In this video tutorial, viewers learn how to remove and replace vinyl siding. Users will need a siding removal tool (zip tool). Insert this tool beneath the bottom edge of the overlap and pull down while sliding the tool horizontally. Remove the nails underneath and simply pull down the siding. Now measure the length of the siding. With the new siding, connect it on the exterior wall and reinforce it with some nails. This video will help those viewers who need to learn how to replace a vinyl ...

This how-to video is about how to enable the commenting tools in the free Adobe Reader using Acrobat 9 Pro and Acrobat 9 Pro Extended.

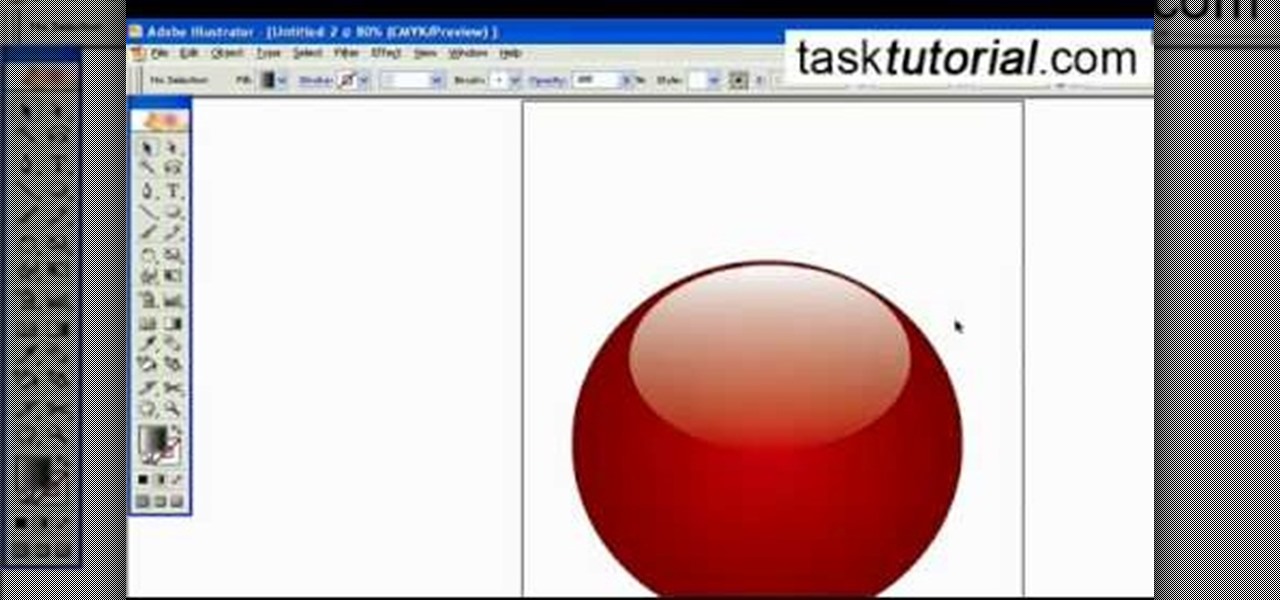
To create a Christmas ornament in Illustrator is very simple if you follow the steps below. Before starting the process one should ensure that all project files used in the tutorial is available. First by holding the shift key draw an oval, then go to gradient and create a new gradient which is at right side of the window. Now select red color and make it darker, then select 'Radiant' from the tool and switch the color positions. Select the ellipse tool once again and create a new shape on to...

This video will walk you through the process of creating your very own icon to use for your email by using Adobe Photoshop. Photoshop is a great tool to use for a variety of purposes and in this instance can make the perfect icon in just minutes.

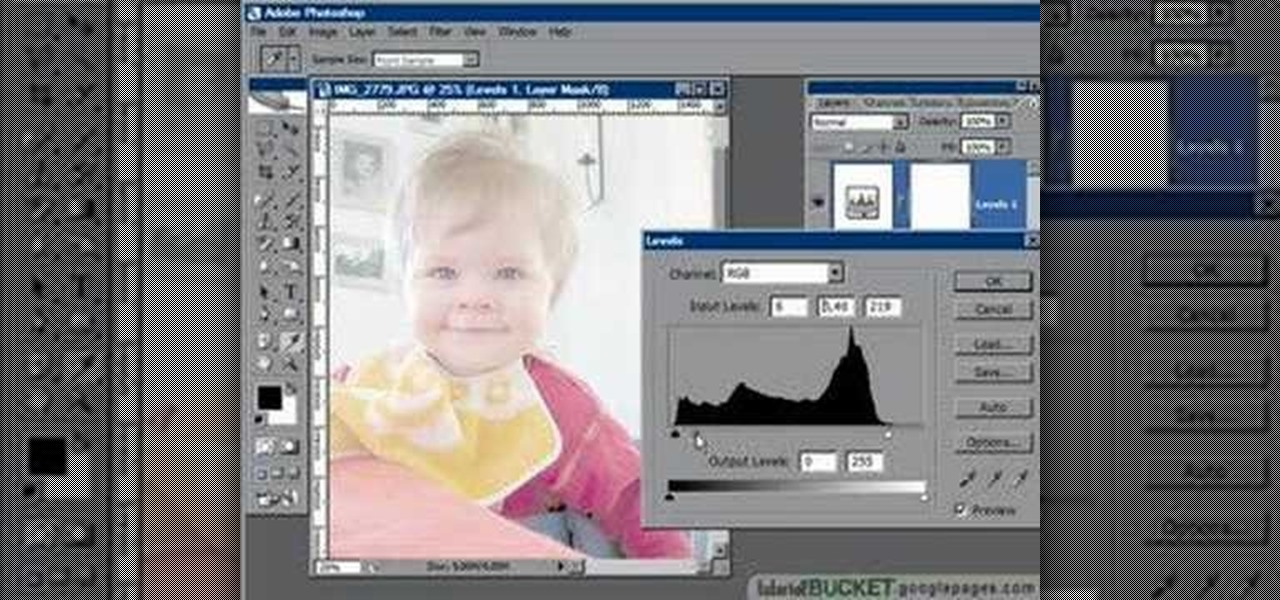
In this video tutorial the instructor shows how to perform basic lighting corrections in Adobe Photoshop. The levels tool is the Photoshop's most used command which has many features to it. Its most basic function is as a lighting correction tool. In this video open an image and work on its adjustment layer so that you do not damage the original picture. Now choose the levels option by right clicking and it shows a pop up window which contains a histogram which shows the population of the col...

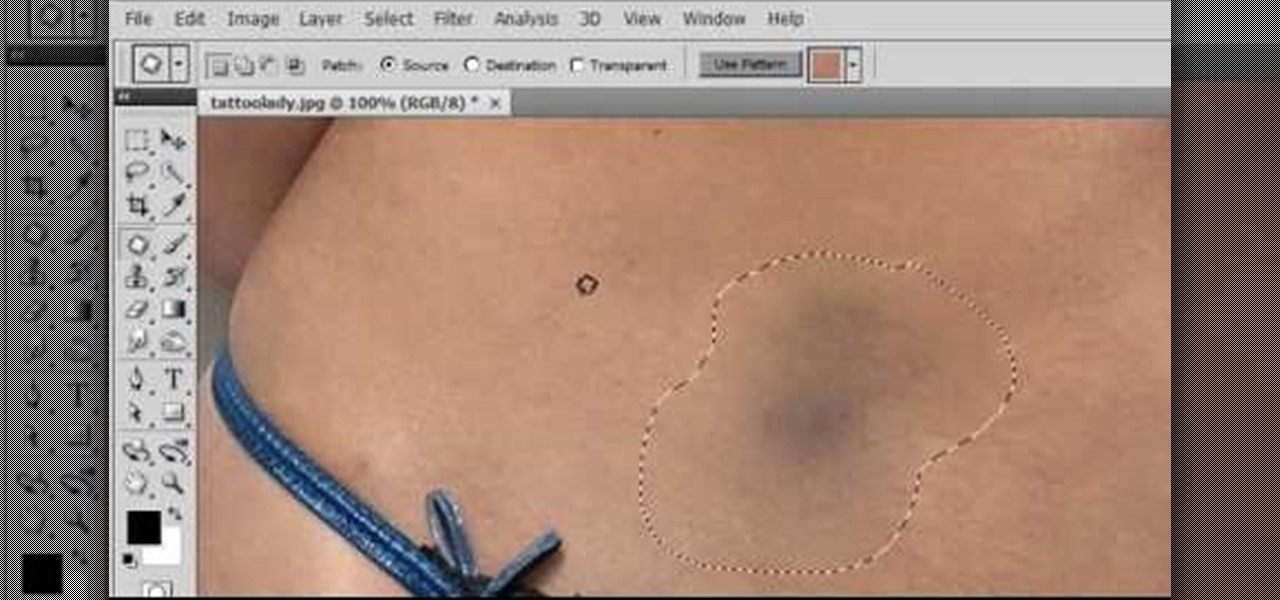
As each new version of the award winning Adobe Photoshop is released certain functions remain the same from prior versions while other functions are changed. In the latest version of Photoshop, Adobe Photoshop CS4, the patch tool works significantly differently than prior versions. In this video we are shown how the patch tool originally worked in Adobe Photoshop CS2 compared to how it now functions in Photoshop CS4. Finally the author gives us step by step instructions on how to operate the ...

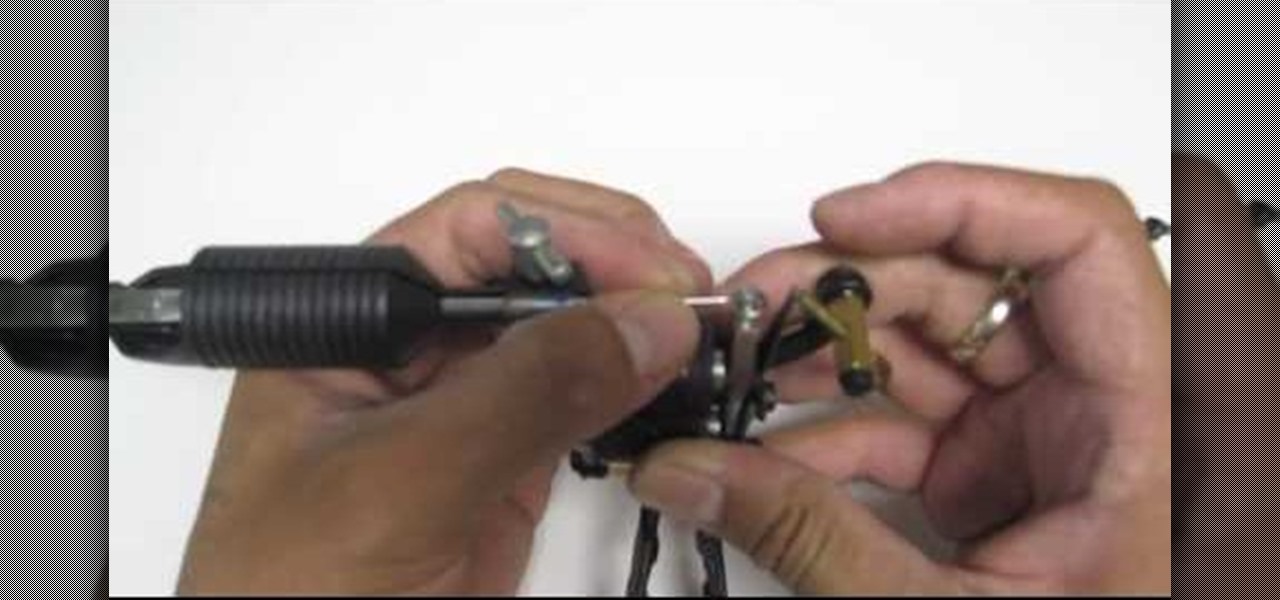
Elementtatootech explains the various tools of the industry and their uses to novice tattoo artists and interested viewers. In this tutorial, Elementtatootech focuses on the old school tattoo tool known as grommets or nipples. Utilizing a single close up shot, the instructor quickly educates viewers on the purpose of the grommet in addition to the most common users of the device. The instructor additionally shows viewers how to set up and assemble using this tool and a simple trick utilizing ...


