How To: Make a broken mirror effect using Photoshop
This video demonstrates how to make a broken mirror effect using Photoshop.


This video demonstrates how to make a broken mirror effect using Photoshop.
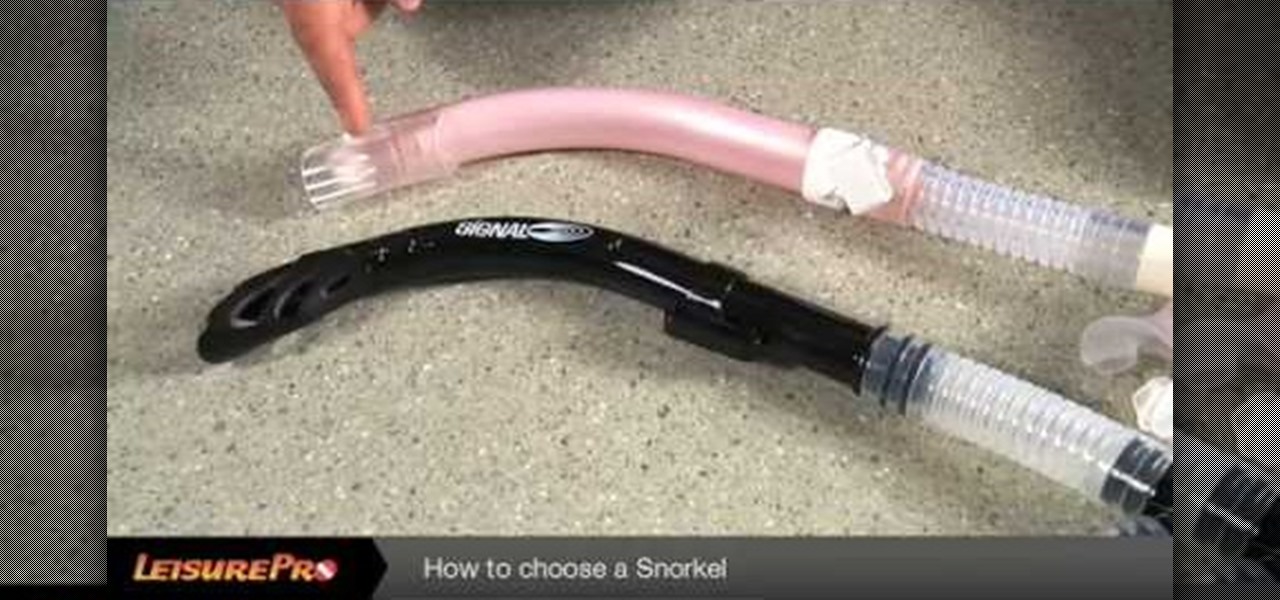
YouTube user Leisurpro is here to talk to you about the different kinds of snorkels. Snorkels are an essential tool to snorkeling and scuba diving. So which snorkel is good for you? Well, first we have the children's snorkel which we want to make sure that it's not to overwhelming for the individual using it you also want to make sure that the mouth piece is not to big for the child, keep in mind that some children will be big enough to use adult snorkels. A semi-dry snorkel will have a canop...
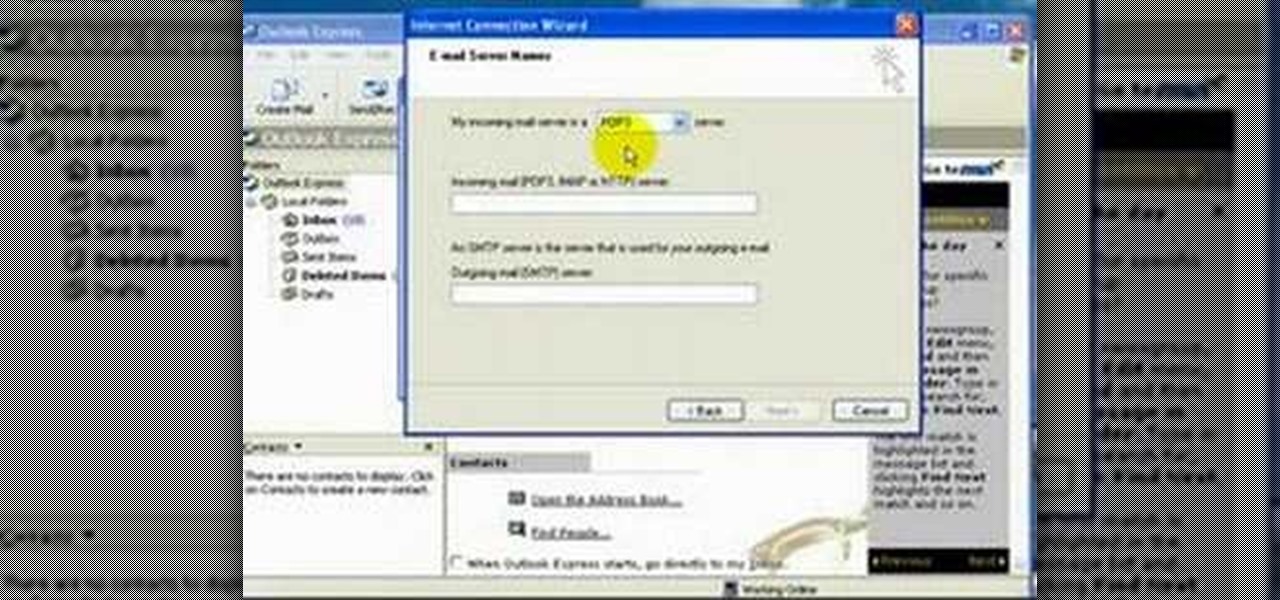
Carole Gallesie from Creative Media Web shows viewers how to set up a new account in Microsoft Outlook Express. Express is preferred because it is a scaled-down version of the popular email client and it is easier to navigate. From your Windows desktop, go to the start menu, all programs, and click on outlook express. When the program opens, look at the top of the page for the "tools" menu, select accounts, add, and mail. The new account wizard will then appear and will walk you through setup...
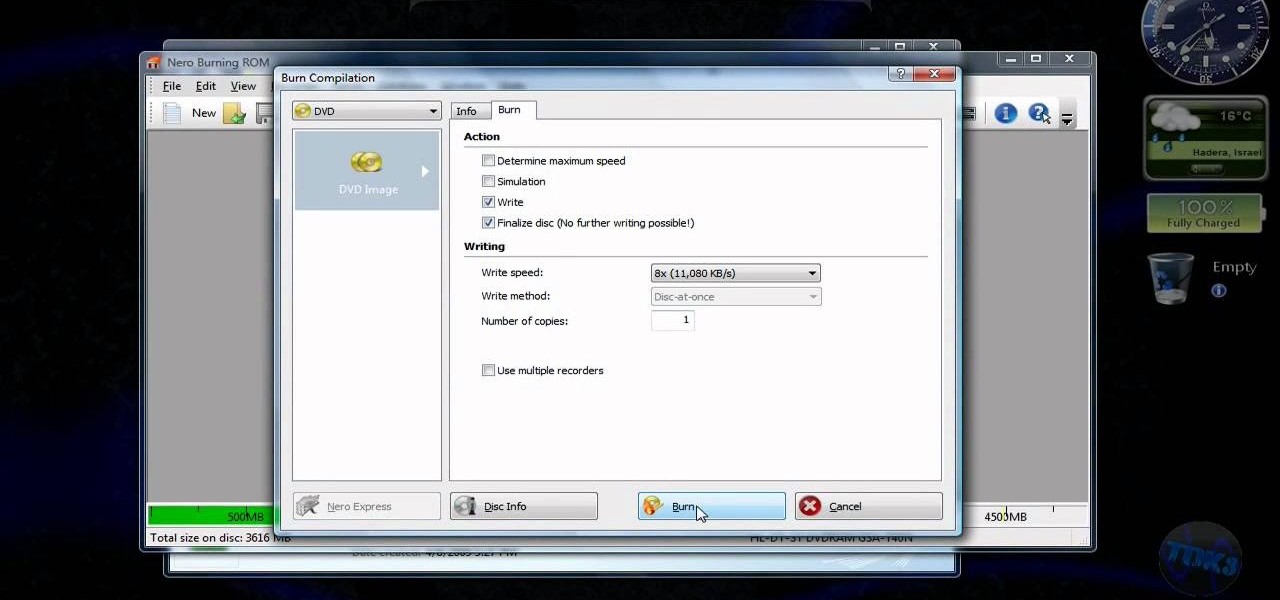
This is a video tutorial that is teaching its audience how to install a game that has been downloaded from a torrent file. The first thing that you do is open the file containing a folder. Right click on the file to do this. The next thing that you do is to make a new folder and rename it whatever you would like, then open up WinRar. Next you should extract the ISO file to the folder that you made. Next mount the ISO file by using Deamon tools. Finally you should burn the ISO file to a CD or ...

In this how to video, you will learn how to use Narrator in Windows 7. To use the program go to start, accessories, ease of access, and Narrator. The program will now open. From here, the program will announce what you can use the program with. Press the control key to pause the program. Use control shift enter to read the currently selected item or the item with current keyboard focus. Ctrl shift space will read the contents of the current window. The narrator window has many options, such a...
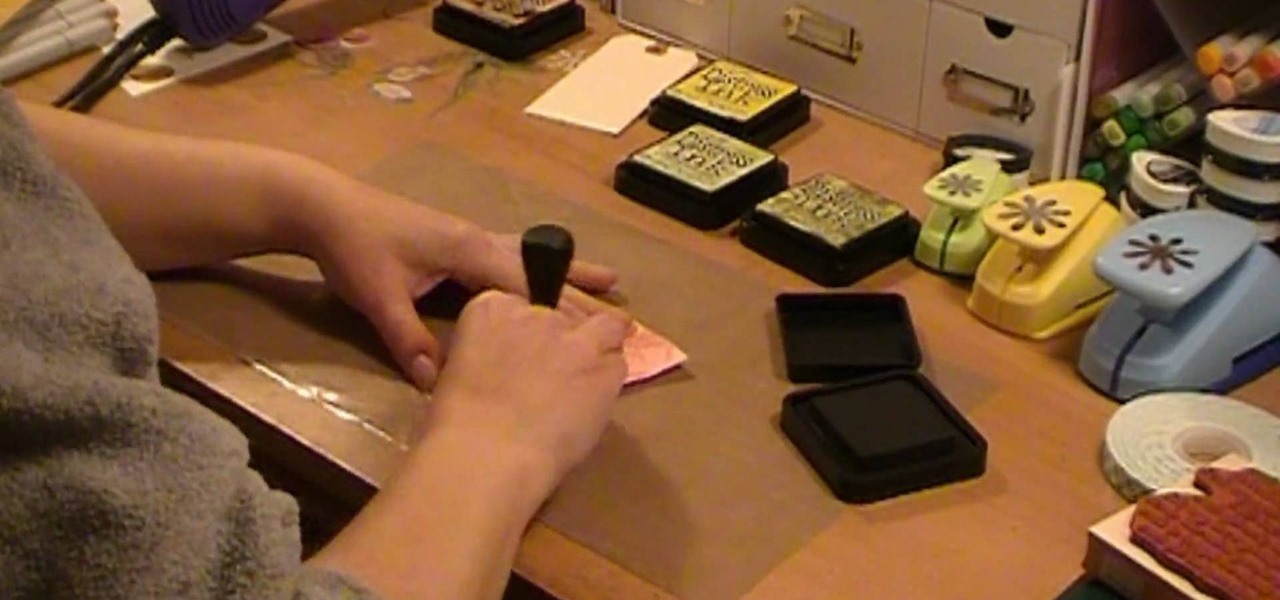
Donna50242 shows us how to make an amazing looking tag to use on different things. This video is in response to another one posted earlier. This tag is made be crinkling up an ordinary brown paper tag and then flattening it out to create the worn out wrinkle effect. Using a distressing inking tool with a foam pad, we apply the ink in a swirling motion. using different colors from the ink set (Mahogany, Mustard seeds, green etc), we can create amazing effects. And that's it, your done! Try exp...
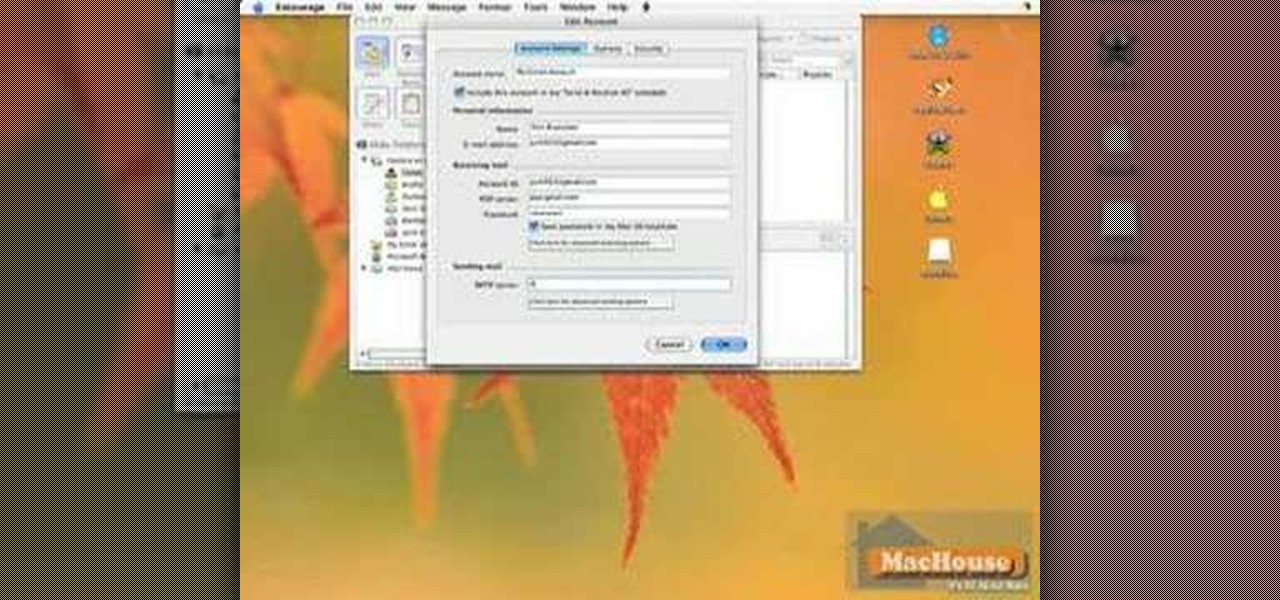
Log in to your account. Go to settings, then go to Forwarding and POP. Then, check in the box for enable POP for all mail. Next, save the changes. Then go back to the settings page and check the first box (to include the mail that has already been downloaded). Save your changes again. Next, select tools>account. In the box that pops up, select POP for the account type and hit OK. Name the account and fill in your email address and POP address. For the SMTP server, put in smtp.gmail.com. Then,...
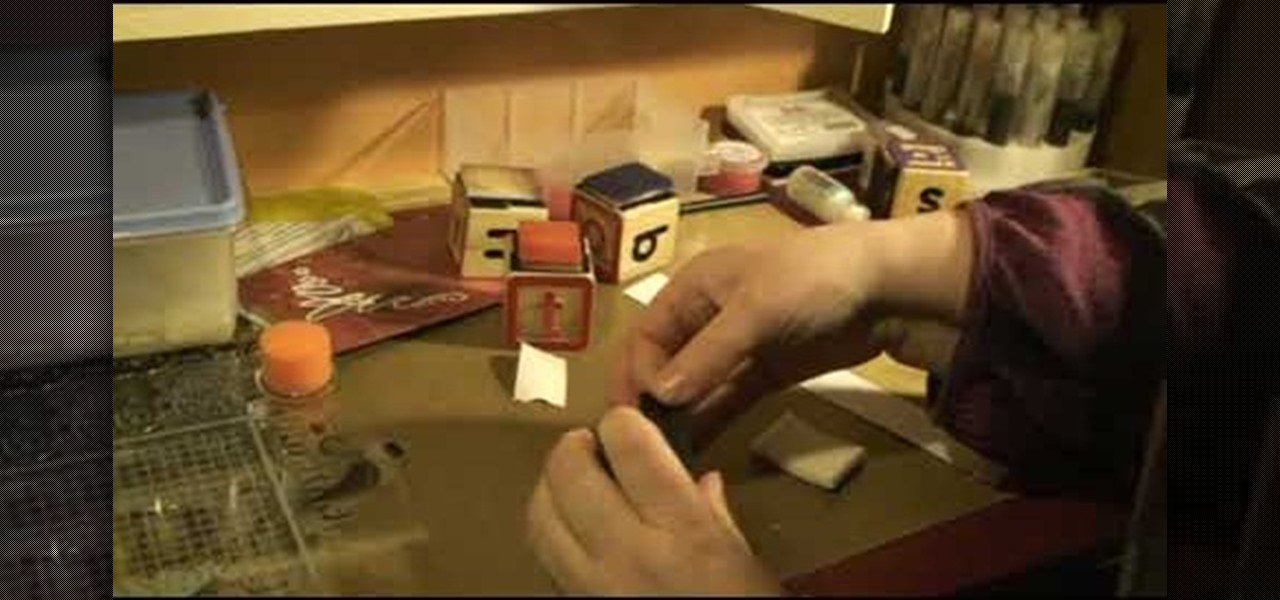
This how to video shows you how to create your own home made foam applicator for blending. This will be useful as you can use items you can find at home and save money. You will need a piece of wood, such as a child's letter block, a piece of foam, and two pieces of velcro. Stick the pieces of velcro on to the block. From there, stick the foam applicator on top of the velcro. Once this is done, you are ready to use your very own home made foam applicator. You can use this for blending and oth...
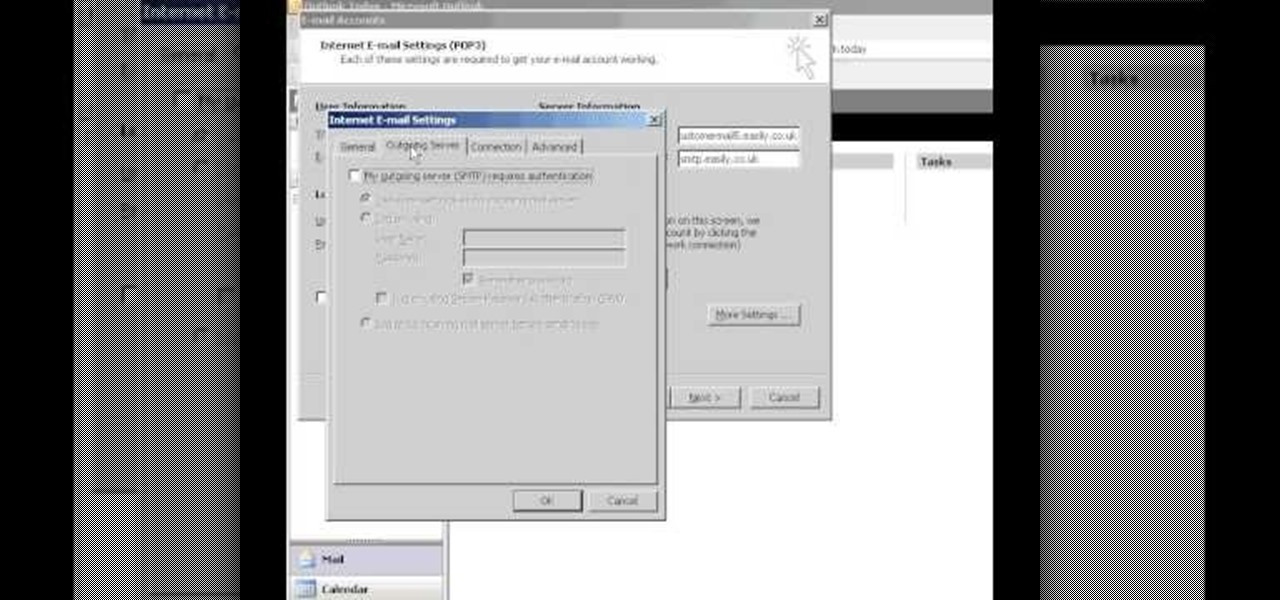
Easilycouk shows viewers how to set up an email account using MS Outlook. First, you should open up MS Outlook. Go to Tools and go to Email Accounts. Choose the option to add a new one. Click next and click the POP 3 option. Click next and Fill in your information such as name, the email address you are using and choose your log on information. Now, you need to fill in your Server information by copying and pasting your email into this. In the SMTP type smtp.easily. Go to internet email setti...
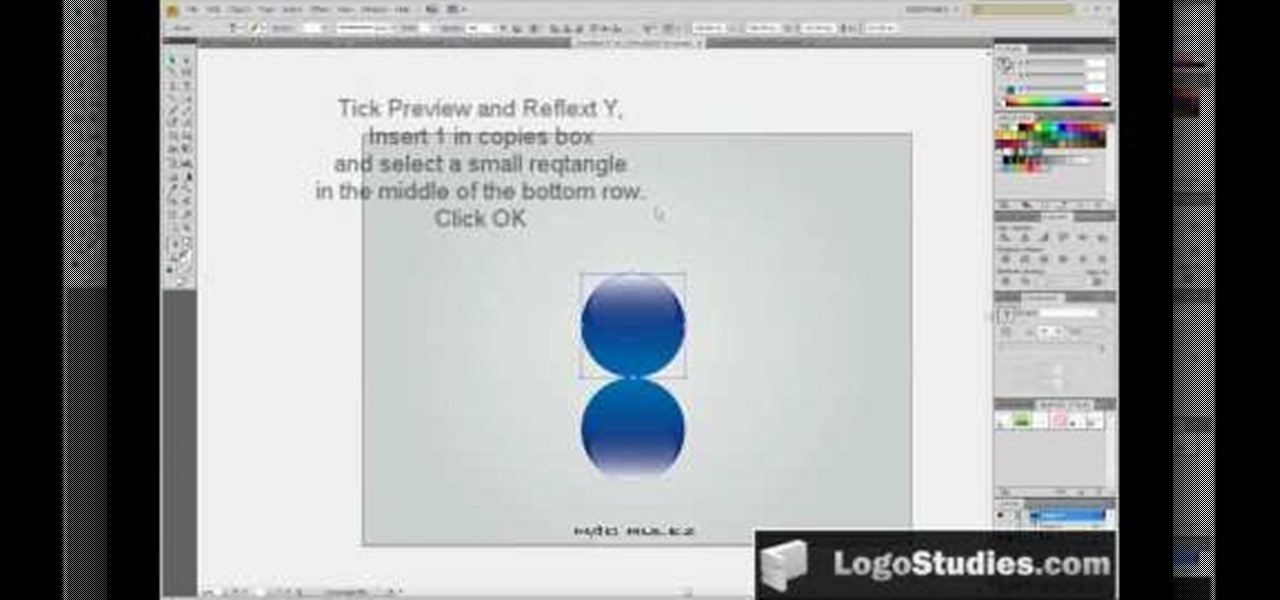
In this video tutorial, viewers learn how to create a 3D sphere and reflection in Adobe Illustrator. Begin by using the ellipse tool and create a circle. Select the black and white gradient, and drag the colors that you want into the gradient panel. Now hold the Alt key and draw a smaller circle inside. Fill it with white/transparent gradient. Select the sphere and go to Object/Group. Now go to Effect/Distort and Transform/Transform. Tick the Preview and Reflect Y, insert 1 copies box and sel...
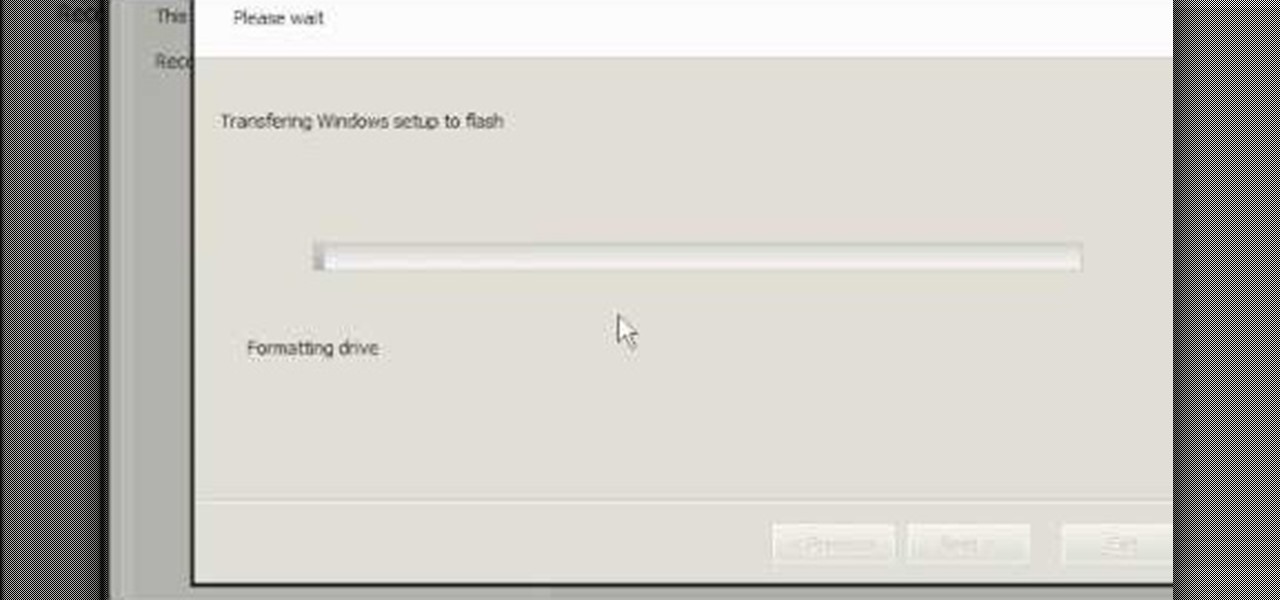
In this tutorial, you will learn how to install Windows XP or Windows 7 onto a Netbook using the WinToFlash program.
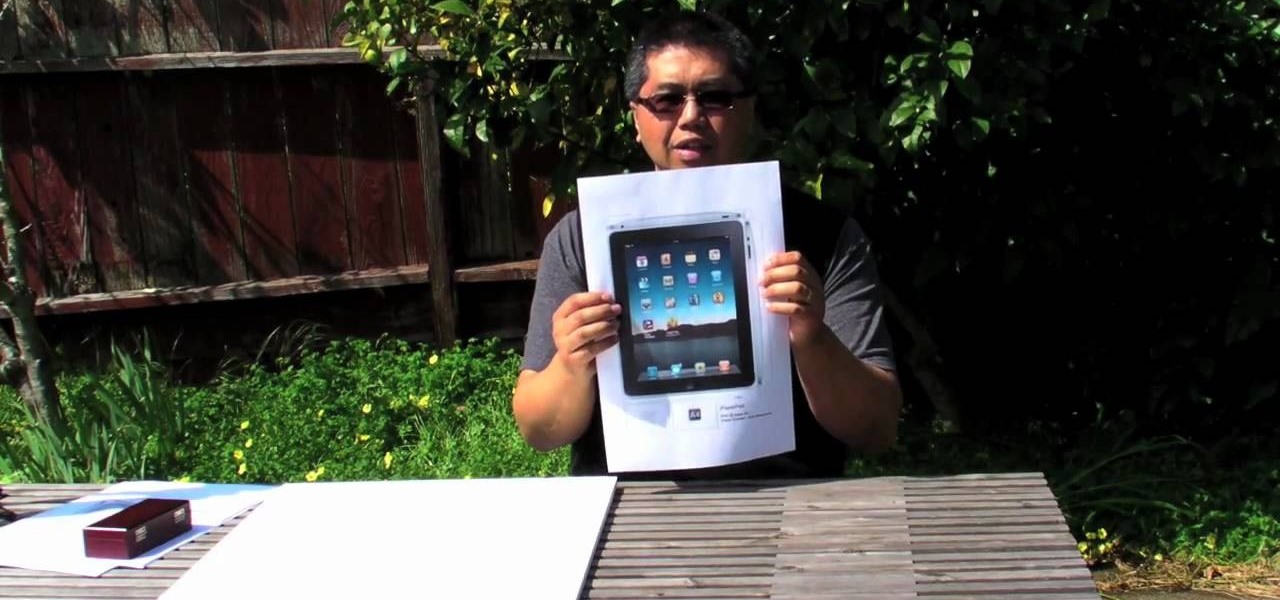
Do you know someone that wants an iPad but can't seem to afford one? Well, here's a great way to do an April Fools Day trick on that friend or family member by giving them a fake home-made iPad. Roman Loyola shows you how to make a fake iPad out of foam and paper. The tools you will need is a half inch thick foam board, a pair of scissors, a glue stick, a ruler, a blade, and most importantly a print-out of the iPad template. Start by cutting out a square of foam board that is the size of the ...

In this video, we learn how to lose weight using the liquify filter on PhotoShop. Before beginning, open up PhotoShop and the image you want to adjust. First, click on "filter" then "liquify". Next, use the forward warp tool and adjust the size of the brush to the body part you want to change. click on the body parts to make them smaller. Push in the body parts you want to be smaller, pushing in small parts one at a time. If you do too much, the picture will become blurry and it will not look...

In this video tutorial, viewers learn how to use the full screen view in Apple's Pages. To enter the full screen view, click on the the Full Screen button on the toolbar or click on View and select Enter Full Screen. Users will only be able to see the document on the screen without the tool bars and desktop. If you hover your cursor over to the left side of the screen, you will be able to see the total number of pages in the document. This video will benefit those viewers who use a Mac comput...
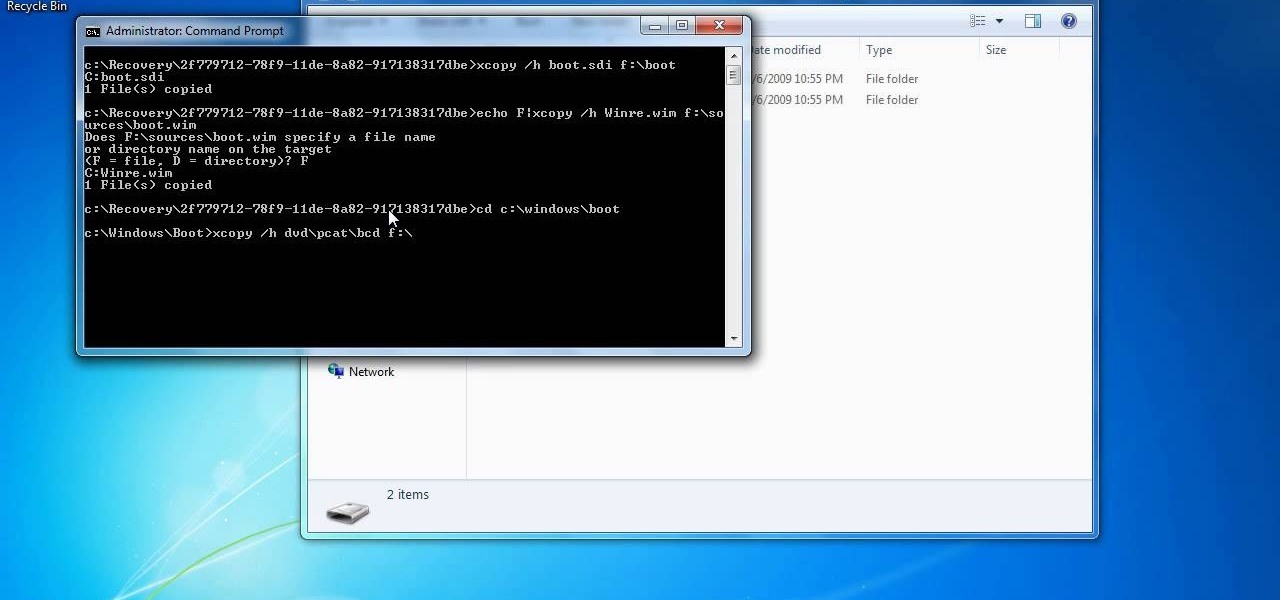
In this how to video, you will learn how to create a system repair disc on a bootable USB flash drive without having to burn a CD for your Windows 7 system. First, plug in your USB drive and create new folders in it. Name the first folder boot and the second sources. Next, open a command prompt and type in the cd c:\recovery, dir /a:sh, and so forth as shown. Once you have typed in the proper commands in the prompt, eject the flash drive. Restart the computer with the drive plugged in. Boot f...
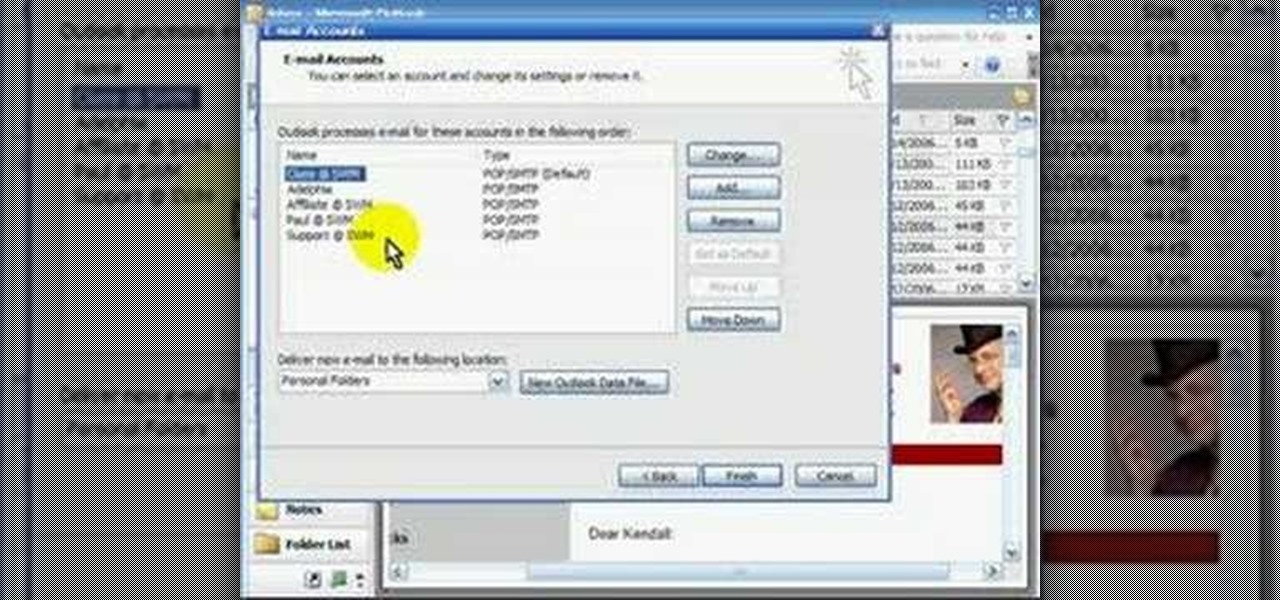
POP3 stands for Post Office Protocol, a way in which you receive mail on the internet, paralleling how mail is received in your mailbox. To set up your POP3 for Outlook, go to tools, click “view or change existing e-mail accounts’ and press next. You’ll be able to see a list of your current email accounts that you can change or remove. When you select an email and press change, you’ll be able to see the account in detail: the email address, the POP3 and SMTP server information, and th...
Use three tools to create a simple ponytail. Use a hairbrush, a bobby pin, and a bungee band holder for this look. Using a bungee band instead of a standard ponytail holder eliminates some of the issues typically caused by pulling hair through ponytail holders. Start by using a bristled brush to brush the hair to one location on the head. Secure one hook of the bungee band in the ponytail and wrap the tail around the rest of the hair. Wrap it around again, and secure the other bungee band hoo...

In this how-to video, you will learn how to dismantle an 80GB Microsoft Zune and remove the hard drive. You will first remove the cap at the end. Remove the screws at the bottom. Next, unclip the sides, top, and bottom of the Zune. You can use a prying tool to help you with this. Do this slowly, as you might damage the Zune. Once you can remove the back cover, you will have access to the internal parts of the mp3 player. Remove the tape holding the components together. Next, remove the screws...
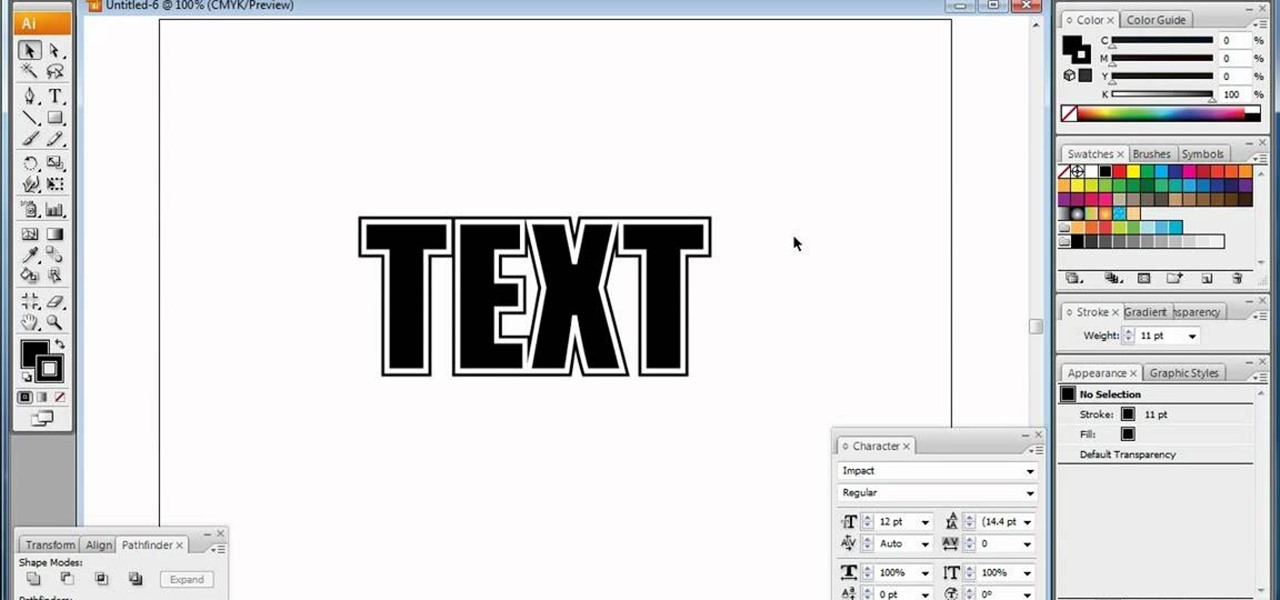
In this video, we learn how to do basic text effects in Adobe Illustrator. First, open up Adobe Illustrator and make a new document. Now, type in your desired text and change your font to one that you prefer. To make your text turn into a radiant, you will click "file" then "type" then "create outline". Now you will click on your text then click your radiant swatch. Then, go to "gradient" and adjust your colors to which you prefer. You can now put a stroke on it using the "stroke" tool and ch...

This video describes how to use Adobe Photoshop CS4 software to create and manipulate text in animated .GIFs. GIF stands for Graphic Interchange Format, a type of image file which allows short animated sequences to be displayed. A preselected scene from a television show is opened as a GIF in Photoshop CS4. Animation window is opened by selecting window then animation. The text tool is selected and a textbox is drawn by clicking and dragging. Photoshop CS4 then applies the text to the frames ...

The video is about how to use voice over in Safari for Mac OS X. To use Voice over it has to be enabled first. It can be used to read the entire html content on web page using short cut control + option + shift + Down Arrow. To move between different items on the web page use Control + Option + left or right arrows. To click any link use Control + Option + Space bar. To go back in the browser use Command + [. To stop interacting with HTML content use Control + Option + Shift + Up Arrow. After...
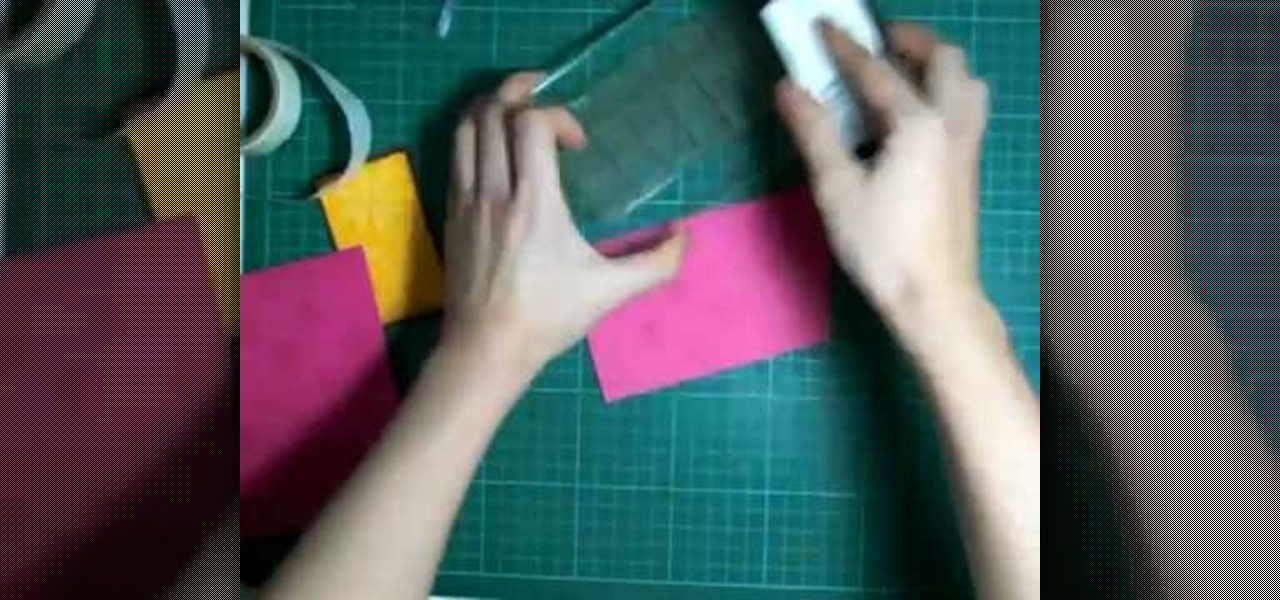
In order to make a Cuttlebug Smoosh Card, you will need the following materials: card stock (at least 3 different prints or colors), a ruler, distress tool, double sided tape or glue, distress ink, watermark stamp pad, decorative accessories, and scissors.
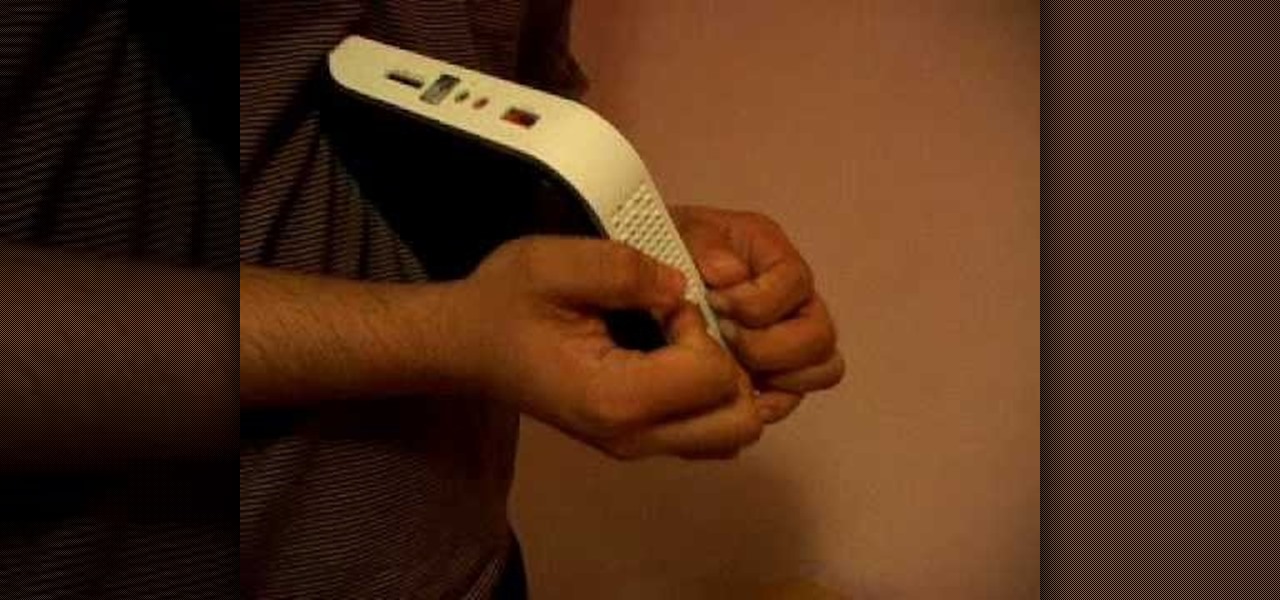
In this how-to video, you will learn how to disassemble an Acer Aspire Revo. First, unscrew the screw on the side of the laptop. From here, you must pull the top cover with the logo apart. This will be tough, but eventually it will be come off. A prying tool may be useful for this task. Now you will have access to the hard drive, RAM, CPU fan, processor, and wireless card. Now you are ready to perform any upgrades or repairs on your Acer Aspire. This video shows you the essential steps in ord...

Tool is selected, followed by email accounts and a selection is made at the "add new email account" option , the "next" button is clicked. Pop3 is selected and the next button. The required information is filled in such as name, amail address, incoming and outgoing mail server, username; which is the same as the email address and the password is entered. The "remember password" option is selected, along with the "more settings" button. Within the more settings window, the company name and a r...
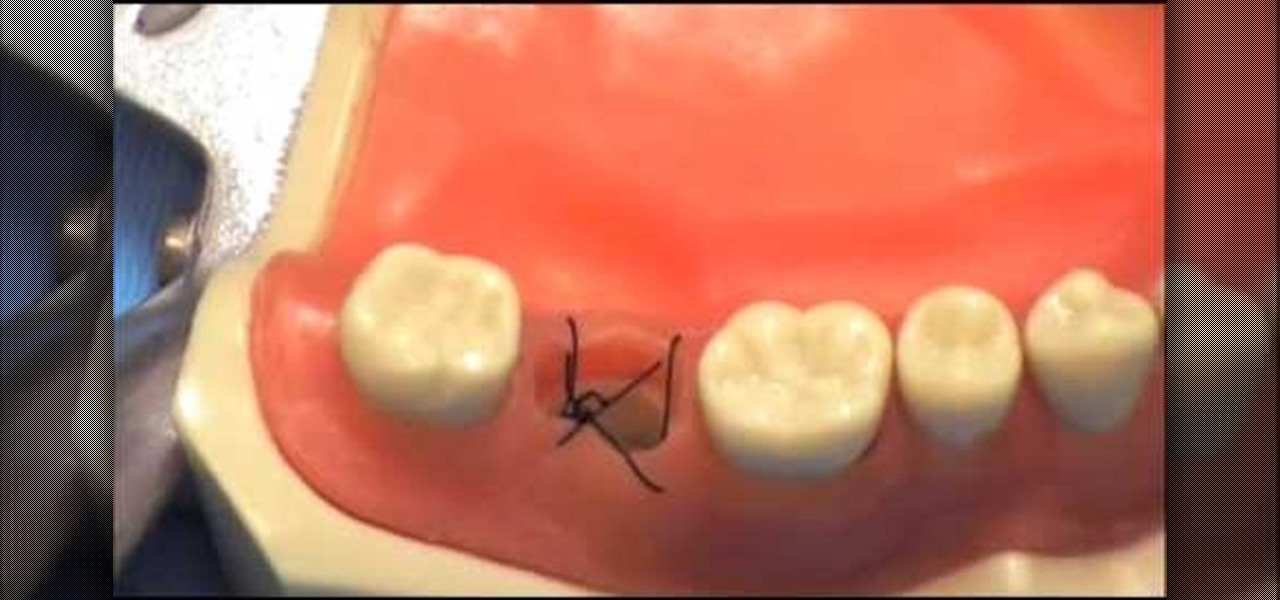
This how-to video shows you how to tie a figure eight suture. This is useful for finishing up oral surgery dealing with things such as tooth extraction. First, pull the string through one side of the gum with your tools. Next, take the end and pull it through on the other side. Once this is done, pull the string through the gum on the opposite corner. Once this is done, pull the string through the gum on the opposite of the corner. From here, you have formed a basic figure eight suture. This ...

In this video tutorial, viewers learn how to tan an image using Adobe Photoshop. Begin by opening the image in the program and create a new layer. Then select the brush tool and select the tan color. Click OK and apply the color over the areas that are wanted to be tan. Then apply another layer with the same color to darken the image. Finish by configuring the Opacity to a lighter color and blend it to the image, This video will benefit those viewers who enjoy editing images to enhance them a...

Photoshop is an amazing piece of software that can be used for so many reasons. Whether it be recreational or for business it has many different helpful tools. This tutorial shows you how to make a cool looking 3D film strip. Enjoy!
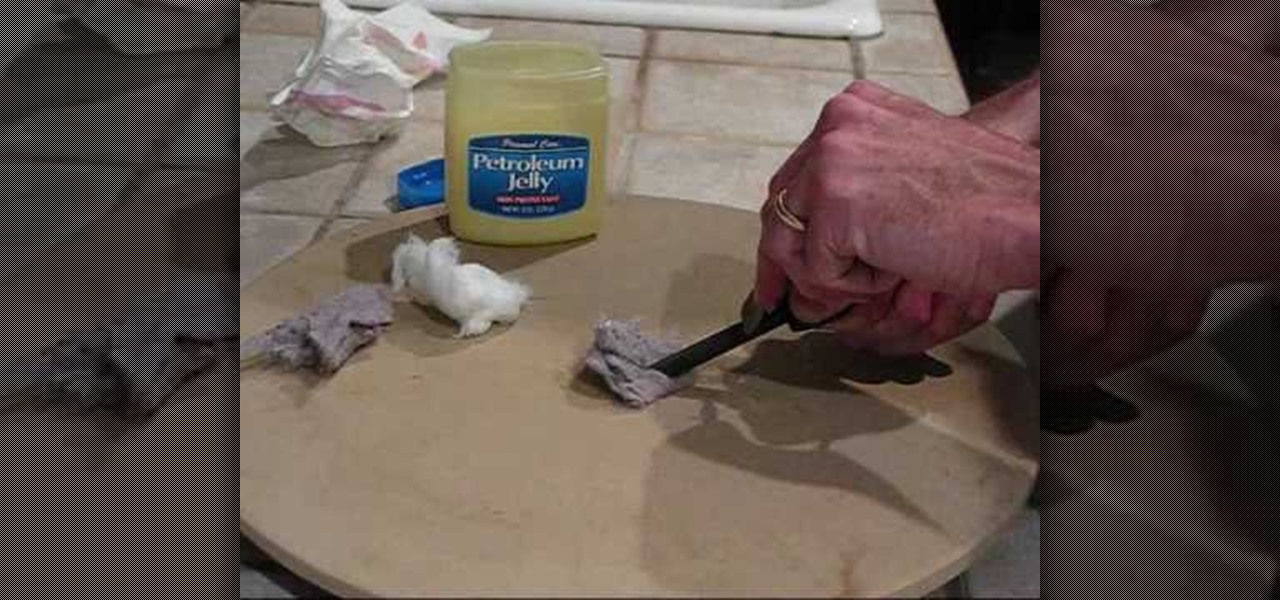
This video demonstrates how to make a fire without any matches using the Swedish Firesteel magnesium fire starter. You need to have some good tinder, such as dryer lint or a cotton ball. To make it burn longer, you can use petroleum jelly. He puts some Vaseline on the cotton ball. He demonstrates the fire starter by putting one metal part on the dryer lint and scraping the other part on it. A spark lights the dryer lint and it burns quickly. He demonstrates again with the cotton ball soaked i...
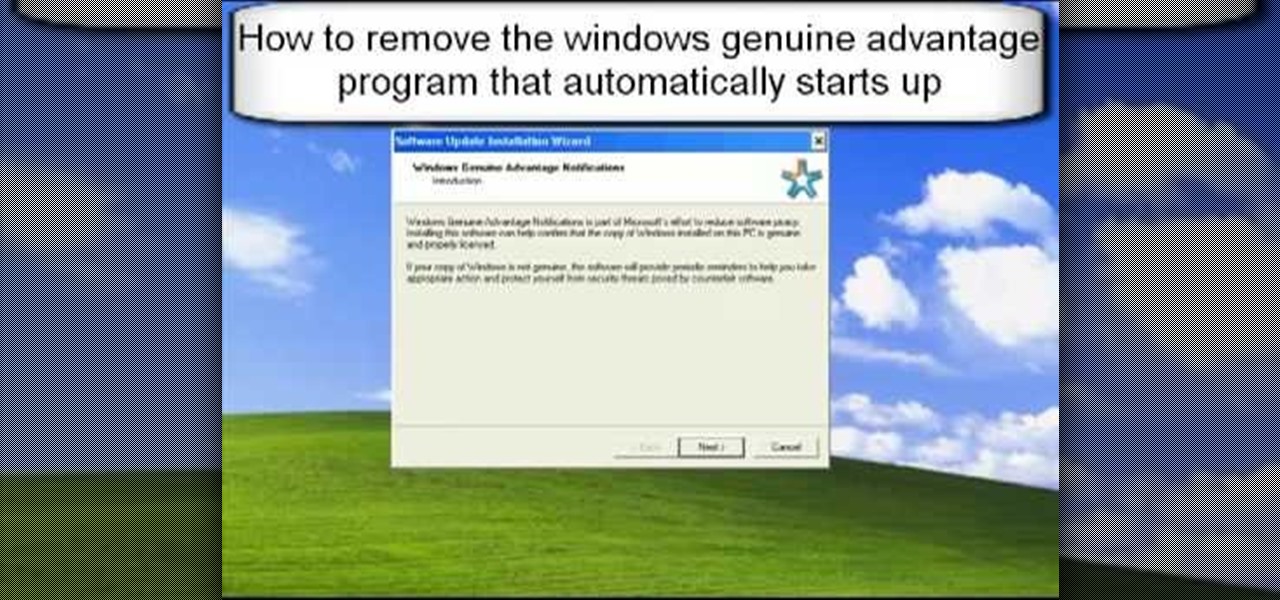
1. First go to START -> ALL PROGRAMS -> ACCESSORIES -> SYSTEM TOOLS -> SCHEDULED TASKS.2. Right click on WGA setup icon and select PROPERTIES. Find where the WGA files are located.3. Copy the location form the window appears in the previous step and paste it in the address bar of MYCOMPUTER.4. Delete the files found in the respective location.5. After deleting the files, now delete the WGA found in the scheduled task.6. RESTART the windows and windows genuine advantage ll not disturb again.
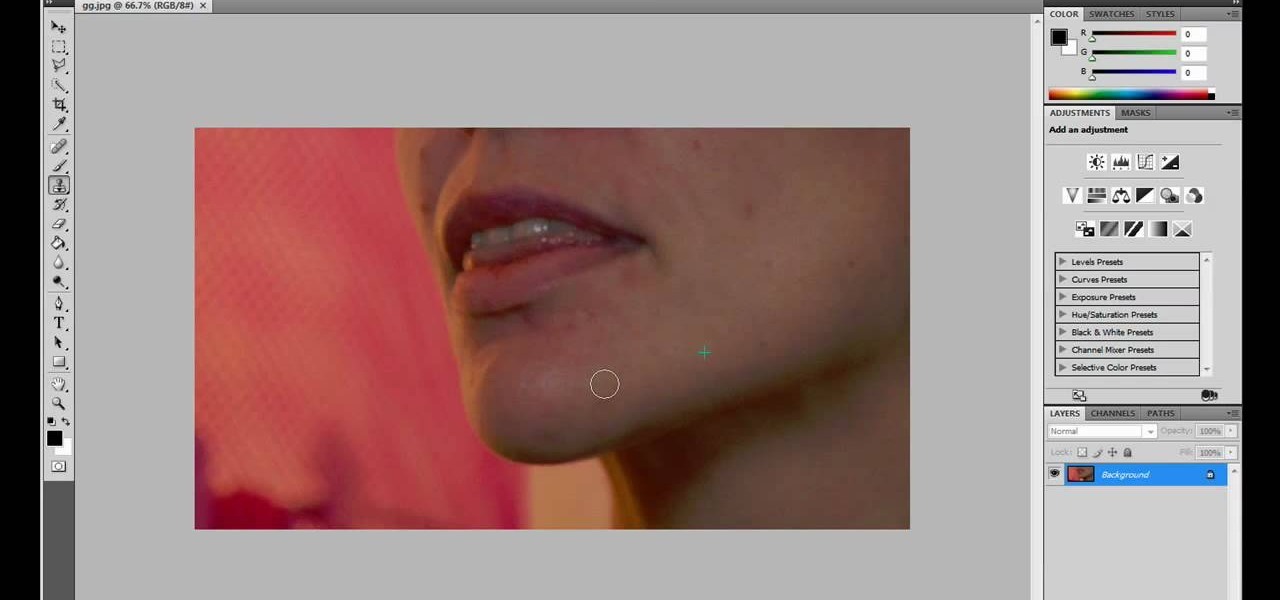
JdudeTutorials explains how you can remove zits, blemishes, and other unsightly skin problems, from pictures using Adobe Photoshop. He begins by opening up a picture of a female's lower face. Left click on the stamp on your toolbar, and select the Clone Stamp tool. You will see a small circular cursor. He explains that you should find a skin tone on the picture that matches the skin surrounding the troubled area. He holds the alt key on his keyboard and left clicks the spot that most resemble...
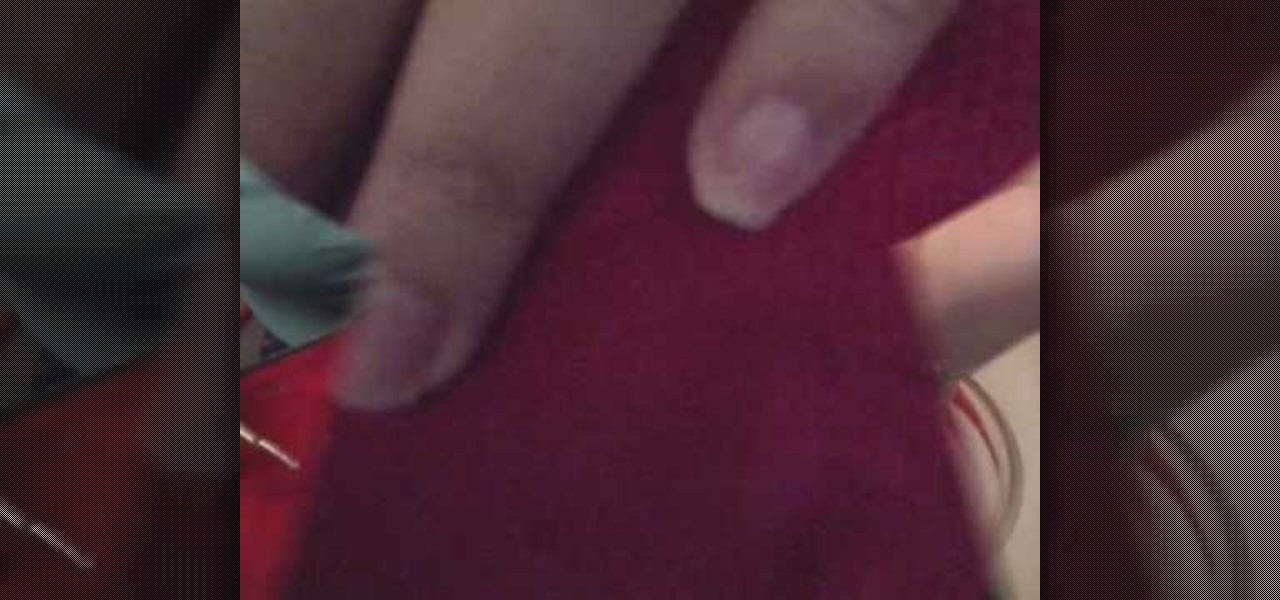
In this video, the instructor shows us how to remove acrylic nails quickly and easily. First, remove some of the acrylic using a professional nail tool, you can find this online or at a beauty supply store. Next, take a big bowl of warm water and a small bowl of pure acetone. Soak your nail in each of these for a few minutes. After this, you should be able to gently push the acrylic nail off while it is still wet. Once you have removed the acrylic, brush your nail with cuticle oil to help pre...
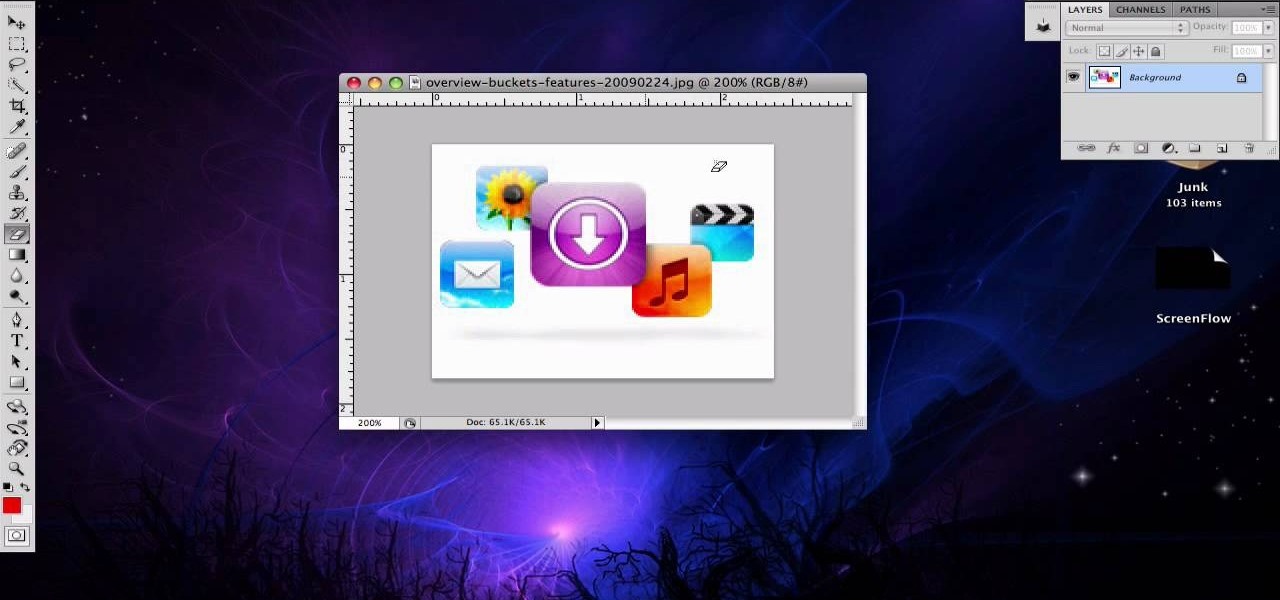
This video is about how to crop a photograph in Adobe Photoshop CS4. So the first step that you will have to do is just simply open the Adobe Photoshop CS4. Once it has loaded, just open a picture that you want to crop out. After the picture have been loaded. If the picture is too small, you can simply click on the zoom icon to make the image clearer. After wards, you need to use the marquee tool which is found on the left side of the screen. Just simply right click the icon and choose which ...
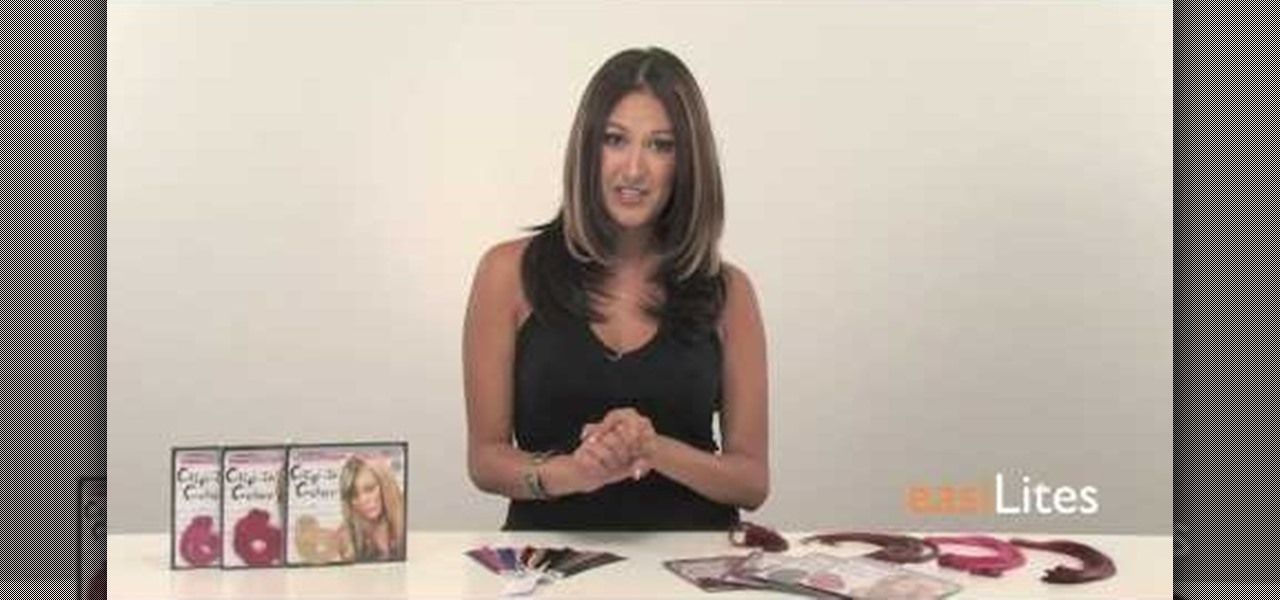
In this video, Jennifer Pompa teaches us how to use click in color extensions using Easilites clip-in color extensions. These extensions are about 1 inch wide and 16 inches long. They are also 100% human hair so you can use heat tools on them without damaging them. To use, grab a piece of your hair close to your hair line and pull it over to the other side of your head. Next, take the hair extension and slide it into the hair underneath. Make sure it is clipped in well and put your real hair ...

Some data can be very confidential. In such case you need to encrypt the data so that it does not go into the wrong hands. There are lots of encryption software available to encrypt the data. But to use them first you need to install then and this can take lot of time. You can also use Windows built in compression client to encrypt information. To use this feature you need not install any software and it is a fairly simple process. So select a file that you want to encrypt, right click on it ...
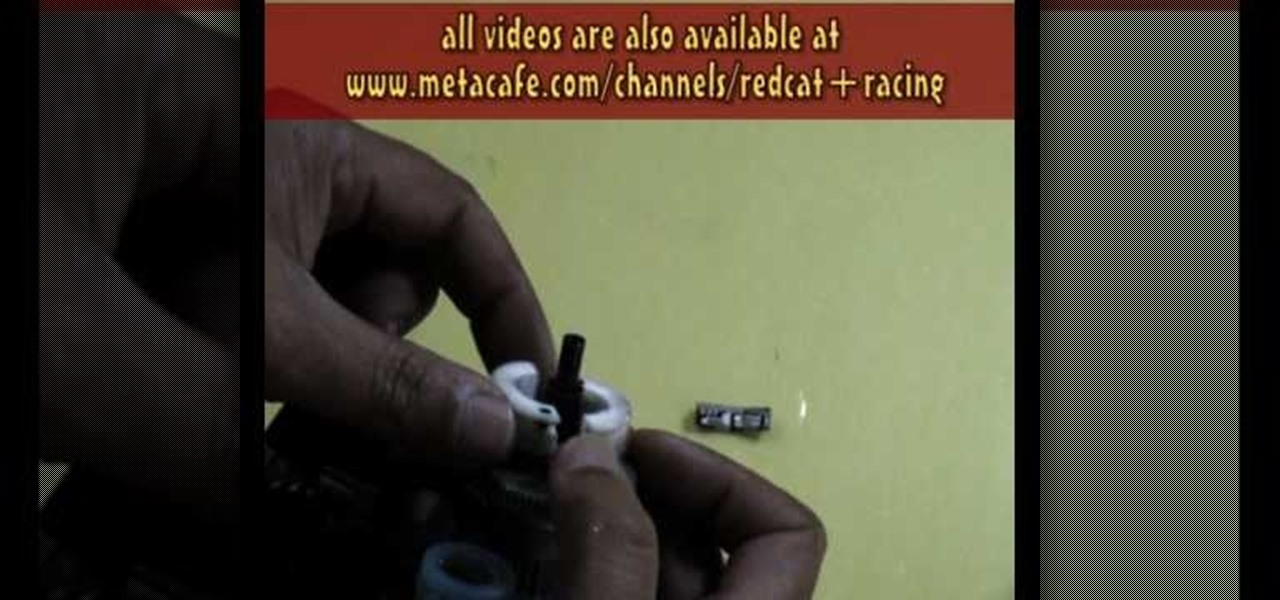
Watch this instructional video as Alishan Mao takes you through a step by step tutorial on how to rebuild a 2-Stroke Wi X 18 Nitro Engine Clutch. The host provides you with a full list of tools needed to complete the job, as well as a list of common replacement parts. From here he shows you how to break the piece down, replace old and worn out components, then restore it to it's normal working order. Helpful tips include how to avoid damaging internal parts during repair, reattaching those tr...
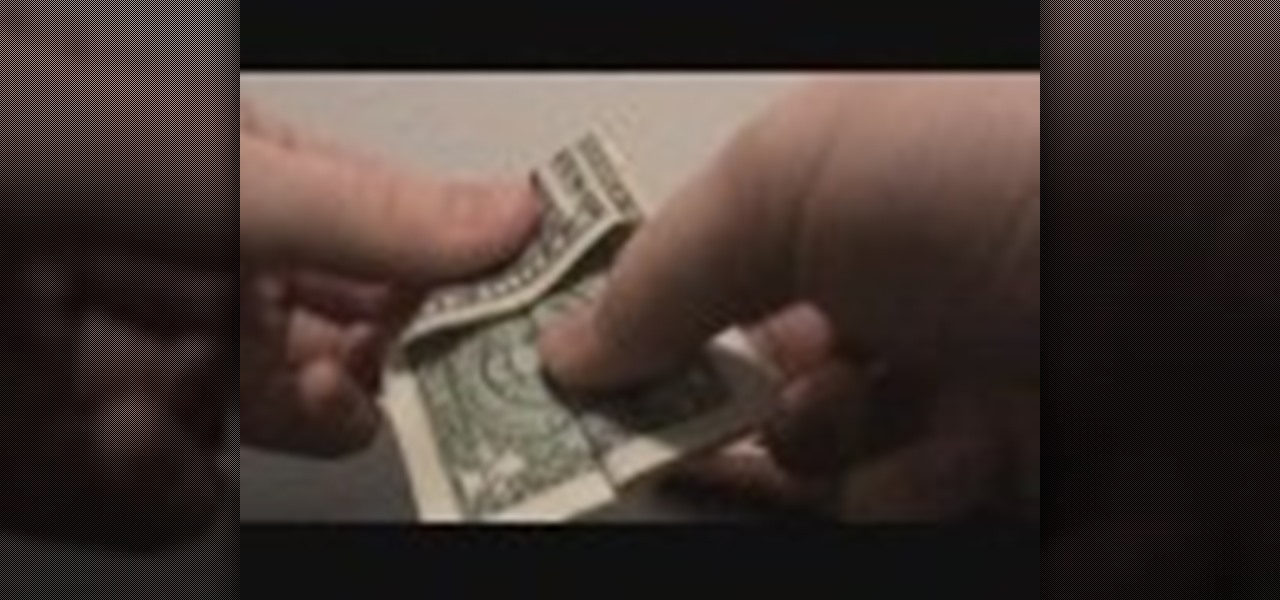
we are taught how to make a unique bow tie from an ordinary dollar bill in just a few short steps. There are no tools are supplies necessary, just your fingers and a dollar bill. Folding the bottom up, then again in half. Opening the sides it forms a 'tent' like fold on either side. Fold up bottom, fold end down. Fold the corners to the center, turn around and repeat that same motion. Pull out while grasping the middle. Flatten it out and there you have in your hand a bow tie, created in just...
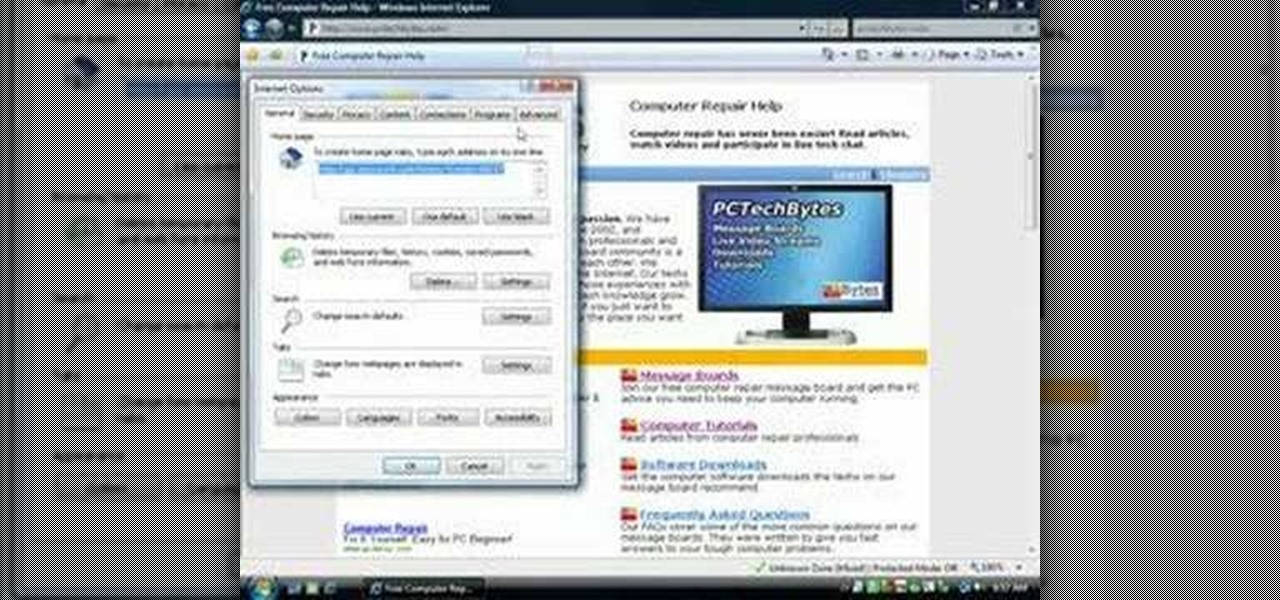
In this video, we learn how to remove our browsing history on Internet Explorer. First, click on "tools", then click on "delete browsing history". If you want to delete all of your browsing history, then click on that option. Most people are content with only deleting temporary internet files as well as browsing history. Getting rid of these will speed up your internet a bit. Another way is to go into "internet options", click under the "general" tab and choose which files you'd like to delet...
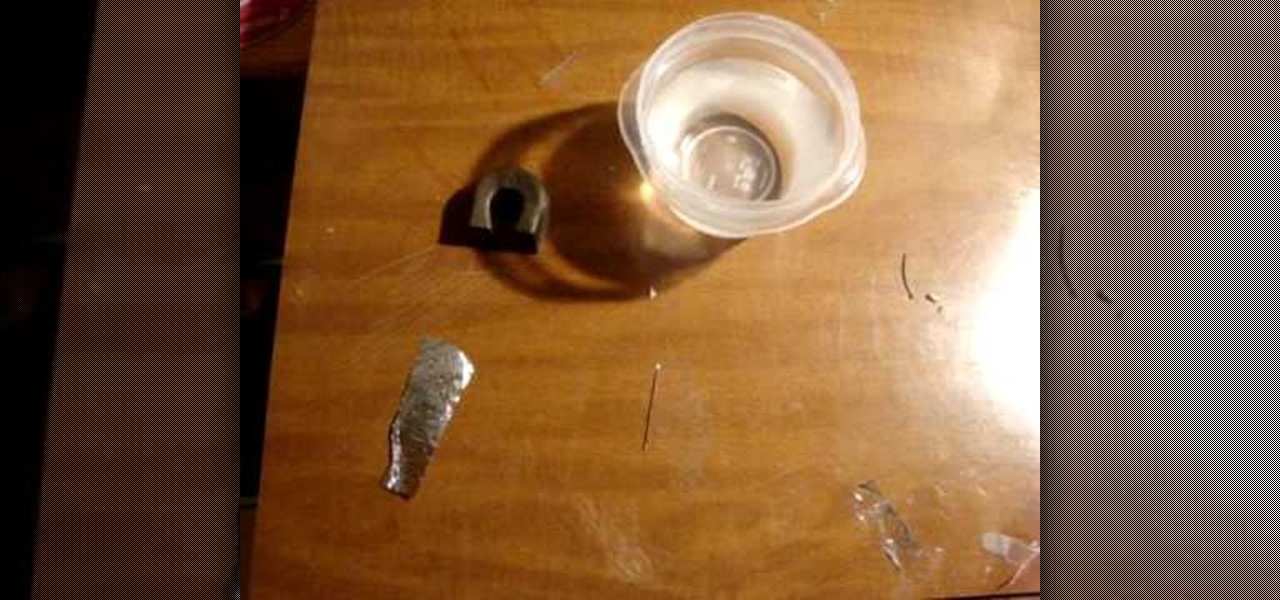
If you an outdoors man or maybe your planning on going to the woods for a camping trip, then watch this video and use the tutorial to learn how to make your own compass. A compass is a great tool to have in the wilderness and can always lead you in which ever direction you want to go. For this home made compass all you are going to need is a magnet, a cup of water, a piece of foil, and a needle. All you want to do to make this compass is put the piece of foil on top of the water and then put ...

When trying to locate water in a dry desert look around to see if there are any disingenuous trees since these trees are usually near lakes and falls. Once you have located one find a low spot or a damp area near the tree. Using a stick or another tool available dig a hole into the area until you find water. Make sure to keep the edges of the hole your digging nice and round so that the hole won't fall in on it self. When you've found water it should flow into the hole. The water is usable so...
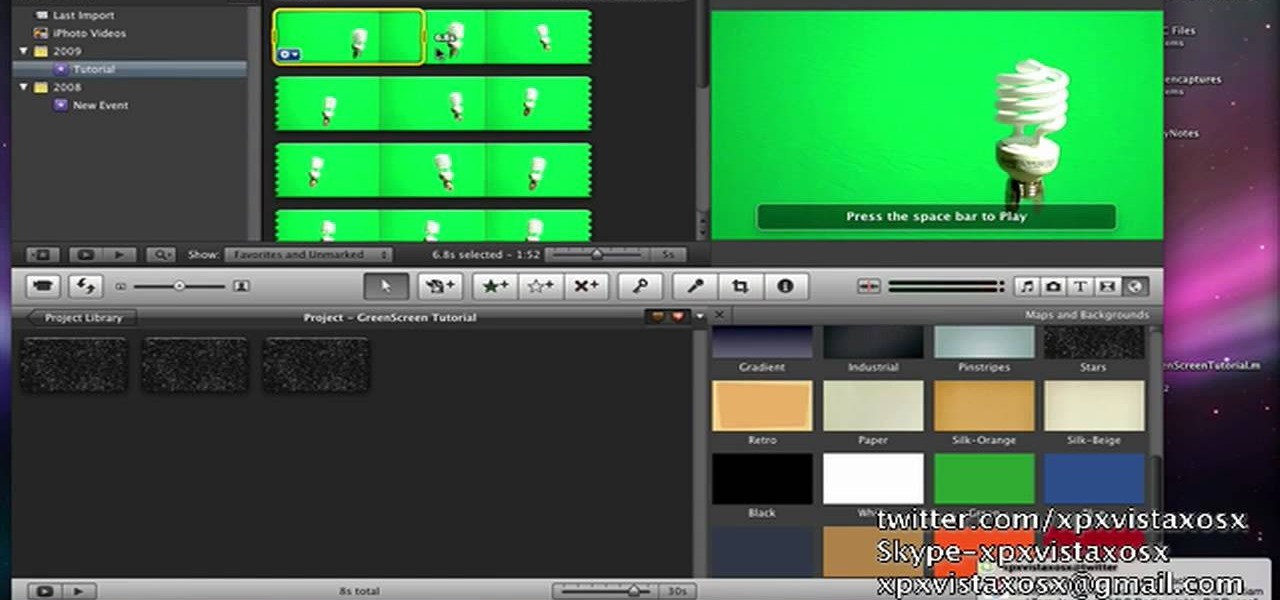
In this video tutorial, viewers learn how to use chroma key in iMovie '09. This video teaches users how to use chroma key to replace the background of videos. Begin by opening the program. Now drag or image or video background into the time line. Now click on iMovie and select Preferences. In the General tab, check the Show Advanced Tools option. Then simply drag the video that you want over the background image/video in the time line. This video will benefit those viewers who enjoy creating ...