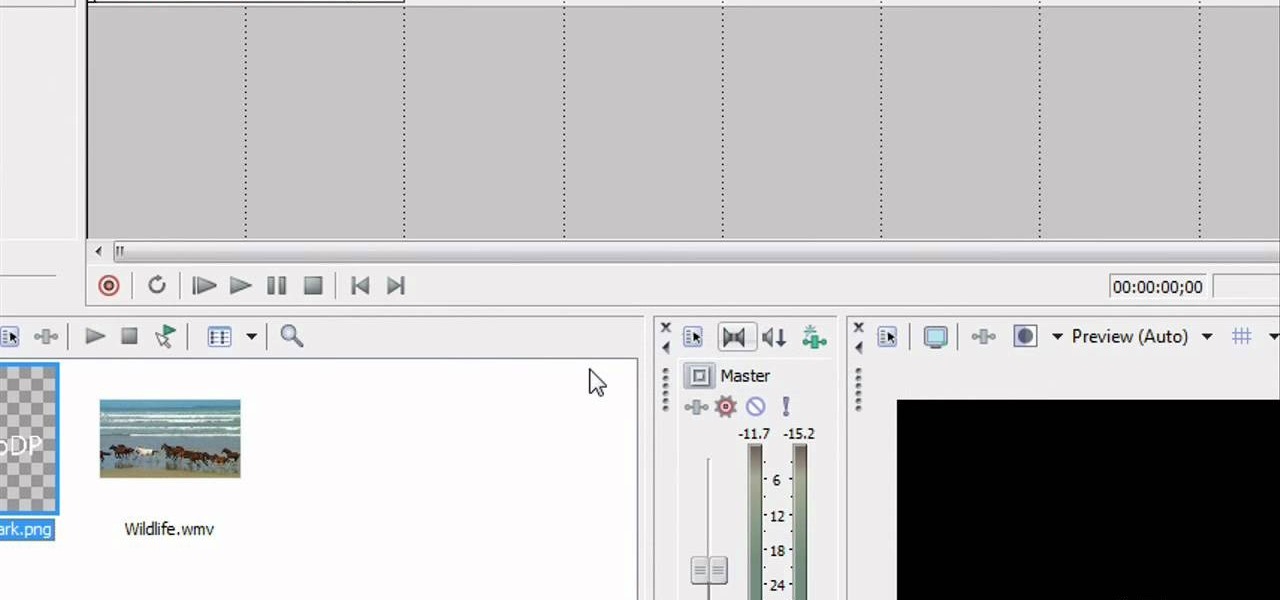
In this video tutorial, viewers learn how to add watermarks to videos in Sony Vegas. Users will need to begin by creating the watermark image in a photo editing software. Once created, make the image into a transparent background and save it as .PNG format. Now load the video into Sony Vegas and place it into the time-line. Then open the image in Sony Vegas and add it into the video time-line. Finish by panning the watermark image to a smaller size in the corner and extend the play time. This...

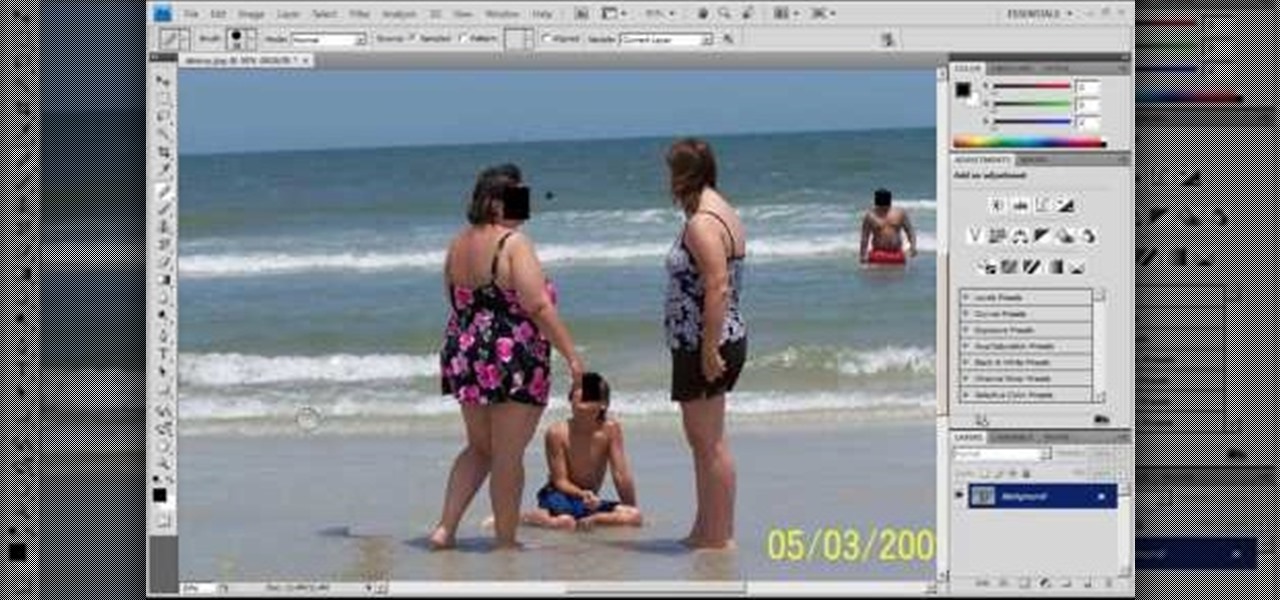
This video tutorial is in the Software category which will show you how to "Photoshop' someone into an image. It is like cutting and pasting one image over another. First open both the images. Ctrl and click the person's image that you want to move over. Drag the cut out image over the other picture where you want to superimpose it. Then click "edit', resize, rotate and position the image where you desire. Then go to "Image Adjustments' and adjust the brightness and contrast to match with the...

In this tutorial, we learn how to write a research paper for school. To begin a research paper, start in the library. Grab books that all pertain to your subject, and research as much as you can. You can also search online to get background information on your subject. Make sure you cite your book on a note card in the correct format. Now, you can begin to write your research paper by starting out with an introduction paragraph that captures the attention of the reader and has good facts in i...

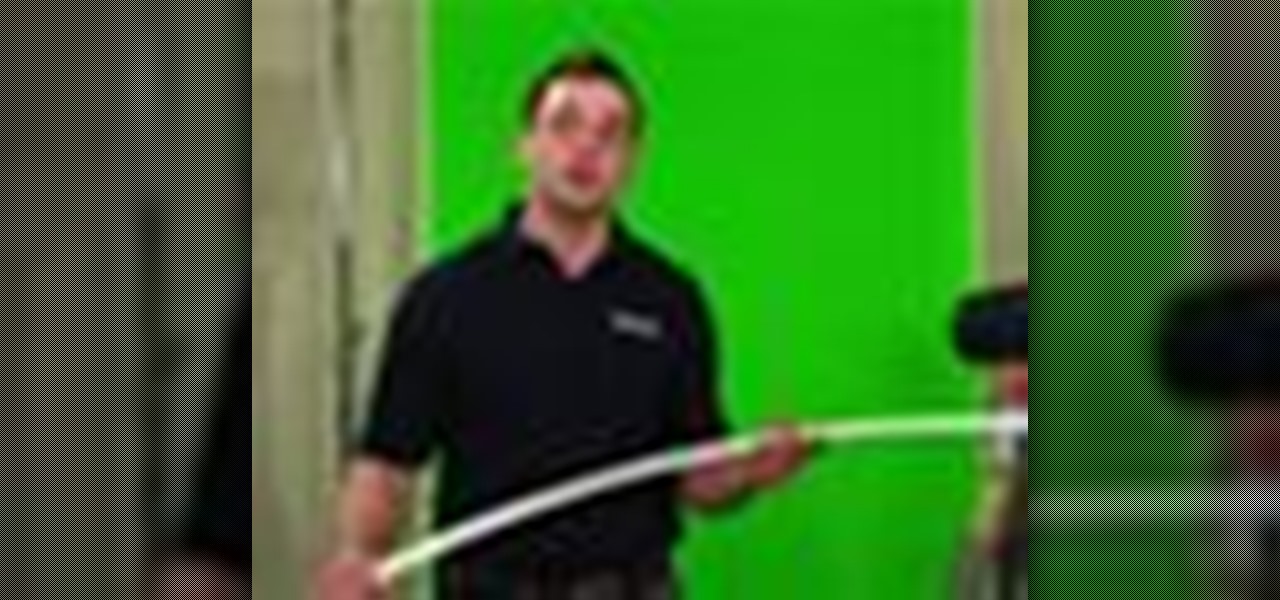
In this video tutorial, viewers learn how to build a green screen. The materials required for this project are: two 10 ft long PVC pipes, measuring tape, saw, duct tape and pipe elbows and couplings. Begin by marking the two PVC pipes with 6 ft on one side and 4ft on the other. Then cut the PVC pipes in half. Now connect the frame together with the pipe elbows and couplings. Build support to the fame by adding some duct tape. Finish by attaching the green cloth on the frame and tape it at the...

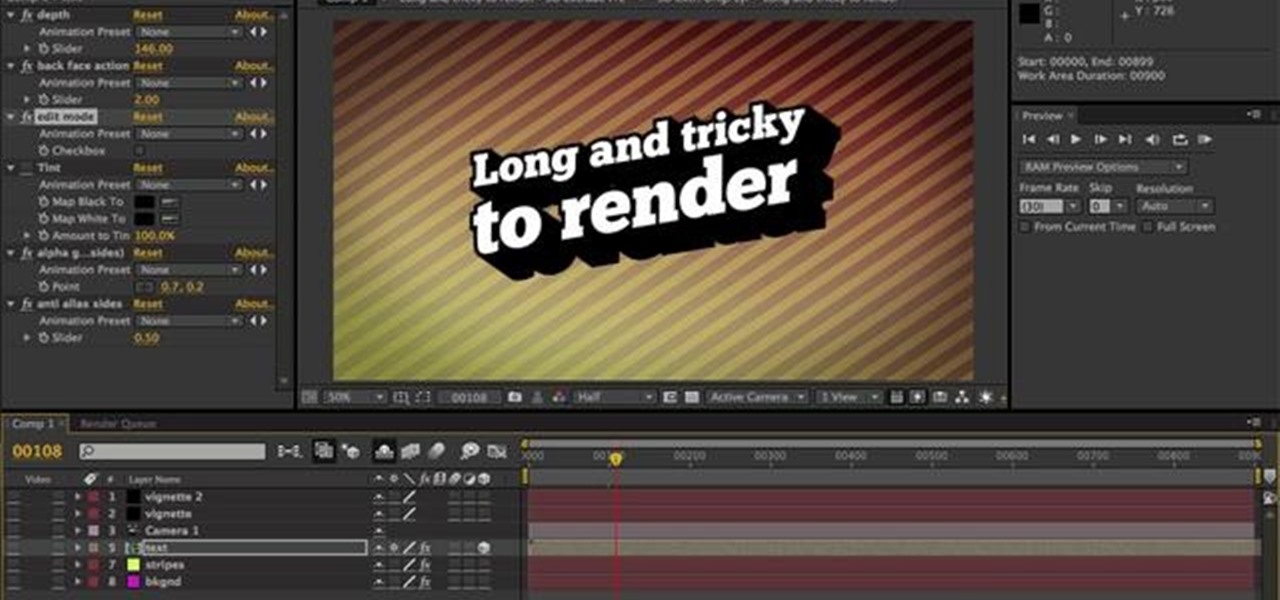
Learn how to render projects in Adobe After Effects CS4 or CS5. This guide also covers the use of background renderer, creation of output modules and render settings templates, memory, multi-processing and disk-cache preferences, as well as showing a basic preset for rendering FLVs and Quicktime H.264 out of After Effects. The tutorial is aimed at users at a basic to intermediate level. Whether you're new to Adobe's popular vector editor or a seasoned graphic arts professional just looking to...

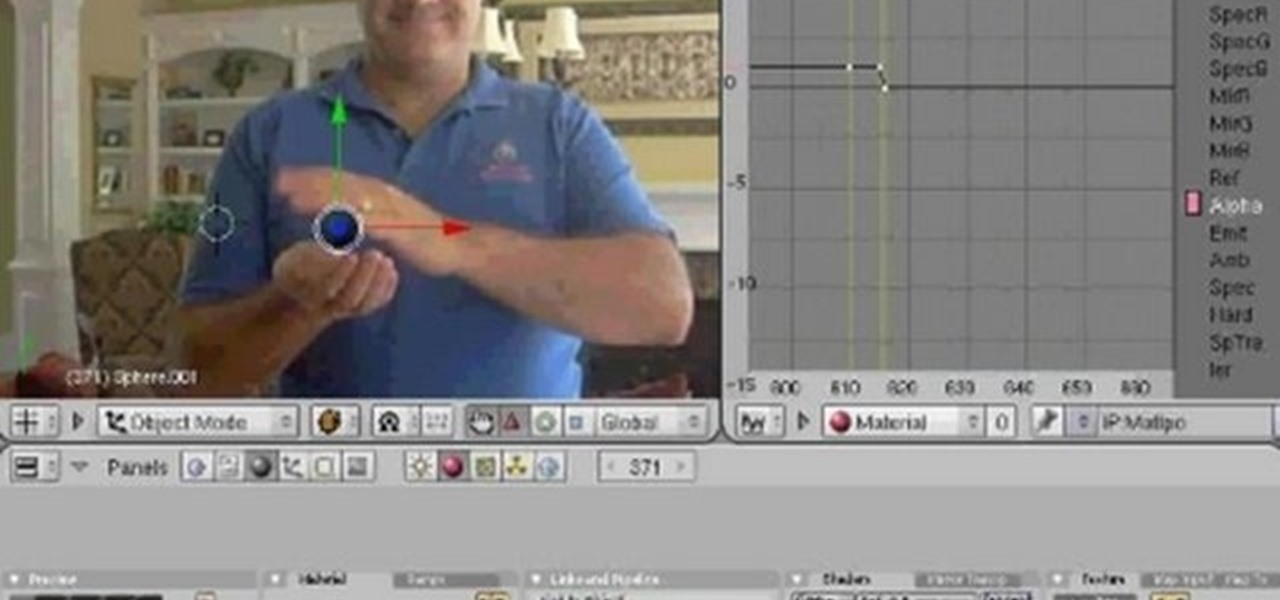
In this video, I match move a 3D virtual object on top of a movie which is set as the background image. This tutorial will show you how to integrate your CG objects into a real-world video. Whether you're new to the Blender Foundation's popular 3D modeling program or a seasoned graphic artist just interested in better acquainting yourself with the application, you're sure to be well served by this free video tutorial. For more information, including detailed instructions, take a look!

can't get enough of the vuvuzela, the traditional horn that sounds like a swarm of bees at every game of the 2010 World Cup? Check this out! YouTube has added a mini-app to all of their videos that will allow you to push one button and turn on the sounds of the horns in the background of any clip! If you can't wait to watch your videos like you are sitting in the stands at the big game - today is your lucky day! Enjoy!

The third season of "True Blue" just kicked off last week, which means hot chicks and shirtless guys. Though many of the character spend most of the show rather, um, naked, which takes up most of our attention, next time you watch the HBO series you should also pay attention to the girls' makeup, which always flatters and never looks overdone.

In this Fine Art video tutorial, you will learn how varying your lens Aperture can affect Depth of Field. Depth of Field is defined as the range of the photograph that appears to be in focus. This can be controlled by using the aperture settings. With a wide aperture like f/1.4, f/2 or f/2.8, only a small range of the image will be in focus. This is used to isolate the subject from the background. But, if you have a smaller aperture opening like f/8, f/11 or f/16, you will get a large depth o...

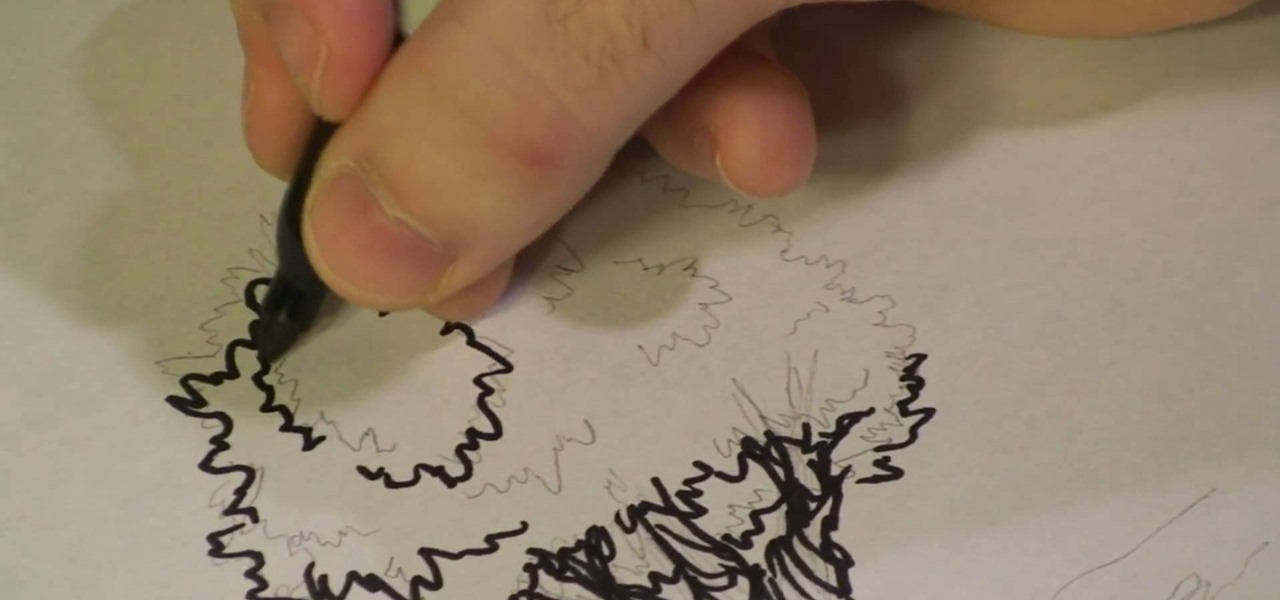
Michael Weisner, an animator and a graphic designer, shows us in this video how to draw an olive tree using a piece of writing paper and a writing utensil. First, it should be taken into account that olive trees are grown in rocky soil, which other trees cannot be grown in and the soil around the base of the tree should be rocky ground. Next, proceed to the trunk of the tree, which is a curved and branching structure. After that, we are shown to move on to the leaves of the tree, which are cr...

In this video tutorial, viewers learn how to create a carbon fiber desktop wallpaper using Adobe Photo-shop. Begin by creating a 20x20 pattern with the rectangle marquee and gradient tool. Then go to Edit, select Define Pattern and name the image. Now create a document with the dimensions of your monitor screen. Then go to Edit, select Fill and select the pattern that you have created. Then go to Filter, select Render, click on lighting effects and configure the image's lighting. This video w...

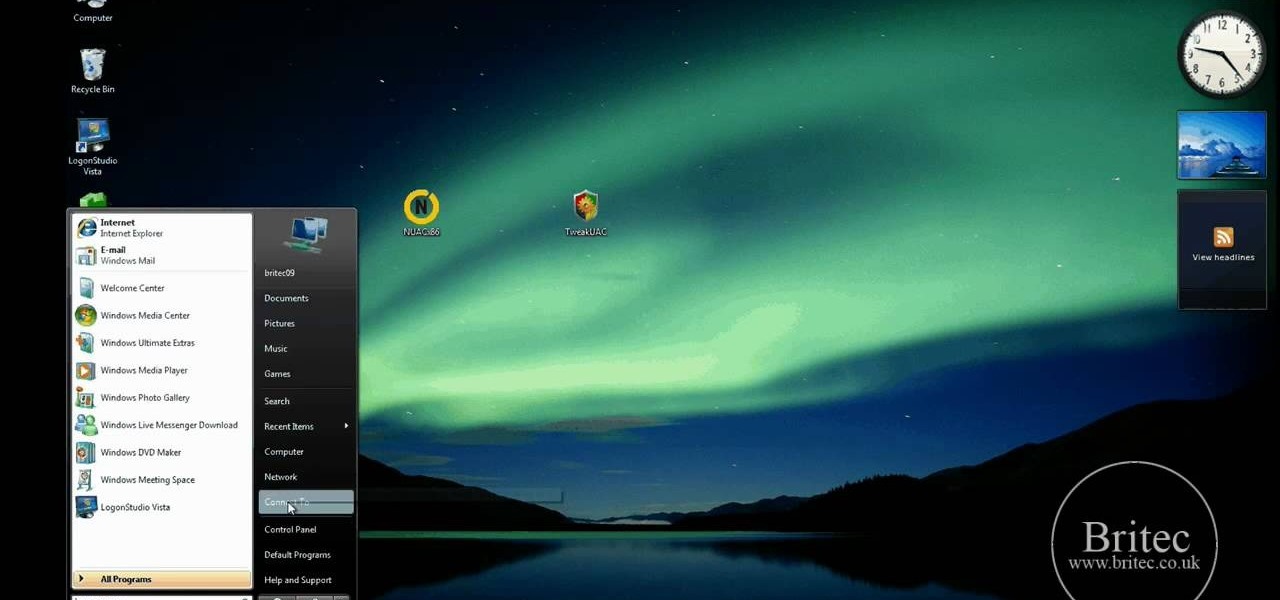
In this tutorial, learn how to disable the annoying UAC or User Account Control on your Windows Vista computer. This clip will show you how to do this without compromising your security.

This speed-drawing tutorial demonstrates how to draw a futuristic soldier character with a flamethrower and a gas mask on your computer. It moves very quickly, but if you can't keep up you can reference the artist's step-by-step sketches where he breaks down the steps he takes in copious detail. The background is intentionally vague so that you can fill in whatever you like, most likely a post-apocalyptic setting of some kind. A good view for any comic book, fantasy, or science fiction artist.

This video demonstration shows established graffiti artist Wizard creating a tag of the name SESA. It features a figure in the background sticking his middle finger thorough the second S in the name. The elaborations around the letters and the types of curves he used in this particular design have little bit of a Japanese flair to them, a different sort of style for Wizard, but one that this master of graffiti tags handles with the same skill with which he handles all of his other tag designs.

Drawing fantasy worlds is a very enjoyable activity for many artists because of the freedom that comes with not having to draw naturally occurring things while still remaining within the confines of realistic depiction. This three-part video demonstrates the drawing of a fantasy scene featuring a castle on a lonely hilltop with some very ominous Misty-Mountains-like mountains in the background. It is rendered entirely in pencil, but still conveys the sense of loneliness that most castles of t...

An animated GIF is a great addition to any website. By animating your image, you will draw someone's eye to it almost immediately. This is especially useful if you are creating an advertisement or a logo.

This video demonstrates how to make a broken mirror effect using Photoshop.

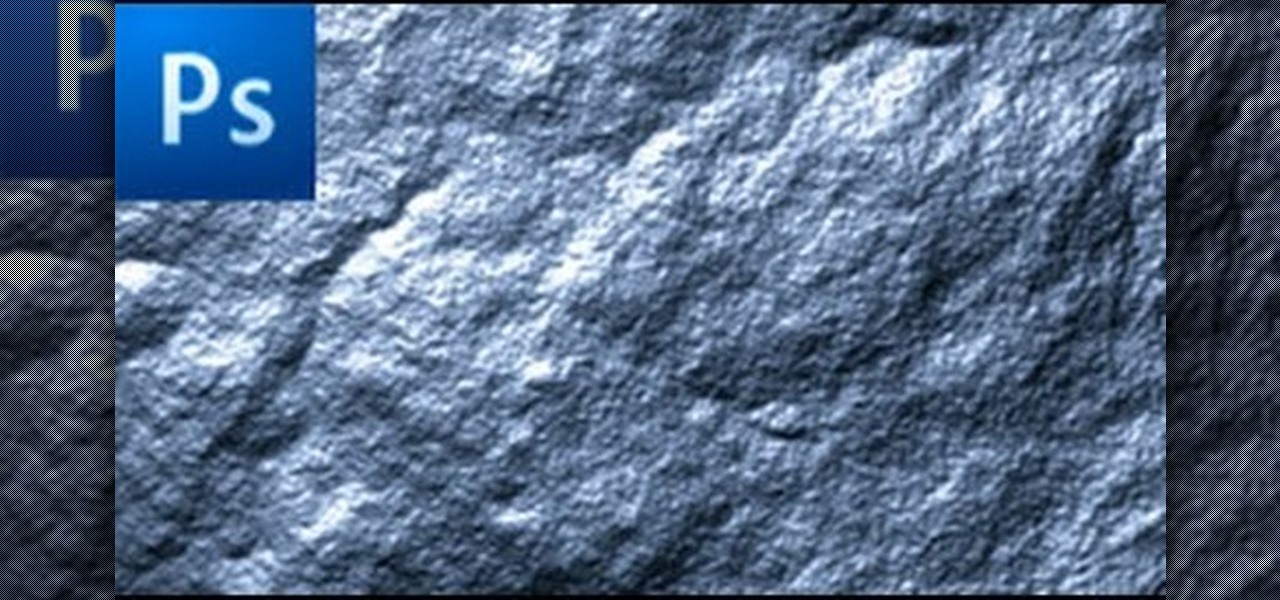
In this how to video, you will learn how to create a rock texture in Photoshop. First, open the program. Select your foreground as a gray color and the background as a darker gray. Go to filter and render clouds. Go to filter and noise to add noise. Add about 3 percent and click okay. Add a channel and click filter. Apply the difference clouds multiple times until you get something very dark. Add more noise and then fade the add noise filter. Go back to the original layer and go to filter and...

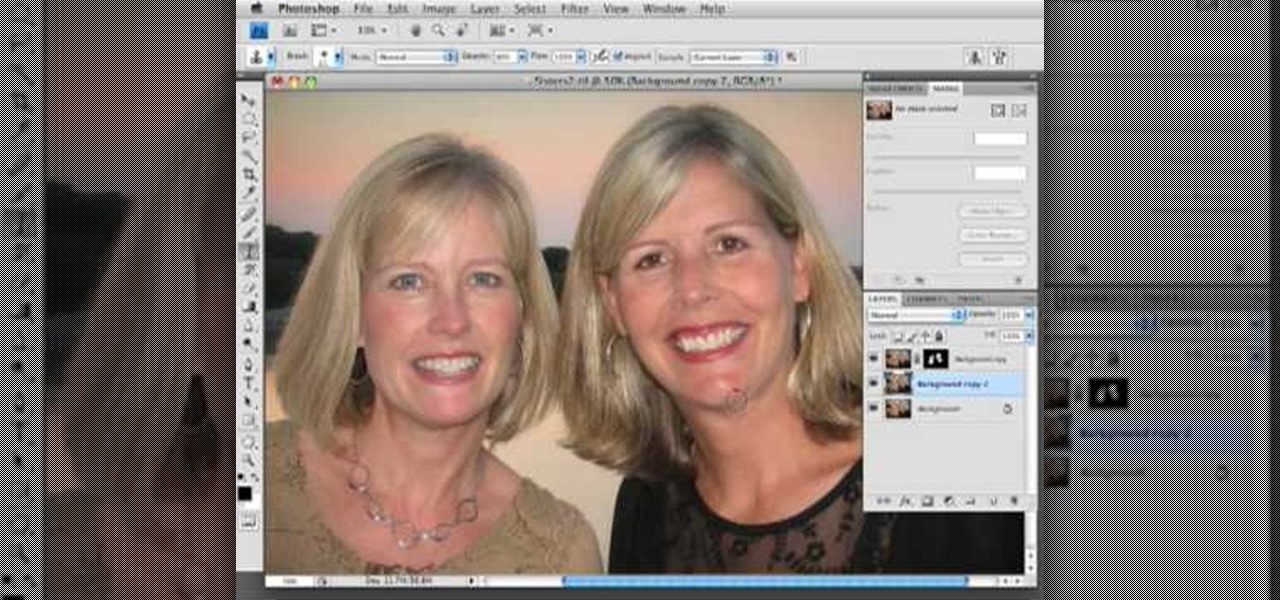
In this how to video, you will learn how to get rid of shine using Photoshop. This is useful if you took a picture using too much flash, causing shine to appear on the faces of those in the photo. First, open the image in Photoshop. Duplicate the background layer. Select the clone stamp tool on the left and select a brush with no hardness. From here, change the opacity to 80 percent. Click the option key on an area of cheek. Now, click on the dots of shine on the faces. This can be used on wr...

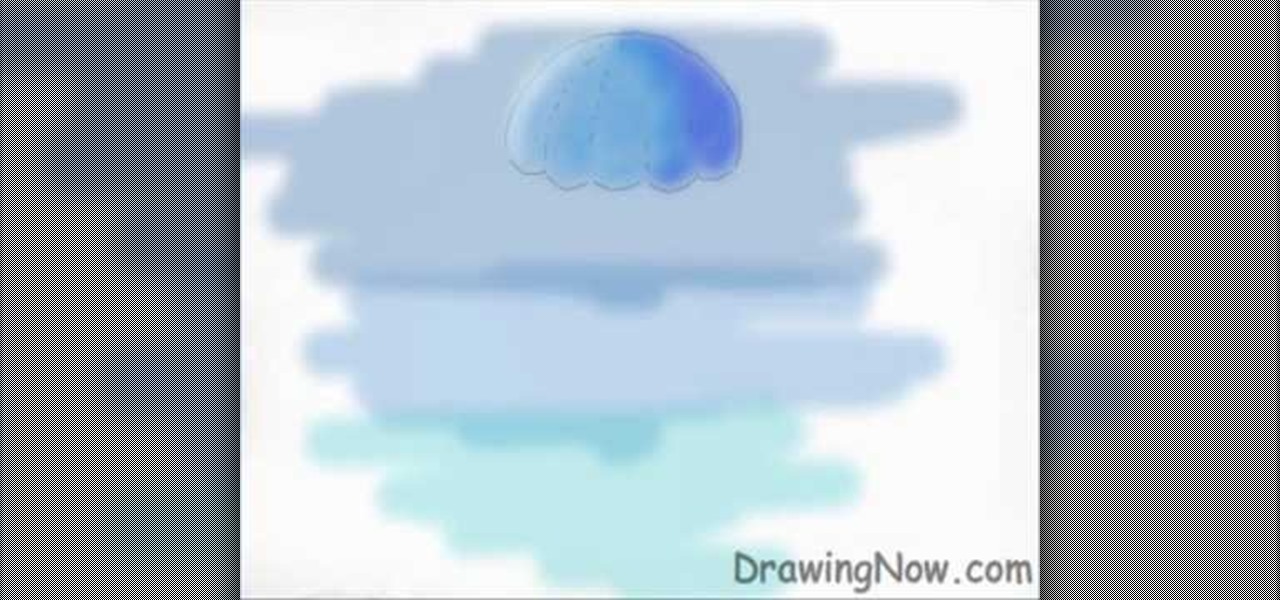
Drawingnow.com shows us how to draw and colour a jellyfish. First make an outline of the body of the jellyfish by drawing a dome with verticl sections like a parachute or an umbrella. Join the sections at the bottom of the dome like a skirt. Colour the background blue in three sections from top to bottom. Darker blue is used for the top-most section, a medium blue used for the middle section and a lighter blue for the lower section. Next colour the umbrella mass of the jellyfish in a blue ton...

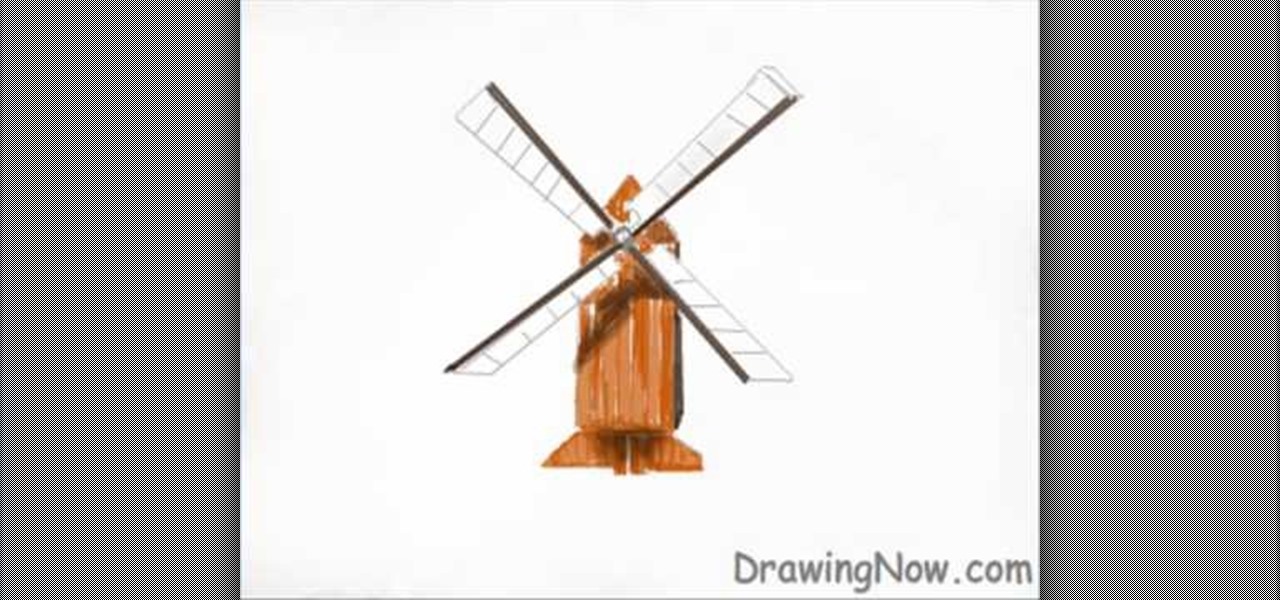
In this how-to video, you will learn how to easily draw a wind mill from scratch. First, start off with the building of the mill. Next, draw the arms of the wind mill. Include the flaps on the arms. Next, fill in the smaller details such as the center of the rotation. Next, you can fill in the color of the building. In this case, brown was used. Next, fill in the arms of the wind mill. Add appropriate shading on top of the building. You can also add shading to the arms. Next, fill in the back...

This video shows how to paint your nails with a very attractive red and yellow nail art design. Using a glitter nail polish, dip it in yellow glitter powder. Pat it on the nail, rather than brushing it on. Then apply large glitter shimmers randomly all over the nail, and this forms the background.

To download the different types of screen saver using net, first to navigate in to "www.wallsaverapp.com". In this screen you have a "download" button that appears in the right of the screen. After download this program, run the program. Now you have to download different types of screen saver in website like "www.macupdate.com". In this site you can search different types of screen savers. Enter the website and type "matrix saver" in the search dialog box. Download the required screen saver....

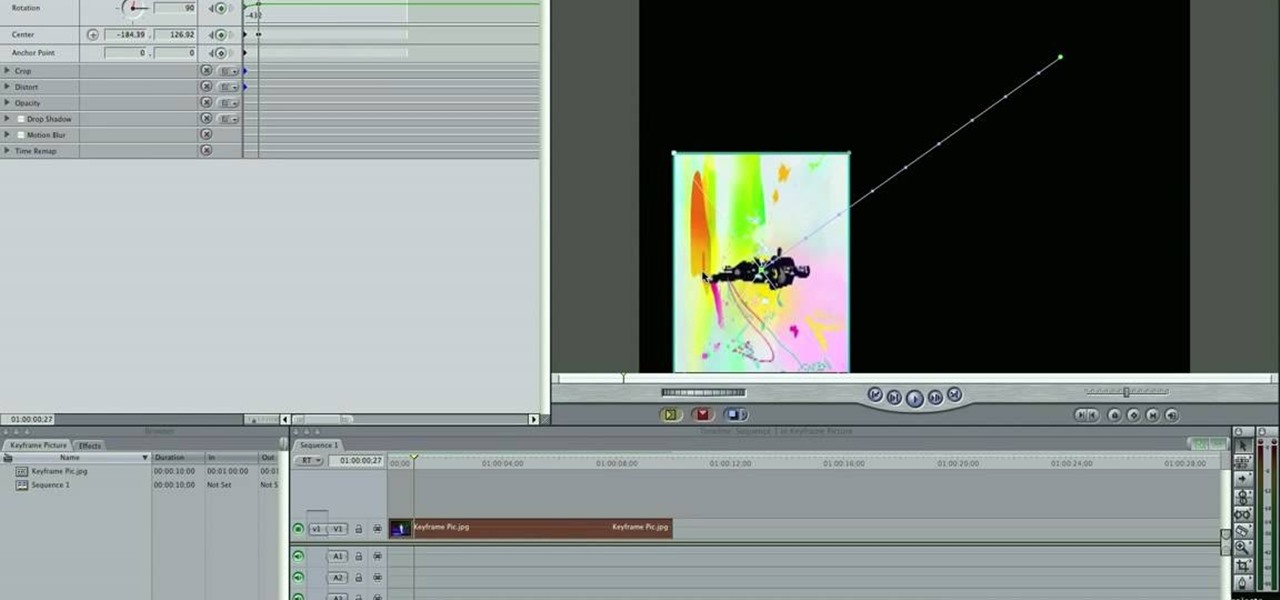
This video tutorial teaches you the basics of Keyframing using Final Cut Pro. A picture is used in this tutorial. You can also use video or picture for this example. The video shows the keyframe button and the different keyframing tools. The video then teaches a basic keyframing concept of how to add a motion to the clip using keyframing. You can also add rotation effect in the keyframe. When you add a keyframe and move the clip from one place to another, it adds a path along which the clip o...

JakeWright.net shows viewers how to make and avatar for the internet. In order to do this, you need to first go to Yahoo.com. Here at Yahoo you should go to Yahoo Avatars. Here you can customize everything about you. You can choose your hairstyle, color, eye color and your clothes color! You can also even change extra things such as accessories and the background of your avatar. You can also change the size of everything you pick! There are so many various options that you can choose from. On...

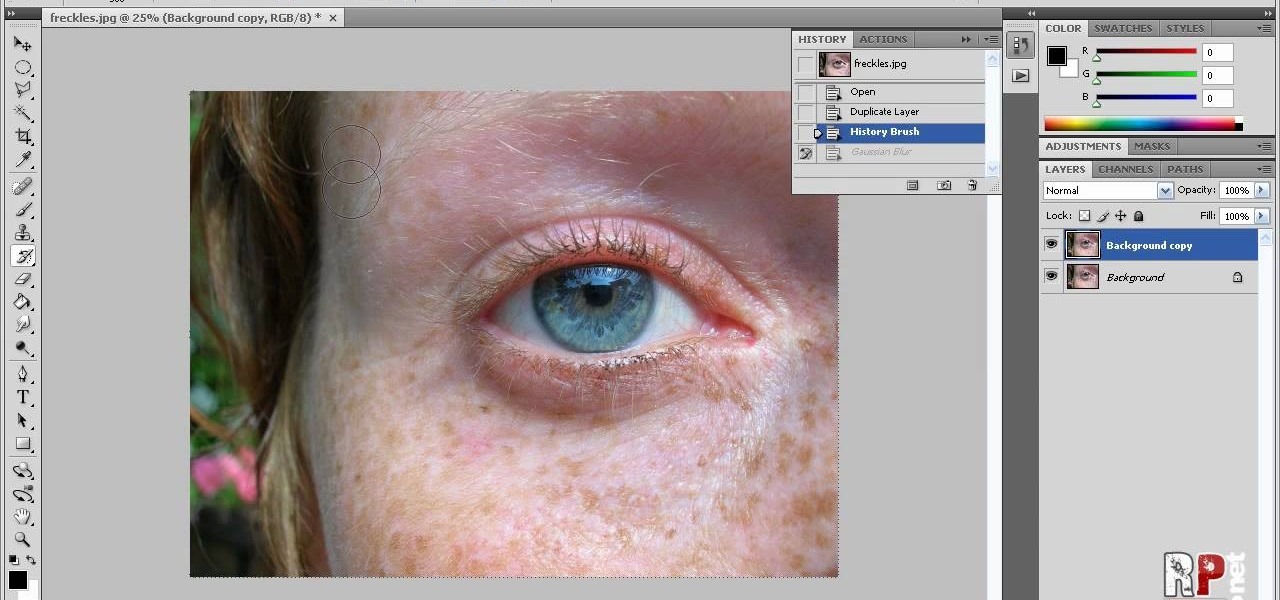
In this how-to video, you will learn how to reduce freckles in Photoshop. This is useful for editing people who have a lot of freckles. First, open the file in Photoshop and copy the background layer. Apply a Gaussian blur to the layer. Adjust it so that the freckles are no longer visible. Click okay and then open up the history palette. Click on the duplicate layer in the history window. Set the source for the history brush. Set the mode to light. Next, paint over the freckles. Now the freck...

Every time you download a game, movie, etc to your computer, you make changes to the computer. Sometimes, these downloads can make your computer unstable. By default, Windows Vista creates restore points in the background. What this means is every time you make these changes to your computer, Vista takes a snapshot of your computer before the changes are made. This enables you to go back in time and restore your computer to an earlier time. Documents, photo's and emails will still be saved. O...

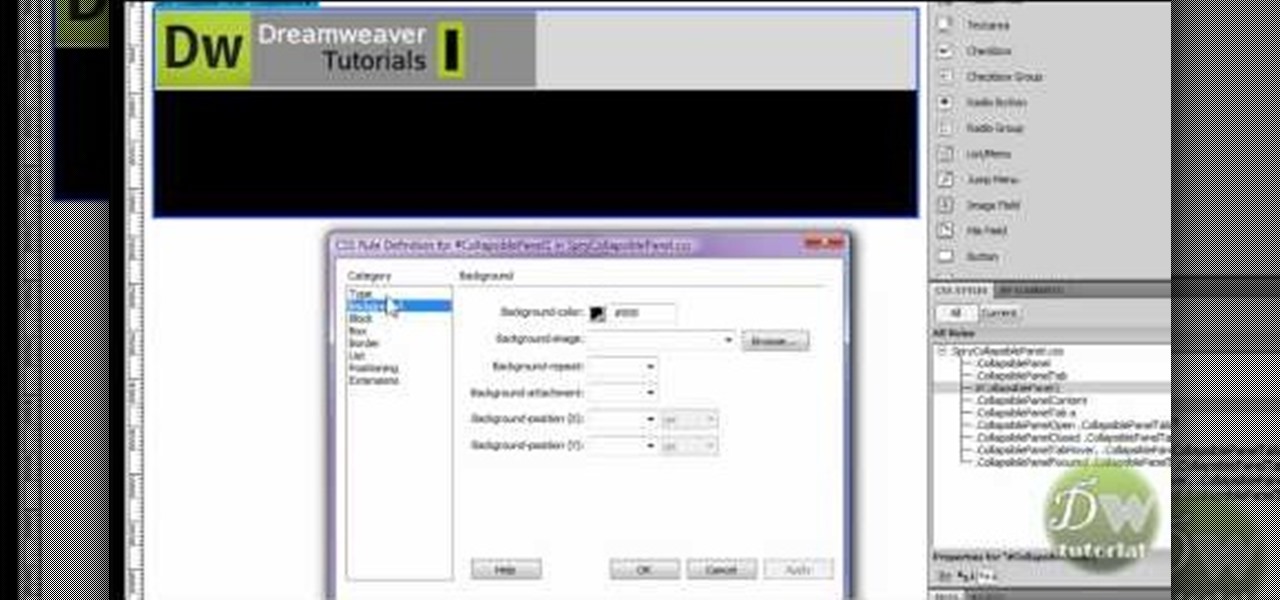
James from DreamWeaverTutorial.co.uk shows you how to use collapsible panels with the spry module in Dreamweaver CS4. The spry collapsible panel works similarly to an accordion widget, except it only has one section which features a tab panel and a content panel. When you click on the tab panel the content panel either appears or disappears (toggles on and off). You can add background colors, text colors, images, rollover effects and more, and James shows you exactly how to do all that in thi...

This video teaches you how to use Photoshop to remove people from a picture but you can essentially use this method to remove anything you want from a picture. First, click on the lasso tool and highlight a figure you want to remove. Drag the highlight adjacent to the figure and copy the image. Now paste what you’ve copied over the figure you want to remove. This will work best and is easiest if the area next to the figure is similar to the background of the figure. If you paste the image a...

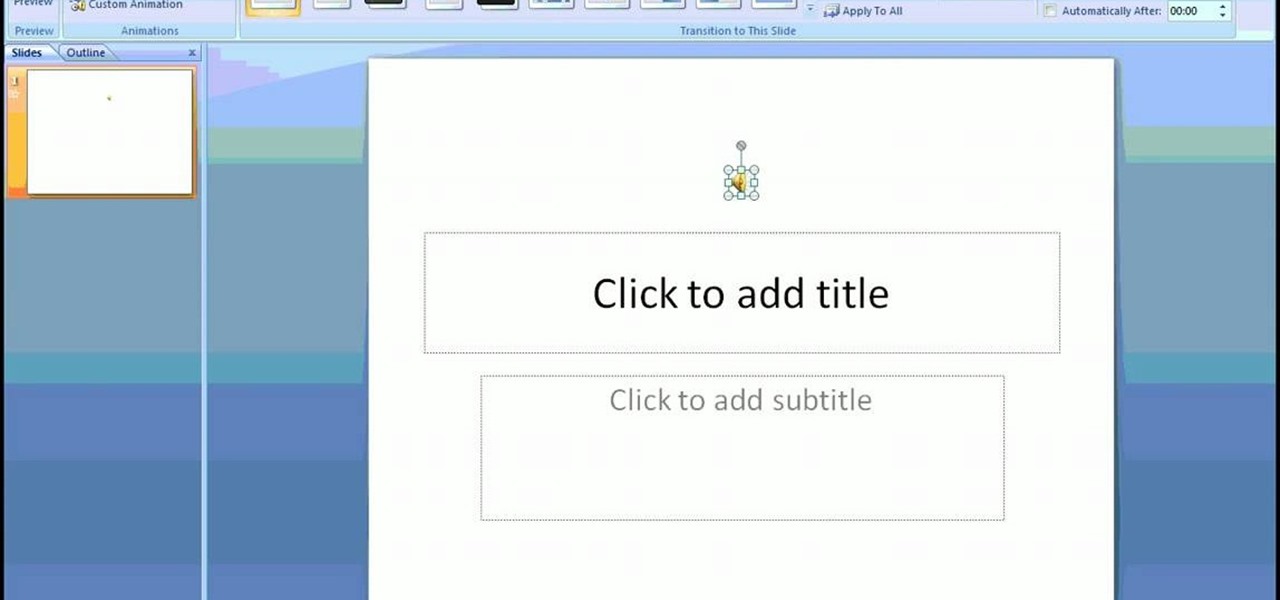
This video provides step-by-step instructions for how to insert sounds or music into a PowerPoint presentation, using Microsoft Office 2007. The narrator uses the insert sound tool and selects an audio file that, and demonstrates how to make it play automatically when the PowerPoint slide show is played. He also shows how to customize the effect options by using the animations tab, which allows you to choose when the track starts and finishes, for how many slides, and at what volume. After wa...

Love4Nails shows step by step tips for achieving this look. Begin by choosing a background color. On top of the base, apply white polish. Then apply a smile line on the top portion of the nail as you would when doing a French manicure. Then fill in the nail. If its not perfectly straight its ok because it will be covered. Next, apply glitter polish on the white area of the nail. With the white polish make three dot and use a dotting tool to extend them, creating flowers. With the original blu...

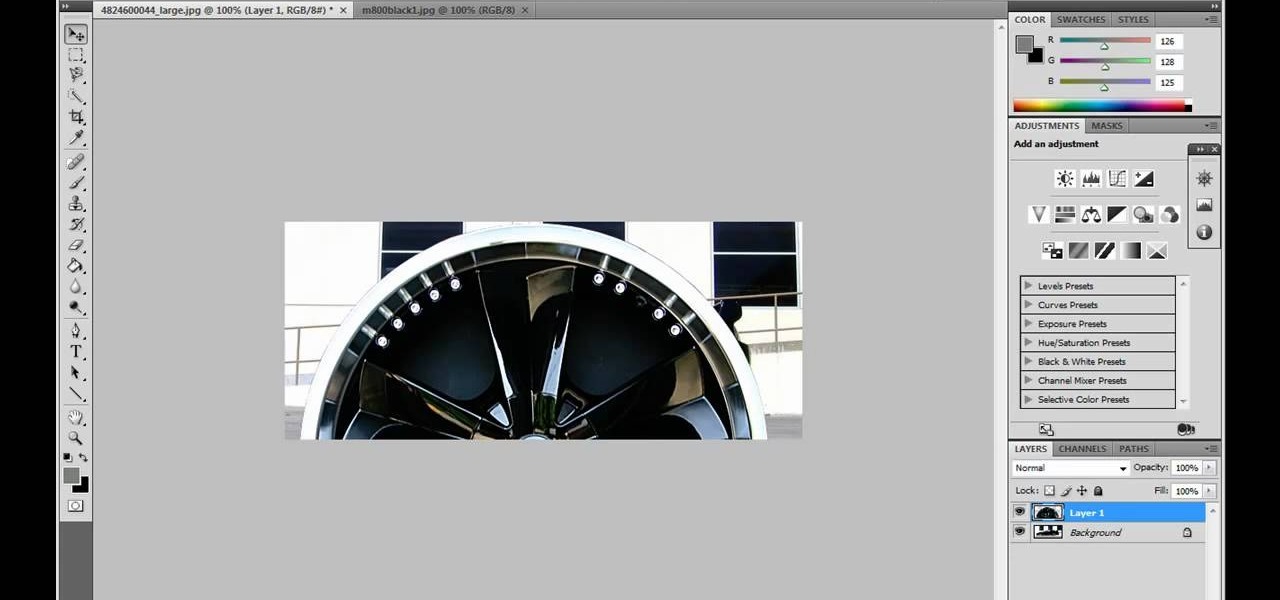
JdudeTutorials shows how to Photoshop the rims of a photo of a car, either for previewing different options for your vehicle or just for fun. Open the photo of the car (preferably shot from the side) in Adobe Photoshop. Open the desired rim photo. On the rim, use the lasso or magnetic lasso tool to select the rim from the background. Then copy the selected area and paste it into the car photo. Select the layer with the rim, select "free transform" and resize the image to fit the car's rim siz...

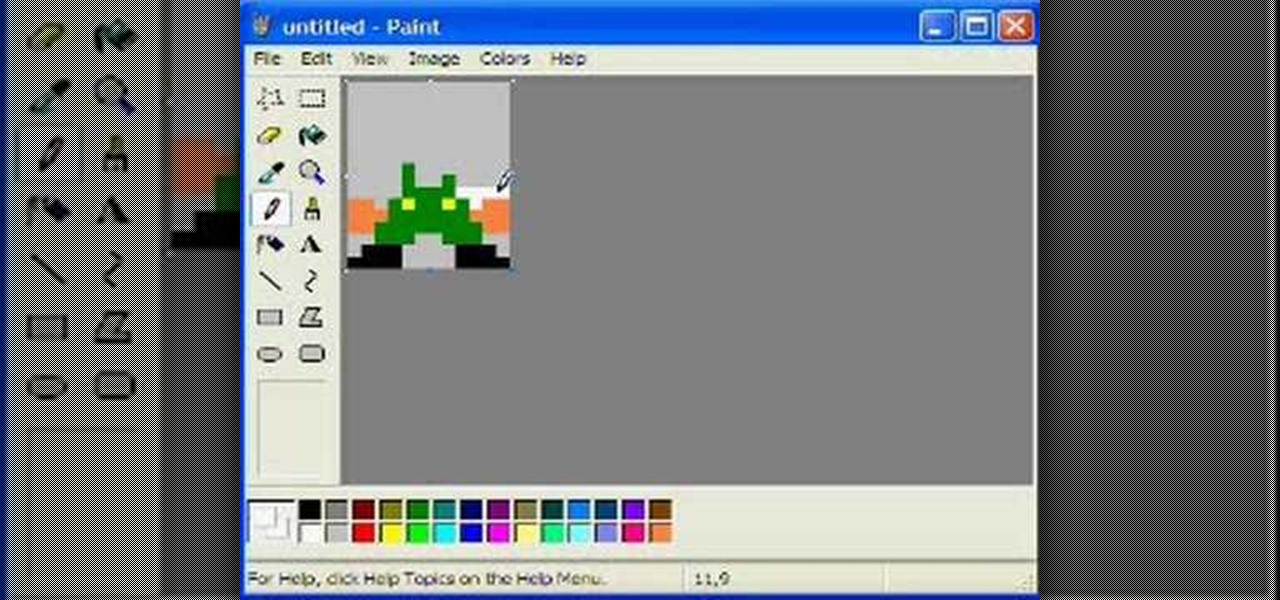
This simple tutorial teaches you how to create a classic 8-bit Luigi from the Nintendo franchise Super Mario Brothers in the Microsoft paint program. To start, open Paint. Select Image-> Attributes and change the image width to 12 pixels and the height to 16 pixels. Use the zoom tool to zoom in 8x and select the paint bucket tool to make the background gray, because a large portion of Luigi is white. Then use the pencil tool (set to 1 pixel) to begin drawing Luigi starting with his black shoe...

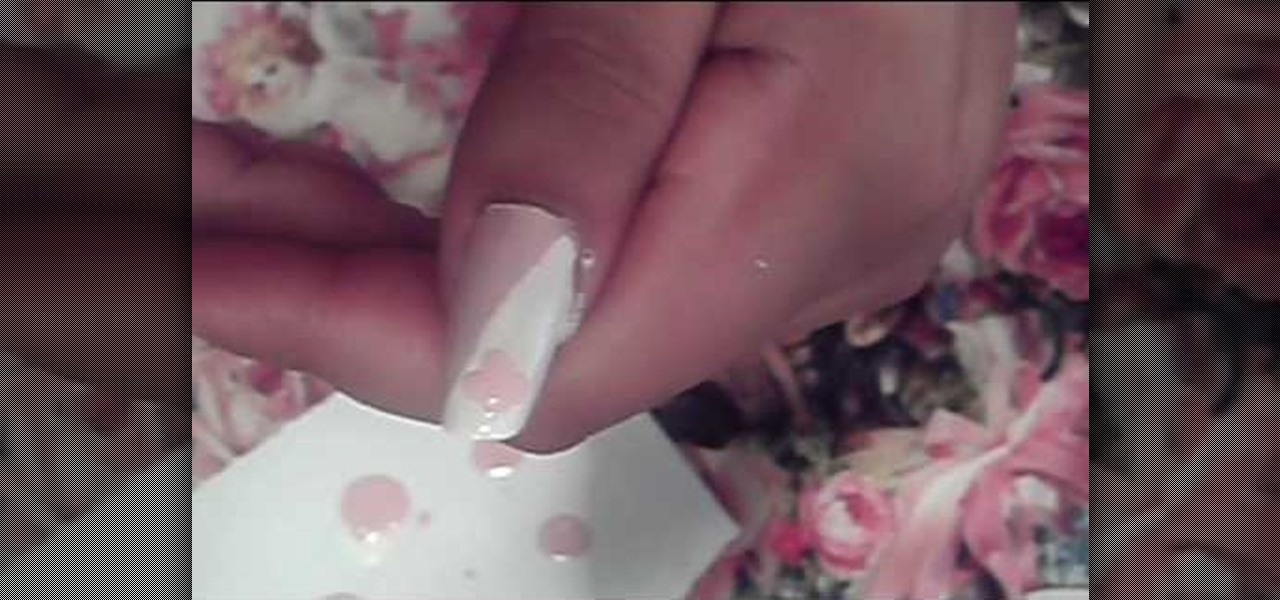
Love4Nails demonstrates how to paint nails with a pink and white sparkly design. First, apply a hydrating base coat. On top of the base coat, apply the color of your choice like a light pink color. Then, create the side swipe which is about half of the nail. Create a straight side swipe in a white color. You may need to do two coats. Then, create a flower with the background color on the white polish. Add a pink rhinestone to the flower. Repeat the technique making a white flower on the pink ...

In this Software video tutorial you will learn how to add music to PowerPoint 2007. You will be using Partners in Rhyme for background music. On the site scroll down to ‘free midi files’. On the right of the page, you will see all the genres to choose from. Select your genre and select the band or song of your choice. Preview the music, download and save it. Open up PowerPoint 2007, select ‘insert’, select ‘sound’ and select the file you saved. Next select ‘animations’ > custom animation and ...

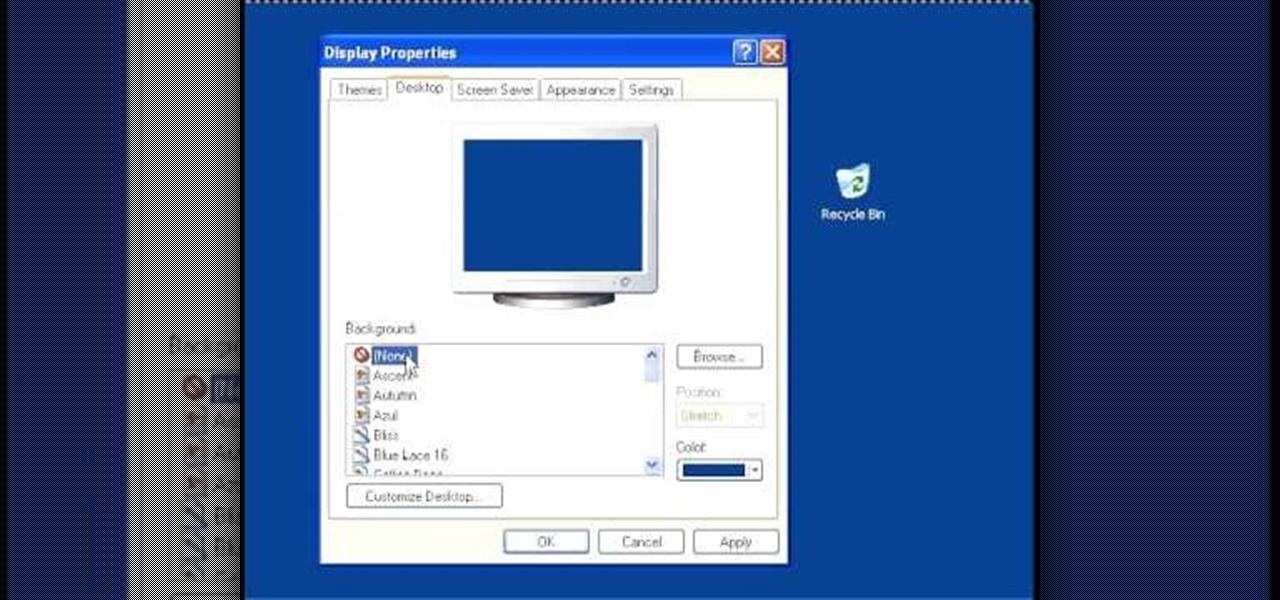
In this video, we learn how to speed up a computer and change desktop settings. First, right click anywhere on your desktop. Then, select "properties". Once you are in "properties" there are several tabs you can click on, click on "desktop" on the top. Once you click on this you can change your background, icons, home page, internet options, colors and more. By selecting "screen saver" you can choose "Windows XP" to make your computer perform quickest, also make sure your monitor has proper p...

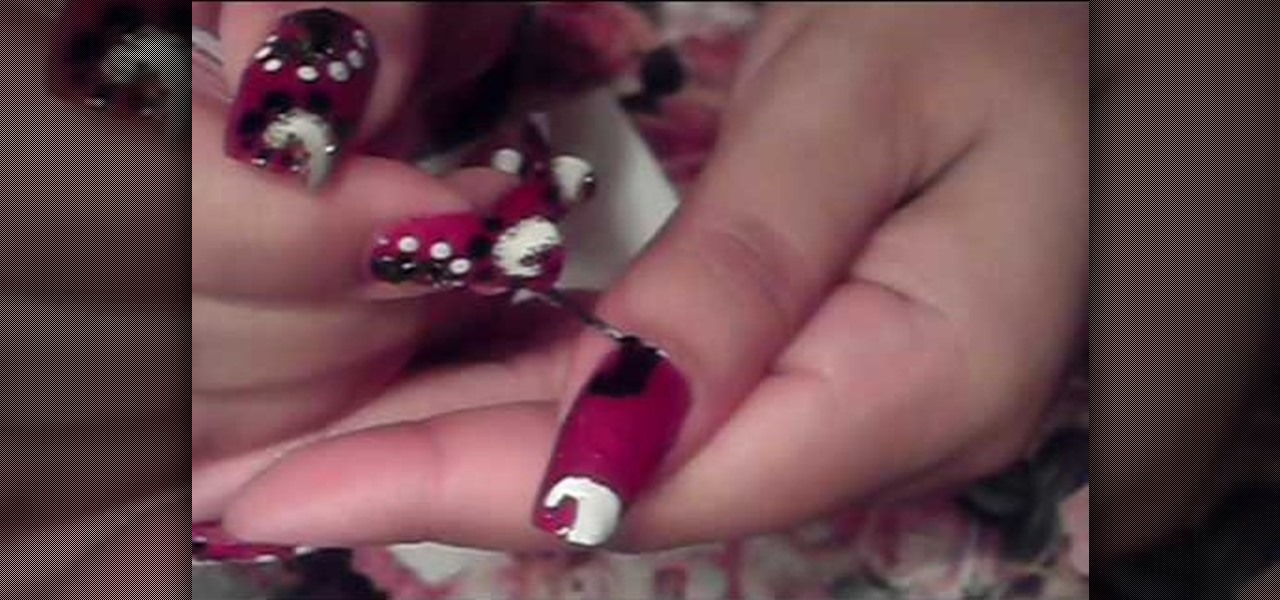
Love4Nails demonstrates a nail design consisting of black and white swirls and dots on a red background. She has already applied a base coat and two coats of red polish. The first step in making the design is the white swirl on the tip. Using the pointed end of a nail dotter, she dips it in the white polish and draws the outline of the swirl, and then fills it in. Next she does the black swirl at the bottom in the same manner.

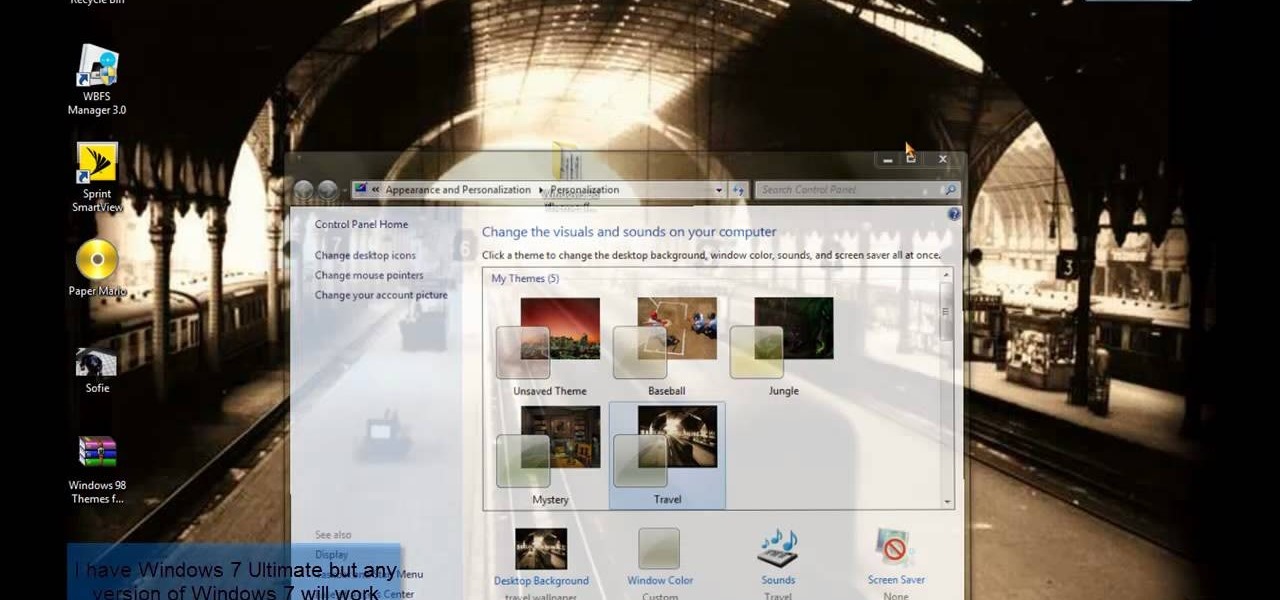
In this video tutorial, viewers learn how to get a Windows 98 theme on Microsoft Windows 7. The Windows 98 themes need to be downloaded from the link in the video description. The Windows 98 themes are: Baseball, Jungle, Mystery and Travel. When opened, the background changes to the theme. The cursor and the icons on the desktop also changes to the theme. There are sound effects when the user maximizes and minimizes a window. This video will benefit those viewers who use a Windows 7 computer ...

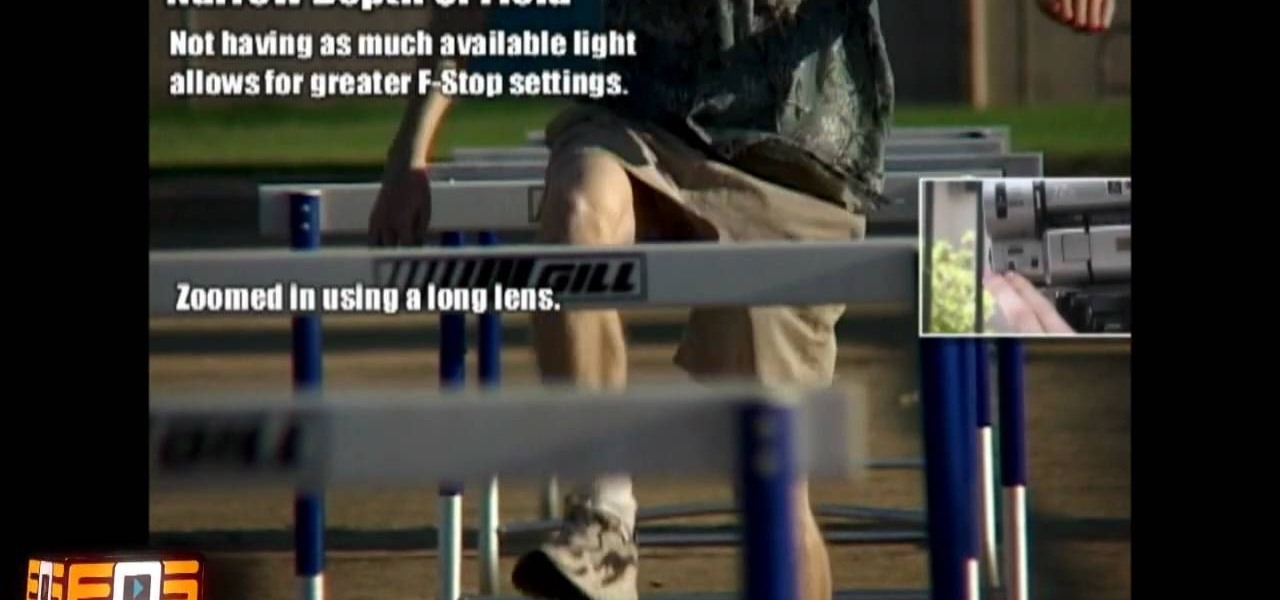
In this Film and Theater video tutorial you will learn about depth of field and how to adjust it. Depth of field means how many objects are in focus in the frame at one focus setting. If the depth of field is large, more objects at various distances from the camera are in focus. The first factor is the amount of light. If the light is good, more objects will remain in focus. On the other hand if you zoomed in with a long focal length lens the depth of field will reduce and lesser objects will...

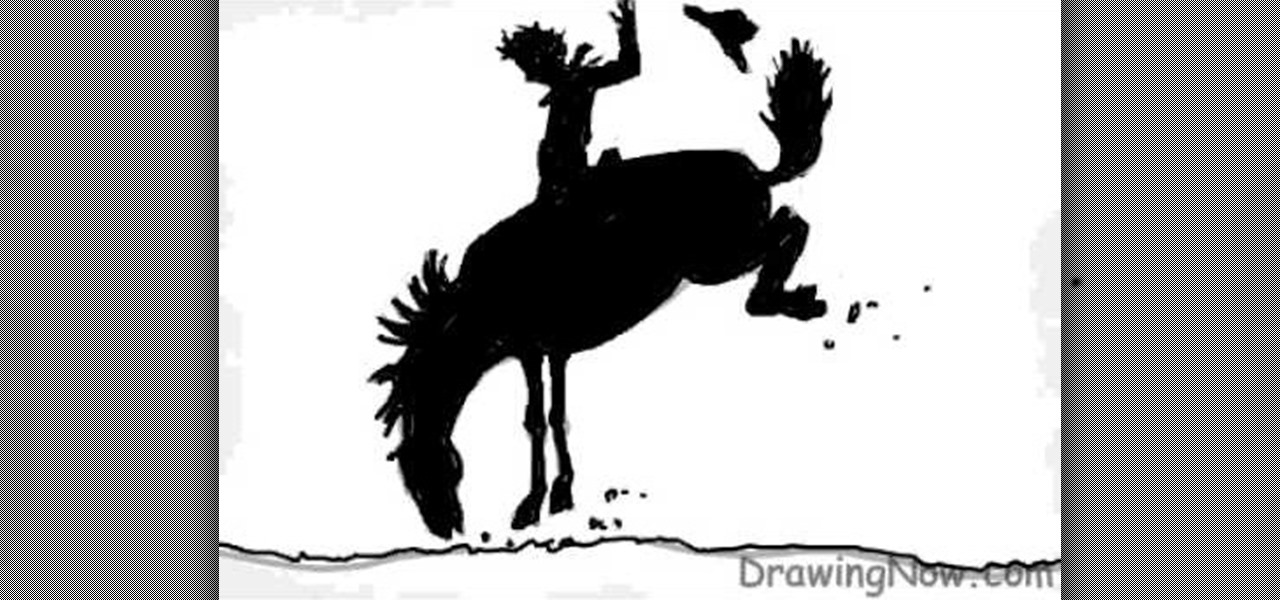
In this video user DrawingNow teaches you how to draw a rodeo cowboy and horse. You draw a large oval which will be the horse's body. Then attach another one as the horse's head. Next, draw the legs and the ground using simple lines.
