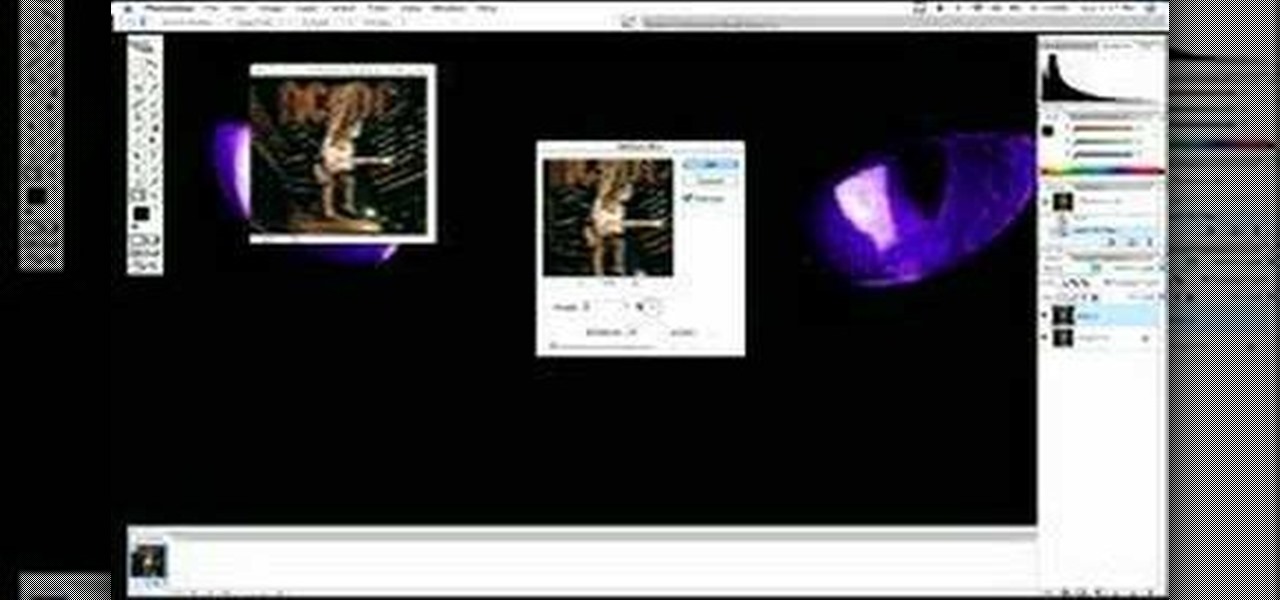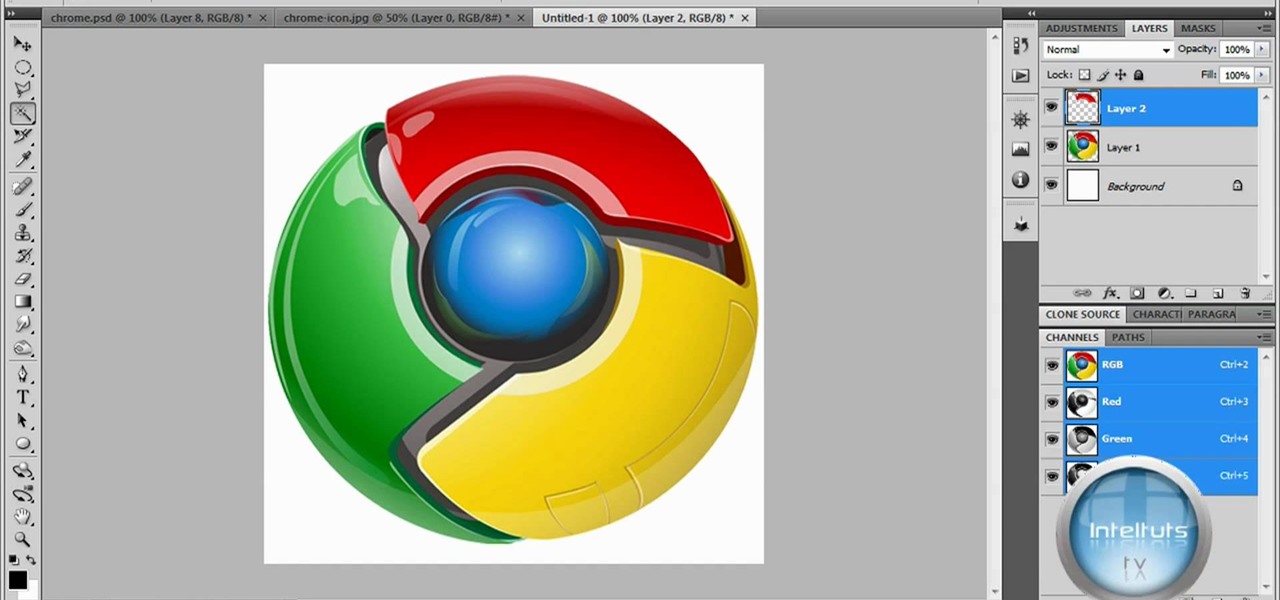
The tutorial shows you how to make a professionally looking Google Chrome logo in Photoshop CS4. To start, download the Google Chrome logo, as well as an Earth picture, in a Zip file from Inteltuts. Next, open the logo file in Photoshop CS4, turn the white background layer into transparent, and transform the logo by de-saturating the picture, but make sure you leave the blue center area untouched. The last step is to transform the Earth picture so that it fits right into the center of the des...
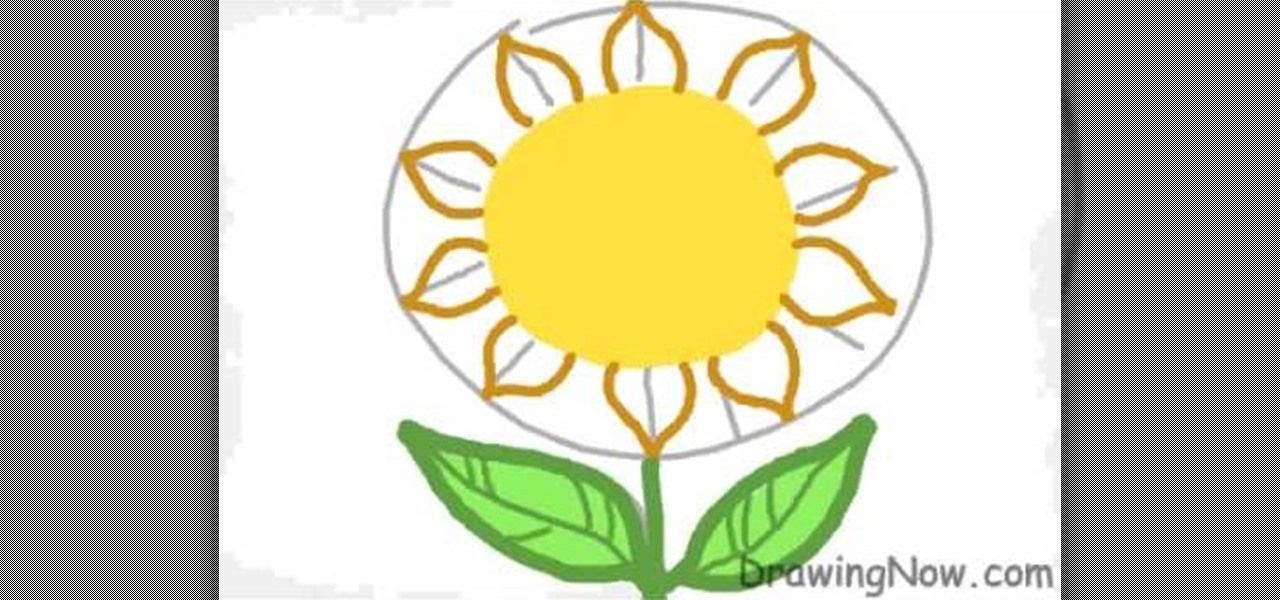
In this video you will learn how to Draw a Sunflower. The artist starts with a rough sketch, then the details, followed by coloring and shading. The sunflower is more of a cartoon like sunflower with eyes and blush marks. The picture takes about 2 minutes to complete if following the artist correctly however you can always pause the video or fast forward in order to catch-up or speed ahead. The picture doesn't include any backgrounds of any sort however it shows the sunflower which takes up a...
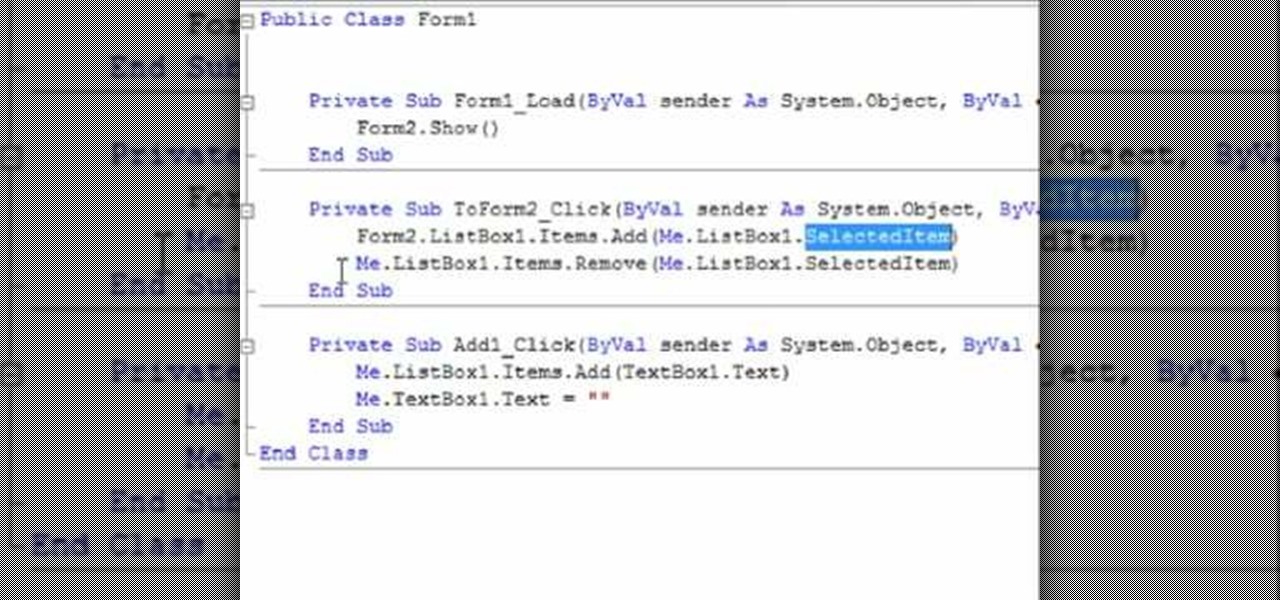
This how to video is about how to transfer items from List box To Listbox by using two different forms. This video is set to some interesting techno music in the background. It is presented by VB net. The man who made this video made it because of a request he received the night before from someone. This is a tutorial that is an on screen video of a computer screen probably using some form of hypercam to show the process. He creates a random list of items in each of the list boxes and forms i...

Would you like your own custom movie poster for that amazing film you're working on? Well this YouTube user made a video to show you exactly how to create your own movie poster right in Adobe Photoshop.
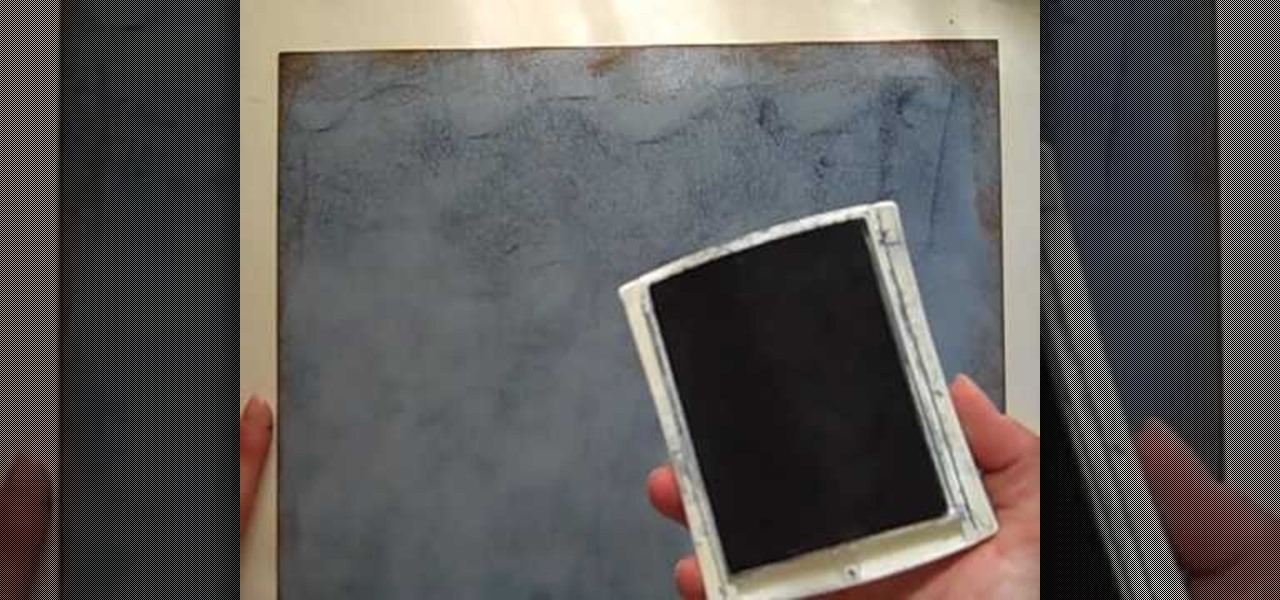
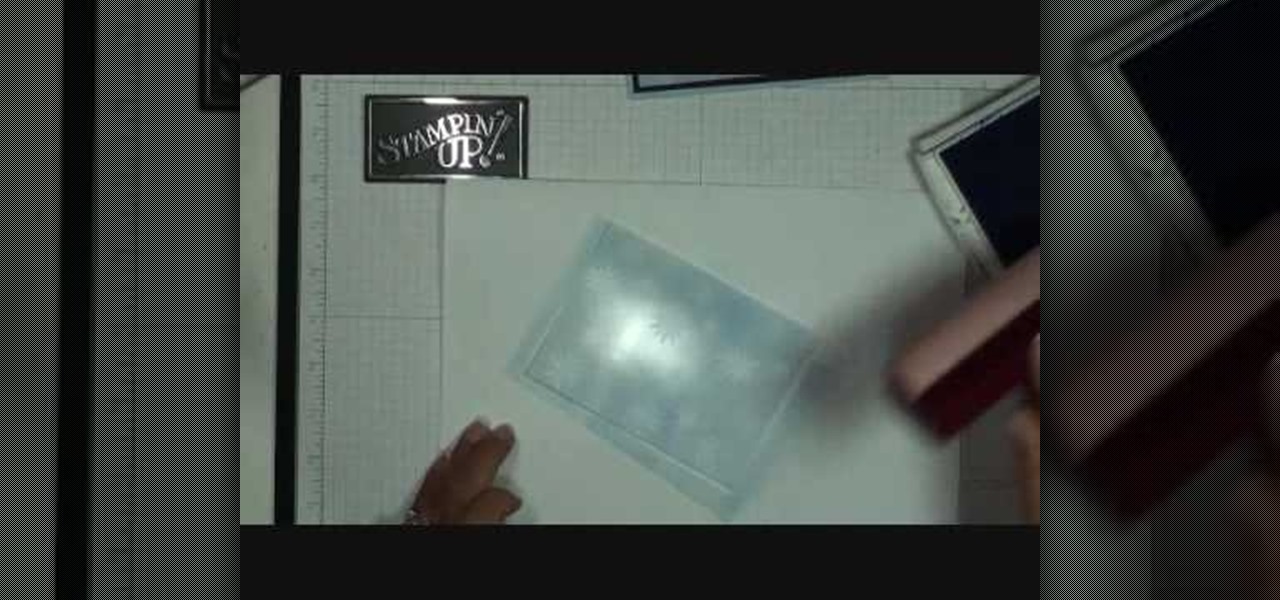
StampinMama1 demonstrates how to add ink texture effects to your scrapbook projects. When creating backgrounds for your scrapbook pages, you can use ink to both create texture and create interesting effects on the layout. Press the ink on the paper to use a direct to paper ink application technique. You can create cool effects like waves using this technique. Don't swipe the pad around or smudge it onto the paper. Instead, drag the ink pad in a motion of waves across the page. Start at one ed...
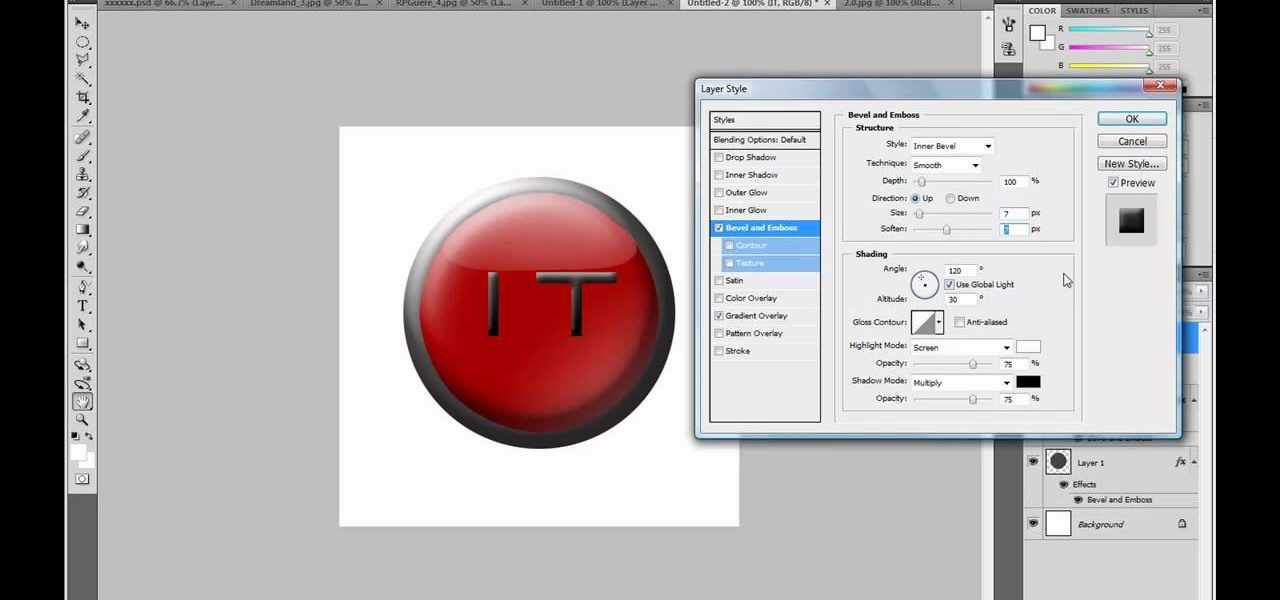
Adobe Photoshop CS4 is a common and popular tool for logo creation. In this video the finer details of using CS4 to create logos, specifically for use on YouTube, are explained. Lighting effects, glossing, and glowing are covered thoroughly with step by step instructions on using layers and shading are provided, and the video carefully demonstrates each process before moving on. Many options are shown, as well as detailed examples of each technique and even the basic tools inherent to Photosh...

This is a simple video of a person drawing a flower with a mechanical pencil on a piece of plain white paper. If you follow along with the video and copy each shape as the artist makes them you will get a similar result and hopefully a picture of a flower that looks the same as the artists. The final product looks like a rose. A beginners video to art, all the viewer needs to is watch, copy and listen to the soothing music that is playing in the background.

Adding motion to graphics using Photoshop can create an exciting and dynamic effects. Select a picture you want to add motion to. First, duplicate the background layer. Then under Filters, select blur, and then select Motion Blur. Then you set the angle of the Motion Blur. You can select any direction and also set the intensity of the blur by setting the distance setting. Then you will need select the eraser tool and select under Options select the brush. Chose a soft edge brush and erase ove...

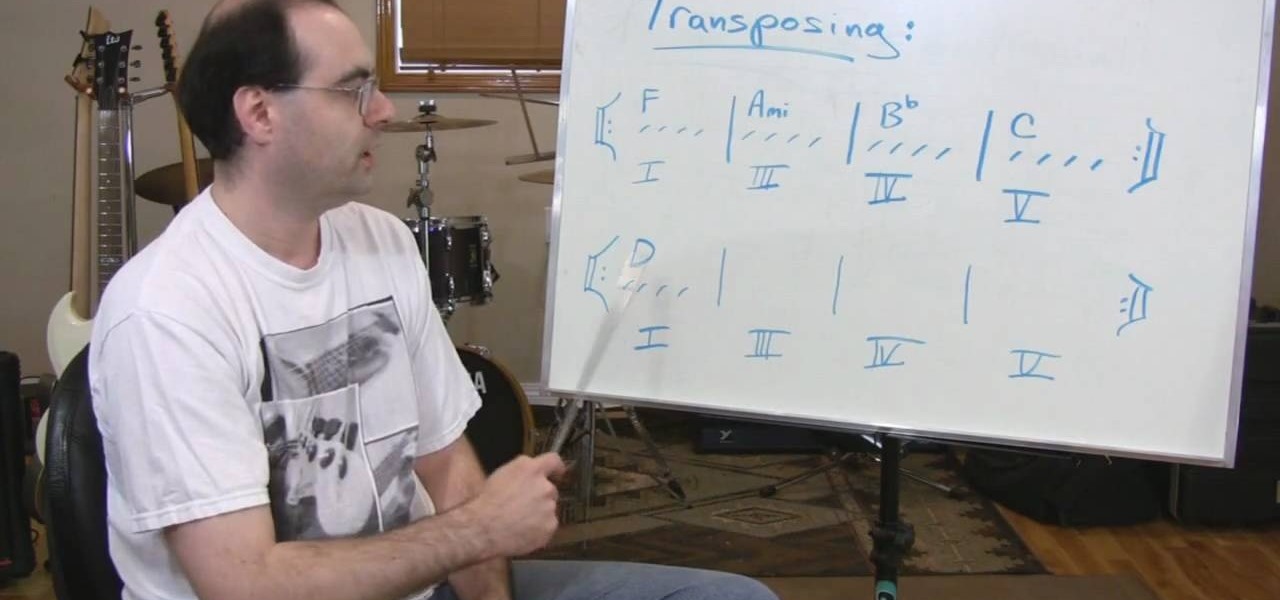
"I was wondering if you could take the triad Harmonic Analysis lesson you had done a step further and cover the concept of Transposing chord progressions into other keys?" Before you begin you do have to know some background information about your key signatures, knowing major, minor and diminished steps in triad analysis, and seventh chord harmony. The idea of transposing is that your take a set of notes and change they key it is originally played in. Andrew will walk you through all the ste...

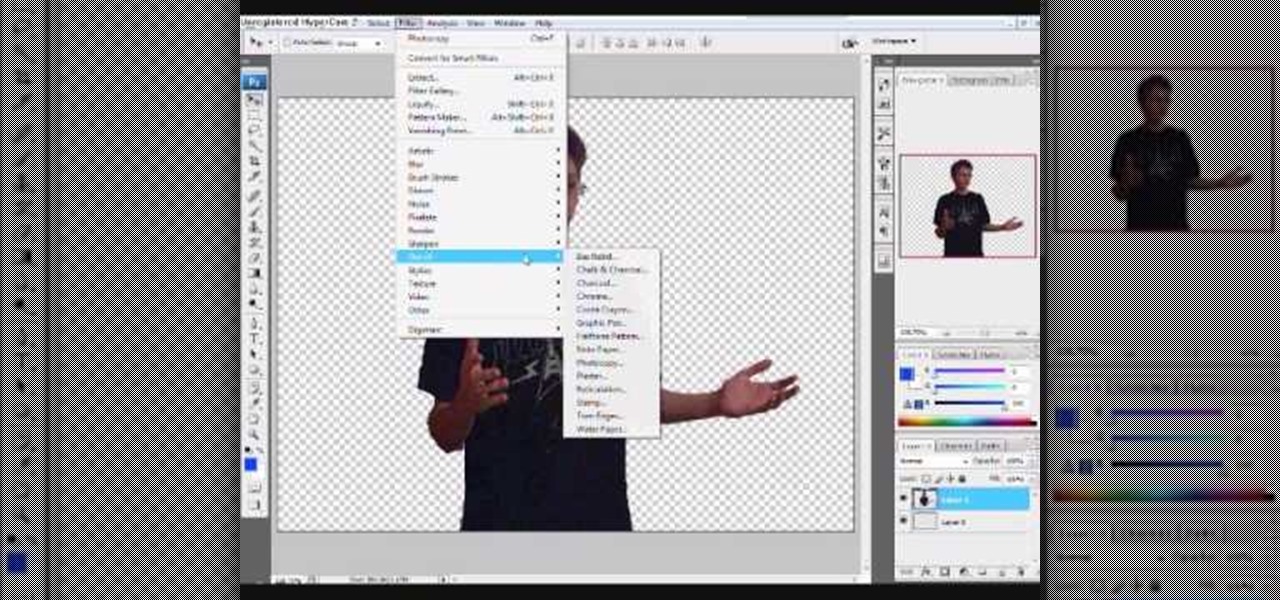
This is an animation style which takes real pictures and outlines it to make you look almost cartoon-like. To start with you want to take a picture and get a cut out of the subject with the background transparent. Then get yourself a nice color for the outline and go to filter, sketch, and photocopy. This will look roughly like a colored outline of the subject but then you want to add some more touches by adding detail (usually around 3) and darkness (around 35 is nice).

The video is without voice. It describes abstract art. First a swirl of rings is formed which indicates potter's wheel. Four big pots of different styles are formed of which one has handles. Two earthen small shaped vessels with pointed tip is formed and also there is one very small pot. First the outline of all the images is done which is then continued by shading. However, the entire painting is blurred and is made using shades of orange. The background is in black color. The formation of t...

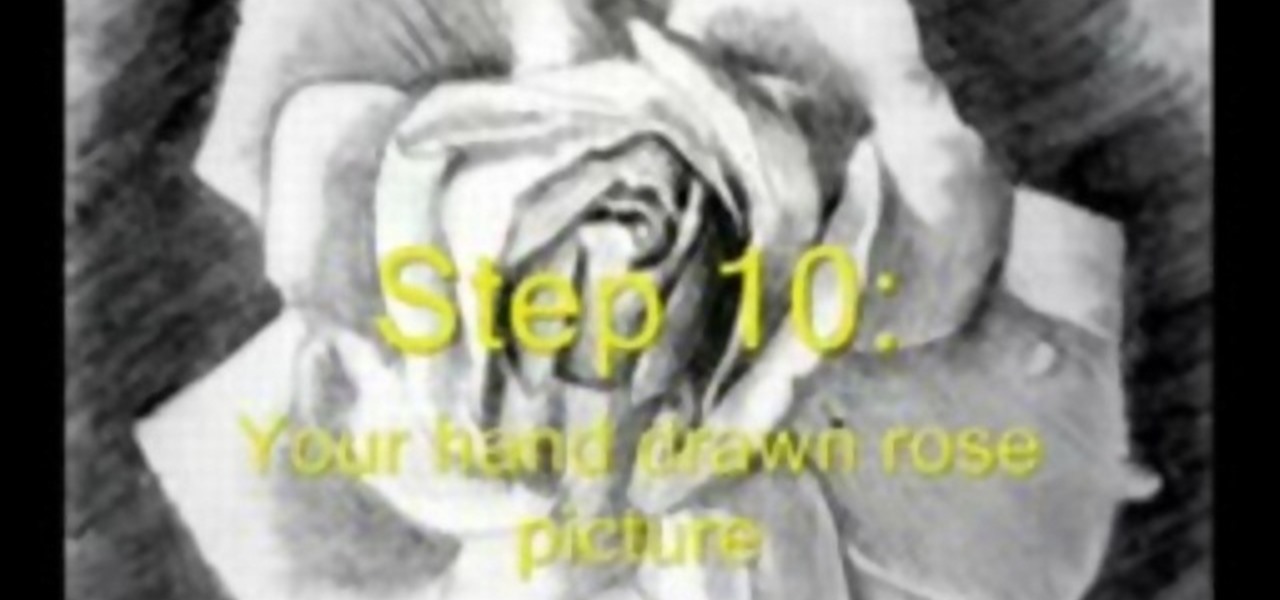
In this video tutorial, viewers learn how to draw a rose. Begin by selecting your favorite rose picture. Sketch the outward point lines from the center (this will outline the petals and stigma of the rose). Sketch the rose pedals with the lines. Erase the guidelines and re-sketch the pedals. Create tones using a 4B pencil. Then smudge the tones using your fingers. Then use a 6B pencil to shade and smudge. Users may choose to add water droplets on the drawing. Finally, use the 6B pencil for a ...

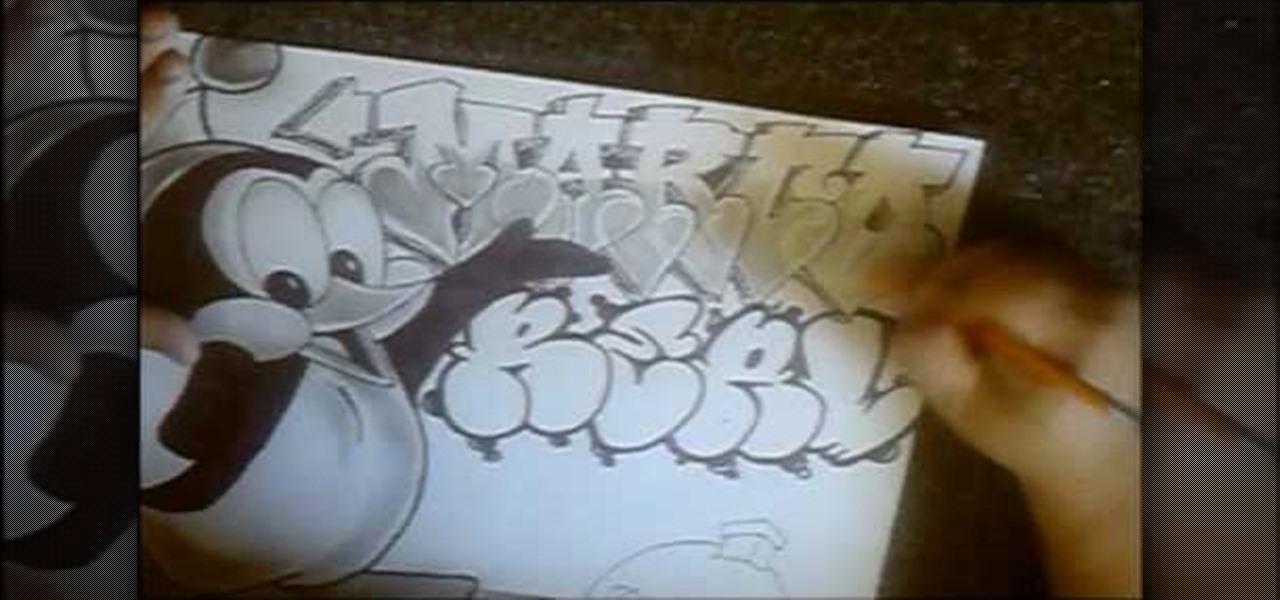
In this video cholowiz13 teaches you how to draw Chilly Willy. You start with a big circle for the head. Inside, draw two ovals and two smaller circles there. These will be the eyes. You then create another oval adjacent to that which will be the cheek. Draw a triangle facing outward, which will be the beak. Draw the body next and two flat feet at the bottom. One arm should be behind his back and the other extending, showing the letters you will draw. Also add a hat on top of his head and dra...

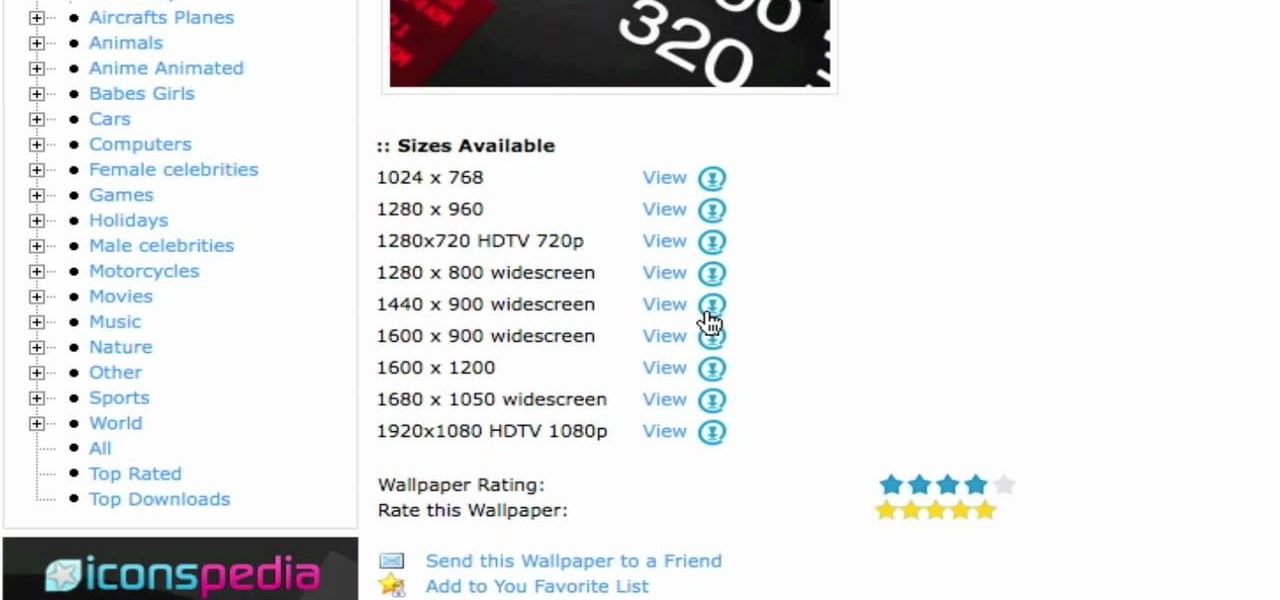
In this video you will learn how to install the HD wallpapers on your Mac. In order to do that just follow these steps: Open your browser and go to ewallpapers and pick your desired wallpaper. You can click view and set is as your background or you can download it and save it to your hard drive. The site will tell you what your resolution is so that you will get the good resolution for the wallpaper. Follow these steps to get a large collection of HD wallpapers. Your computer's desktop will l...

This video shows the viewers how to create a simple but well done Halloween text in GIMP. Starting from a simple white background you will end up creating a creepy text perfect to use every year on the 31st of October . The video is actually a easy to learn walk through , showing your each and every step you need to make . Advance users but also beginners can benefit from this short clip . At the end of the video you will surely create the type of text you usually see only in horror movies su...

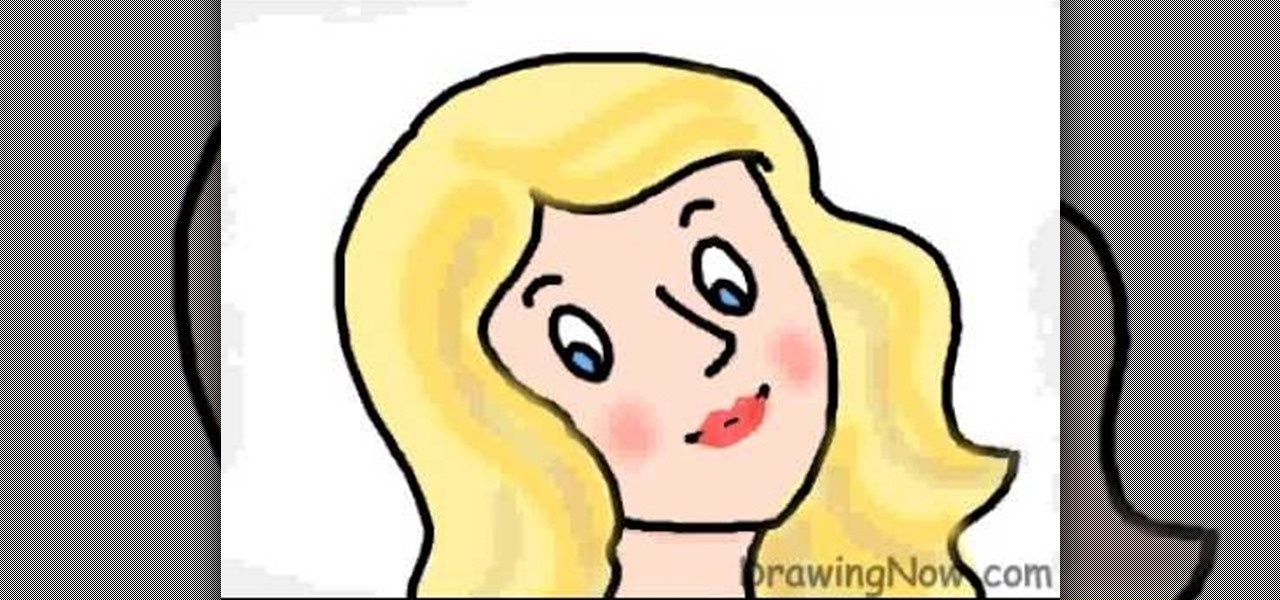
DrawingNow teaches you how to draw a cartoon mom on a computer in Microsoft Paint or any other drawing program. You start with a basic oval, but tilted to one side. Then, add the contour of the long hair. Next, you can start adding details to the face. Draw a nose and two equally spaced ovals with circles inside each one. These will be the eyes. Draw eyebrows and full lips. Now that you are done with the sketch, you need to color it in. Use yellow for the hair, blue for the eyes, a pink flesh...

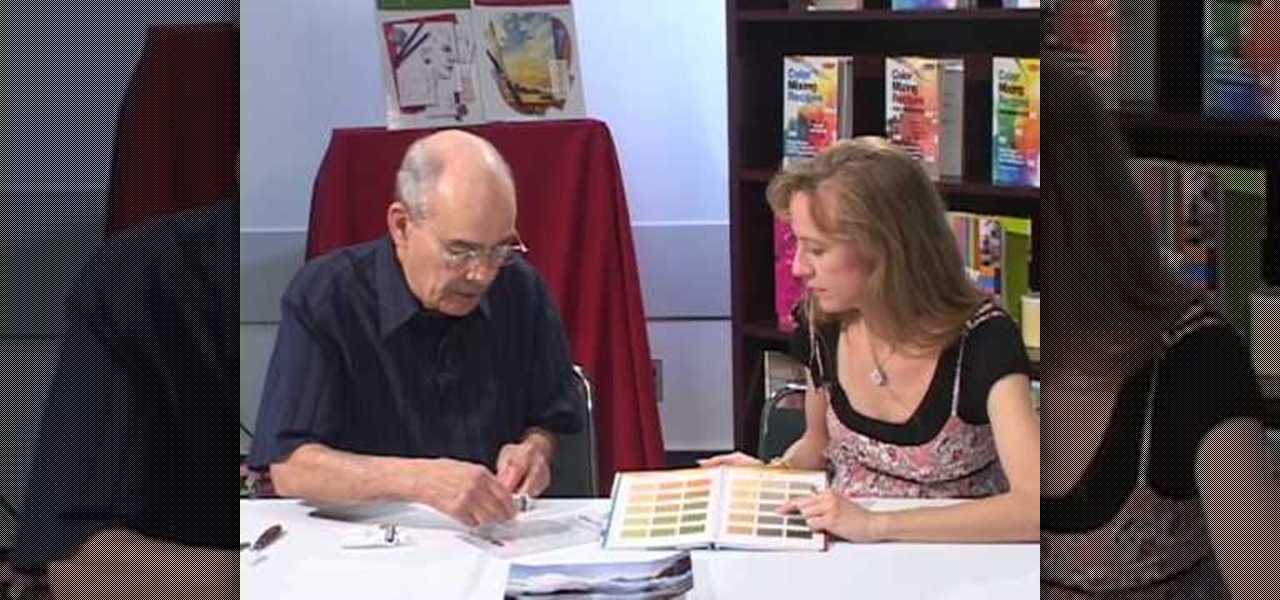
This video was very informative and well planned. However, the video does become boring after the first two minutes. It will become easier for an individual to comprehend with this video if perhaps there are better examples that artists can relate too. Perhaps if the demonstrations would relate to more of a younger audience, more people will be able to be more interested to mix oil and acrylic paints. The video can also be much more interesting if there was also some quiet and peaceful backgr...

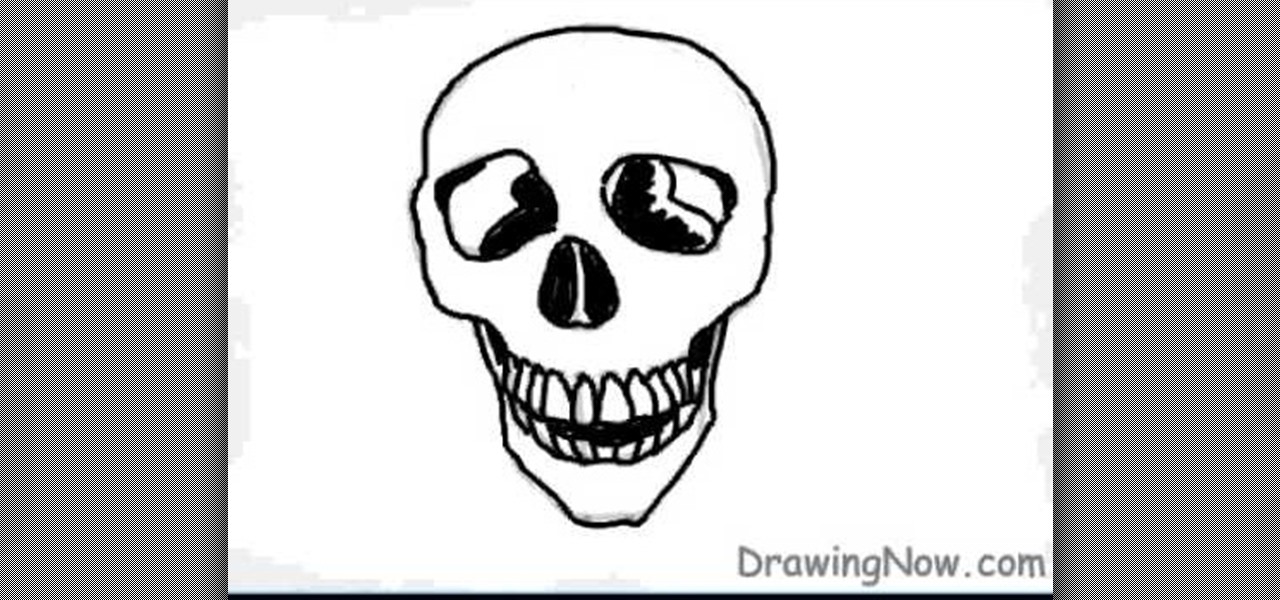
In this video tutorial, viewers will learn how to draw a skull using a computer. Start by drawing a circle for the head and a rectangular shape at the bottom. Draw a line in the center as a guideline. Then draw the eyes, nose and mouth. Now outline the skull and add the details. Shade in the eye sockets, nose and mouth. Now you can erase the guideline. Start coloring the skull to a preferred color. Then add in a darker color around the skull to shade it. Finally, outline the skull and color t...

This video walks you through how to jailbreak an iPhone 3GS using a Windows operating system. Warning: This tutorial only covers the 3.0 iPhone firmware on the iPhone 3GS. If you are using a different version of the iPhone or a different firmware version, this video is not for you. The author also states he does not know if this process works on Vista, as he's tried it on Vista and has had problems. He demonstrates using Windows XP.

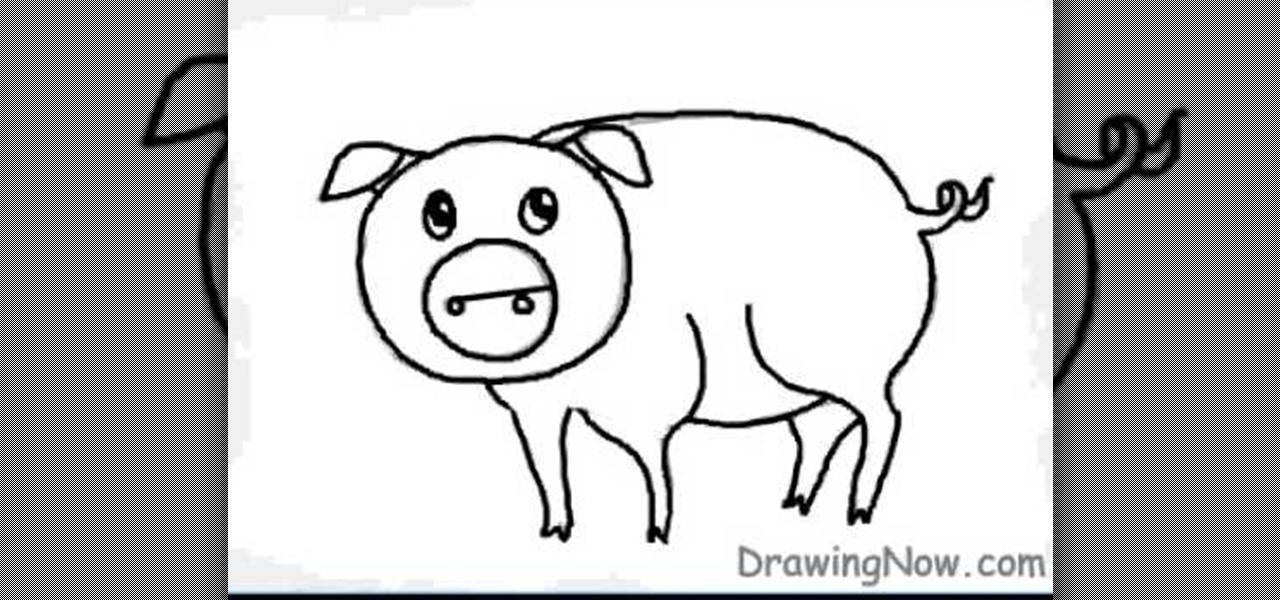
First neatly draw the outline of the pig, then color the outline with a darker shade as this is the base of the character. Next draw the eyes, nose, and the small curly tail which complete the outline of the pig. For the base color a slightly bright pink color should be selected to shade the inner part of the pig i.e. the stomach, legs, and face. A shiny touch should be added to the face to give it a brighter and happier appearance. The background must be colored also with blue and brown. The...

YouTube user DrawingNow teaches you how to draw Kim and Ron from Kim Possible. You start with a green background and use a pencil to sketch their bodies. Start with a simple circle for the head and then add ears and hair. Add the neck connecting to the body and a fist extending forward. Draw the other hand and remember the pants and shoes. Next start with an oval for Ron's face and draw larger ears, but smaller hair. He's also in an action move, so reflect that in the way he holds his hands a...

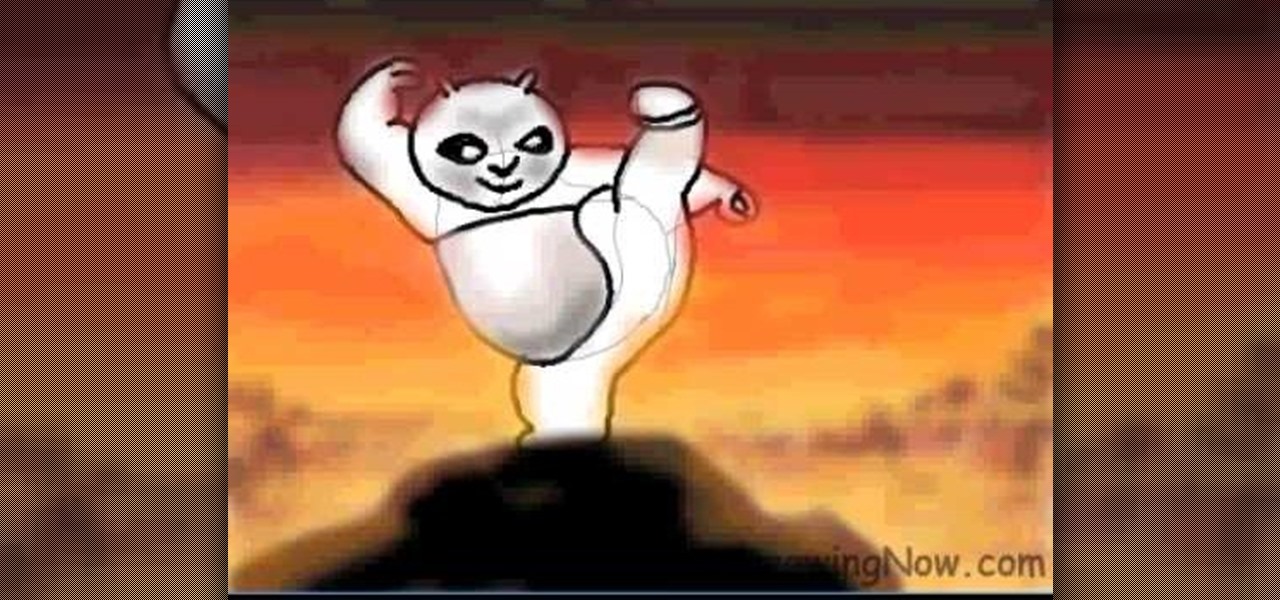
In this video you will learn how to draw a Kung Fu Panda on your computer. The first thing to do is to create the sketch using a crayon tool. After you've done that you need to take a brush tool and draw on the sketch with a black color. The next step is to paint the background using a spray tool or a bigger brush. To paint the Panda you will need a smaller brush and you have to be careful. After that, draw the details and the shadows. In the end, you will know how to create a beautiful maste...

In this video there is a person in the background who helps people with the game of Minesweeper that is on most computers. He shows you what is on the mine grind and all the basics to start. And, to start, you first hit the happy face and you see what the numbers on the mine grind means and where the bombs are. Then he shows how to post a red flag to show the computer where the mine is and know not to click the bomb. Some beginners might find some bombs in the very beginning; but with practic...

DrawingNow teaches you how to draw musical instruments on a computer. Start by drawing a guitar and then draw all the other instruments on top and near it. Use straight lines for the neck and interior. Use curves on the outside. Make sure to draw simple shapes and add detail later. Also, don't over complicate your drawing. Remember to keep proportions. The trombone is all about curves and circles. Don't be scared if it doesn't come out smaller than the guitar. Finally add drums and you can al...

User DrawingNow teaches you how to draw a skateboarder in mid flight. You start by sketching basic shapes like an oval for the head, parallelograms for the hands and feet and a large square for the body. Make sure you make the legs bent and placed on top of the skateboard. You can then draw on top of that, adding more details like a cap, muscles for the arm and a shirt on the body. You can delete the first outline and start coloring it in. Add more details, like wheels, shoes and pants, and a...

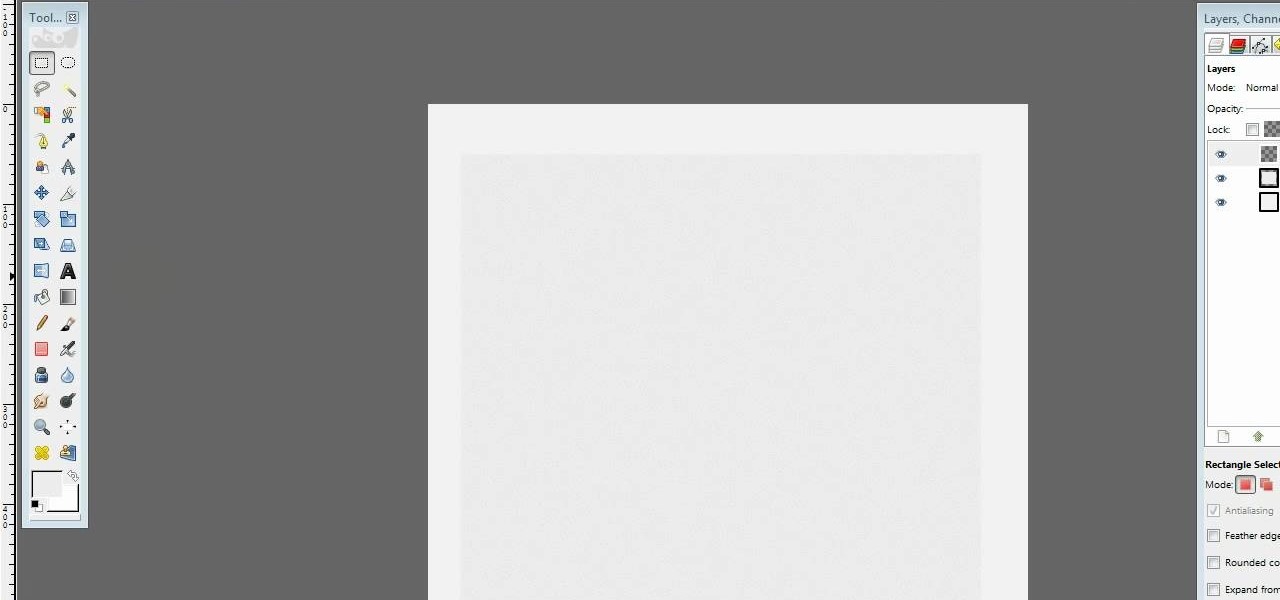
Hulldo teaches you how to draw lined paper in GIMP. First you create a new document and make it 600x600 pixels. Make the background a bluish grey. Create a rectangle in the middle of the document. Now you want to add a blue horizontal line. You will want to then duplicate that layer until you're at the bottom. You can add a stroke to the rectangle or use a shadow to make it look like it's on top of a regular piece of paper. You also have to leave some space at the top and bottom to mimic a re...

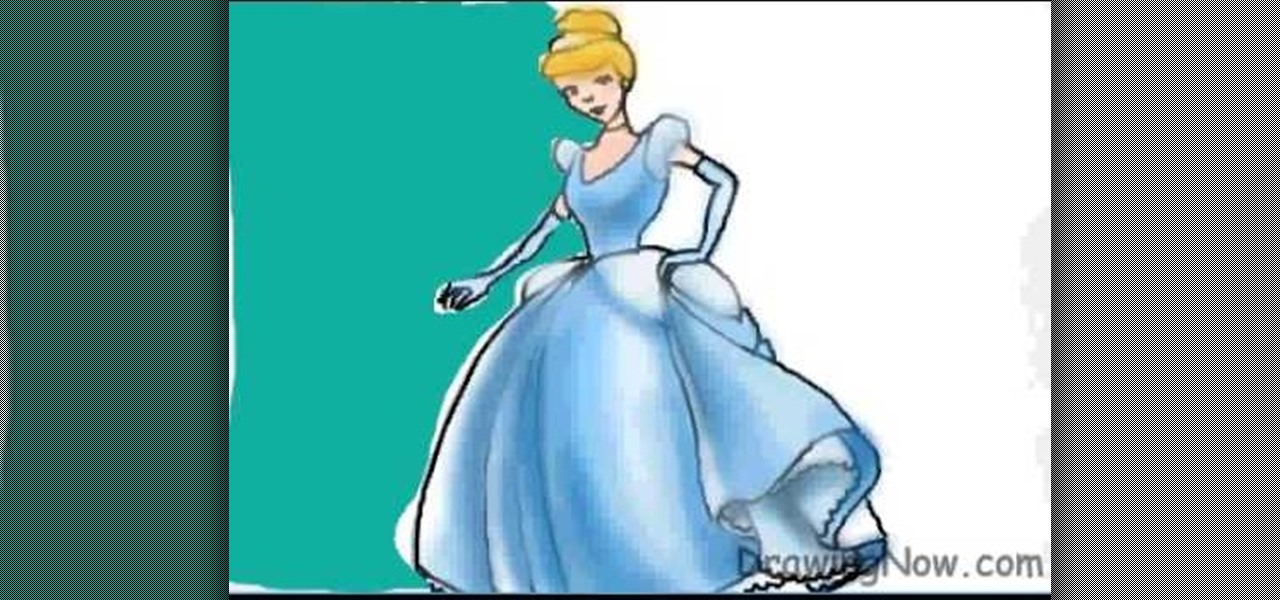
There are few animated characters more iconic than Disney’s Cinderella. Her tale is one of wonder, and her likeness is easy to recreate through a simple process. This video tutorial demonstrates how to draw and color Cinderella. Start with a basic line sketch of the princess herself, making sure to include puffy dress sleeves and a large pleat in her gown. In a new layer, trace over her figure with more definite lines and draw on her facial features. Color in her glorious ball gown with vario...

A girl is trying to teach us how to make fish friendship bracelets. We need four colors in order to make a bracelet. She shows us on a clipboard the four colors and after tying them we will get a total of 8. She slowly ties up each knot and shows us each step of the way. She does not however provide written explanations for additional information. A background of simple knots is required for this video as she does not explain how to tie the knots.

This video shows you how to draw graffiti in Photoshop. The information relates to Illustrator and Adobe Photoshop CS2 or later. The presenter started in Illustrator and started to draw using the draw tool, created three letters, adjusted the thickness of the line, copied and pasted the letters to create a shadow effect. The presenter then used Photoshop. He used at least 3 layers to create the background and highlights. Three types of brushes and at five different colors (White, Black, and a...

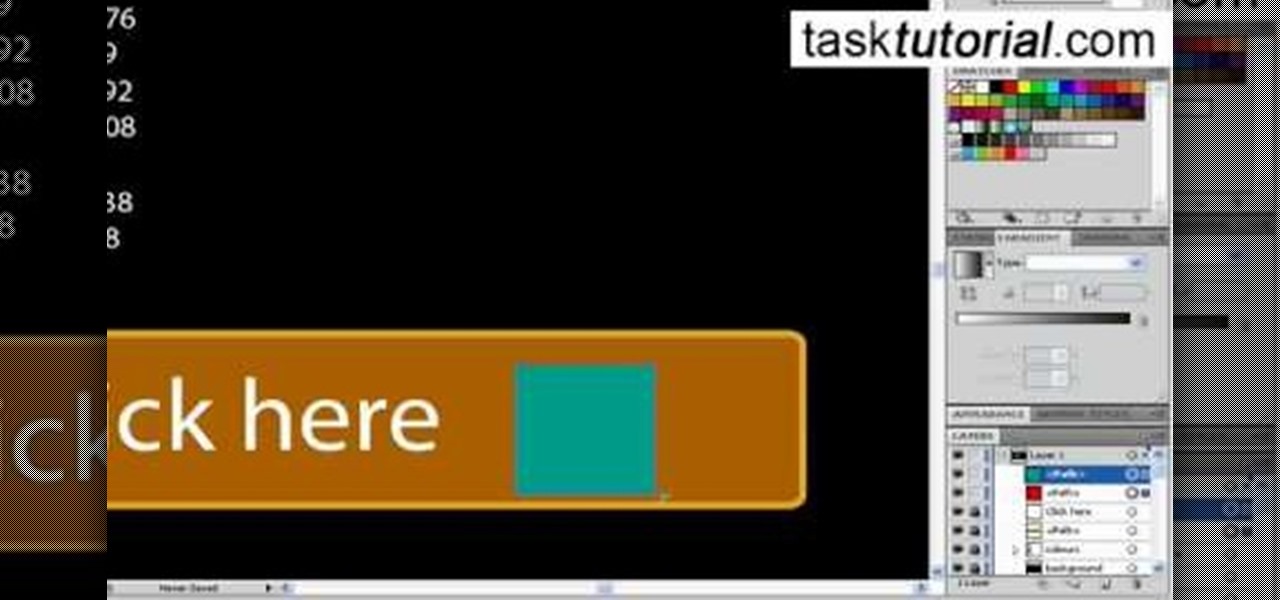
Let's learn how to create a website button in Illustrator! First draw a rectangle with rounded corners. Then create some text named 'click here'. Resize the bar according to the text. Again take rectangle tool and create two of them diagonally and place them one below the other as in a shadow. Then go to window pathfinder, select both rectangles and click in pathfinder to create an arrow and fill it with background color. The button is ready. It will help in getting more ideas for creating un...

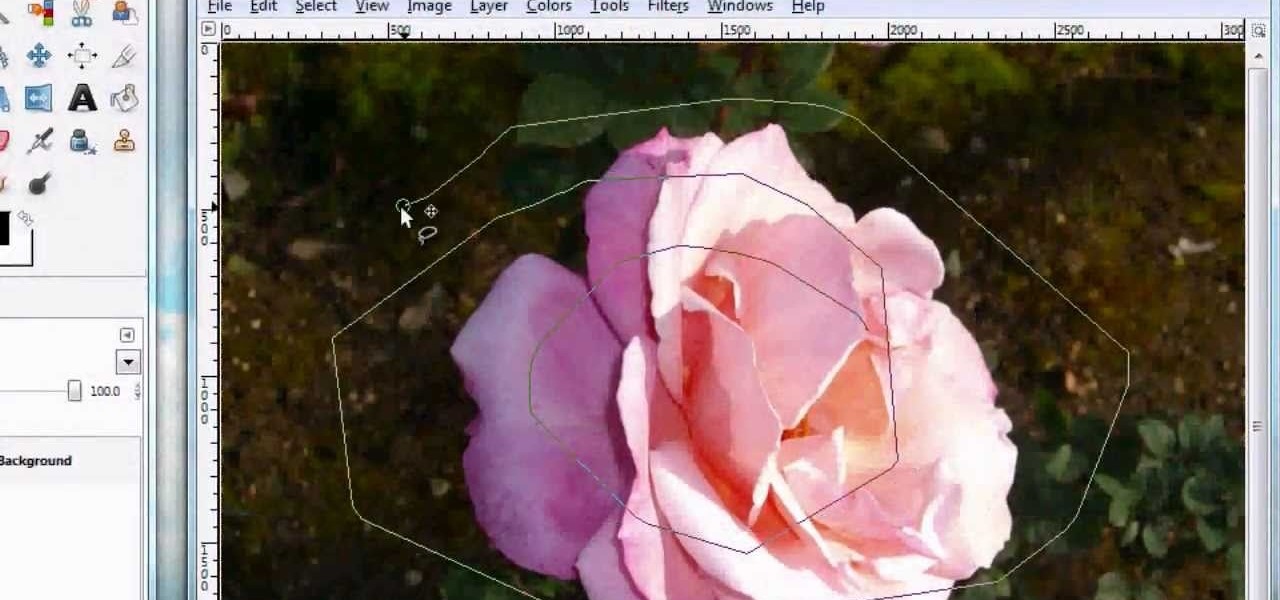
For anyone looking to edit a picture with one or more persons down to just a single person in the picture, you can use GIMP. This video tutorial goes over how to utilize the paths (or pen) tool and foreground select tool. The paths tool allows a person to select a part of an image to create a series of lines, or paths, that allow you to create a path around whatever you want to select in a picture. This item can then be moved and copied to a completely different photo. The foreground select t...

This short video shows you how to create an animated fashion style logo in Flash. First he changes the background and frames per second to black and 24 respectively. He chooses the font for his text and then he converts the text into a movie clipping by hitting f8 and choosing movie clipping. He shows us how to make special effects by using the text in different frames. He creates layers and adds more text with special effects that create a flashing logo.

If you're designing a website but are uncomfortable slicing your interface up and reassembling it with CSS, or if you'd like to add easter-egg content to your site, then an image map might be a good option. And with Dreamweaver, the process is simple.

Our host Dawn teaches how to use the Versa Mark resist technique when stamping a card. Dawn teaches the technique on a Christmas card to create a snowflake background. The basic idea behind this technique is that the Versa Ink is clear and will resist any other ink you put down, so you can stamp a pattern and then go over with a flat coat of regular ink, and you will be left with a white pattern where you made the Versa Ink stamps. To complete this specific craft, you will need a Versa Mark i...

This is a video explaining how to make marshmallow fondant. It is a text based video with a picture slide show and music playing in the background. It begins by explaining what ingredients you'll need. The process involves a lot of stirring and re-heating in the microwave. Finally, you will add icing sugar and knead the mixture. She explains how to store the fondant in the refrigerator. She also goes into detail about how to prepare the fondant for when you're going to use it after it's been ...

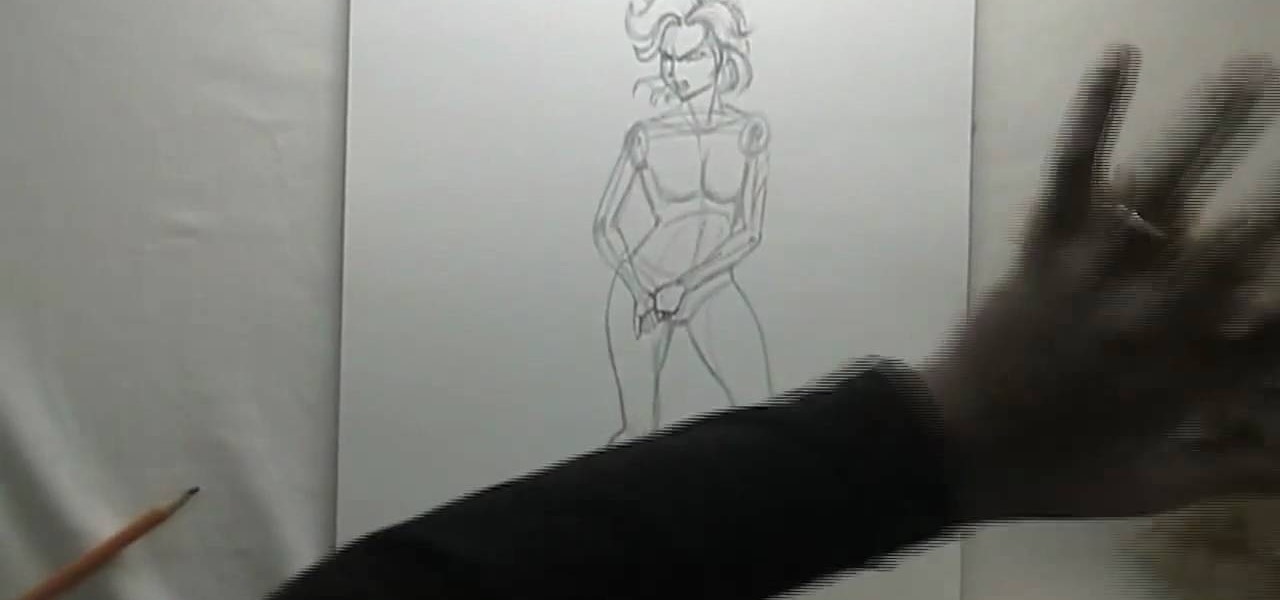
This video goes back to basics, using regular pencil, pen and colored pencils to create a manga female figure. He begins by drawing basic lines and shapes of the torso with pencil, then adding legs, arms and marking the joints. He adds detail to the body and fills in the shapes of the muscles. He then adds the head shape and fills in the facial details and hair before adding detail to the hands and fingers. He continues with the clothing, before going over all the lines with a black ink pen. ...

In this tutorial the author shows how to make a simple JavaScript image gallery. In this video the instructor shows how to set up a Lightbox tool. Lightbox is a simple image or photo gallery script which you can use on your website. It is a free tool and it is very easy to setup on your website. This tool has many features like when you click on an image the image enlarges and the rest of the background is darkened focusing your view on the image. Now the author shows the links to the Lightbo...

This how-to video shows you how to make a Christmas card using the Cricut Paper Doll Dress Up cartridge. Use the cartridge to cut out a tree. Use card stock for the base of the card. Use the Cuttlebug tree texture to create a background for the front of the card. Tie some ribbon around the bottom of the Cuttlebug paper. Attach to the front of the card. You can then add your tree and any other additions to the front of your card. This is a simple and quick way to make a Christmas card.

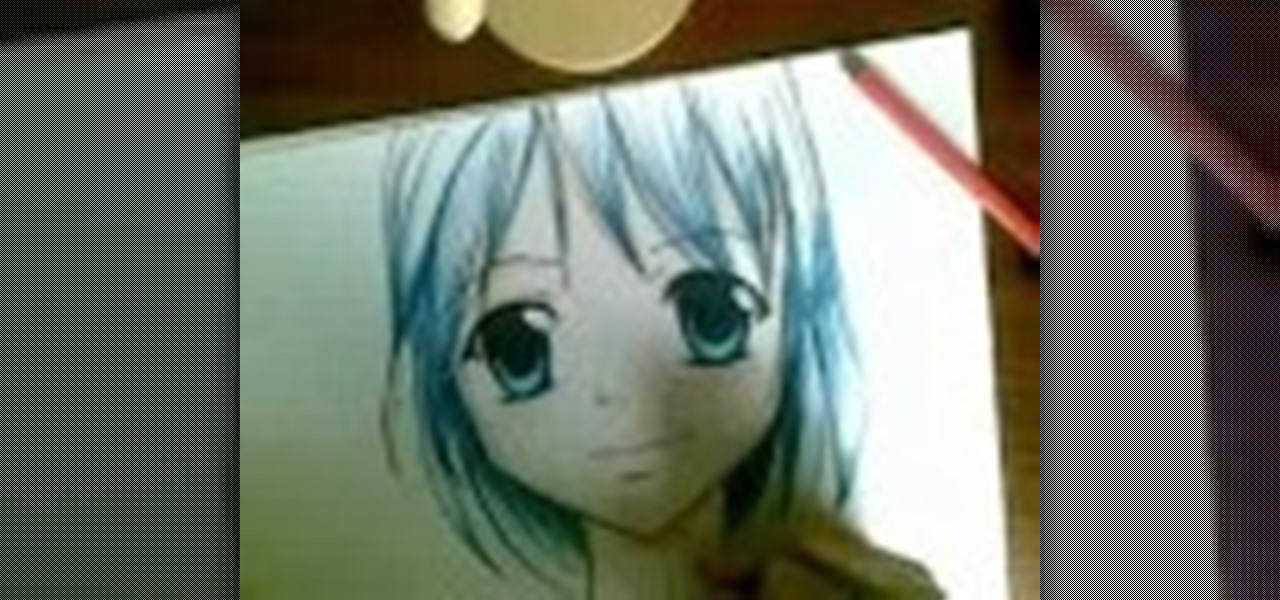
Many of us would like to draw a cute anime face smiling back at us, on a white sheet of paper. To see how it's done watch this fine art video that will show, how an anime face is drawn and colored.

Are you bored with the similar font styles? Open Adobe Illustrator, click the text tool. Select Arial font, bold & italic and a size of 48. Type some text and give its fill color-white and stroke color-black. Duplicate the layer text by going into layers. Then change the duplicated path's color to black. Then create a new background with some different color and keep it below all layers. You can change the opacity of the text for a shadow effect. This will help in bringing innovative presenta...


