The amount of stretch varies from knit to knit so it's important to learn how the different fabrics behave and then experiment with the various types of neckline finishes you'll be creating. This video takes you through the process of sewing neckline bindings for knits. Click the RealPlayer or Quicktime link to start the actual video.

Different types of quilt batting vary greatly. Understand the difference between cotton, low-loft polyester, and trapunto batting.
Installing custom firmware on your PSP allows you to run outside and homebrew applications, run games directly from your PSP, and burned games on your PSP. Note that you need to have PSP firmware version 1.5 to install this otherwise you will have to downgrade.
Zabernism. What exactly is it? It's a term that originated in 1912, during an incident involving an overzealous soldier who killed a cobbler for smiling at him is Saverne, a small town in Alsace in north-eastern France. The said event ultimately triggered an intervention from the army who took over the power from local authorities.
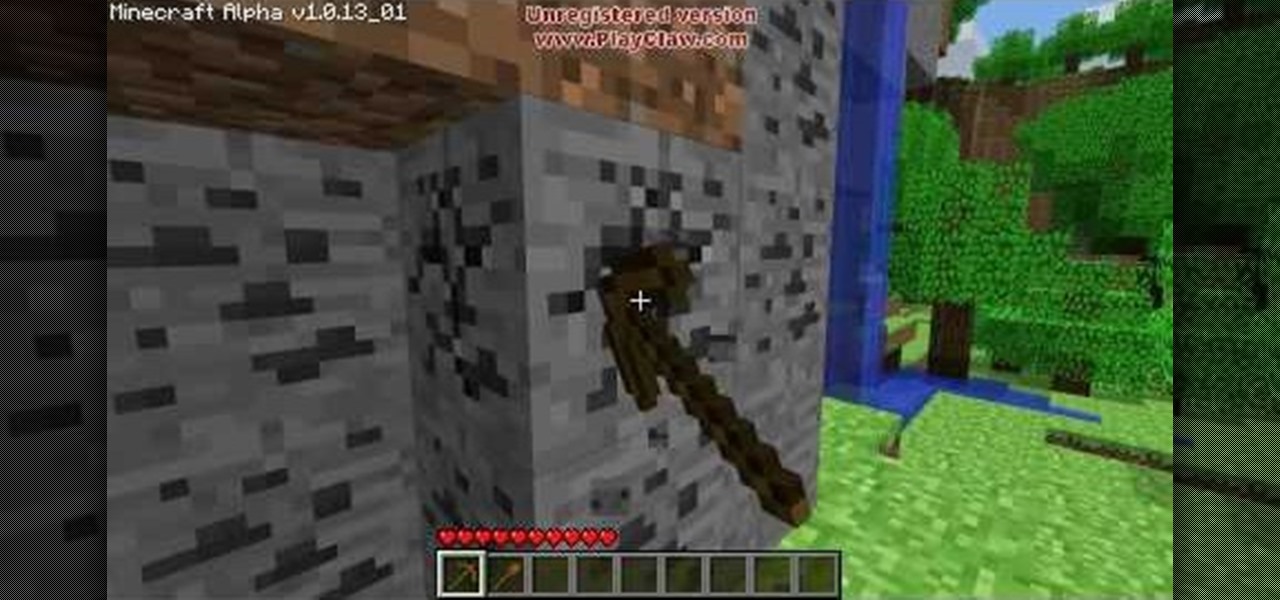
Minecraft is a game that snuck up on the gaming community and set a wild fire bigger than the ones in California! Even though it's not even done and still in Alpha phase, reviewers are already reviewing it, and people are jumping on board. The game itself is based around a basic concept: survive, craft, build, conquer. You play the only man in the world who starts with nothing, during the day, it's safe and you can mine and harvest material, but at night, creatures come out, including Zombies...
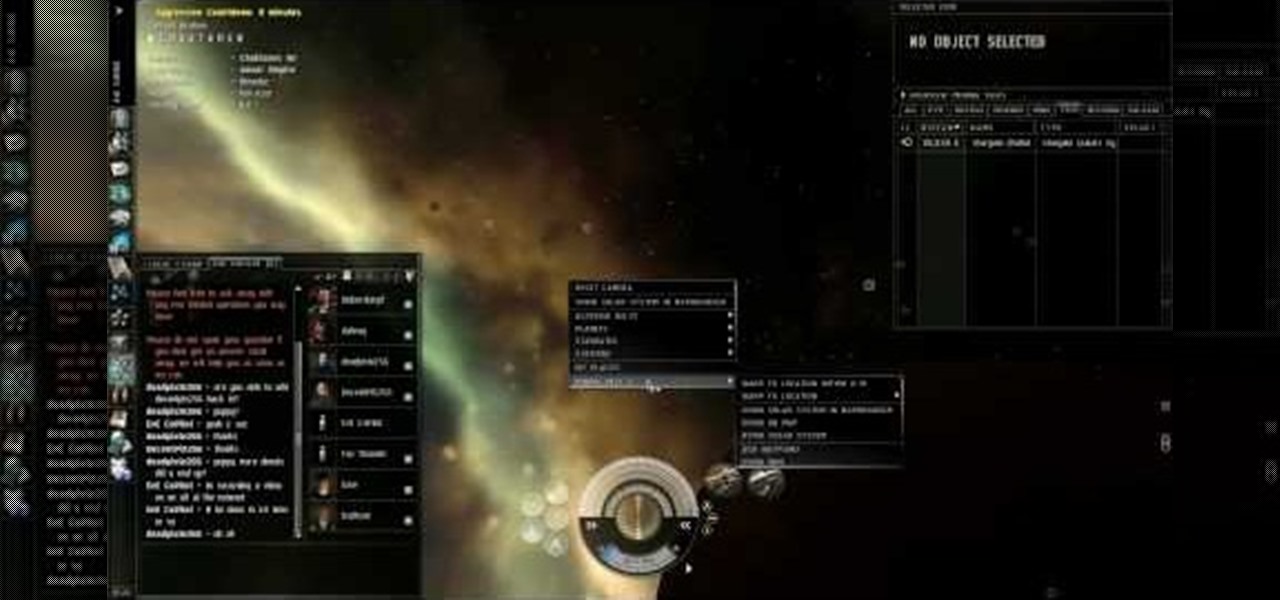
Mining is one of the best ways to earn resources when you play EVE Online. This tutorial includes everything you need to know in order to profit from mining - all you need is a ship and a mining laser!

One of the many reasons for the Fallout series enduring popularity is the wide variety of creative and retro-futuristic weapons available for the player to lay waste with. Most of them are not real, but by gumption this girl has made one of them so! This video will show you how to make something like, but probably not as good-looking as, this amazing replica of the dart gun from Fallout 3. It's made of pretty much the same materials you make it out of in the game, and might be the single best...

Looking for a way to generate an unlimited amount of Pet Society coins? Look no further. This hacker's how-to will show you how to hack Pet Society's frisbee & ball games to generate more digital cash money than you could ever spend.

Know where the Dojo in the Courtyard is on Club Penguin? Then did you know you can walk on top of it? It's a cool little glitch that you can without getting banned from Club Penguin or anything like that. It's just a simple Club Penguin glitch.

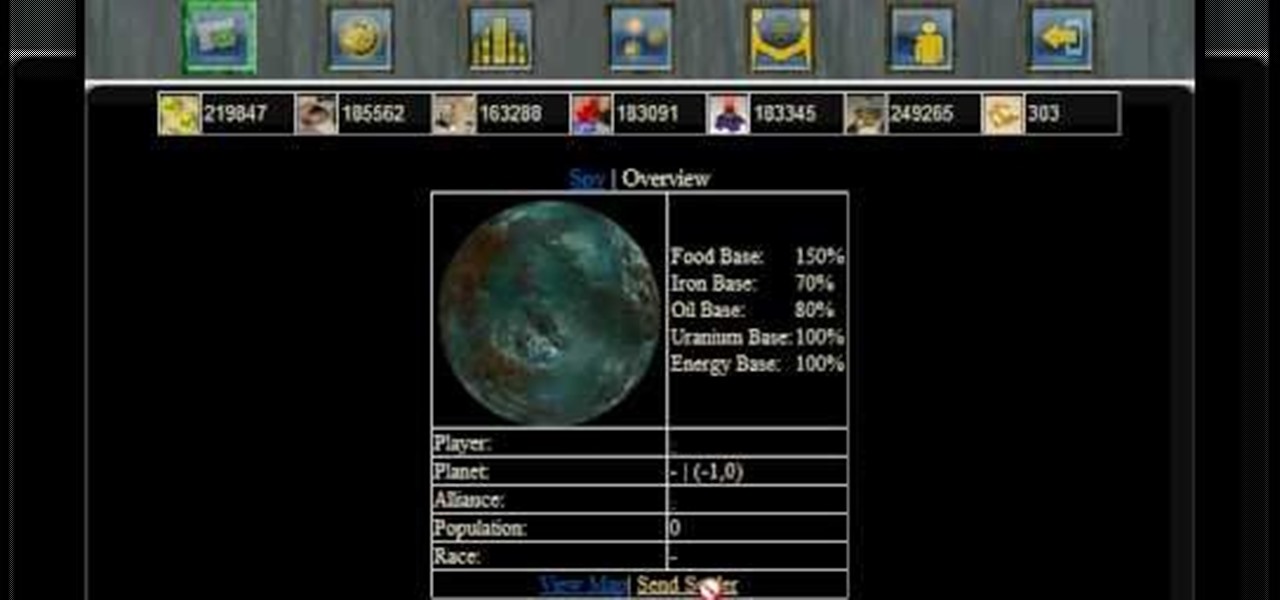
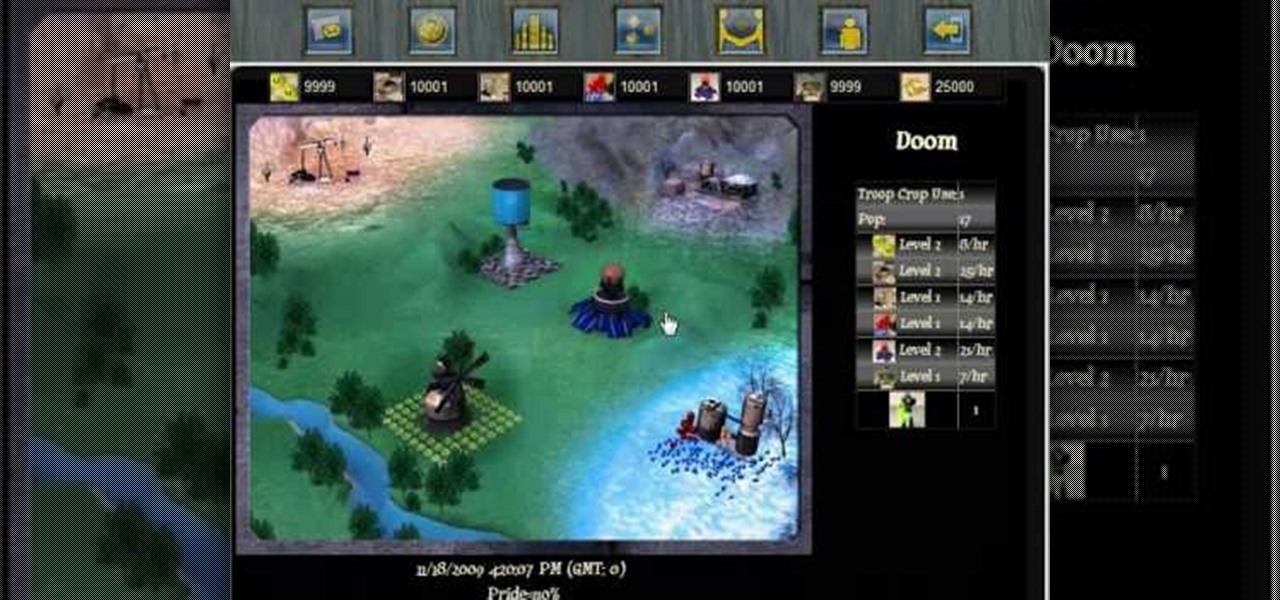
Settling a new planet will decrease your pride ratio, because your population will increase when you're settling a new planet. If you're not sure how to even settle planets...

In order to spy and gain intelligence on your Conrohl enemies, you need to make an intelligence agency. Then you recruit your spies to perform simple espionage.

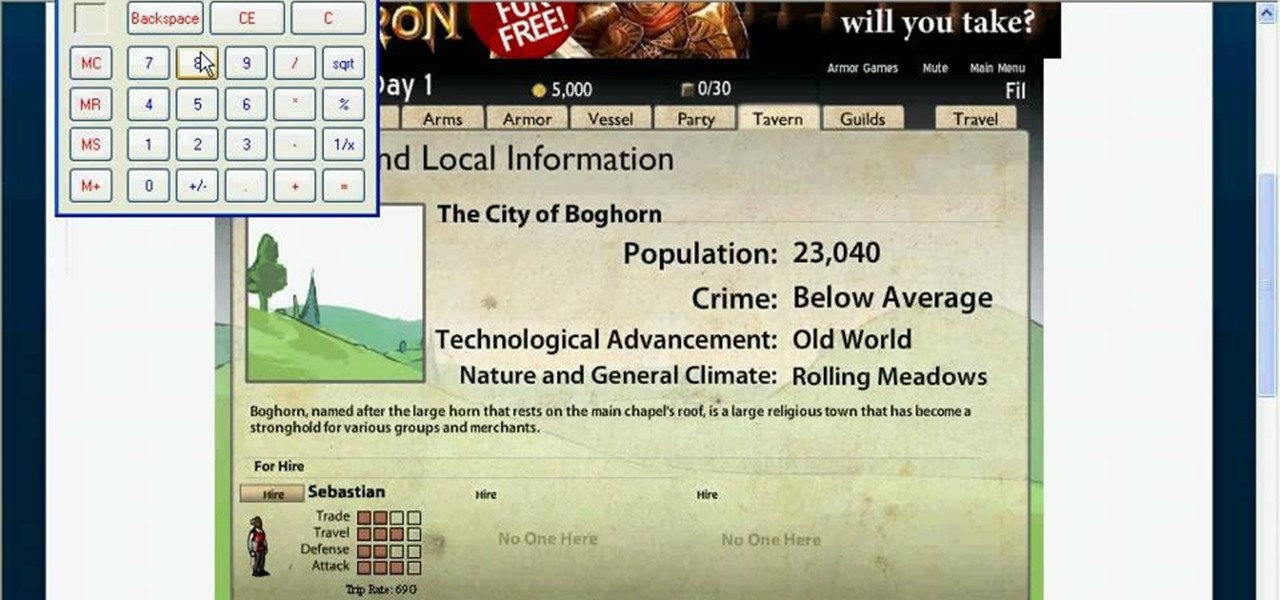
Frontier is a flash game from Armor Games. Learn how to hack Frontier with tricks and cheats. Watch this video tutorial to learn how to be rich on Frontier with Cheat Engine (09/13/09). See how to get an infinite amount of gold on Frontier.

Check out this video tutorial on how to get many of the multiplayer achievements in Unreal Tournament III.

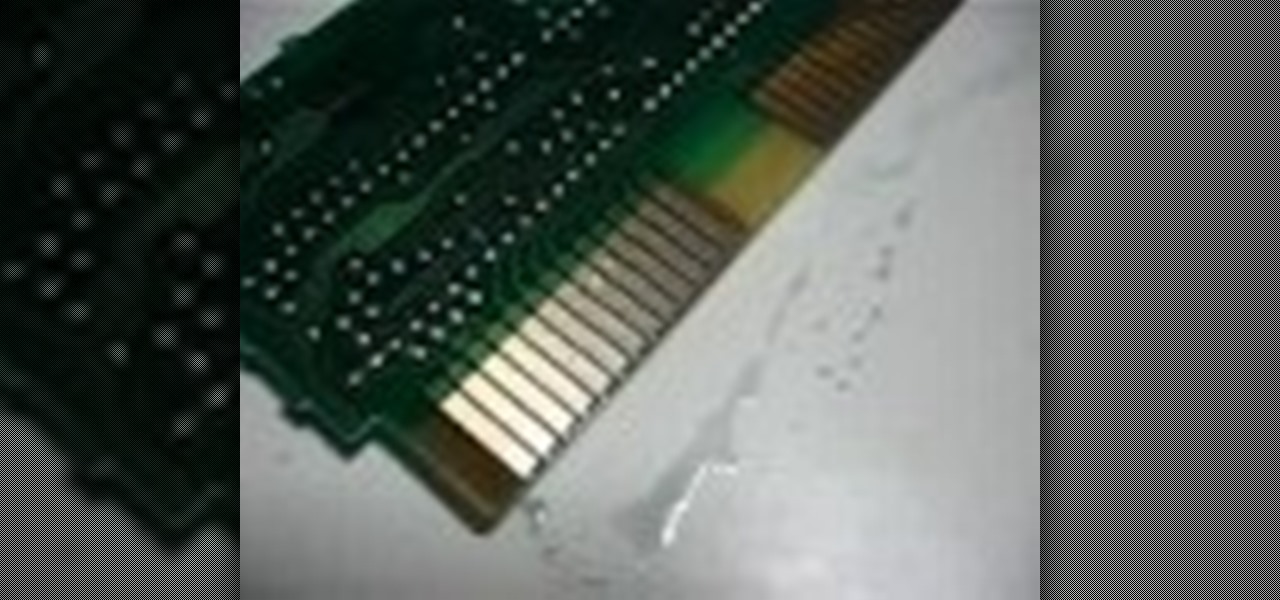
No more q-tips! No more alcohol! No more blowing in your cart! Did you know alcohol actually damages the carts? This is a much more effective, safe and long term way to restore the connection.

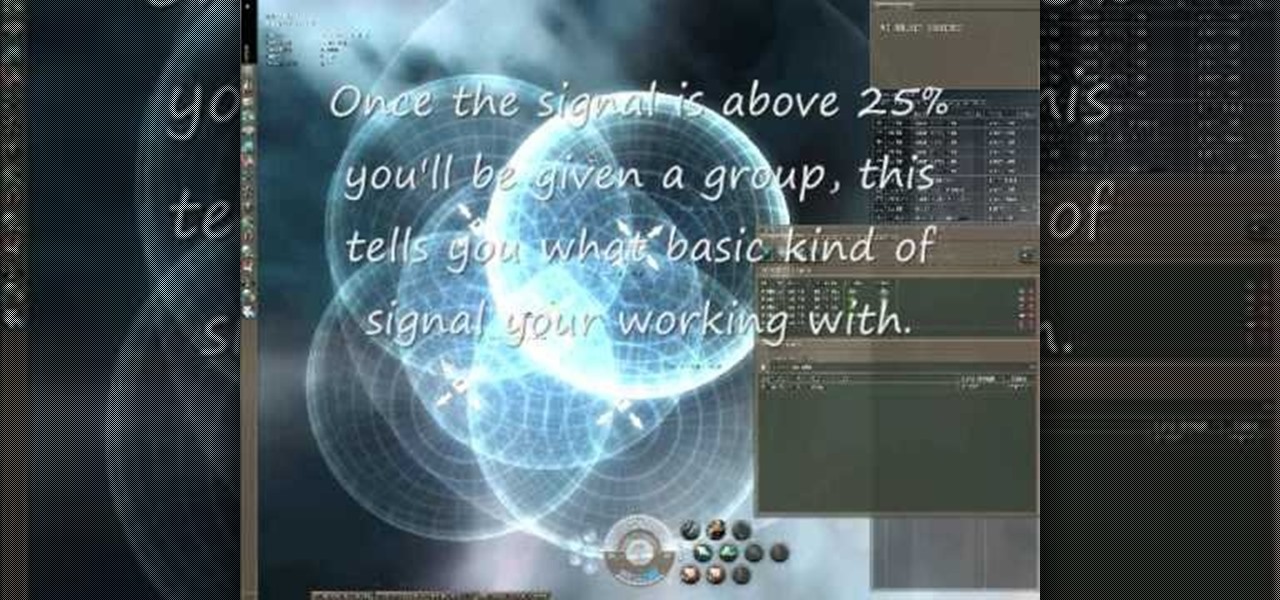
Know what's out there! You can send out probes to explore the area surrounding your ship. This tutorial shows you how to send out five probes and manipulate them in order to quickly and easily scan the local territory.

Can't sleep? Of course you can't, not with a stage called "Sleepless NIght" in the video game Heavy Rain for the PS3. Watch a walkthrough of this level and see if you can get some zzz's, or see if you should be sleeping. See how to beat Chapter 2 - Sleepless Night.

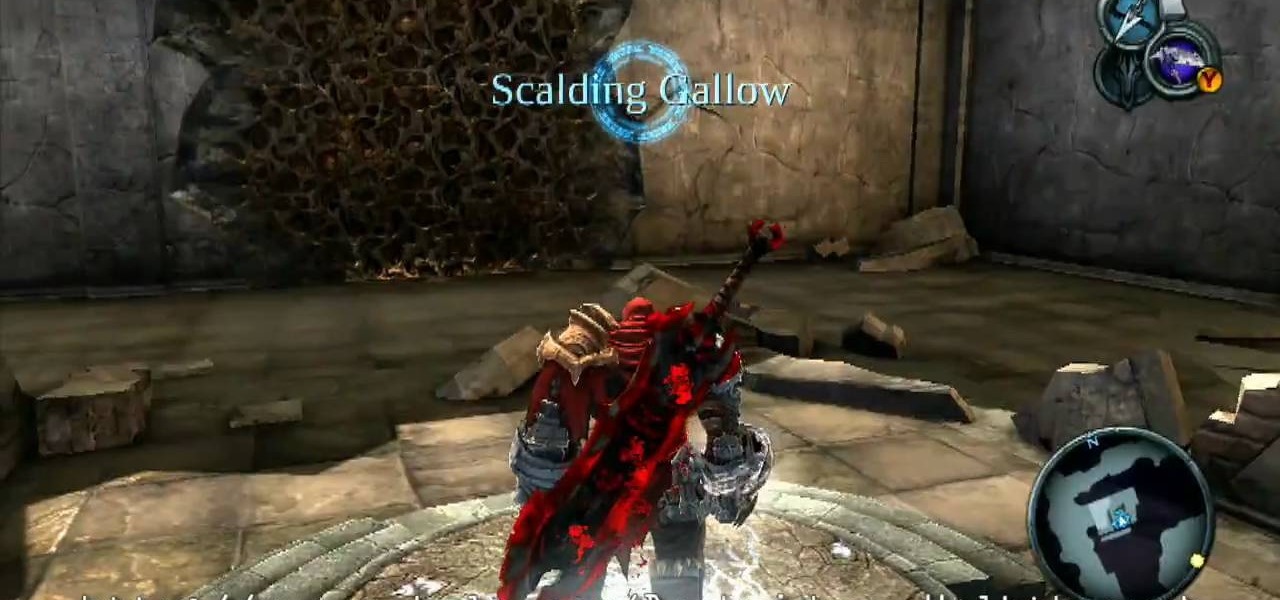
In the Xbox 360 game Darksiders, you're nearing the end of the game when you get to the Black Throne, which consists of three guardians and Straga. Proceed across the bridge as it constructs itself then enter the main room of the Black Throne. Here you will find Azrael who will tell you about Straga and how he gains great power from the Well of Souls. You will need to defeat the three Guardians that protect the Well of Souls and use their power to destroy the three statues that imprison Azrae...

After dealing with the Chronomancer in Darksiders for the Xbox 360, you'll have to make your way to the Dry Road where you'll immediately encounter Wingrocks. Continue up the tunnel and defeat the Fleshburster that waits for you. Once he's been dealt with, open the Soul Chest at the end of the tunnel then head up the stairs to the right. Climb the ledges along the wall then jump backwards into the broken pipe. Turn right and pick up the Artifact in the broken pipe, then follow the pipe in the...

After defeating Stygian on the Ashland level of Darksiders for the Xbox 360, you're going to have to give Stygian's heart to Samuel. If you're not entirely sure how to accomplish this task, then this video will surely free your mind. For more info, watch the whole gameplay.

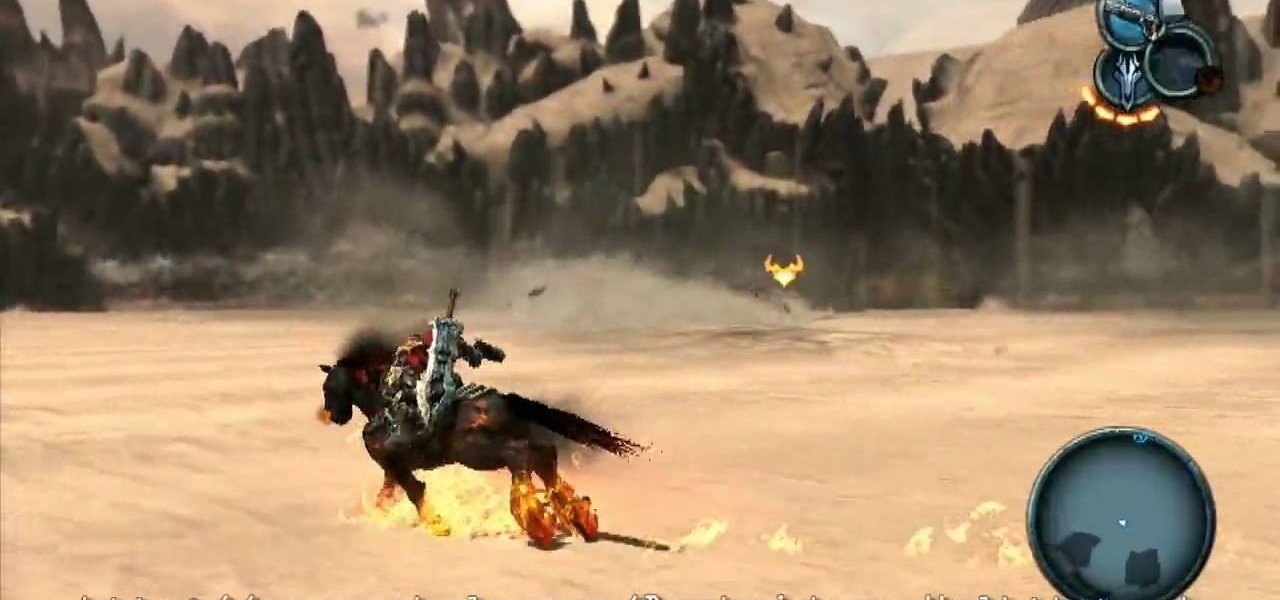
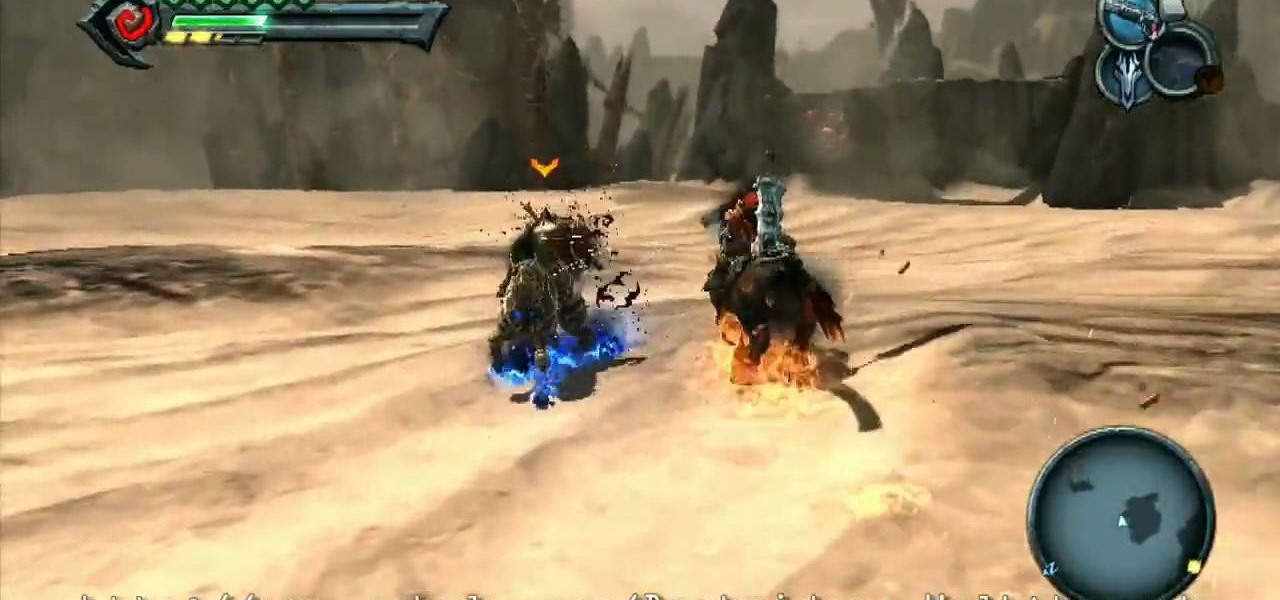
The hardest part in the Ashland level of Darksiders on the Xbox 360 is probably the boss fight between you and Stygian. At the start of this battle, Stygian will be wearing a metal cage around its mouth. This prevents you from doing any damage to the beast so you'll have to remove it if you wish to kill the creature. As Stygian does circles around the field, ride Ruin along side its head so that you can swing your Chaoseater at the cage. Use Ruin's turbo to keep up with Stygian. Smash the loc...

To get out from the Soul Bridge in the Ashland of Darksiders on the Xbox 360, you should watch this video to make sure you do it without getting killed. Make your way up the western rocky ramp and head due west to find the Soul Bridge. Approach it riding Ruin and you'll be able to cross the long gap via a bridge made of souls. Ride Ruin through this long tunnel to enter the Iron Canopy at the far end. For more info, watch the whole gameplay.

After beating Silitha, you'll have to return its heart. Watch this walkthrough of Darksiders on the Xbox 360. After Silitha's death, you'll find yourself in a cave two levels below where you originally fought her. Use the Crossblade to hit the crystal blade on the rock platform to make it rise and fall through the hole Silitha made. It will go up and down twice. Use the Abyssal Chain to ride it up to the middle level (one below the original) and here you'll find a Soul Chest and an Artifact. ...

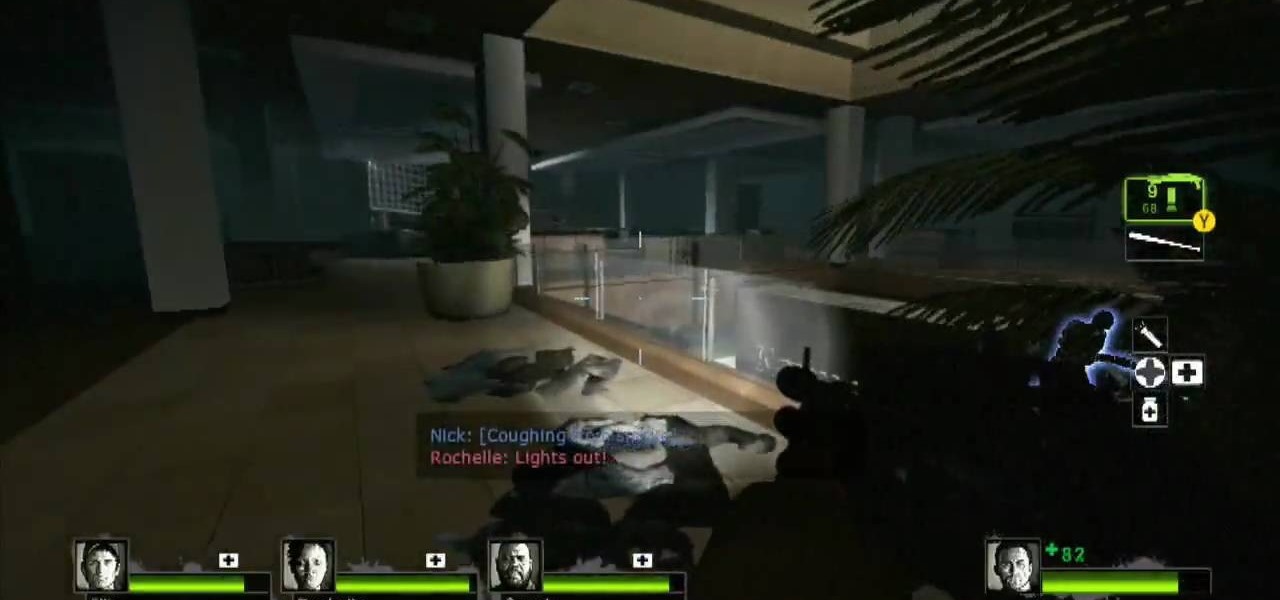
L4D2: One of the best horror video games of all time. Check out the tips and gameplay for Campaign 1: Dead Center - Mall. Restock on supplies and head out of the safehouse. Feel free to kill any zombies trying to reach in the door before you unlock it. Hang right and make your way up the giant escalator in the middle of the floor. Loop around and exit Kappel's department store. Go down the first escalator you see. Watch out for zombie attacks from the floor above. They will jump down and catc...

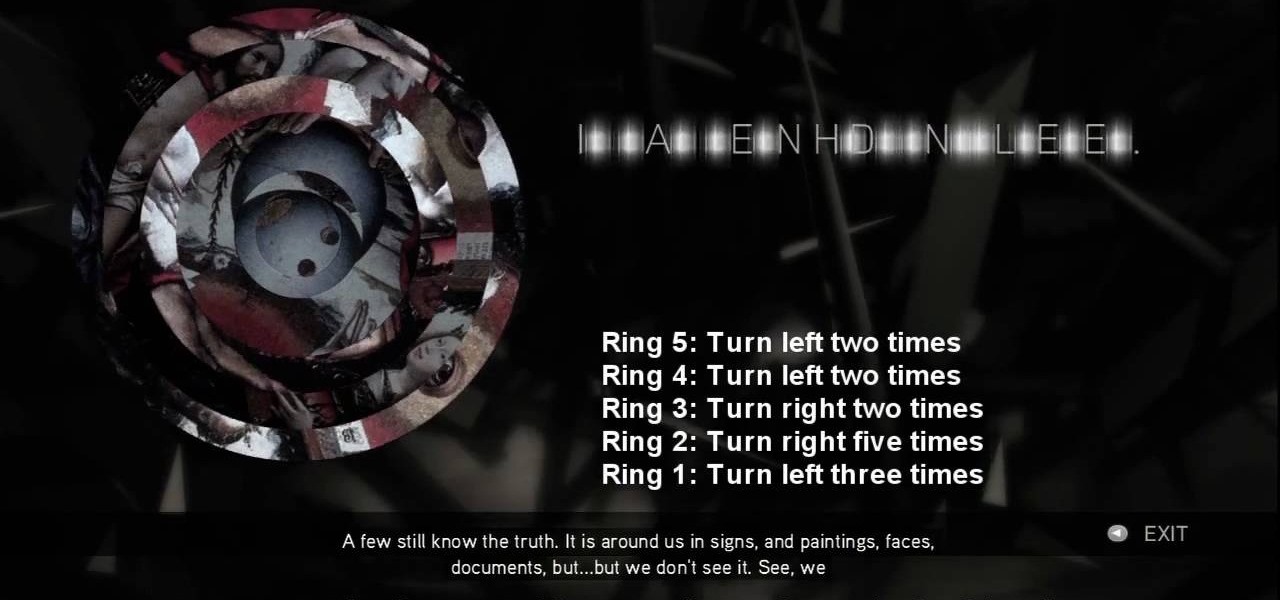
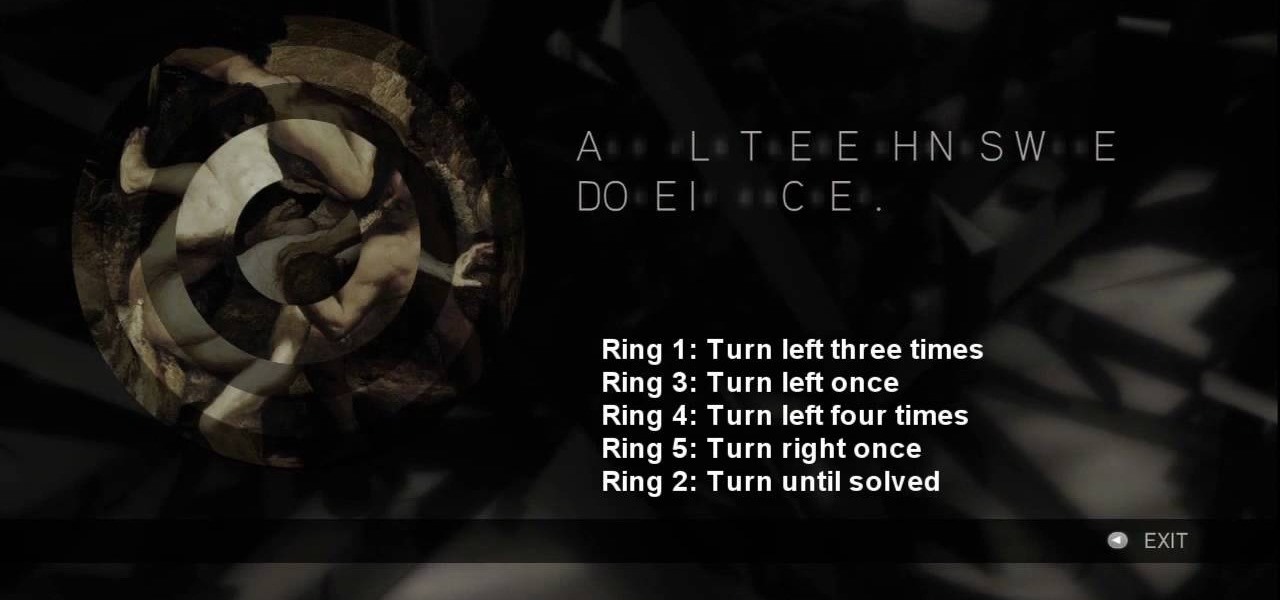
No need to figure out the 20th puzzle, entitled "The Origin of the Species", in Assassin's Creed 2. Here's the answers! Puzzle wheel: Start by turning the fifth ring right ten times, then turn the fourth ring left twice. Then rotate the third (and first) rings right twice, the second ring right five times and the first ring left three times. Image 1: Highlight the eye at the top of the painting. Code wheel puzzle: Ignore the numbers and focus on the Assassin motto: “Nothing is true, everythin...

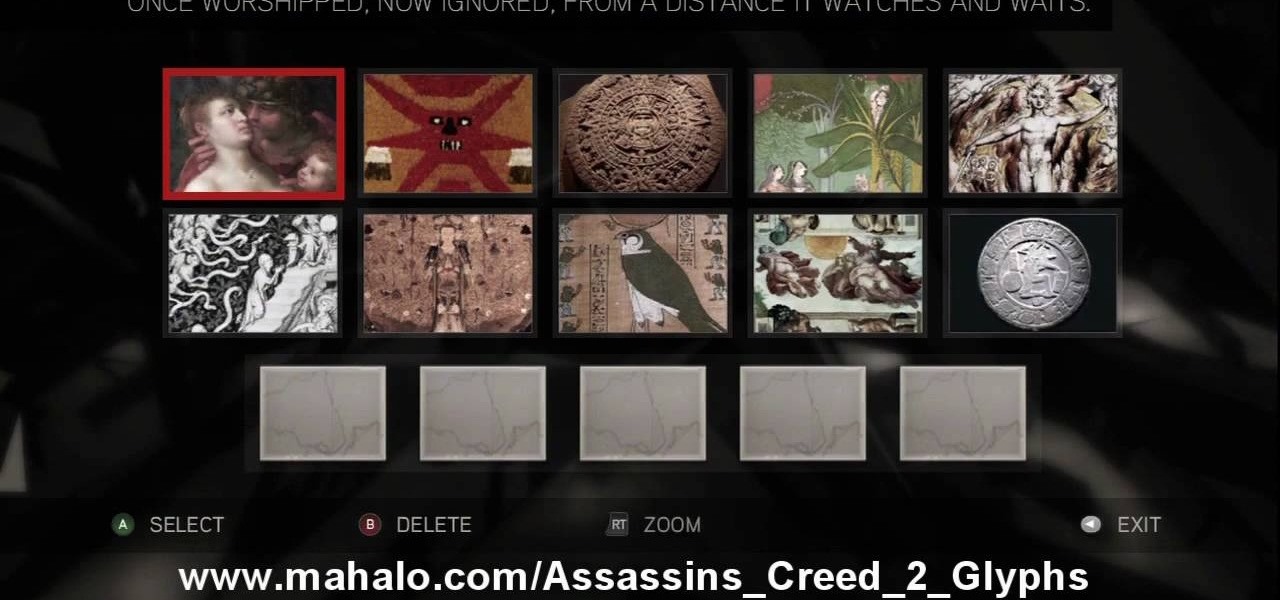
Here's the answers to the 19th puzzle, titled "The Fourth Day", in Assassin's Creed 2. Image set: What used to be worshipped by every primitive culture under the…? That’s right, the sun. Pick the five images that focus on it. Image: Find the tiny image of Earth in the lower-left quadrant of the sun. For more info, watch the whole gameplay.

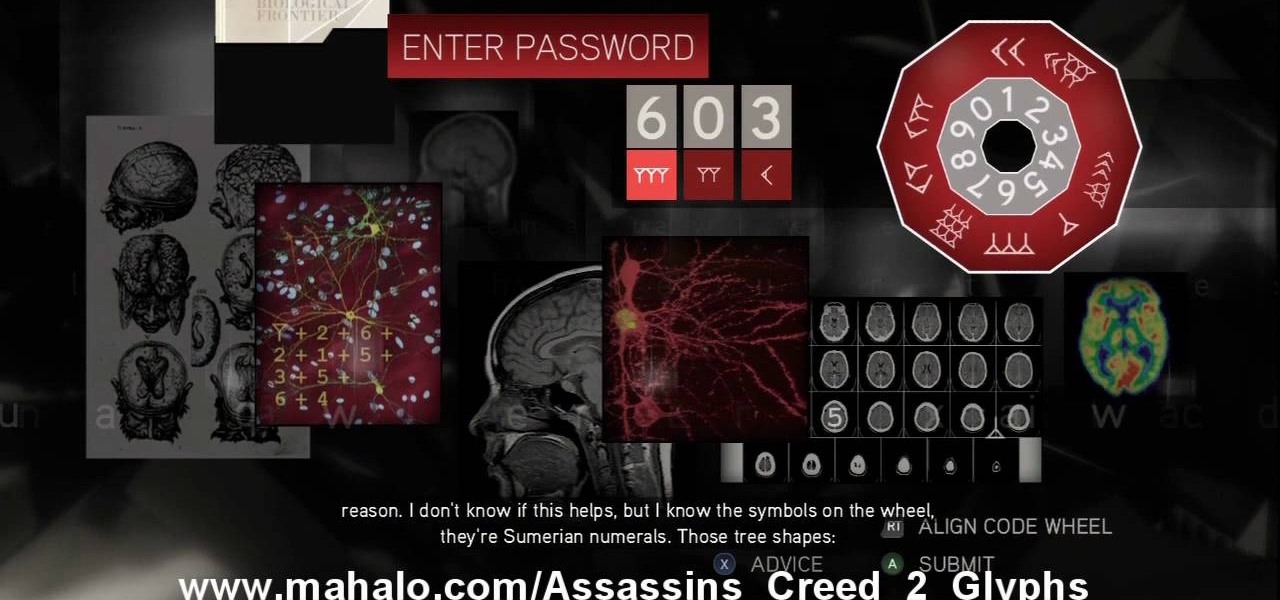
The 18th puzzle is called "Synapses". See how to solve it in Assassin's Creed 2. Code wheel puzzle: Your first clue is to line up 5 with a single tree-looking symbol. The key here is the weird-looking equation on the left, which offers a hint as to the progression of the symbols.

Figure out the 17th puzzle, entitled "The Bunker", in Assassin's Creed 2. Code wheel puzzle: Here’s a tricky one; your clues are “<” and “2,” and the only advice you’ll get from your handlers is that maybe there’s “something we can count” on the strange symbols. In this case that “something” is the number of times each symbol bends sharply. Don’t expect consistency across the wheel on this one; just take a look at what symbols flank the blank spaces and pick a shape with the number of bends t...

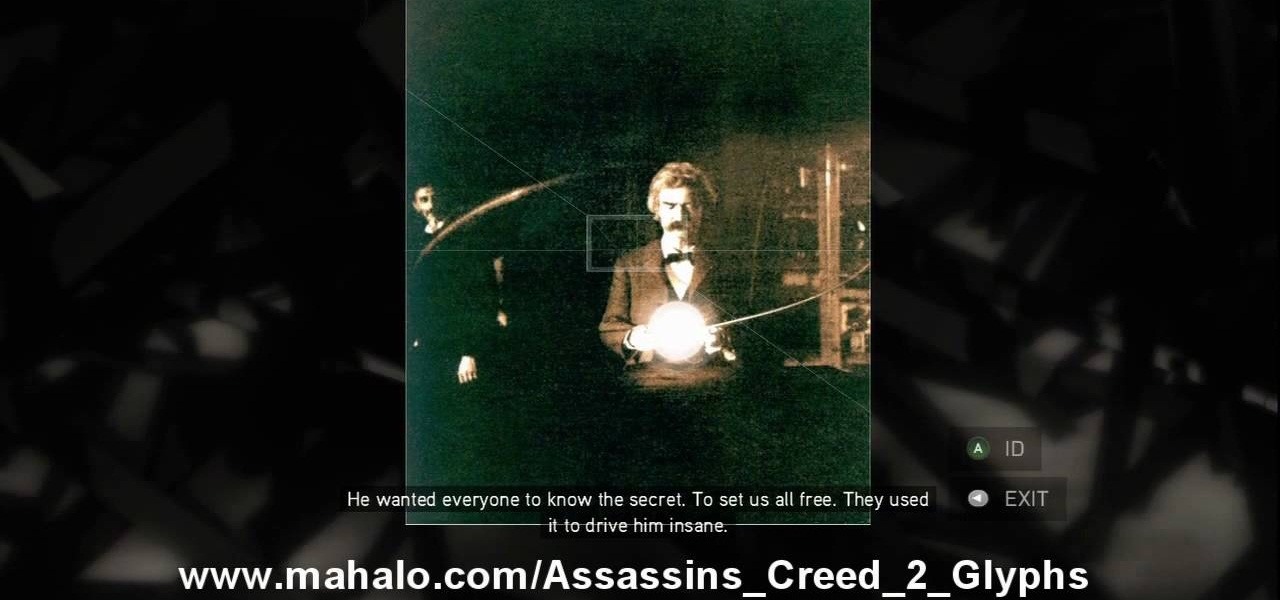
This one's pretty easy. Here's the solution to the 16th puzzle, entitled "The Cavalry", in Assassin's Creed 2. Image 1: Just move the cursor to the word “Tunguska.” Image 2: Move the cursor onto the staff and drag it onto Tesla’s photo. For more info, watch the whole gameplay.

Get all of the info on the 15th puzzle, entitled "Guardians", in Assassin's Creed 2. Puzzle wheel: Seemingly every other ring is linked here, so we’ll cut straight to the chase: Turn the third (and fourth) rings right twice, the fifth (and first) right four times, the fourth (and first) right five times, the fifth (and first) left five times and the second left five times. Finally, move the fifth (and second) rings right five times. Image: Another gimme – just move the Assassin logo over the ...

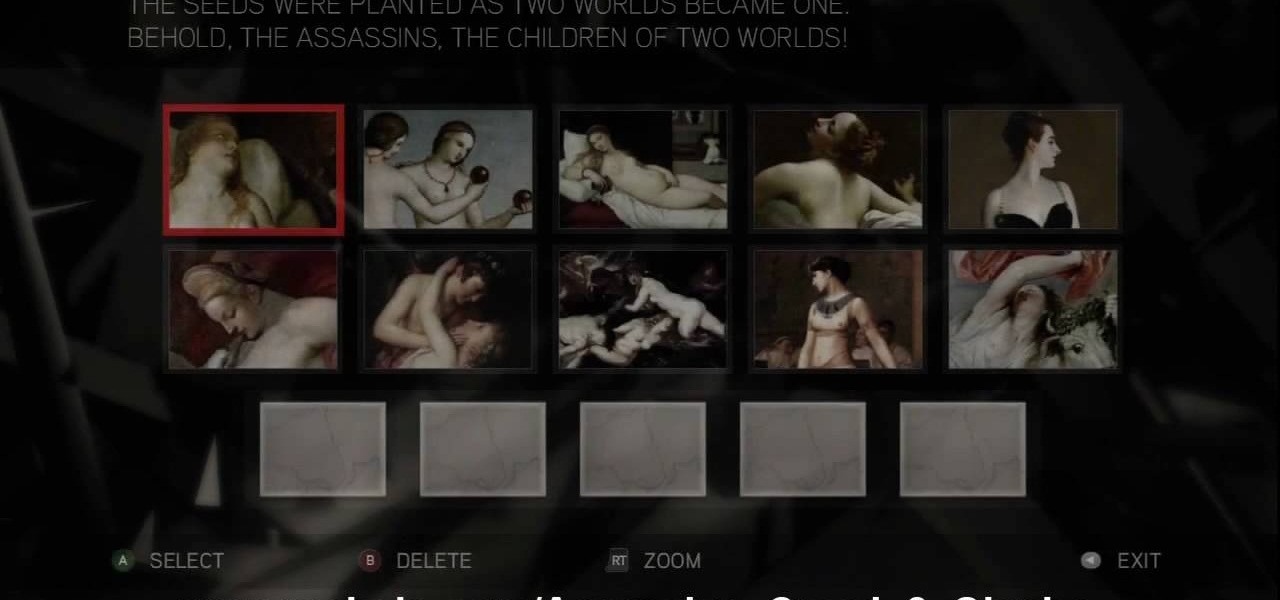
The 14th puzzle, entitled "Bloodlines", isn't really that hard in Assassin's Creed 2. Set 1: Highlight the images that depict women and gods in amorous entanglements (especially if those gods are disguised as animals). For more info, watch the whole gameplay.

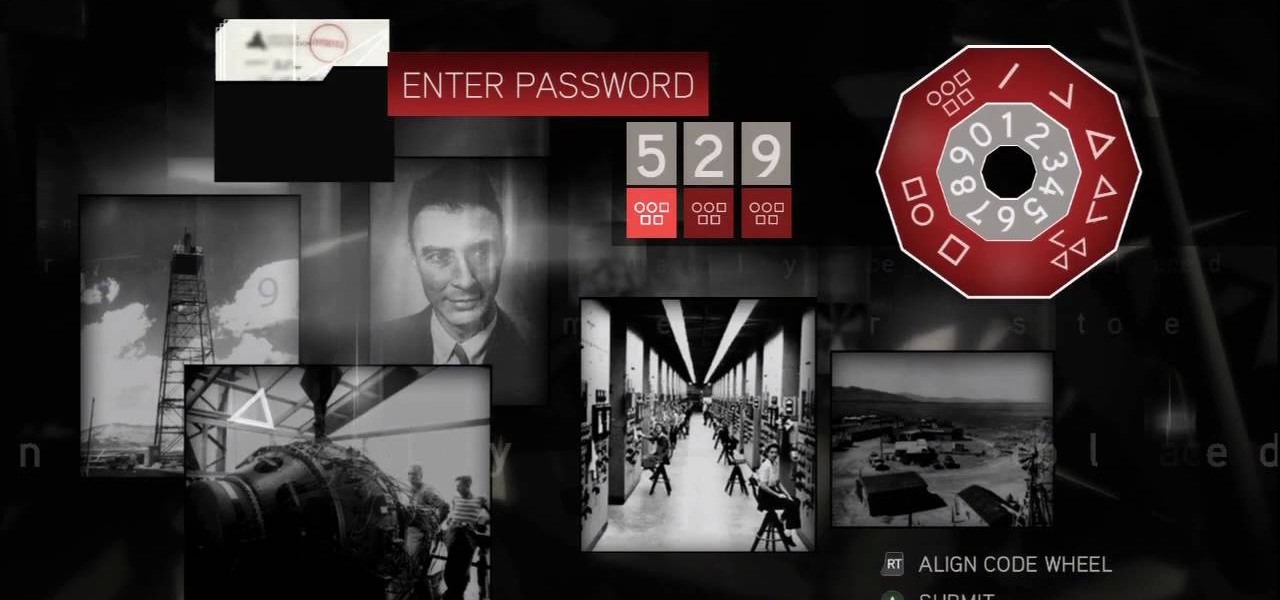
Solve the challenging 13th puzzle, entitled "I Am Become Death, the Destroyer of Worlds", in Assassin's Creed 2. Code wheel puzzle: This one’s even trickier than the last one; starting with the hint that 9 (next to the tower) equals “triangle” (up and to the left from the bomb), you need to figure out which symbols would fill in the blank spots on the wheel, going by the symbols next to them. Image 1: Just hit the button. It’s not hard. Image 2: Use the Geiger-counter clicks to guide you. For...

This is the 12th puzzle, entitled "Titans of Industry", in Assassin's Creed 2. Code wheel puzzle 1: The key here is in the “4=1” on the blueprint at the left of the screen. Line up the red 4 over the gray 1 and input the following code: 917240. Image 1: This one’s the opposite of the light-bulb “puzzle” from before – just move the dollar sign over the bulbs to extinguish them. Image 2: Highlight the glowing ball at the center of the image. Code wheel puzzle 2: Your hints here are the “2” on t...

Find out how to solve the 11th puzzle, entitled "The Inventor", in Assassin's Creed 2. Image 1: Just move the lightning bolt over the bulbs to bring them to life. Image 2: Highlight the area just at the base of the tower, between the two windows, to find this hidden image. Image 3: Move the pointer onto Tesla’s lap. For more info, watch the whole gameplay.

Figure out the 10th puzzle, Apollo, in Assassin's Creed 2. Image 1: Highlight the lunar lander just down and to the left of the moon. Puzzle wheel: Another linked-ring rotation puzzle. Your job here is to align all the channels; do this by moving the fifth ring to the left six times, the second ring to the left four times, the fourth ring to the right three times and the third ring to the left five times. Then snap the first ring into place. Image 2: Move the cursor down between the flag and ...

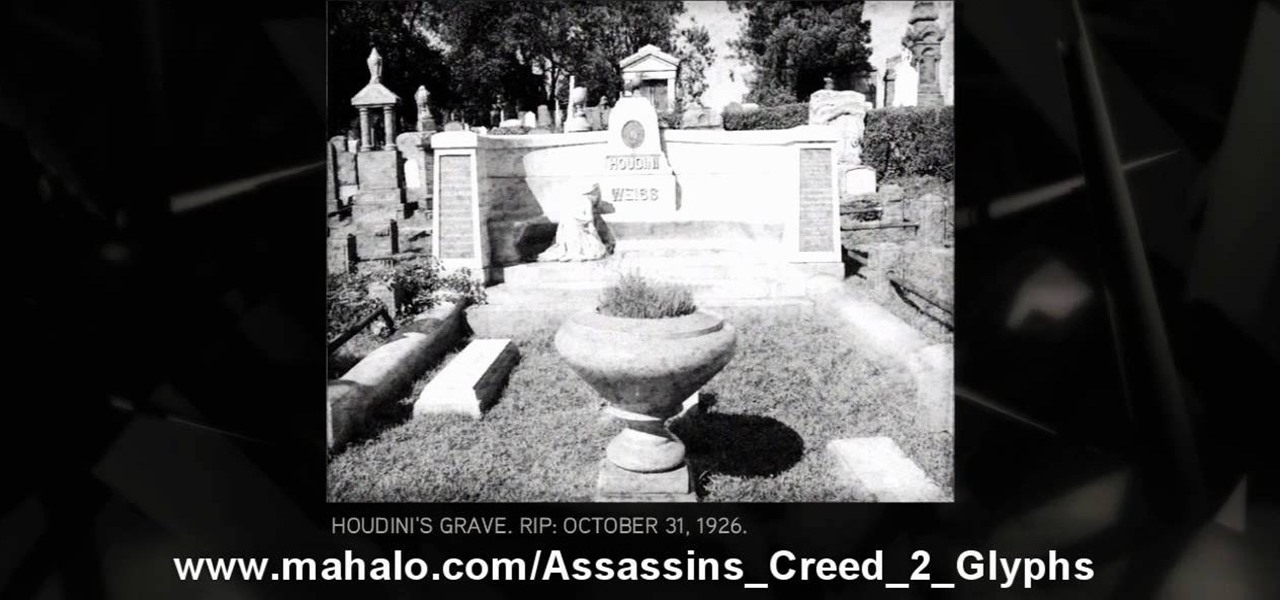
Execute the 9th puzzle, called Hat Trick, in Assassin's Creed 2. Image 1: Move the cursor onto Houdini’s torso. Image 2: Move the cursor over Gandhi’s heart. Code wheel puzzle: Your hint here is pretty obvious; there’s a big, glaring “6=1” next to Oswald’s picture. So move the red wheel so that the 6 is over the gray 1, and plug in the corresponding numbers. For more info, watch the whole gameplay.

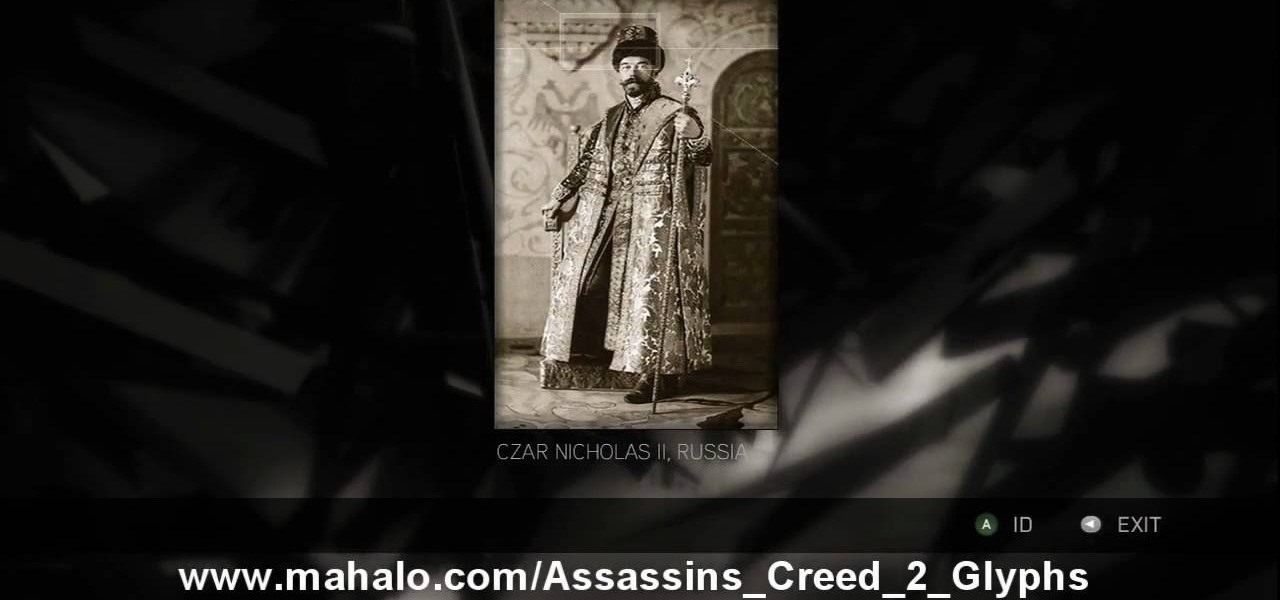
Learn about the 8th puzzle, titled Martyrs, in Assassin's Creed 2. Image 1: Highlight Czar Nicholas’ staff. Image 2: Highlight Joan of Arc’s sword. Image 3: Move the fireball to Joan of Arc’s portrait. Image 4: Move the photo of Rasputin onto Czar Nicholas’ portrait. For more info, watch the whole gameplay.

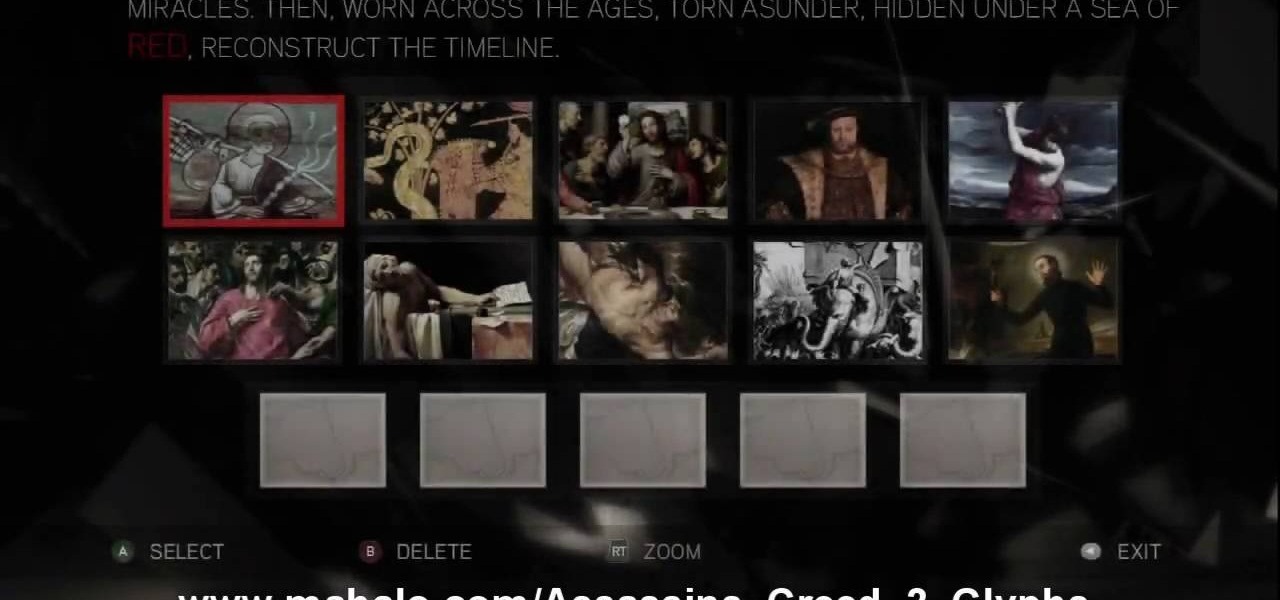
This is about the 7th puzzle in Assassin's Creed 2. Keep on seeking, and you should find… in the first image set, the key word here is "red", so pick the images in which that color shines the brightest. In the second image, highlight the area to the right of Jesus’ hips to reveal a Piece of Eden. For more info, watch the whole gameplay.

See the key to the sixth puzzle "Brothers" in Assassin's Creed 2. This is where things start to get tricky; while the first batch of ring puzzles were simple, these link some of their rings together, so that you can’t move one without moving another. For more info, watch the whole gameplay.

Find out the solution to the 5th puzzle in Assassin's Creed 2. For set one, the hint here is “cut,” so pick the five paintings that feature swords. For set two, what do the people in these paintings lean on? That’s right – pick out the images that feature staffs. For more info, watch the whole gameplay.

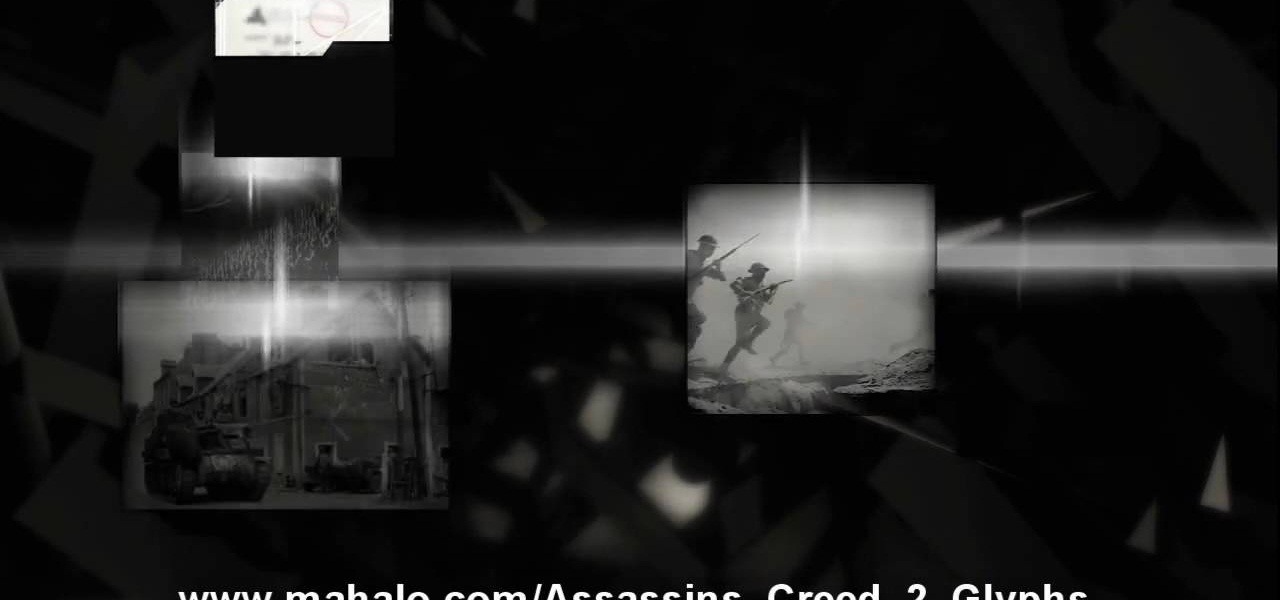
Get the answers to the 4th puzzle in Assassin's Creed 2. This is just another hidden-image puzzle. Find them in the barrel of the bazooka, on the helmet of the soldier crouching in the background, on a rifle held up just to the left of the officers, and in the hand of one of the monsters. For more info, watch the whole gameplay.


