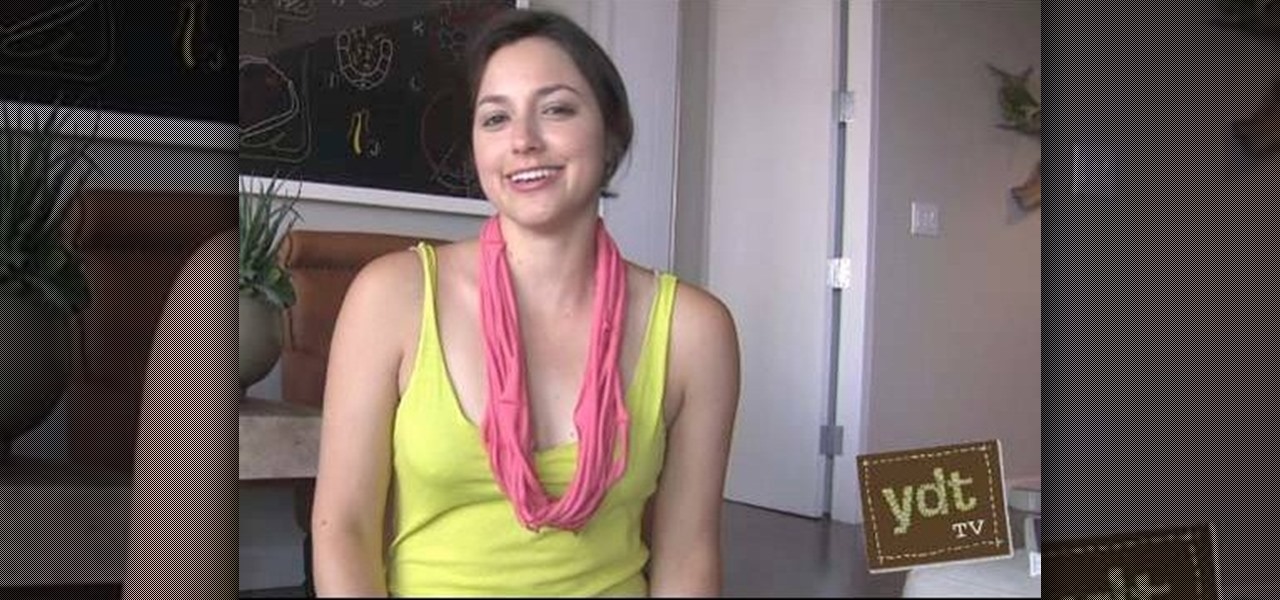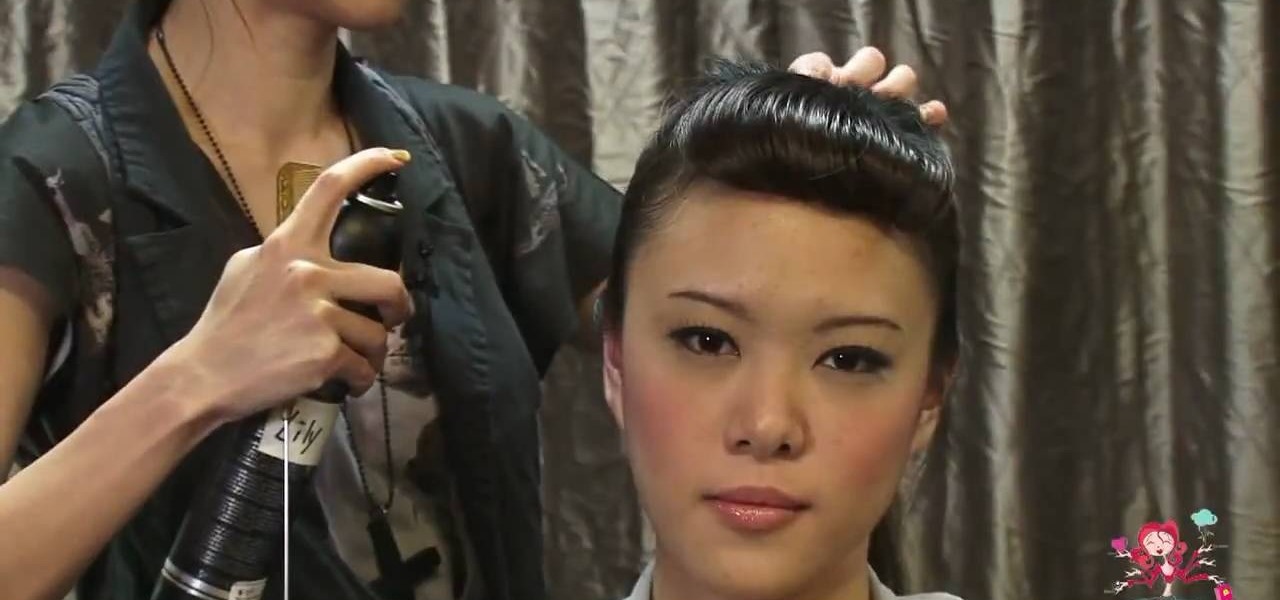
Victory rolls are probably not very familiar to you, but they would have been had you lived about, oh, sixty years ago. Victory rolls, or tight, thick ringlets centered on the crown of the head and sometimes done up in a Bettie Page style bang, were the style du jour of the '40s and '50s.

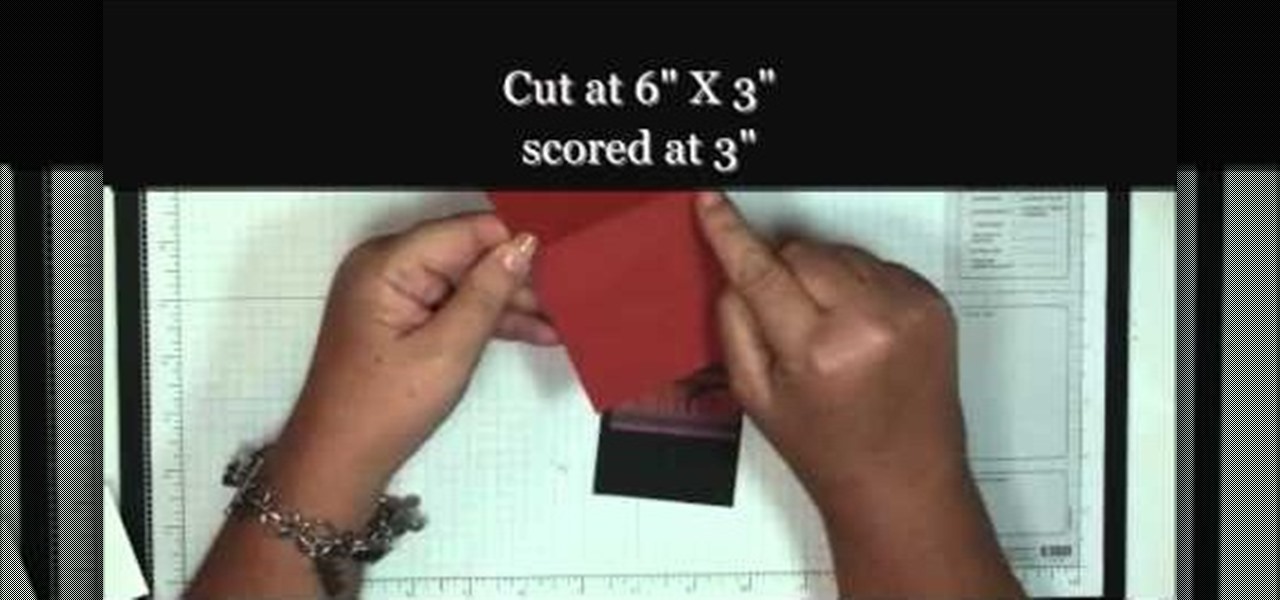
In this video, we learn how to make a photo/ATC carousel for cheap. First, take clay in a cylinder circular box and let it set. Then, insert in a long object to create the spine of it. Push the clay around this after spraying with water. Then, fold trading card stock as well as card stock for photographs. Cut these out so you create little pockets where you can insert your photos into. Then, once you have all of these cut out and your photos inside, you will adhere the sides of them to the ce...
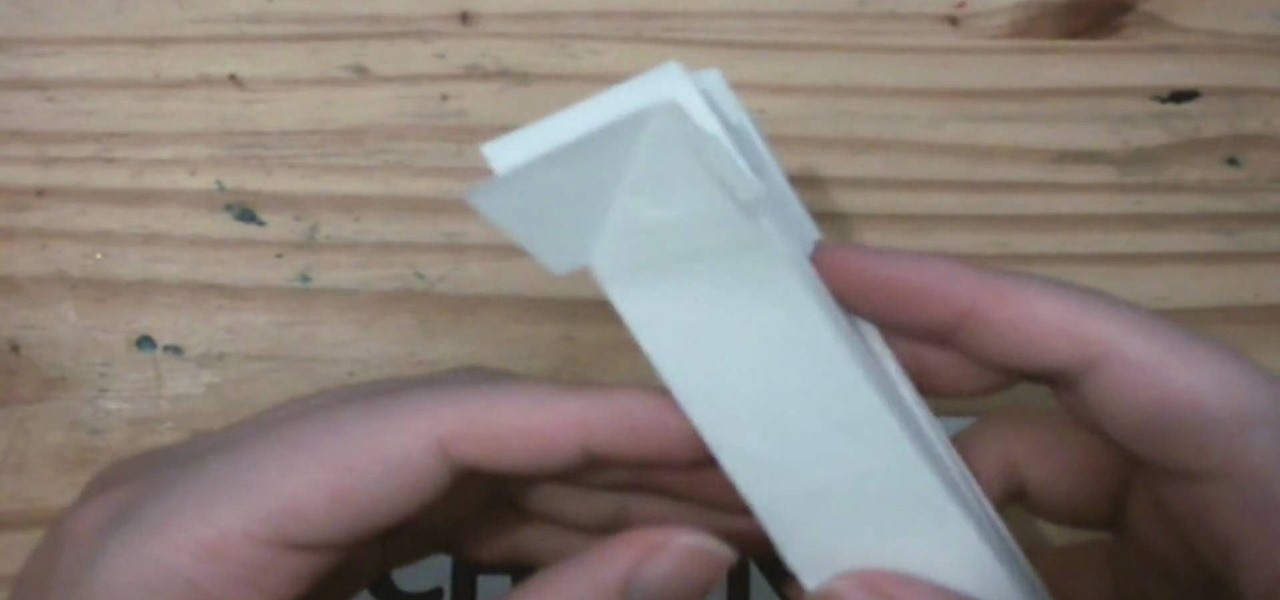
Another video in which the presenter Ngai Chen Cheung demonstrates his Origami skills. Again all you need is a blank sheet of paper. The first step is to create pre-creases which makes the later folding maneuvers a bit easier.
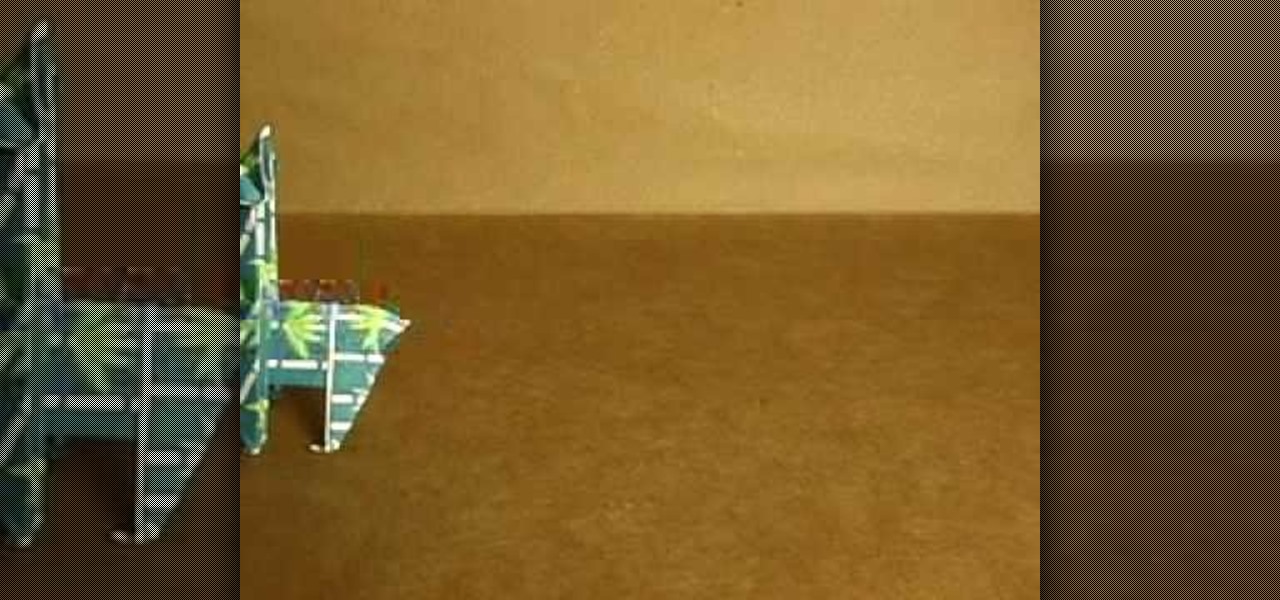
This is a video tutorial in the Arts & Crafts category where you are going to learn how to make origami llamas. Take a square sheet of paper and fold it in half. Open the fold and then fold each half further in halves. The sheet is now divided in to 4 parts. Next fold the outer flaps inwards so that they meet at the center. Flip the folded sheet and fold it in half to make it a square size. Next you fold the top back over itself in a triangular shape. Open up the last fold and watch the video...

In this tutorial, we learn how to make prosciutto eggplant calzone with Guy Fiore. First, take dough and work it out on a flat floured surface. Then, mix the pine nuts with the cheese mixture, and cut up your prosciutto. Add on the eggplant and other ingredients into the center of the dough alone with a generous amount of parmesan cheese. After this, push the calzone down and twist the side to make it into a pocket shape. Place this onto a baking sheet, then wash it with an egg. Place into th...

We'd let our little Fido run free all the time if we could, but unfortunately taking a dog out into any public space, whether it be simply for a walk in the park or to a shopping center, involves putting him on a leash or a harness.

In this tutorial, we learn how to create a warm grunge background in Photoshop. First, create a large circle on a burnt orange background in Photoshop. Now, go to layer, adjustment layer, then levels. Hit "ok" then the level's adjustment layer will be masked. Now, go grab the bottom black slider and brighten up the middle. Use the overlay to create a center glow. Next, bring in texture using a brushed metal texture from this photo. Now, even the image out by going to image, then image rotatio...

It's never too early to begin crafting for one of the funnest and spookiest holidays of the year: Halloween! No doubt you're going to be attending at least one Halloween party or get together this year, so why not show the hostess with the mostest some love for putting together an awesome party?

There's a handy new feature in Windows 7 called the Ease of Access Center, which brings together settings and programs that can make your PC easier to use. This is where you get quick access to programs like Magnifier, Narrator, On-Screen Keyboard and more. Learn about the accessibility.

Statement pieces are all the rage this fall, with big, chunky necklaces and vibrant floral neck wraps taking center stage as clothes take a backseat. If you want to get in on this trend without looking a bit too haute couture (AKA too like a clown) for school or work, check out this DIY tutorial for making a pretty layered necklace using an old t-shirt.

This prank is simple, creative, easy to set up, messy and embarrassing. Five of the first things that we at Wonderhowto look for in a prank. All you need are some basic household materials:

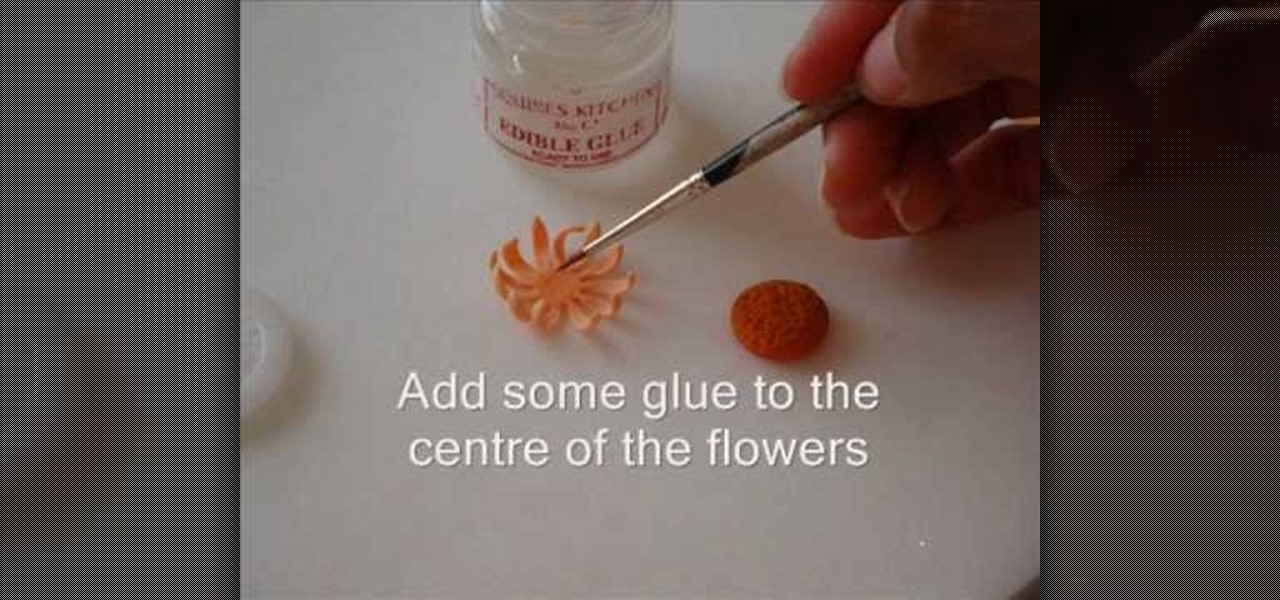
In this tutorial, we learn how to color a sugar crafted lily petal. Insert your paste onto a green wire, then cover the paste with clear edible glue. Then, place the piece into yellow sugar sprinkles. After this, create your petals out of gum paste and push down on the edges to create a petal shape and feeling. Next, apply the glue onto the center of the flower and add this onto the piece that you just made, wrapping it around. After this, wait for it to dry and you will have a beautiful lily...

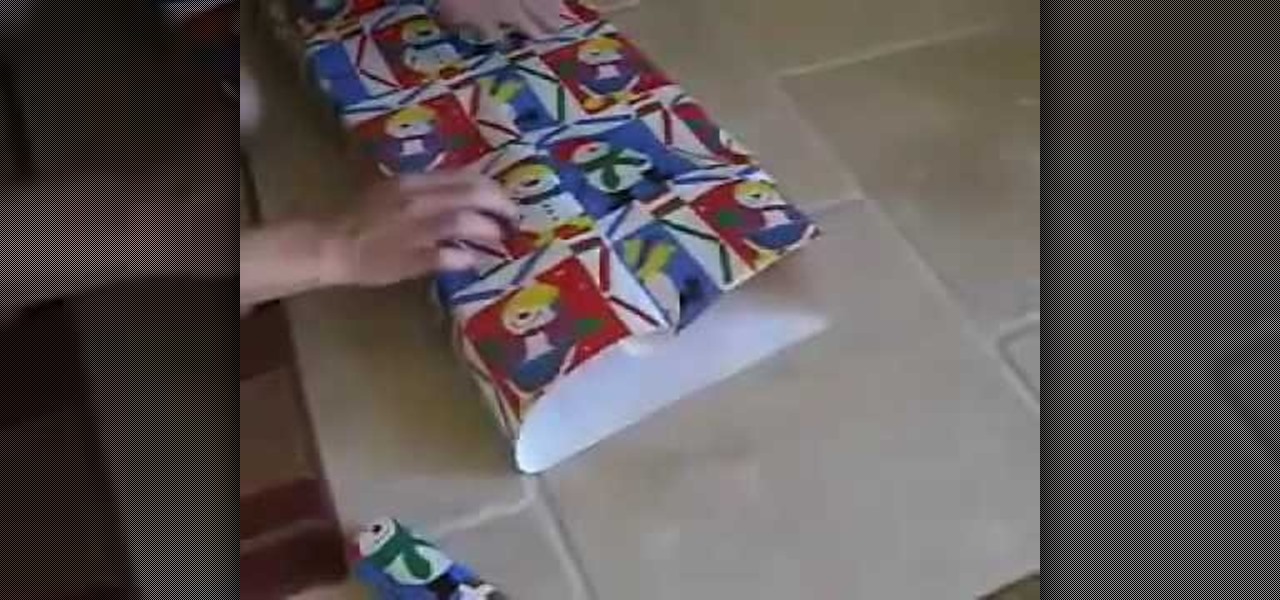
In this video, we learn how to wrap a gift. You will need: scissors, your gift, tape, and wrapping paper. First, place your gift down on the rolled out wrapping paper upside down. Measure out the paper so you have enough, then cut the paper from the roll. Next, you will fold the edges of the paper down, then center the gift on the paper. Bring the sides of the wrapping paper into the middle, then tape it. If you have too much paper on the edges, cut it carefully with the scissors. Now, push d...

In this Arts & Crafts video tutorial you will learn how to use the cross stitch 'n paint technique. It combines simple back stitching and water color painting. Most of the materials are found in your kitchen. You will need wax paper, paper towels, and a plate to use as your paint palette, some water colors and paint brushes. After choosing your design, back stitch the outline on the fabric. Place the white paper towel over the wax paper and spread the stitched fabric over it. Now you are read...

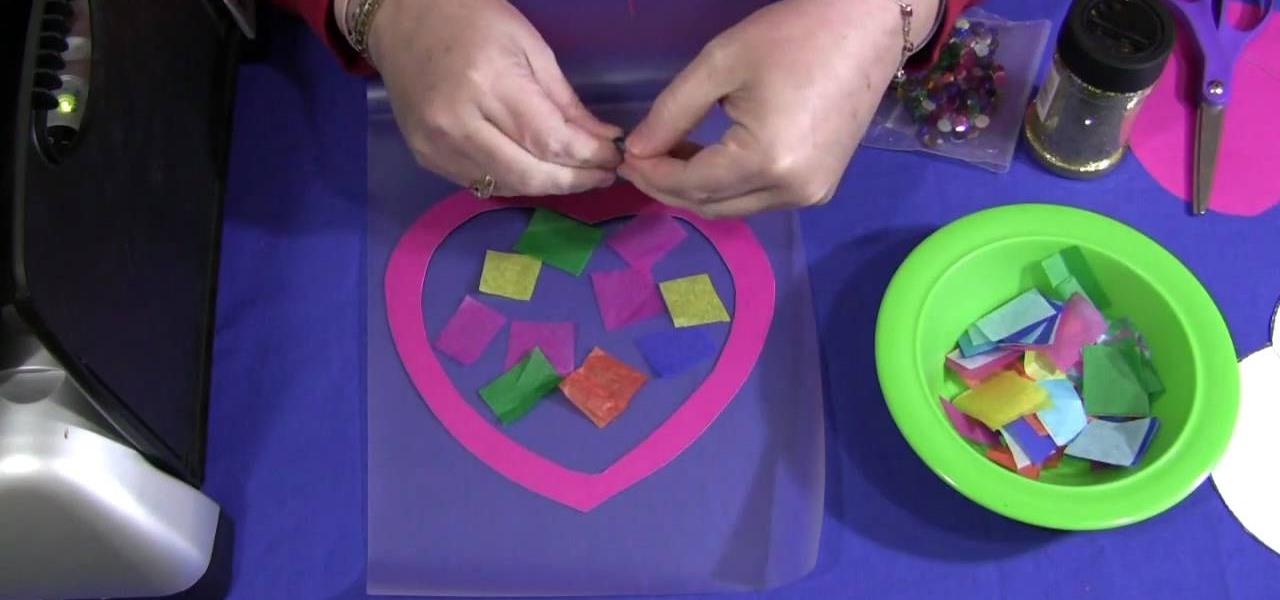
In this video, we learn how to make a sun catcher with your kids. First, you need laminating paper, two paper hearts, and scissors. First, cut the center of one heart out by sticking your scissors in and making your way around the heart. Next, place the outline of the heart inside of the laminating pouch, then decorate the inside of it how you prefer. You can use whatever you want to decorate the inside, including: glitter, crayon shavings, tissue paper, etc. Next, place the paper inside of a...

Daises are such a friendly flower: With bright white petals and a warm orangey yellow center, they're the flower of choice for cheering up a sick friend or giving to a loved one on a special occasion. Perhaps the fact that they're so cheery is what makes them so popular as cake and cupcake decorations.

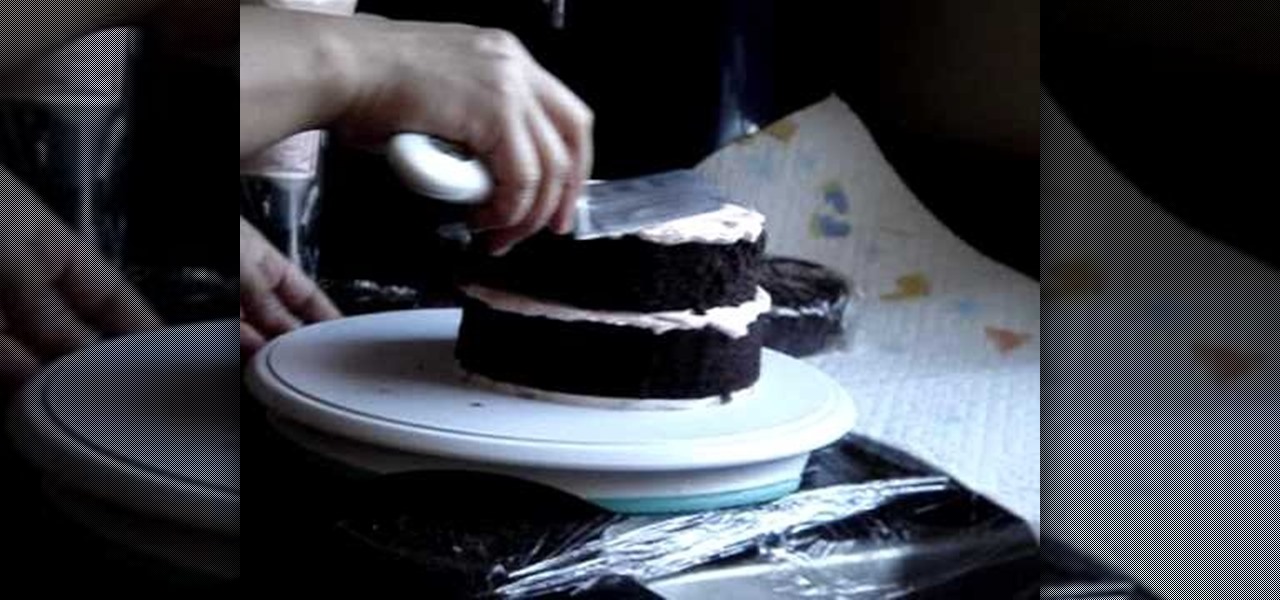
The video covers how to ice a cake. According to the video it is best to start by refrigerating the cake. You will need a 16" pastry bag with an icing tip on it. The tip should have a cerated edge on one side and a smooth edge on the other. Set the cake on a rotating plate. Rotate it and put a layer of icing all the way around the cake and then fill in the center. Once the cake is covered use a spatula and smooth out the icing. Then set the second cake on top of the first and put the icing on...

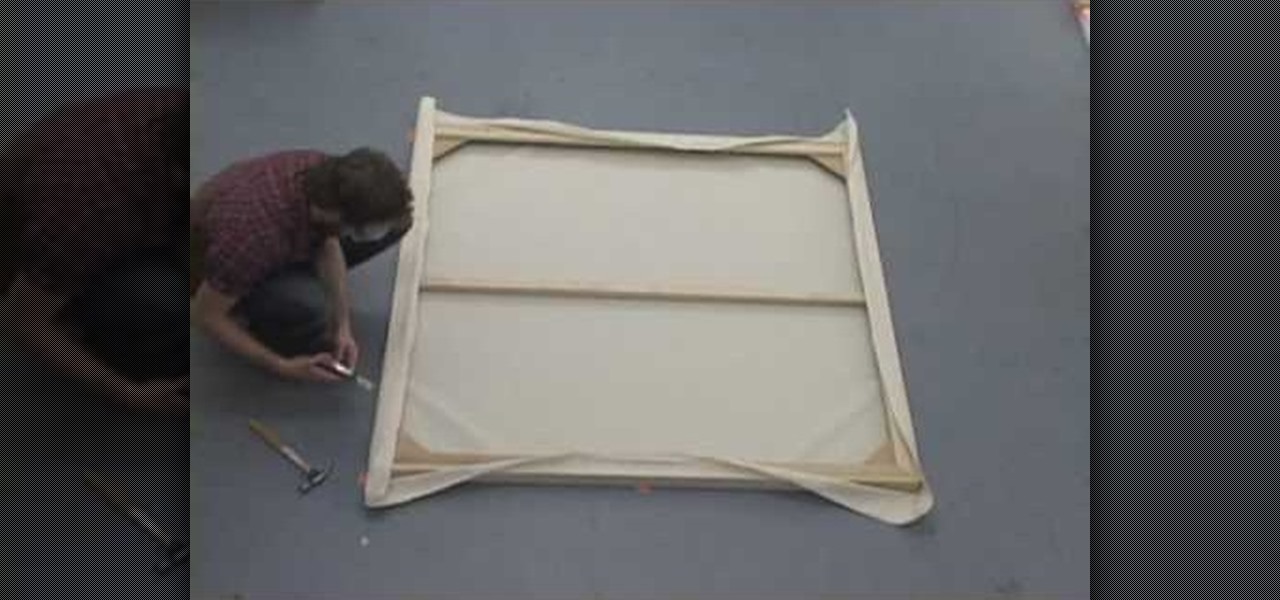
In this tutorial, we learn how to stretch the perfect canvas. First, measure the canvas. After this, center the canvas and make sure there are no wrinkles. Then cut the canvas and staple it to the frame. This will take several minutes, and you will work your way from the inside to the outer corners. After you are finished stapling hide the folds on all of the corners with the stapler gun. When you are finished with this step, you will be done and ready to paint on your new canvas! These steps...

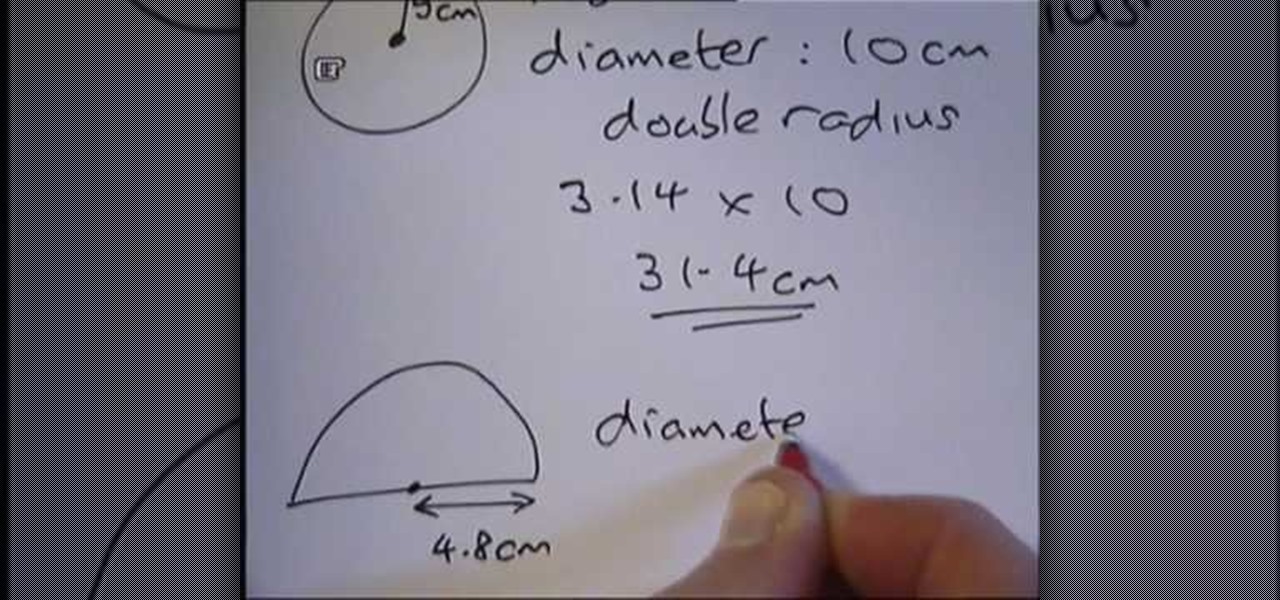
In this video tutorial, viewers learn how to find the circumference of a circle. This task is very easy, simple and fast to do. To find the circumference of a circle, multiple Pi with the diameter of the circle. The value of Pi is 3.14. The diameter is equal to 2 times the radius. Simply multiply the radius by 2 to find he diameter. The diameter is the straight horizontal line in the center of a circle. This video provides a demonstration for viewers to easily understand and follow along. Thi...

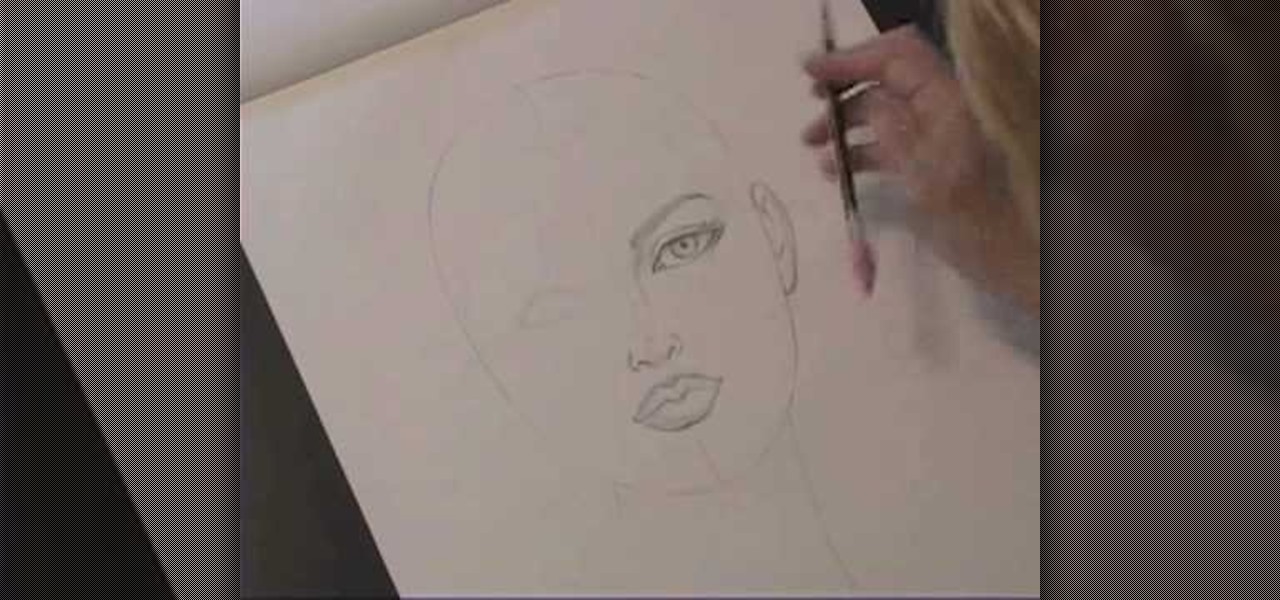
Kathryn Hagen teaches us how to draw female heads in this tutorial. Start with an oval and dissect it horizontally and vertically. Draw in the hairline, as well as the eyes, nose, and mouth. You can measure out where everything should go by using the lines as a reference point. Add details into the eye, then continue on to add more details to the nose, showing the nostrils. Draw more details on the mouth, then define the center of the lip and shape. Draw on the ears, and add a line where the ...

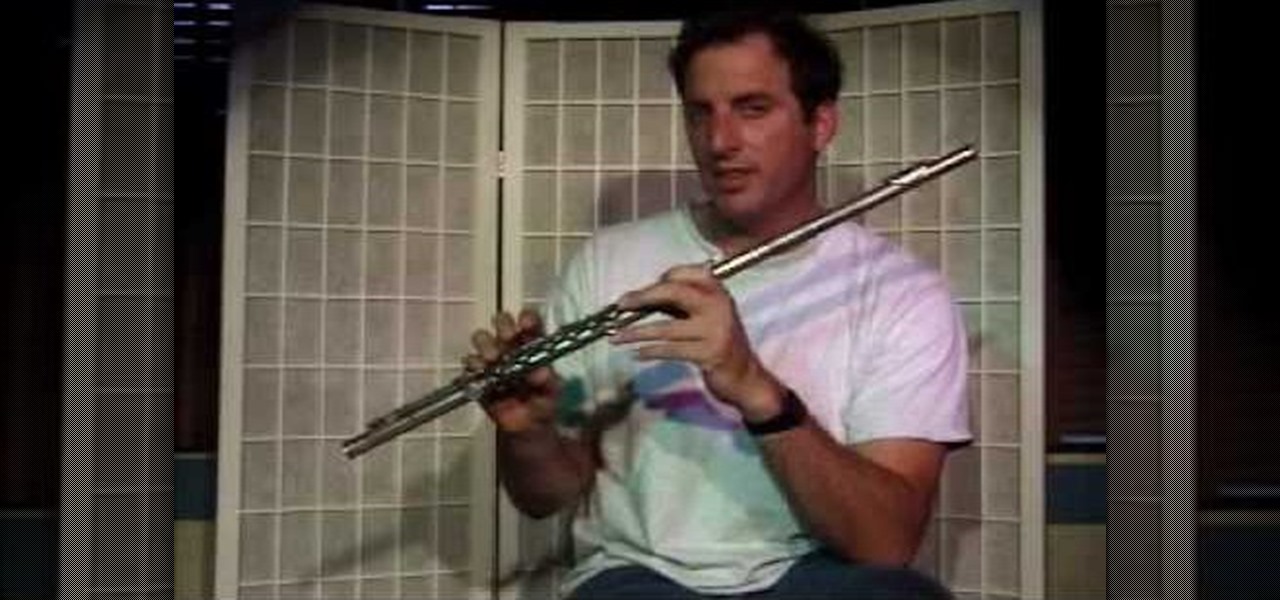
In this tutorial, we learn how to play the "a" note with fingering. First put your head joint into the main body of the flute, then grab it so the end is in the palm of the hand. Slowly turn it so it goes into the flute easily. Now, line the hole up so it's equal with the center of the keys and hold the flute correctly. Hold your fingers onto the flute so all your fingers on the right hand are up except for your pinkie finger. Your third finger on the left should be on the 'a' key and the two...

In this tutorial, we learn how to crochet a left hand radiant flower. First, make a slipknot, then chain four. After this, join the beginning chain and then chain three. Slip stitch through the center of the chain, then chain three and slip stitch again. Do this over again five times on your row. After this, continue making stitches until you have the shape of a flower. Add on green yarn to the back of the flower, by doing the same type of stitch. Work as many stitches as you would like. The ...

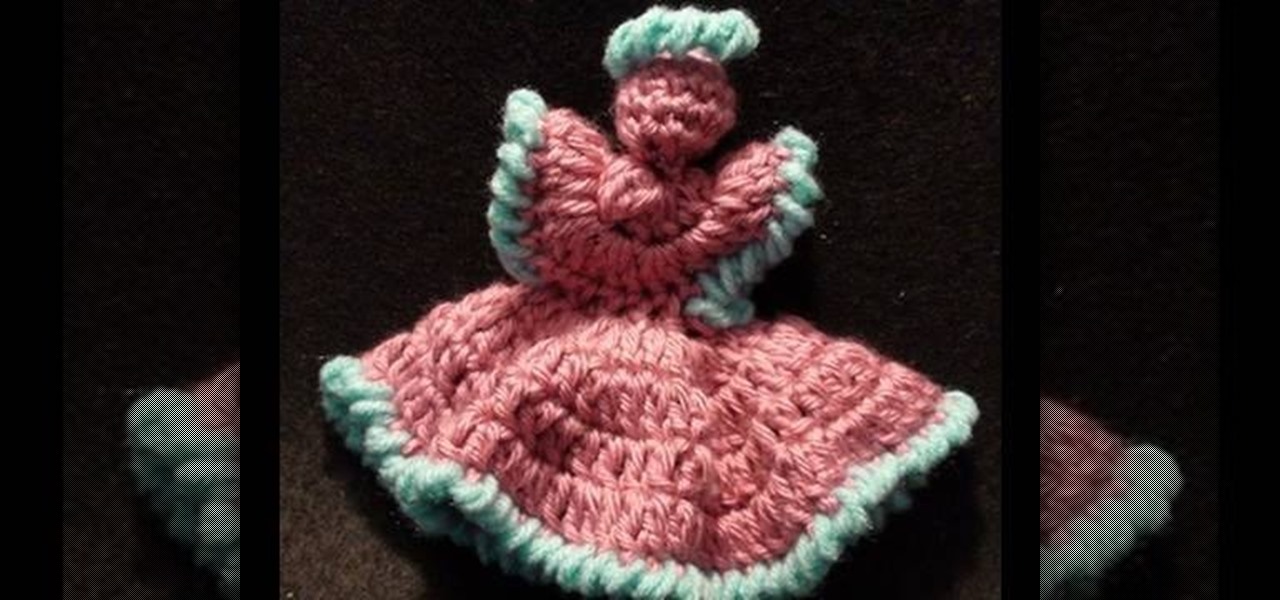
In this video, we learn how to crochet a left handed dainty angel. Use a size H 5mm crochet hook. Add a slipknot to the crochet hook, then chain three, join, and chain one. After this, work 6 single crochet through the center of the chain three. Next, join two single crochet for each stitch around for a total of 12.Now do 12 more single crochets and work an additional round with the single crochet. Continue this process until you finish, then create the dress by doing the same type of crochet...

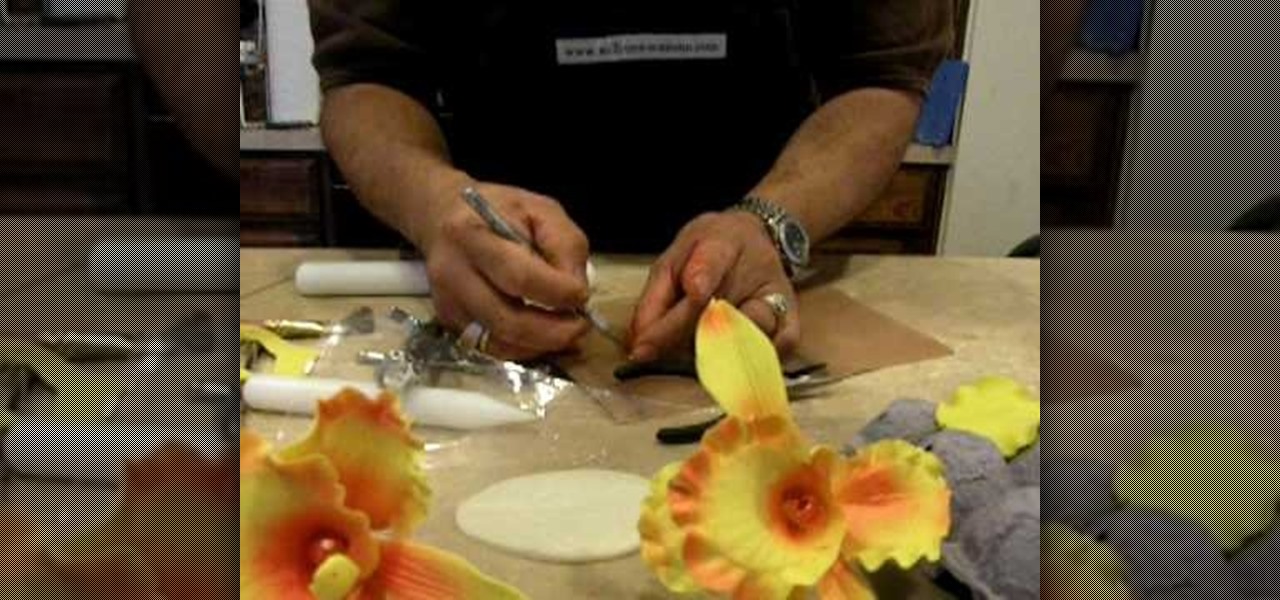
In this tutorial, we learn how to make an orchid flower with gum paste. First, roll out the gum paste and then cut it into three different shapes to make the flower. Next, place a wire in the center of the petals and then place them on a mold to get the correct texture. After this, push a ball onto the ends of the petals to make them look more realistic. Make the last flower by putting a pointed cone in the middle and wrapping it around. Now, place a ball shaped gum paste in the middle of the...

This video tutorial is in the Arts & Crafts category which will show you how to tie a decorative Door Knocker knot. Take a piece of rope and make a loop at the center with the left hand end of the rope over the right hand end. Now pass the right end above and through the loop to make a half knot. Twist the loop to make a figure of eight, pass the right hand end through the lower loop of the "8" and back through the upper loop. Repeat this once again. Now repeat these steps with the left hand ...

In this video tutorial, viewers learn how to use the auxiliary audio port in a 2010 Toyota Prius. This car is equipped with a mini plug auxiliary input port in the lower rear section of the center console, below the armrest. This will allow users to use personal playback devices such as an iPod. Simply plug the device into the mini plug socket and press the AUX button to listen through the car's audio system. This video will benefit those viewers who have a Toyota Prius car, and would like to...

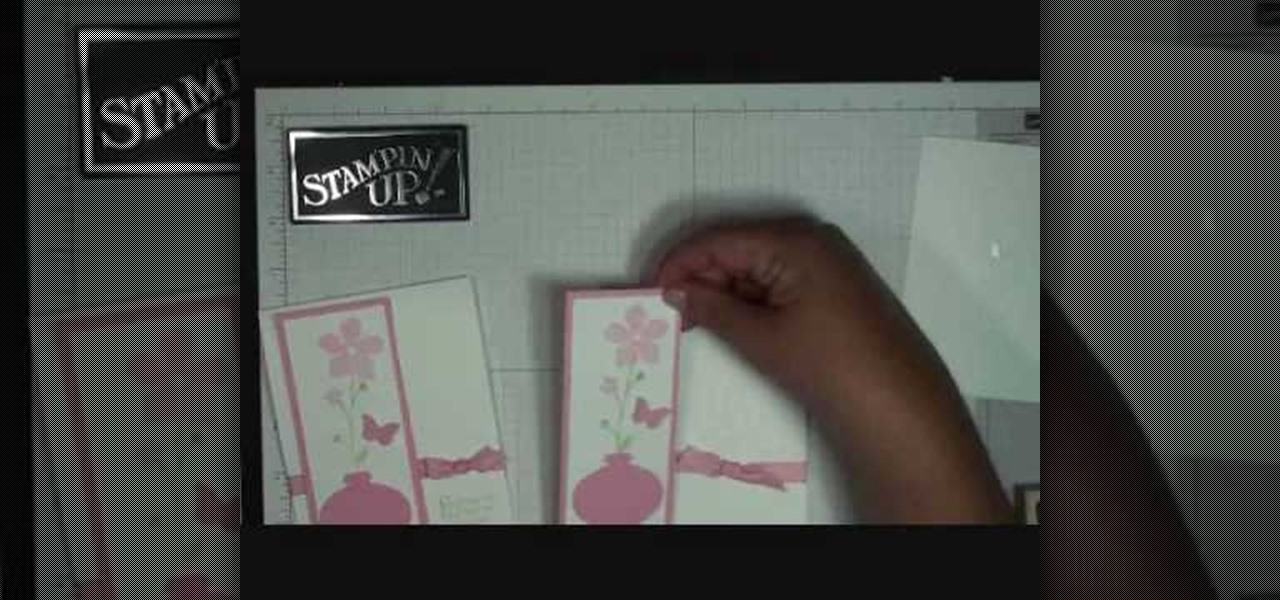
In order to make a flower vase card, with Stampin' Up, you will need the following: card stock, scissors, greeting stamp, Shimmer Mist, stickers, and ribbon.

In order to insert a movie into a PowerPoint 2007 presentation, you will need to create a placeholder for the insert, in your presentation. Click on the media center. A window will pop up, which will allow you to open your movie. If you have already have your presentation, but you haven't left a placeholder, you can add your movie by going to the point where you want to add the movie, in your presentation. Then, click Insert. Go to Media Clips group. Choose an option from the drop down menu t...

Having zippers on your clothes can be much better than having buttons or anything else. They're sturdy and can close up any gap with one swipe. If you plan on making your own clothes from scratch, it's important to know how to sew zippers onto your clothing.

In this Arts & Crafts video tutorial you will learn how to tie a Padlock style decorative knot. Padlock knot is a clever way to achieve the look and function of a padlock without having to bother about the key. Take a piece of rope, bend it in the center and make two loops on either side of the rope. Ensure the working end is over the rope in the left side loop and under the rope in the right side loop. Now overlap both the loops so that the left side loop is over the other loop. Now pass the...

In this Arts & Crafts video tutorial, Ana Maria, Origami artist, will show you how to fold an origami paper pyramid. For this you will need a square piece of paper; preferably colored. Fold the paper in half, open it up and fold in half in the other direction. Open up and fold all corners to the center point of the paper. Now fold it in half in both directions. Open up the last fold and fold one of the edges inwards. Open up again, unfold the adjacent flap and lock the flap down as shown in t...

Drugstore valentines? Pssh, why would you want to get the same cards every other kid is passing around on Valentine's Day when you can make your own?

If you are looking for a way to kill time while waiting in a restaurant, why not check out this magic trick?

In this how to video, you will learn how to make a hair bow. You will need a ribbon and a bobby pin. First, make a knot in the center of the ribbon. Next, pull it tight and make a bow shape in the ribbon. Make sure that it comes out evenly. if your ribbon is not double sided, one end may have no pattern. This means you have to twist it so that the printed side appears in the front. Next, take the bobby pin and slide one end through the loop in the middle. Make sure it is in the bottom area of...

In this video tutorial, viewers learn how to use the Sticky Keys feature in Microsoft Windows 7. To use the Sticky Keys, click on the Start menu and open Control Panel. In the Control Panel window, double-click on Ease of Access and click on Change how your keyboard works under the Ease of Access Center. Then click on Set up Stick Keys and check the option Turn on Sticky Keys. This video will benefit those viewers who have limited dexterity and find it difficult to use complex keyboard shortc...

First step in a free throw is when the ref passes you the ball. At this point you should step back and take a breath, this will slow you down and help you concentrate. You have 10 seconds to shoot so there is no rush. Next, approach the line. You will find a nail, dot, or spot of paint. This shows you where the center of the court is. Line your shoulders up with the dot, to prevent the ball from going to the left or right of the hoop. Next, you should use a routine you've established to get y...

Paul shows us how to make a gigantic three dimensional five-point star out of paper. First, glue A4 sized paper together to make a long strip. Make a U-shape on one end, cross the shorter end under the strip and make a knot by placing the end into the loop. The knot now looks like a pentagon. Flip the pentagon over and over until the end of the strip so that the paper strip is bundled into the pentagon shape. Stick the end of the strip to the pentagon shape. Press the centre on each side of t...

This video illustrates how to fold an origami angel with a wide wing span. Here are the following steps:

In this video tutorial, viewers learn how to use the Filter Key features on a Windows 7 computer. Begin by opening Control Panel and select Ease of Access. Under the Ease of Access Center, click on Change how your keyboard works and click on Set up Filter Keys, at the bottom of the window. Now check the box beside Turn on Filter Keys. Users are provided with several options for he Filter Keys such as: turn off the Filter key wen Shift is held or 8 seconds, display a warning message when turni...

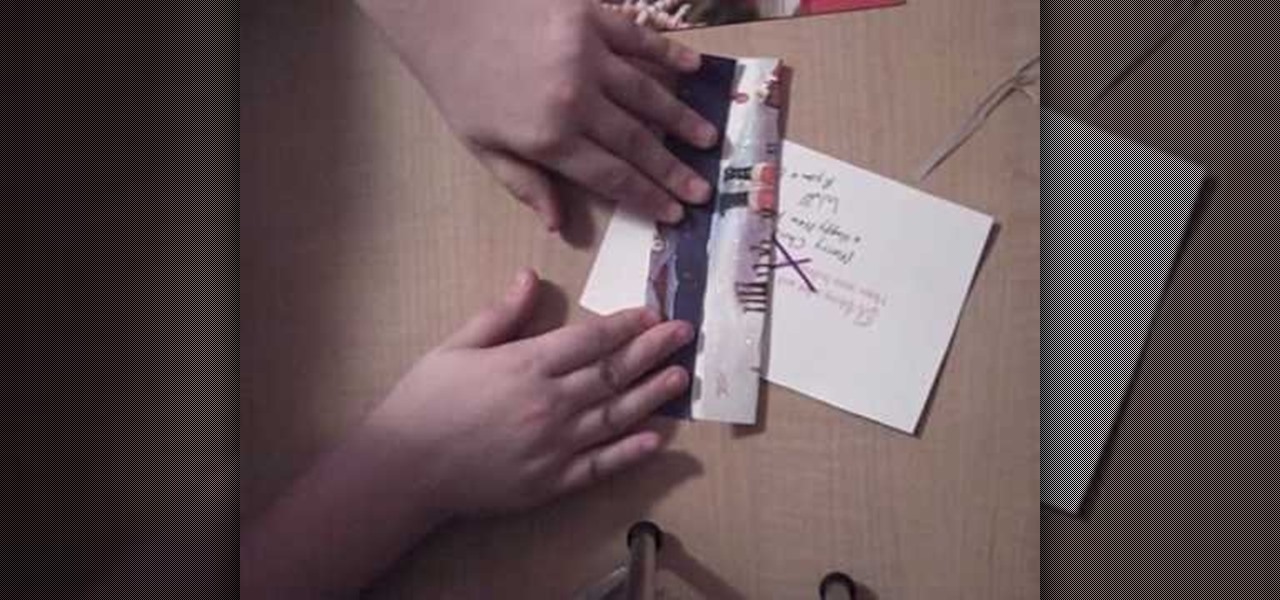
This video shows us how to make a homemade jewellery box out of a Christmas card.For that you need a pair of scissors,a tape,a christmas card,a marker and another card to draw your X with.First take the card and cut it straight down the middle into two pieces.Now take the back side piece of the card and cut off 1/4 of an inch from the left and the bottom portions.This will help to fit the cards together.Next use the extra card and trace an X on both sides of your card piece,in the middle.Take...


