If you're trying to hack someone's wifi, a useful bit of software you may want to try is called Wireshark. Wireshark is a wifi packet sniffer, which is an essential step in actually breaking into someone's wireless system. Of course, this is illegal, so make sure you're only doing it to test a network's security, or for your own educational purposes. Check out the video, follow the steps and see how secure network is. Hack, hack, hack!
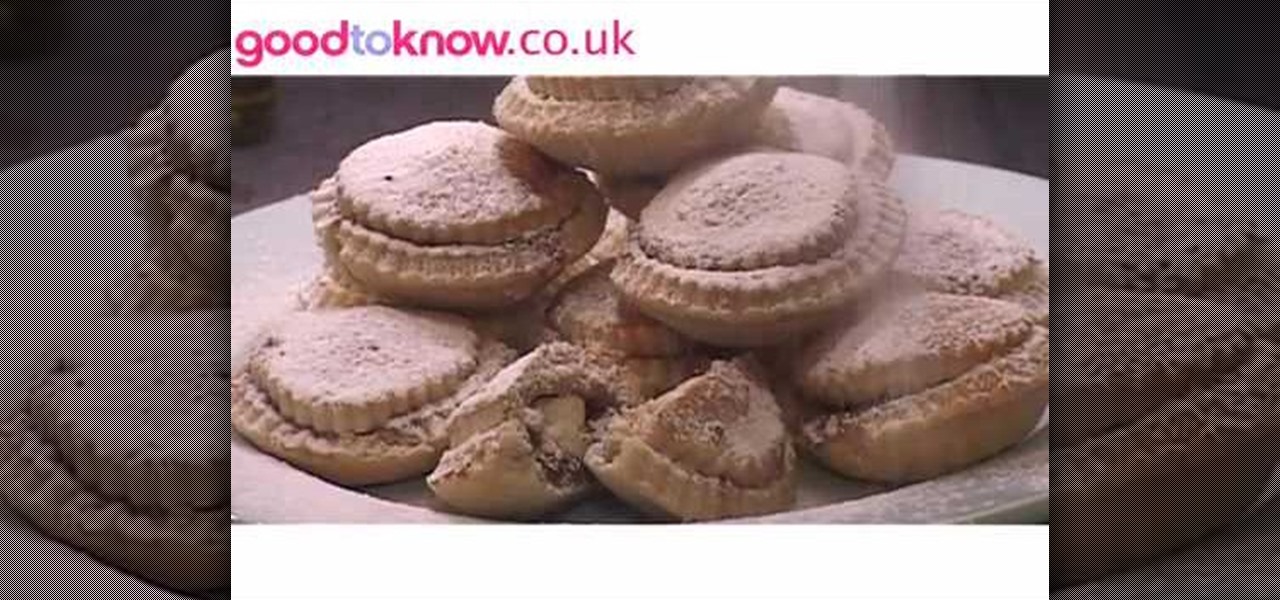
In this video, we learn how to make mince pies. Start out by sprinkling flour onto your counter and then rolling out your dough for the pies. Roll this out until it's thin, then cut out circles with a cookie cutter and place into a muffin pan. After this, fill with the mince filling and then a spoonful of cream cheese on top of that. After this, place the topping on these and secure with melted butter. Place these in the oven and bake them until they are golden brown. Let cool, then sprinkle ...
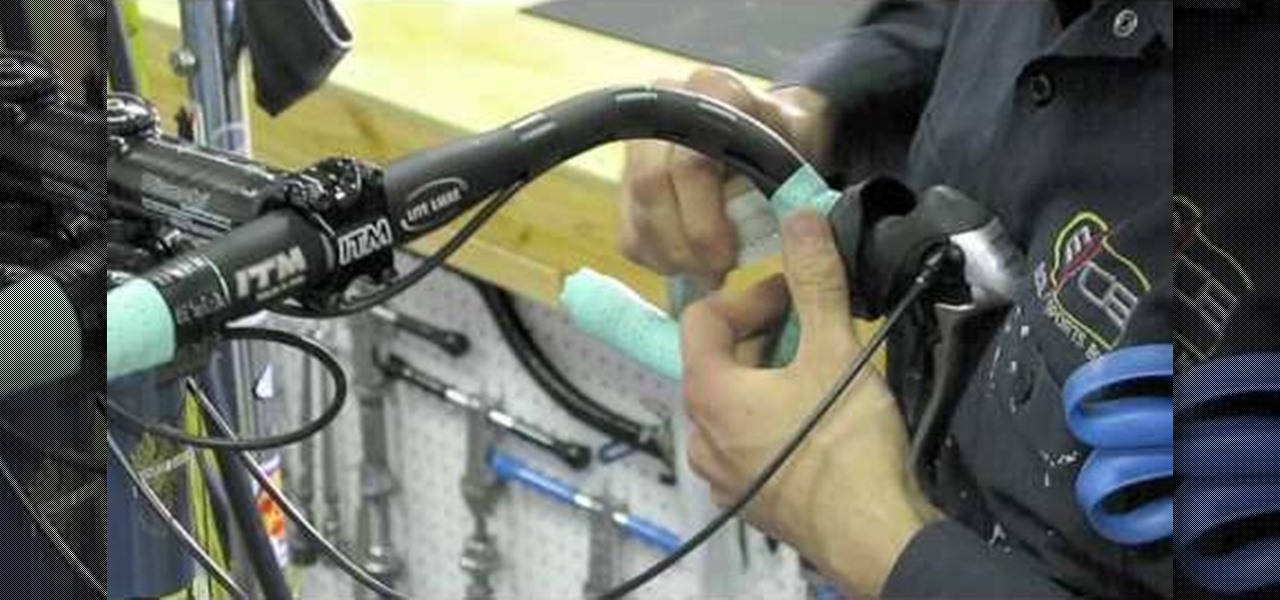
In this video we learn how to wrap handlebars. First, open up the tape and remove the adhesive. Place the tape on the bar and then tuck in one half as you work your way up the bar. The adhesive should be on the bars and there should be tension on them so they lay flat. Once you finish wrapping this, make sure they are tight and secure. Check your work to make sure you didn't leave any gaps and the curve is smooth. Don't pull too hard if you are working with cork tape, this will cause damage t...
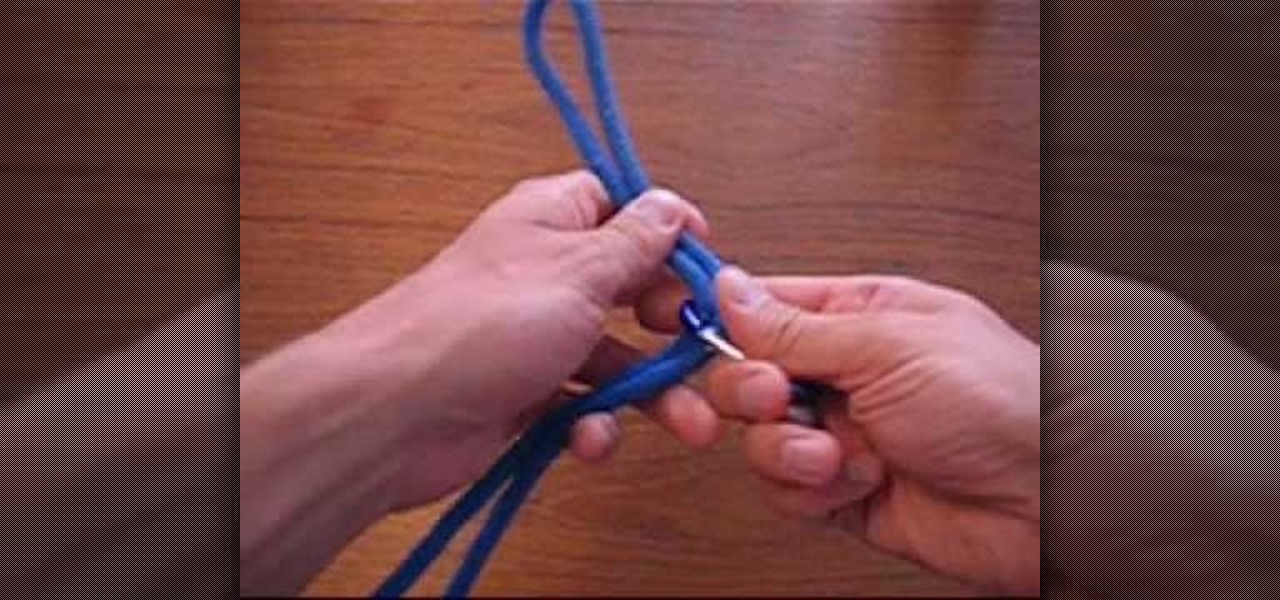
Use 12 inches of fishing line and a fishing hook. Make a large loop, folding the fishing line in half and put the fishing hook through it about a quarter of the way down the fishing line. Take the loop under the hook, draw it through the hole that was created. Pull to tighten. Next, take the small, loose end of the loop and place it around the fish hook. Pull the fishing hook through. Pull the end of the fishing line tightly so that the knot is firm and secure. Watch the video for more inform...

In this tutorial, we learn how to make a Max from Where the Wild Things Are. First, you will make the ears and the tail for the costume. Use felt for the ears and a furry type of fabric for the tail and the body. Cut out all of the different materials, then sew them onto a large off white colored hoodie. Once you have finished sewing these on, put the hoodie onto your body to make sure everything is secure in place. After this, put on shorts and sew the tail to those, then you will be able to...
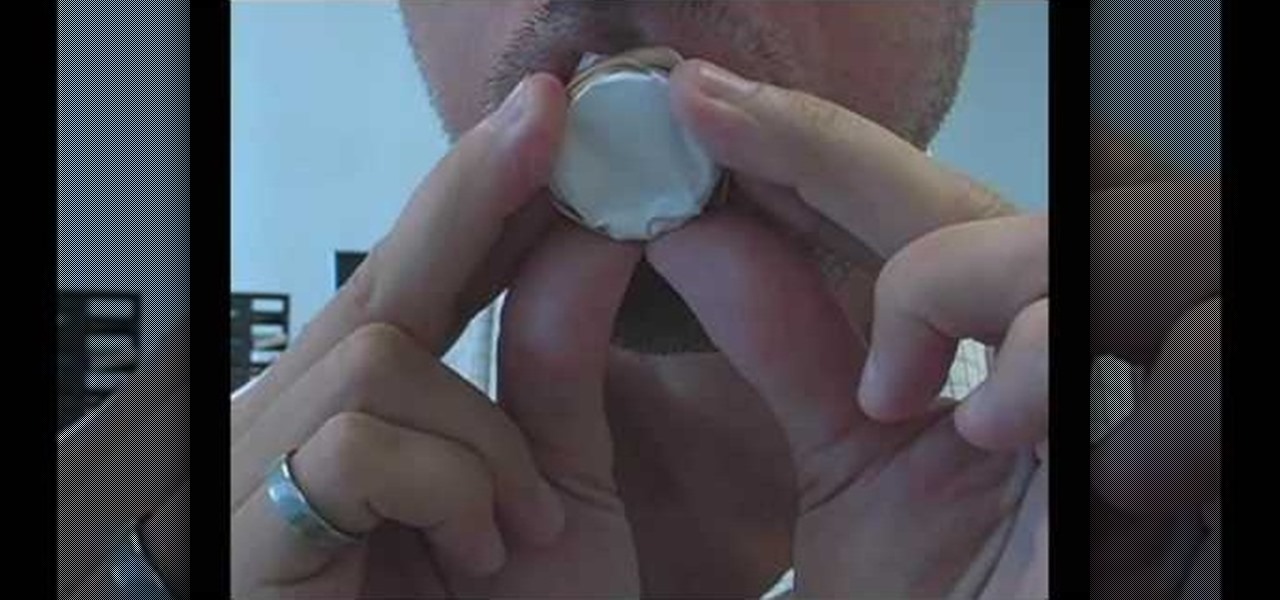
In this video tutorial, viewers learn how to make a realistic goose call. The materials required for this project are: a plastic bottle cap, scissors, rubber band and a piece of paper. Begin by making a small hole in the bottle cap. Then wrap the paper around the other side of the bottle cap and secure it with the rubber band. Now just blow in the hole and make a humming sound to create a goose call. This video will benefit those viewers who enjoy goose hunting, and would like to learn how to...

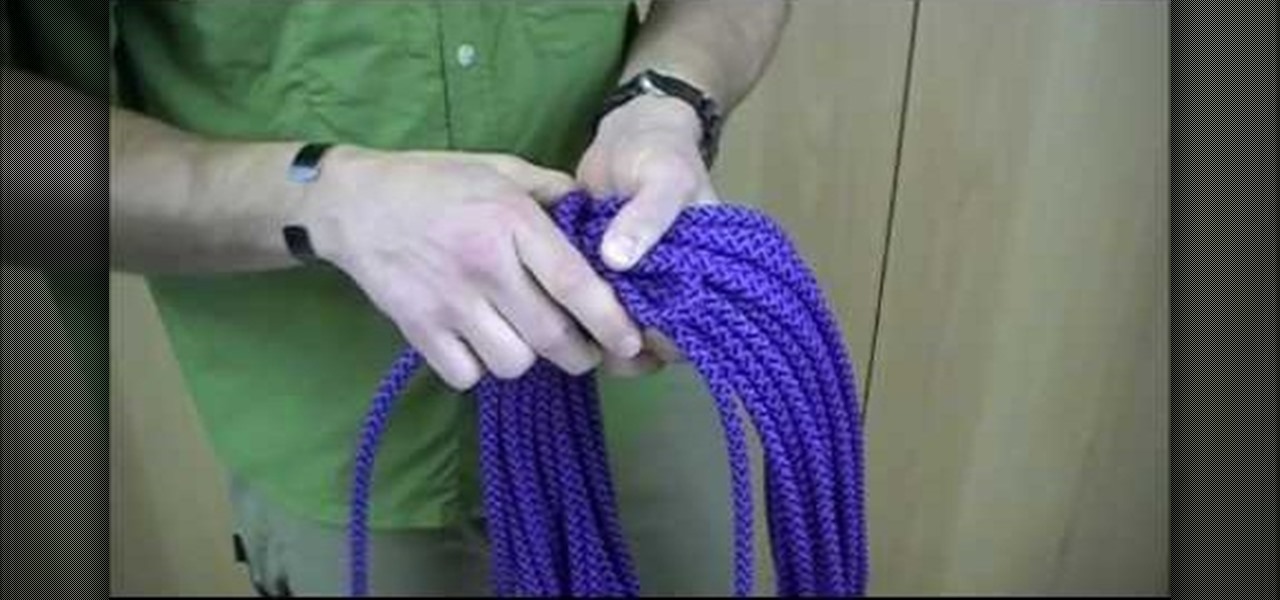
In this tutorial, we learn how to tie an Alpine Coil knot. When you start your coil you want the starting end to be inside your hand. First, take the working end of your rope on your last coil and make a loop in your rope. Then, wrap a couple of turns around the rope and lock it into place. Once you've made a couple of turns, the working end will go into the loop. To secure, go over to the end from the loop and give it a tug, which will lock the working end into the rope and make a nice way t...

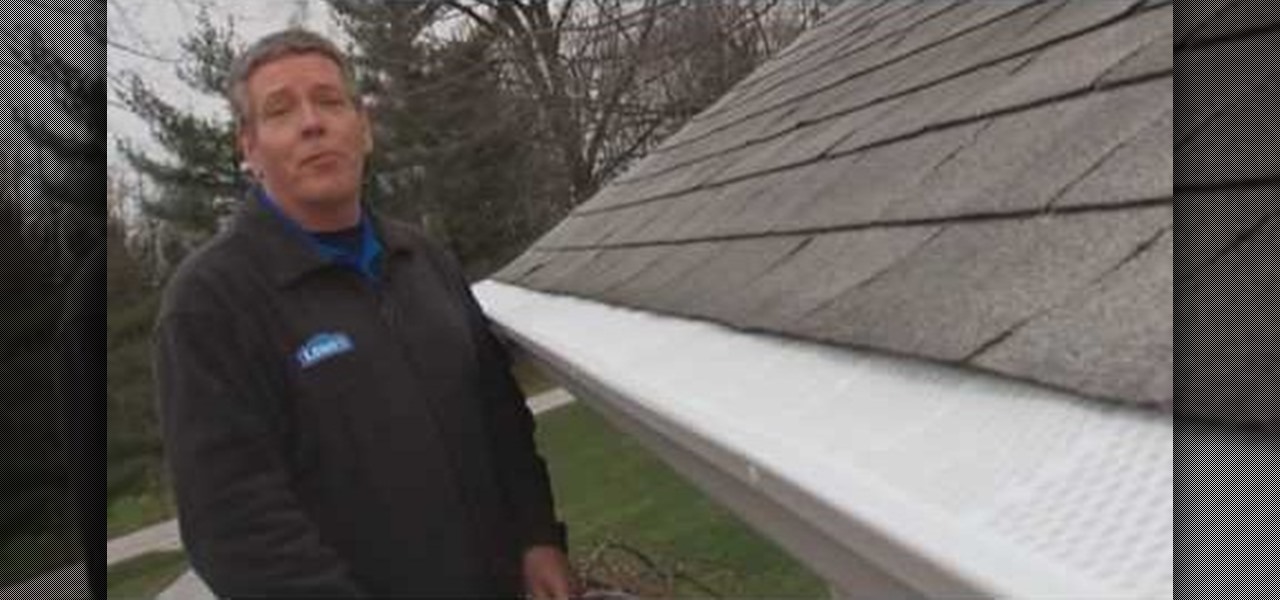
In this video tutorial, viewers learn how to install gutter screens. The materials required for this task are: tape measure, tin snips, drill with bits and sheet metal screws. Begin by measuring the gutter to determine how many screens to buy. Start at one end of the gutter and slide the back edge underneath the shingles. Then snap the edges in place and continue down the length of the gutter. Now drill holes in the edges of the screens and screw in the sheet metal screws to secure the gutter...

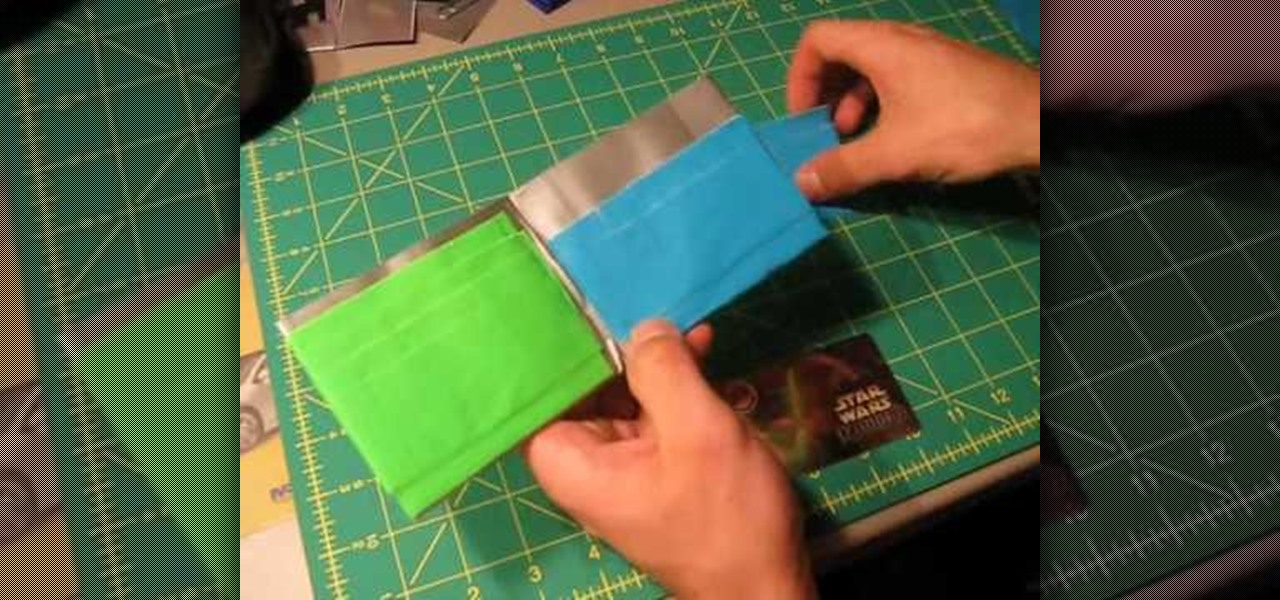
Duct tape isn't only good for making sure your items don't fall out of your eBay shipments and for securing a rear view mirror in place after your drunken cousin knocked it off one night during a temper tantrum.

In this tutorial, we learn how to style a cute and curly retro hairstyle. Start off by sectioning your hair off and starting on the underneath area of your side. Now, take your hair into sections and curl them into curlers. While these are sitting, take the top back portion of your hair and curl the hair, then place them into curlers as well. Continue to do this for all of the sections in your hair, pinning with bobby pins to keep them secure. Allow these to sit in your hair for around an hou...

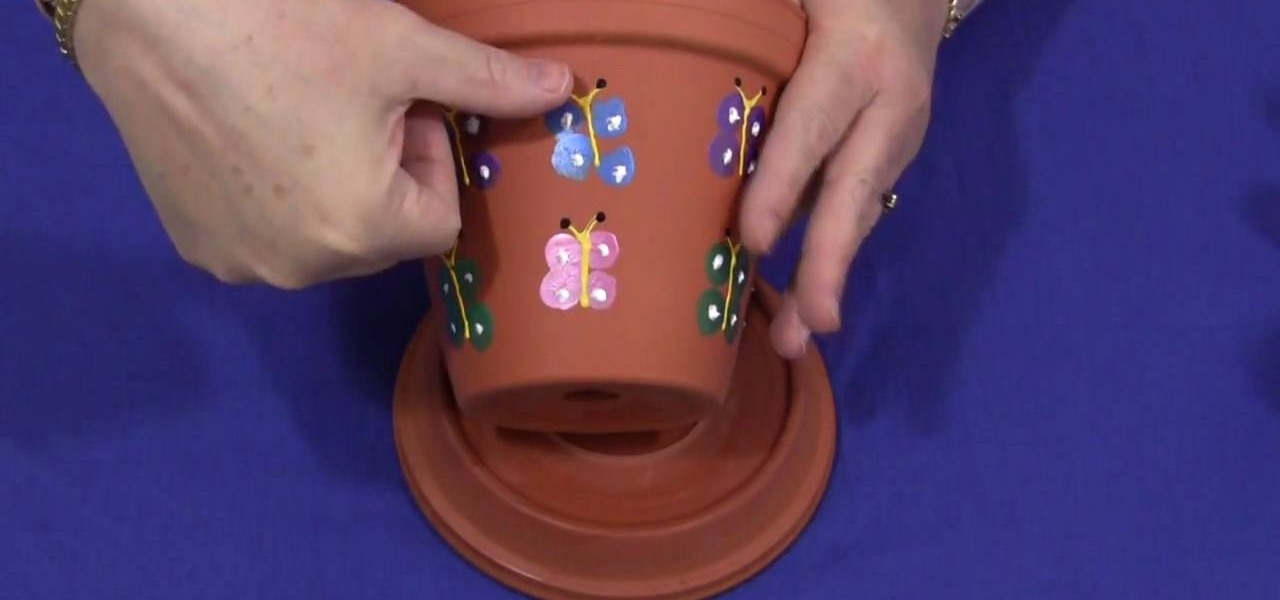
Shelley Lovett teaches us how to make a thumbprint butterfly clay pot in this tutorial. First, start off with a medium sized clay pot and several different colored paints. To make the butterflies, have your kids dip their thumbprint into paint and make a butterfly. Make two thumbprints on each side of the butterfly body. Use a paintbrush to paint in the body and head of the butterfly. When finished, use a sealer to secure the paint on the pot, then let dry completely. You can now use these po...

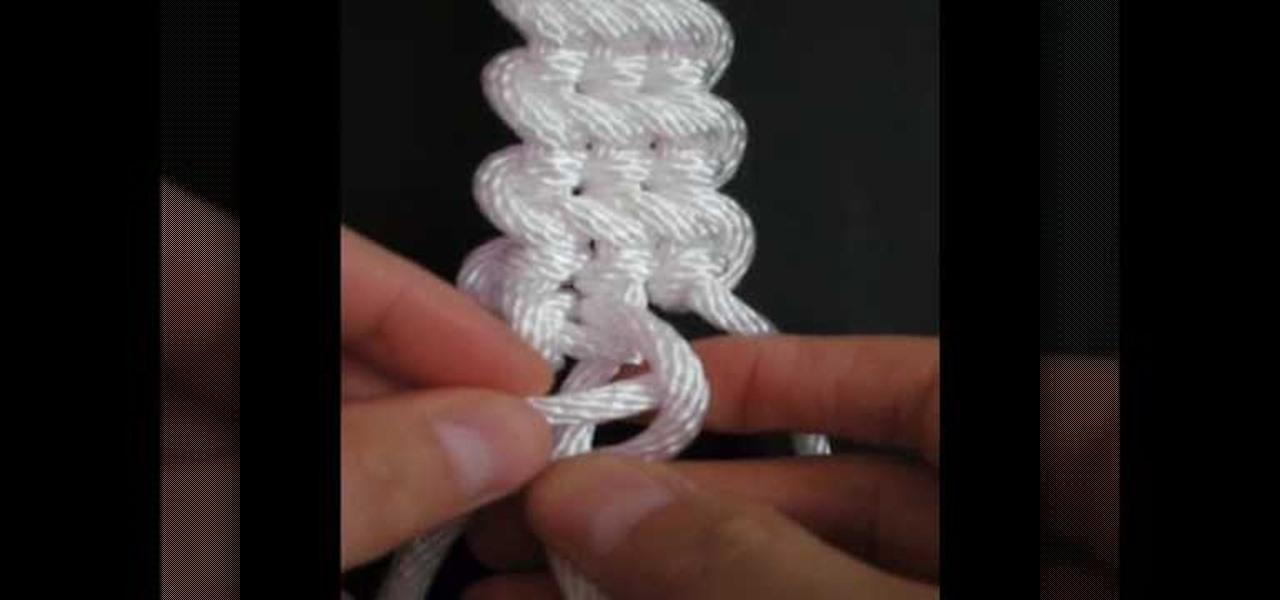
In this video, we learn how to make the guitar bar decorative knot. First, set up the bard then cow hitch two strips of rope side by side. Next, measure each bar to 12 inches long and make sure you have 12 feet of rope. After this, build the frets of the bar, and while you are doing this you will flip the bar over and start to half hitch. Continue to do this, tying all of the ropes together into the knot. Next, turn the knot over and continue on the other side. When you are near the end of yo...

In this tutorial, we learn how to install anti-sway bars on a 2008 Ford Mustang GT. First, take off the bolt off the end link, then use a socket to remove the nuts off the sway bar. After this, remove the sway bar and set aside. Now, insert your new sway bar, making sure you line it up properly. Then, place the bushings in with it and apply all the bolts in place to keep it secure. After you are done with this, replace all the parts that you took out of the car in the first place. When you ar...

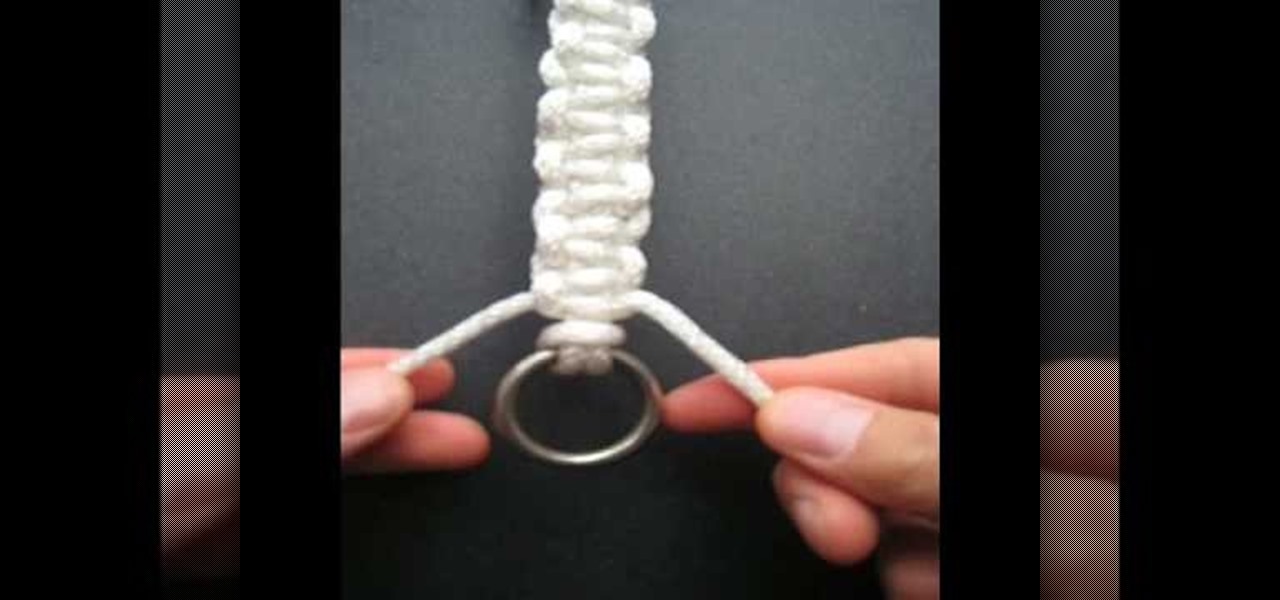
In this tutorial, we learn how to make a Solomon bar decorative knot. You will start by grabbing the ring at the end of the string, then tie it to an opposite ring. Fold the left side of the string to the right and bring the right over to the left. Pull the left into the loop to create a knot. Now, you will have two string that are more up and two that are more down. Next, tie the top strings into a knot, then bring the right knot behind the bottom two, and thread the left knot into the right...

Want to be as secure as you can while you surf the web? The EFF and the TOR project have brought you HTTPS Everywhere, a Firefox addon that encrypts as many websites as possible. This clip will show you how to use it. It's simple! So simple, in fact, that this home-computing how-to can present a complete, step-by-step overview of the process in just over two minutes. For more information, including complete, step-by-step instructions, take a look.

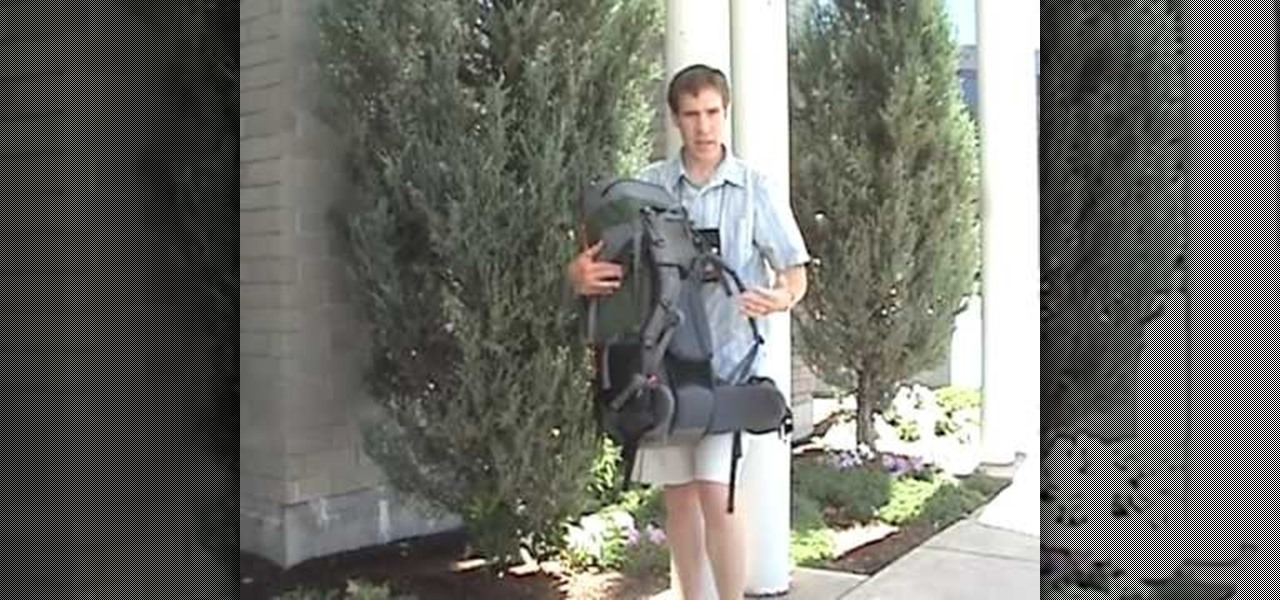
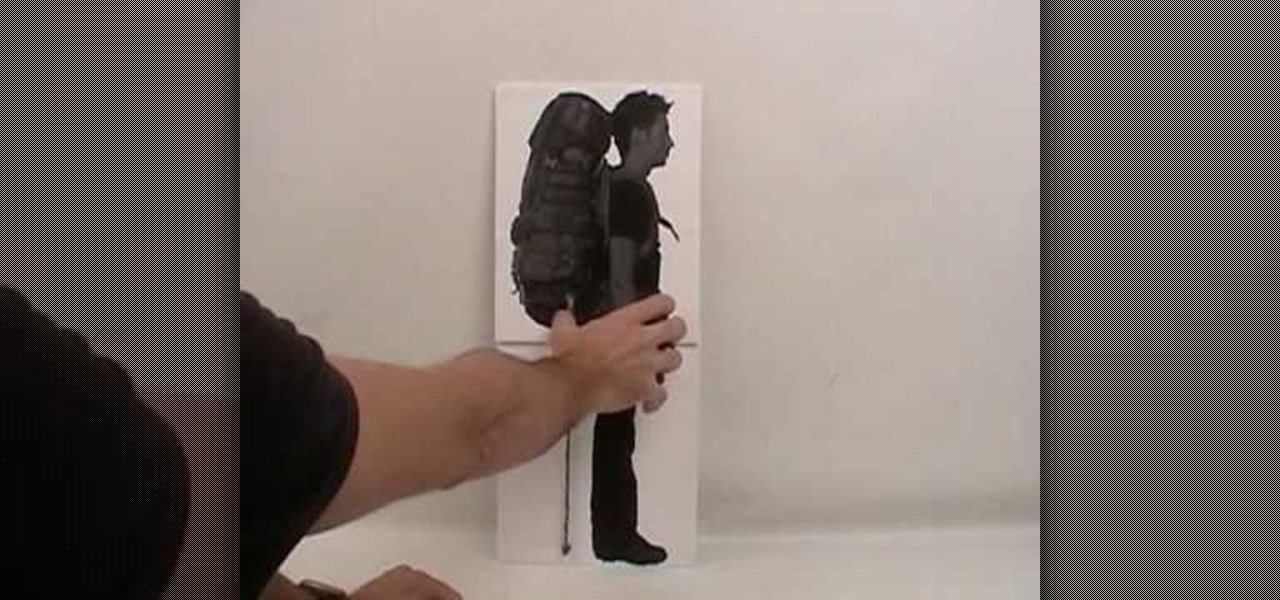
In this tutorial, we learn how to fit a backpack for long distance hiking. For scouts, look for a backpack with an adjustable torso so the pack can grow with you. After this, have the sales staff help you adjust your pack correctly, and measure how long the pack is on your back. You want the pack to fit you perfectly so you don't have back problems later. Try the pack on both on the hip section and shoulder to see how it feels on you. Tighten any adjustments to make it more secure, then you w...

This video illustrate us how to wear and distribute the load of your hiking backpack. Here are the following steps:

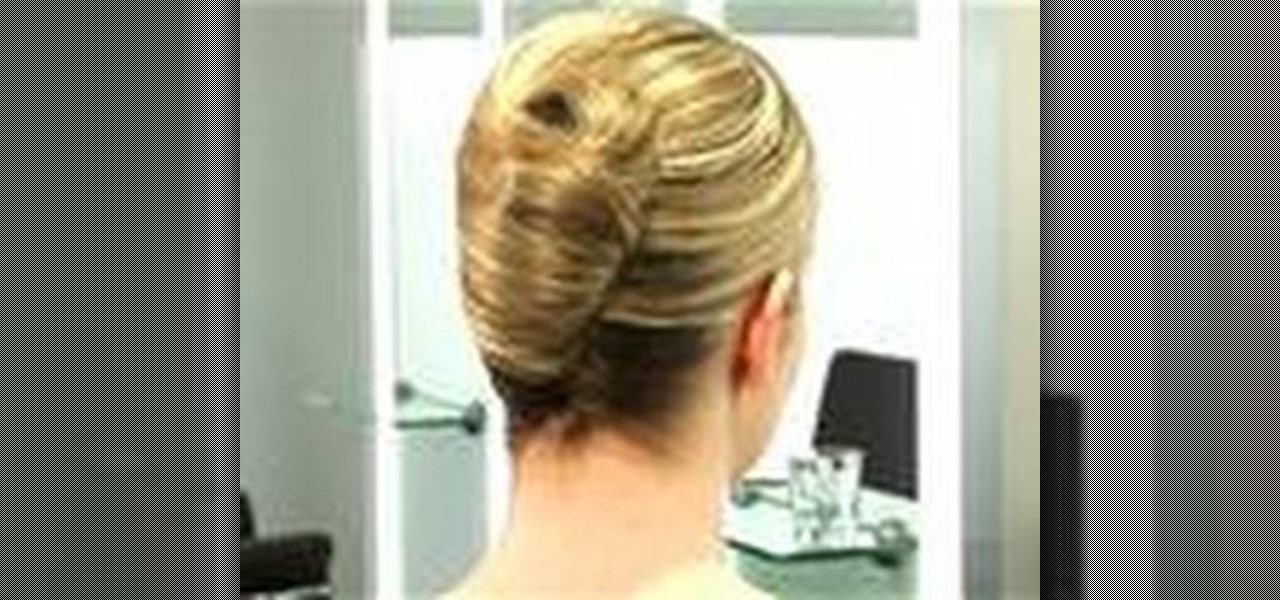
In this video tutorial, viewers learn how to make a French twist hairstyle. Begin by making a parting in the hair by brushing the hair towards the middle. Place a some grips to hold the hair to one side and spray on some hairspray to help hold it. Place your hands underneath the neck to hold the hair. Then wrap your hand around the thumb and secure it with your fingers. Use big pins to hold the twist. Brush the twist with a bristle brush and use some hairspray to hold it together. This video ...

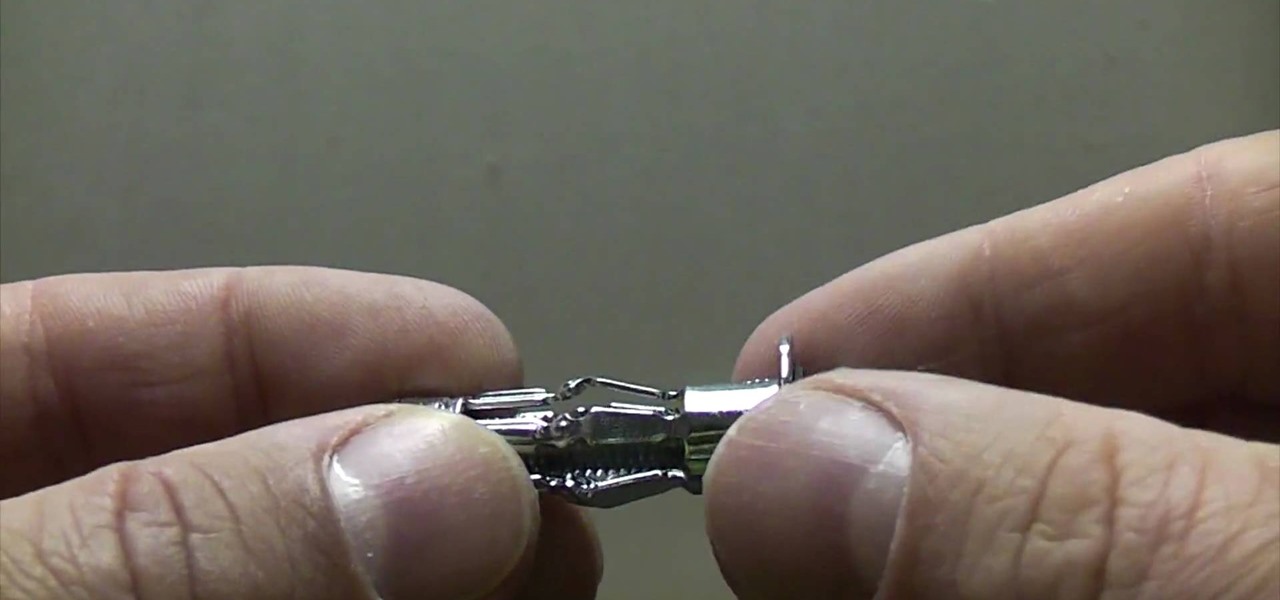
If you need to fix your plasterboard or drywall, you will probably need to use hollow wall anchors. In this tutorial, learn how to identify, buy and use hollow wall anchors with the Ultimate Handyman. Once you master this skill, you will be able to repair almost any wall easily. Hollow wall anchors are also very useful for hanging anything heavy on an otherwise weak wall. They attach to the back of the plasterboard with little legs so they are more secure than normal nails or screws.

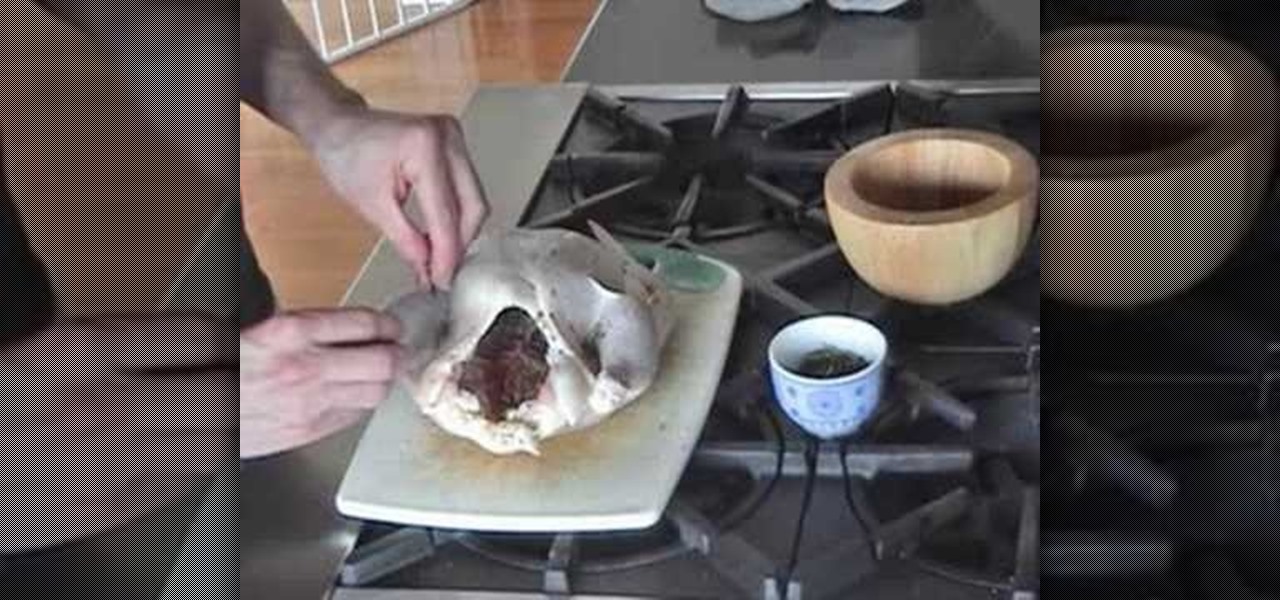
This video by Matt Wright will teach you the easy way on how to truss and roast a chicken. Matt likes his roast chicken with a lot of pepper and salt on the outside. He seasons the insides of the chicken with a generous helping of fresh chopped rosemary, coarsely ground sea salt and freshly ground black pepper. Then the joints of the chicken are rubbed with the seasoning. The chicken is trussed up by bending the wings backwards on the body and tying a string across the breast and over the win...

In this video tutorial, viewers learn how to properly shoot and sight in a compound bow. It is recommended that users use a release. Your body should be perpendicular to the target. Hold the bow vertically, and hold it with a relaxed and secure grip. When you are ready to begin shooting, learn a technique that will help you relax and steady the bow. When you draw the bow string back, you should be looking through the peephole on the bow string and where the target and pins come into view. Thi...

In this video tutorial, viewers learn how to make a guerilla spotlight using household items. Users will simply need a cardboard cylinder and a light source. Te materials used in this video were a toilet paper roll, piece of aluminum, gaff tape and a lamp. Begin by cutting a couple of 90 degrees slots in the middle of the foil, slide in the tube ad secure it with tape. It should be a bit longer than the tube. Now wrap it around the light source. This video will benefit those viewers who produ...

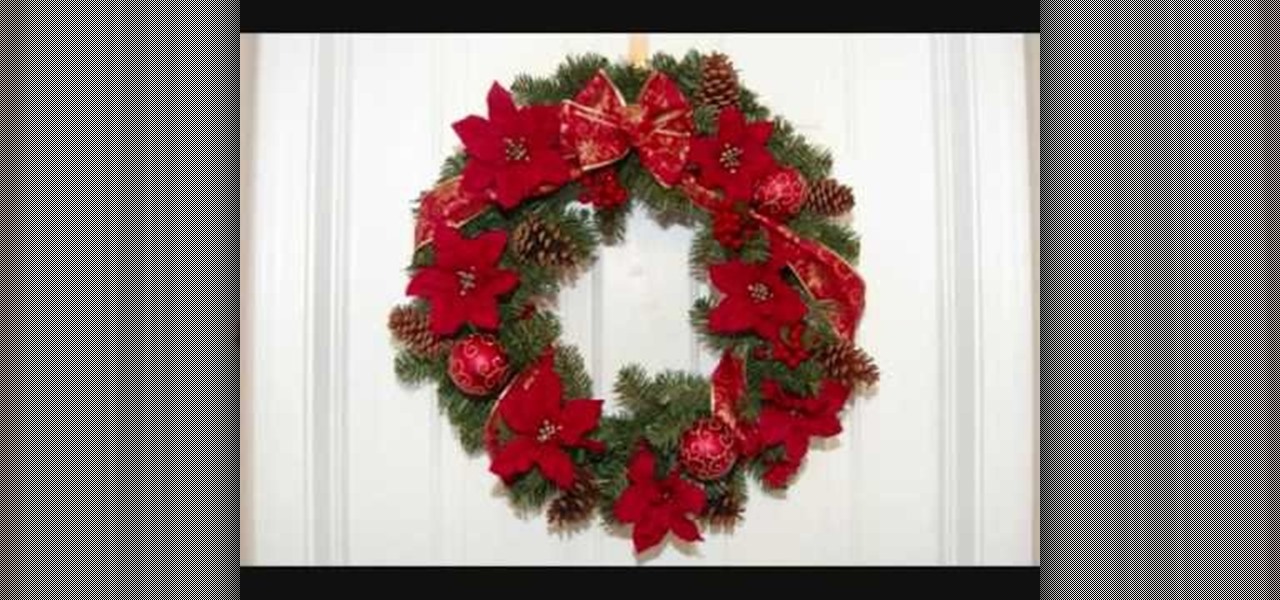
To make a Christmas wreath with poinsettias, by using synthetic materials you will need a Christmas wreath, pine cones, ribbon, berries, poinsettias, and any other picks you may want to use. You can purchase these items at any craft store. First, shape wreath, make bow out of Christmas ribbon (or pre-purchase bow), and attach on wreath. Next, wrap excess ribbon around Christmas wreath and align evenly poinsettias around wreath. Then, wrap around wire from the ornaments, pine cones, berries, a...

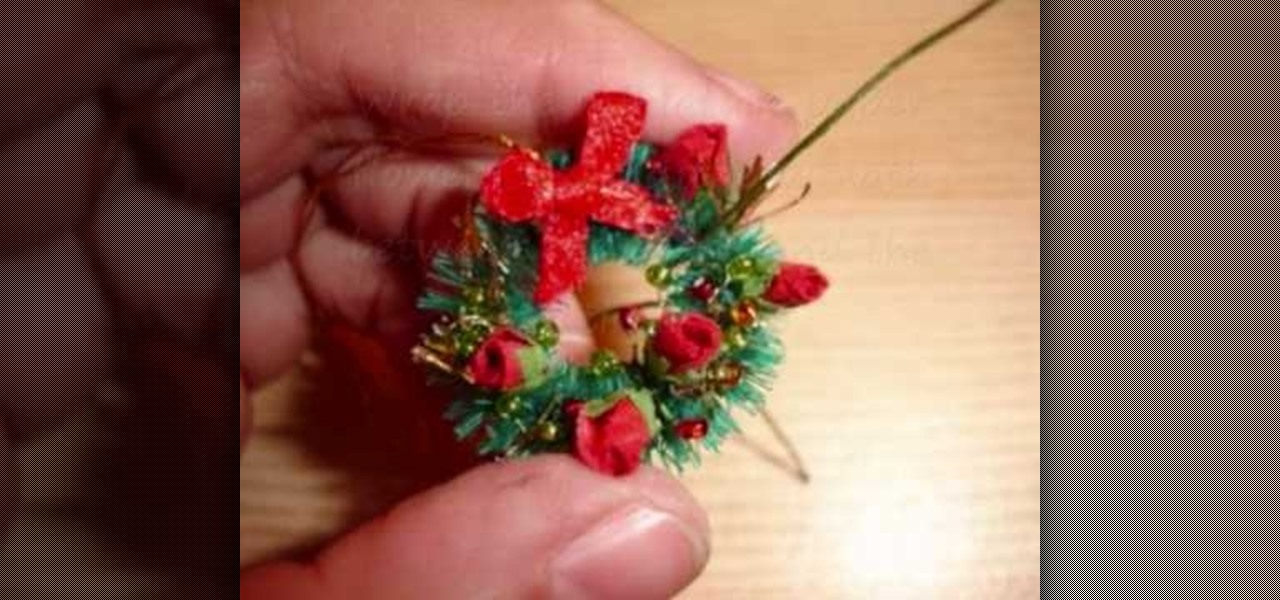
The equipment that you need is pliers, beads, beading wire, tinsel, some miniature flowers and a plain wreath. Twist a section of beads onto the wire, 5 beads make a nice grouping. Twist the 5 beads onto a single wire to make a bunch. Make enough bunches to cover the wreath. Fold a piece of tinsel between your fingers. Wrap the beading wire around the tinsel to hold it firm. Fluff the tinsel to give it some depth. Wrap the bead bunches and tinsel wraps around the wreath. Wrap the miniature pa...

Learn how to wrap a textblock in this video tutorial. Wrapping the block allows you to protect the book's inner pages while you are working on the outside of the book. All you need to do is use some butcher paper, or any other kind of heavy duty paper you may have on hand. Lay the spine flush against one side of the paper. Open the front cover and fold the bottom sides into the book. Tape these ends together. Then, with the excess paper on the non-spine portion of the book, fold those ends in...

Start with an eye pin. Place a gold bead and end cap on it. Now put on a piece called a stamp, or stamping. You want to find one that is curved like a lamp. Next put on a large crystal (8mm). In this video she uses a Swarovski crystal. Find some beads you like and place them on the pin. At the end, place on a large plastic back of an earring to secure the beads and hold the "lamp" upright. Now to make the little beaded fringe at the edge of the lamp, you take another eye pin and thread on som...

In this video tutorial, viewers learn how to make a parchment cone for cake decorating. A parchment cone is basically the same as a pastry bag. Begin by cutting out a piece of parchment paper. It doesn't matter the size of the parchment but it needs to be flat. Using a ruler and a knife, cut the paper diagonally. Take the longer end and curl it inside. Take the other end and wrap it around to form a cone. Fold the top to secure the cone. Once the cream is in the cone, roll the top and make a ...

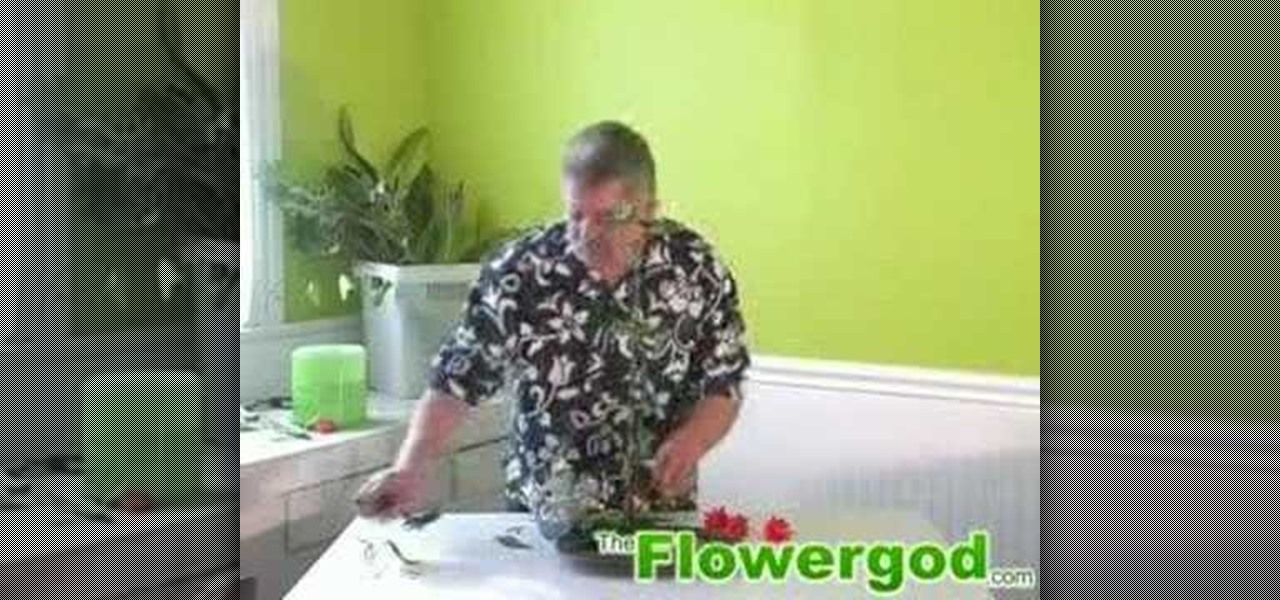
The Flower god gets us all ready for the Chinese New year with a quick and very simple flower arrangement for a table centerpiece. You'll need some good luck bamboo, some ivy, little pieces of ginger and some passion flowers to accent the green. Take some of the ivy leaves and cover the centerpiece base. Cut them short at a sharp angle to cover everything. Next use the good luck bamboo to add height. Cut these at a sharp angle as well so that they will stay secure. The angles help it work as ...

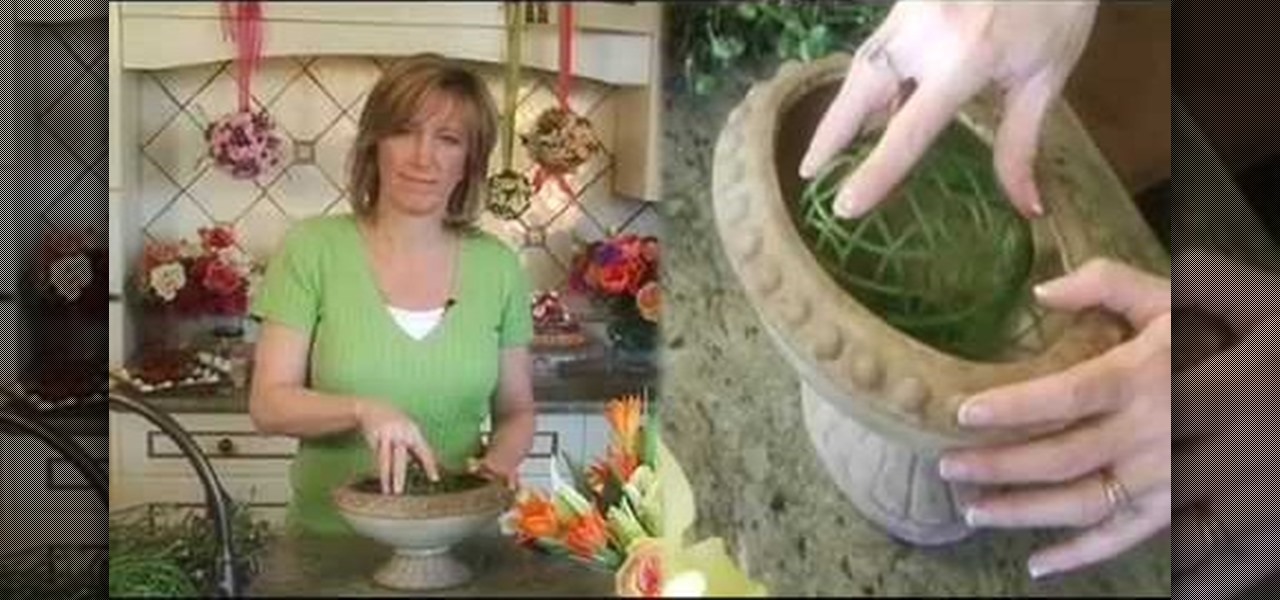
A wedding budget can quickly get out of hand as your planning progresses. Things like centerpieces are a major cause of skyrocketing wedding costs. If you have a little time and want to easily trim down the cost of your wedding, think about making your own floral centerpieces. You'll learn how to with this simple tutorial from EZ Bouquet. You'll soon see how easy it is to make a beautiful floral arrangement in an open container and how to secure the arrangement in the base of the container. A...

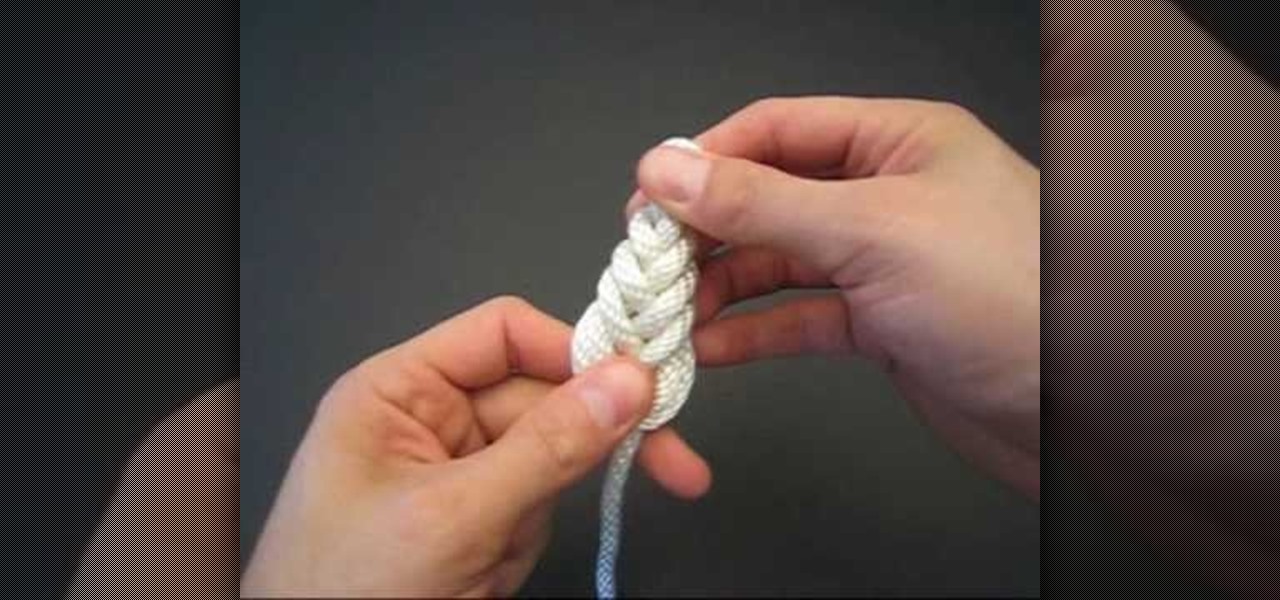
In this Tying It All Together video tutorial, you will learn how to tie a decorative pipa knot. To begin, take a piece of rope and fold so that you have two strands. Create a loop and take the left strand and loop it around the original loop. Continue doing this until you have layers of loop-like structures, gradually getting smaller and folding into one another. The effect is a woven-like structure. To actually secure the knot, fold the end strand into the last loop and then pull this end st...

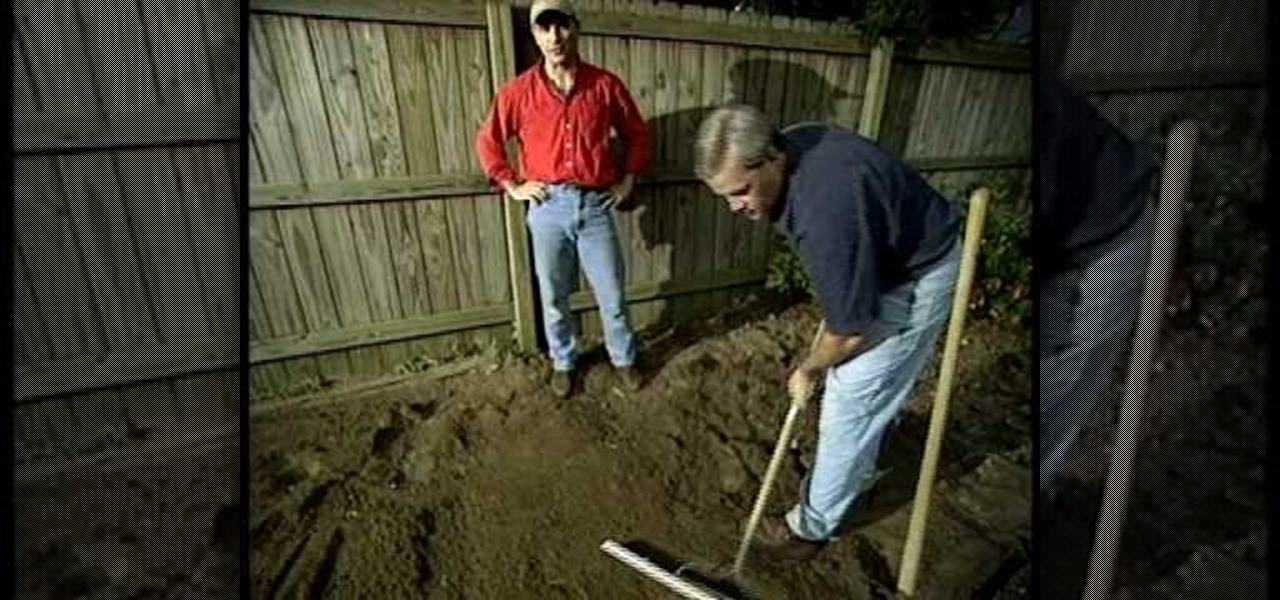
This video is a tutorial on how to turn a rake into a screed tool. It begins by explaining that a screed tool is something used for spreading concrete. First, you will need a rake and a piece of wood that is called a 1 by 4. Put a steel rod over the rake blades and use a drill to secure it to the wood. Use wing nuts to tighten the bolts. By using a 1 by 4, you are creating a light-weight smoothing tool. It can be used to smooth out concrete, mulch, sand, or soil. If you make the screed tool t...

In this video tutorial, viewers learn how to reassemble an XBox 360. To begin, put the mother board onto the bottom plate of the console. Plug in the fan and put on the fan cover. Now plug in the DVD drive. Screw in the RF module on the front of the case. Place the top of the case on and screw it in. Now place on the top piece and screw it in. Then place the bottom piece on. Finally, place on the side panels and face plate. Make sure while assembling, all the pieces are secured and fit proper...

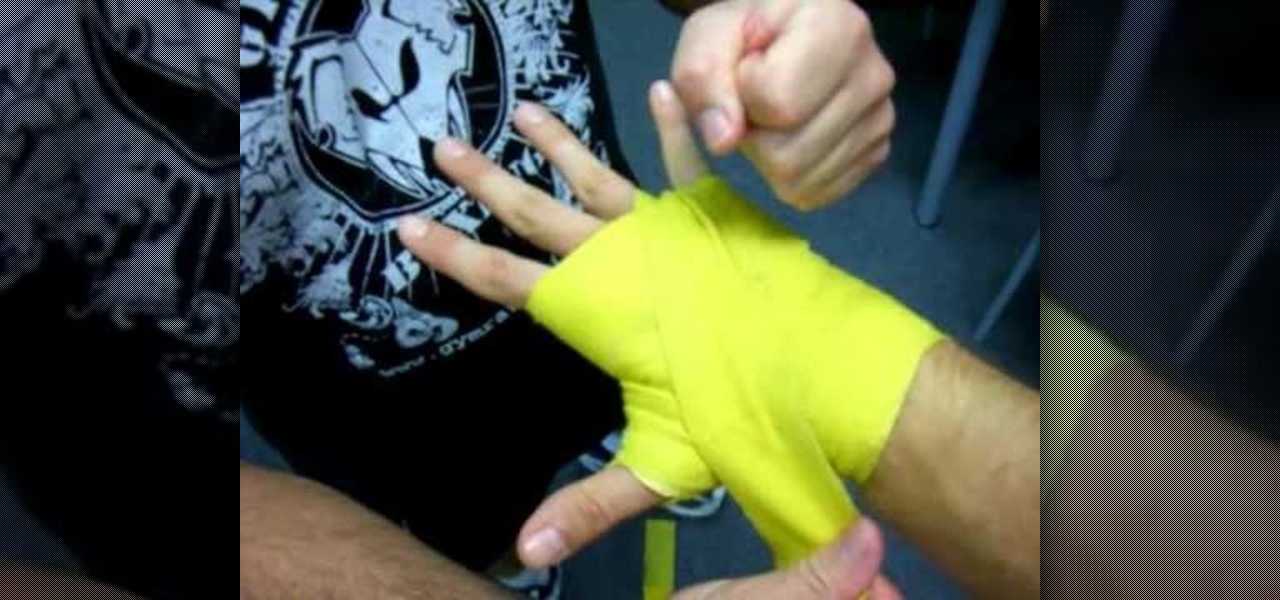
In this video tutorial, viewers learn how to wrap the hands for boxing, MMA and kickboxing. Begin by putting the thumb through the loop and bring it under the palm. Wrap it one time around the wrist. The cross it through the thumb and index finger. Wrap around the knuckles 3 times. Now cross it behind the thumb and over. Then go under the wrist and over the thumb again. Then go over the wrist, under the palm and through the pinkie and ring fingers. Roll around it to secure and repeat for othe...

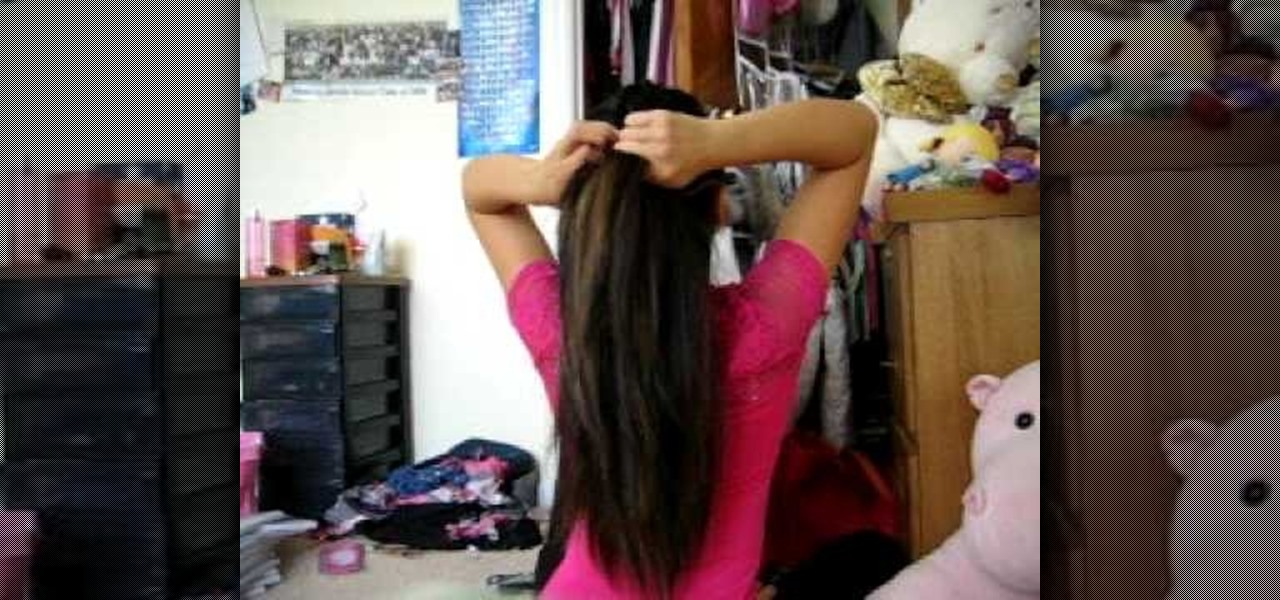
To make an inverted French braid you will need a hair spray bottle, a brush, and a rubber band or a cloth band. First of all wet your hair using hair spray and take almost two inches of hair from the front. Divide your hair into three parts and start making an invert braid. From the right side, add more hair to the braid. Using your fingers on the right side, take hairs from the left side. With your right two fingers grab more hair from left and add to the right side, and take hairs from the ...

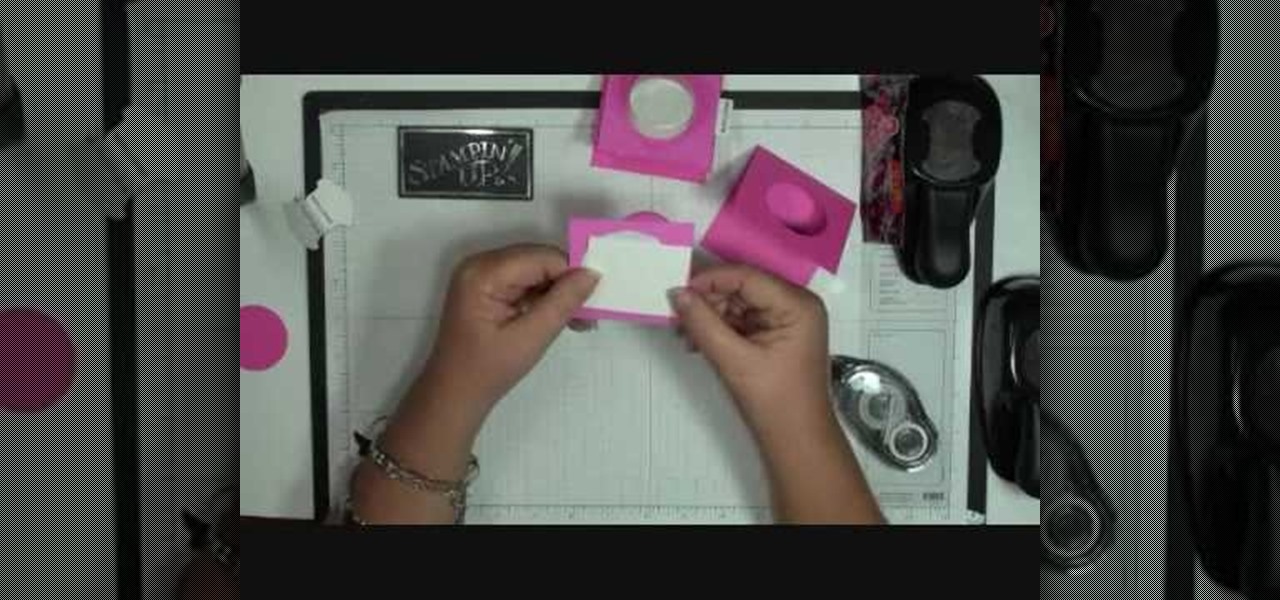
Dawn5377 teaches you how to make a pink sweet treat cup door. You need a stamp from the sweet center set and you use it on a small piece of pink cardboard. You punch the middle out. Also punch the middle of another piece of pink cardboard. Insert the treat cup door and stick it in. You use dimensionals to hold a white piece of paper, which acts like a tray under the plastic dome. You add some sweet treats inside and stick the other pink piece (with the heart) on the other side. Also remember ...

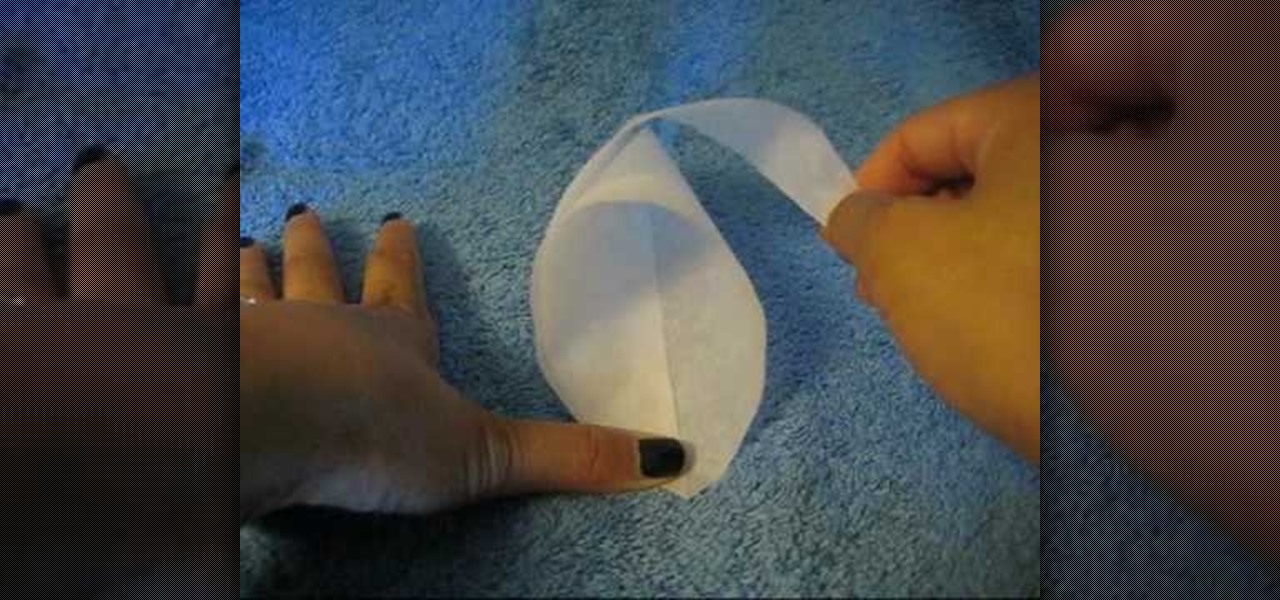
Want to make parchment cones for cake decoration? The secrets of making parchment cones for cake decoration are given in simple steps. First cut a parchment paper into an isosceles triangle of any size you wish. Now roll one corner inwards to the bottom end, curl it under and hold it. Now roll the other end over it and curl it under to form a cone, all the three tips should meet. Now fold the end with a sharp point inside the cone twice to secure it. If you are going to use it as decorating t...

Emily from Girlispoision takes us through crafting yarn falls, a new and interesting sort of hair accessory for girls and women of all ages. First, obviously, you need yarn. Second, you'll need a glue stick, for general construction. Third, you'll need a nice large flat surface on which to work. Spreading your yarn out into separate strands, all side by side, you then tie them around the middle, and apply your glue stick, to make sure it will be secure. After snipping it to the desired length...

Love doing science experiments? Want to impress your friends with your science skills and look good? Then you must watch this video.

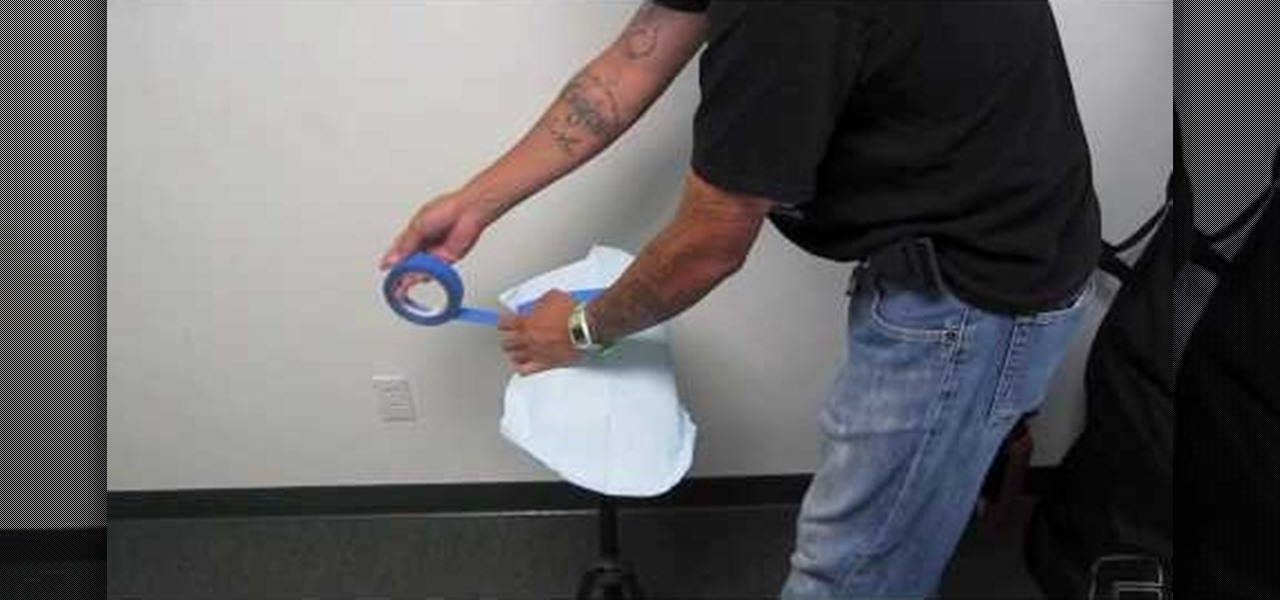
Using blue tape and a dental bib during tattooing to protect a portable tattoo armrest from ink and blood. The process of protecting the armrest is simple. This process would prevent ink from being transferred to another person or even onto their clothes. Using the dental bib you place it over an armrest and use blue 3m tape to secure the dental bib. Once this is done you are ready to start tattooing. Very cost effective and efficient way to protect an armrest and others.

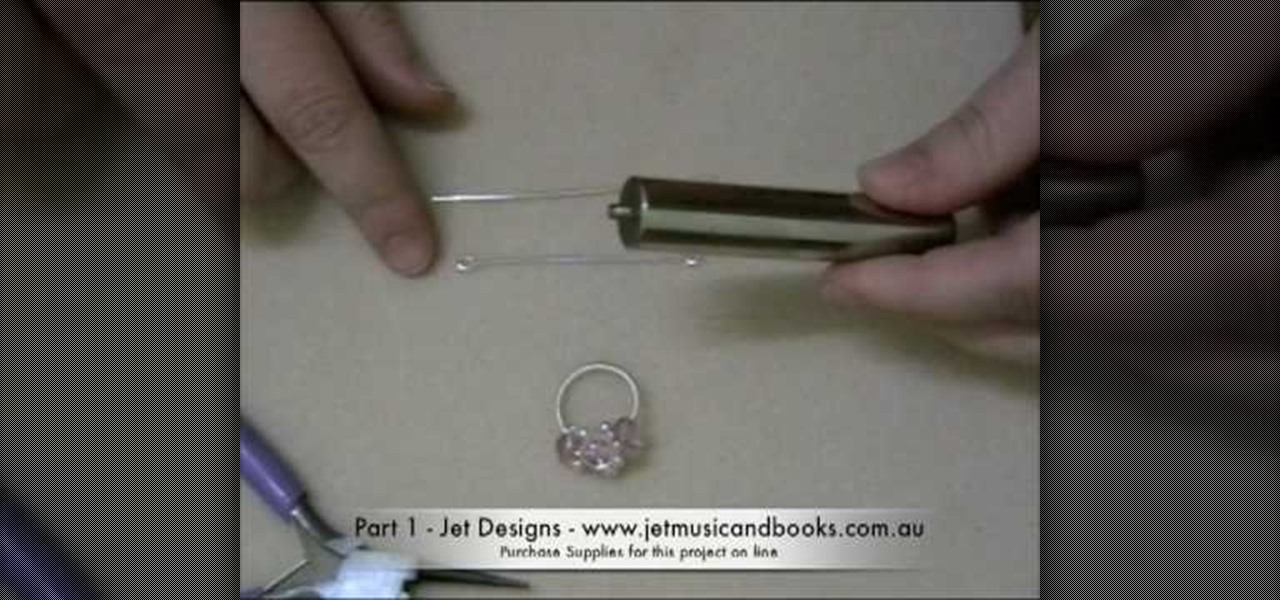
Sick of spending massive amounts of cash on jewelry that's not even your style? Express & accesorize yourself exactly the way you'd like by making your own jewelry! In this three-part jewelry-making tutorial, learn how to make a wire wrapped ring base with a crystal beed accent. You will need: A pair of flash cutters, pliers, a round object to make the ring form, 18 gage copper coated artistic wire, 24 gage artistic wire, and 26 gage artistic wire to secure the crystals & beads on the ring. E...


