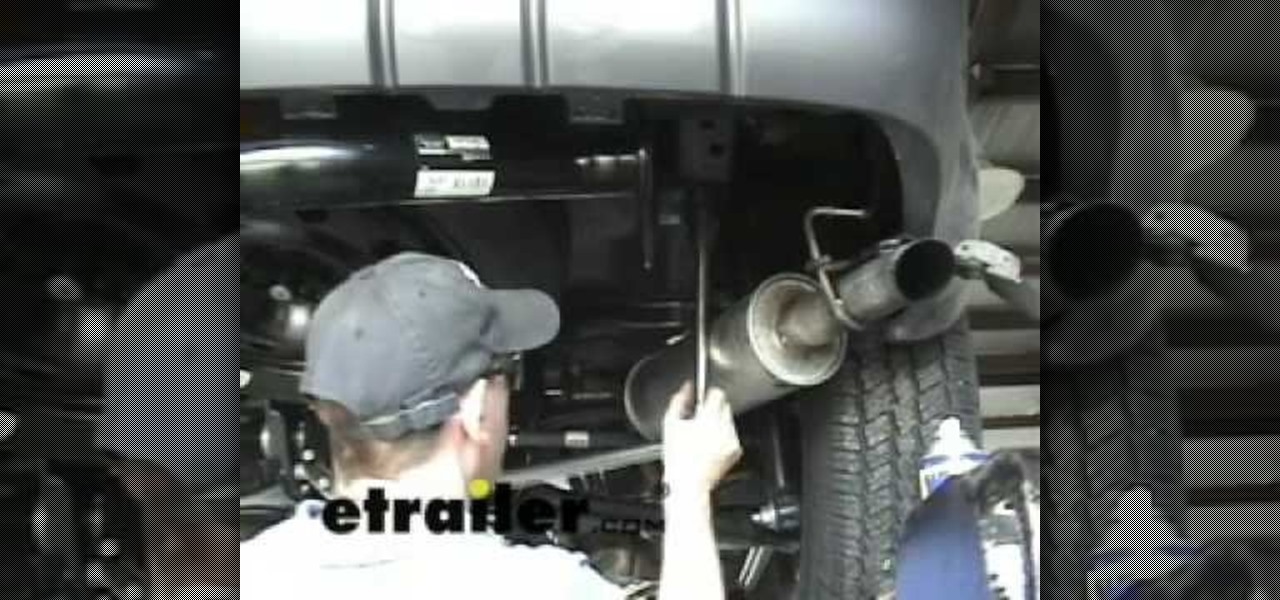
Just because you have a hybrid, that doesn't mean you have to sacrifice the functionality and convenience that a trailer hitch offers. This video shows just how simple it is to add a hitch to your hybrid suv so that you can continue to tow trailers, use a bike rack, cargo carrier, or any of the other hundreds of hitch mounted accessories available today.
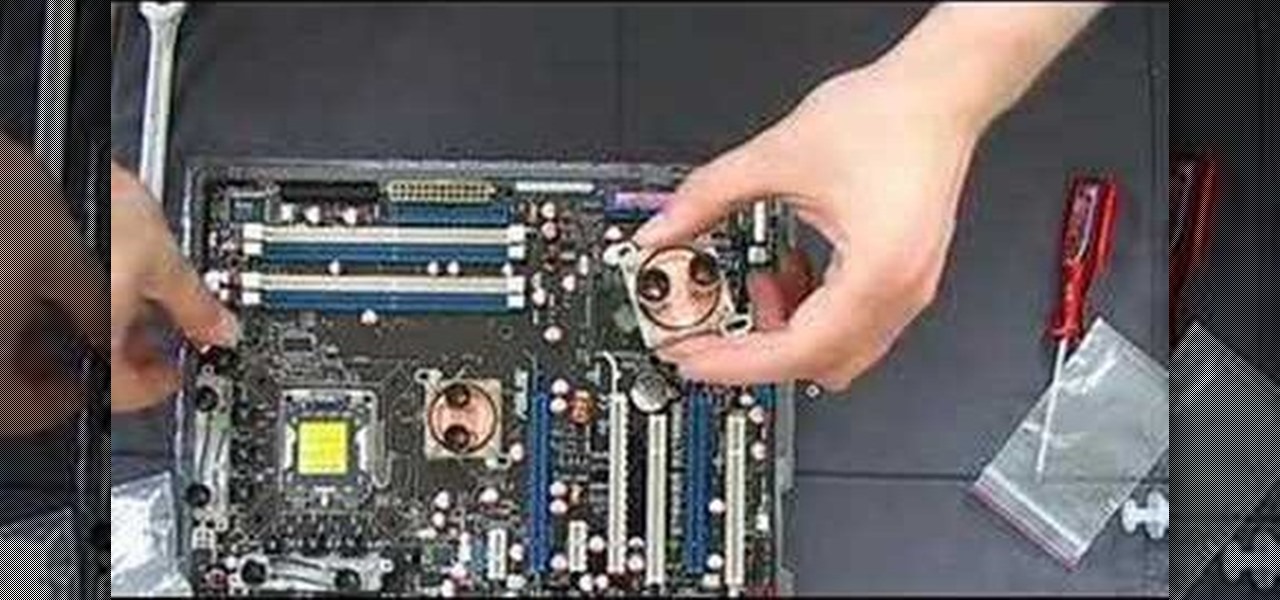
How to mount a northbridge cooler twinplex xhipset on a Asus Striker Extreme.

Learn to do a side mount or four corners pin in Jiu Jitsu.

How to attack from someone's guard (you in the mount position) in Jiu Jitsu using the heel hook technique.

Learn to execute a Jiu Jitsu wrapping shoulder lock from a mount.

Learn to execute the Jiu Jitsu Crucifix technique from a side control mount.

Want to learn the easiest way to get music off an iPod and onto a Mac? A Webb from howdoimac.com recommends using iPodDisk, a great little application that mounts your iPod as a hard drive. Your simply drag your music off the drive onto your computer and into iTunes!

In this episode Gary gives the California Cab's a run for the money and hopefully helps you choose the next Cabernet Sauvignon you buy (or don't buy). He compares 2004 Chappellet Signature Napa Cabernet Sauvignon, 2003 Salvestrin Cabernet Sauvignon, 2003 Mount Veeder Reserve Cabernet Sauvignon and 2004 Coup De Foudre Cabernet Sauvignon.

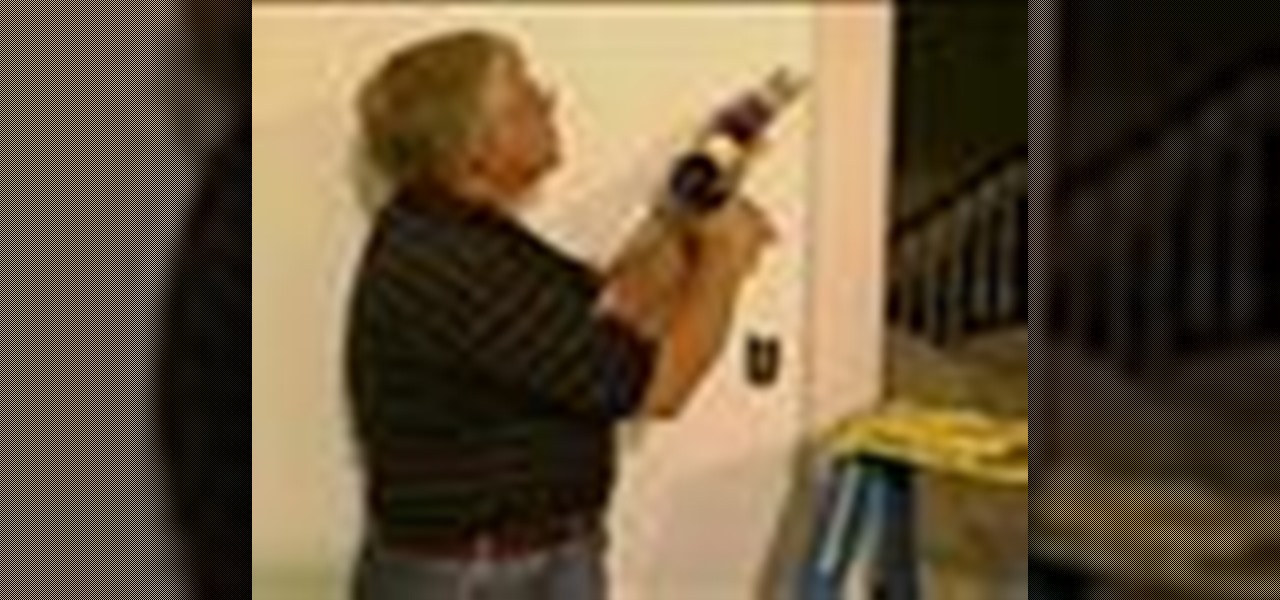
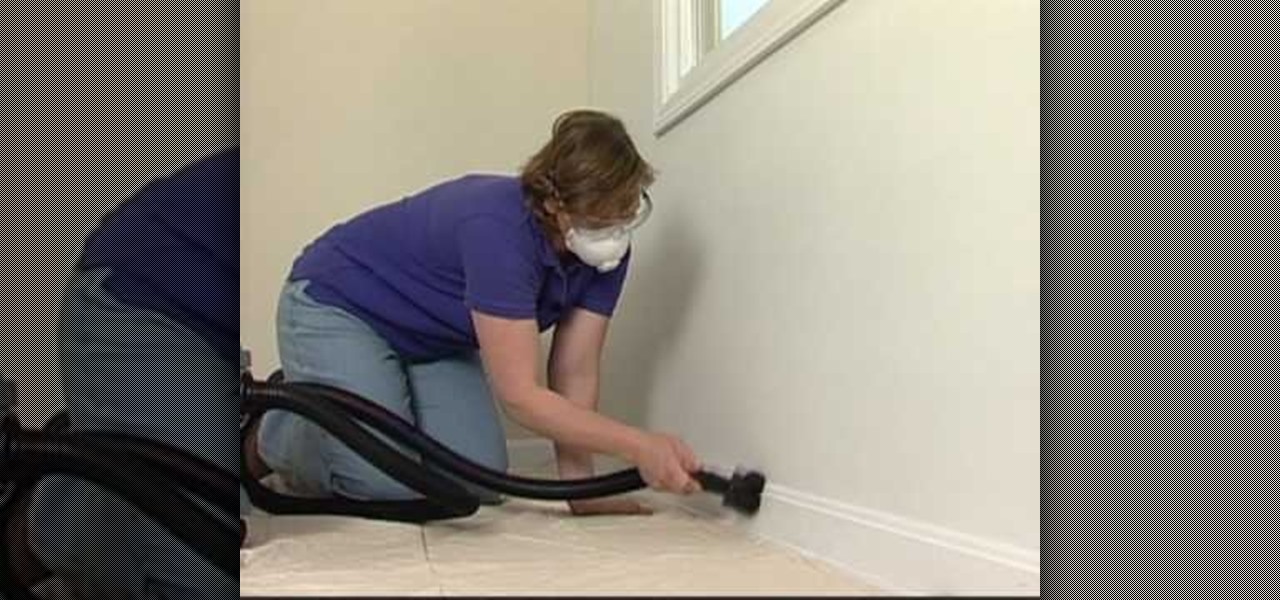
Tim Carter demonstrates how to get professional painting results by caulking all cracks between woodwork and walls before painting.

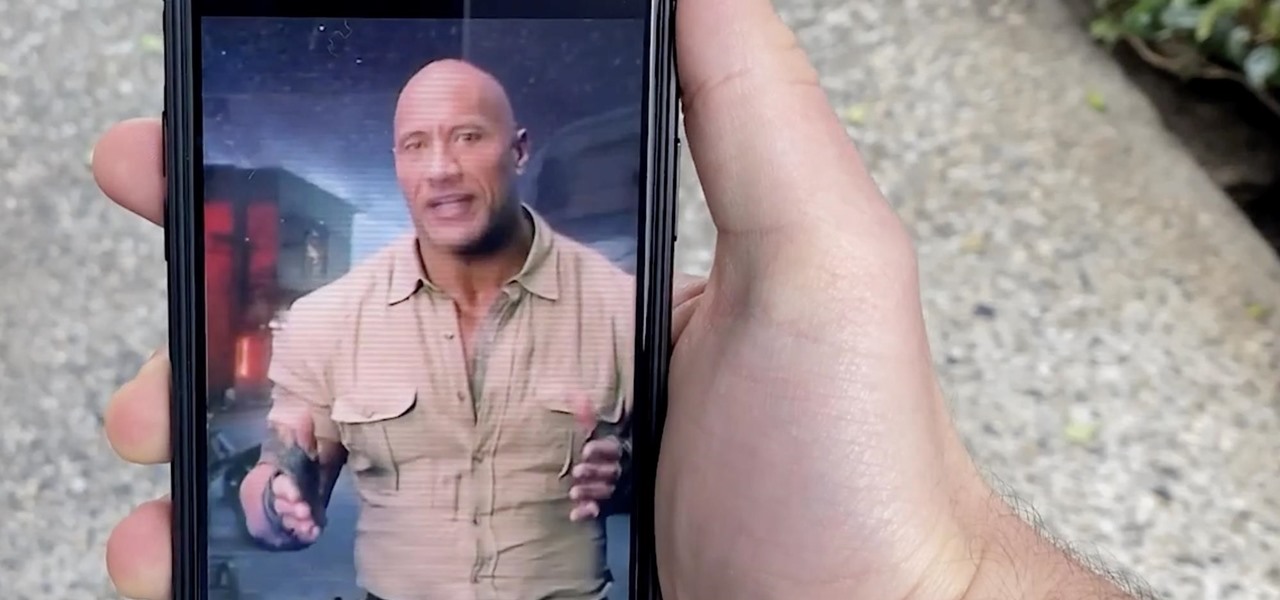
Augmented reality already seemed like the ideal technology to advertise for a movie based on the premise of being sucked into a video game world the first time around. For the sequel, how about two times the immersion?

Whether you're in high school or college, you no doubt will have your iPhone in your pocket all day long. To make your iPhone last the whole time and even help you out with your studies, these are the accessories you'll want to get your hands on.

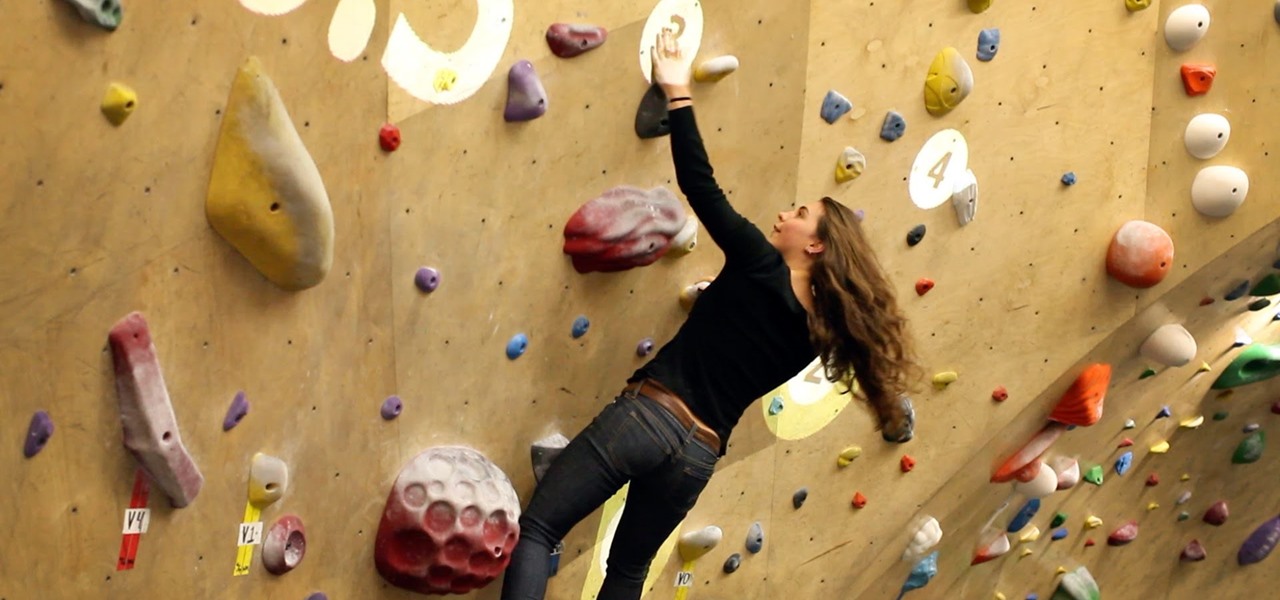
Augmented reality (AR) generally exists through the lens of our smartphones as information layered on top of what the camera sees, but it doesn't have to. Developer Jon Cheng worked with an indoor climbing facility in Somerville, Massachussetts, called Brooklyn Boulders, to turn rock climbing into a real-world video game where participants compete in a time trial to hit virtual markers on the wall.

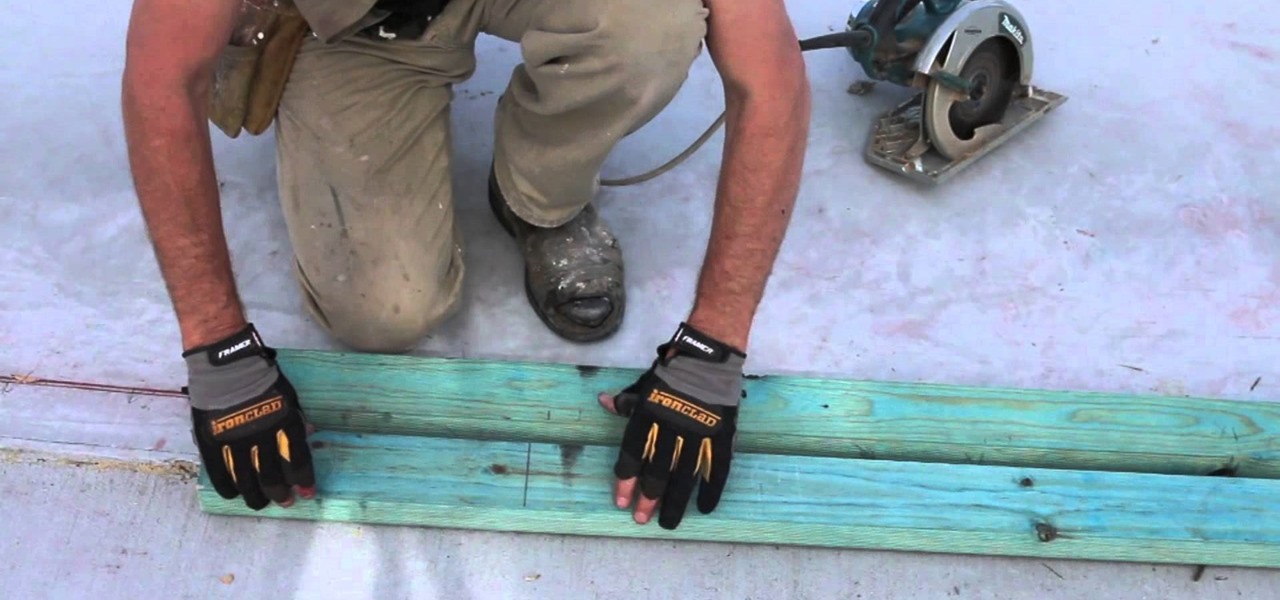
G'day Knuckleheads. Here's a Handy One Minute Stud Wal Framing Tip! Building stud walls is a fairly straight forward job. This tip will make it a little bit easier.

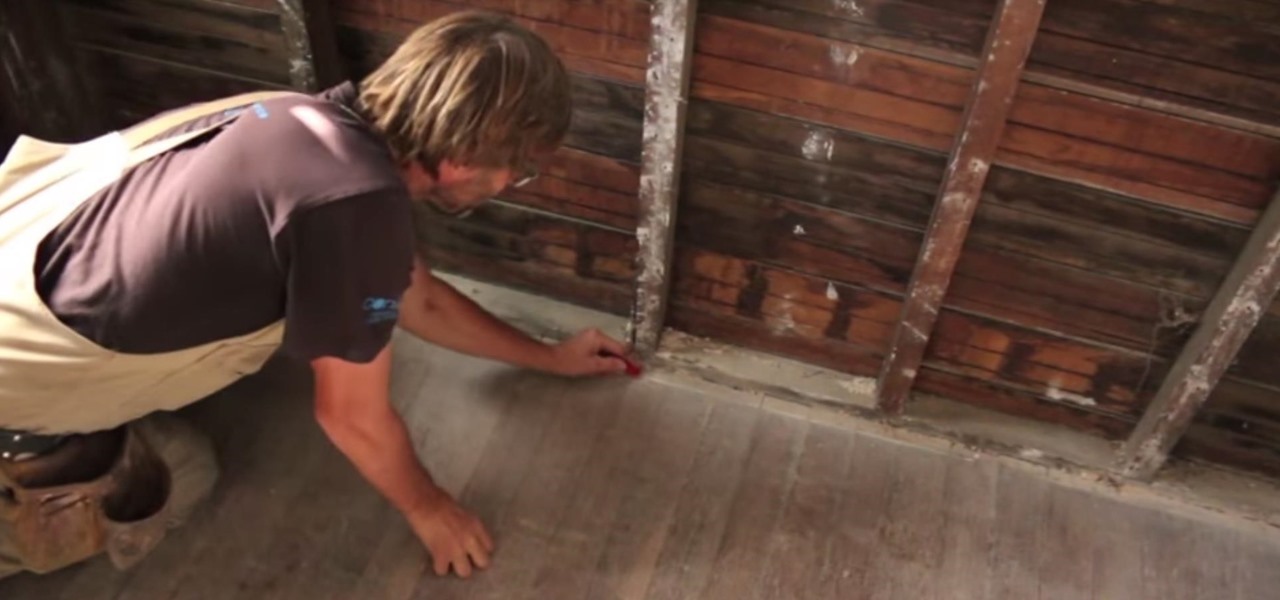
G'day Knuckleheads. Here's my latest one minute stud wall framing tip! Marking on the floor where your wall studs are located is a real handy thing to do. It makes installing your baseboard or skirting board that much easier. Give it a go. You'll be glad you did.

My OnePlus One easily gets over a day of battery life without a problem, but when I try to charge it, it seems to take just as long. For some reason, no matter what charger you plug your OPO into, it never gets more than USB-level power, meaning that charging times are more than double when compared to traditional AC-charging.

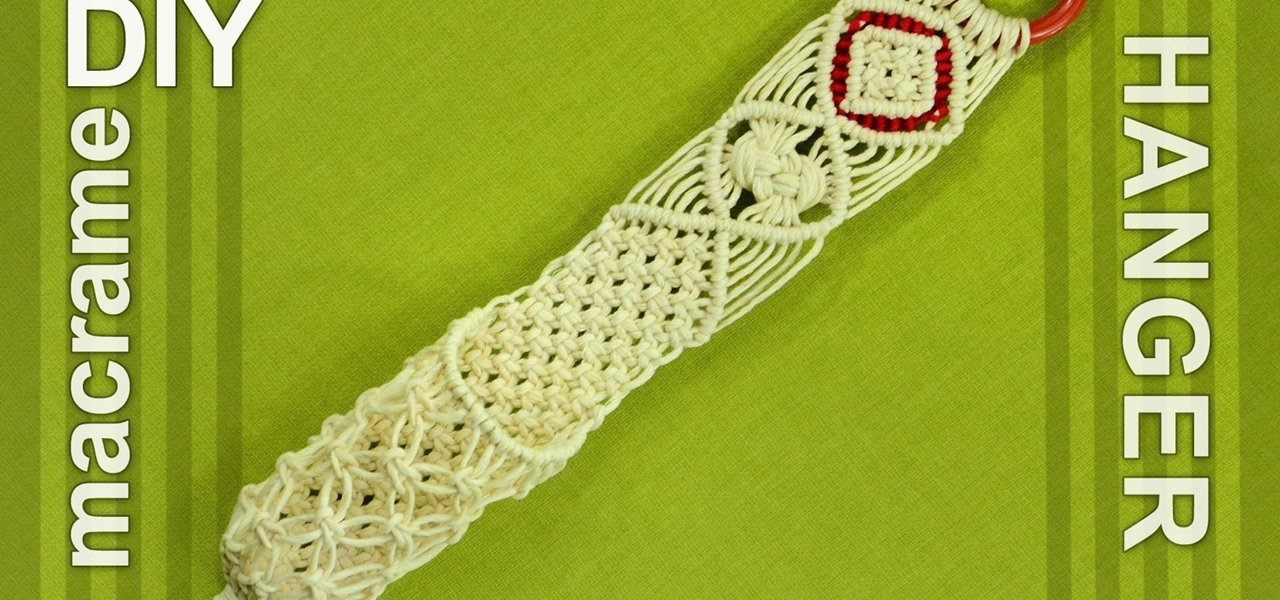
In this video tutorial you can see how to make macrame wall hanger.

Learn how to paint the ceiling and walls in your bathroom, you can pretty much apply this to any room in your home.

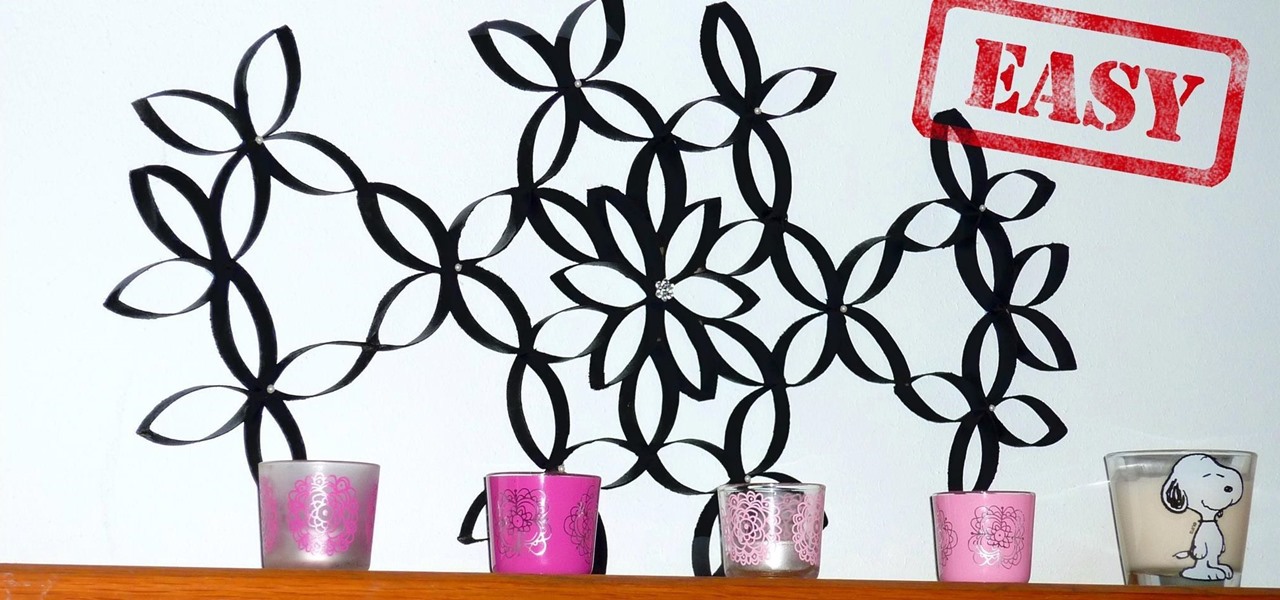
Video: . So inspired by some pictures on Pinterest I decided to make my own toilet paper roll wall art. I hope you like the tutorial and If you didn't already know this amazing idea I hope you feel inspired by this video.

Smartphones are almost completely controlled through touchscreens now, but most of them still rely on physical buttons to turn it on or adjust volume. When those buttons stop working, you've got trouble (especially if it's your Home button).

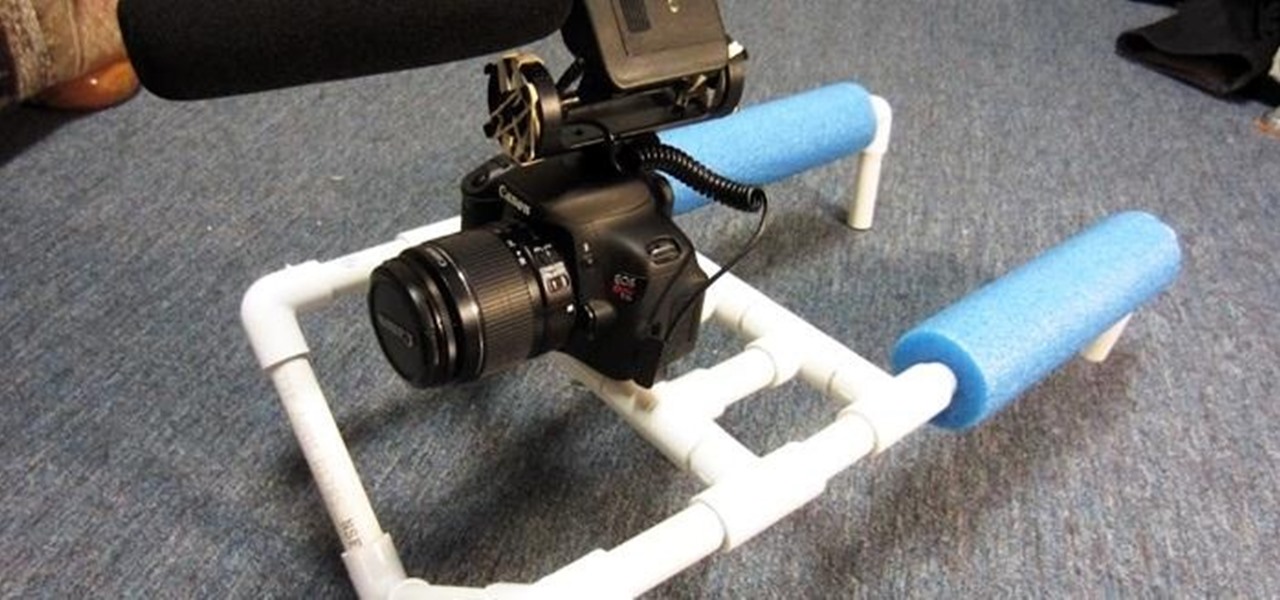
Shoulder mounts are great for stability, but they can be pretty pricey. This DIY project by TheJamesTheatre is better in both aspects—it rests on both shoulders for extra stability, and it only costs 8 bucks to make. The frame is made of PVC with foam pieces from a pool noodle for cushion. All you need is a few connectors and the nuts and bolts to put it all together. You can find the full parts list on the About section on YouTube.

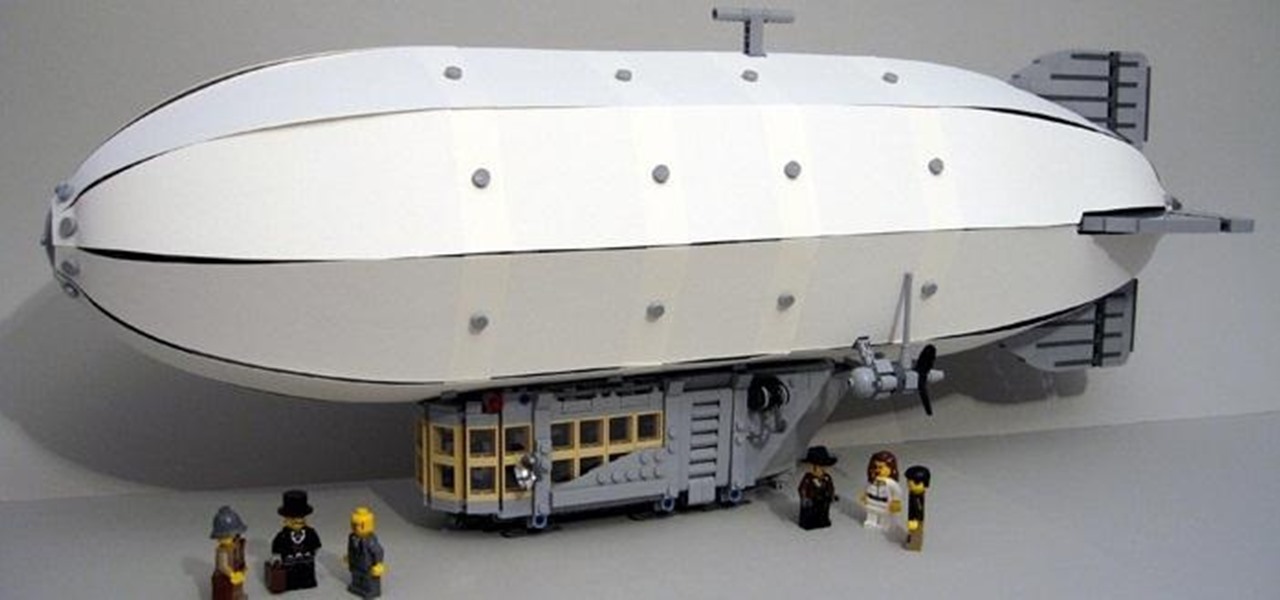
LEGO has not attempted a blimp, zeppelin, or similar airship since 1999, the 5956 Expedition Balloon which used highly specialized parts. This is unfortunate as these vessels are well and truly part of the pulpy adventure and steampunk scene.

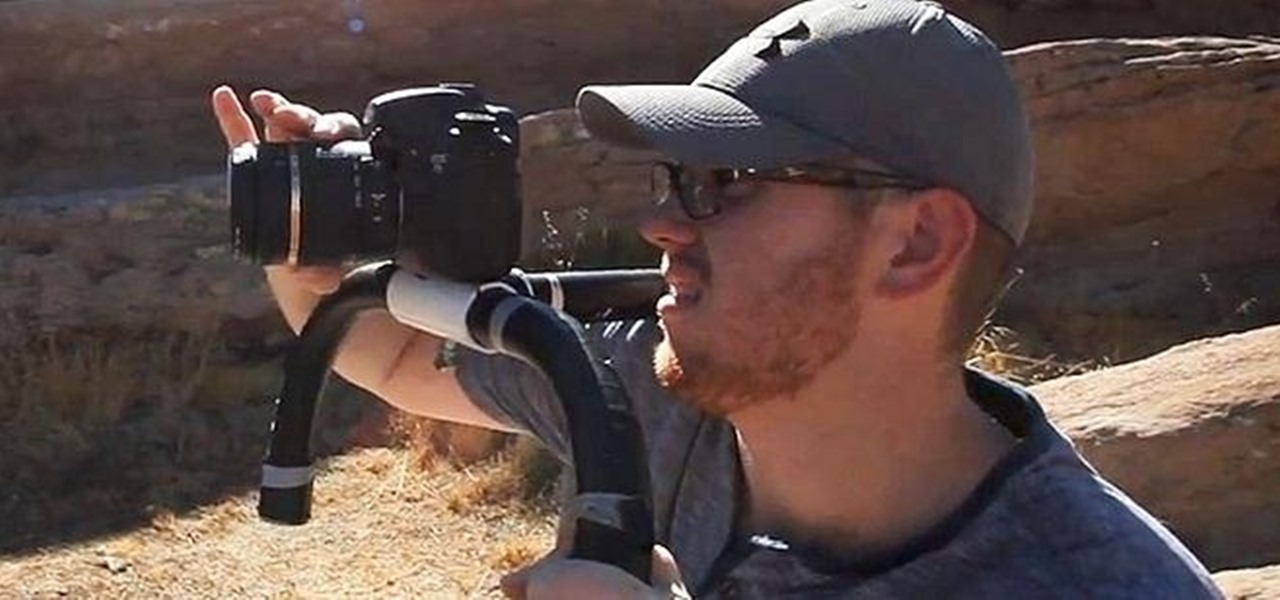
When you're capturing video with a DSLR, not having some type of stabilization system can lead to some pretty awful and shaky scenes. Camera instability is not only painful to watch, but breaks the fourth wall. Once that the invisible barrier between filmmaker and audience is apparent, it may break down that magical relationship between the two.

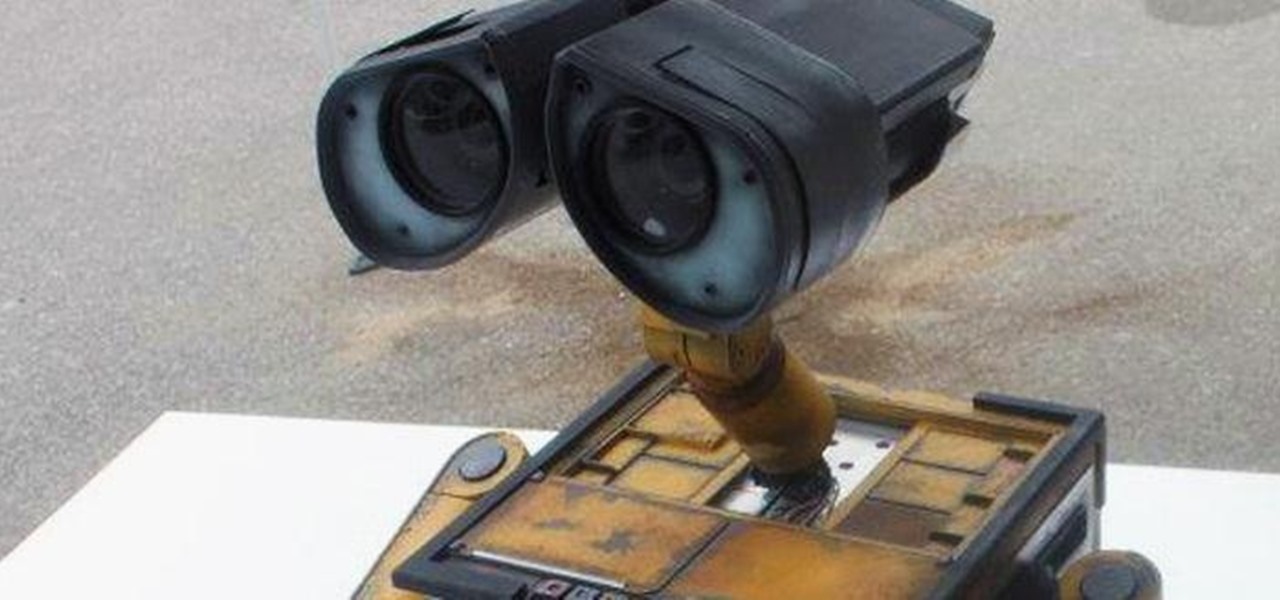
Want to build your own life-sized, working replica of WALL-E? Be prepared to take on a second job! Mike Senna spent two years perfecting his own version, working 25 hours a week and totaling somewhere around 3,800 hours for the whole project. He had no blueprints to go by, so he spent a lot of time watching the movie over and over to get everything just right. The video below shows some of the construction; skip to about the one minute mark to see WALL-E in action.

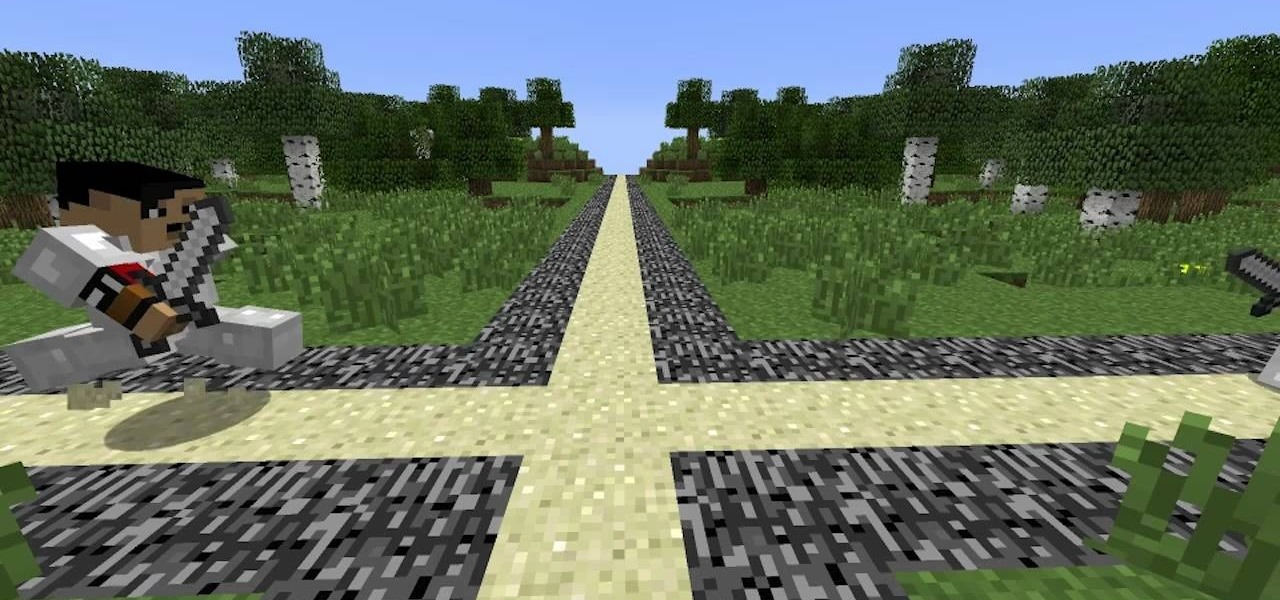
Video: . The Walls is a PvP survival map that takes back Minecraft to it's roots: crafting, surviving and creativity.

In this Home & Garden video tutorial you will learn how to fix a small hole in your drywall. This video is from www.fixitfromhome.com. The cheapest way to fill a hole is to get some dry wall compound, a plastic knife, sponge and a small brush. Take a little bit of the compound on the knife and fill the hole. Press it slightly so that no gaps are left inside the hole. If the rest of the wall has a texture, to match it with the texture, clip the end of the brush, make it damp and just brush the...

A fun way to display photos and artwork in your home is with homemade frames. Keep the crafty feeling of the art and make a colorful frame for display. This project can be done with kids of any age, and they will love helping to decorate their rooms or play areas. These frames are 8 pointed star shaped decorations that add a spark to any wall. All you need are popsicle sticks, glue and any paints or glitter you may want to add to your project. So, get messy and have fun..its time to start cra...

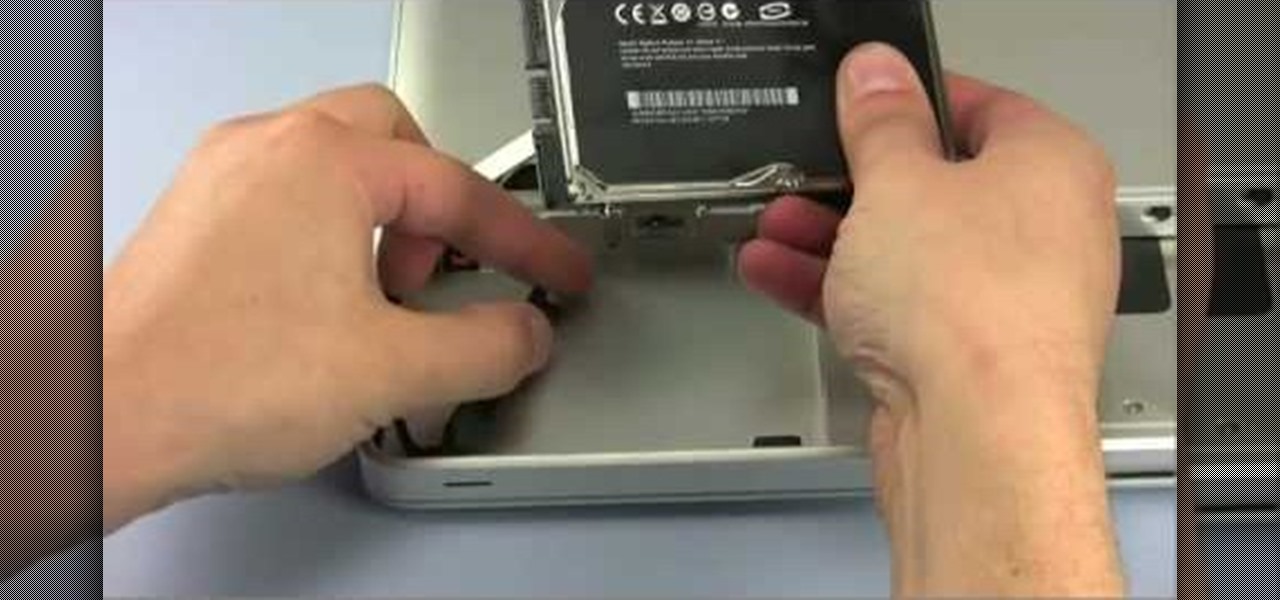
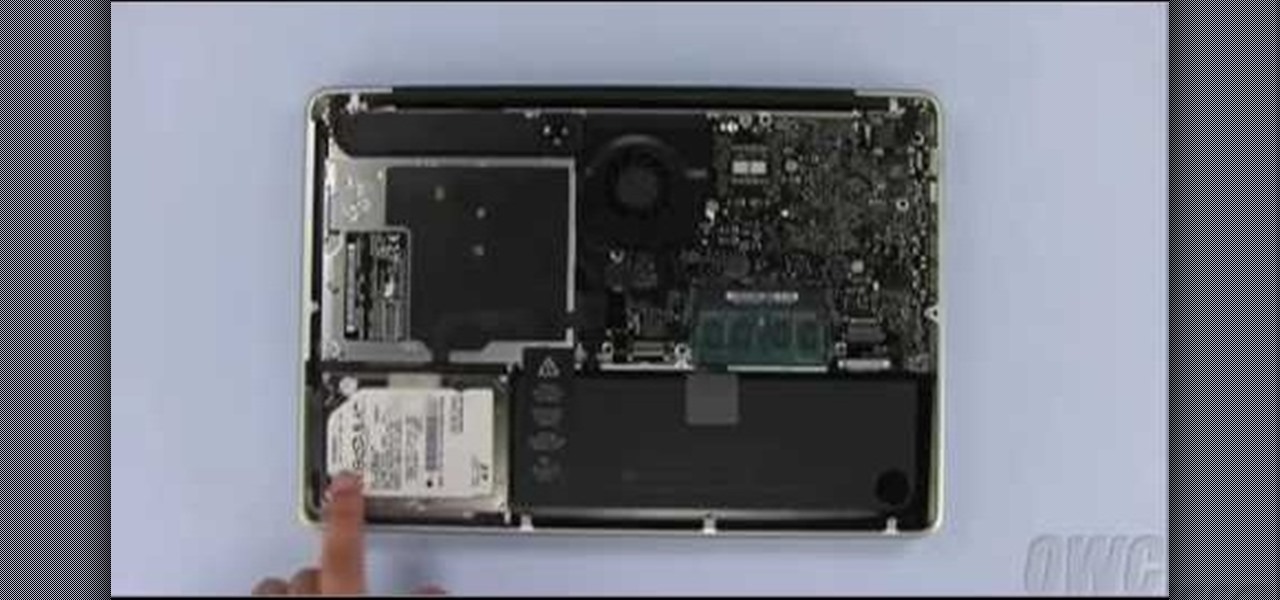
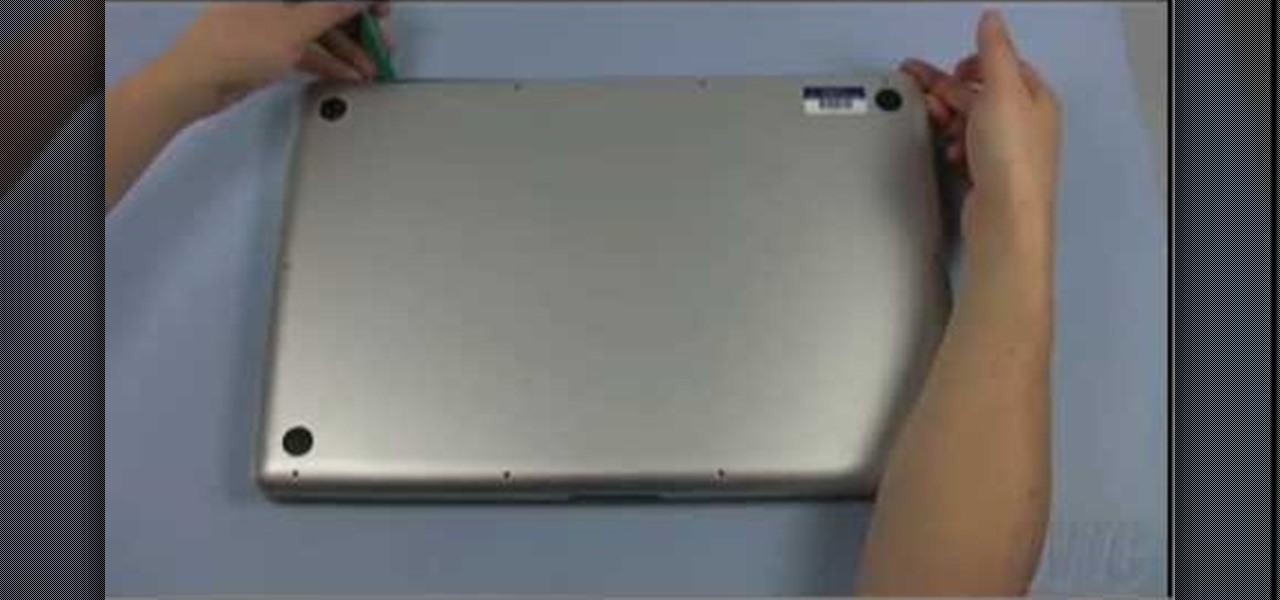
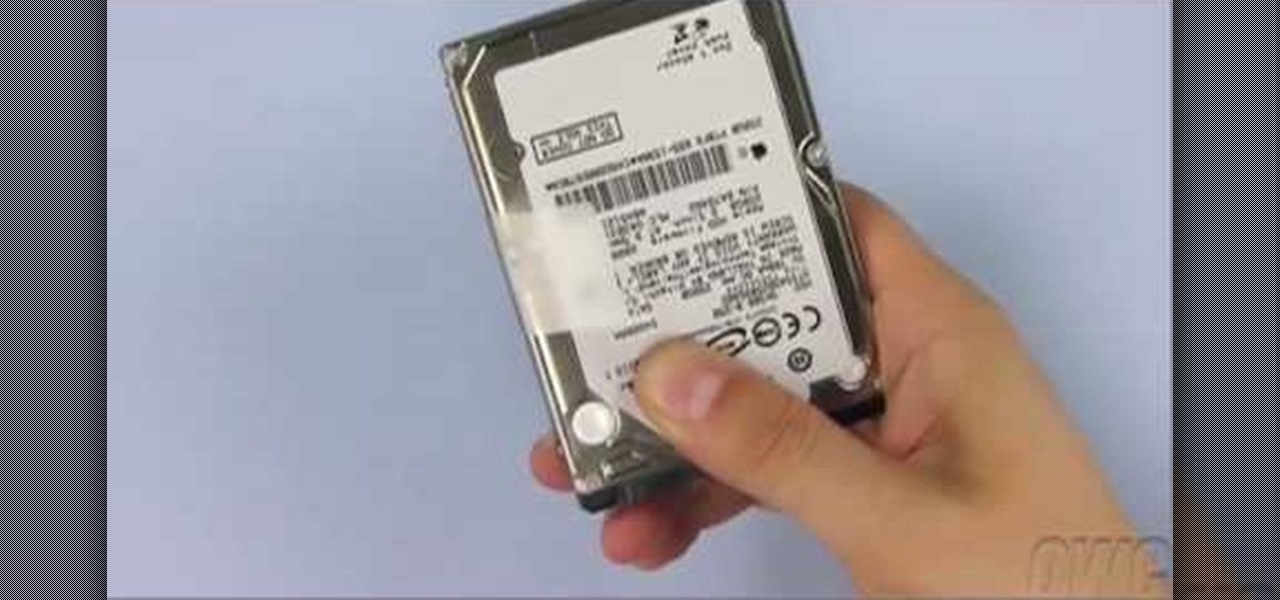
In this how-to video, you will learn how to replace a hard drive in a 2008 Macbook Pro. Make sure you use the proper anti-static precautions before replacing the device. You will need a T6 screwdriver and a Phillips screwdriver. Make sure you transfer your data from the old drive to the new one before installing. Shut down the computer, close the lid and turn the laptop over. Remove the battery cover and battery. The hard drive is held by a plastic retaining bar. Loosen the screw holding the ...

To install a hard drive in a 13" (13 inch) Macbook Pro laptop computer released in 2009 you will make sure to first transfer all data off the drive then discharge any static electricity from your hands making sure your are in a static free work environment. Next you will remove the old hard drive, to do this flip over the laptop and remove the 10 screws around the edge of the device with a #00 Phillips screwdriver starting with the three longer screws on the top right. Next, lift off the bott...

In this how-to video, you will learn how to install a hard drive into a 17" Macbook Pro. Make sure you use the proper anti-static precautions before going on with this procedure. You will need a pry tool, a Phillips screwdriver, and a T6 screwdriver. Make sure you transfer your old data into the new drive before installing. Shut down the computer and flip the laptop over. Unscrew the ten screws around the bottom. Now, remove the cover. You will see the hard drive at the lower right. Loosen th...

In this video from MacOSG we learn how to install a hard drive in a 15" Macbook Pro from around 2009. For this you need a #00 Phillips head screwdriver and a T6 Torx screwdriver. Make sure you use proper anti-static precautions with this. Transfer your data to the new drive before installing. To remove the hard drive, flip over your Macbook. Use your Phillips to remove the 10 screws. Remove the 3 at the right which are longer than the other screws. Then remove the left most screw which is the...

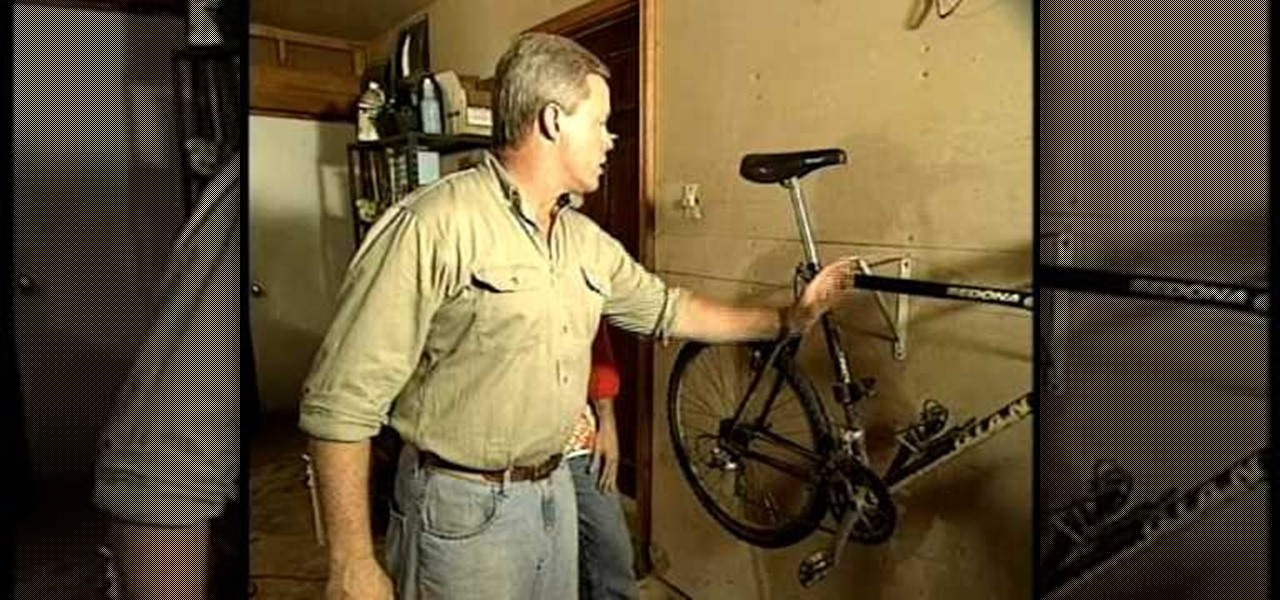
Danny Lipford and Joe demonstrate how to make a bicycle rack out of repurposed closet racks. Closet brackets can be used to store bicycles. Instead of hanging the bicycle on the ceiling for long term storage, fasten closet brackets to your garage wall to more practically easily access your bicycles on an everyday basis. First, drive drywall screws into the wall studs. Space the brackets about 16 inches apart. Hang the bike right on its crossbar from the brackets. This method only works with b...

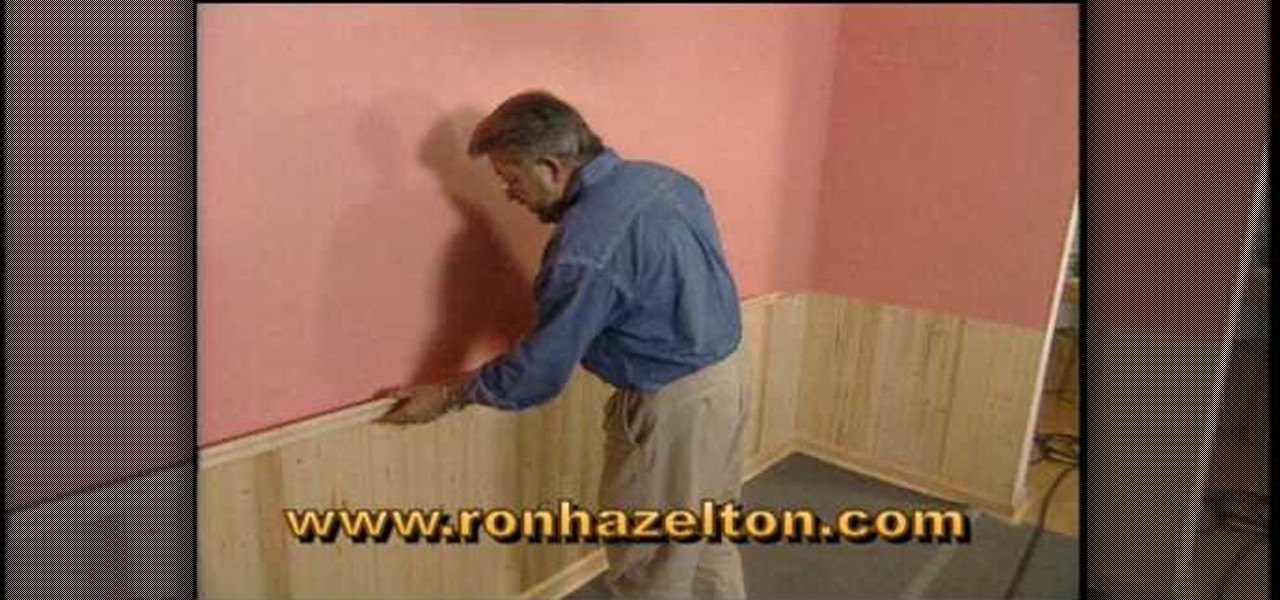
Ron Hazelton brings you this video on wainscoting. Wainscoting is paneling that runs about a third of the way up a wall. Ron shows you how to use a chair to figure exactly where to place the chair rail. When installing around electrical outlets be sure to turn off the electricity. Next cut all the panel sections to length. When you attach them to the wall be sure to attach at top and bottom. Next attach the paneling, you can use a scarf joint to hide the seams. When installing the chair rail,...

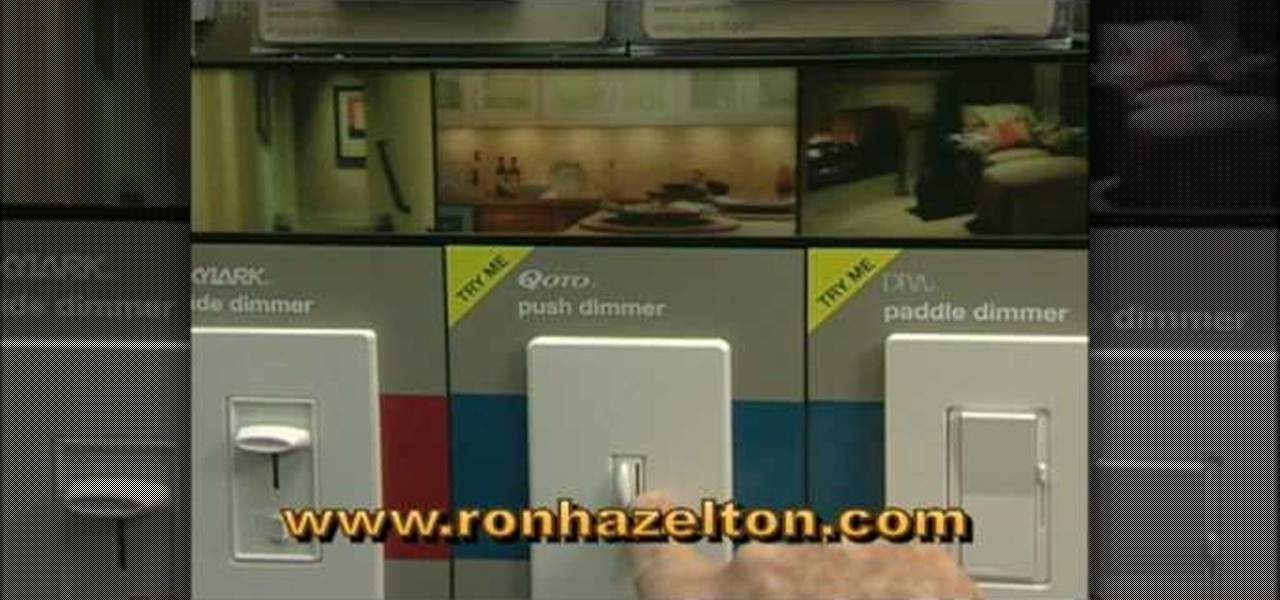
Think your stuck with your one set lighting? Think again. Get more lighting options by installing a dimmer light. In this Ron Hazleton hosted home improvement video, learn how to remove a wall switch and replace it with a dimmer in just a few minutes time!

In this trick tip tutorial video, professional skateboarder Colin McKay will show you how to perform a backside 50-50 on your board.

In this tutorial, we learn how to fit a dry lining back box. This is very easy to install, and the sides will grip the wires on your light. First, determine where you want your switch, then mark a quick line using a sturdy level. Next, you will cut out a hole in the wall the size of the box. After this, push the box into the wall. Then, you can add in the light switch to the box and secure it with the wires that are inside. This will finish up this project, just make sure the wires are place ...

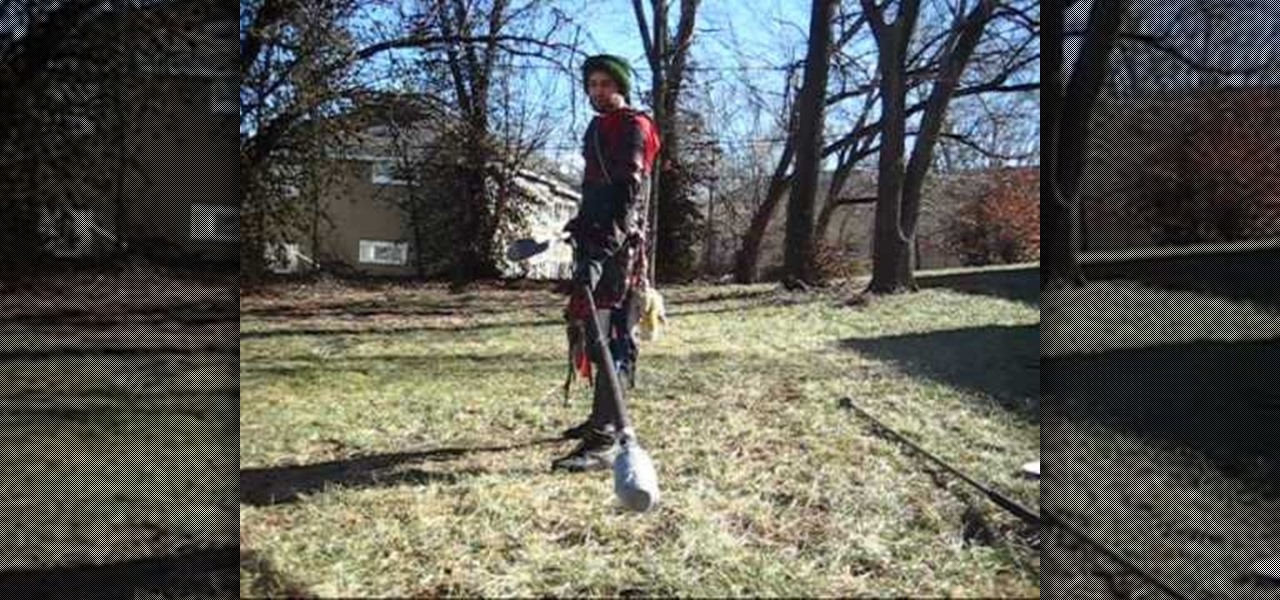
Oh, no! A phalanx is approaching! How can you defeat their shield wall? Answer: a spear! Even if you're not going up against a shield wall, spears are still useful weapons to use in a boffer live action roleplay game because of the advantage that reach gives you. This introductory video shows what makes a spear, how to hold it and footwork.

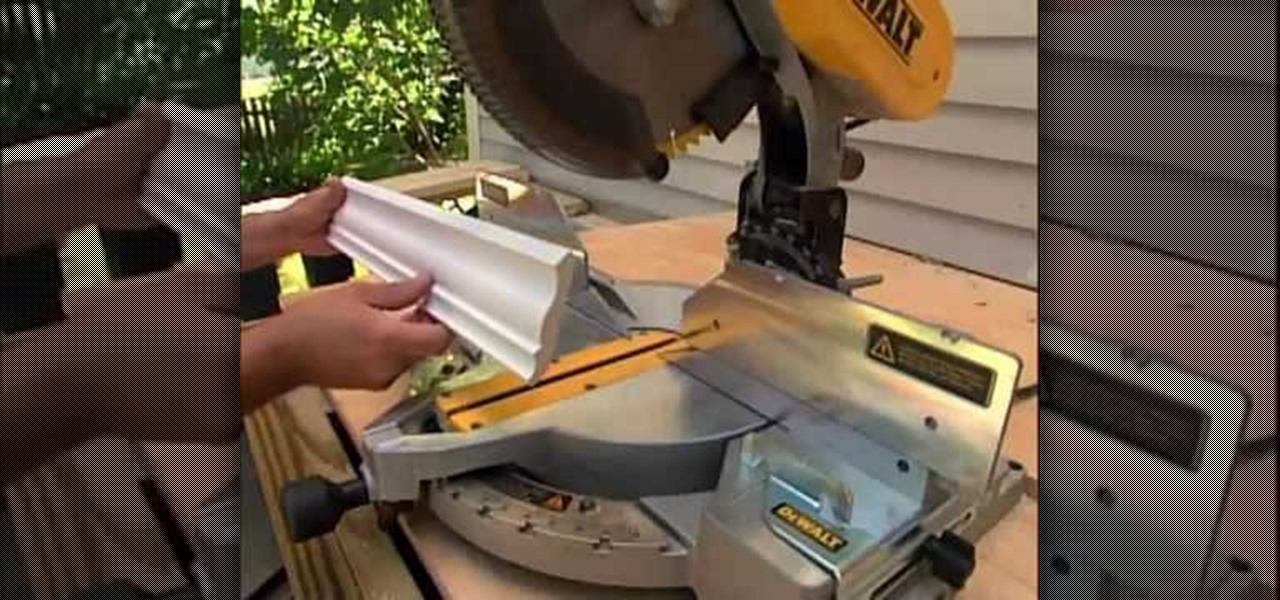
In this tutorial, we learn how to install crown molding to your room. First, choose the right size and style of molding for the room, then measure your room to find out how much you need. After this, you will need to buy a saw to cut the molding when you're ready to install. After you have the pieces cut, you will need to place these against the wall and then nail them in with a nail gun. Secure the molding to the joints in the ceiling and to the studs in the wall. To finish, putty the holes ...

In this tutorial, we learn how to get rid of mice using a mouse trap with Rick. You will first need to know where to place the traps. Mice like to use the sides of walls to run around and will turn when they reach dead end corners. These are great places to place the traps so you will most likely trap them. If the mice are familiar with an area, they know where to avoid, so using two traps will help you catch them. Next, place the trap perpendicular to the wall instead of parallel so they wil...

In this video, we learn how to prepare surfaces before painting with Lowe's. First, you will need to place a drop cloth on the floor and apply painter's tape to all the outlets and spots you don't want paint to touch. After this, clean off the walls and remove all the dust and debris, including nails. Next, grab the paint you need along with brushes and paint rollers. Remove any wallpaper that is on your wall, then start to paint. Pour the paint into the tray, then use the roller dipped in pa...

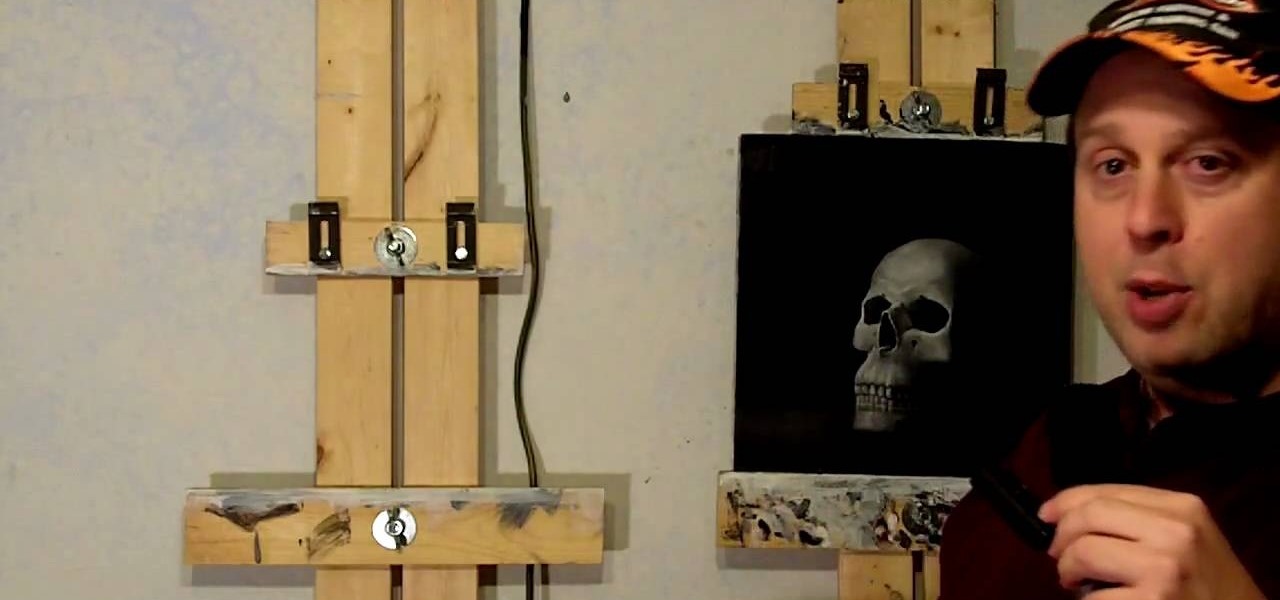
In this video, we learn how to make an easy $20 DIY art easel with Patrick Lawrence. Each side should be about 6' tall, and make sure you screw it into the wall when you are finished. First, you will hold these together with a carriage bolt that slides up and down the two pieces of wood. At the top, screw the screws into the wall and at the bottom, bolt it up the same way as in the middle using a wing nut and a big washer. That's all there is to making an easel yourself, saving you tons of mo...


