Kathy Carroll of the Chicago Institute of Fine Finishes and Faux by Kathy demonstrates how to give a decorative distressed look to antique furniture pieces. Distressing is a great way to revive outdated or worn pieces, as well as achieve character and age newer pieces. Antiquing furniture techniques are easy to do and can be done by everyone from veteran decorative artisans to the beginning crafter.
If your furniture has seen better days but is nevertheless structurally sound, restoring it might be as simple as applying a fresh layer of paint or wood stain. This free video tutorial demonstrates a method for refinishing furniture with a power sander. For more information, and to get started rejuvenating your own antique furniture, watch this video tutorial.
Warping is one of the many beatmatching tools at the disposal of the modern electronic music producer, and allows you to stretch out notes to make them match the required beat. Watch this video to learn how to warp tracks live on the fly using Ableton Live.

Nothing is worse than bed bugs, right? Those pesky little creatures can make you seriously uncomfortable and cost you tons of money replacing furniture. But you can treat your furniture without spending money or having to throw it out. You will need to inspect everything thoroughly and make sure to to follow every step properly. This video will show you how to treat furniture for bed bugs.
There are always two sides to every argument. Usually when it comes to furniture, one side is for throwing it out or selling it to buy a newer more enjoyable looking piece, while the other side may want to keep it. Is there a way to compromise? You bet there is! When it comes to old looking or antique furniture, you can easily refinish it to make it look brand new and fit the style of your room. This tutorial will show you how to easily refinish antique furniture in a snap! Enjoy!
Buying authentic antique furniture requires a lot of furniture knowledge and keen eyes. If you need a little help in this department you've come to the right place. THis video will give you tips for authenticating the antique status of all kinds of antique furniture.

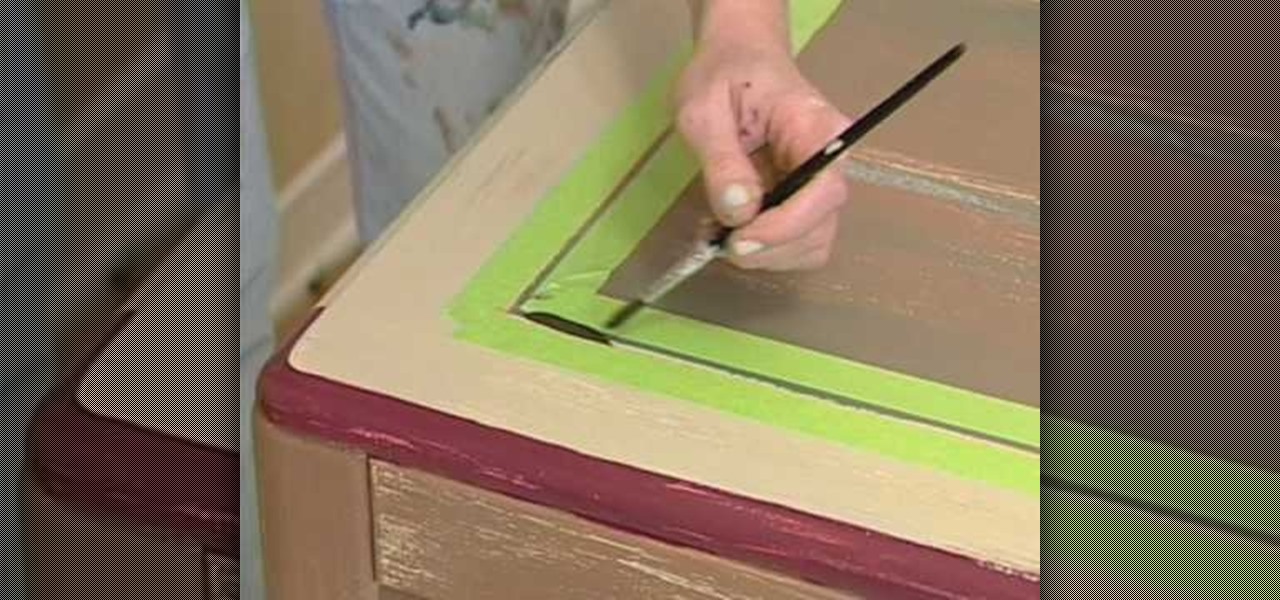
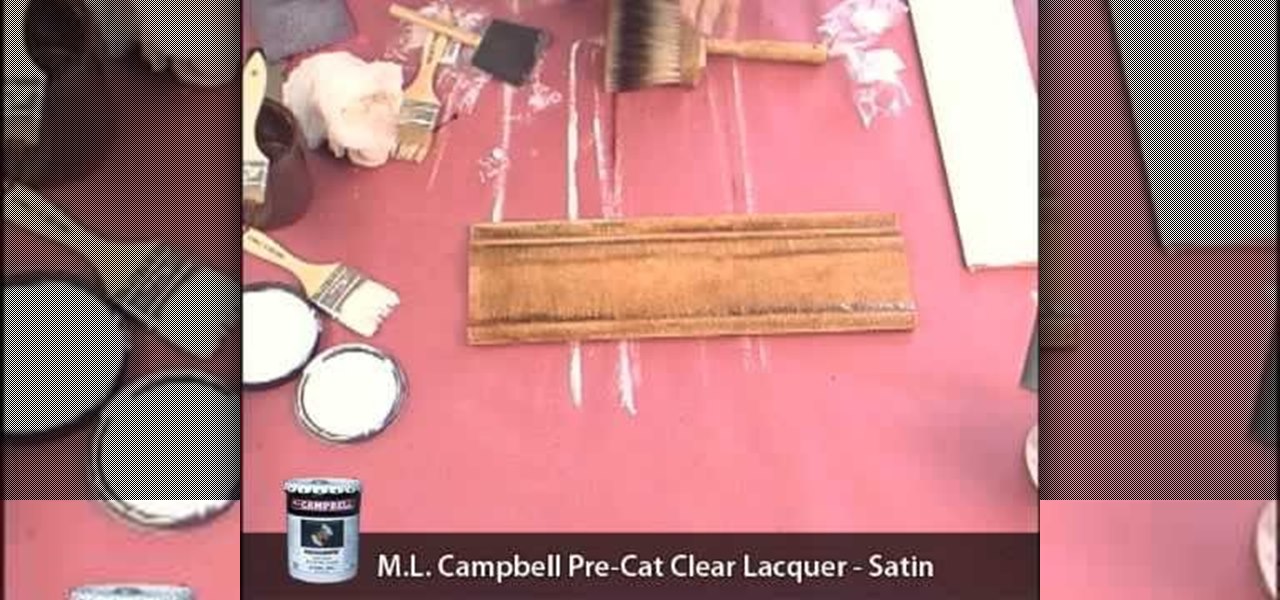
Using an antique distressing paint finish technique on furniture is a good way to revive a piece of furniture that other wise might just be discarded. This video is part of a series of videos taking viewers through the process of distressing furniture and focuses on accent technique. You’ll want to accent the select parts of the furniture you want to accentuate that distressed look. Our expert recommends painting the edges of this table. You’ll want to pick a complimentary color and when you ...
Adobe's Photoshop has an arsenal of tools, filter and effects, like the warp tool, and mastering them makes for successful digital art. Learn how to work the warp tool in this free Photoshop tutorial video series.
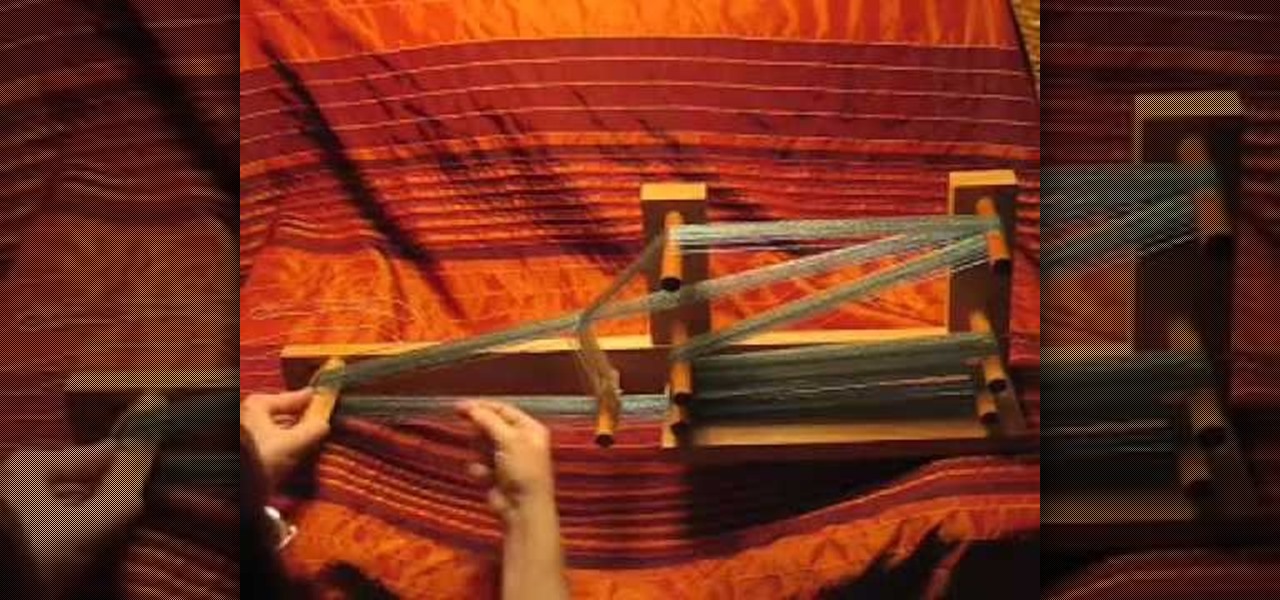
When the shuttle feels cramped as you pass the weft through your weaving, it's clearly time to advance the warp. This video shows the steps involved in advancing the warp on an inkle loom: loosen the tension, move the warp around the pegs, reposition the heddles. At the end, check the position of the warp threads on the pegs and re-tighten the warp.
Watch this weaving demonstrationi video to learn how to weave an overshot coverlet on a Jack loom. Beginning steps for weaving on the Jack Loom:
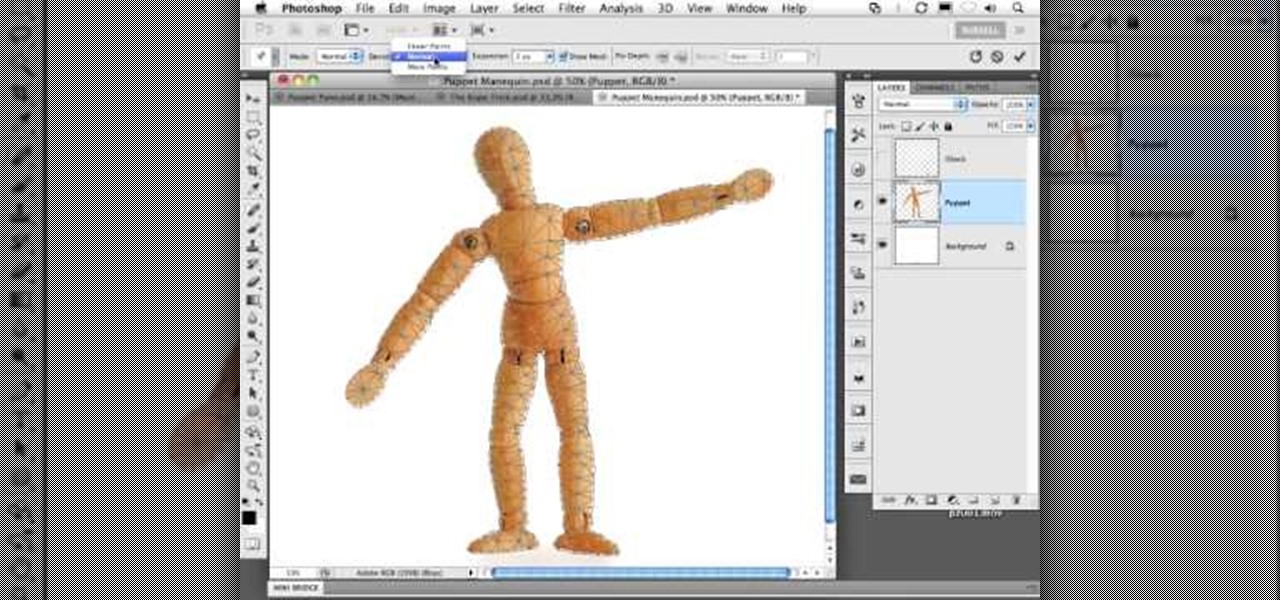
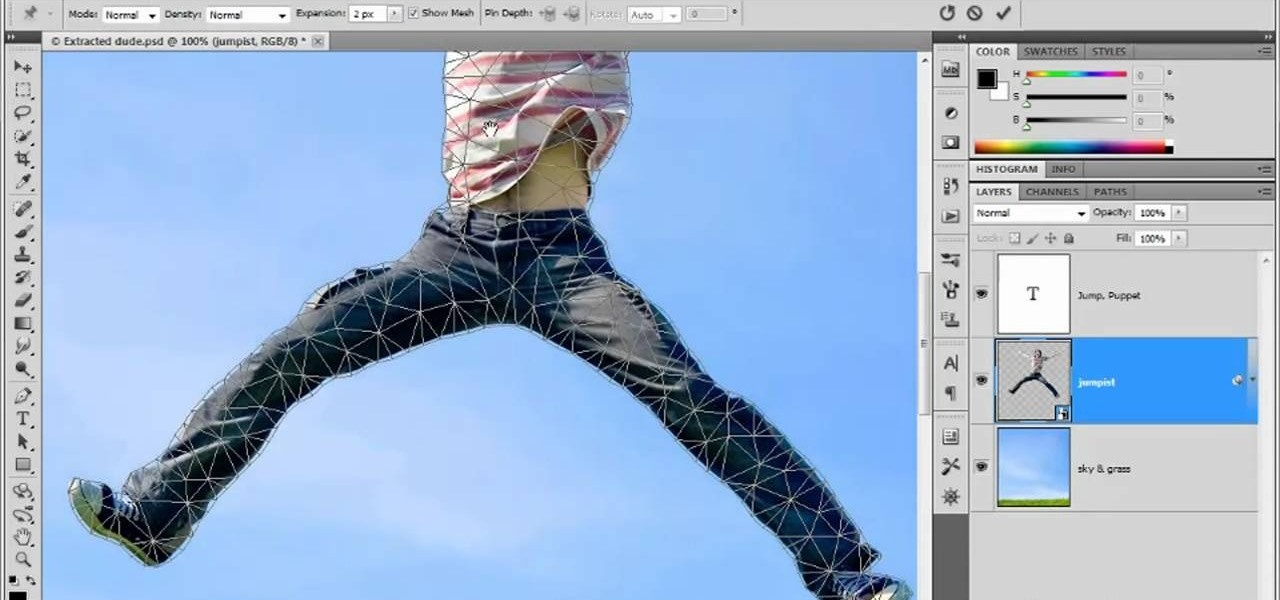
In every new version of Photoshop, there's one new feature that wows the crowd. In Adobe Photoshop CS5, that feature is Puppet Warp. In this video lesson from Lynda, you'll learn how to use the Puppet Warp tool to intelligently deform graphic and photographic objects.
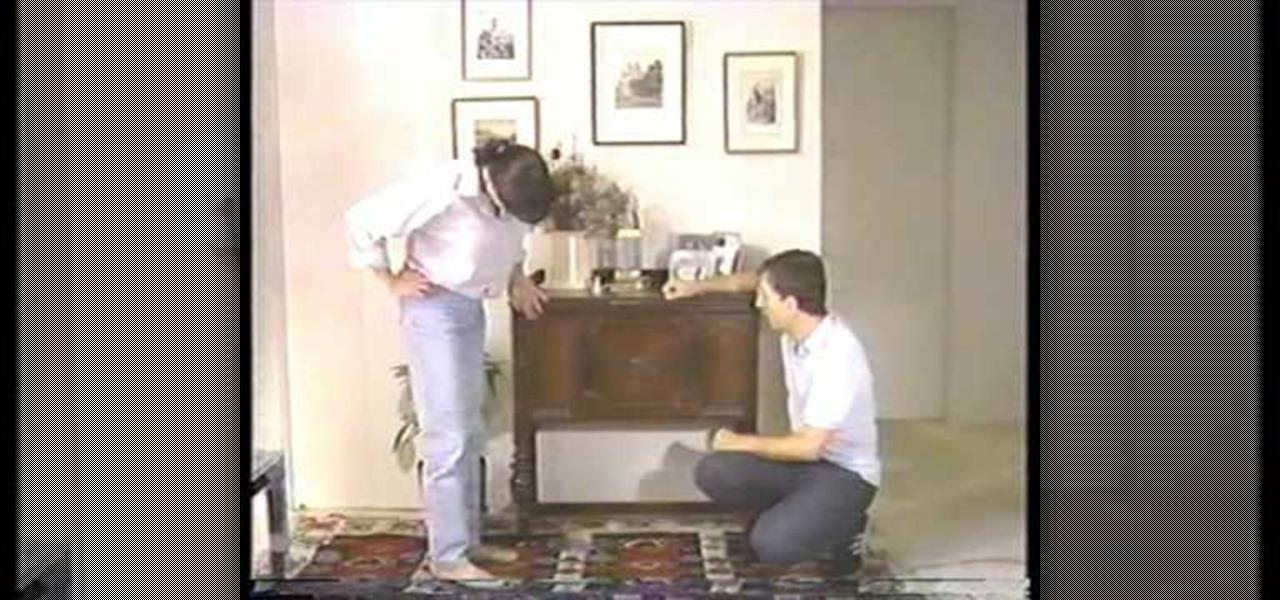
In this video we are show how you can make old furniture look softer. It looks really easy but dirty so old clothes and cloves would be advisable. First of all take your glazing color and mix it with a white. Then take mix and mix it with a glazing medium 1 part color and 3 parts glazing medium. After it is mixed well take a brush wipe on a thin layer of the paint/glazing mix. Wiped directly after with a sponge. What will give your old furniture a softer look. But you don't have to stop there...
The Puppet Warp transform tool is arguably the most fun of all of Adobe Photoshop CS5's new features. Learn how to use it with this 15-minute overview. Whether you're new to Adobe's popular image editing software or a seasoned graphic design professional just looking to better acquaint yourself with the unique features of Photoshop CS5, you're sure to find something of value in this free video tutorial.
This video offers instructions on how to use the all-new Puppet Warp tool in Adobe Photoshop CS5. Whether you're new to Adobe's popular image editing software or a seasoned graphic design professional just looking to better acquaint yourself with the unique features of Photoshop CS5, you're sure to find something of value in this video tutorial. For more information, and to get started using the Puppet Warp tool yourself, watch this video lesson.
You can find Puppet Warp under the Edit Menu. You'll also need to use this without a background. Use a pin tool to add joints to your chosen puppets, then drag and manipulate them to get some really funny effects and distortions.
If the steering wheel on your car shakes when you apply pressure to the brakes, you probably have warped brake rotors. In this video, you'll learn how to access your brake rotors, remove them, and install new working ones on your front brakes.
After 12 years Starcraft 2 is finally here to blow your mind. If you're looking for help with the game, you've come to the right place. We have tons of videos about how to do just about everything in the game. We have strategies for winning campaign and multiplayer games. We have guides to using the immensely powerful level editor. We'll even teach you how to build a Terran Barracks out of Legos. This video will show you how to use Protoss Warp Gates and Warp Prisms to control massive section...
CS5? When?!? Soon, very soon. Yep, that's right. With the Adobe Photoshop CS5 almost here, Adobe felt a sneak peak was necessary. And in this video tutorial, they show you how to use the new Puppet Warp tool in Photoshop CS5.
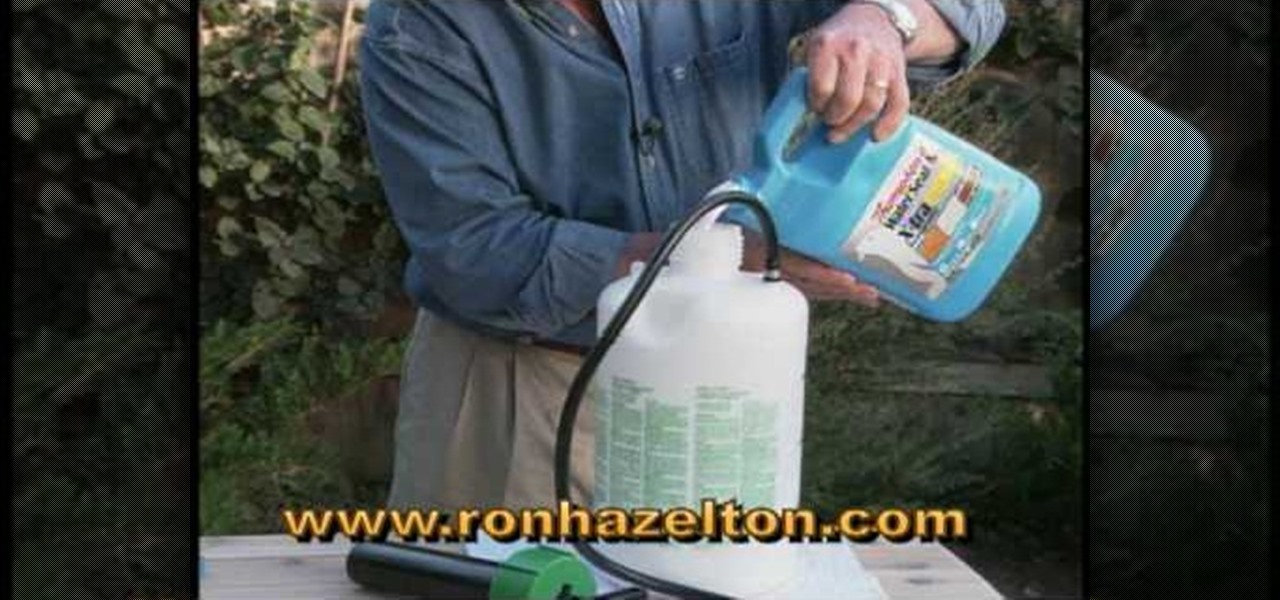
Many spend a good amount on outdoor furniture... only to see it get ruined by the effects of weather or residue. In this video hosted by Ron Hazleton, learn how to restore and preserve outdoor furniture by cleaning, sanding and applying a stain and wood sealer to protect the wood.
Bert shows us how to utilize Photoshop's warp tool to manipulated images. Download the sample files and play along with Bert as he shows you how to use the warp tool in Photoshop.
In this video you will learn how to Warp your text into any shape or design you want. This is a really handy effect for applying logos or designs to images of clothing. Using this effect you can warp your text to the wrinkles in your fabric and make it really look like it was there all along.
Whether you're resurrecting an old, beat-up wooden table or giving that avocado-colored nightstand a new lease on life, a quick coat of paint can update even the most hopeless furniture.
With the economy as brutal as it is, more people than ever are focusing on fixing what they've got rather than building or buying new furniture and decor. And oftentimes, a fresh coat of paint is all that's needed to turn a yucky old chair your mom passed down to you into a darling, charming vintage piece.
Learn how to make seat covers for furniture with expert sewing tips from a seamstress in this free online upholstery video series.
For the normal woodworker at home, the table saw, router and lathe are the prime tools used for making fine furniture, but when you hit the outdoors, the backwoodsman's tool of trade is the chainsaw. Mastering furniture-making with a chainsaw is the key to being a great woodworker, and in this three-part video, you'll learn the techniques to chainsawing your way to a beautiful log bench.
In this clip for Photoshop novices, you'll learn how to utilize the ever-popular CS5 Puppet Warp tool. Whether you're new to Adobe's popular raster graphics editor or a seasoned designer looking to better acquaint yourself with the new features and functions of the latest iteration of the application, you're sure to benefit from this free software tutorial. For more information, watch this video guide.
Pixel Perfect is the "perfect" show to help you with your Photoshop skills. Be amazed and learn as master digital artist Bert Monroy takes a stylus and a digital pad and treats it as Monet and Picasso do with oil and canvas. Learn the tips and tricks you need to whip those digital pictures into shape with Adobe Photoshop and Illustrator. In this episode, Ben shows you how to create realistic reflections in Photoshop.
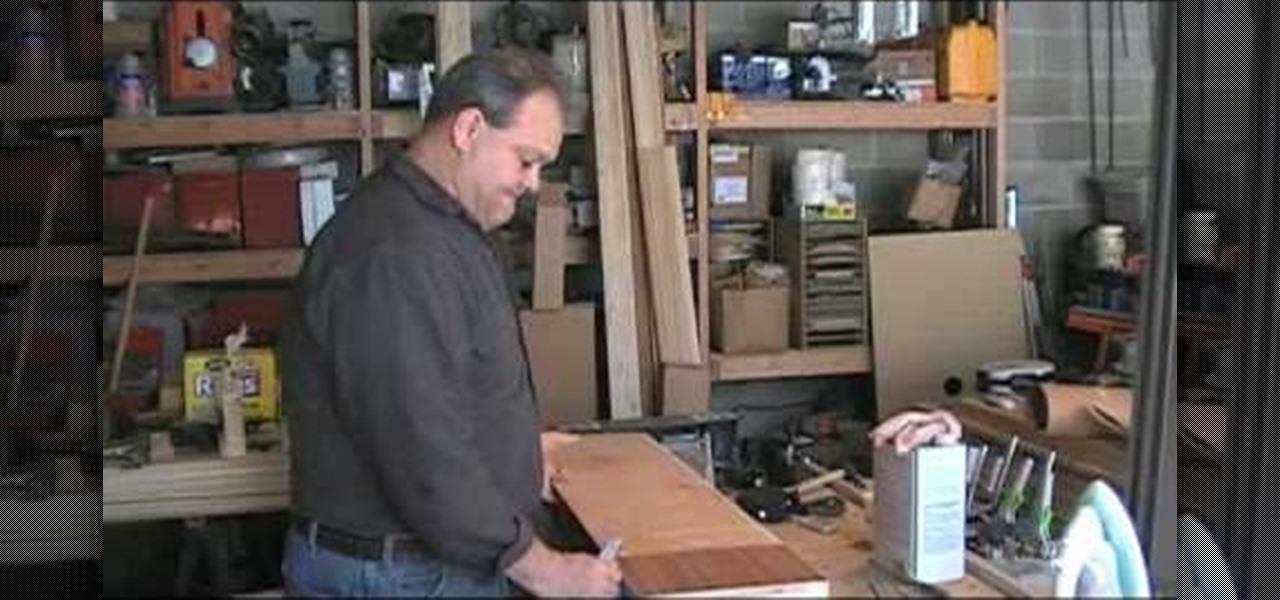
Are you into carpentry, furniture or woodworking? Watch this video tutorial to learn a simple technique on how to veneer using yellow glue and a household iron when making cabinets and other similar furniture.
In this clip, you'll learn how to take advantage of the Adobe Photoshop CS5 Puppet Warp tool. Whether you're new to Adobe's popular raster graphics editing software or a seasoned professional just looking to better acquaint yourself with the program and its various features and filters, you're sure to be well served by this video tutorial. For more information, including detailed, step-by-step instructions, watch this free video guide.
Transform your objects easily with Adobe Photoshop CS5's Puppet Warp tool! Whether you're new to Adobe's popular image editing software or a seasoned graphic design professional just looking to better acquaint yourself with the unique features of Photoshop CS5, you're sure to find something of value in this free video tutorial.
Want to selectively adjust the timing of an audio region? Whether you're new to Digidesign's Pro Tools digital audio workstation (or DAW) or just want to learn how to take advantage of Pro Tools 8's new features, you're sure to benefit from this free video tutorial from the folks at Lynda. Specifically, this software tutorial provides a complete overview of how to use warp markers to manipulate timing in your Pro Tools projects.
To bring demons back from the dead is tricky business, and what you need to do is get some candles, a blanket, and a book of spells. Also, possibly some snacks in case you do bring those demons into the living world, because they're going to be hungry, and you don't want them to eat you, do you? And where you need to go is a graveyard, and you have to go at night. Also, bring a friend, because dying alone is horrible, if it comes to that.
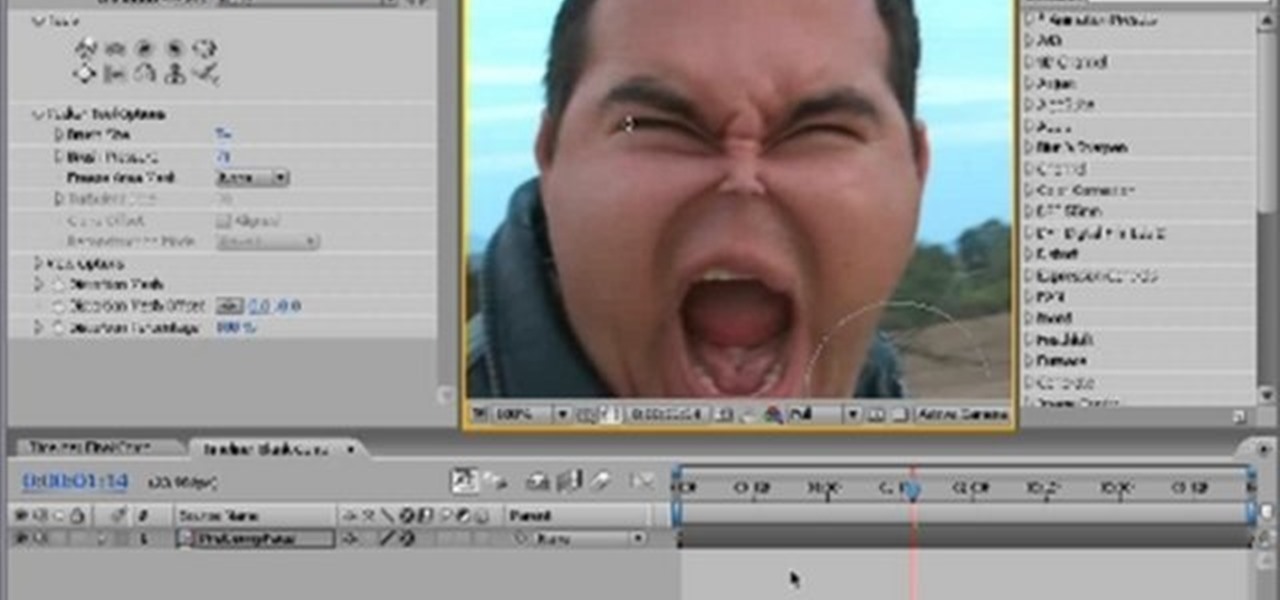
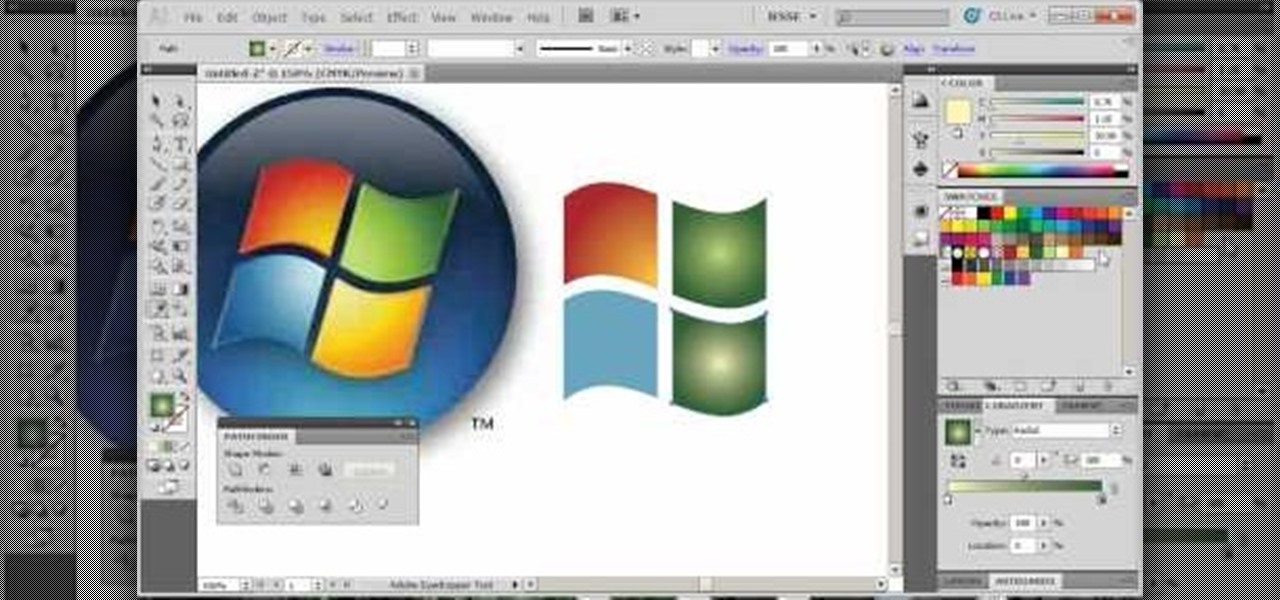
The Warp tool can save you a lot of time on your projects, so you'll want to learn how to use as efficiently and effectively as possible. This tutorial uses the Microsoft logo to demonstrate this function to Adobe Creative Suite 5.
This will only work for PC versions of the game. If you have enabled your dev console, you can warp to a secret room, called the testing room, which gives you access to every item and weapon findable in the game.
There are many ways to fix warped vinyl. Here's a ghetto version by using the power of the sun. Qbert experiments on a hot day to see if the double glass trick really works with 2 tables. By heating up the record under two flat surfaces, to where it's kinda bendable, you can reshape it yourself. Just don't get it too hot and melt the LP! It's another reason you need the glass... because with out it, if you leave the record in the sun by itself, it will bend all crazy and wavy.
With all those pegs sticking out, inkle looms can look intimidating -- but in truth they're both easy to warp and easy to use. To get the loom ready for weaving, you alternate threadings: One thread goes through a heddle, the next one doesn't. The preparation is easy and the weaving that follows is all about how well you can use this tool.
Tired of the same pen spinning tricks? Check out this instructional magic trick tutorial video to learn how to do the Warped Sonic pen spinning magic trick that will add some zest to your pen spinning skills. Basically you need to know how to do a charge and a pass. But if you know how to do a double charge, then you really know how to do a Warped Sonic. Practice your new pen spinning tricks with this instructional video.
Photoshop's Warp command transforms layers into a predefined shape. Bert Monroy used it on the glasses in Lunch in Tiberon, here he types the word "Digg" and demonstrates many of the effects you can create with it.
Need to spice up your images? Use Image Warp to wrap logos and other objects around your artwork/photos. In this video you'll see how to do it quickly and easily.
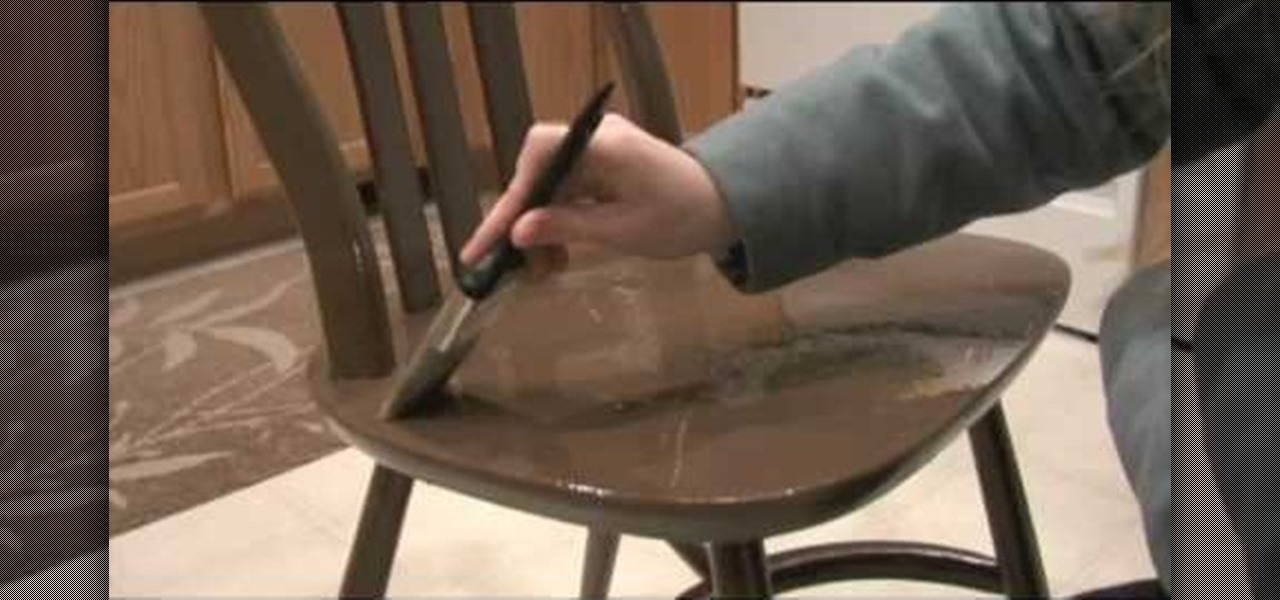
In this video, Deana teaches us how to distress furniture. You will need the furniture you want to distress and then paint over it with green furniture paint in the parts you want to change. Apply the paint thinly and let it sit for 10-15 minutes, or until dry. Now apply your stain onto the green paint, then add distressing to any parts you want to change, then wipe off with a rag. Buff off all excess oil you have leftover and you're finished! You can use this technique to distress any of you...