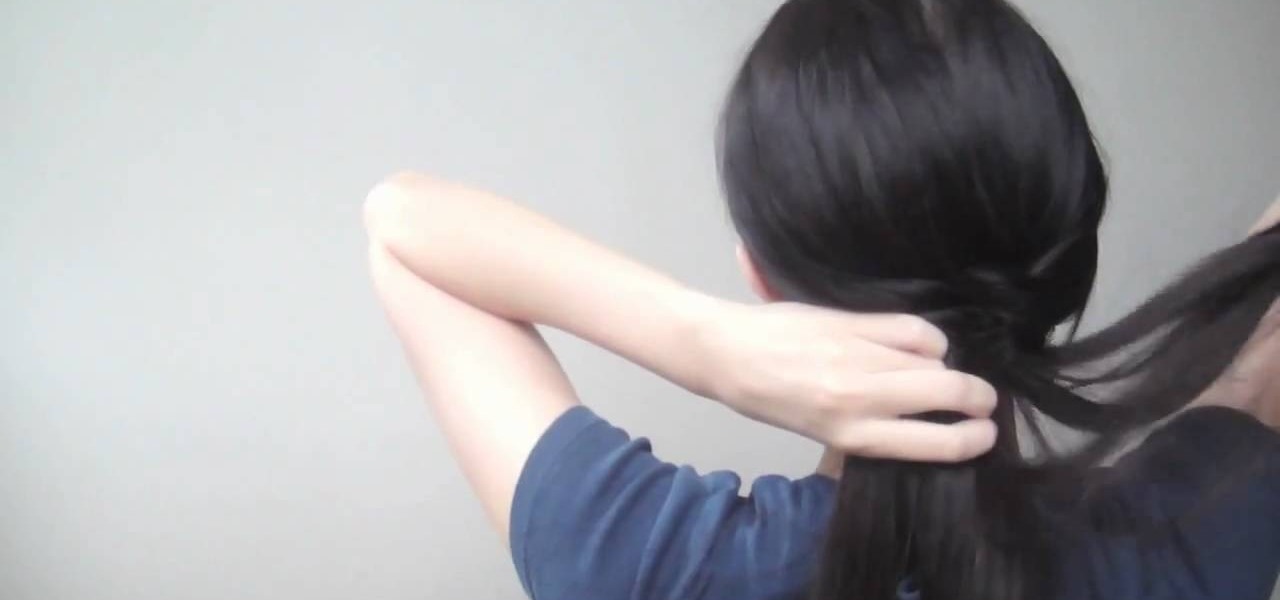
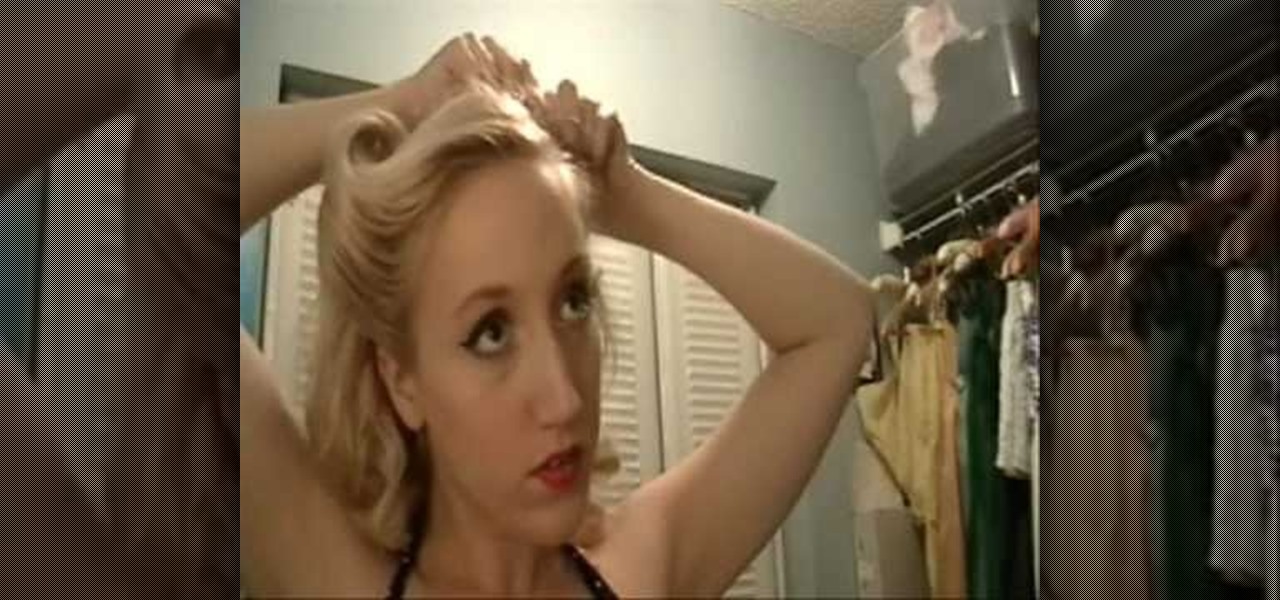
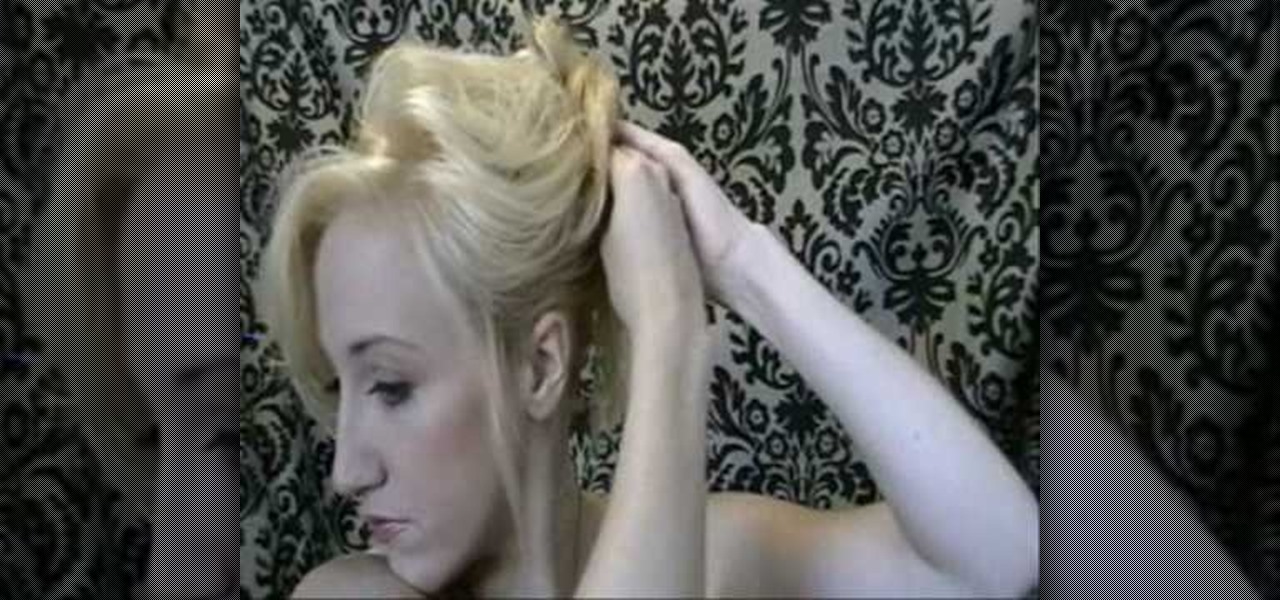
A retro updo that's SIMPLE?! Sounds like an oxymoron, we know, but there are shortcuts you can take when styling a vintage updo that'll shorten prep time. If you love looking like a pin up girl straight out of a calender but don't have an hour to invest in hair styling every day, then this is the perfect tutorial for you.
How awesome would it feel to be a sexy undead ruler of a vast vampire kingdom? Only Sophie-Anne LeClerq, played by Evan Rachel Wood, would know, though she seems pretty happy in her position. The teenage vampire queen of "True Blood" is one sexy diva, wearing very retro makeup and hair.

J.Lo is back in the studio, but that doesn't mean she's out of the limelight… and this makeup tutorial will show you a trendy look inspired by Jennifer Lopez, perfect for spring or summer. The hot trends are coral colors, which J.Lo is known to wear frequently. It's perfect for all skin tones and really warms up the skin. Great for a new season! Watch and learn!
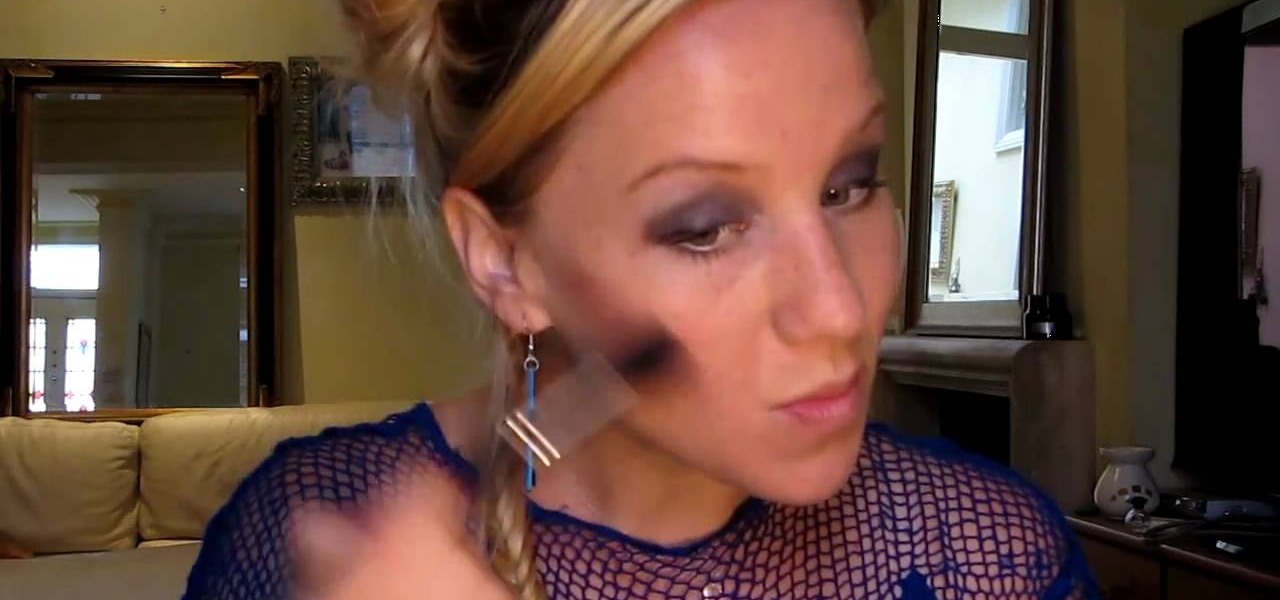
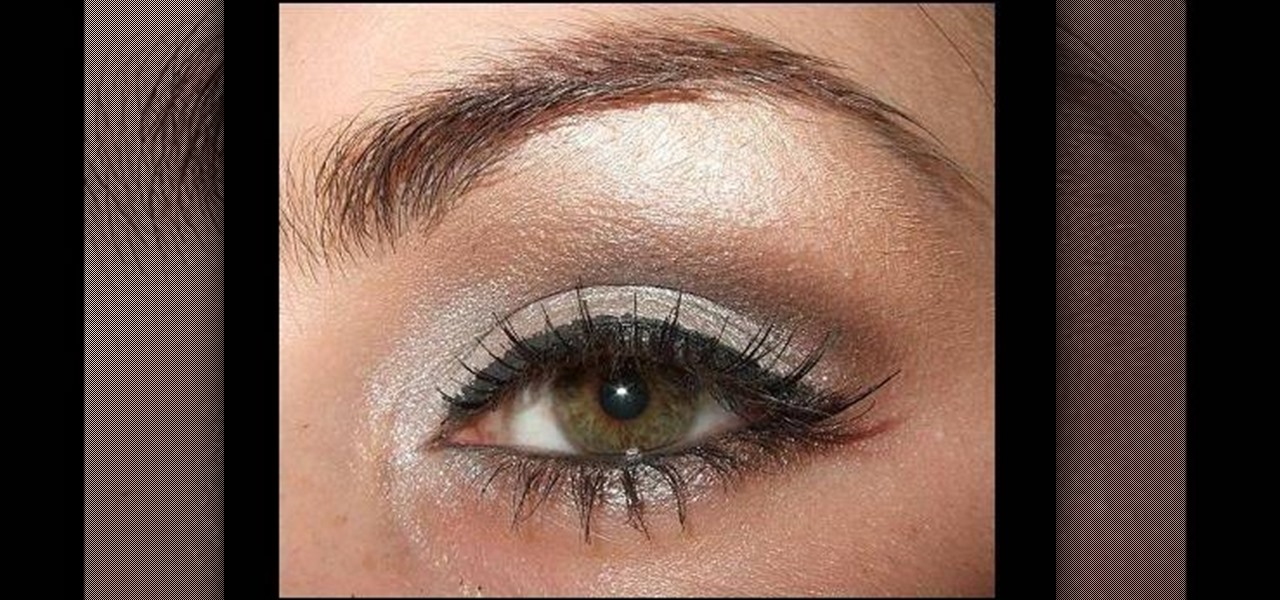
The '80s are back in a big way, makeup included. While we've been told since forever that we can only emphasize one feature - eyes or lips but never both - the '80s are all about experimenting and having fun.
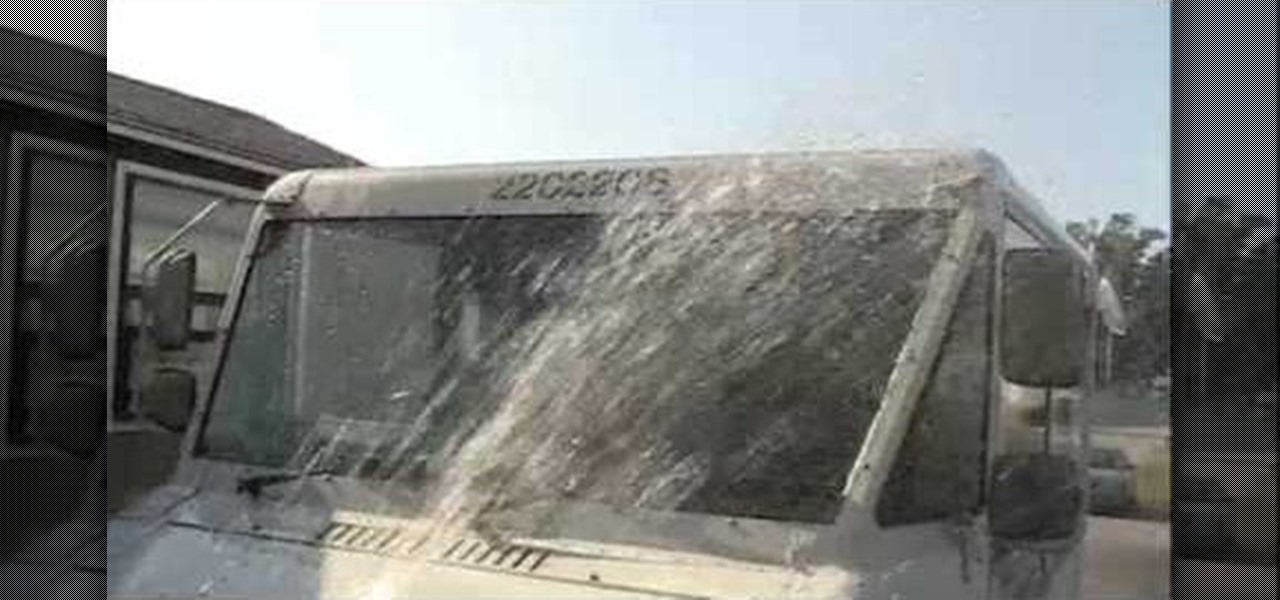
Unless the windshield is obviously cracked, there are only two other possible causes to a leaky windshield. One is from the seal around the whole glass, because it's broken or worn by age, and the other is the more common culprit on LLV postal trucks, and that's where the side mirror bolts on. This is is hard to see without a mirror and flash light, but check it before you replace the windshield, because if it's the source of the leak, you'll still have a leak even after replacing the windshi...

Unlike other automobiles, the LLV (Long Life Vehicle) postal truck is driven on the right side of the vehicle, not the left. This can complicate repairs for any mechanic if they're not familiar with these trucks which carry mail across the country by the United States Postal Service (USPS). One repair that isn't easy is replacing the windshield wiper pivots. Actually, the driver's side (right) wiper pivot is pretty easy, but the left side is quite a chore. If the one's you're working on are w...

In this video, we learn how to extract sodium to make sodium metal. First place soup can in a pot of water and place the sodium mixture into the can. Place a cap on top and leave it on while the can is cooling off. It should create a tight seal until you will be able to open it. Once you can open it, pour mineral oil on top of the sodium. Filter out this mixture to find the chunks of sodium that is in the mixture. While wearing gloves, take out the sodium and place it into water to see if it ...
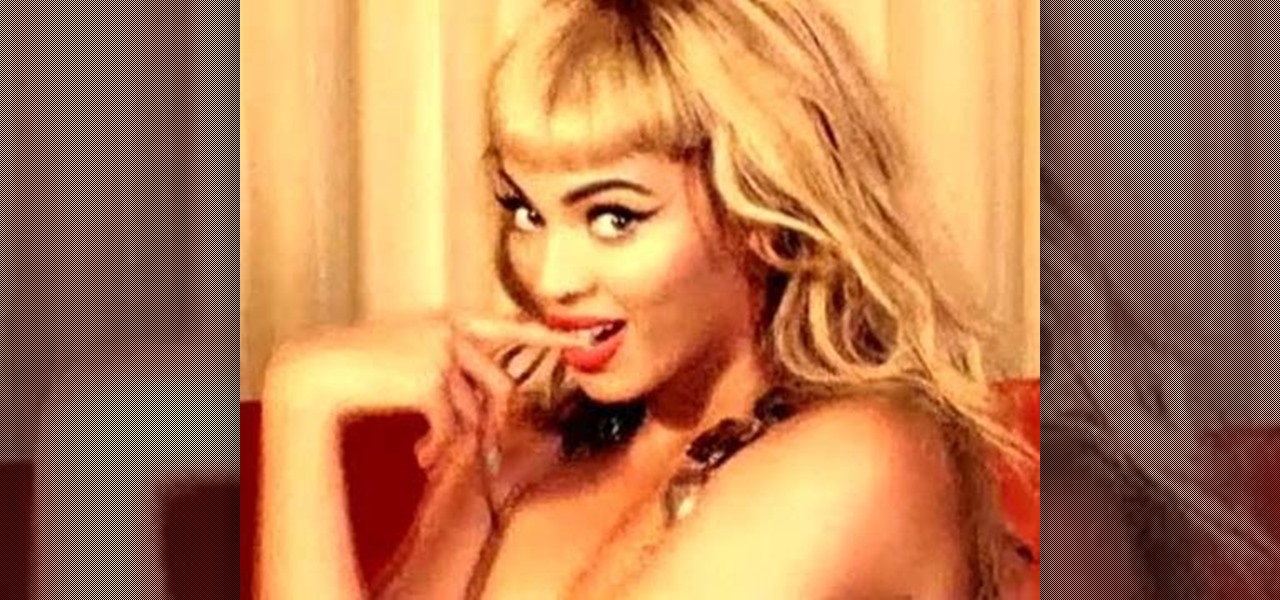
Perhaps inspired by her collaboration with Lady Gaga, Beyoncé created a very retro several months ago not in her usual full-blown sexy style but with lots of '40s female stereotypes and a vintage film look. This music video, made for her single "Why Don't You Love Me?", features in one scene a very curvy Beyonce repearing a car and wearing her curled hair up in a bandana.
Perhaps inspired by her collaboration with Lady Gaga, Beyoncé created a very retro several months ago not in her usual full-blown sexy style but with lots of '40s female stereotypes and a vintage film look. This music video, made for her single "Why Don't You Love Me?", features in one scene a very curvy Beyonce repearing a car and wearing her curled hair up in a bandana.
There's no need to drop mad stacks at a department store in order to wear clothing that looks fashionable. In fact, you may not know it yet, but you probably have a few gems waiting to shroud your figure in your garage.
No pain, no gain, guys. Sexy bodies with six packs aren't ever born; they're made. So if you want to look hot for the ladies the next time you're wearing swimming trunks or a bicep broadcasting t-shirt, then check out this supersonic strength training video.
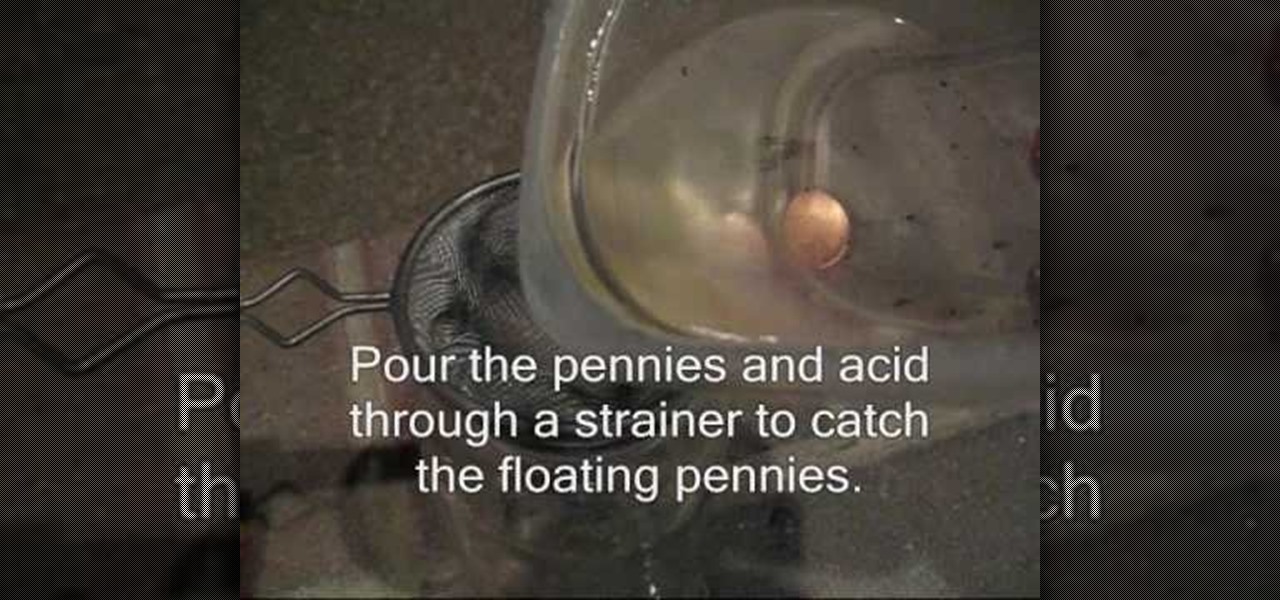
In this video, we learn how to hollow out a penny. First, you need pennies that are dated after 1982, muriatic acid, a plastic container, and sandpaper. First, rub the edge of the penny on sandpaper until the silver color is exposed. Do this on two pennies, then place them in the plastic container. Now, while wearing gloves, pour the acid into the container so the pennies are completely covered. Now the pennies will start to bubble, leaves these in the acid for around six hours. Next, pour th...
In this video, we learn how to make a shirt out of a wool blanket. This is great if you need something really warm to sleep in or wear out around. First, design the shirt so it's longer on the back than it is in the front. That way, when you sit down you will have extra wool to help keep you warm. You don't need to sew a collar on it,, because it will just take too much work. Make the arms extra long, depending on how large your blanket is. If it's too long, you can fold the ends over, or cov...
In this video, we learn how to make a beaded 7 petal faerie flower pendant. First, string 14 beads on an 18 inch piece of string. Next, create a circle in the beads, then tie it off. After this, add three blue beads to your first pico stitch, then go through two more beads after this. Continue to do this all the way around the bracelet until you reach the other side. After this, go through the first pico stitch and add one red bead, followed by blue and red beads to make petals. Continue this...
In this video, we learn how to fake confidence. First, you need to look your best and tell yourself that you look great. Your breath should smell good, you skin should be soft, and your teeth should be brushed. Also, wear bright colors because this shows confidence and will make you stand out to a girl. Also, smile at girls. This works because girls love to see men smile and want to know that they are kind and happy. Also make sure you are making eye contact, and not looking away from the gir...
The phrase "you can never have too much of a good thing" isn't particularly true when it comes to jewelry. While we love our bohemian tree pendants and dangling chandelier earrings, we don't like the fact that they weigh five pounds and pull down on our ears and/or necks.
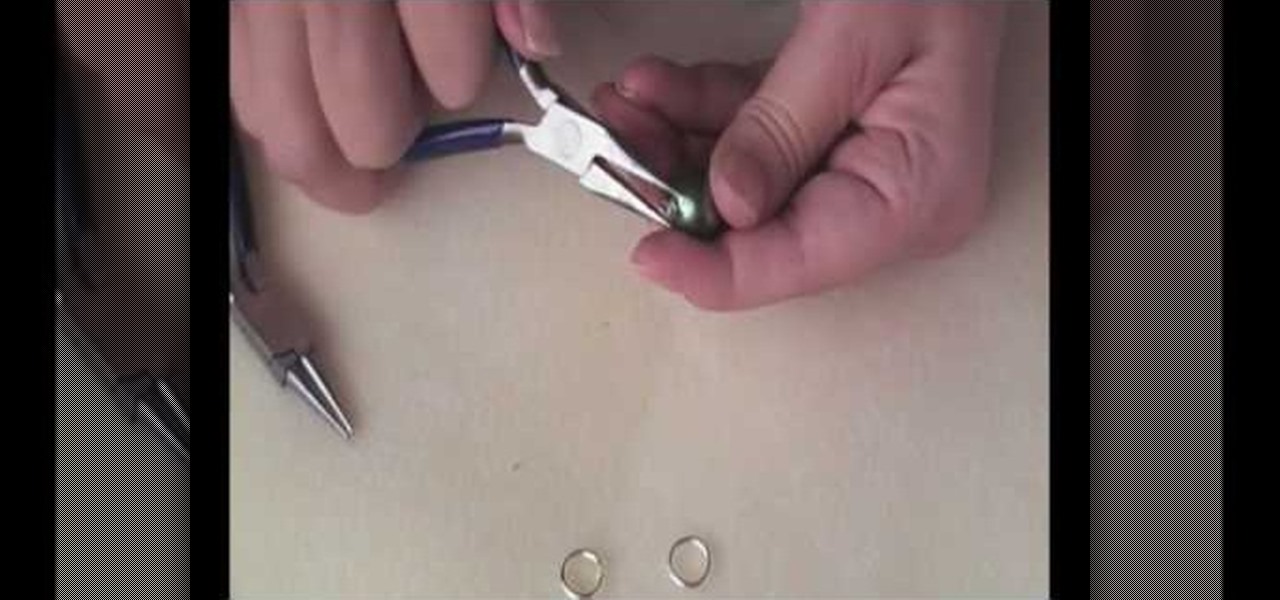
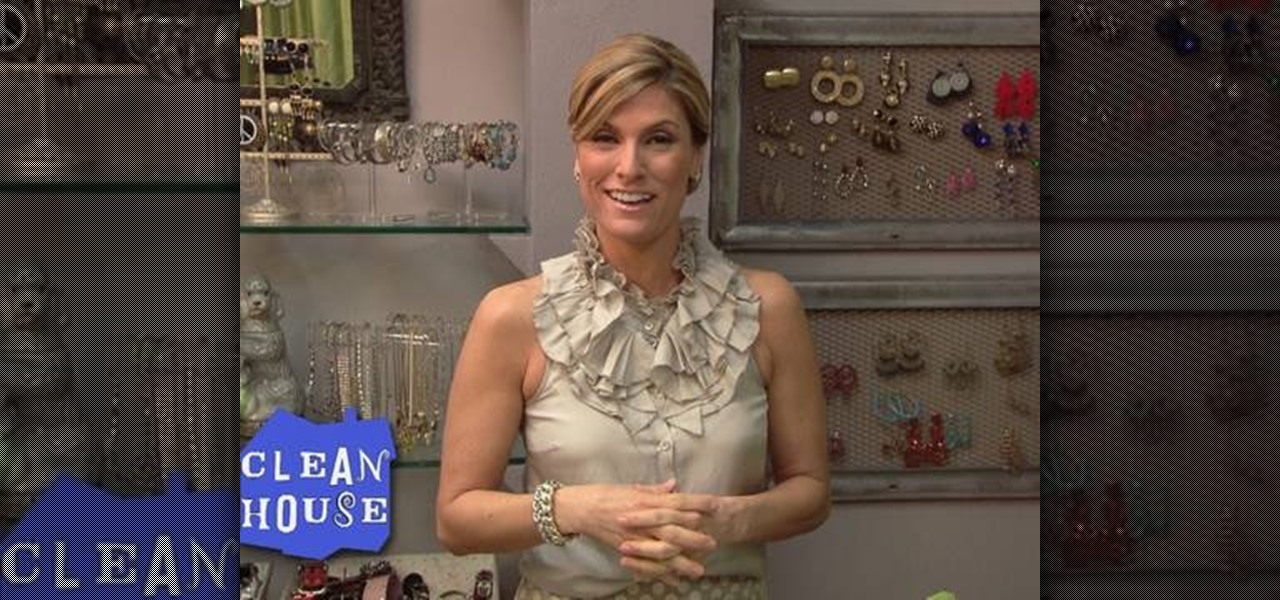
We've always had the impression that the only women who wear pearls are those who also own McMansions and tie cable knit sweaters around their shoulders at yacht club soirees. But now that we've seen this jewelry craft - a pair of chunky blue green glass pearl earrings - we're taking a second glance at these pearl things.
With cheekbones so sharp they could slice your finger if you ran your hand over it, Kim Kardashian needs not a stitch of makeup to look like a total Grecian goddess. But because she's so skilled with emphasizing her own features with makeup, every time that she does wear makeup she looks fabulous. One of Kardashian's favorite looks is a smokey eye with pale lips.
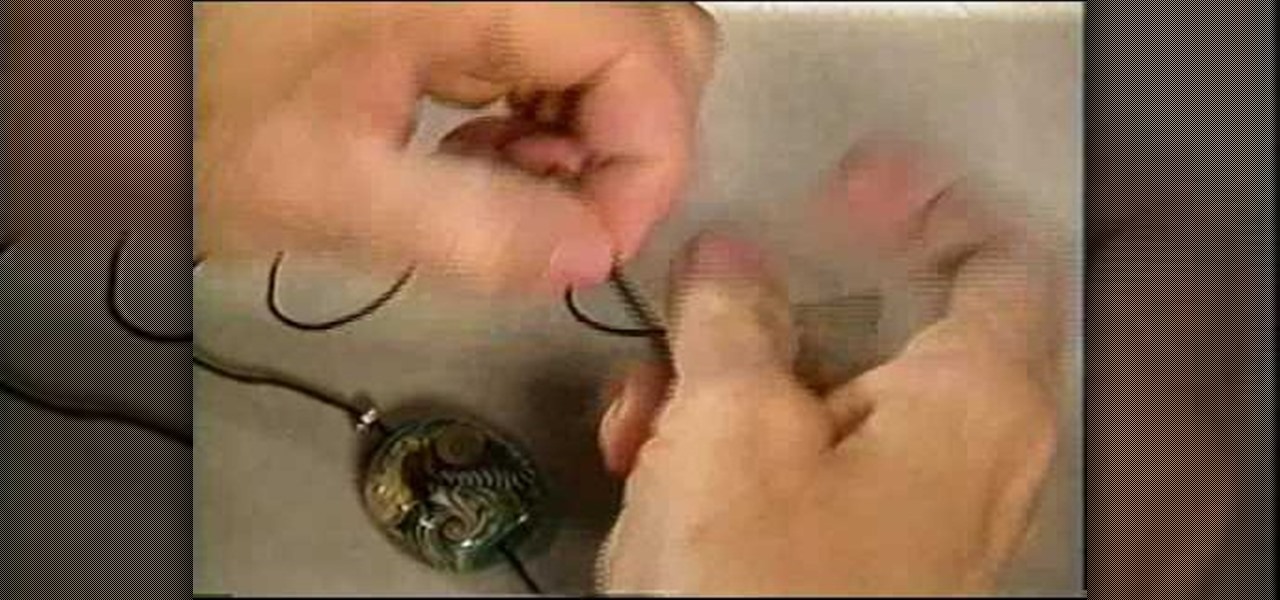
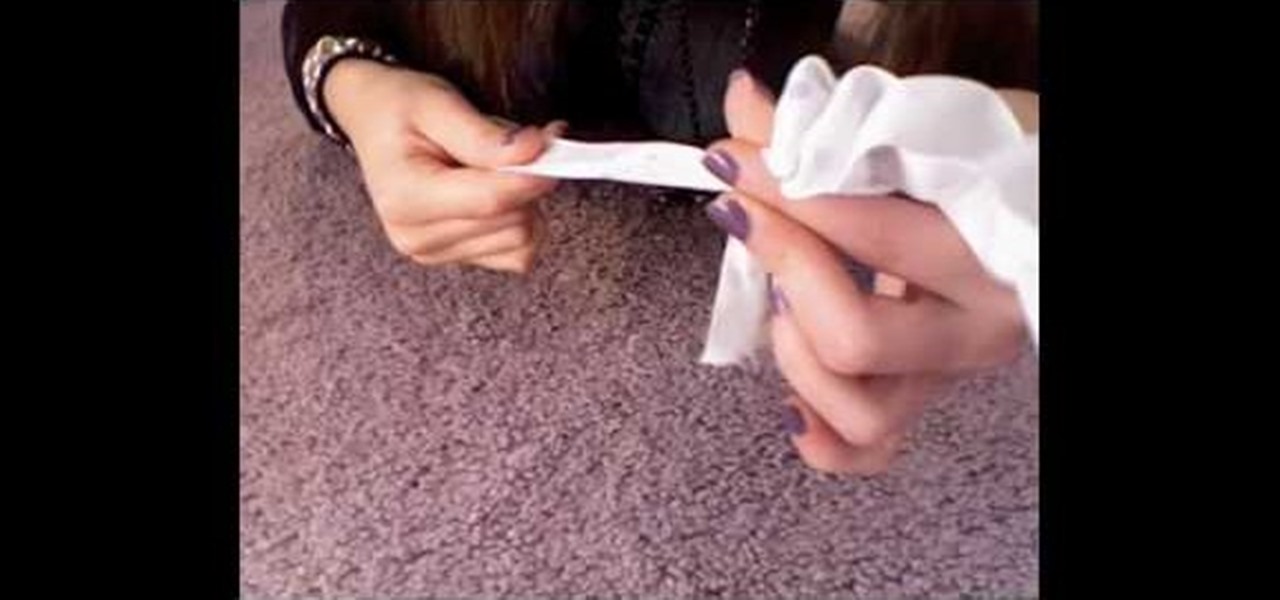
Would you like a necklace longer or is your neck too big for a necklace you love? No problem, a chain extender will allow you to wear or lengthen any necklace.
Fishtail braids are really not much different from your typical braids, only that they trail off from being thick at the top to very thin and delicate on the bottom (yes, like a fish tail). But this one feature is what makes them infinitely more elegant and romantic than the typical braids we wore in 5th grade.
Victory rolls may not sound like a familiar term these days because almost no one does them anymore. But you'd sure recognize them if we showed you some photos from the 1940s and 1950's: Actresses like Rita Hayworth and Katherine Hepburn loved wearing them, and as they did so did the rest of the nation who looked to them for beauty inspiration.
For both the bride and groom and the guests, beach weddings are a little messier to deal with. And when it comes to dressing and getting your hair and makeup ready, there are the additional considerations of practicality (you're going to be trotting on sand, after all) including how to do your hair so the wind won't whip it into a frizz cloud and how to apply makeup so it won't all slide off before the "I Do."
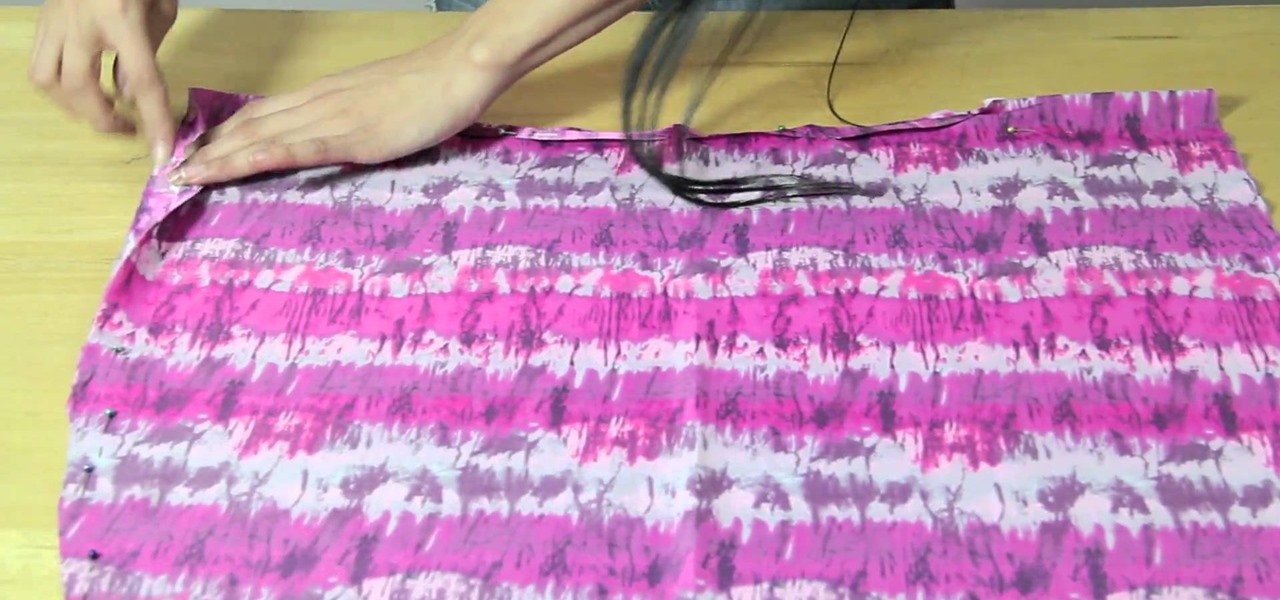
In this tutorial, we learn how to revamp a junk shop dress. First, you will need to measure out how short you want the dress to be while still wearing it. After this, take the dress off and pin it where you want to sew it. Cut off excess fabric, then sew the hem of the dress where you want it to be. Next, place the dress back on and pair it with some cute leggings. You can buy a cheap dress and make it look nice without having to pay a lot. Pair this will some cute accessories and you will ha...
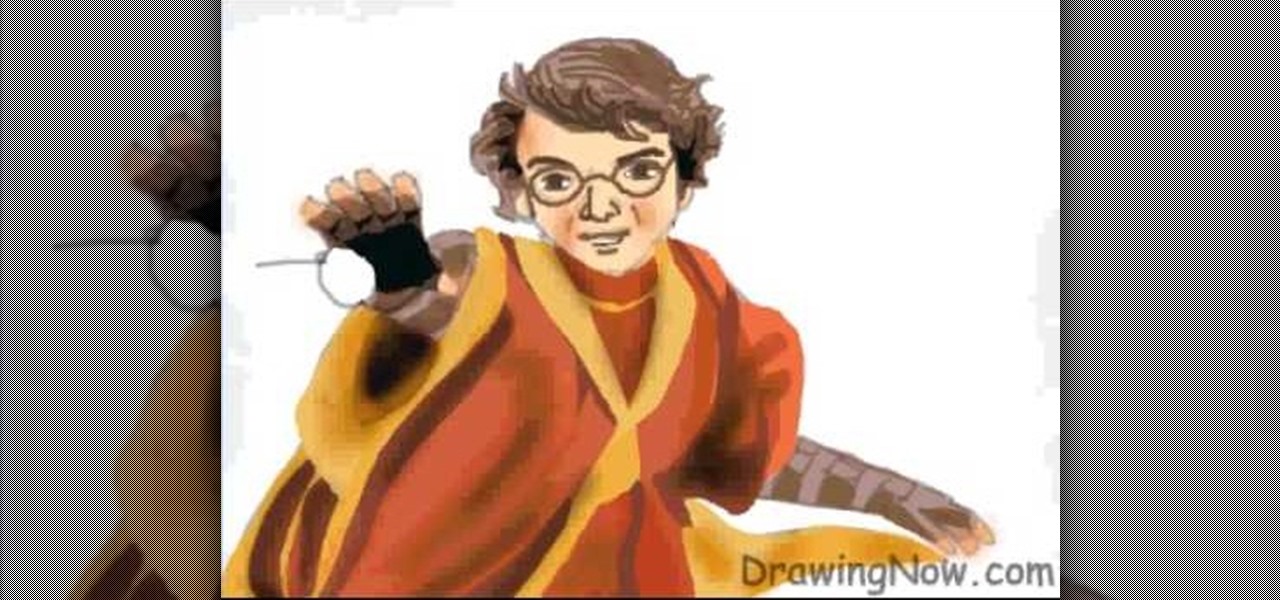
In this tutorial, we learn how to draw Harry Potter. Start out by drawing Harry's face, adding in all the details, such as: his hair, eyes, glasses, nose, and mouth. After this, start to draw his upper body wearing his Quidditch robes, and draw his arms. One arm should be reaching in the air for the ball and the other should be to his side to balance him out. After this, start to add colors to the picture. Add in his skin color, then add in his brown hair and gold and red for his sports robes...
In this video, we learn how to make a tee a stylish one shoulder tank. First, lay your shirt down on a flat surface. After this, cut the shoulder off one side, then cut a diagonal line down the other side, removing the other shoulder completely. Next, take a round brass ring and attach it to the first shoulder to connect the front and back of the shirt. When you are done with this, you can wear your shirt and enjoy! If you want more of a professional look, you can sew the ends of the shirt so...
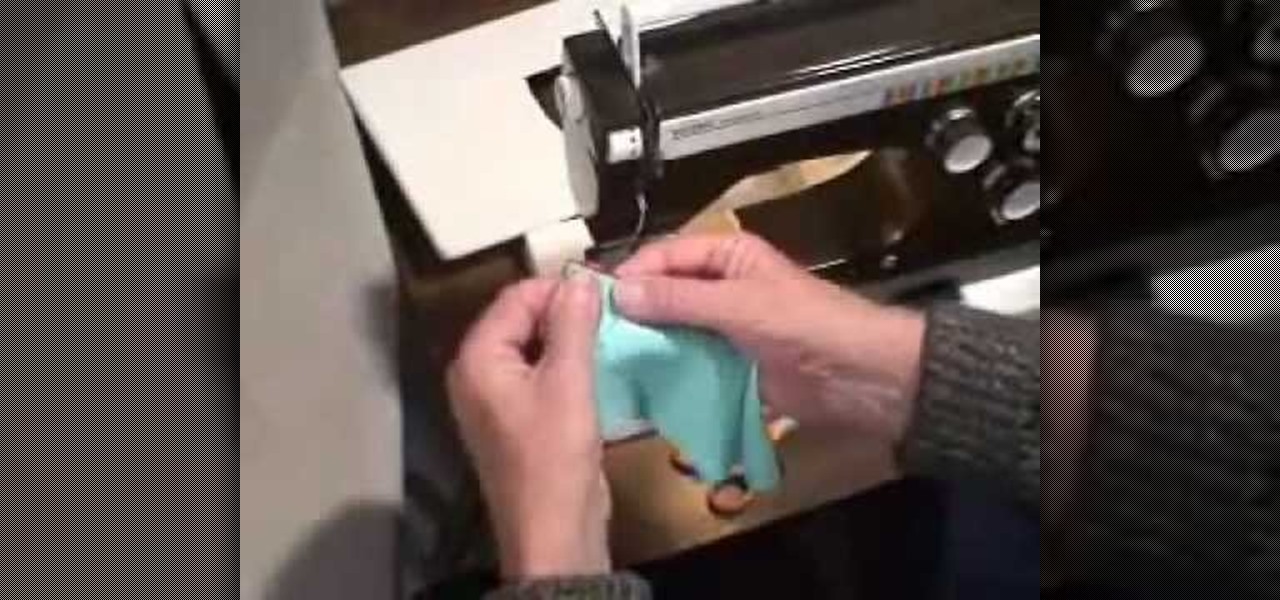
In this tutorial, we learn how to edge finish with lingerie elastic. First, grab your elastic and place it onto your fabric. Line up the elastic so it matches in perfectly with the fabric. Use a sewing machine to sew the elastic onto the fabric. Go slowly while you are doing this and lift the elastic in your hand as you continue to sew it on the fabric. When you get to the end of the fabric, the elastic will be sewn on, and you will be able to wear it! This only takes a few minutes, just make...
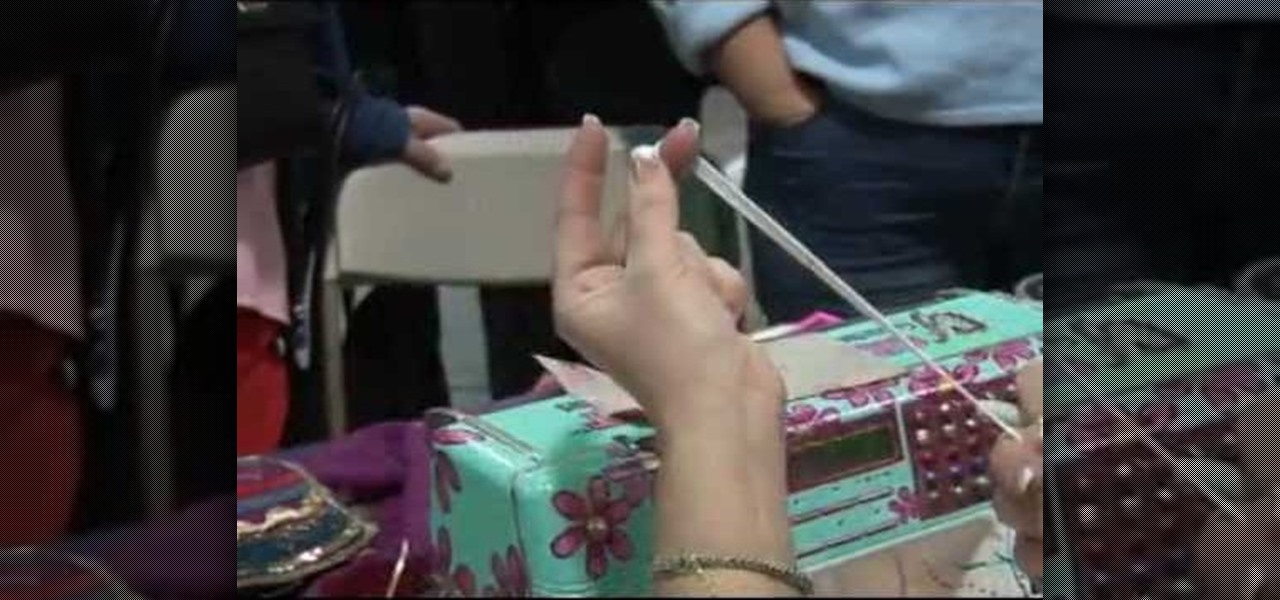
In this tutorial, we learn how to sew and measure elastic. First, place the elastic over your waist and think about what you are making. Decide if you want it to be comfortable or if you want it to be tighter if you are wearing it out during the day. Also take into account what type of fabric you are going to be using so you know how much elastic is needed. Fold the elastic and mark the inside and outside of the fold, now do the same thing with your fabric. Now you will know if you need to ea...
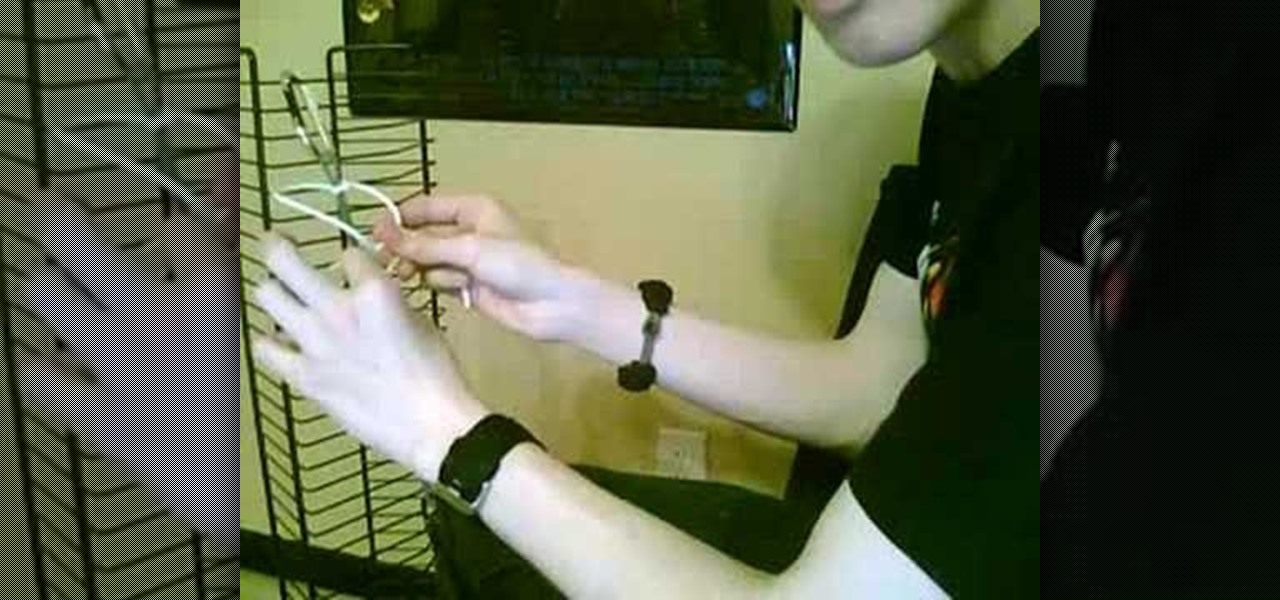
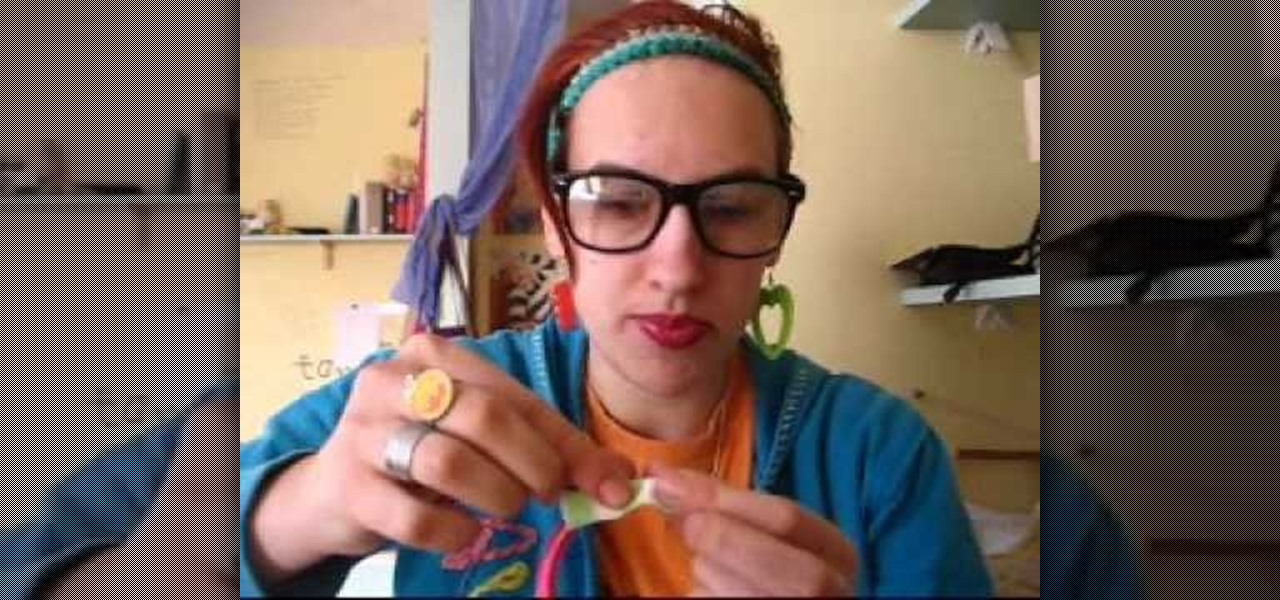
In this video, we learn how to make friendship bracelets adjustable. First, tape both sides of your bracelet onto a flat surface. After this, bring both ends into a circle shape at the ends. Now, take any color of string and make a loop with it over the ends of the bracelet. Now, put one end over the other and then put it through the bracelets and into the loop. Then, pull the end of the thread and put the bottom over and under the top piece. Then, put it through the bracelet and tighten it. ...
In this video, we learn how to make a bow out of a Starburst wrapper. Now, place clear tape of the wrapper and fold down the edges. Now, fold the wrapper in half and then in half once more. Make it so you have an accordion design with three different peaks on the wrapper. Now, cut a small strip of tape out of the piece of tape and wrap it around the middle of the bow. After you do this, flare out the edges to make it look more like it has a bow shape. Now, take a bobby pin to the bottom of th...
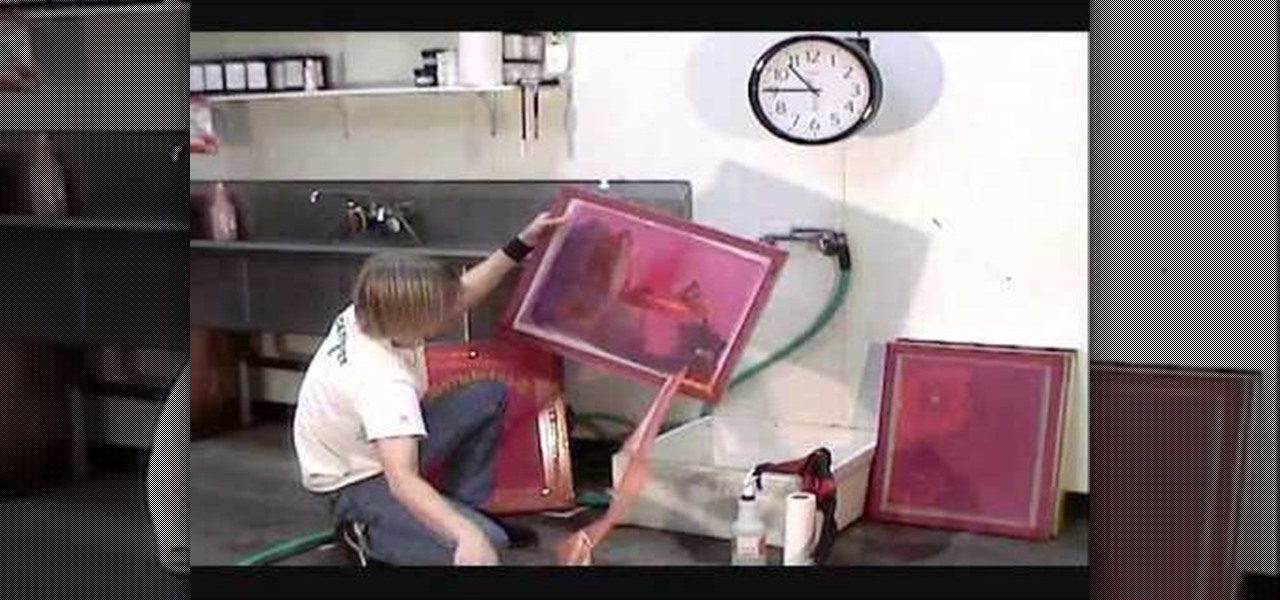
Screen printed t-shirts cost you quite the chunk of change at most clothing stores. Whether it's to prove your street cred with a screen-printed Nike shirt or to wear a screen-printed tee promoting a major cause like the Susan G. Komen Cancer Foundation, you probably already have a few in your closet.
The Japanese Shoguns built their entire warrior culture around masochism. Did you lose in battle? Congratulations, you must cut off your own head! Did you dishonor your general? Punishment consists of swirling your guts around with your own sword (yes, you're doing this yourself) and then chopping off your head. As you can see, failure - and disobedience - was not an option, and to commit it shamed you so much it would be more honorable to be dead than alive.
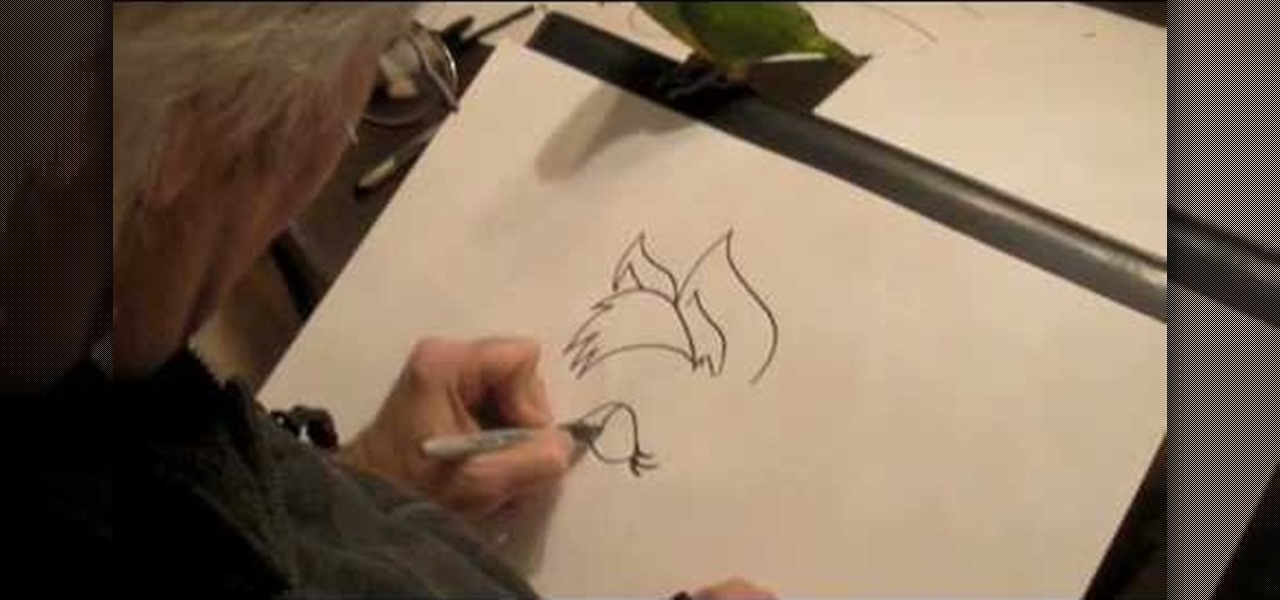
In this tutorial, we learn how to draw a cartoon horse's head. First, make a large ear followed by a large amount of hear and a smaller ear. Next, draw a large eyes underneath the ears with eyelashes. Then, draw a nose for the horse and a mouth making a smile coming outwards of the eyes. Next, draw the mane with a lot of hair and the neck going downwards off the paper. You can add a collar onto the neck of the horse if you want it to look like it's wearing a shirt. To finish, add in more hair...
In this video, we learn how to work with Stretch Magic. This is a beading technique that is very easy to use. It's great for making bracelets, because no clasp is required. First, cut a piece of Stretch Magic 4-5 inches longer than you want it. Now, string your favorite beads onto the Stretch Magic. When you are finished with this, connect the ends with a square not and add a drop of super glue for added security. After this, cut off the excess strings from the end and you will be able to wea...
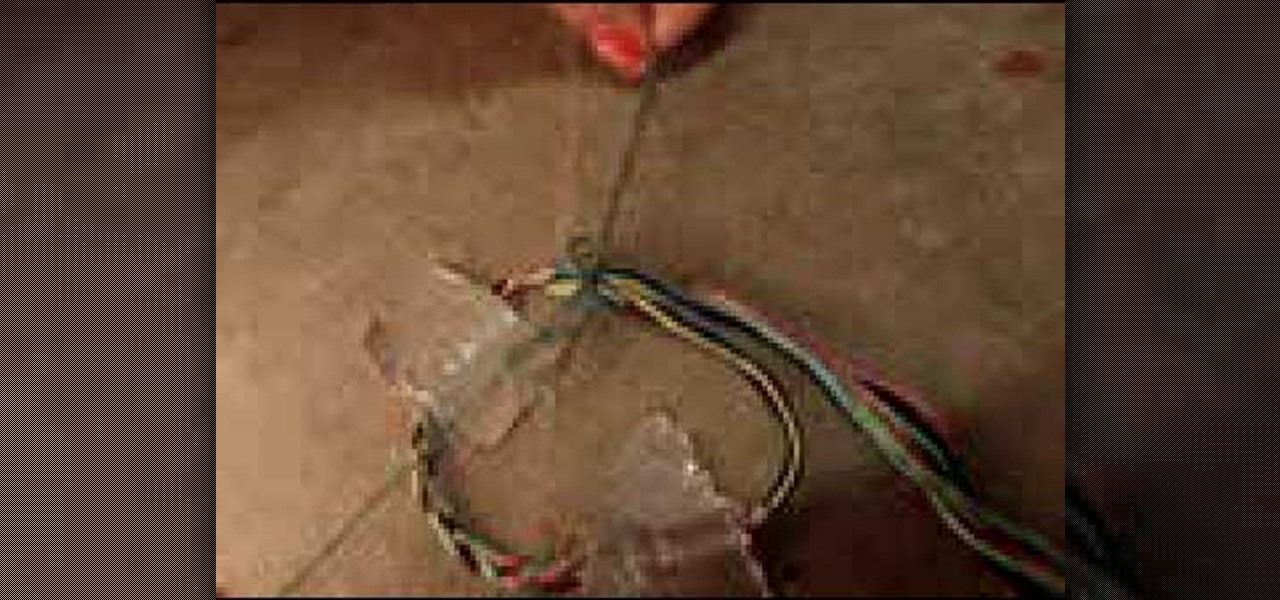
In this tutorial, we learn how to weave a (king) cobra stitch for paracord bracelets. First, take a 10 inch cord, fold it in half, then tie a knot at the end of it. Put this on a holder, then tie another chord on the bottom of it and hold it with your knees for tension. Next, start to weave the other color chord around it by going in and out of the two sides of the first chord. Continue to do this for the entire bracelet, then knot it off at the end to finish. You can add your favorite colors...
In this video, we learn how to weld an oil pan. Make sure you are wearing protective gear on your face before you do this. Take your welder to your oil pan, then start to weld it while you are underneath it or you have the car pushed up all the way. Place a patch for welding over the part of the oil pan that is leaking. After this, use your welder to connect the patch together with the pan. This ill take several minutes to weld together, and when you are done you can let this cool and fill yo...
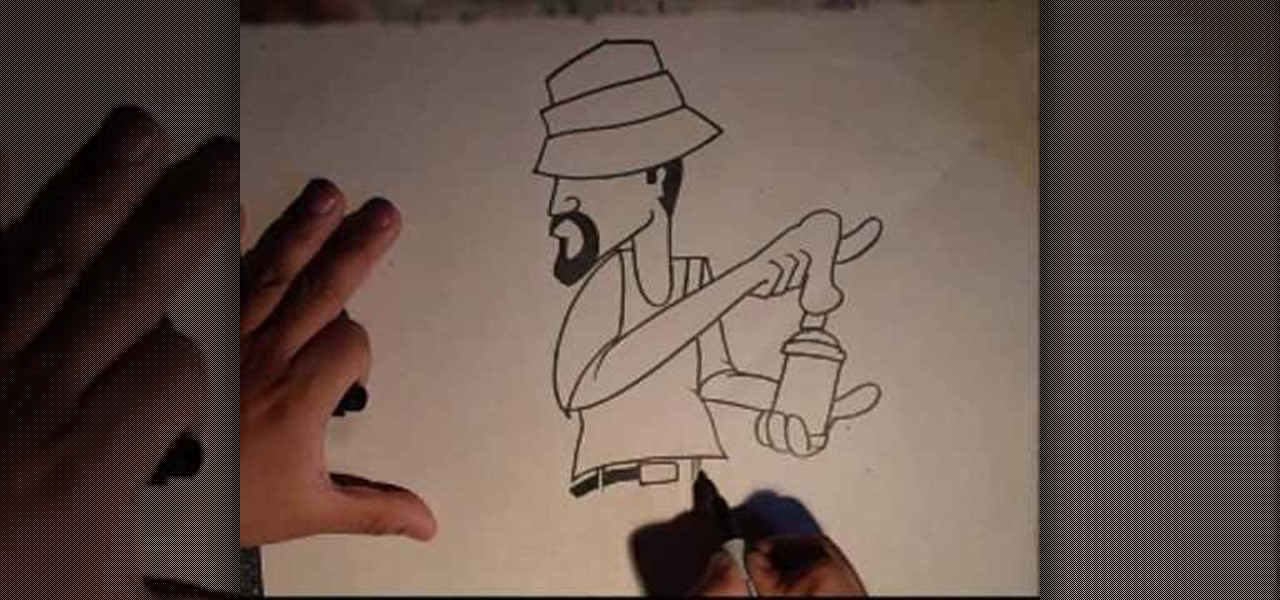
In this video, we learn how to draw a cholo graffiti character. Start out by drawing the hat, then draw the face underneath the hat. Draw a mustache and beard around the mouth and hair on the back of the head. Next, draw a neck going down from the face, followed by an arm and the chest wearing a tank top. Make the hand on the arm hold a spray paint can on the top and the other hand hold the can at the bottom. Next, draw a belt and jeans onto the character. Draw jeans that are oversized for th...
We love shiny things. Pretty baubles, Swavarski crystals, long link chains holding art deco pendants. And that's why we also have an extremely messy jewelry storage system. Basicall this is how it goes: we buy a necklace, wear it once or twice, and then toss it into a sort of bin type thingy.
For the most part, bangles that you purchase at the store are pretty generic and boring. Sure, they look good on all the airbrushed models in store ads and on size 00 manequins, but then it hits you that moment you get home and try them on that they're really not all that. Which, inevitably, leads to not actually wearing your purchases.
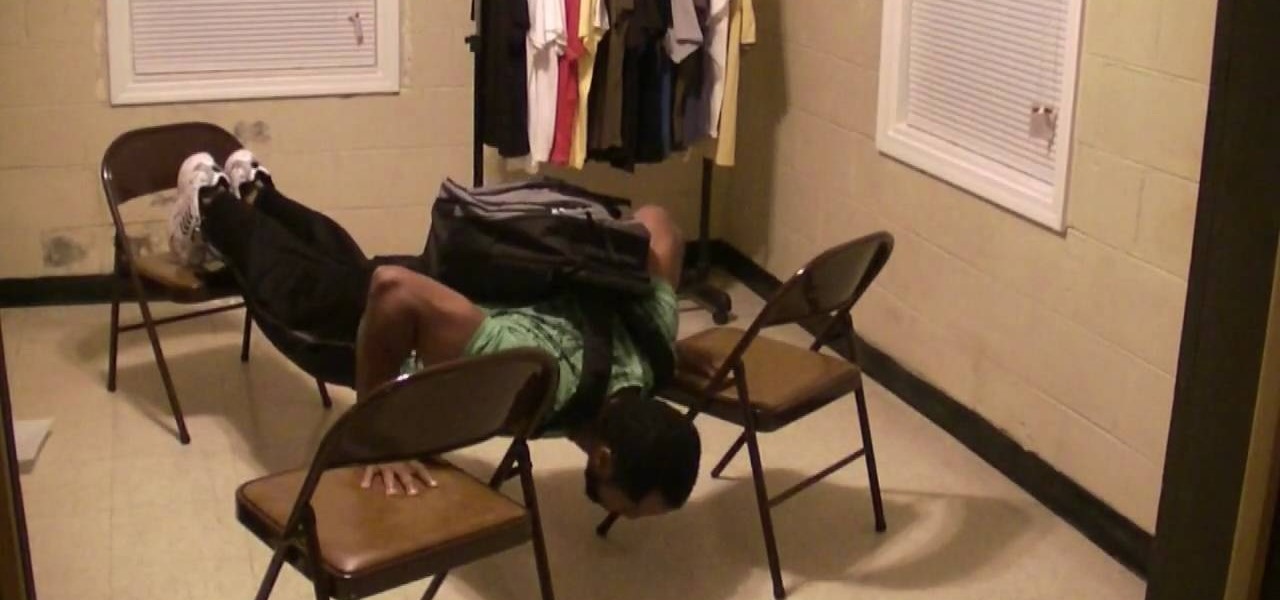
In this tutorial, we learn how to build chest muscles through chair push-ups. To begin, you will need to set up three chairs in a pyramid shape that will fit your body laying down. To begin, place both of your feet on one chair and then push each of your hands laying on a chair. After this, do as many push ups as you can. If you want a more challenging work out, you can wear a backpack that is filled with weights. You can also stay at the bottom for a couple seconds while you are doing the pu...
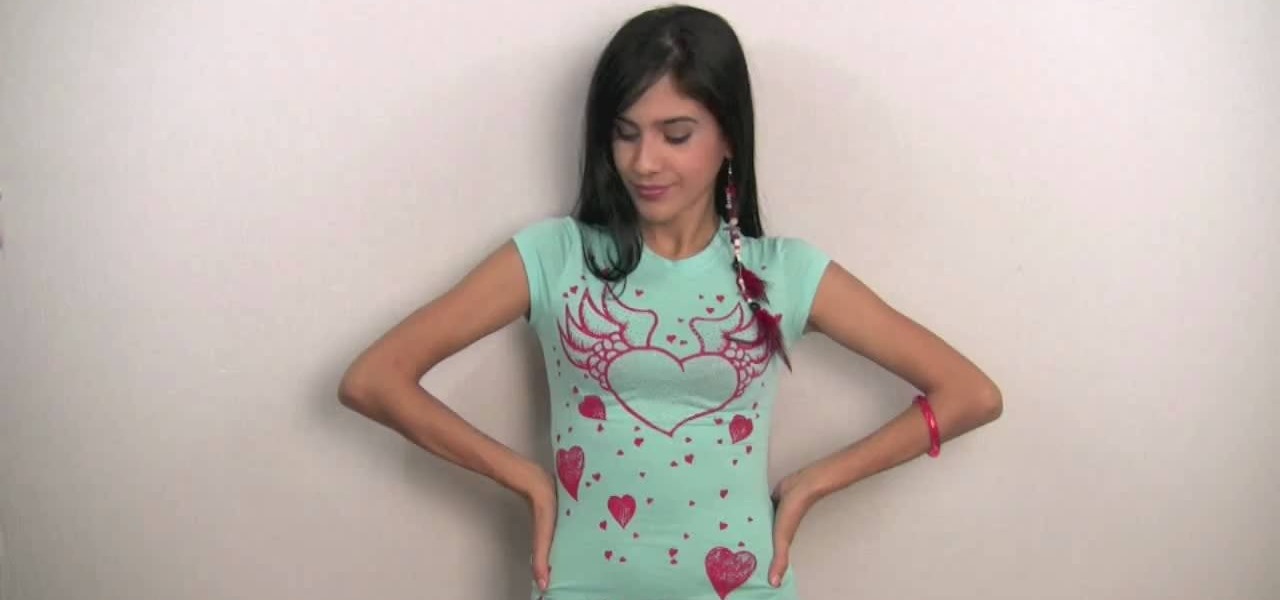
In this tutorial, we learn how to make a flower headband for Valentine's Day. To make this, you will need: rubber band, elastic band, and ribbon. First, take your ribbon and fold it in half, then make one side a little bit longer than the other. Now, make a flower with the ribbon so it lies on the very top of the headband. After this, use your elastic to tie it around the base of the flower so it stays in place. Now, tie your rubber band to the bottom of the headbands and make a knot with the...