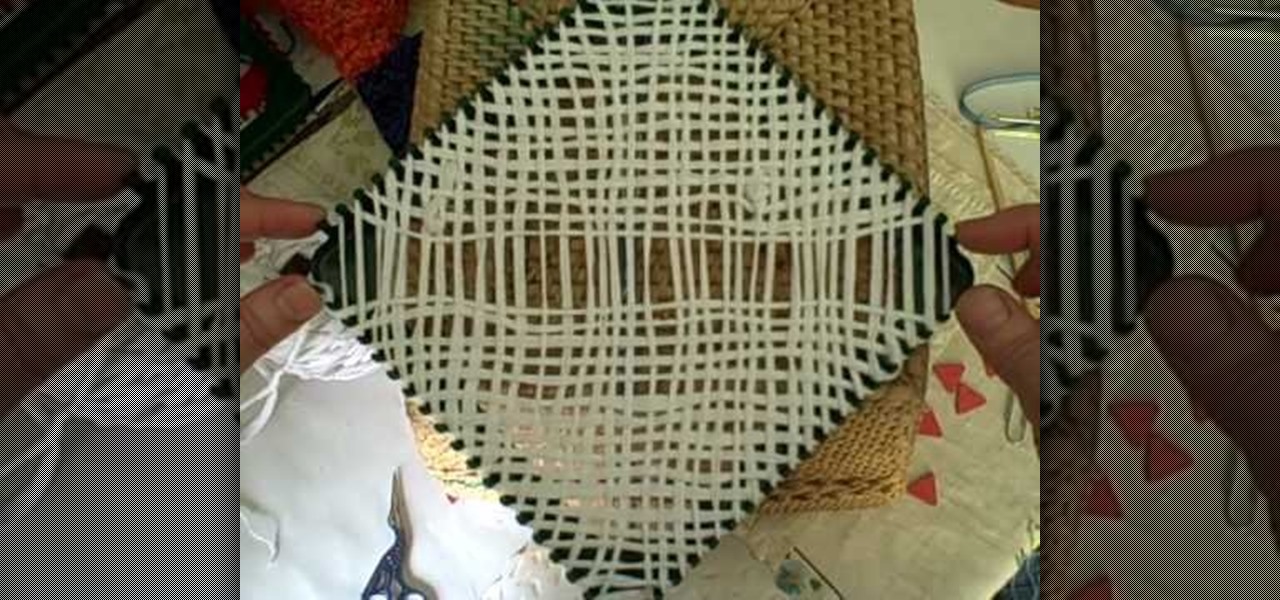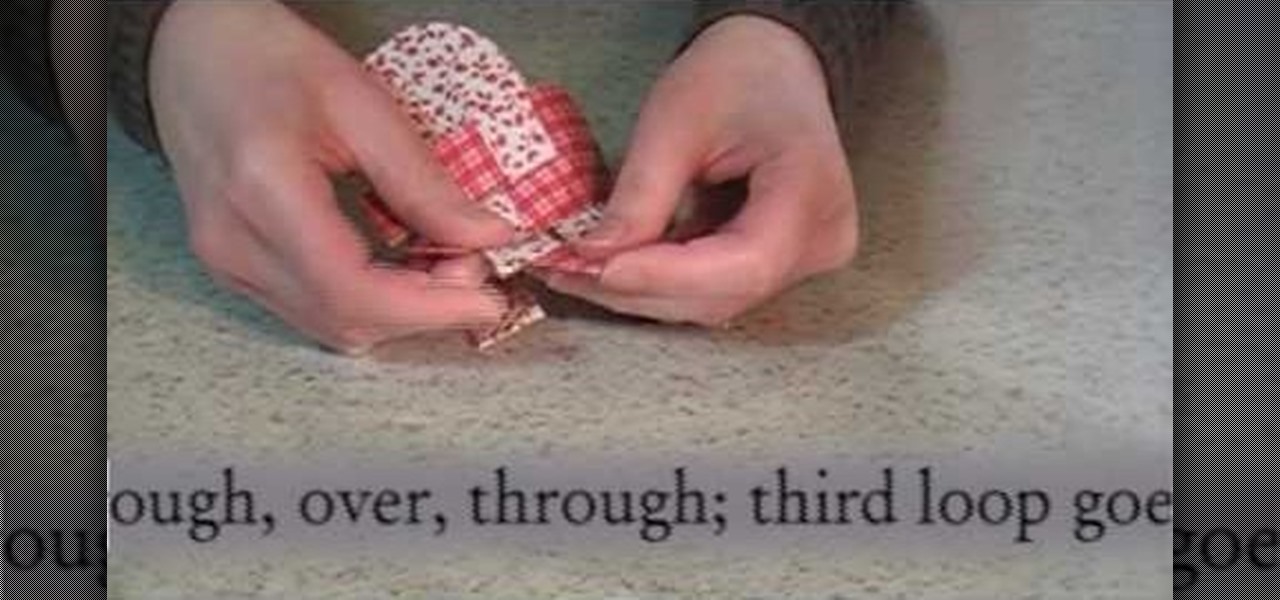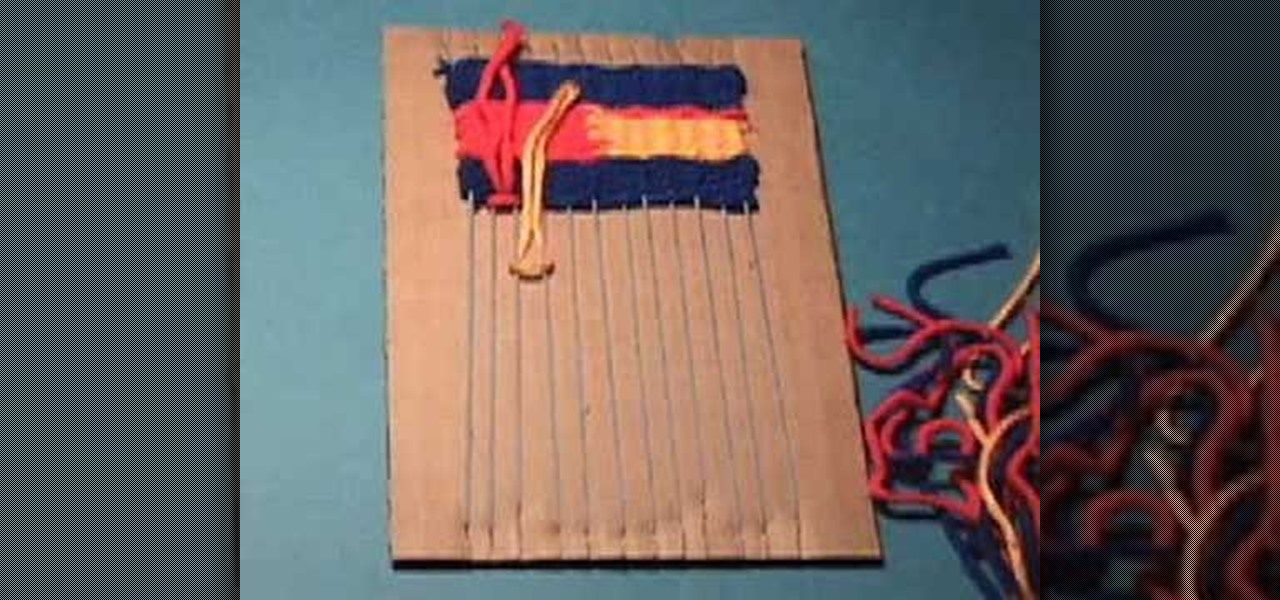
Learn about the basics of weaving with this stop motion weaving tutorial video. Several different weaving and knot techniques are demonstrated, even showing common mistakes in the weaving process. Watch and learn a simple technique for weaving on a cardboard loom.
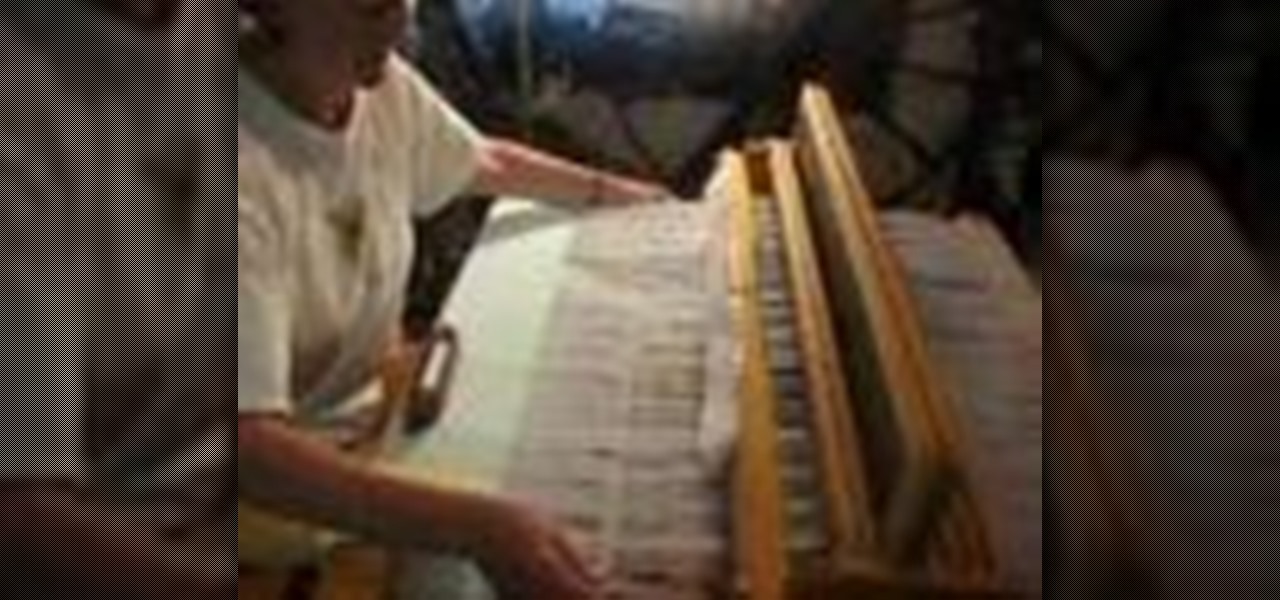
Watch this weaving demonstrationi video to learn how to weave an overshot coverlet on a Jack loom. Beginning steps for weaving on the Jack Loom:
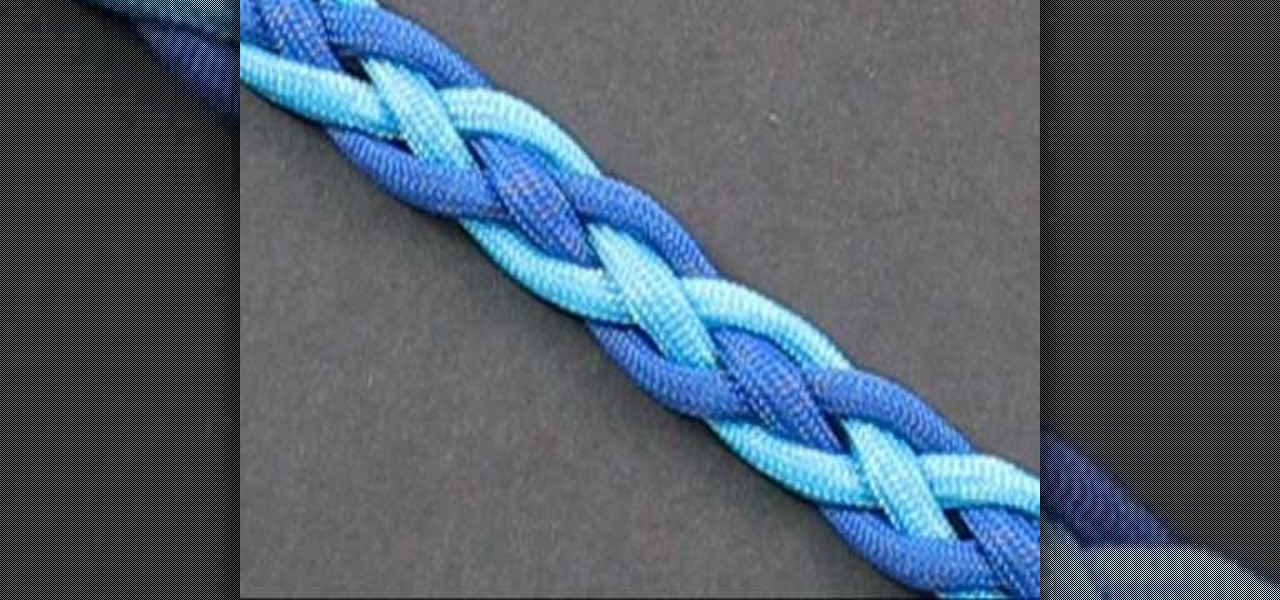
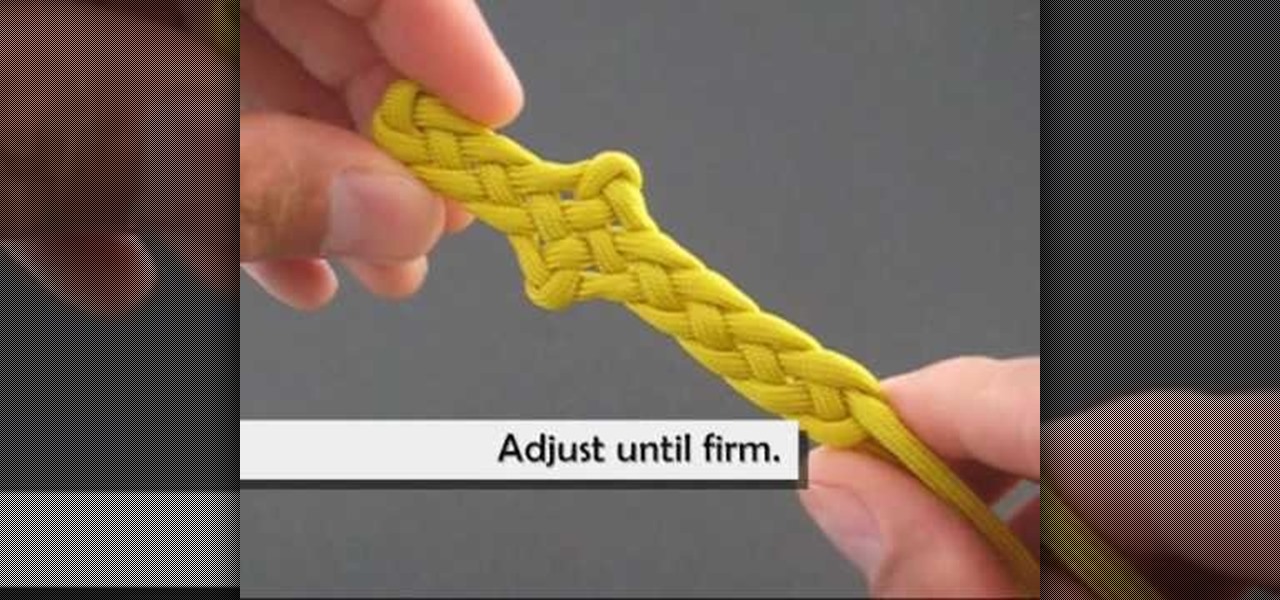
The great thing about weaving, is not only can you make something that is fun to look at, but can be used in certain situations. This next tutorial is going to show you how to tie a two color snake weave. The weave is basically a celtic knot that is perfect to use as bracelets and straps. This weave is different from an original snake weave in that it adds something extra and can't wrap around itself. So check out the tutorial and good luck!
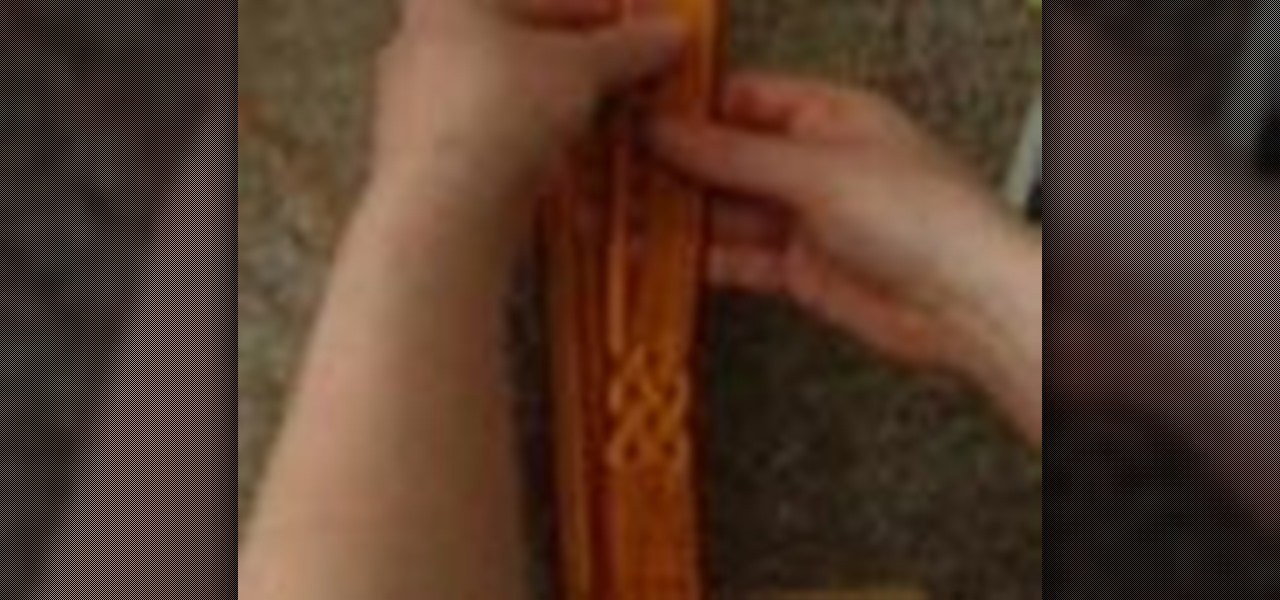
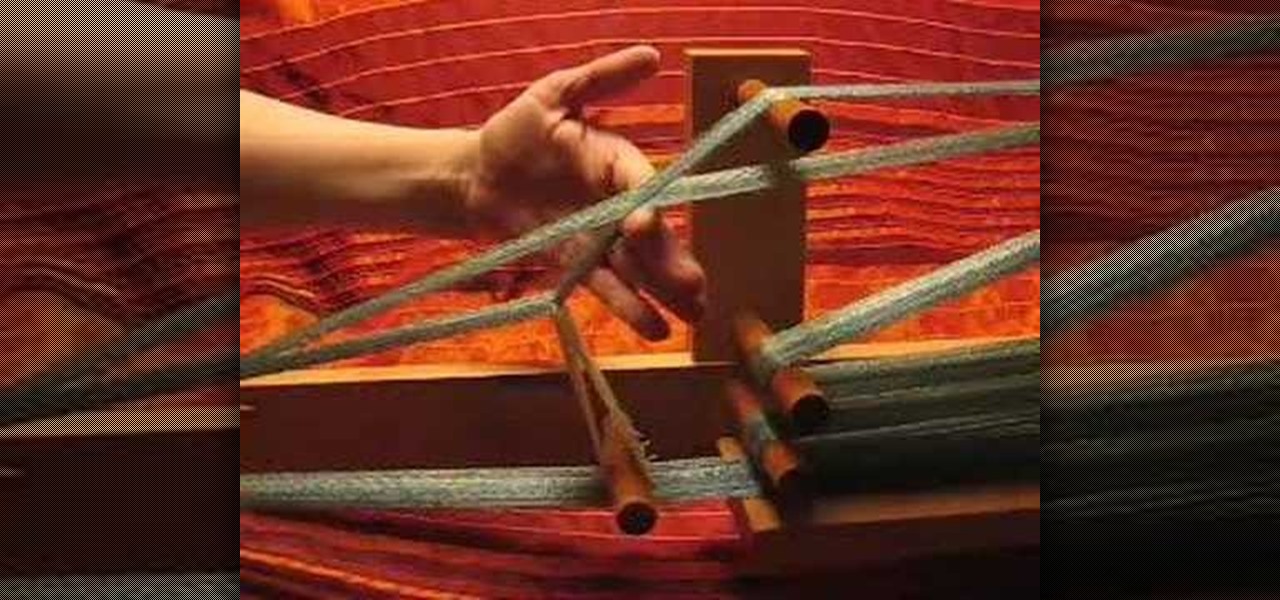
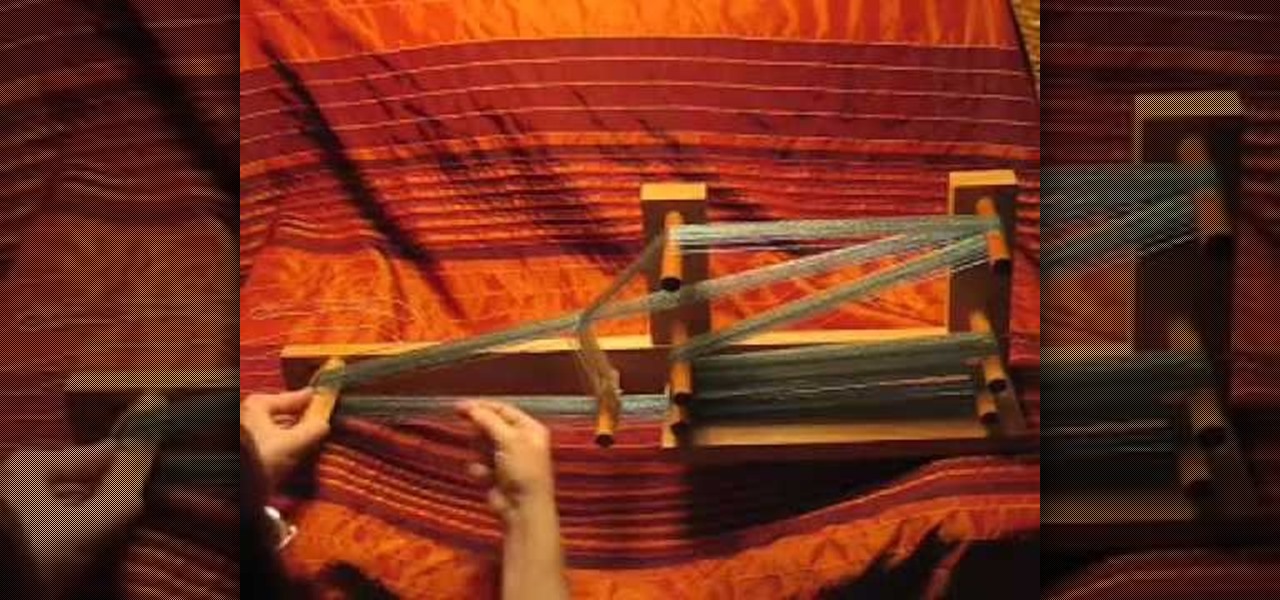
Watch this instructional weaving video to begin weaving on an inkle loom. Inkle weaving is a type of weaving where the weave is created by manually raising or lowering the warp yarns on a loom known as an inkle loom. Inkle weaving was brought to the United States in the 1930s. We know that the inkle loom predates the Shakespearian era, due to a reference to the inkle loom in Love's Labour's Lost. Inkle weaving is usually used for narrow work such as trims, straps and belts.
Get crafty with frame looms, rug patterns, and weaving. Learn about rug weaving and how to weave with a frame loom in this free video.
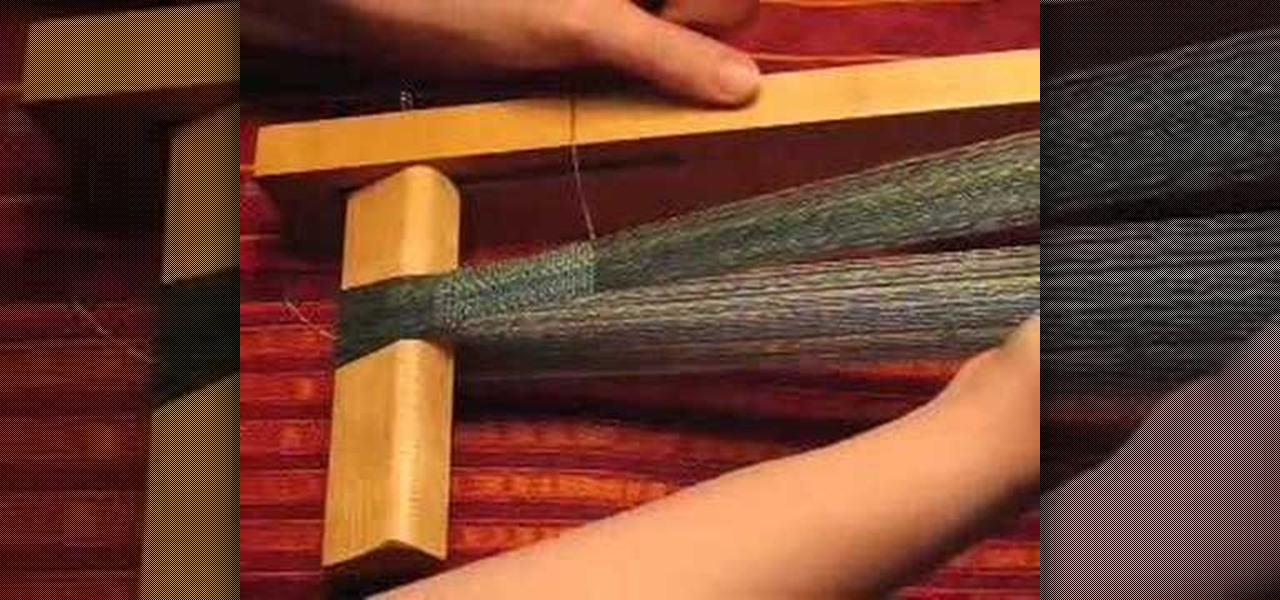
So you're weaving a narrow band. How do you keep the edges nice and straight? Here's a technique that combines weft insertion, beat, and selvedge control. It's useful for inkle weaving, tabletweaving, rigid heddle weaving, backstrap weaving... or even weaving small bands on a big loom. Try it!

This video weaving tutorial shows how to start a rug using the half hitch knot/stitch. It's the easiest way to start a rug. The start is very strong too, as strong as a braided start, and much stronger than a chain stitch start. Watch this instructional video series and learn how to weave a toothbrush rug starting with a half hitch stitch.

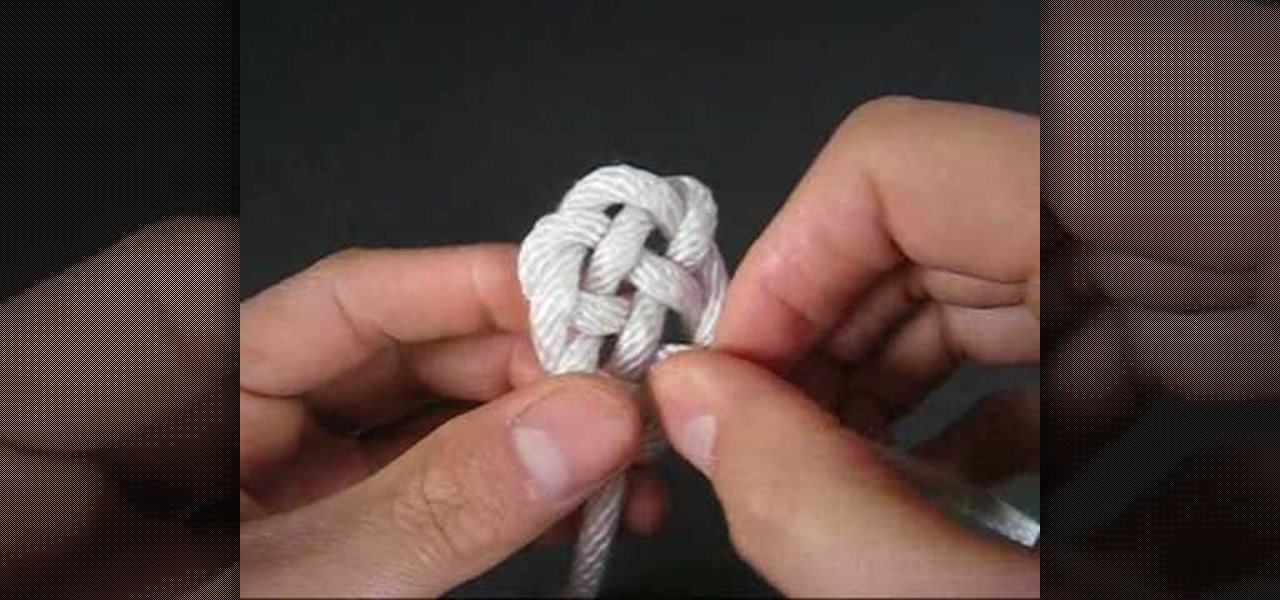
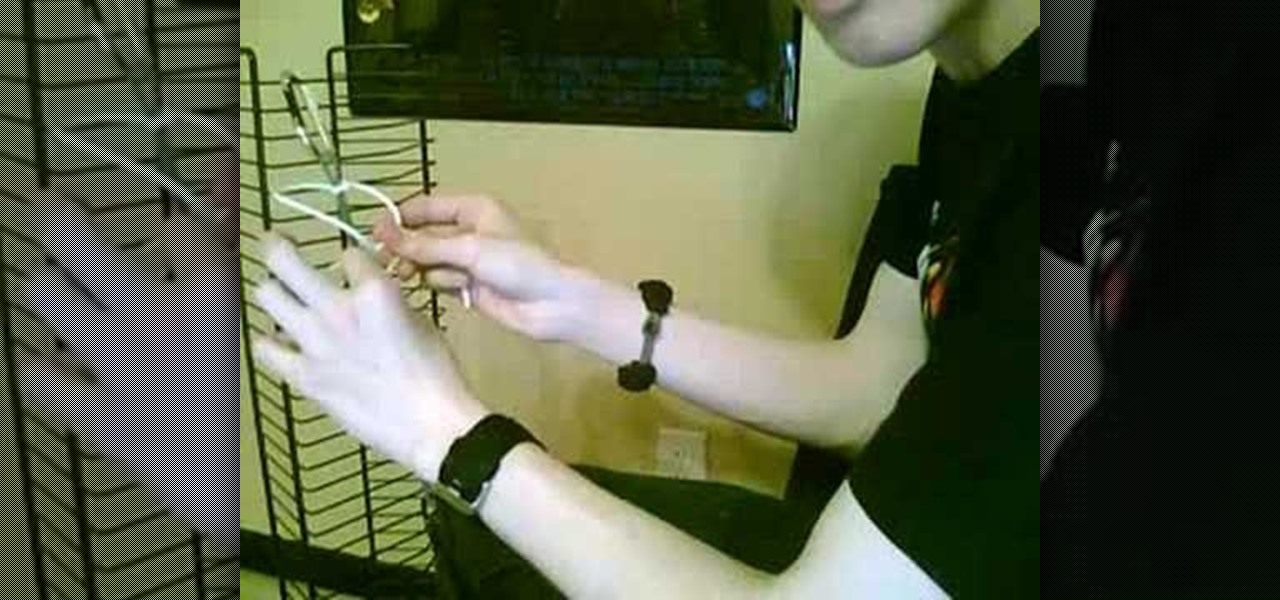
In order to create a Key Hole Weave Knot, you will need: rope or twine. Begin by making a loop. Then, make a second loop next to it. Cross the loops, placing one on top of the other. Weave a free end through the loops. Next, weave the other free end through the loop. Pull them both through carefully. Next, you'll need to shape your knot, by making sure that the spacing is even.

Learn how to weave with Travis Meinolf who's featured on the cover of CRAFT: 08, the Weaving issue. He explains how to make weaving loom out of 3 X 5" notecards, yarn and a pencil. After assembling the basic structure of the loom, create tension in the loom by attaching one end of the loom to the wall and the other end to one's waist. With a shuttle, it is possible to begin making creative woven fabrics in a matter of minutes.

A potholder loom is a square-shaped loom that allows you to weave thickly woven fabric, but often if you're not careful you can create gaps in between the yarn. But that problem will be completely solved in this video, in which you'll learn how to bypass the gaps. The result will be a basket weave-type fabric that's thick yet lightweight enough for summer scarves.

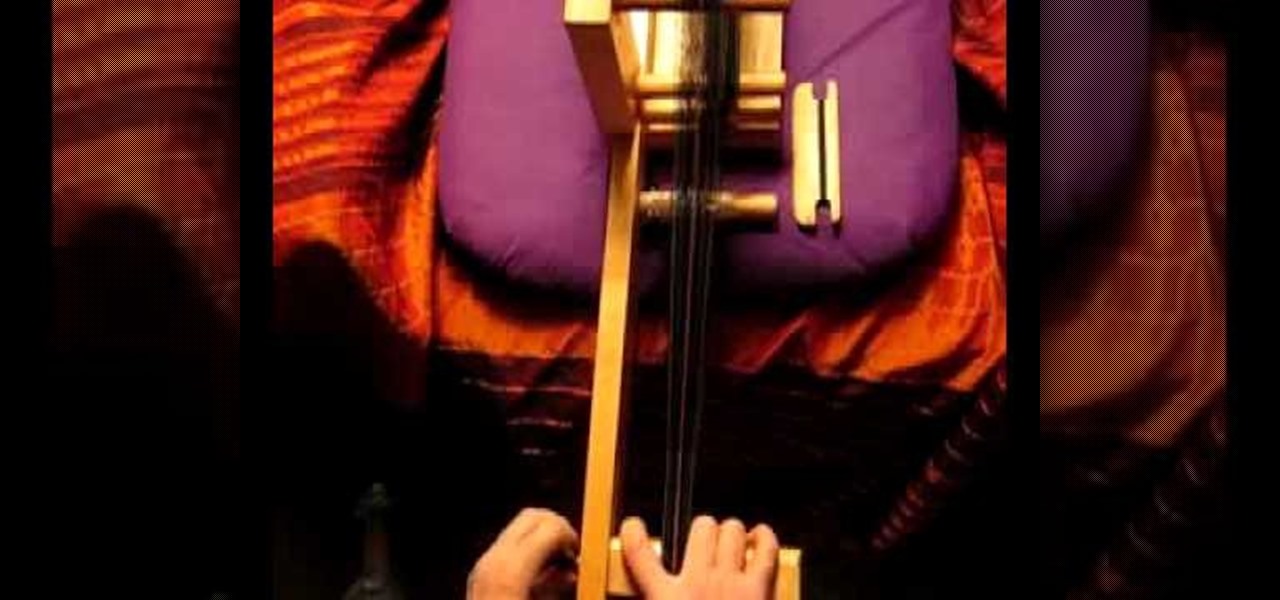
This intro to inkle weaving focusses on the the inkle loom. The weaving area is one one end, in between the weaver and the heddles. For centuries, inkle weavers have used looms similar to this to produce narrow tapes, ribbons and bands. Inkle looms are thought to have their origins in Britain.

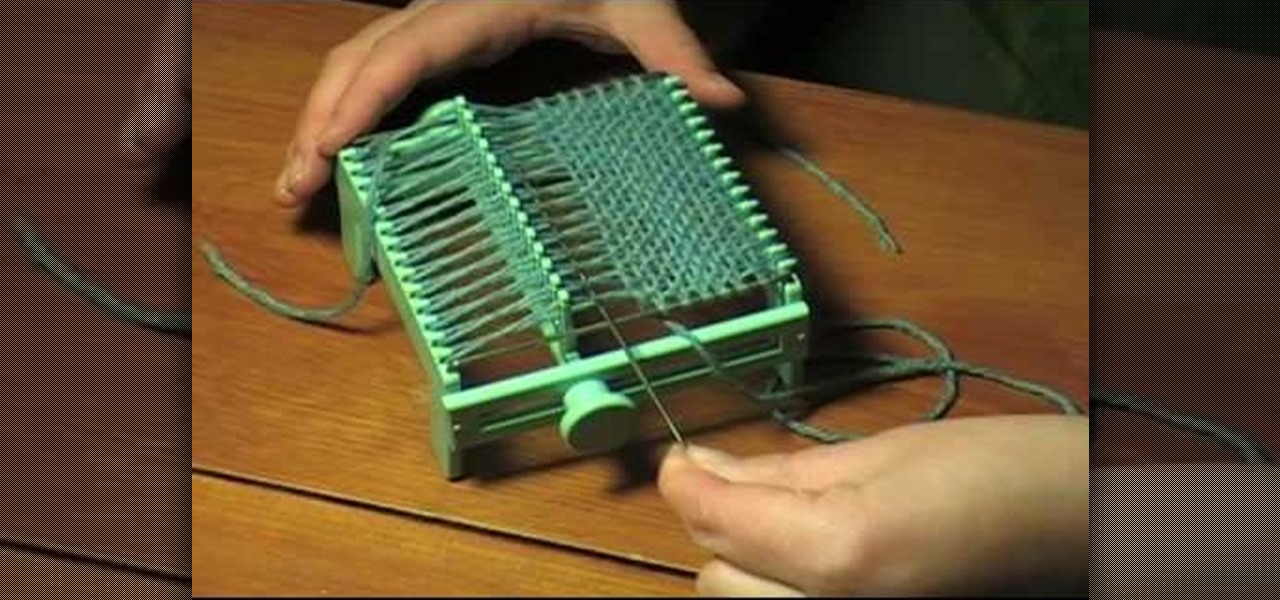
Learn how to make a four inch square with a Wonder Weave Loom. This is a specific small vintage loom. However, the warp winding and weaving techniques demonstrated can lend themselves to larger scale looms. Hopefully this weaving tutorial is helpful for beginning weavers looking to understand the warp and weft.

Listig the weaver likes to brag that the toothbrush rag rug weaving craft is the closest there is to making a silk purse from a sow's ear. In this video tutorial series, he takes two umbrellas and uses them to add on to a rug which was started from a discarded shower curtain. Watch these instructional videos and learn how to weave a toothbrush out of a destroyed umbrella.

With all those pegs sticking out, inkle looms can look intimidating -- but in truth they're both easy to warp and easy to use. To get the loom ready for weaving, you alternate threadings: One thread goes through a heddle, the next one doesn't. The preparation is easy and the weaving that follows is all about how well you can use this tool.

When the shuttle feels cramped as you pass the weft through your weaving, it's clearly time to advance the warp. This video shows the steps involved in advancing the warp on an inkle loom: loosen the tension, move the warp around the pegs, reposition the heddles. At the end, check the position of the warp threads on the pegs and re-tighten the warp.

In this tutorial, we learn how to weave a (king) cobra stitch for paracord bracelets. First, take a 10 inch cord, fold it in half, then tie a knot at the end of it. Put this on a holder, then tie another chord on the bottom of it and hold it with your knees for tension. Next, start to weave the other color chord around it by going in and out of the two sides of the first chord. Continue to do this for the entire bracelet, then knot it off at the end to finish. You can add your favorite colors...

Learn how to ride a motorcycle by performing the off-set cone weave. The off-set cone weave is one of the skills you will need to perform on a bike to pass the Alternate M.O.S.T. test. The tutorial shows you the layout for the off-set cone weave test and how to perform it on a motorcycle.

Crochet a new pattern for all of your crochet projects! Learn how to crochet a basket weave pattern in this free crocheting lesson from an experienced crochet artist.

When you think of a dagger, you imagine a weapon that is small in stature, but useful for thrusting and cutting things. This next tutorial is going to show you something that is incapable of performing those tasks.

Ready to try and sew-in your own weave? It's a big decision. As with everything that concerns our hair, we struggle with the pros and cons and often dwell on what could go wrong. Pixie cut. Perm or not? New shade (of pink, purple, or blue). These are all major decisions because ... well, it's our hair, and hair is such a big part of our style. To get a weave or not calls for careful consideration, and to sew one in yourself, that's an even bigger internal debate.

A sew in weave can look great and give your hair a totally new look. This tutorial video series will teach you how to make sure your sew in weave looks great.

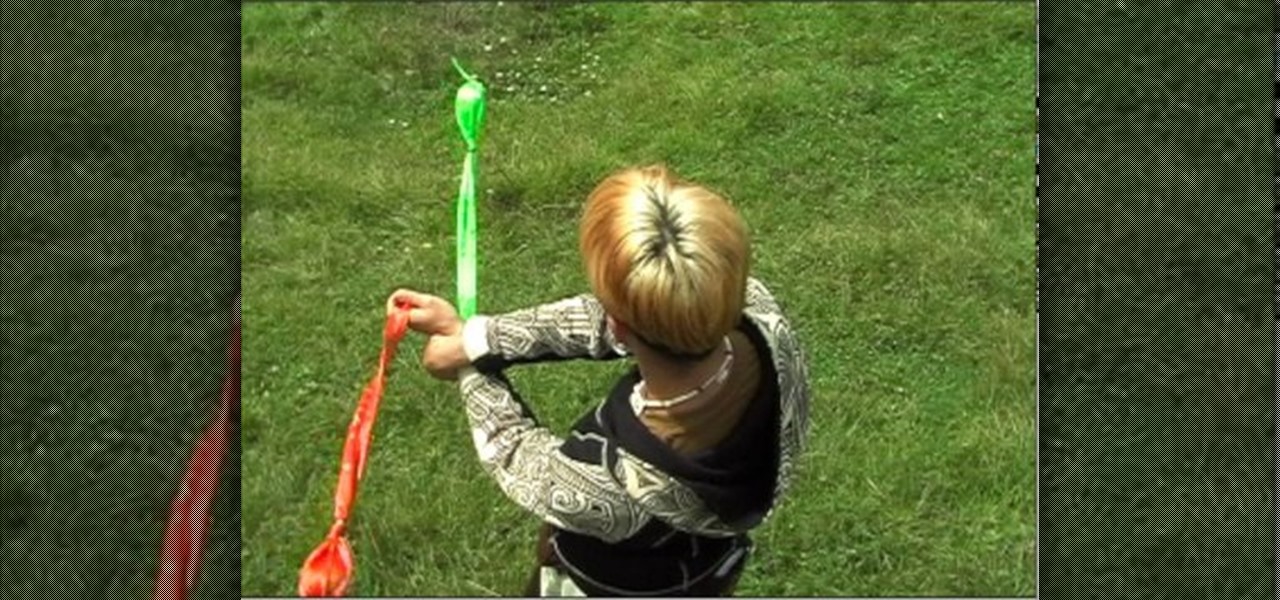
Watch this instructional poi video tutorial to learn how to spin the Three Beat Weave Part. This is an great next step for those who have mastered the Two Beat Weave. The three beat weave is an essential component of your poi twirling move-base. It'll be used a lot, so you should learn how to do it well. Here is a very comprehensive tutorial on how to do so.

This video weaving tutorial describes the creative process by which materials are decided upon and how to sequence the fabrics together into the rug. Naalbinding or toothbrush rug making recycles wasted clothes, plastic bags, hosiery, and time into beautiful durable rugs. Watch this instructional video and learn how to plan out and organize the fabrics and materials for toothbrush rug weaving.

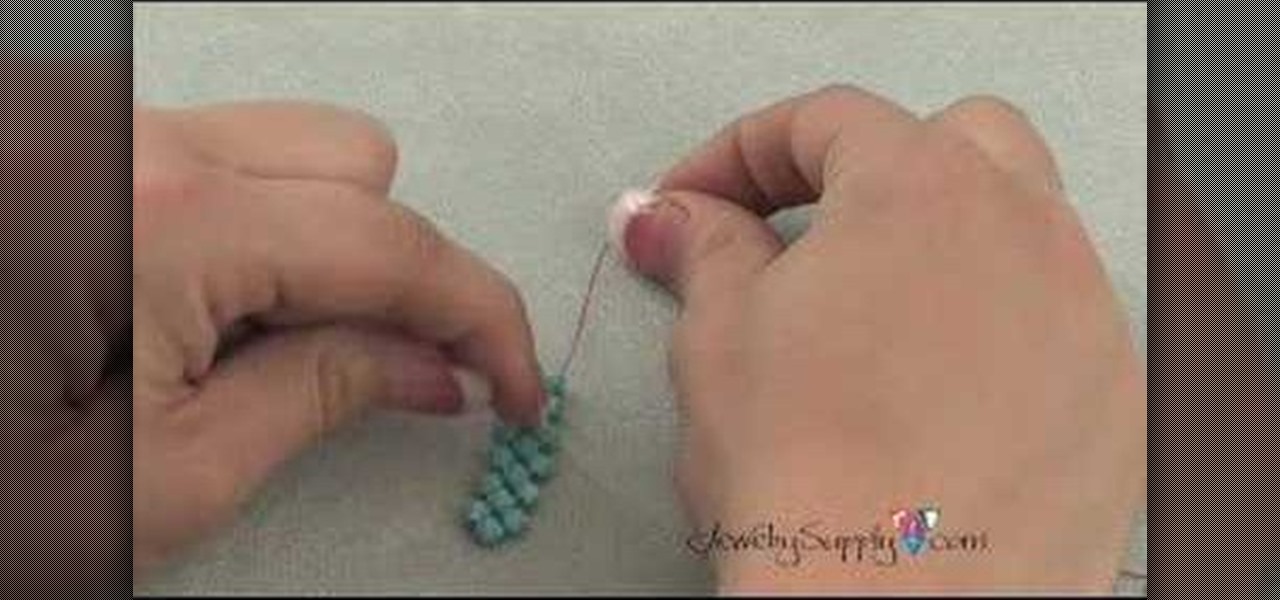
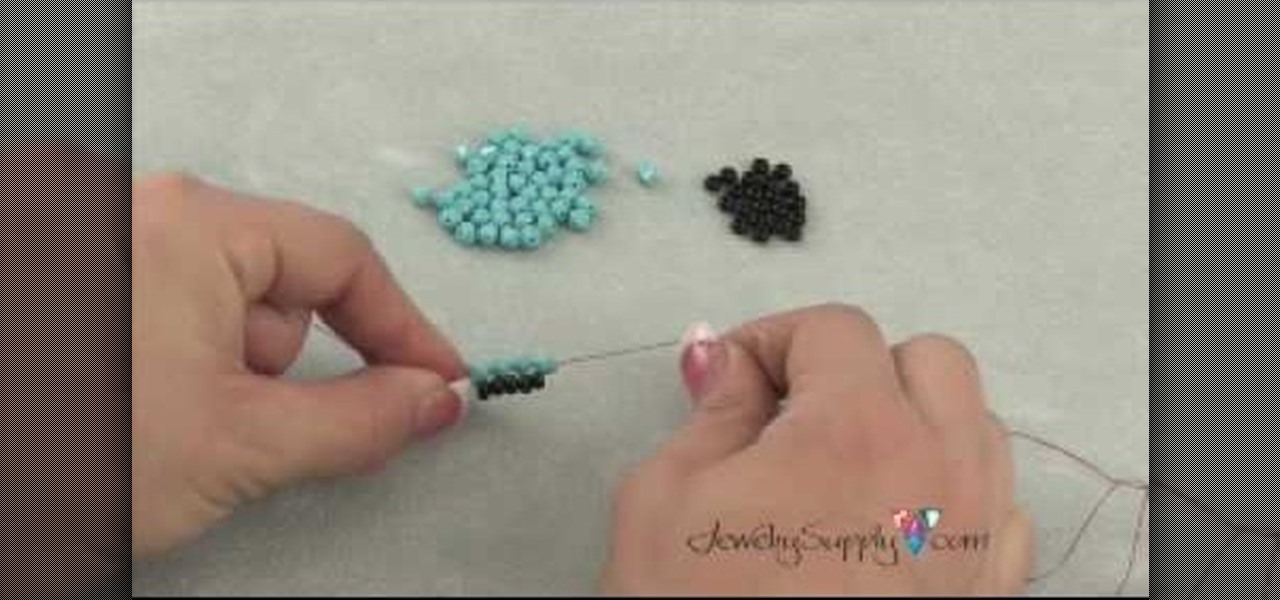
In this bead weaving video tutorial learn step-by-step how to make the very versatile Right Angle Weave for bracelets, necklaces and earrings. The right angle weave creates row upon row of beads, up to any thickness or length desired. Learn how to stitch the right angle bead weave by watching this jewelry-making video.

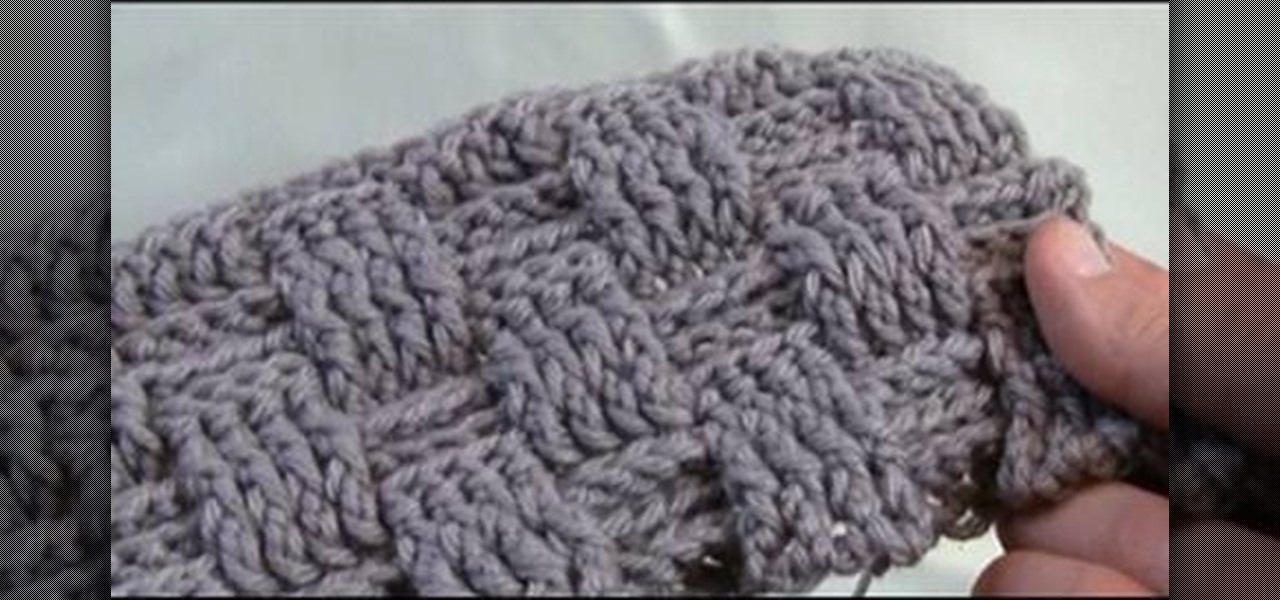
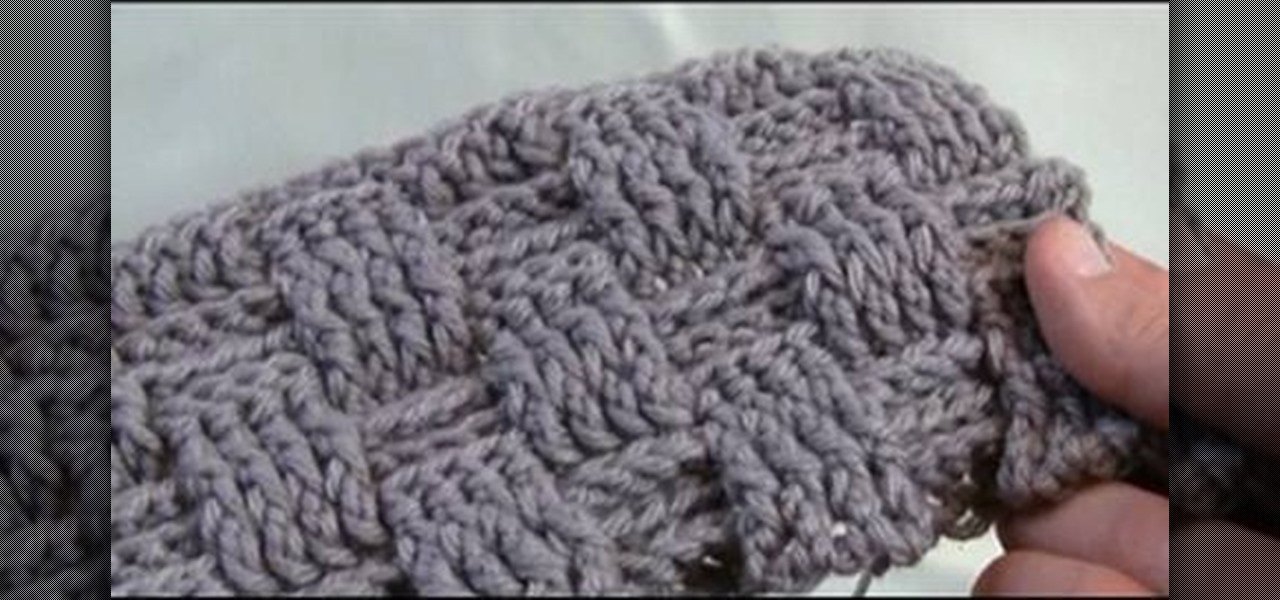
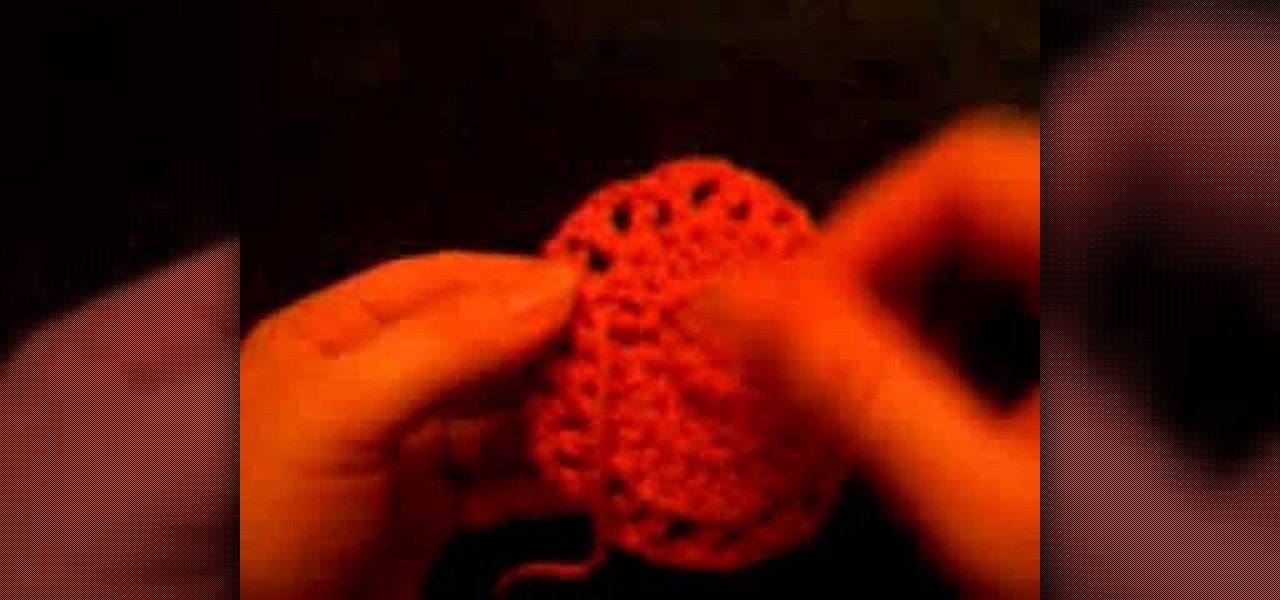
The basket weave stitch creates a dense knit that takes a lot of yarn but will be very warm or protective. Learn how to crochet the basket weave stitch by watching and following along with this intermediate video handicraft tutorial.

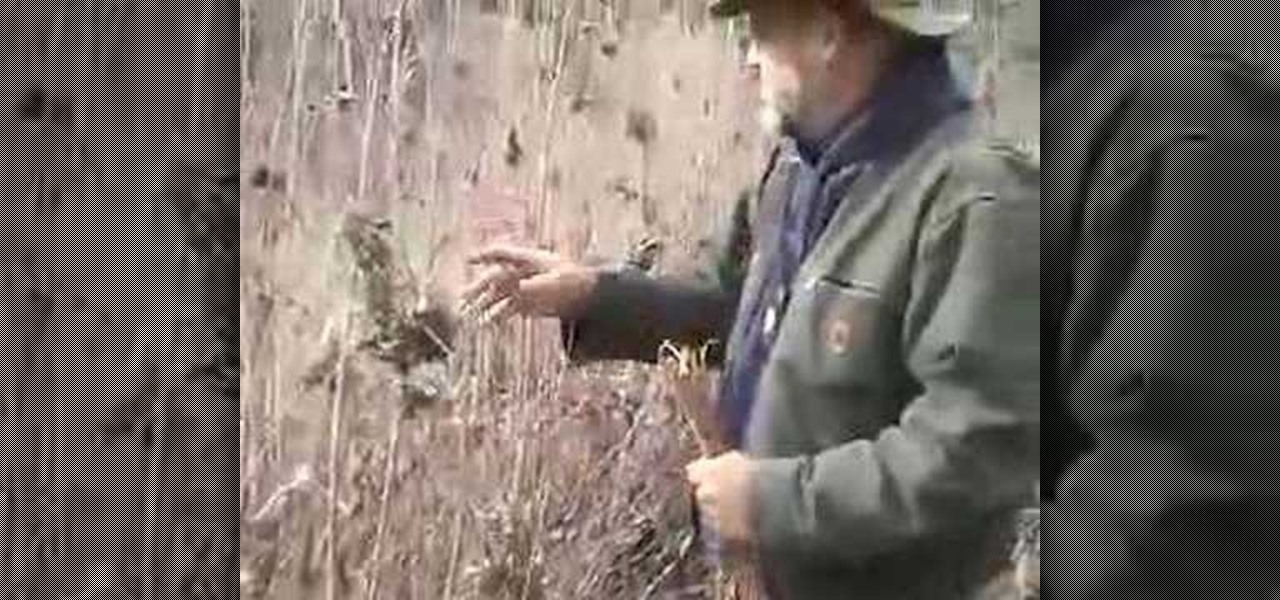
Check out this video to learn how to gather basket making materials with tips from a how to tutorial. This is for weaving baskets with willow.

The name of this crochet stitch says it all. Called the basket weave stitch, it consists of cubes of intersection vertical and horizontal yarns to create a unique pattern reminiscent of basket weaving.

Check out this DIY video tutorial from Curbly, the best place to share pictures of your home, find design ideas, and get expert home-improvement advice.

The name of this crochet stitch says it all. Called the basket weave stitch, it consists of cubes of intersection vertical and horizontal yarns to create a unique pattern reminiscent of basket weaving.

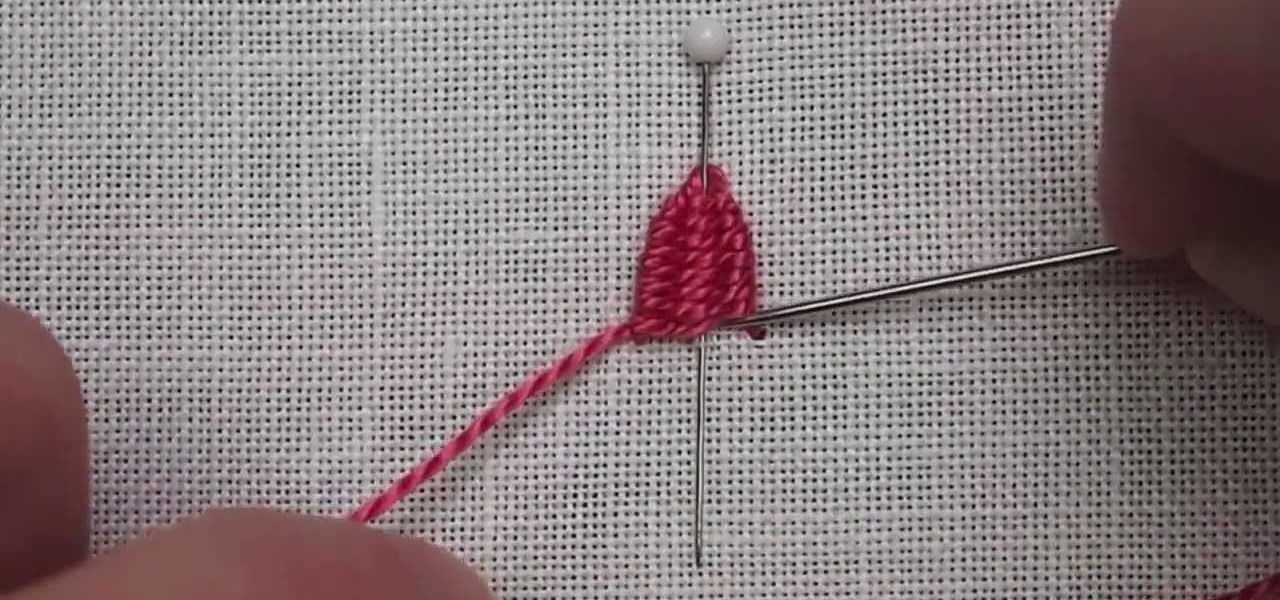
There are many dimensional embroidery stitches , but one of the most fun is the woven picot. You can do a lot with it! It's an easy embroidery stitch - it looks more advanced than it actually is! It's a great stitch for adding texture to your embroidery project, and it doesn't necessarily have to be free standing. See how it's done in this video from Needle 'n Thread.

This beading video tutorial shows you the easy way to incorporate two needles in your Right Angle Weave stitching to save you even more time! Learn how to stitch the double needle right angle weave for beaded jewelry today.

In this bead-weaving video tutorial, there's a quick way to create a beaded rope with different size seed beads, and this video will show you the simple pattern needed to create this wonderful stitch. Learn how to do the spiral weave stitch for jewelry-making by watching this instructional video.

Nick and the Playpoi guys filmed a poi lesson on 5-beat weaves in Austria, including musings on 7 and 9-beat weaves and the idea of winding and unwinding.

This video shows you how to weave in your ends on a project when you really don't have stitches to weave into. Instead of weaving it onto the edge, in case of continuation, it can be woven back into the crocheted stitches. Watch this video crocheting tutorial and learn how to weave in a hidden end to a double or triple crochet.

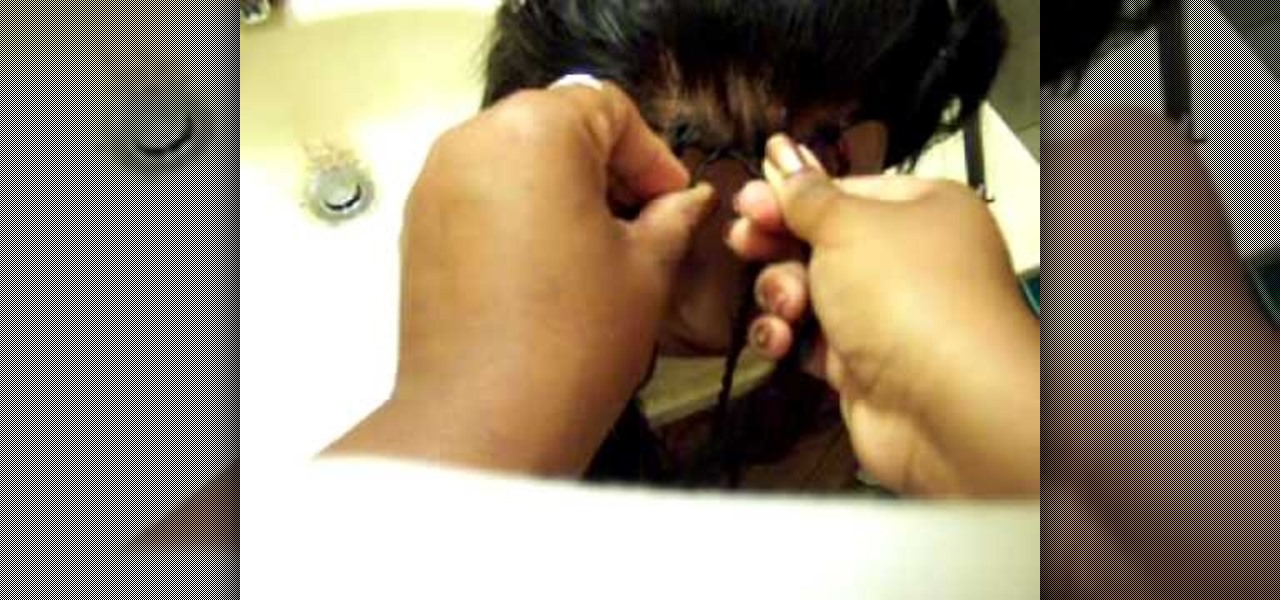
To start a kinky or Senegalese twist, create a one inch square section of hair and split it into two pieces. Drape a piece of weave over the strands. Twist the right piece of weave over the right strand with a clockwise motion. Twist the left piece of weave over the left strand also using a clockwise motion. Then twist the right strand over the left. Continue twisting each strand to the right before twisting the strands together as you go down the section. The twists can continue down to the ...

Learn how to make a right angle weave (aka, "RAW") tennis bracelet in this two-part jewelry making video tutorial. The Right Angle Weave is a versatile stitch, and in this video a variation is taught. Beads used in this tutorial include the Hex Cut Seed Beads and Swarovski Crystal Bicones.

This video shows how to weave paper. This paper can then be used to make crafts such as origami. You may want some supplies: a cutting board, a paper cutter, scotch tape, and square origami paper (6"x6"). Start with two sheets of paper. Cut the paper into thin strips, 1/2" each. Reassemble one of the squares. Carefully align the pieces close together. Place a piece of tape on the top, and tape it to the cutting board. Take a strip of the other color paper, and weave it through every other str...

Check out this tutorial for ideas on how you can use your left over scrap fabric. In this video, not only will you learn how to use a loom, you will build your own! This tutorial from Elizabeth Gleeson will walk you through the process of building a mini-loom and using it to weave new fabric out of scraps left over from old craft projects. This is a great way to recycle and create something unique - so get started!

In this video Ms. Lola shows you how to sew a frontal onto a full weave. A front can give your weave a more complete, realistic look. In this tutorial, Mama Lola will show you how to install it just like the professionals do. You will look like a supermodel in no time!

Is your hairstyle getting you down? With a few steps, you can completely reinvent your look with an invisible part quick weave. You will understand just what goes into the invisible part weave in no time.


