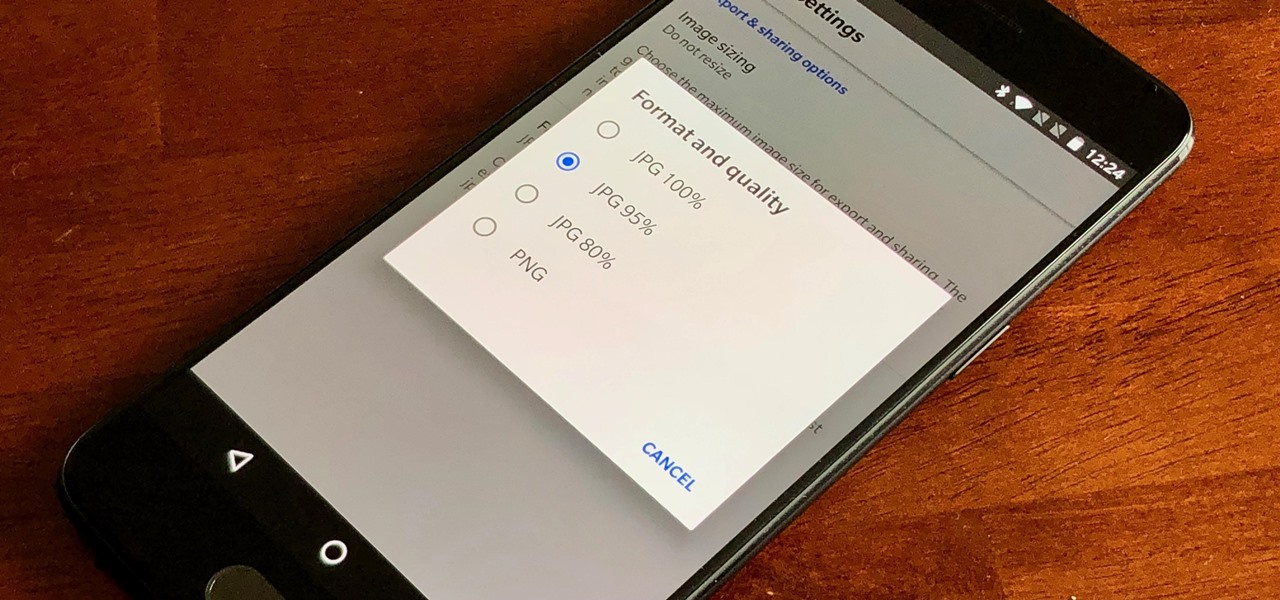
If you want to take your iPhone or Android photos to the next level, Snapseed is one of the best options. When it comes time to share pictures with friends and family, you want them to look as good as possible, so a little post-processing is in order. The problem is that Snapseed, by default, saves your edited photos at a lower quality than it first came in. What gives?
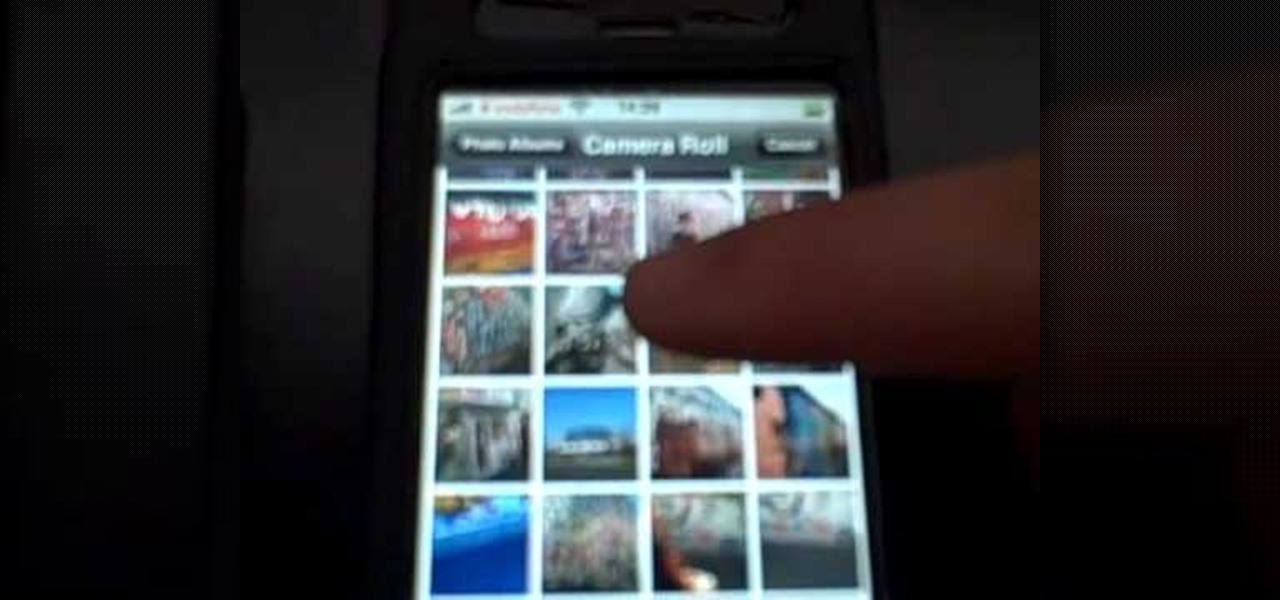
In most cases, when you create a movie project in iMovie for iPhone, you're starting with just a few media clips. There's no reason to select every photo or video at once, and that's likely a hard task anyway. Adding additional media footage to your movie project couldn't be any easier, especially when it comes to photos.

If you've ever wondered how to import your photos in Snapseed, then you've come to the right place. Snapseed is a wonderful photo-editing app and will provide you with many tools to take your photos to the next level. But you can't get to that next level if you don't know how to get your images into Snapseed in the first place.
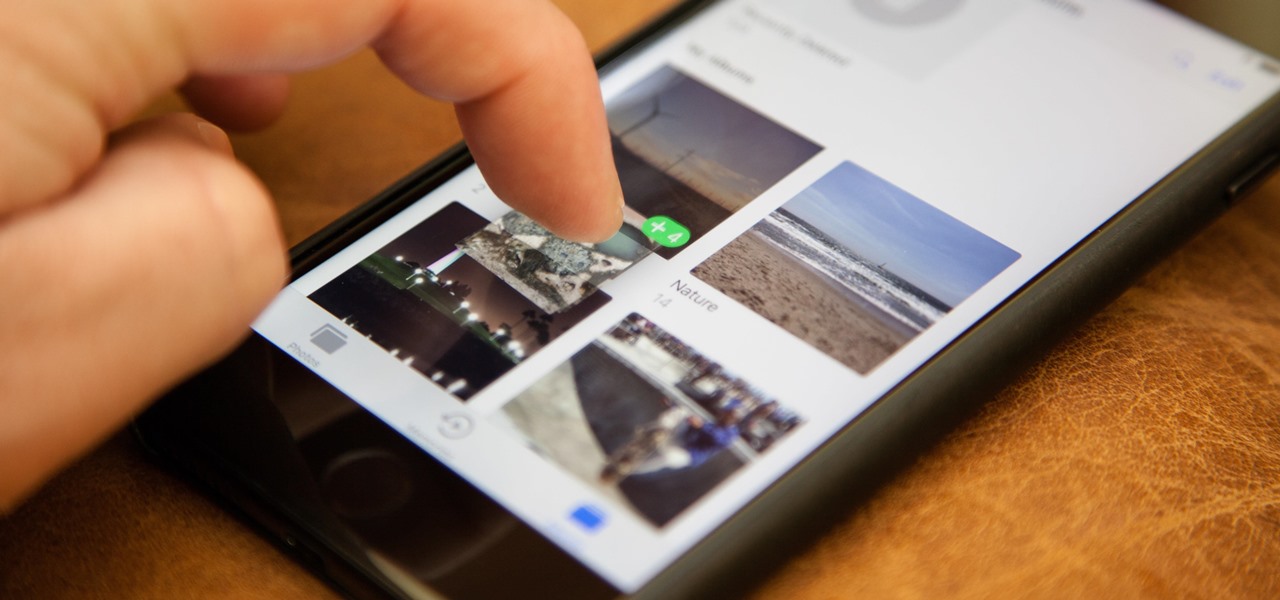
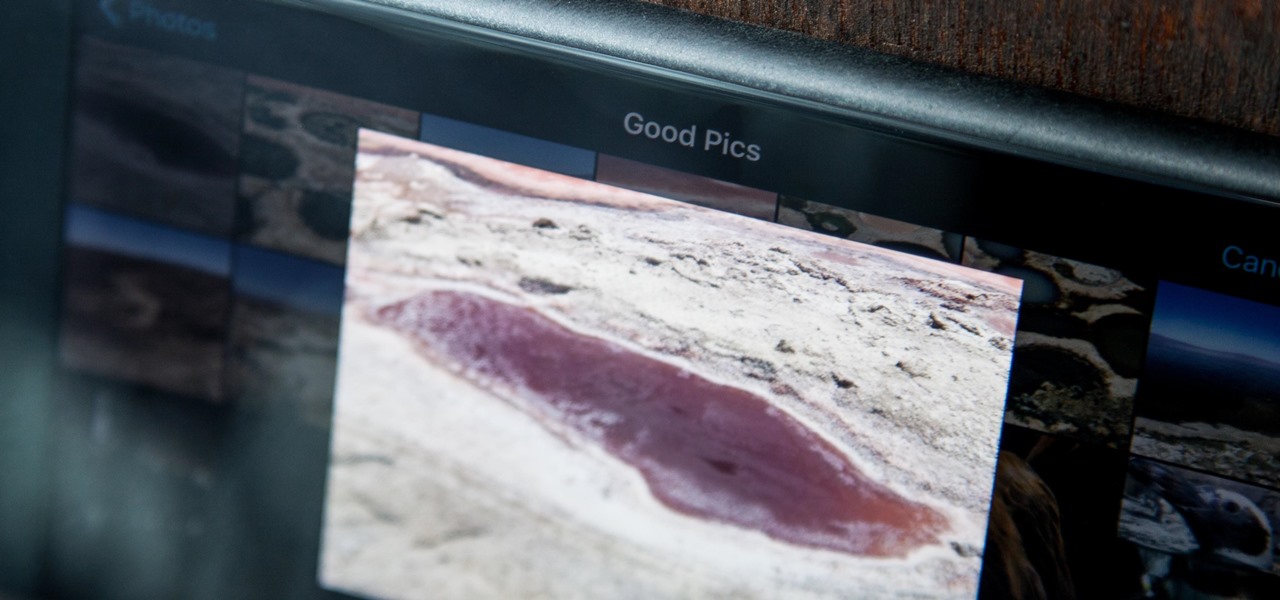
One of the more interesting improvements to the Photos app in iOS 11 includes a way to drag and drop a photo from one album into another album. In fact, you could even drag and drop multiple photos at the same time. And this is not an iPad-only feature — it works just as well on an iPhone.
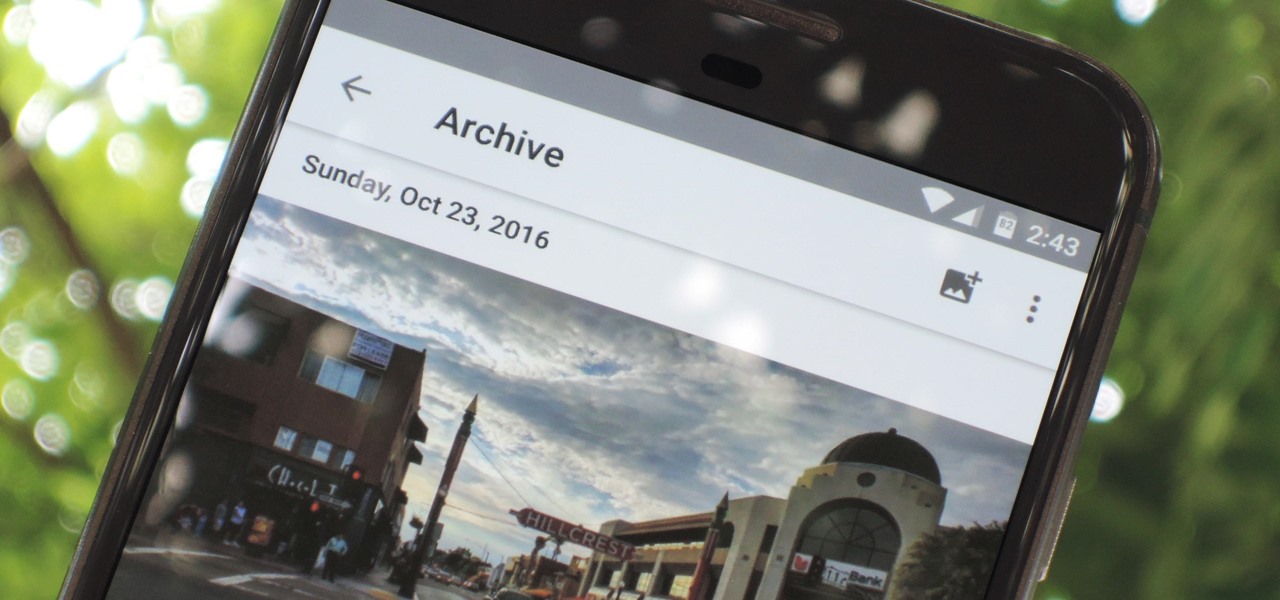
Google Photos just got a killer new feature that everyone should know about. Instead of one endless stream of every picture you've ever uploaded, there's now an "Archive" section where you can stash select shots.
Instagram enthusiasts will be pleased to know that there is finally a way to post your Live Photos on the service.

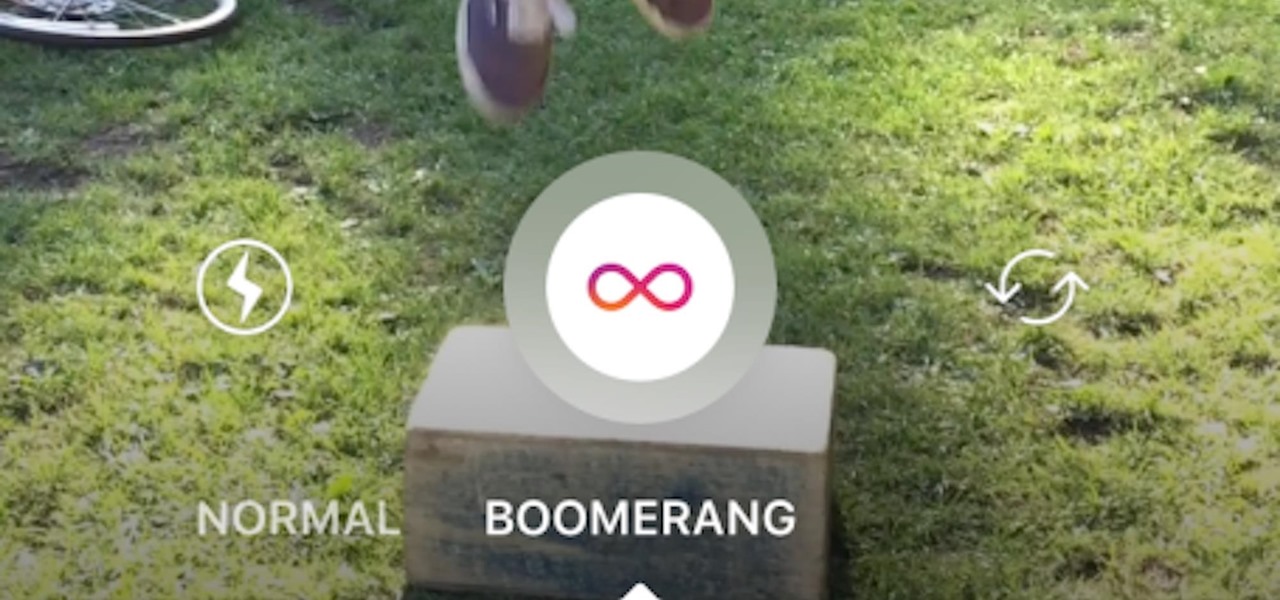
Thanks to Google's latest update to their Motion Still app, iPhone users can now pick a new frame for Live Photos. The app fixes everything annoying about Apple's Live Photos, and this is just another great feature to add to Motion Still's impressive features list.
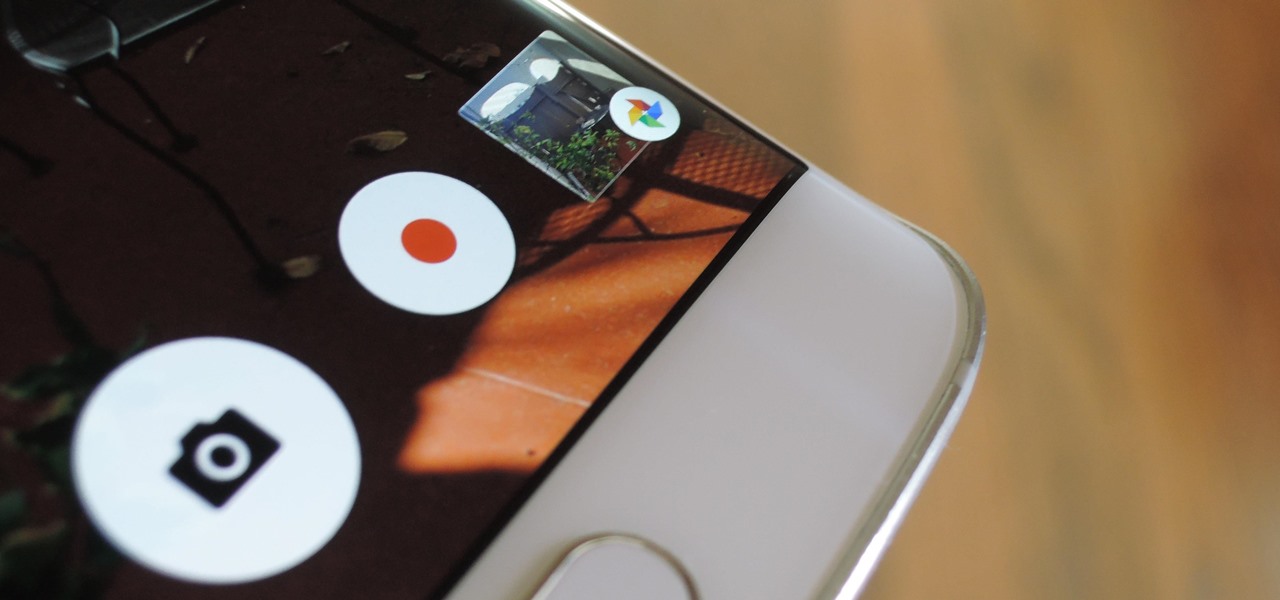
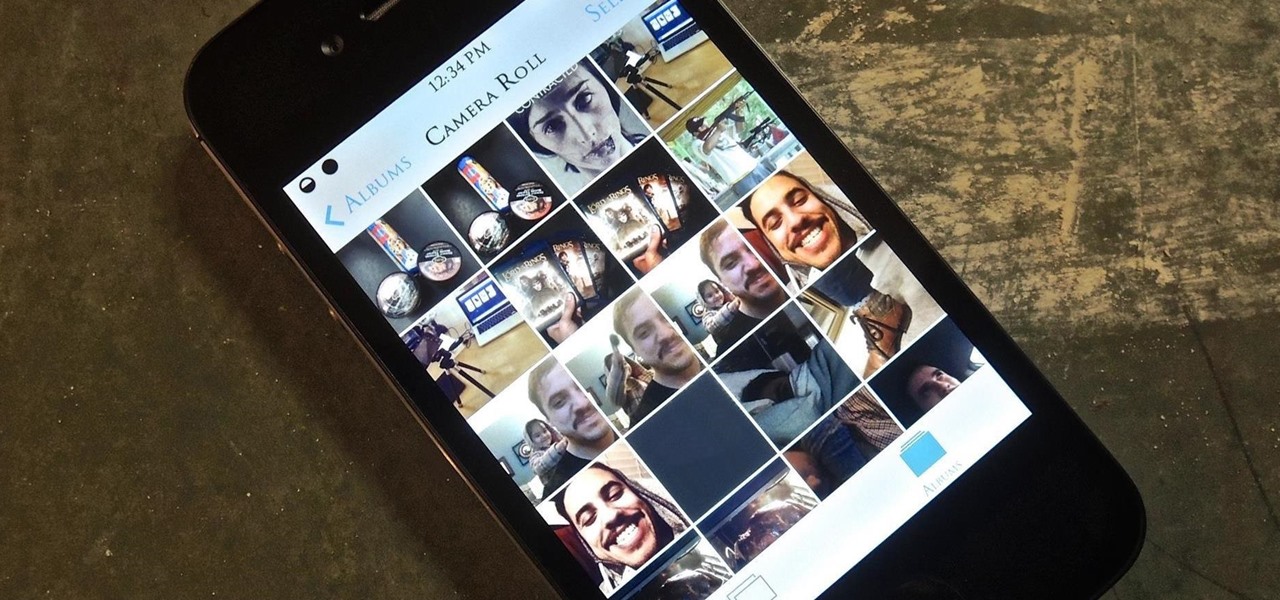
If your Android phone was made by Samsung, LG, HTC, or any other manufacturer that likes to apply skins on top of stock Android, then your camera app is tied to the custom gallery app that was preinstalled on your device. In other words, when you tap that little image preview icon after taking a picture, you'll be taken to a camera roll interface that was made by an electronics manufacturer.
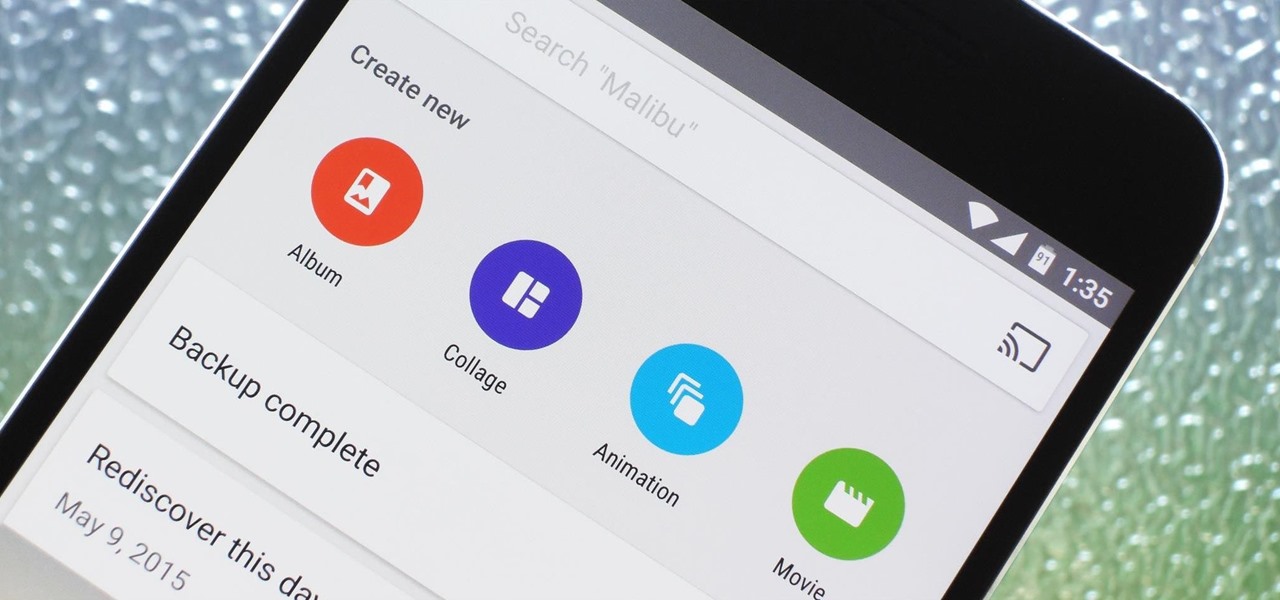
Google Photos is one of the best photo management services out there. It allows you to back up an unlimited amount of high-quality images without ever paying a dime, the photos and videos sync flawlessly across all of your devices, and its neural network-powered visual search feature seems like something that was pulled directly out of a Sci-Fi movie.
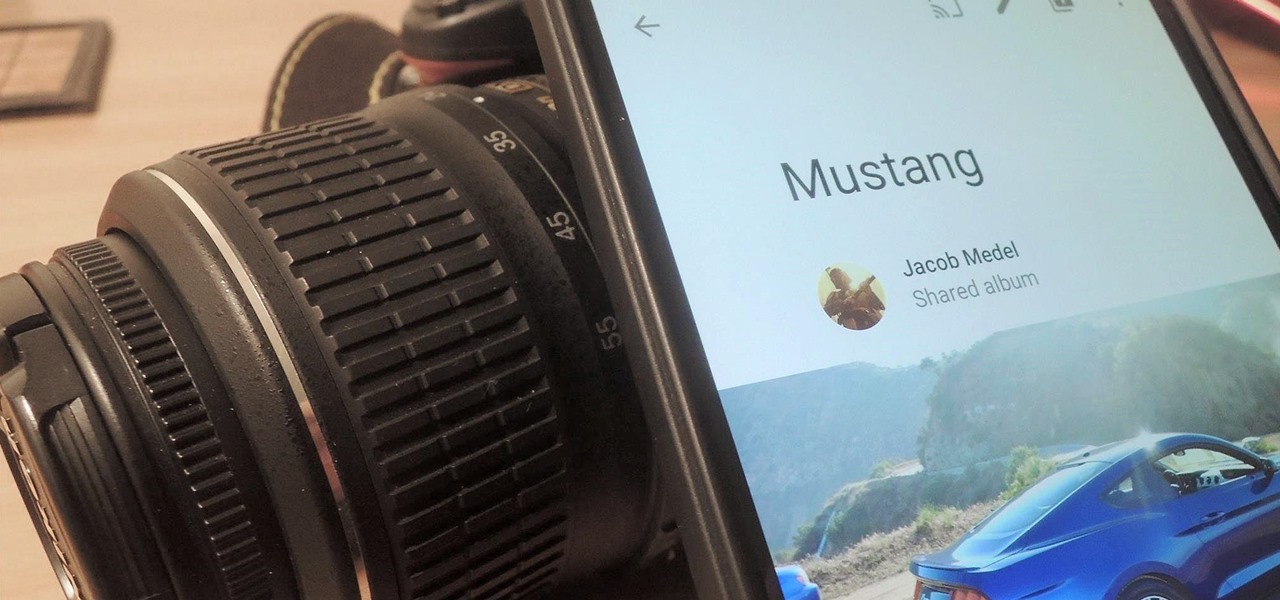
There's a feature in Google's Photos app for Android, iOS, and the web that lets you create shared albums with your friends and family. It's really a useful feature that makes it fun and easy to collaborate on an album with a person or persons of your choosing.
Live Photos is exclusive to the iPhone 6S and 6S Plus models, and provides a new dimension to your pictures. When taking a picture, the camera captures moments immediately right before and after you hit the shutter, creating a GIF-like animation that's approximately three seconds long when combined.
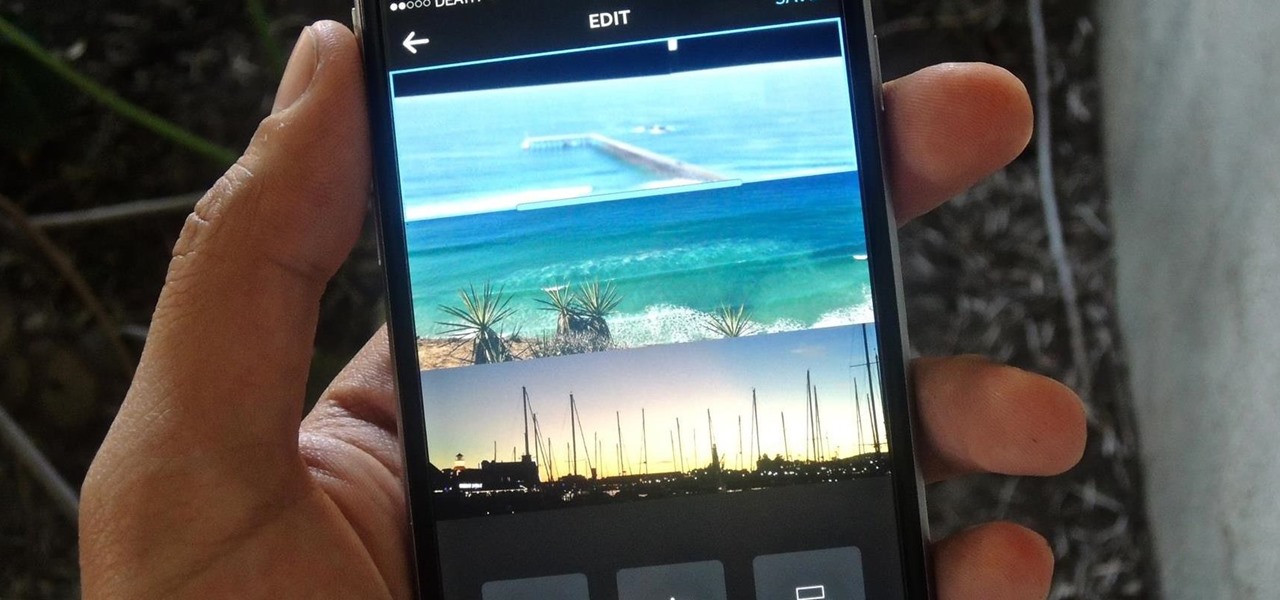
If you're one of the many that likes to upload collages to Instagram, the Facebook company has a new tool for you. Instagram released a brand new app in March called Layout to help facilitate the process of creating photo layouts to post onto social media or just share with friends.
Thanks to a couple of photoshopped images that made rounds across Twitter last year, iPhone users were duped into thinking that iOS 8 included a security feature that would lock individual apps. Of course, none of it ended up being true, but we covered other features and apps that could accomplish roughly the same thing.
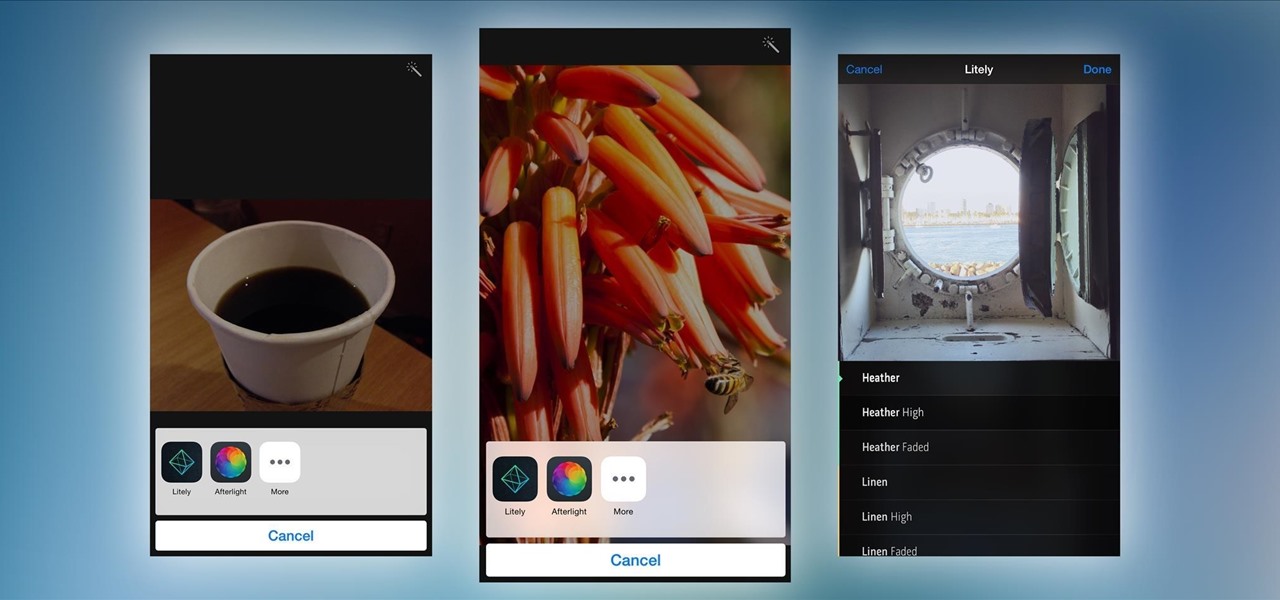
Extensibility is a feature that allows developers to integrate their apps into iOS 8 in different ways—that's how we have widgets in the Notification Center, more sharing options in the Photos app, the use of third-party keyboards such as SwiftKey, and more.
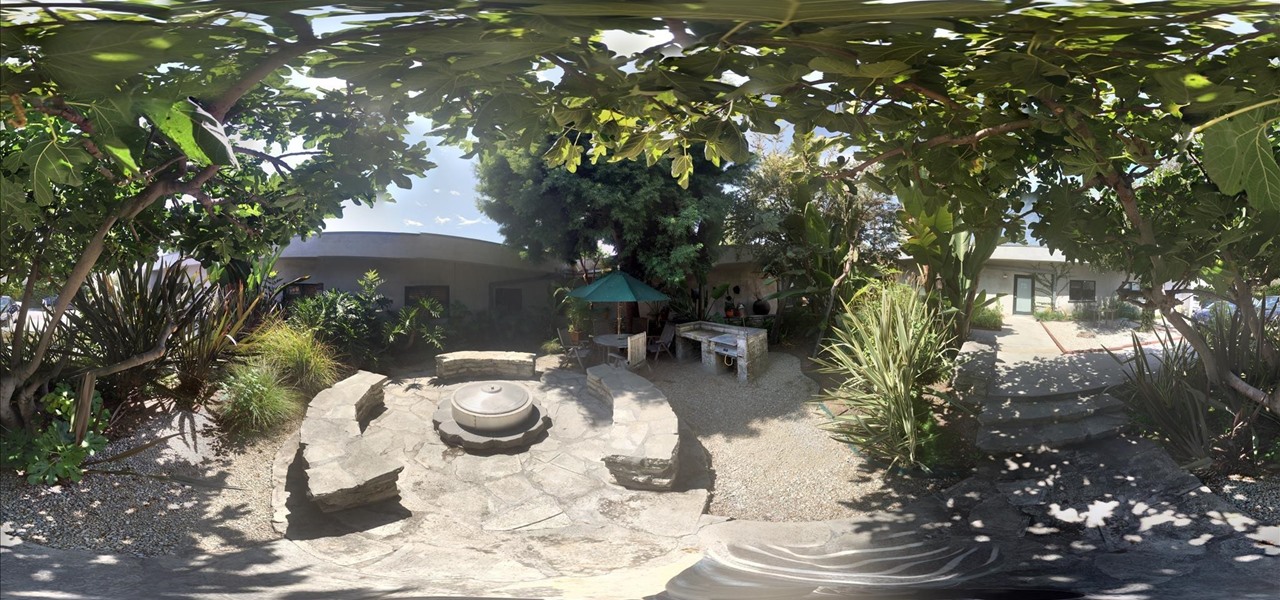
I've been using the Photo Sphere Camera from Google on all of my Android devices ever since it came out on Jelly Bean 4.2, which lets me create riveting 360° panoramic images.
I have over 400 photos on my iPhone, and I don't even know where half of them came from. Scrolling through all of those pictures is a pain in the ass, but it's not nearly as bad as trying to actually find an old image. Organization is not my strong suit, so I'm definitely not the type to create new albums to sort through my 400+ photos.
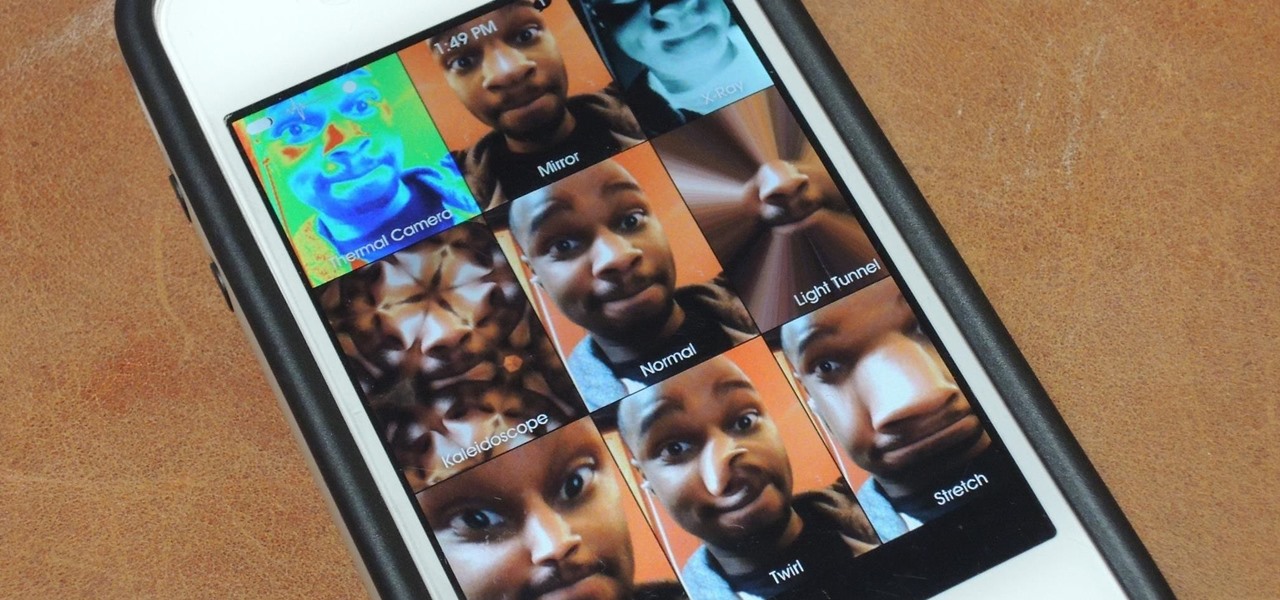
If you've got a MacBook, I'm sure you've spent some time messing around with the Photo Booth app. Who would have thought that adding simple effects like Comic Book or Stretch could make a selfie look so hilarious. Photo Booth is available for all Mac OS X computers running 10.4 or higher with an iSight camera, and it's also available on a few of Apple's iOS devices. Actually, it's only for the iPad 2 and all newer iPads since. It is NOT available on the iPhone, don't ask me why.
We don't know about you, but we're wondering how the hell Katy Perry even has time to work out these days with the countless number of promotional appearances, hostess jobs, planning a wedding, and singing gigs she's doing on a daily basis. But, after looking at a few recent pictures of the singer's fit and curvy body, she must be doing something to keep all that in shape.
Check out this informative video tutorial from Apple on how to print photos at home in iPhoto '09.
Calligraphy looks great for wedding and party invitations. Learn more about forming letters in calligraphy and how to write using the art of calligraphy in this free online video series.
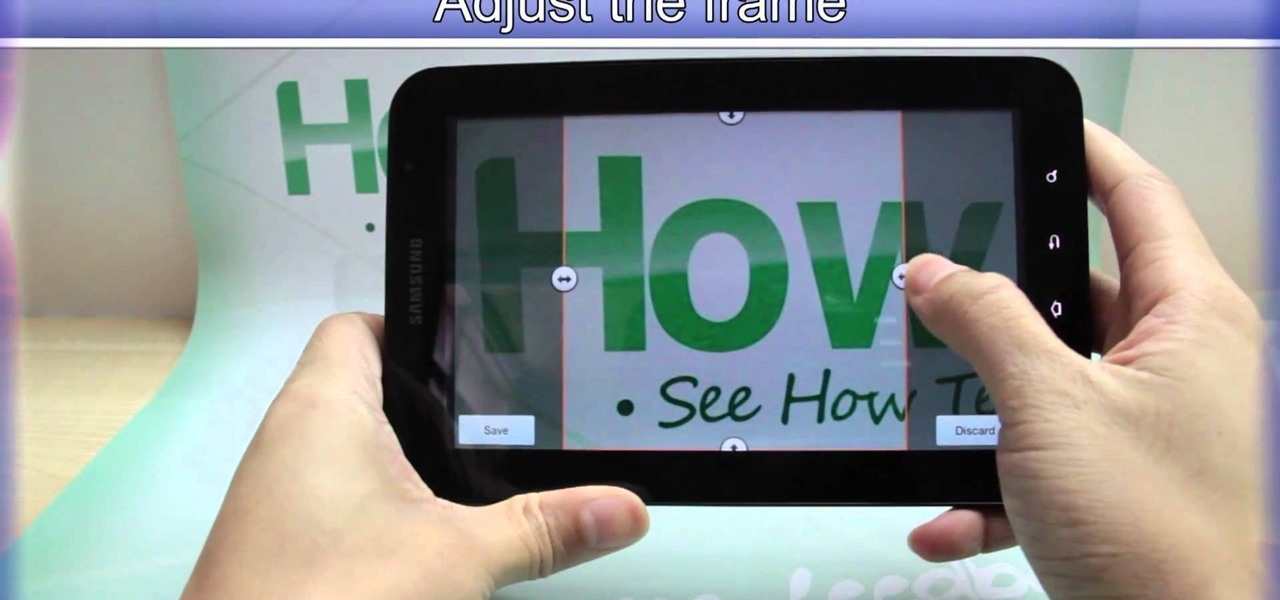
When you're searching for a contact to message, sometimes it's a little better to see a face than a name. But it's even better to have both! With the Android OS on the new Samsung Galaxy Tab, adding photos to your contacts is a breeze. Select APPLICATIONS < CONTACTS and select your preferred contact. Choose EDIT and tap the blank photo space in the upper left corner. Press TAKE PHOTO or ALBUM to add the picture. See how in this video.
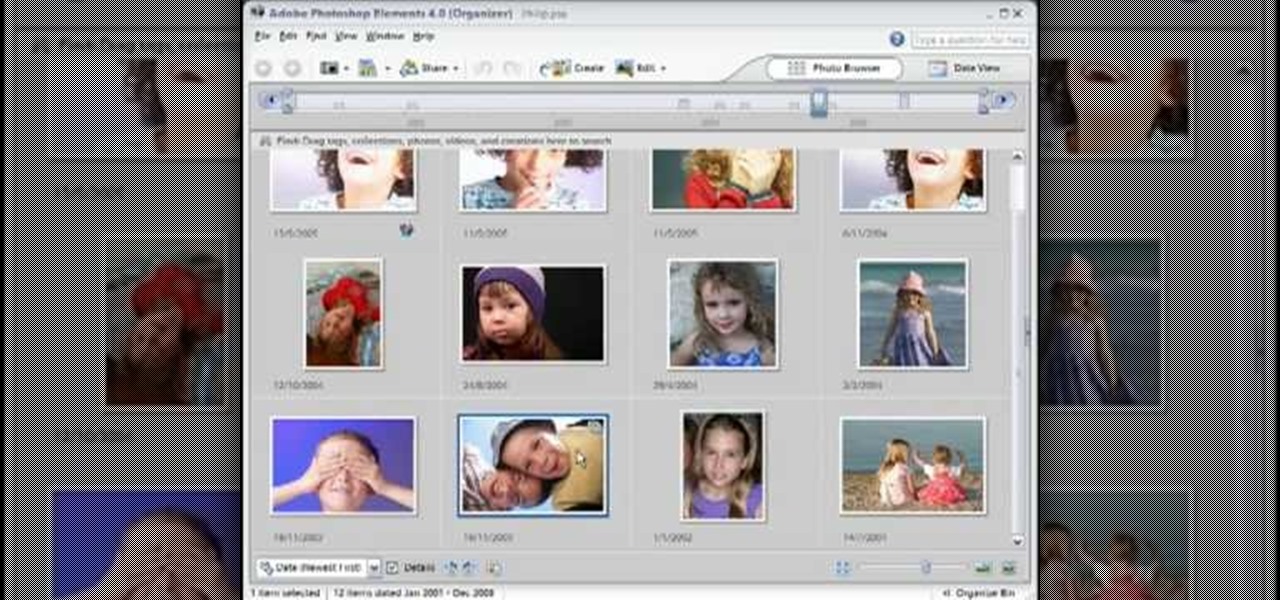
This video tutorial belongs to the software category which is going to show you how to use color options in Photoshop Elements 4. This version of Photoshop includes color settings that help you to control the way in which the colors in your photos are managed from capture to editing to printing. To use the options menu, click on edit > color settings. Now you get a dialog box with 4 options. Check the option that you want and click OK. Let's say you select the 'allow me to choose' option. Fli...
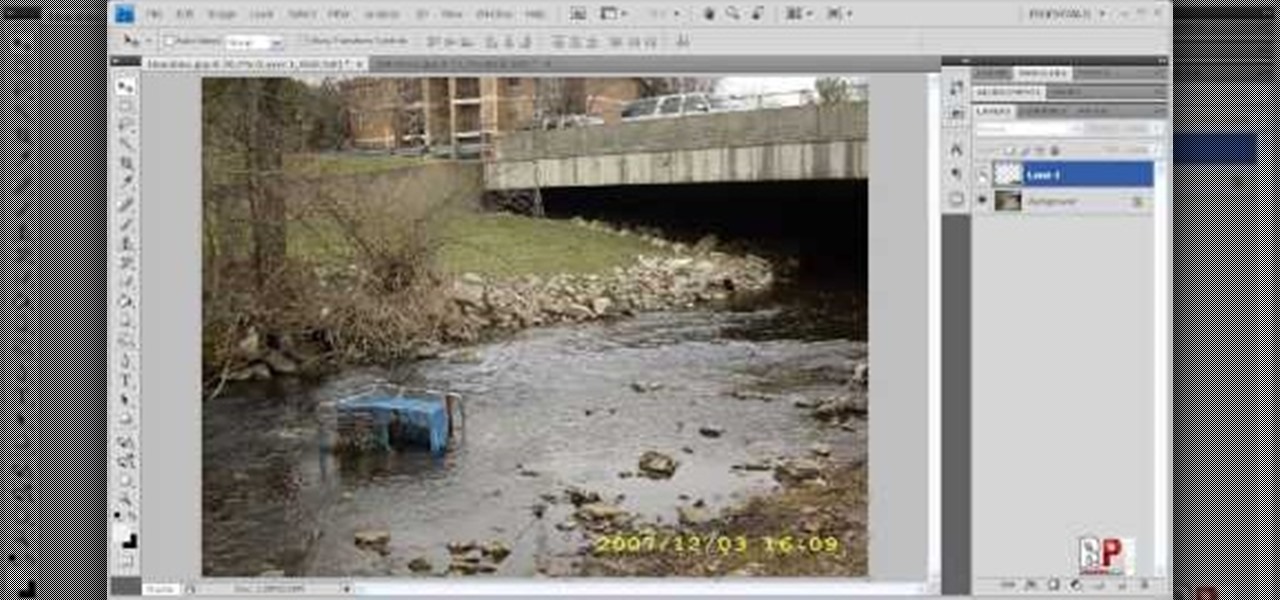
There are various ways to remove the timestamp on your photos using Photoshop. You can use the crop too and crop out the photo, but then you'll lose parts of the photo as well. You can use the patch tool, and draw a border around the date, then drag the date to another area, let go and press ctrl+D. The time will disappear and the area will be patched up with surrounding colors. Another method is to use the spot helium brush tool, and simply just brush over the text, and the spot helium brush...
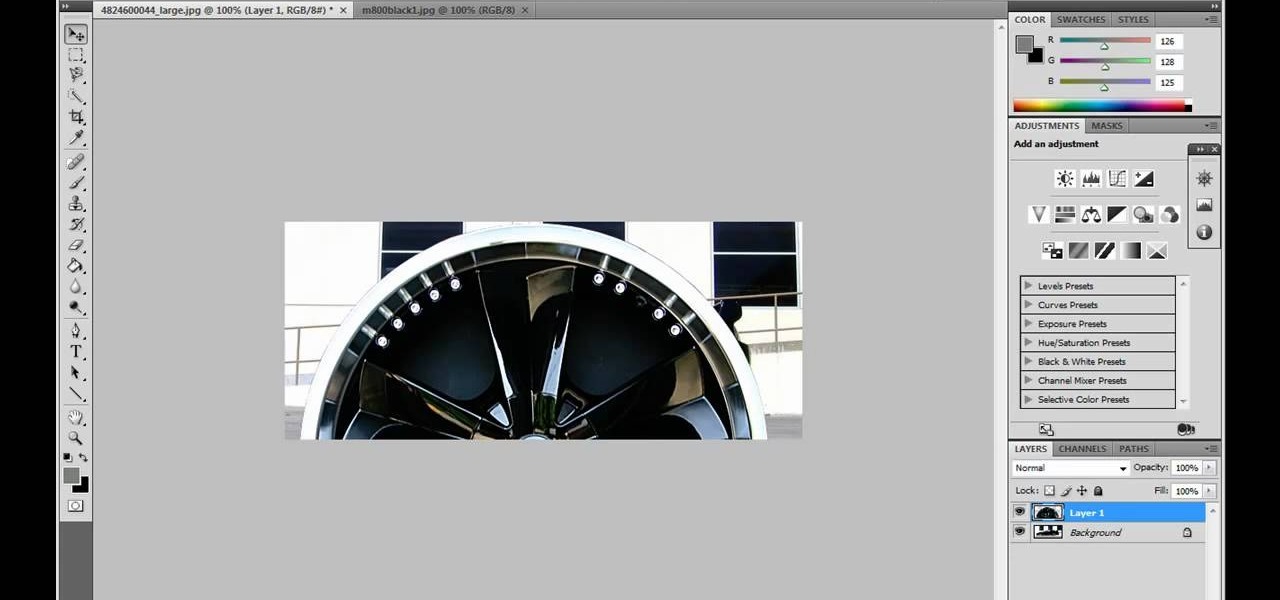
JdudeTutorials shows how to Photoshop the rims of a photo of a car, either for previewing different options for your vehicle or just for fun. Open the photo of the car (preferably shot from the side) in Adobe Photoshop. Open the desired rim photo. On the rim, use the lasso or magnetic lasso tool to select the rim from the background. Then copy the selected area and paste it into the car photo. Select the layer with the rim, select "free transform" and resize the image to fit the car's rim siz...
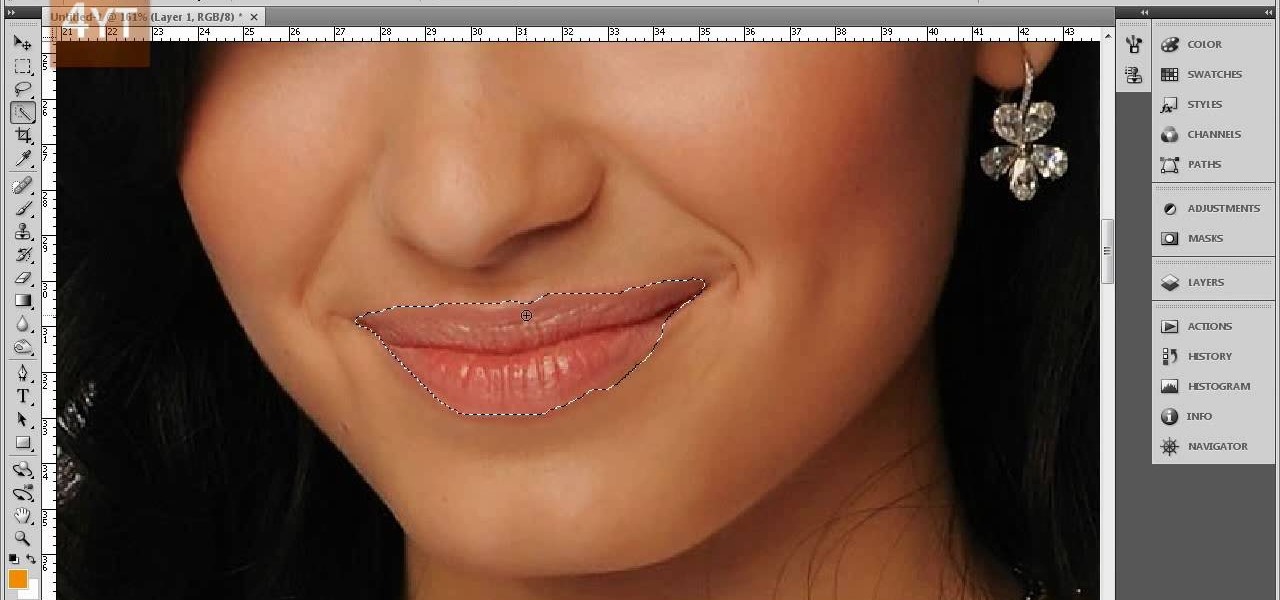
Forget to put on lipstick before a photo? Or perhaps you want to spice up an old photo of someone you love. Well their is a way, as 4YouTutorial demonstrates step by step using Photoshop CS4. First upload a photo or image into Photoshop. Next access your Photoshop layers and delete the default locked layer. After, activate the zoom tool and zoom in on the photo where the lips are located. Next choose the quick selection tool (make sure it's on plus) and drag it over her lips. This process can...
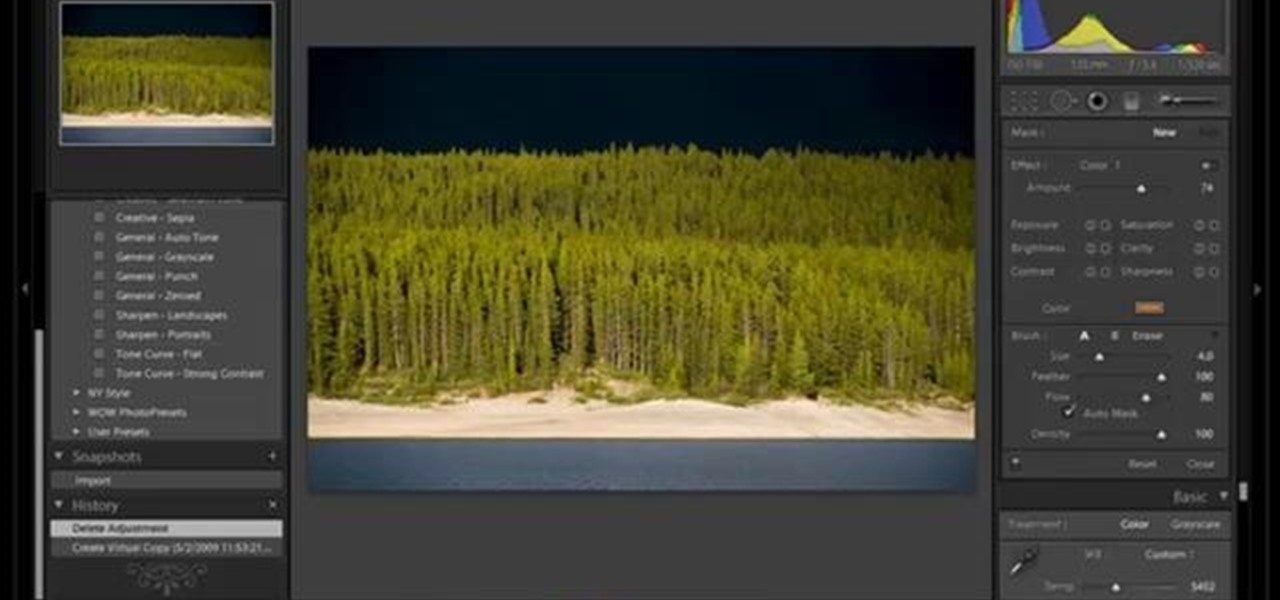
In this video tutorial Yanik Chauvin of Yanik's Photo School shares a discovery he made while using the software Lightroom. This quite simple technique of adding hints of color to black and white photos can make them striking. By adding a color screen on top of your photo, using either the adjustment brush or a gradient filter, you can create a lovely conversation piece for your home that will confound your visitors. "Is this photo black and white or sepia or ... what?" He also shows a trick ...
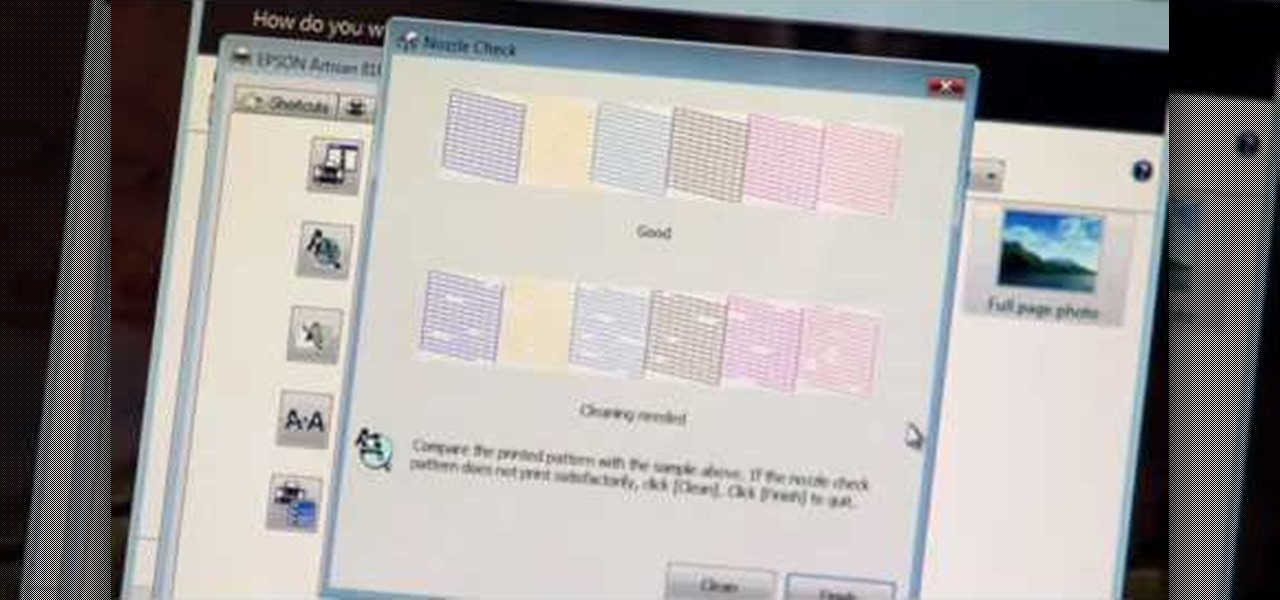
If you're printed pictures and photos aren't coming out the way you expected, then something might be wrong with your printer, specifically, the printhead might be dirty and might need to be cleaned. This is an easy troubleshooting step for Epson printers.
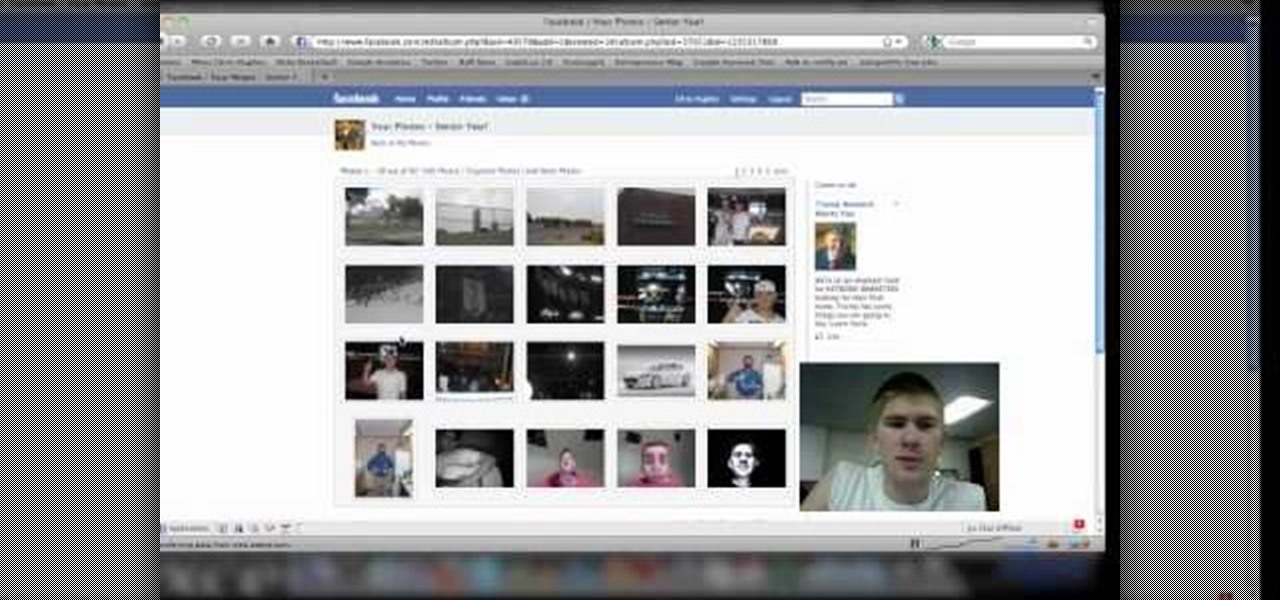
Are you new to the social networking scene? Struggling to figure out how to upload your photos to Facebook? This easy step by step tutorial will show you the exact steps that you need to take to upload your photos to your Facebook page. Before watching the video you will need to upload your pictures to your computer so that you can browse through them and then choose the ones that you want. You can also learn how to "tag" other people in your photos and link the picture to their Facebook acco...
To create a web photo gallery on Photoshop, first go to file show all menu items if you have then automate go to Web photo gallery then to changes the styles click on the style to see them the description on thee right then set up email address after Source images on (use) choose a folder, click all sub folders if you do not have any sub folders in Your folder. Go to options select one that you choose then click OK then in Photoshop it resizes all photos quickly after open up a web browser an...
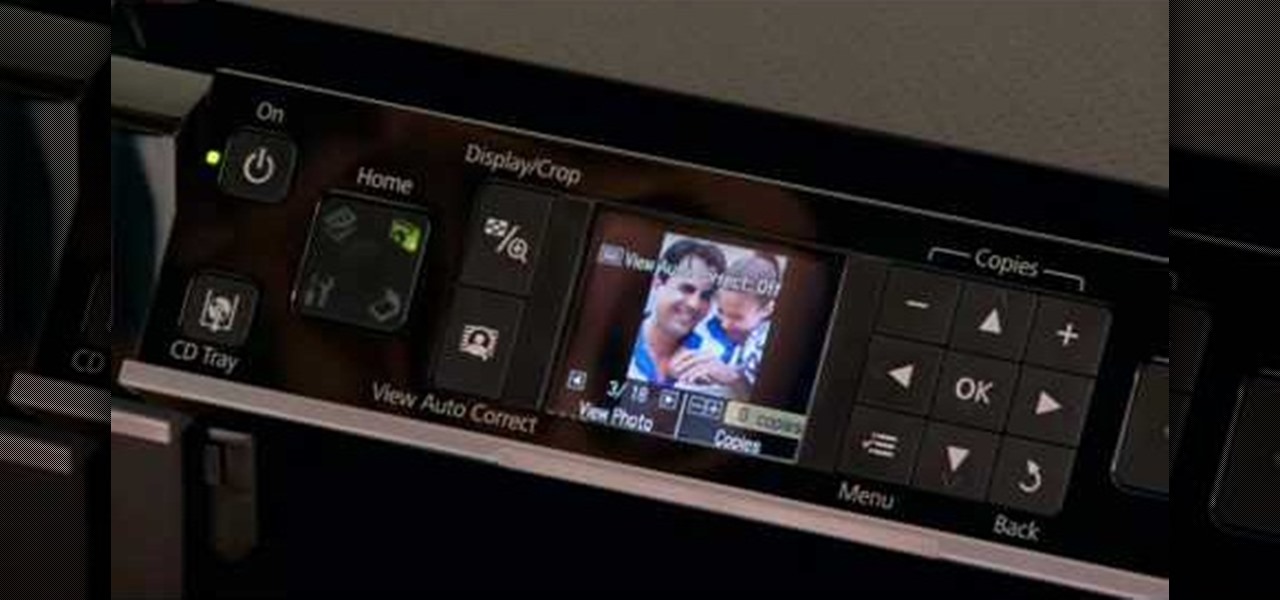
This all-in-one printer's versatility will help you in any aspect of home office printing, whether it's business documents or family photos. Learn how to print photos without even turning on your computer. Printing and organizing photos will now be a breeze!
Having a boring Facebook profile is lame! Impress your friends and flaunt your social networking skills by sprucing up your Facebook profile.
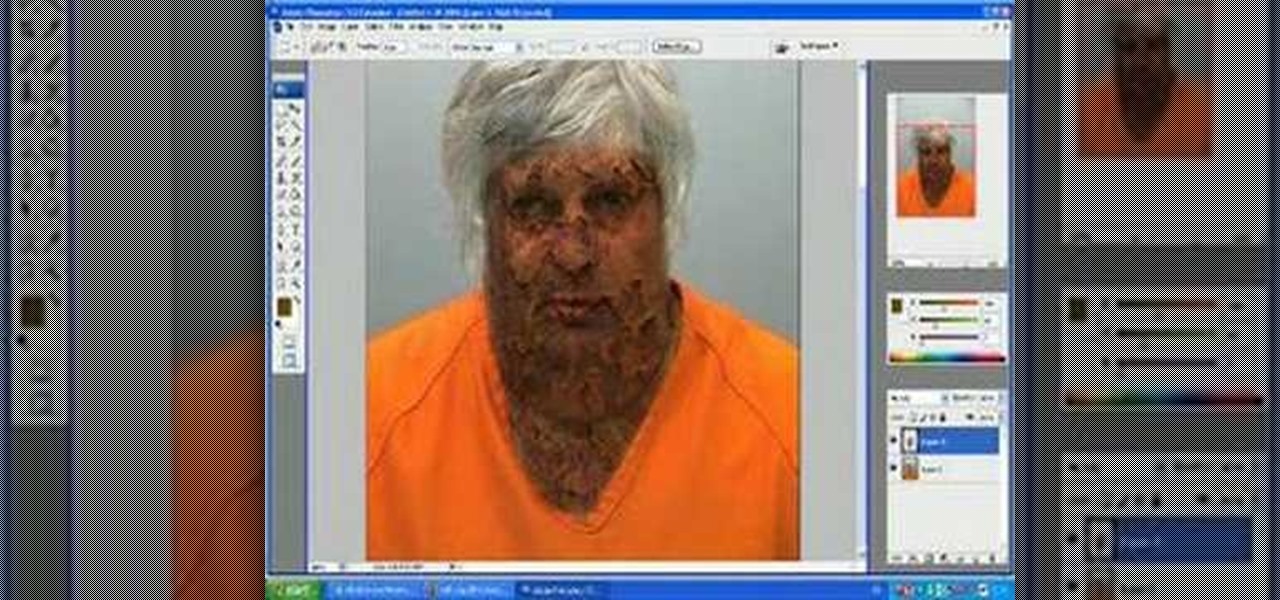
This is a quick tutorial on producing gritty, disgusting photos, which have a Halloween feel to them. Learn how to make someone look scary like a monster in Photoshop. The second video shows another method making use of the liquefy tool, the rust method again, as well as lighting effects. This tutorial is not intended for newbies who do not understand Photoshop's interface.
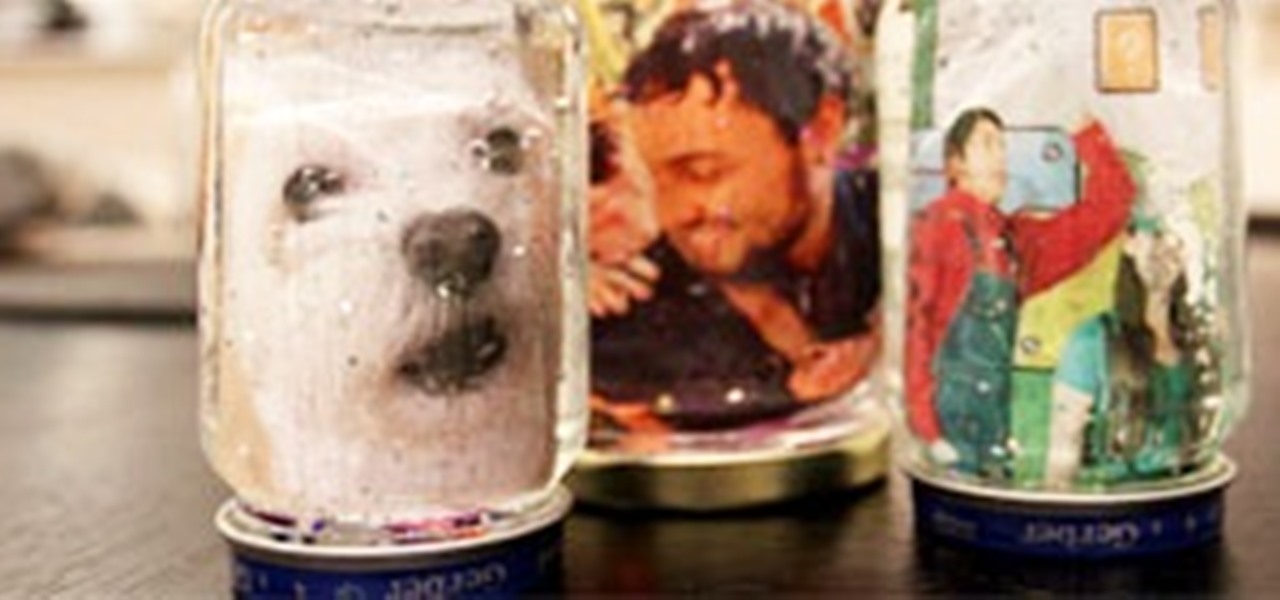
As the holidays draw closer and closer, stores are getting more and more crowded, and of course, many have put off their Christmas shopping until the very last minute. Why not avoid the mall rush this holiday season and make a personalized do-it-yourself snow globe to gift to those closest to you? This is also a perfect opportunity to put of those cell phone photos that you've been snapping to use! What You'll Need
In order to add a Next or a Previous buttons in Photoshop, you will need to begin by selecting a photo. Double clip into MasterclipMC. Create Films Layer and make a new layer. Name it Next and previous. Create a rectangle. Use the Polystar options. Adjust the size to the appropriate size. Make a triangle. Place it in front of your rectangle. This is your arrow. Make a copy of it. Rotate one to point in the opposite direction. Name them Previous and Next. Drag them into position. Rename the bu...
Just take an amazing photo with your iPhone? Want to share it with a fellow iPhone user? Who wouldn't? Learn how to send and receive photos between two iPhones with help from this tutorial. Learn everything you need to know about sending and receiving photos right here.
What if your computer just crashed and you've suddenly lost of your personal photos? Those are memories you can never get back in the digital world, unless...
Check out this informative video tutorial from Apple on how to reduce red-eye in iPhoto '09.
Check out this informative video tutorial from Apple on how to brush out or retouch problem areas in iPhoto '09.
Check out this informative video tutorial from Apple on how to create and share a slideshow in iPhoto '09.
Check out this informative video tutorial from Apple on how to create your own greeting cards in iPhoto '09.