If you want to take a boring photo and pump it full of life, Photoshop CS5's two methods for making a High Dynamic Range image will do just that. The first is a streamlined and improved merging tool, and the second is a new HDR tool that turns a single image into a trendy HDR masterpiece. Whether you're new to Adobe's popular image editing software or a seasoned graphic design professional just looking to better acquaint yourself with the unique features of Photoshop CS5, you're sure to find ...

Popularized by the likes of Andy Warhol, pop art has long been an art genre associated with the glittery excesses of Studio 54 and a modern aesthetic.

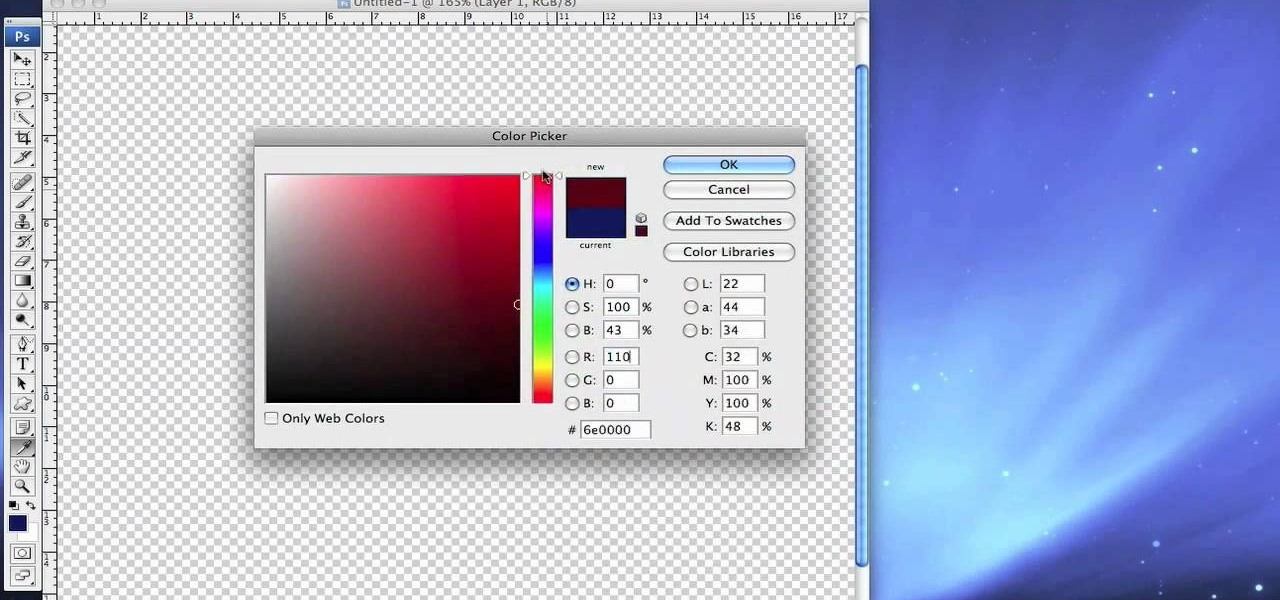
Dislike the color of the sky in a certain digital photograph? Change it with Photoshop. Whether you're new to Adobe's popular image editing software or simply looking to pick up a few new tips and tricks, you're sure to benefit from this free video tutorial, which presents an overview of how to turn unwelcoming skies a deep, saturated blue. For more information, and to get started adding dark blue skies to your own digital photos, watch this graphic designer's guide.

Taking really professional-looking portrait is a tricky business, which is why so many people are so well-paid for doing so. If you want to create similar results without hiring the professional, this two-part video will give you some handy tips for how to do it. It includes how to frame the shot, some equipment and props that you will need, and other techniques. Never pay hundred of dollars for a professional Christmas card photo again!
Since the introduction of Google, people have been in love with the search engine website that has grown into a beast of site. With Google, you're able to not only search for whatever you desire, but you can create an email address, keep up with your contacts, keep in touch with the daily news, and even check out some of your stored photos. So if you love Google, this tutorial may help you out. In this video, find out how to download and install the "Google Desktop" on your computer. Enjoy!

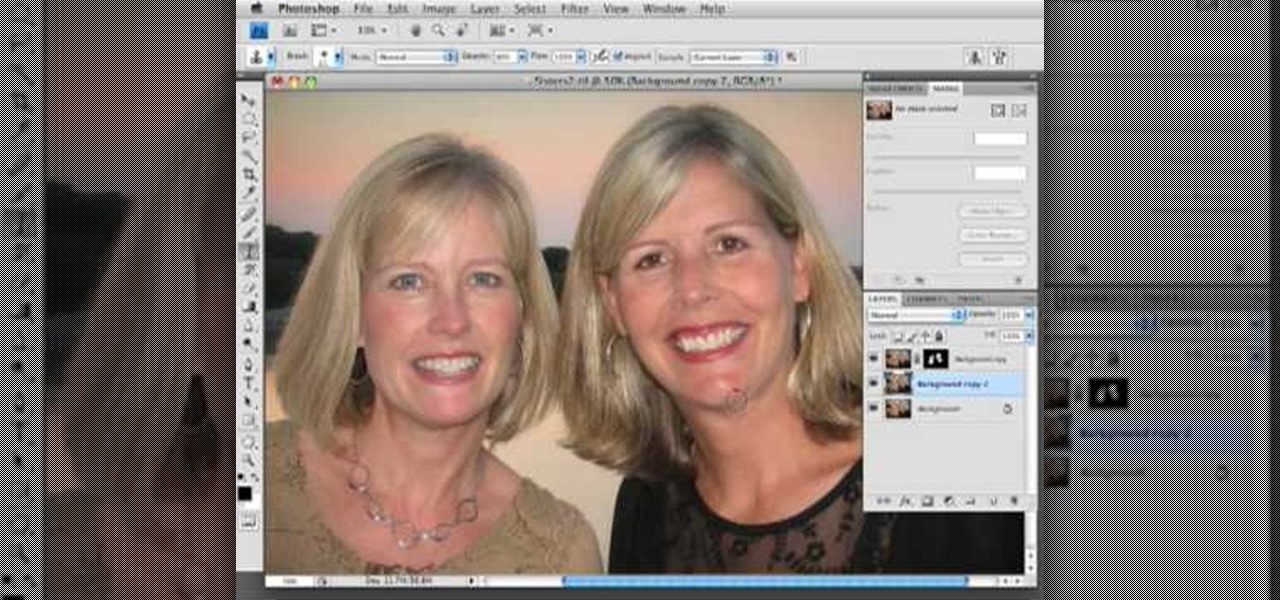
If you've ever had a friend who was unable to make a birthday party or graduation due to scheduling, sometimes it can depressing. Especially if you always take pictures with each other for any occasion. Well in this tutorial, you will find out how to Photoshop a person into a picture easily. It's just a cheap, easy way to show that no matter what, nothing can seperate you two. Enjoy!

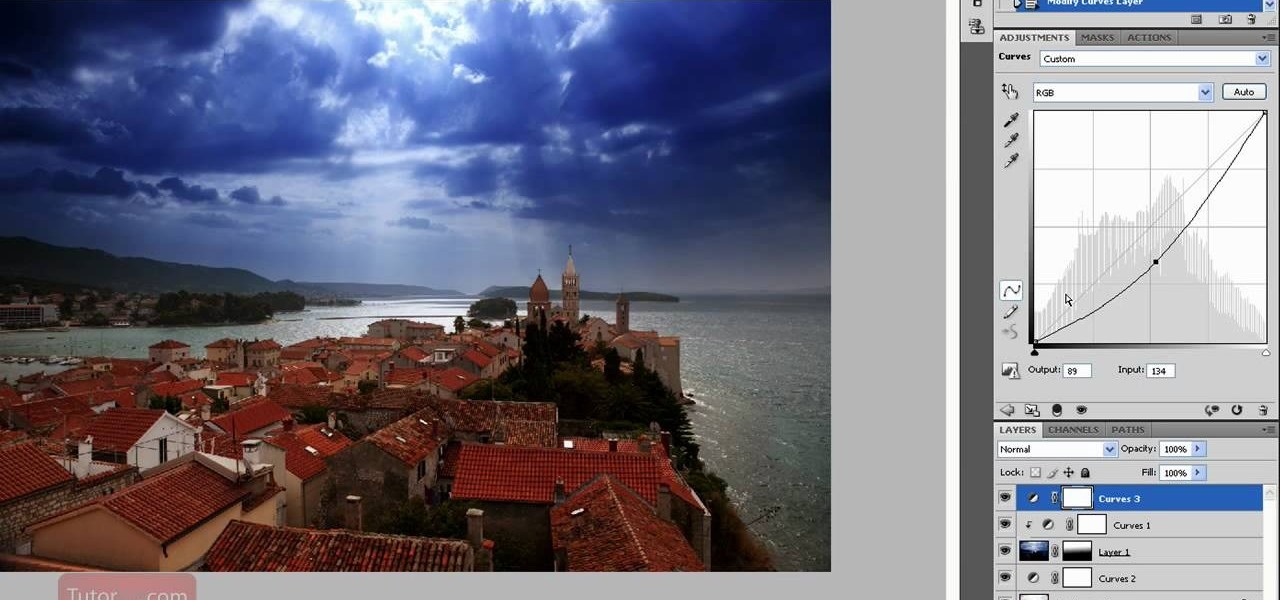
Photoshop is capable of doing so much in such a single program, it's amazing. You can easily create images as well as edit and enhance some of your own photos. But another great thing is that you're able to save certain files a certain way, that you couldn't normally do without using Photoshop. So in this tutorial, find out how to make a hdr image (high dynamic range) from a single raw file. Enjoy!
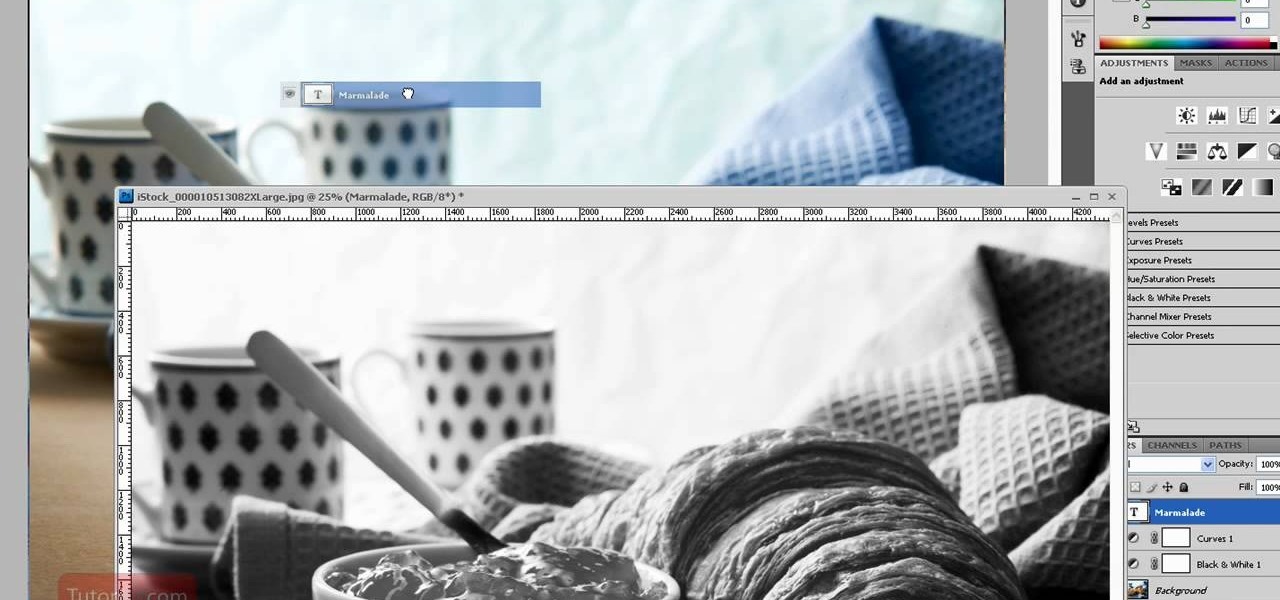
Photoshop is one of the most powerful and widely used program out there on the market. Not only can people use it to make their own photos look better, but they are able to take other pictures and images and enhance them to whichever way they want. That can be seen as both bad and good. Somtimes, to do so it involved using the layers and moving a picture to a new image. In this tutorial, you'll find out how to move a layer to a new image using Photoshop. Enjoy! It's quick, easy, and will be a...
Photoshop is full of clever, cool little tricks that it can take quite some time to fully experience them all. One of the cleverest tricks comes in the Photoshop CS4 and allows you to combine different images of the same object and combine the areas of sharpness. By doing that you would be creating a focus stack and increasing the depth of the field in the photo. So sit back and find out how to create a focus stack using Photoshop. Enjoy!
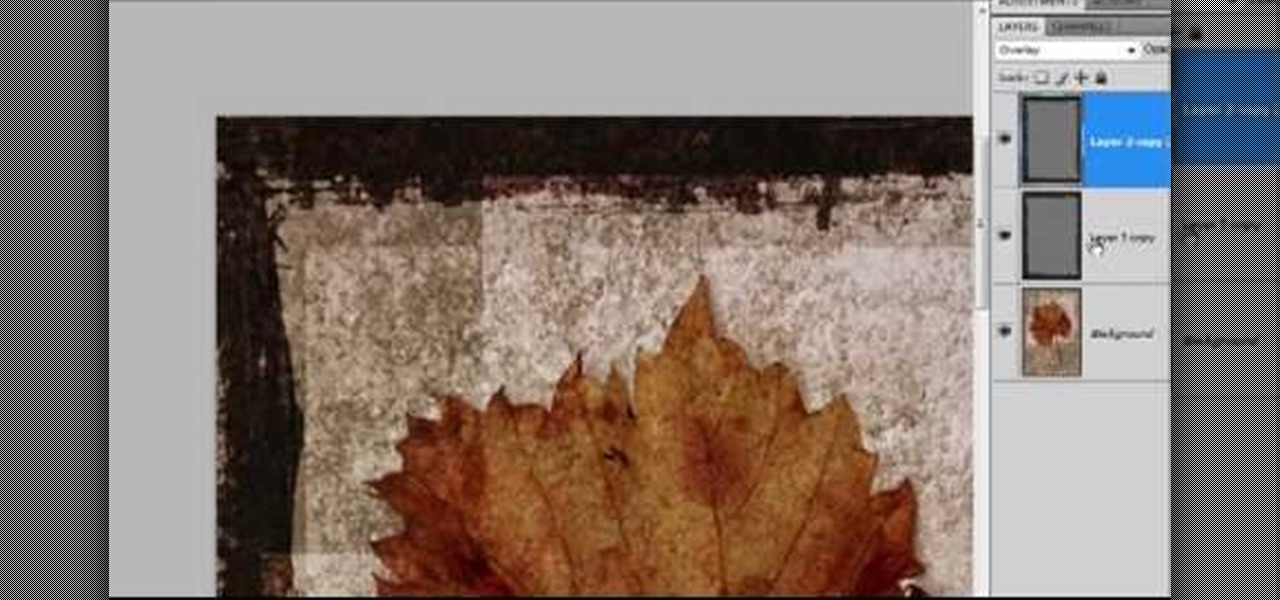
Photoshop is filled with all sorts of fun little tricks it can take hours just to use some of them. From the folded paper look, to a create an awesome stencil image, Photoshop can do so much! So in this tutorial, find out how to make a cool painted grunge border with the infamous software. Enjoy!
You will get the best images possible if you learn to maintain your camera and keep the lens clean. In this tutorial, learn how to clean the lens of an SLR camera like a professional. With a clean lens you will be able to take crystal clear photos and avoid any blur or unwanted blemishes. So, follow this step by step and keep your camera in top shape. You will save yourself tons of editing time if you just keep a tidy lens.
If, for whatever reason, you need to show someone else a photo of your computer screen, you will need to take a screen shot. In this tutorial, learn how to copy your screen on a Windows based PC.
There are so many fun things you can do with Photoshop. The possibilities and ways to manipulate seemingly ordinary images are endless. In this particular tutorial, you will learn how to take a 2D photo or image and turn it into a 3D one in Photoshop. You will be shown how to find a texture you like and then cut and alter it into a completely new picture.
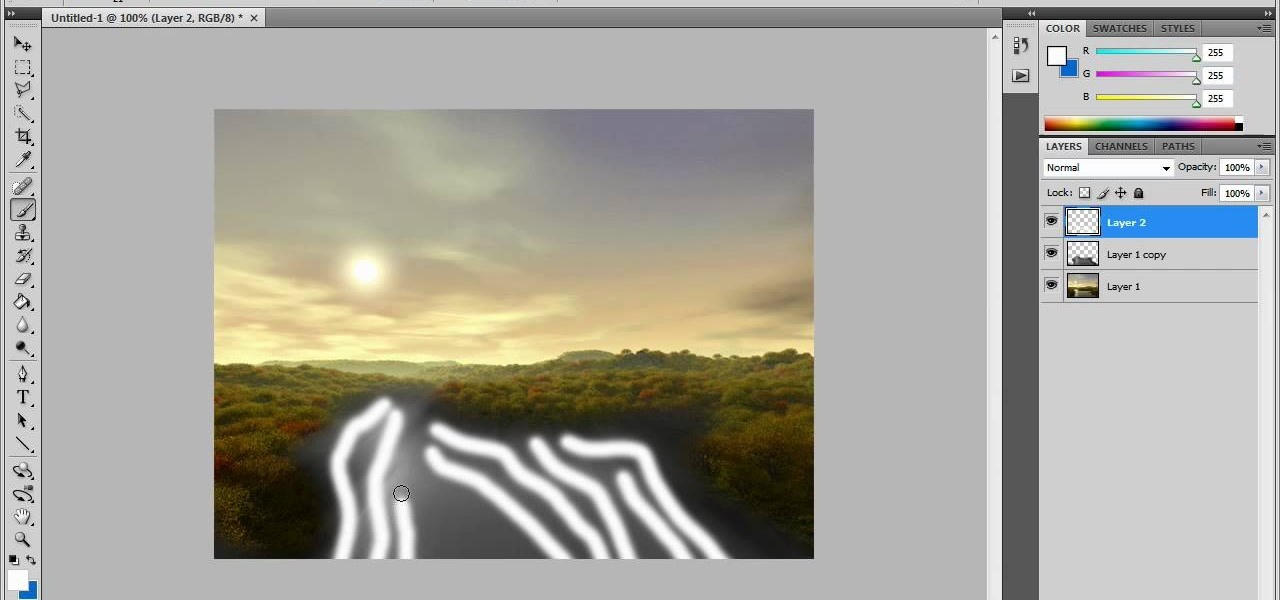
In this video tutorial, viewers learn how to create fog using Adobe Photoshop. Begin by importing the image into the program and duplicate the image. Now go to Filter, select Blur and select Radial Blur. Set the amount to 100, Blur Method to Zoom and Quality to Best. Now select the rectangular marking tool and select the sky. Then open the Hue/Saturation menu and set the Saturation to -100. Use the eraser tool to remove the gray from the edges. Now use the paint tool and paint white streaks o...
The first step is to select a photo of a black, glossy car. Using the Lasso- polygonal tool, select the outline of the car. Once the image outline is complete, the dots animate around the image. The next step is to deselect the areas on the car where the chrome paint is not required. To do this, follow the same procedure as above holding the ‘Alt’ key (a minus sign appears next to the cursor). Once the selections are done, go to ‘Image’ menu, select ‘Adjustments’ and click on ‘B...
In this video, we learn how to get white teeth using PhotoShop. Before you begin, open up PhotoShop and open the picture you want to change. Make sure you zoom in on the teeth so you have a good view and it's easier to paint. First, select the dodge tool, the choose midtones. Now, select the brush that is "round-soft" and brush the brush over the teeth that you want whitened. If you make any mistakes, you can use the eraser tool to clean up what you changed. Once you are done, save your photo...
In this Software video tutorial you will learn how to sharpen blurry images using Photoshop. Open the image and duplicate the original layer. Then go to filter > other > high pass. In the window that pops up, enter a value of 4 – 6 pixels. Now simply change the blending mode of that layer to overlay by clicking on ‘layers’ and selecting ‘overlay’ from the dropdown menu. You will notice that you have a much clearer picture. Then go to filters > sharpen > ‘unsharp mask’ to add som...
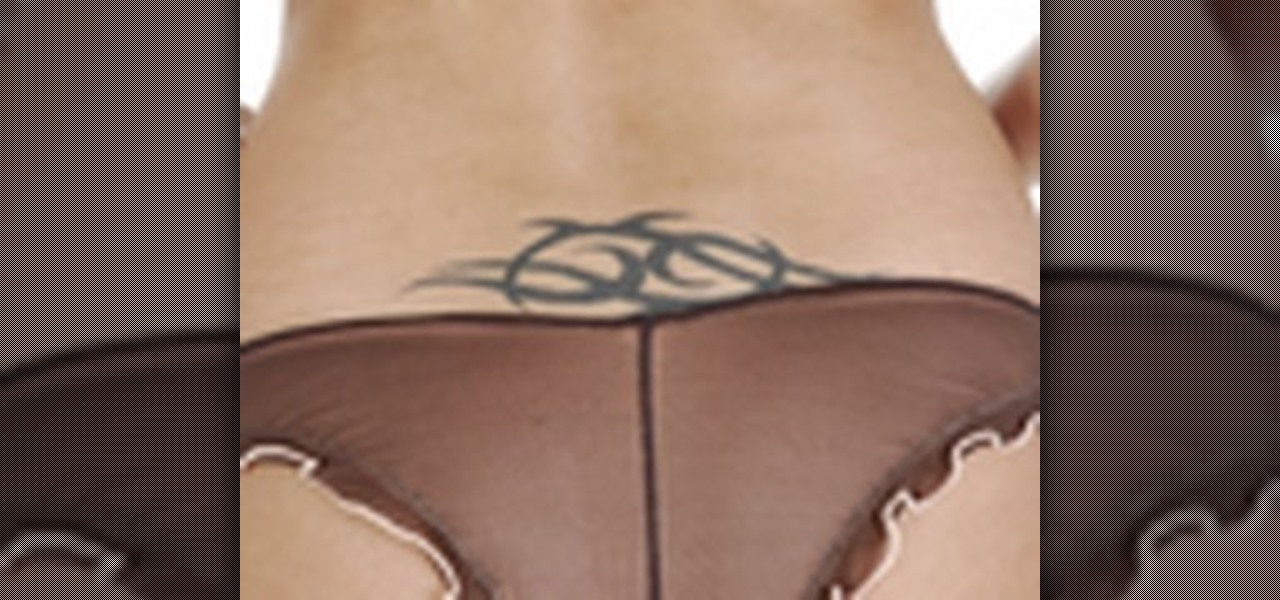
This video shows you how to remove a tattoo from a photograph using Photoshop. First, select the tattoo using the pen tool, to get a very accurate line around the tattoo. Make sure the "Paths" button is punched in. Drag the mouse and click several times to make a path around the tattoo. Right click on the path and choose "make selection". Feather the selection with a feather radius of about 8 pixels. Use the clone stamp tool and a large size brush. Hover outside the selection and click to sam...
3D seems to be all the rage right now. You don't want a logo that is behind the times! In this tutorial, learn how to make text look 3D using Adobe Photoshop CS3 or CS4. Your graphics will look much more up to date and really pop out of the page with this cool technique.
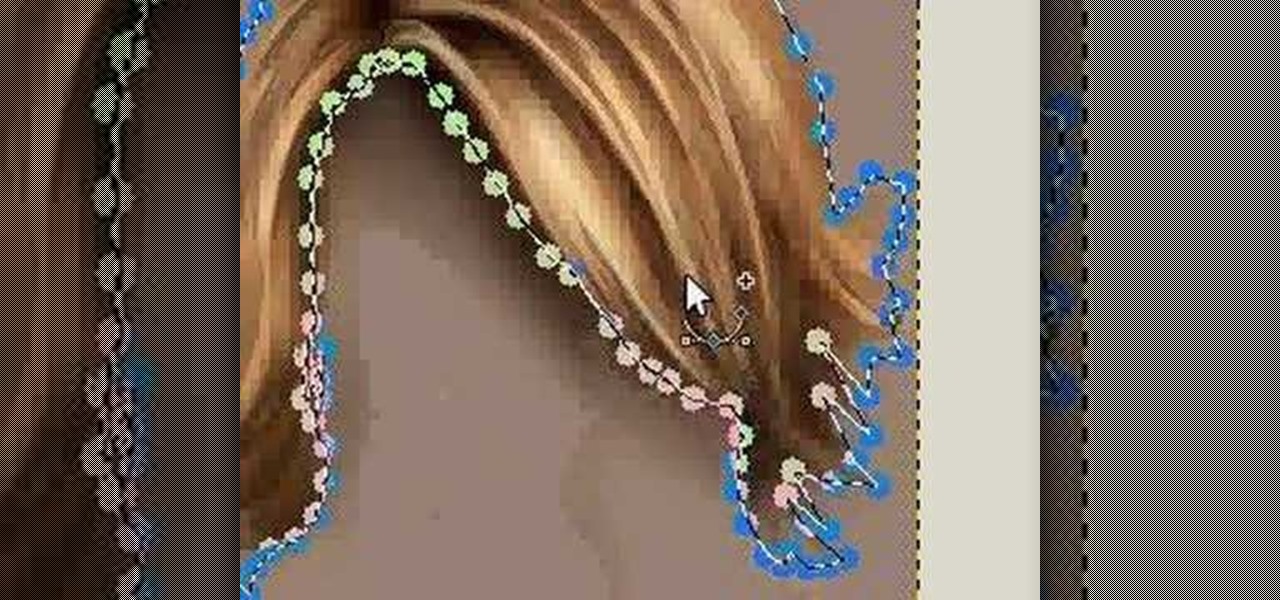
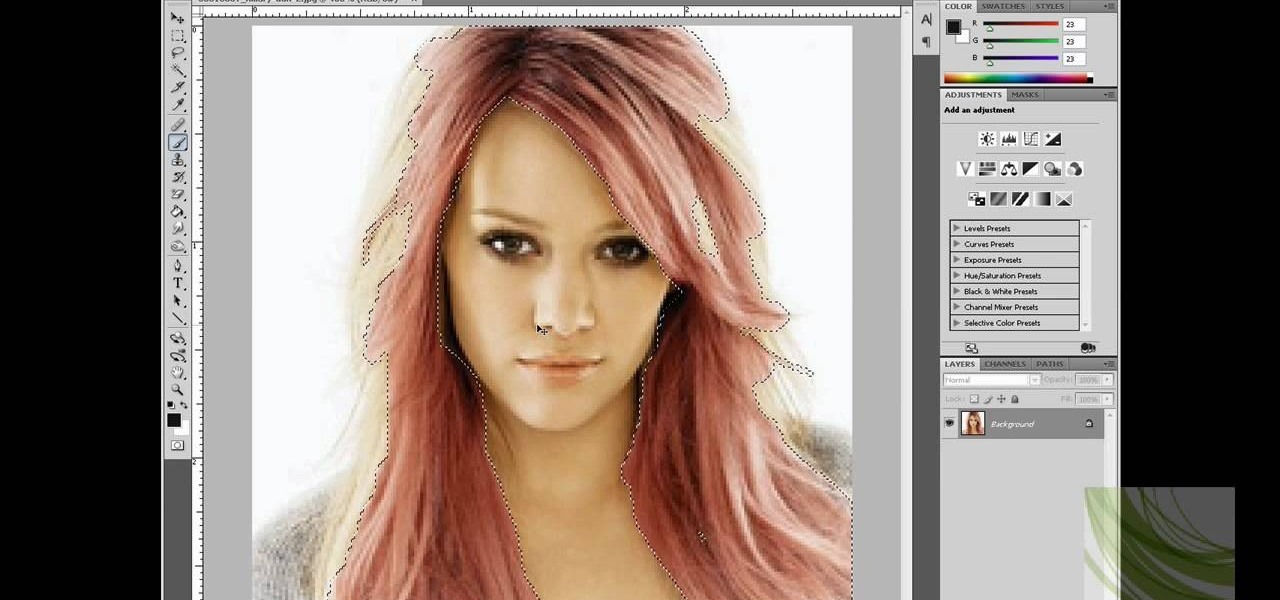
In this how to video, you will learn how to change hair color in a photo using GIMP. First, download and install the program. Open it and find the image you want to change. Next, zoom in to get a full view of the hair. Now you should go to the paths tool. Highlight all around the hair to select it. Once this is done, go to select and select From Path. Marching ants should go around the selection. Now, go to colors and select Color Balance. Adjust the color sliders to change the hair color. On...
In this how to video, you will learn how to get rid of shine using Photoshop. This is useful if you took a picture using too much flash, causing shine to appear on the faces of those in the photo. First, open the image in Photoshop. Duplicate the background layer. Select the clone stamp tool on the left and select a brush with no hardness. From here, change the opacity to 80 percent. Click the option key on an area of cheek. Now, click on the dots of shine on the faces. This can be used on wr...
In this how-to video, you will learn how to create flashy pictures and animated gifs for your profile pictures. This is useful if you want to put an animation as your facebook or myspace default photo. First, find and open the image you want to use. It should open in MSpaint. You can go to image and select invert colors. Save this new file with a different name. Now, go to the gifninja website. Click on Create an Animated Gif. Now, upload both of your files to the page. You can select the spe...
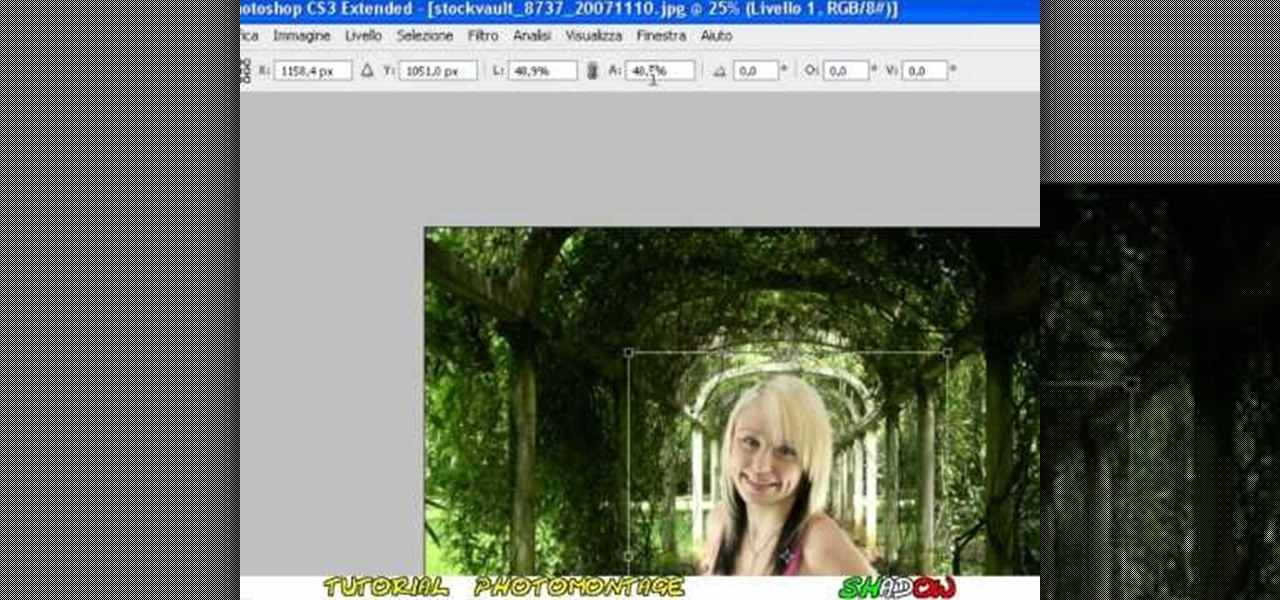
In this video tutorial, viewers learn how to create a photo-montage using Adobe Photoshop. Begin by inserting the images into the program. Then double-click on the montage image to unlock it and select the eraser tool to remove the background. Once the background is removed, select the move tool and move the montage image to the background. To modify the dimensions, go to Edit and select Free Transformation. Hold the Shift key to maintain the proportions. This video will benefit those viewers...
Clicks are made on "Image",then "Adjustments", followed by "Brightness/Contrast" ; contrast is set to 30 and brightness is set to 60 to add more light to the picture. "Adjustment", "Variations" are clicked in that order and both yellow and red are increased. "Filter", "Render", "Lightening Effects" are chosen in that order and a new window appears; within which the style is set to "Soft Omni". The brightness is decreased ;similar to the way it was increased, and contrast is increased to 60. T...
In order to transfer files from your iPhone to your mac or pc, you're going to need a little something from www.digidna.net. Open up your web browser and type that into the address bar, here look for DiskAid. Download the version of DiskAid that corresponds to what you want, whether it be for a PC or a Mac. When you've downloaded it, it is time to install it. Once the program is up and running you'll be able to transfer different files like photos and videos from your iPhone or if you wish yo...
The shape stamp tool in Photoshop is similar to using old fashioned clip art. Shapes are extremely easy to access and you will get the hang of them quickly. These shapes can be used to enhance your existing photos or to create graphics like banners and icons. In this tutorial, you will learn exactly how to access and use the shape stamp tool in Photoshop CS3. You will no doubt have this down pat in no time and will soon be on your way to using stamps - just one of Photoshop's many helpful tools.
Photoshop is an amazing tool to use to edit your photos. If you would like to see what you or someone else would look like with a different hair color then Photoshop is the place to do it. Try out something realistic or add a funky color to your favorite celebrity’s style.
In this video you will learn how to change eye color or removing red eye in Adobe Photoshop. First, to change the eye color you must enter in Adobe Photoshop, open a photo, select the zoom tool and zoom in near the eye. We will use the first tool and make a circle of the eye. By holding shift key remove the areas you don't want to paint. Now go to layer, then new ant the layer you want to copy. Now select hue/saturation. Now slide hue until you are happy with the color, then hit ok and that's...
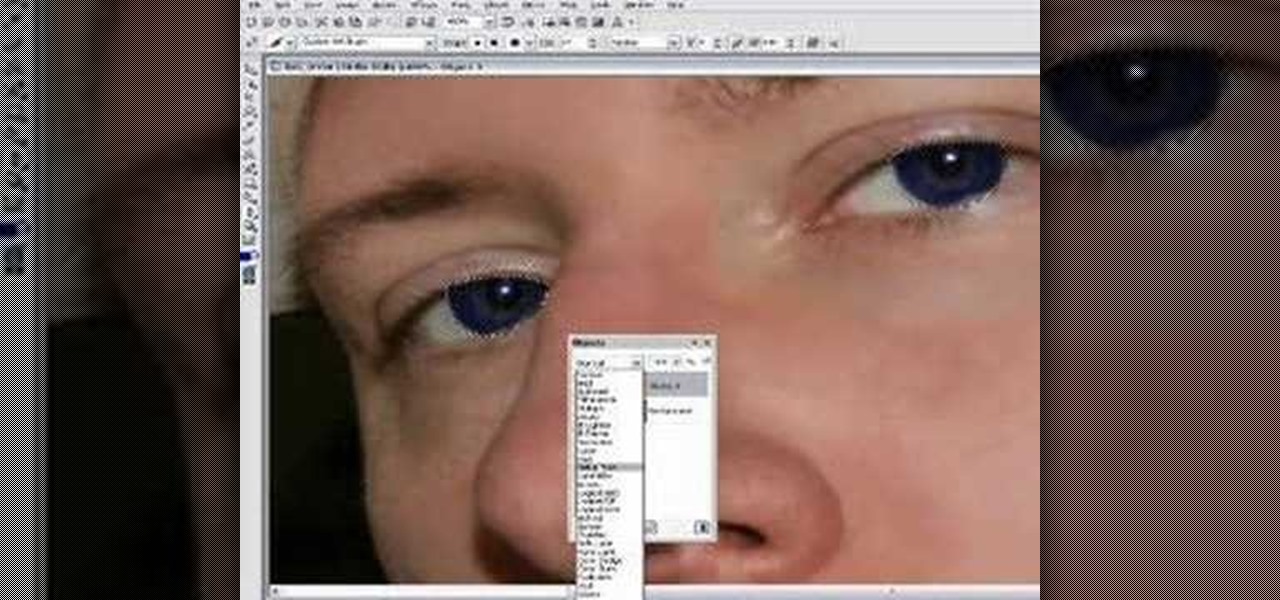
In this Software video tutorial you are going to learn how to change eye color in Corel Photo Paint X3 with masking. Select your picture and the 1st thing you will do is to create a mask around the eyes. Select the standard paint brush tool. Adjust the picture so that it is large enough and both the eyes are visible. Now press Alt and hold down to select the entire eye. Do the same for the other eye also. Then go to subtractive mode and fix the outer edges of the iris of the eyes. Now select ...
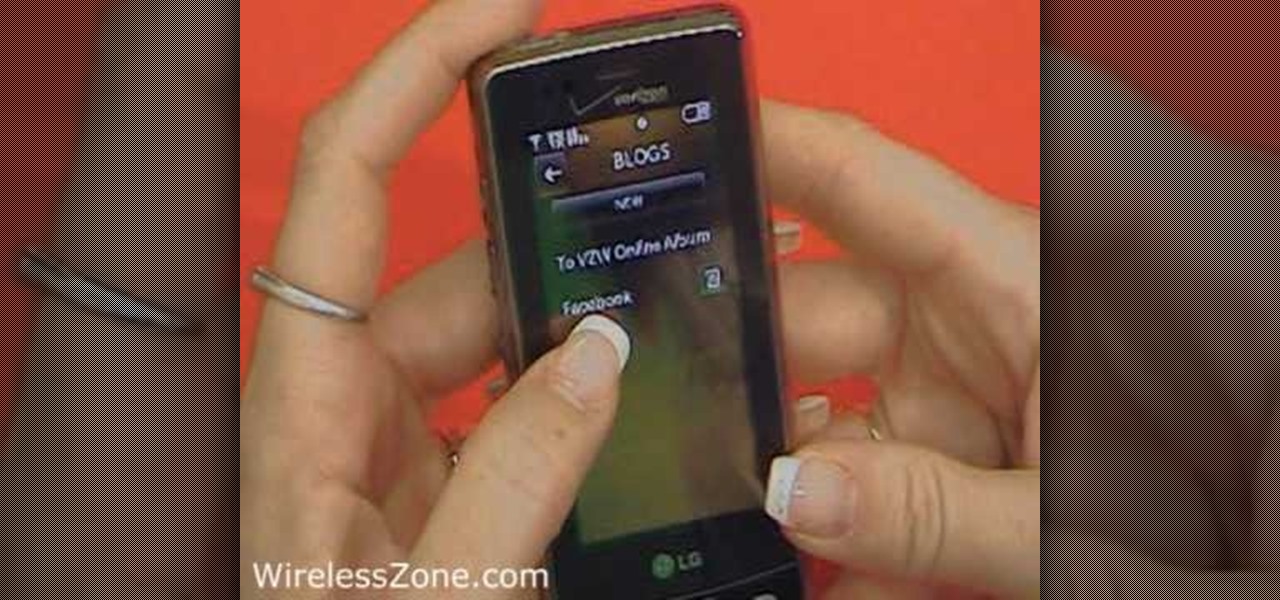
In this how-to video, you will learn how to upload photos and videos to Facebook or MySpace using your mobile phone. First, go to messaging and scroll down to blogs. Here, enter whichever blog you want to upload to. Next, go to message and create a new picture message. A new option called blog will be in this menu. Now, press the option and click on your blog of choice. From there, you can put in text and select your picture or video. Now you can press send. This will send the file or video t...
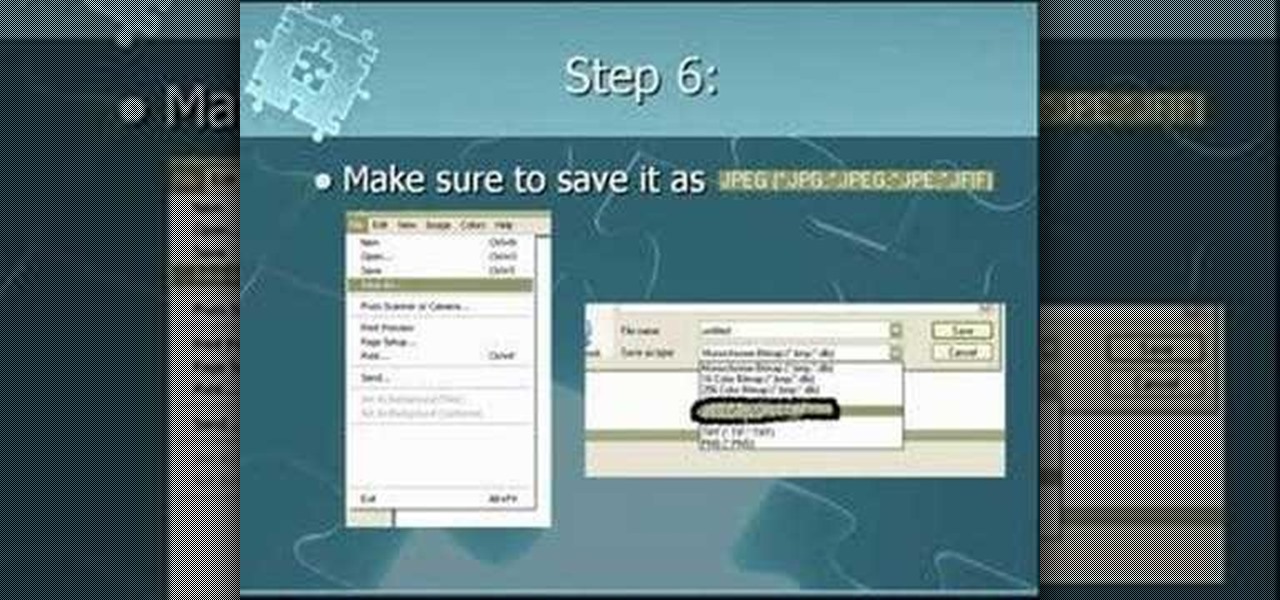
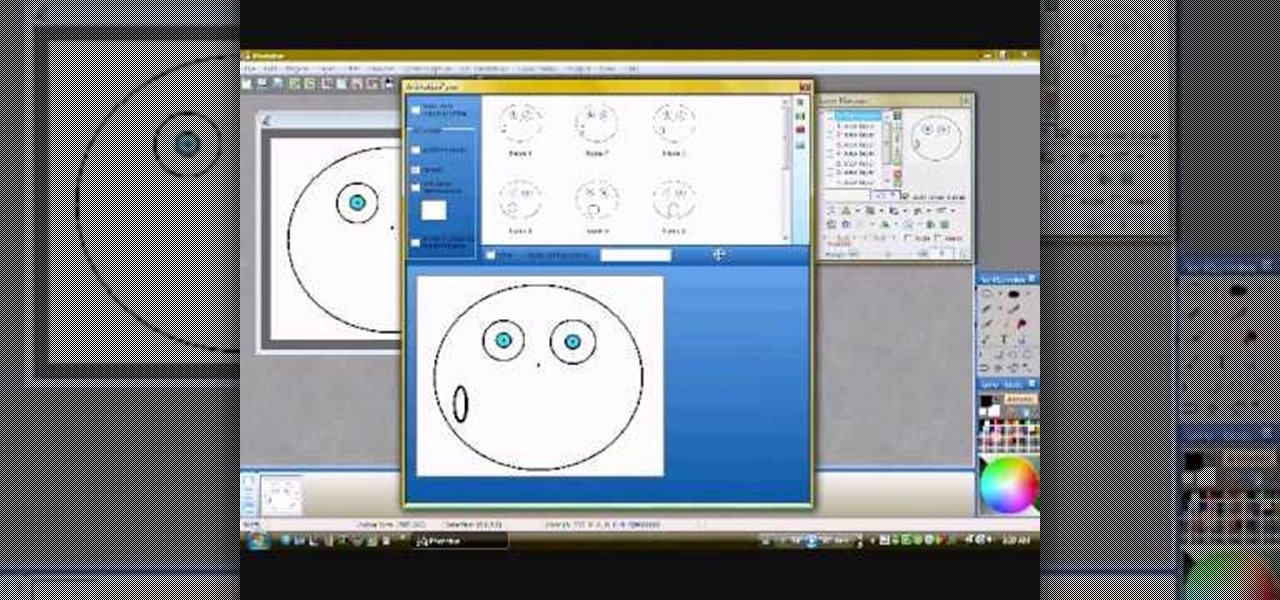
In this video you will learn how to make a GIF animation without Photoshop. This is by using a windows operating system program and its from a website which is provided. Go to your search engine then type in download. Then click on CNET, then type in Photobie and download the latest version. Once you've downloaded and have it open click on layer, then click import images as new layers on current photo panel. Then add your images and have them ordered as you want them. Then click on the top on...
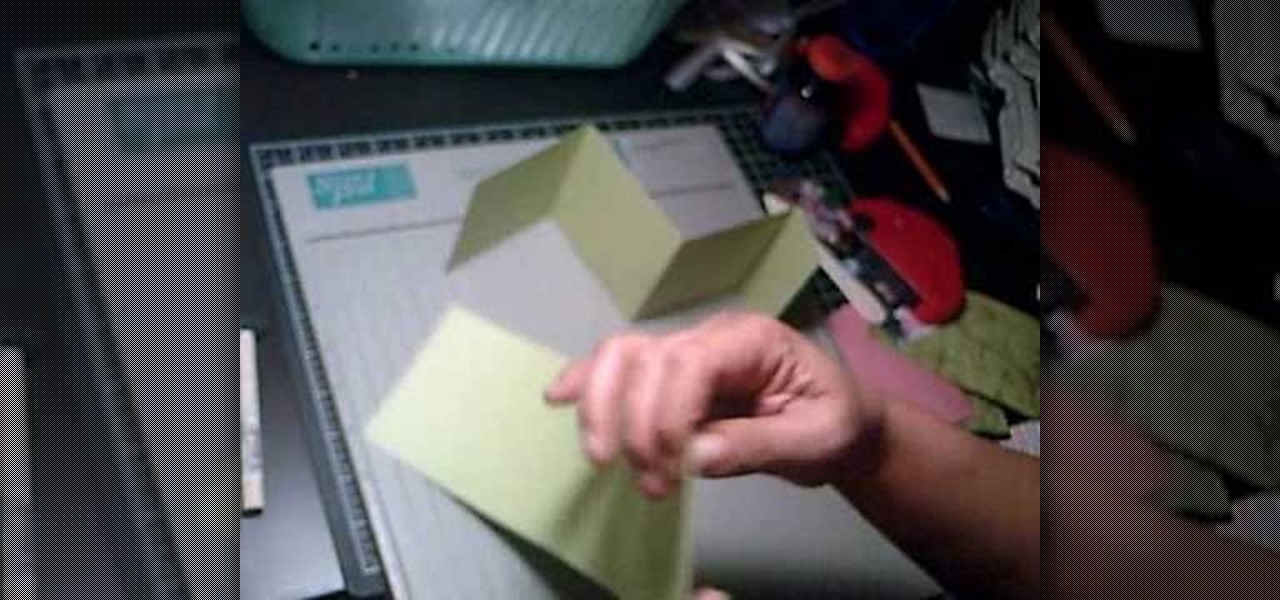
Maria from [www.stamininspirations.blogspot.com stampininspirations.blogspot.com] shows us how to make a 4x4 mini double accordion picture album. You will need a 4 x 9 in. piece of designer paper, a 4 x 9 in. piece of card stock, a 3.5 x 8.5 piece of designer paper, two 3.5 x 12 in pieces of card stock and two 4 x 4 in pieces of chipboard as well as some smaller pieces of designer paper and card stock and some ribbon. Rubber cement, a scorer and some double sided tape are also needed. Maria s...
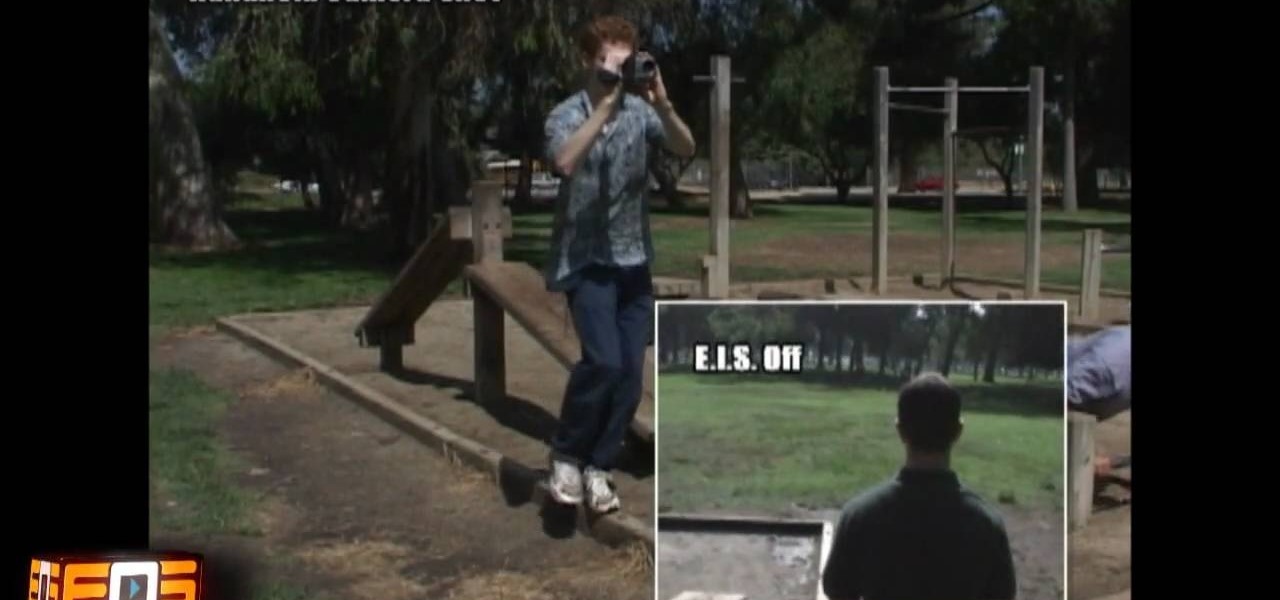
This is a video that is showing its audience how to use the electronic image stabilization or digital image stabilization on their digital cameras. Image stabilization is a good function to have on when movement is involved while taking a photo. The video goes over terms such as image stabilization, shutter speed, and contrast. It adequately defines image stabilization and digital stabilization and goes over the problems that consumers might have with the image stabilization mode on their cam...
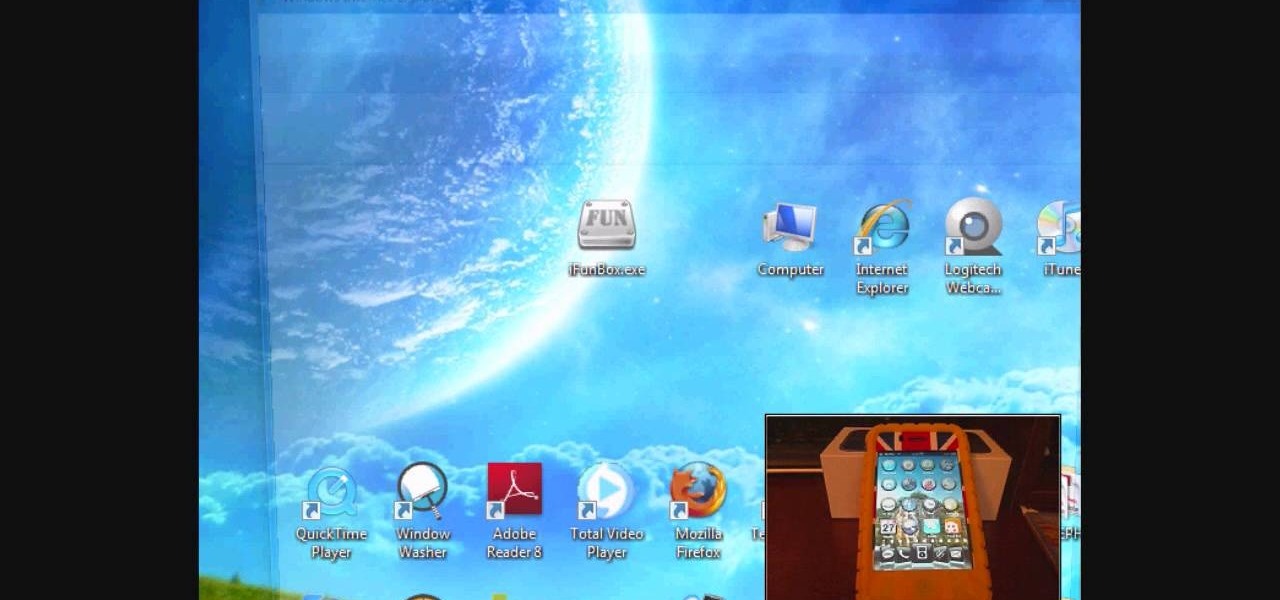
This video describes how to install SSH into your iPhone. It explains the benefits of using SSH to tether instead of Wi-Fi, as Wi-Fi tends to be less stable. The presenter recommends using the iFunbox software instead of the Win-SEP software, and further states that, as opposed to Wi-Fi, USB does not require VNC configuration. It shows how the iFunbox enables you to pull videos, photos, wallpapers, ringtones and other data directly to your computer, as per the usual SSH abilities. According t...
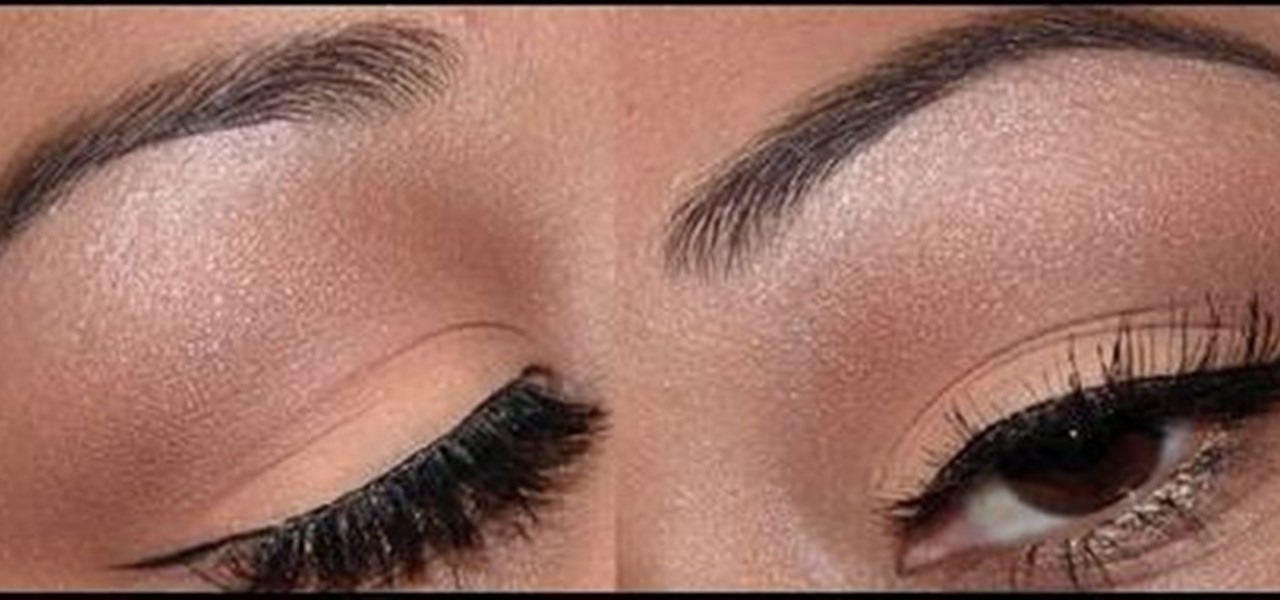
In this how-to video of Beauty & Style, Lauren (a.k.a QueenofBlendingMUA) shows us how to create an understated eyeshadow look. Using mostly neutral tones, Lauren shows you even how to make your eyebrows and what's better to use for your lips along with this eyeshadow.
The artist begins by sketching house the outline of the face and body using a pencil. Then he begins to form the eyes, nose, hair and ears, and applies a gray mask to the face which is then covered by the tan coloring of the woman. The lower body is applied with a lighter mask which is converted to the white furry coating of the coat. The drawing is then smoothened out showing us the main features of the realistic woman. Using the software and computer graphics that he uses, the hair, eyes, a...
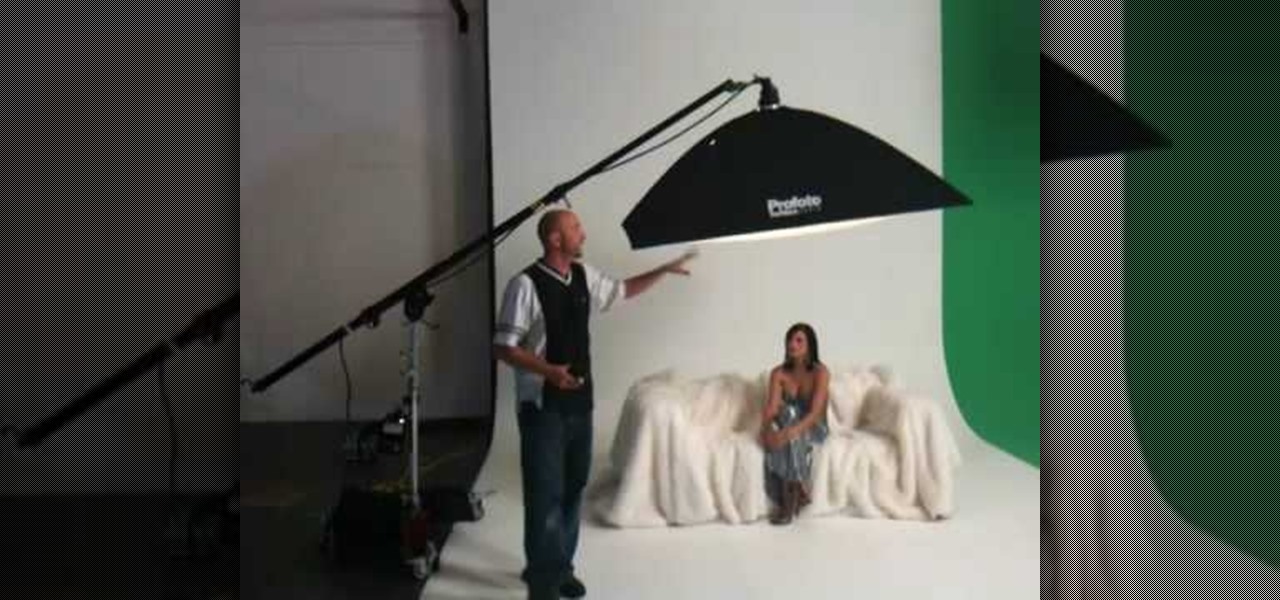
Mike Wallace is going to show you how to set up a softbox in order for a photo shoot. First, you are going to need an 1200 watt generation and with the Profoto one it comes with a pocket wizard built into it so it allows the photographer to meter and trigger with a pocket wizard TT1 on the mini camera. Also, you want to use a Manfrotto Megaboom softbox, and this is much easier then using a ladder because on the ladder you'd need to climb it whenever you wanted to reposition it. With the Megab...
Yanik Chauvin demonstrates how to create a batch using Photoshop and them Lightroom so you can decide which is faster and more convenient for you. In Photoshop, he first changes the color in the image, which he explains step by step the process, then saves the image as an action. He then shows you the process to batch the images so they will appear on your desktop. He also does the same thing with the image in Lightroom and shows you the process in which you would change the color and sync th...
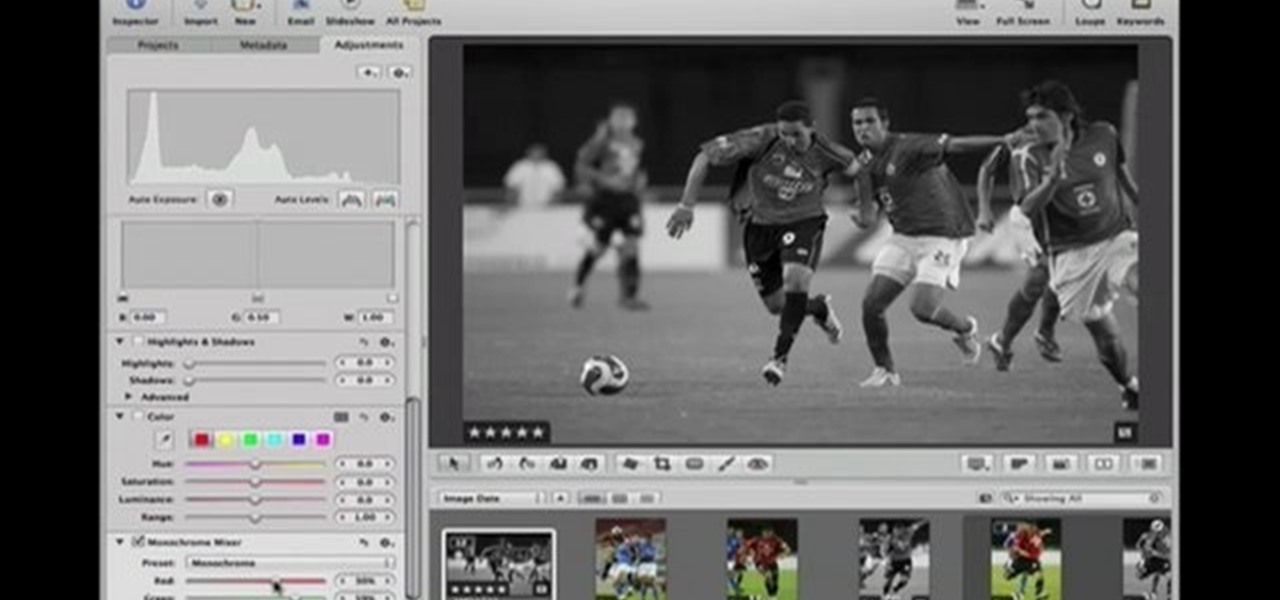
This Software video tutorial shows how to convert color images to black and white in Aperture. Scott Bourne presents this video. Open up ‘aperture’ program and select a color photo that you want to convert to black and white. Now move from the ‘projects’ page to the ‘adjustments’ page by clicking on it. Then click on the ‘+’ sign and select ‘Monochrome Mixer’. When you do this, the picture instantly turns to black and white. It’s as simple and easy as that. For editing the picture further, on...
This video teaches the method to add a virtual frame in Lightroom. The frames can be black or white. Go to the 'Develop' module. Open your Vignettes box. Go to the post-crop section. Slide the last three sliders to the leftmost position. Move the 'Amount' slider to the left to choose black frame and to the right side to choose white frame. The frame is rounded on the upper two corners. The 'Roundness' slider is used to round the frame inwards until a complete circle is obtained when the slide...