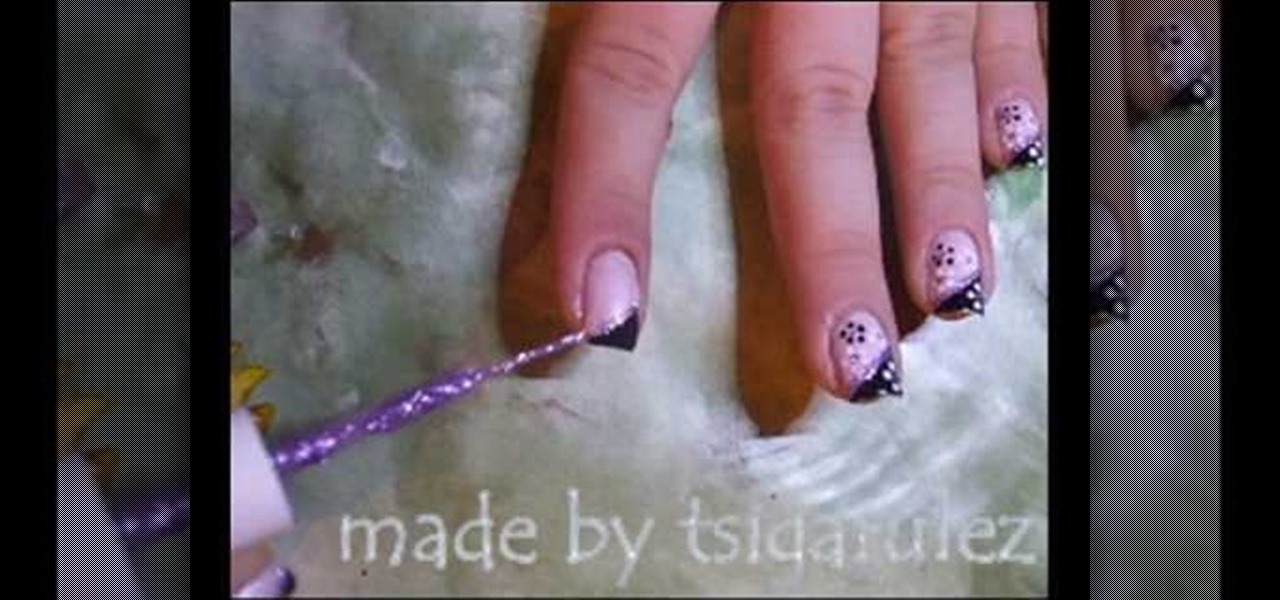
In this tutorial, we learn how to paint a black & pink French manicure with flowers. Start by painting the nails with a light pink nail polish, adding a couple layers so the color shows on top of the nail. Wait for this to dry, then paint black nail polish in a diagonal line across the top corner of the nail. Now, allow this to dry and take a sparkly purple nail polish and paint it in a line directly underneath the black polish. Next, use a toothpick or dotting tool to dot white nail polish i...
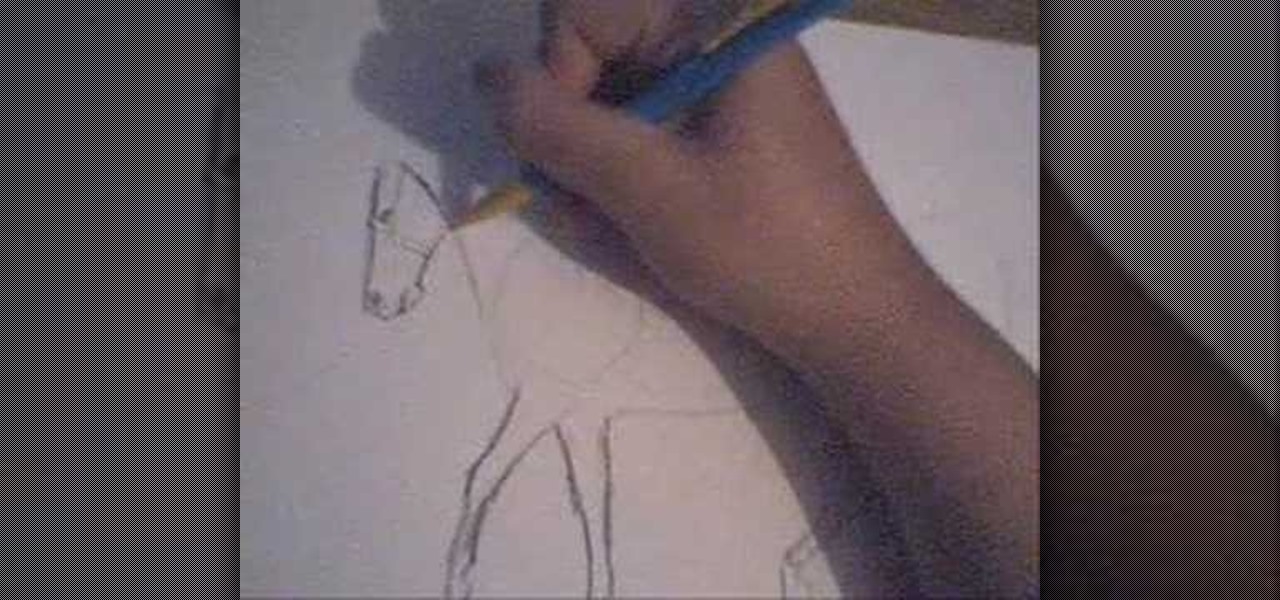
In this video, we learn how to draw a horse. First, draw the outline of the horse's body. Start with a circle for the head and wispy lines for the rest of the body. Make large shapes that connect to see where the mass of the body will be. Next, draw in the head, tail, back, and legs of the horse. After you have the outline finished, erased the lines inside of the picture. Now, draw in details on the horse. Add in lines to show where the hair is, then draw in the nose and eyes to the face. Als...
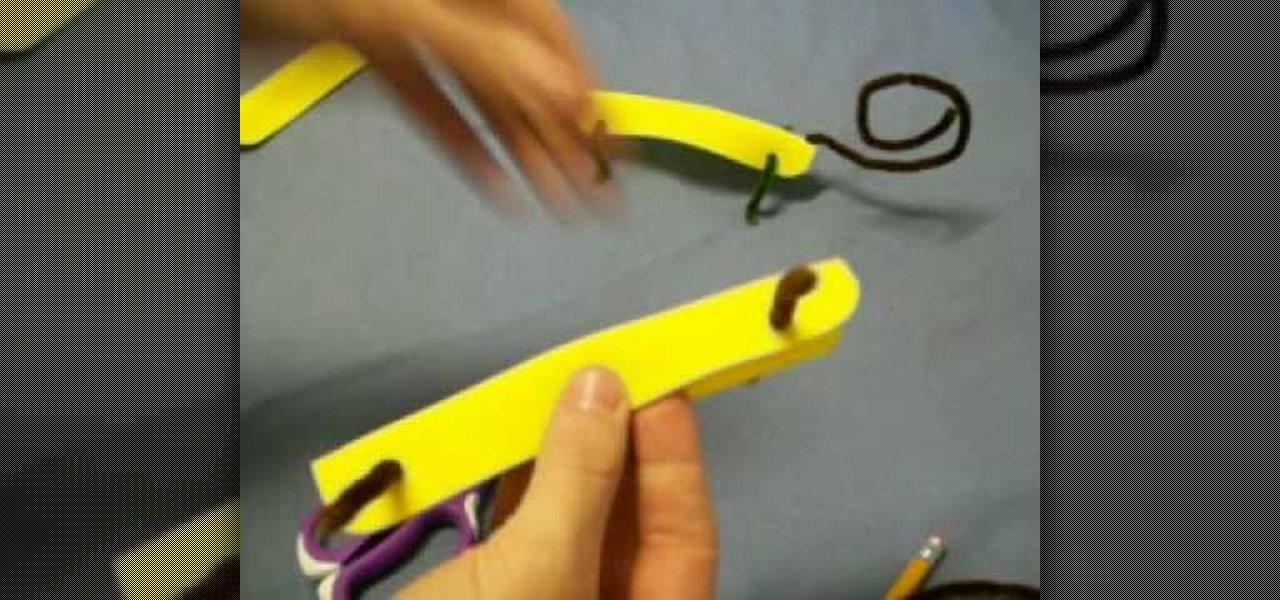
In this video, we learn how to craft a lizard out of foam and pipe cleaner. First grab your piece of foam and poke a hole into the front of it going through it, then through the back going all the way through. Next, poke the pipe cleaner through the holes so it looks like four legs. After this, poke a hole in the back to string the tail through. Poke a hole through the front and place a red pipe cleaner inside of it with a curl at the end to make it look like the tongue. To finish, draw on tw...
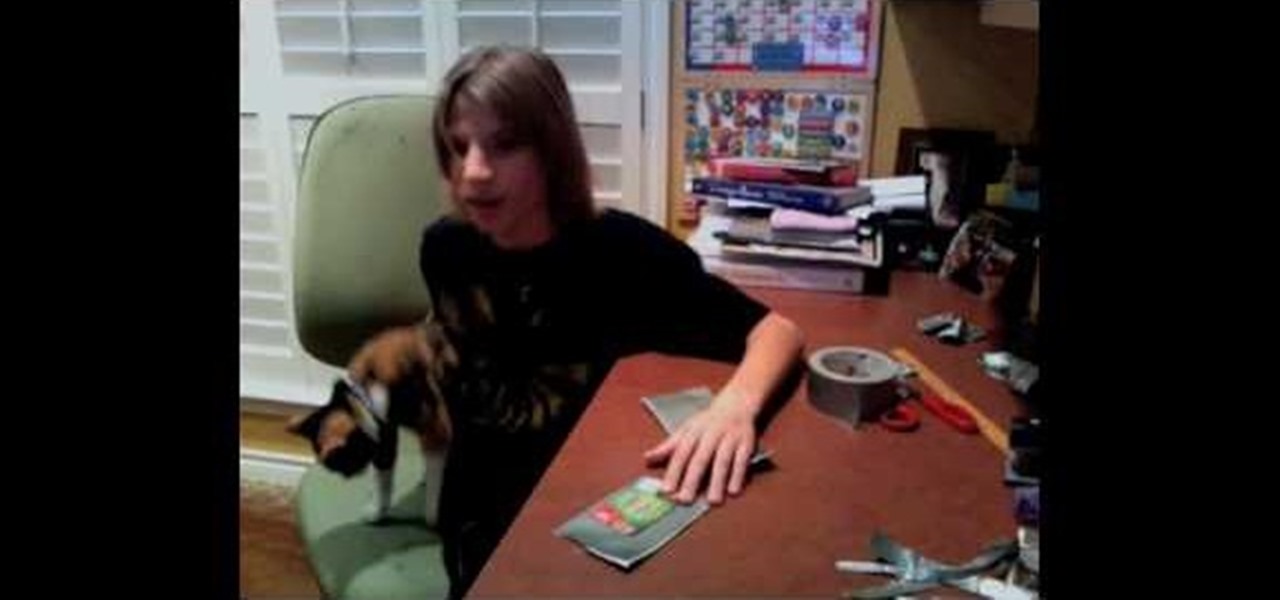
In this tutorial, we learn how to make a wallet with card holders from duct tape. First, you will need to cut out duct tape in several strips to the size you want. You can use any color of duct tape you want. Next, you will start to overlap the duct tape on top of each other so there are no stick sides, then finish it by overlapping the last piece. Continue to do this, then fold it in half to make a wallet shape. Next, you will make card holders. Measure out how large the holders should be by...

Golf is an age old sport that has been played by many great people. It's something that any age, race, or gender can enjoy. It can also be a very tough sport to master, since there are so many different techniques and methods that can help improve your golfing skills.

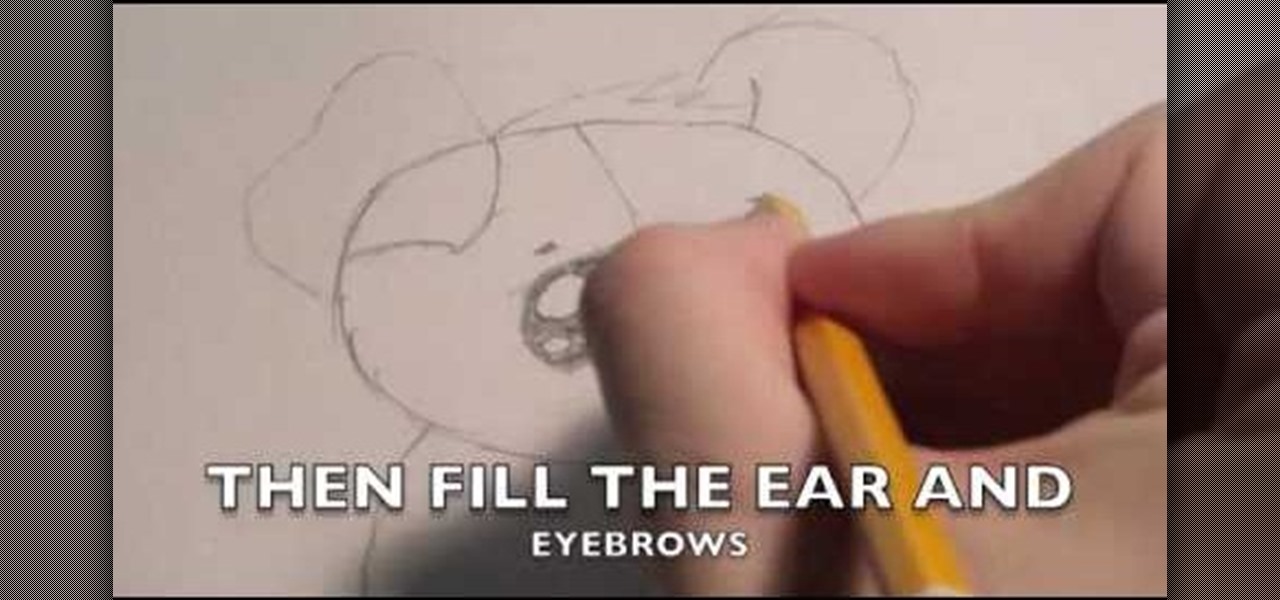
In this video, we learn how to draw Hamtaro. Start off by drawing the large head, followed by the body and the ears. After this, draw the arms and legs onto the character. Next, outline the drawing in a darker pen, then add in additional details. Draw on the eyes, nose, and pupils. Don't forget to draw on the paws and feel as well as lines to make it look like fur. To finish up this picture, you will need to add colors to the hamster. You can go with the traditional colors, or change them up ...

In this tutorial, we learn how to draw Totoro. Start off with the ears, then connect the top of the head around them and continue to draw the rest of the head. Fill in the eyes and the nose on the face, then make lines on the side of the face to show whiskers. After this, draw an egg shape as the rest of the bottom, then add hairs onto the stomach area. Draw small little lines on the bottom of the character to make it look like he is sitting on something. To finish, draw the character holding...

In this video, we learn how to make looming easier. First, you will want to use a table loomer to help make this much more simple. Start to thread the different colors or one color through the loomer and then grab a plate when you are done. use the side of the plate to run it through the middle of the string. When you are finished, this will help push the thread down into the looming machine and you won't have to do it manually with your hands. When you are finished, you can take out the loom...

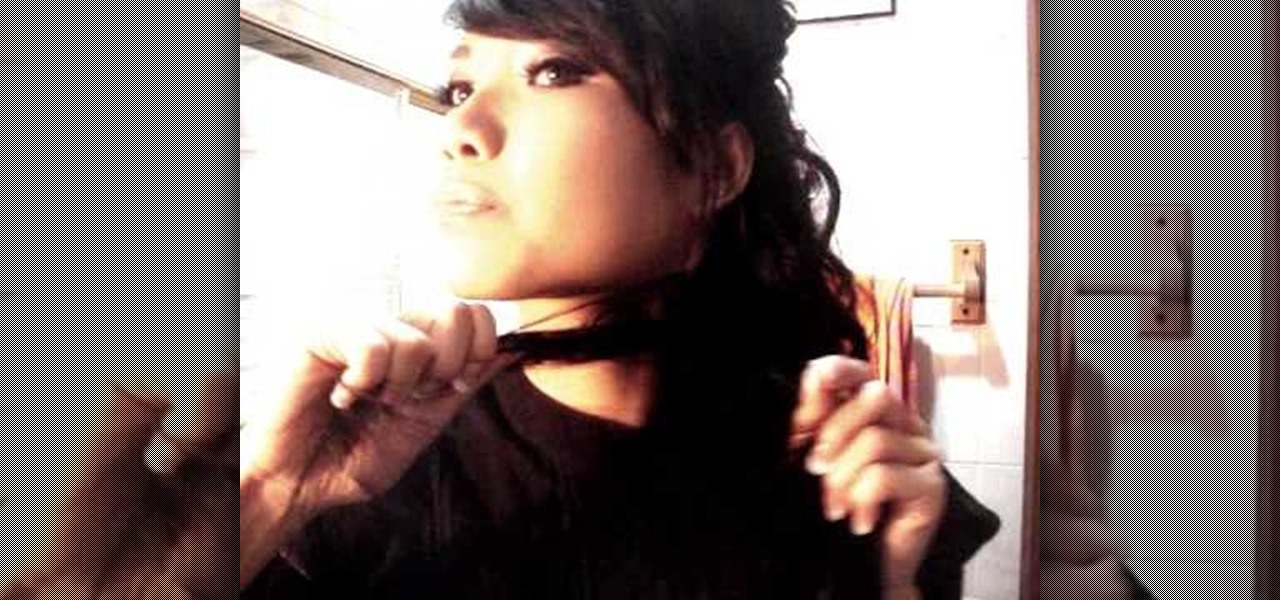
In this tutorial, we learn how to do a side headband braid with ribbon intertwined. First, grab a ribbon that is around 32 inches and any color you want. Now, take a chunk of hair on the side of your head, and place the middle of the ribbon underneath it. Now, separate your hair into three sections, then start to braid by connecting the ribbon in with the strands. Once you finish this, tie off at the end. Now, make a messy bun in the back of your hair with the braid on the side still. After t...

In this tutorial, we learn how to draw a cute puppy. First, you will use a pencil to draw the outline of the body of the puppy. After this, start to draw the details of the face and add in the ears and details for the hair. Next, draw in the pupils of the eyes and then draw in the nose and the mouth. After this, draw in the details on the body and add in lines and shadowing. After this, add details to the paws and then erase any lines that you don't need. When finished, color this in or leave...

In this tutorial, we learn how to cook dry beans, step by step. First, rinse and soak the beans in water for 6 hours. When this finished, heat up oil and add in carrots, onion, garlic, and celery in a large pot. Next, add the beans to the pot and cover everything with water by an inch, then bring it to a boil and cover. After this has boiled, reduce the heat and let simmer for one to two more hours. When the beans are finished and tender, sprinkle salt over them then serve while hot in a bowl...

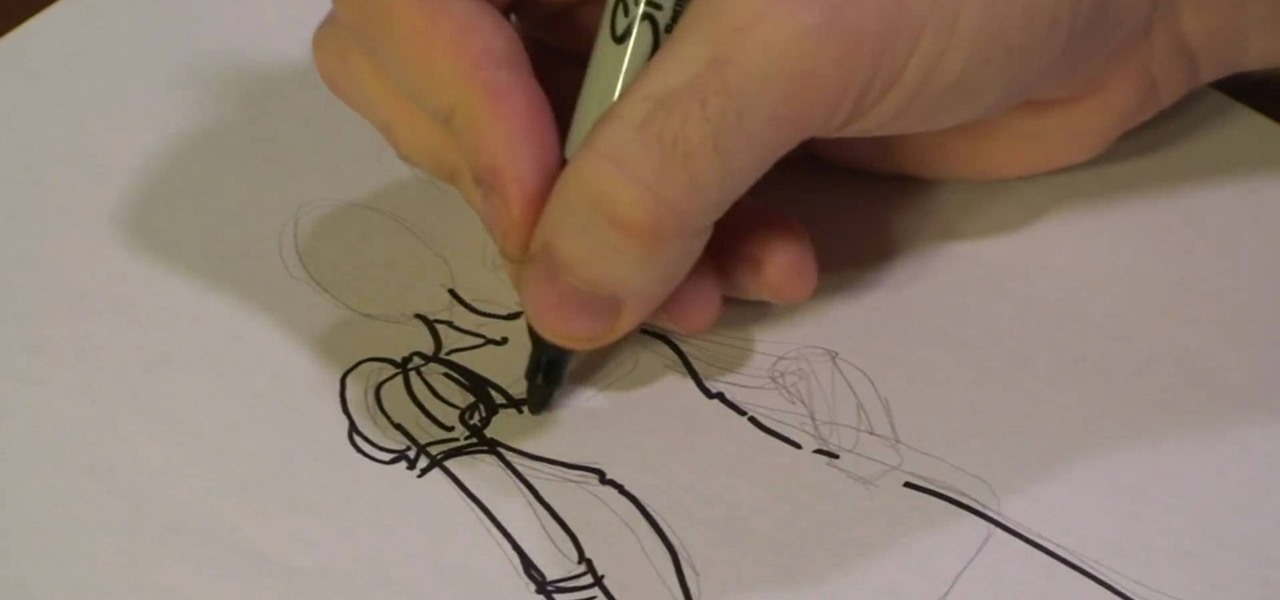
In this tutorial, we learn how to draw couture dresses. First, sketch the body onto the paper and then outline it with a black permanent marker. Make the lines soft and outline the body to have curves like a real woman. After this, start to add in the details of the dress, making the shoulders poof and adding accents to the side shoulder. Next, start to polish up the drawing by defining any lines and making different shapes. Make sure to draw the dress exactly how you want it, showing how it ...

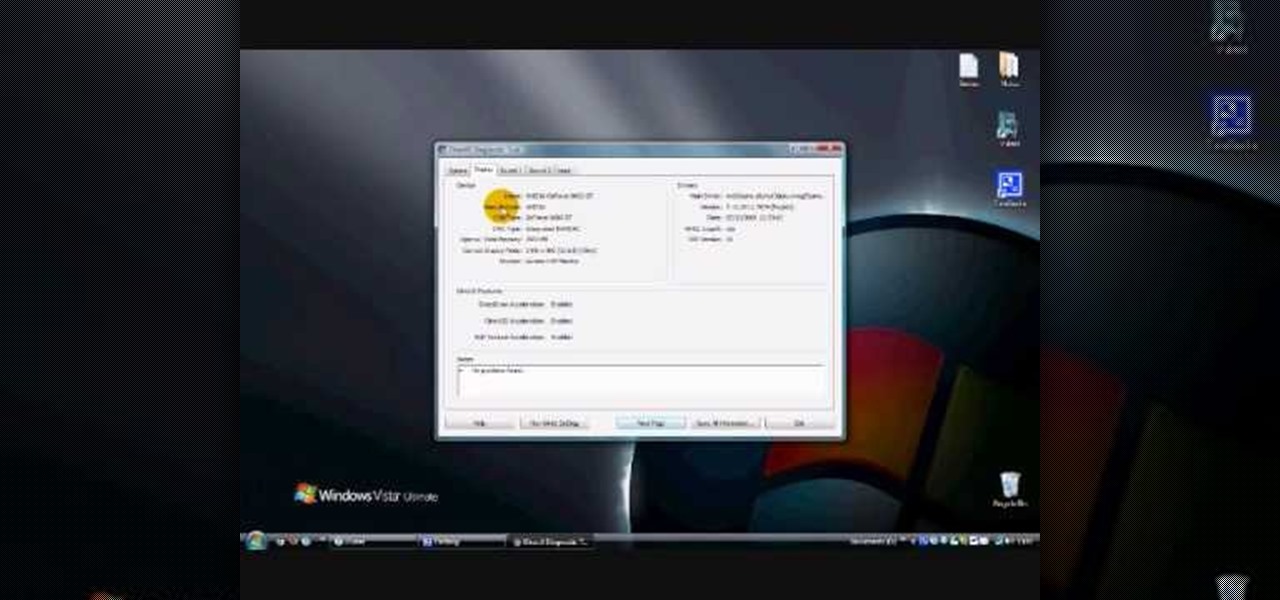
In this video, we learn how to update your nVidia graphics card drivers. First, go to your start menu and type in "dxdiag", then search for this. After this, go to the display table to get the information for your card. Now, go to the website for the manufacturer through your web browser. After this, click the link where you can download drivers and search for new drivers for your graphics card. Once these are finished downloading, go to your control panel, then uninstall your previous driver...

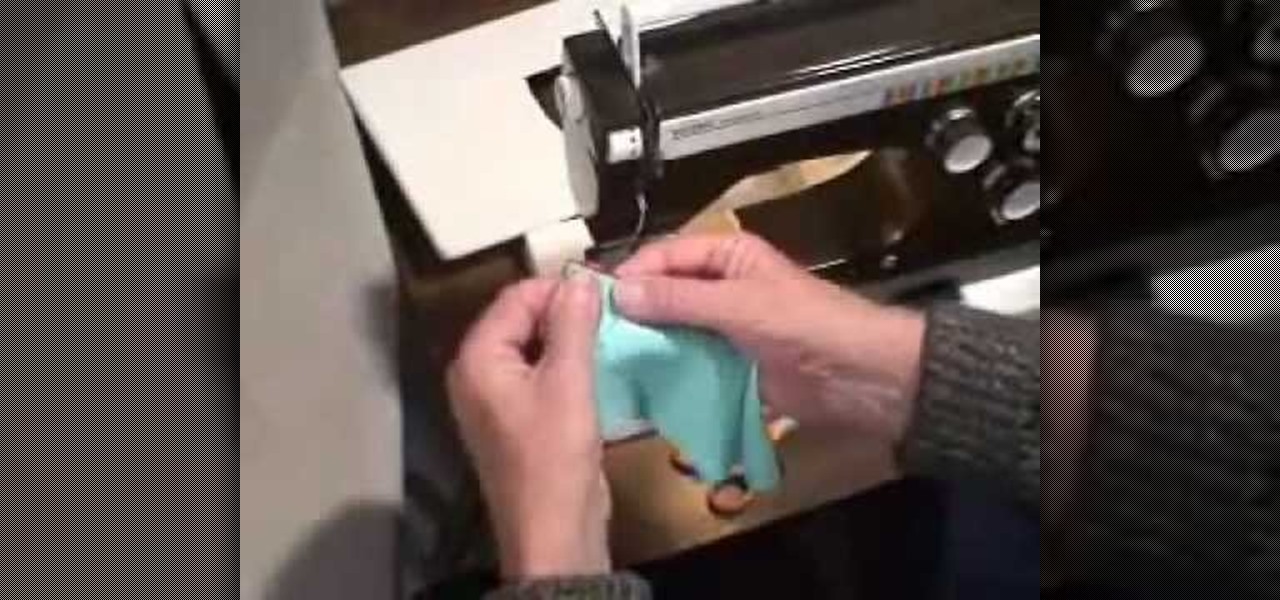
In this tutorial, we learn how to edge finish with lingerie elastic. First, grab your elastic and place it onto your fabric. Line up the elastic so it matches in perfectly with the fabric. Use a sewing machine to sew the elastic onto the fabric. Go slowly while you are doing this and lift the elastic in your hand as you continue to sew it on the fabric. When you get to the end of the fabric, the elastic will be sewn on, and you will be able to wear it! This only takes a few minutes, just make...

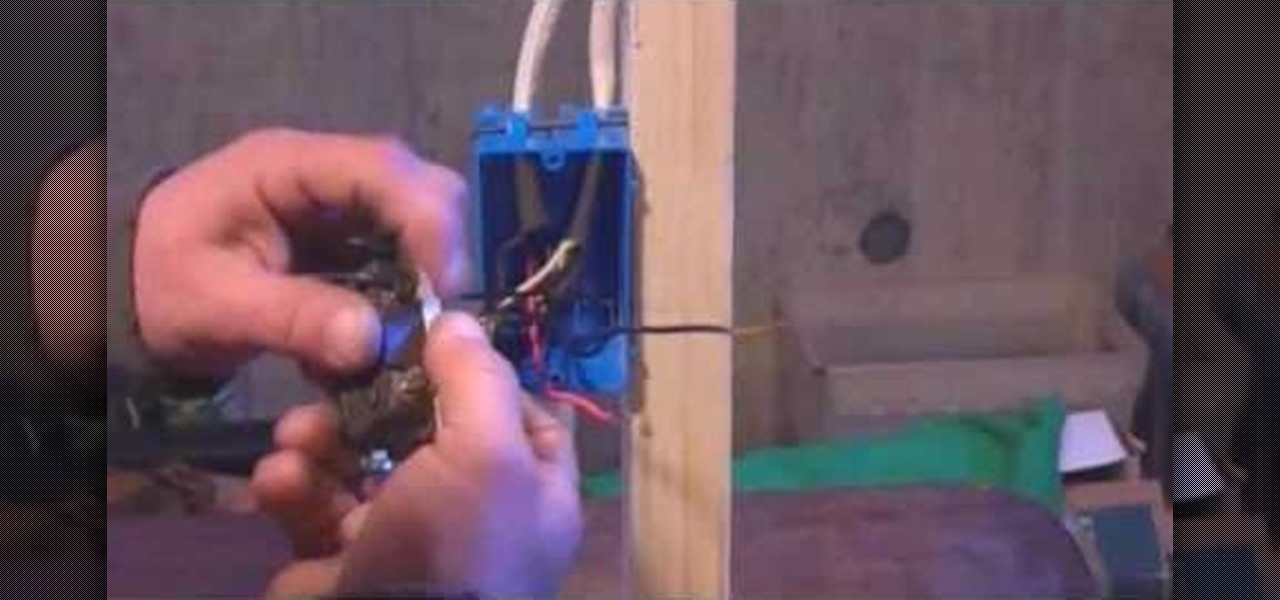
In this tutorial, we learn how to wire a three-way electrical switch. First, you will need to know the difference between the wires that you are using. Once you familiarize yourself with these different wires, you can start to wire your electrical switch. Now, go to your electrical box and tie the white wires together with an electrical nut. Next, tie the copper wires together and you will be left with three wires. Take the wire that supplies the power and attach it to the black common, then ...

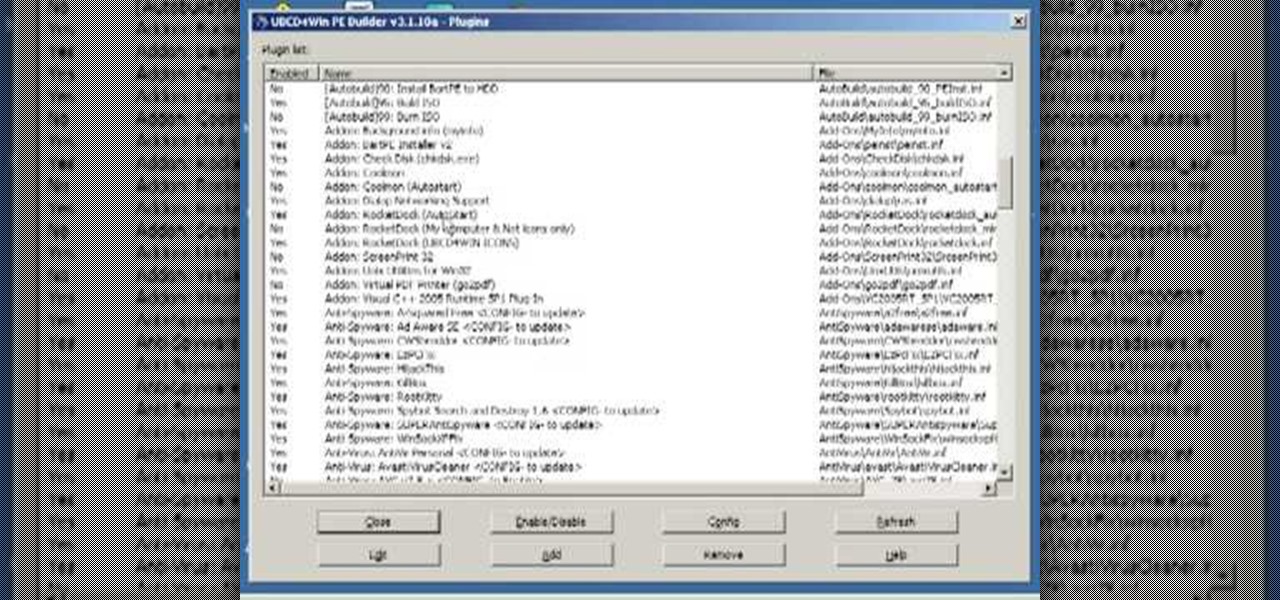
In this video, we learn how to create the ultimate boot CD for Windows. First, go onto your computer and find the coding for all the files that are on your computer. When you have done this, insert a blank disc into your computer. Next, start to copy all of these files onto your new disk and then wait for the computer to finish loading. This will take several minutes, so just relax while it finishes. Once the files are done, you will be able to see a percentage meter come up with the ISO file...

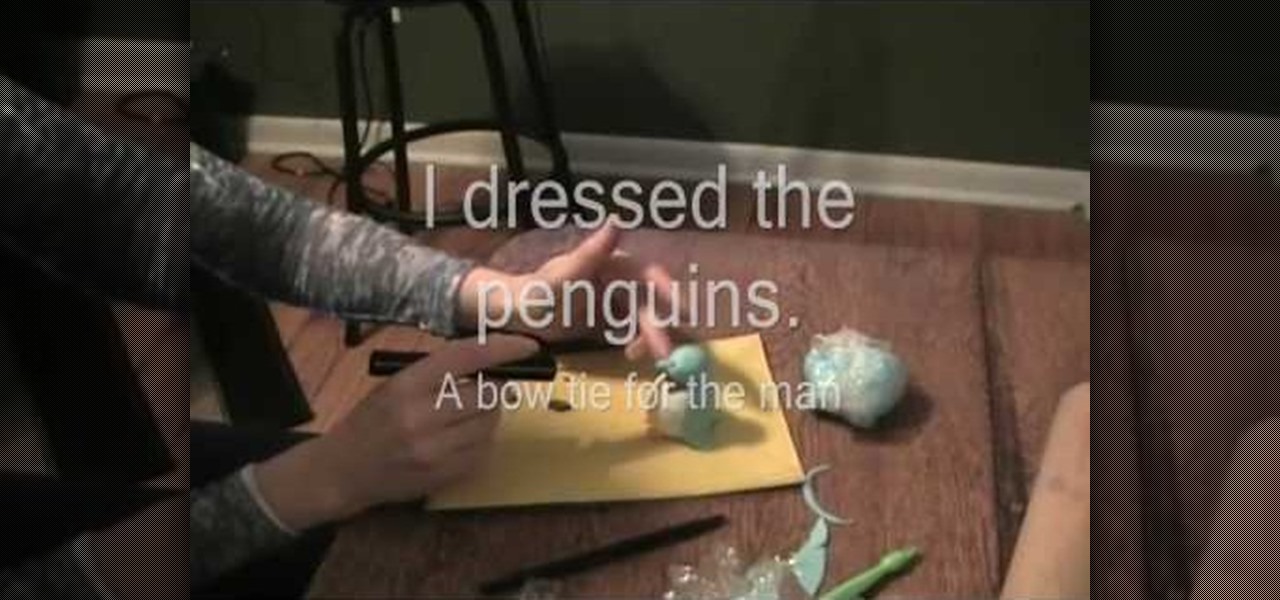
In this tutorial, we learn how to make an igloo and penguin cake. For this, you will start with colored fondant or colored gum paste. Next, you will shape your gum paste into the bodies of the little penguins. After this, make sure you make all the shapes for their eyes and beaks, as well as their feet. When you are finished with this, you can start your cake. To make it look like an igloo, you will place large marshmallows that have been cut up on top of it, then use coloring to make it look...

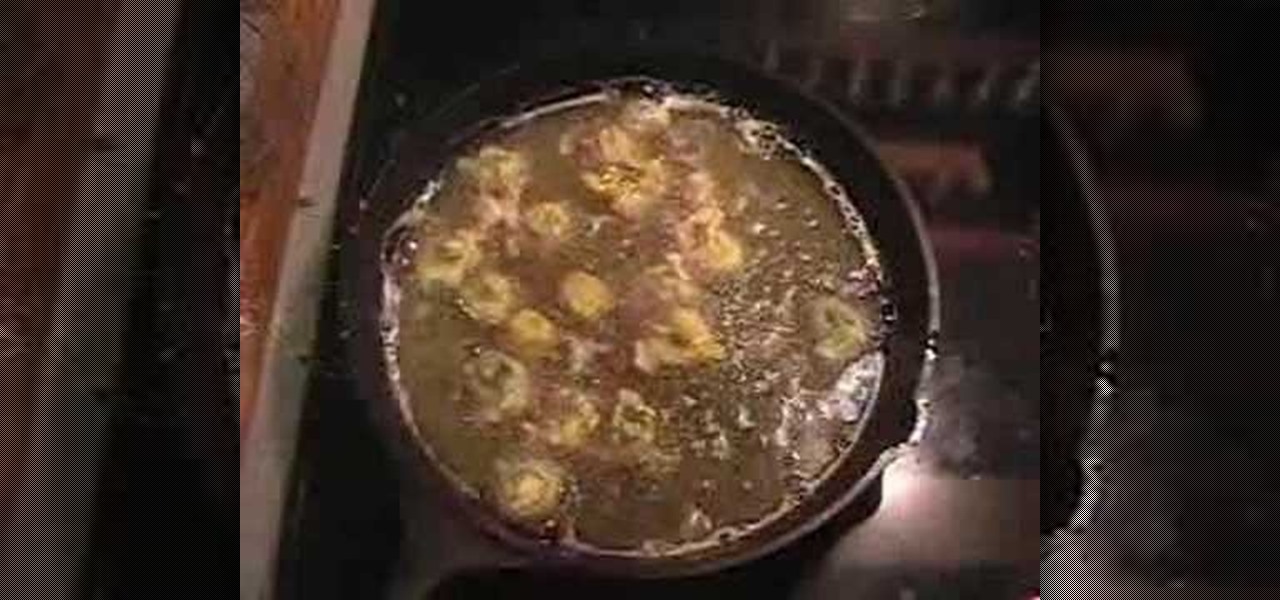
In this tutorial, we learn how to make fried okra. You will need: okra, corn meal, salt, pepper, onion powder, garlic powder, eggs, and vegetable oil to make this recipe. First, cut up your okra into small pieces then place into a bowl and cover with the egg. Next, let this sit for five minutes, then put the corn meal inside of this and fry it. Fry it in a pan filled with oil and keep grilling until it's golden brown. Add in your seasonings while it's cooking, then enjoy when it's finished! Y...

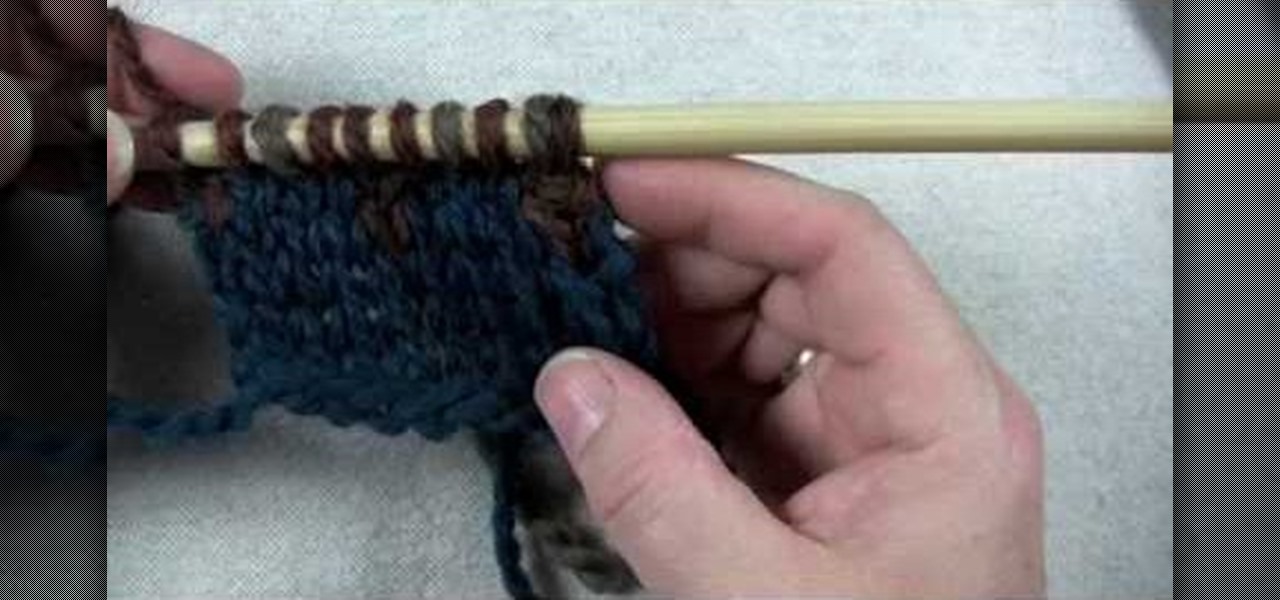
In this tutorial, we learn how to use a stranded color work pattern. Start with a basic pattern to help you learn how to do this. Use a chart to help you keep track of where you are and what you have done. Use a sticky not over the rows so you don't get ahead of yourself. Start off with the color that is first, then continue on to do the other colors that are on that row. When finished with this, remove the sticky note and continue onto the other colors that the chart shows. On the first stit...

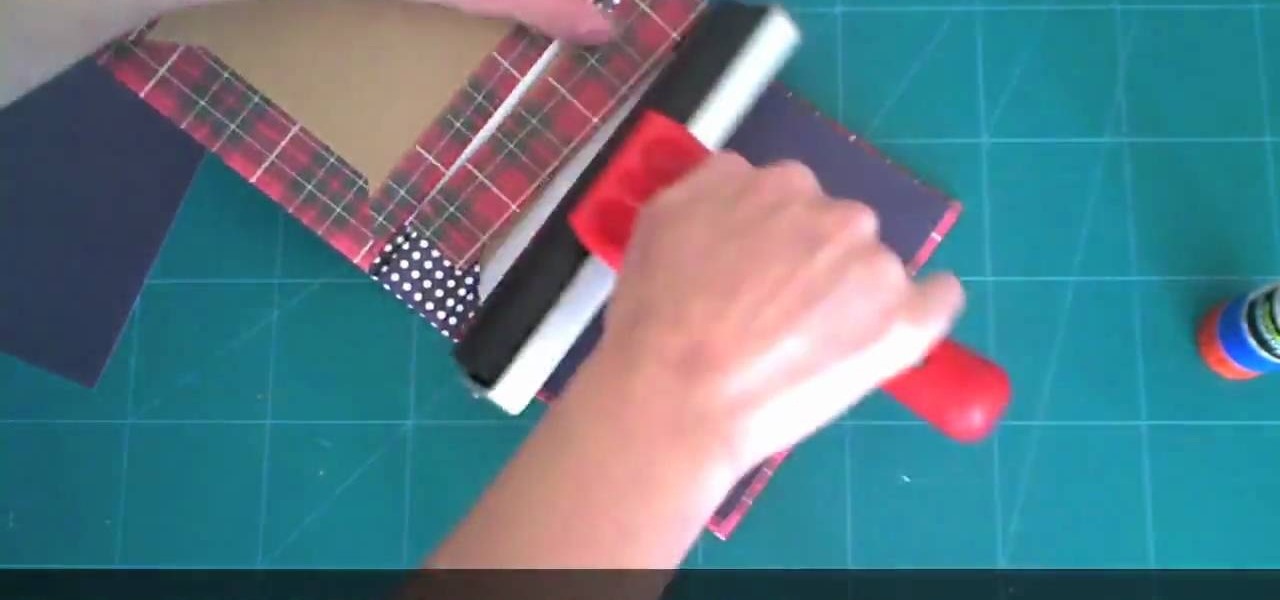
In this tutorial, we learn how to make a journal from packaging materials. First, cut a cardboard at 5.5" x 4.5" on each side. When you are finished, create another cut that is 5.5" x 1" for the side. Now, cover the two large sides with a piece of fabric that you choose. After this, cover the middle piece with fabric, and then tape it on with double sided tape. Next, place all pieces next to each other, tape it, then place a solid piece of paper on the inside, and use a glue stick to adhere i...

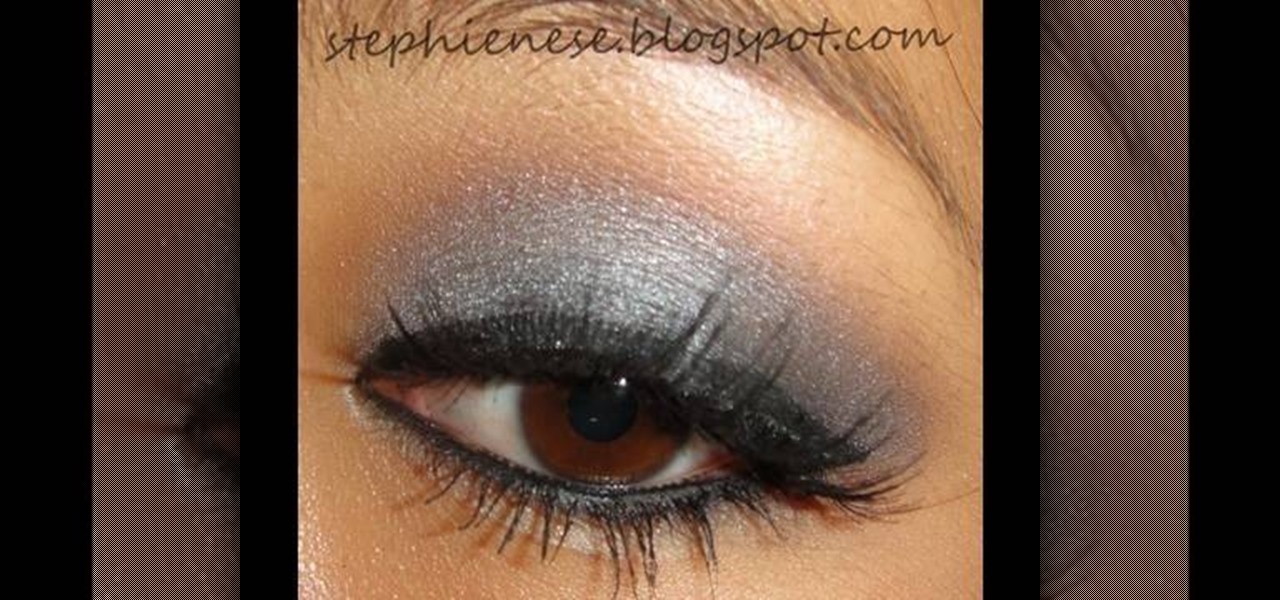
In this tutorial, we learn how to apply a smoky eye look with pink lip gloss. To begin, apply a primer underneath your eye and throughout your entire eyelid. After this, apply a blue shimmer eyeshadow to the entire eyelid over your primer coat. After this, blend a pink color onto the crease of the eye and around the upper lid. Next, apply a light blue eyeshadow to the inner crease of the eye, blending it out towards the outer corner. When finished, use a brush to blend a dark blue on the outs...

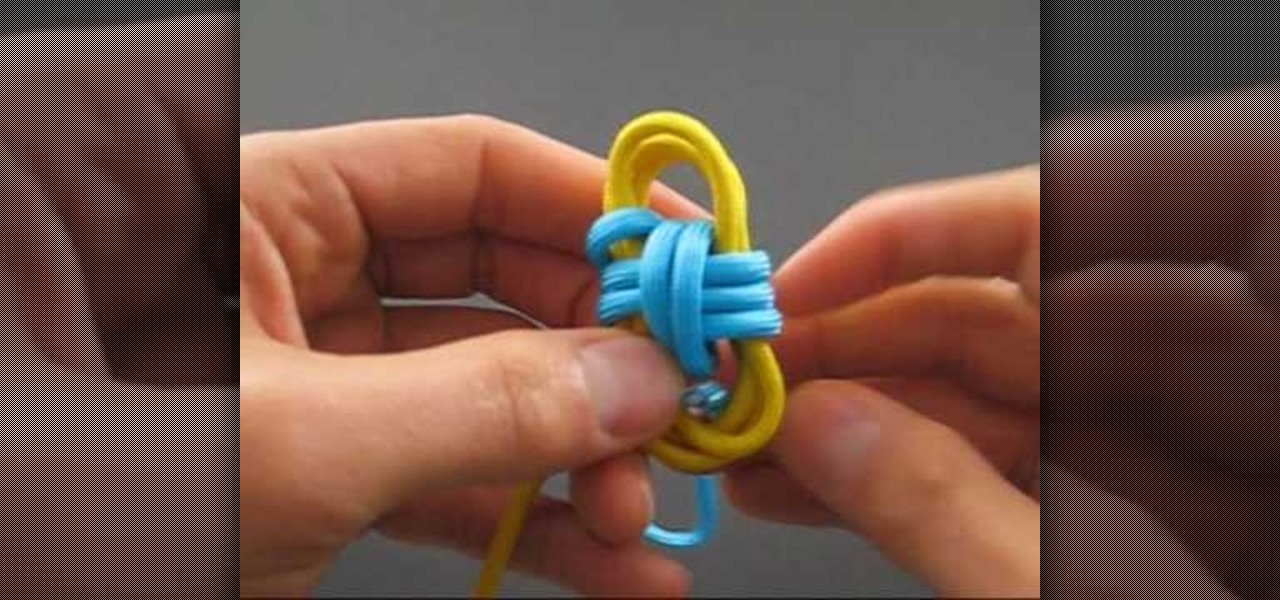
In this tutorial, we learn how to tie the two color monkey's fist knot. First, make a double overhand knot, and snip the edges off. Next, create the monkey's fist by taking one of the ropes and looping it around the fingers several times. After you do this, push the knot through the fingers and tie the other string around the entire loop several times. Push the string through the loop, then continue to tie on the opposite side around itself. To finish this up, Pull the two outside strings tog...

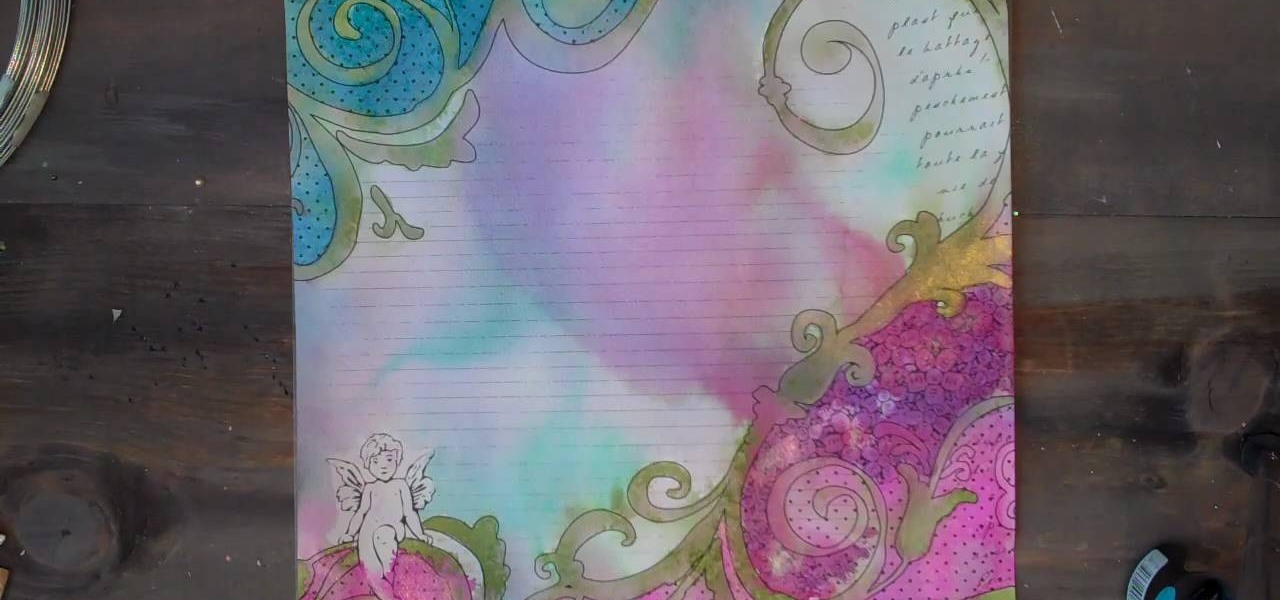
In this tutorial, we learn how to use Prima Paintables paper. These are meant to watercolor on and are very thick pieces of paper. You can take a paint brush and open up a bunch of different paint colors. Start to paint your picture, then allow it to dry. When finished, you can spray a water bottle on it to bleed the picture and make it look unique and your very own. This is something that is fun to do and makes it easy to paint your own creations using this paper that is made just for painti...

In this tutorial, we learn how to do a messy fishtail braid. First separate your hair so the bottom layer is exposed, then place on volumizing mousse and hair spray to this layer. Now, expose the rest of the hair and add the mousse and hair spray to this layer. Next, curl your hair with a 3/4" to curl the hair away from your face. When finished, section your hair so the upper half is in the back of your head, then clip this securely. Next, start doing a fishtail braid by braiding the outer si...

In this tutorial, we learn how to make a paper flower pot. First, fold your paper into a triangle then crease and unfold. Next, fold the paper in half to make a rectangle, then crease and unfold. Do this on the other directions, making creases for each. Now, flip the paper over and make a triangle, then crease and unfold. As you unfold, push the sides in, the squish down to make a square piece. Fold the open end of the square base to the opposite corner, then fold a triangle from the top in t...

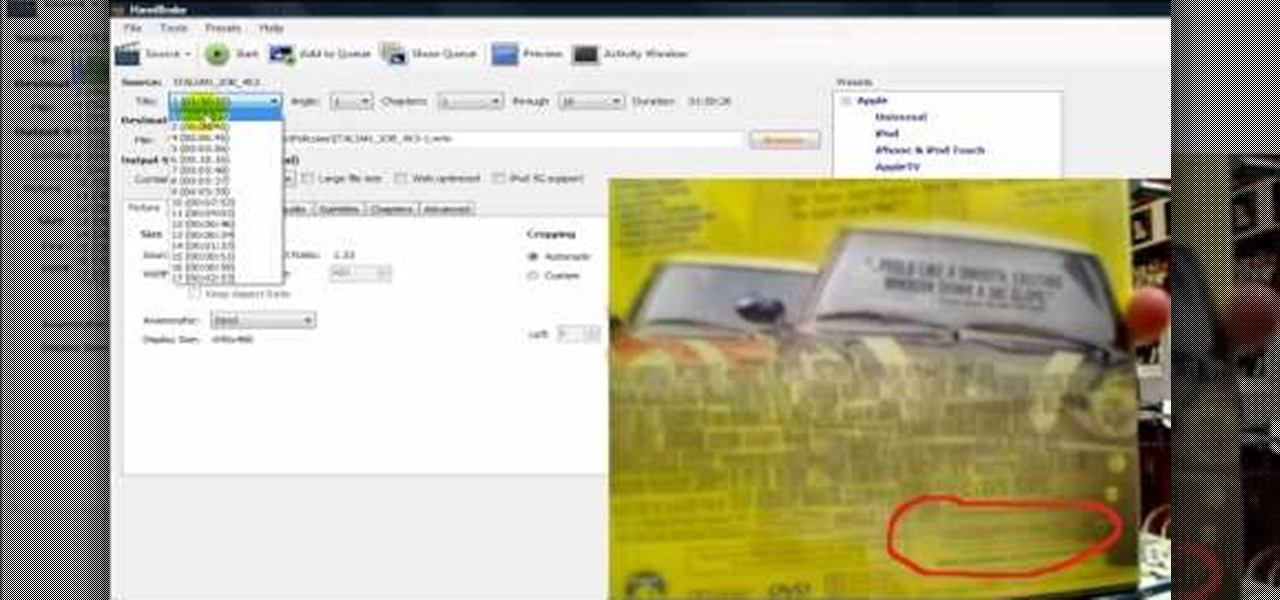
In this tutorial, we learn how to rip a DVD to a computer using Handbrake. First, go online and download Handbrake, then install it. Once you've done this, open up the program and then go online and download/install http://www.dvd43.com/. Now, place your DVD into your computer. After this, go to Handbrake, and open up the DVD into the software. Wait for this to load, then change your presets if you prefer. When you are ready, rip this onto your computer and wait a couple of hours for it to fi...

In this tutorial, we learn how to throw an upside down double walled pottery vase. Start off by using water every few seconds to craft your vase. Use your fingers to press down in the middle, to make the round shape and have the vase rise up into the air. Make this into a bowl shape, which will be into the air. Next, shape the middle using your hands into a triangle shape. Raise the side bowl around it, and keep using water to increase the size of the bowl. Collar the bowl in, then start to m...

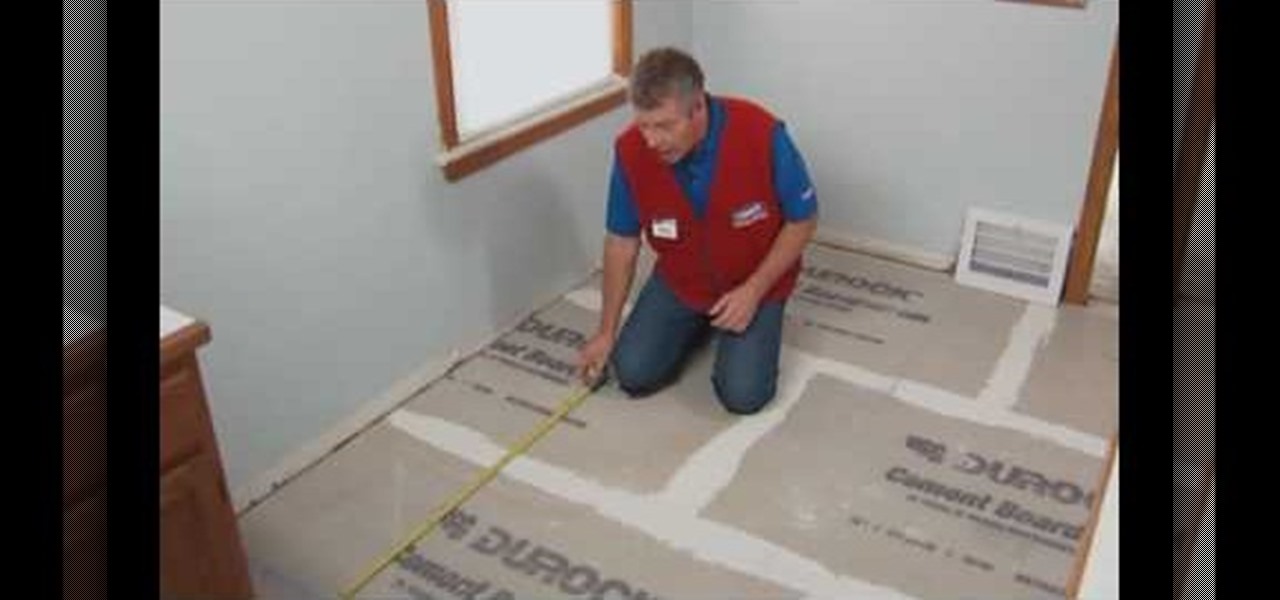
In this tutorial, we learn how to install a ceramic tile floor. Before installing, you need to prepare a solid base. First, you want to take off the trim, then calculate the area of the room. Prepare the floor by inspecting low or high spots. You will want to apply mortar, then set the backer boards into place. Screw these into place, then finish covering the floor with seam tape. Apply mortar over these then let dry. Now, you can start laying your tile onto the top of this! Once you are fini...

In this tutorial, we learn how to remove and install a free wheel. First, take out the skewer from the wheel. Then, take off the nut from the inside of the hub with a cone wrench. After this, go to the other side of the axle and loosen it up. Now place your free wheel tool onto the wheel. Firmly secure the free wheel tool onto the wheel until you're sure it won't come off, with any tools you have available. When you are finished, put your nuts and bolts back onto the axle, then use bicycle lu...

In this video, we learn how to make Thai shrimp fried rice. First, heat your wok up to medium high, then add in olive oil. Next, add in garlic and shallots that have been shopped, then stir them around. After this, add in chopped red chili, then your shrimp. Stir this together quickly and cook until the shrimp is fully cooked. After this, add in fish sauce and mix together. Next, add in an egg, then add in your rice and stir together. To finish, add in soy sauce, basil, and salt. Stir this to...

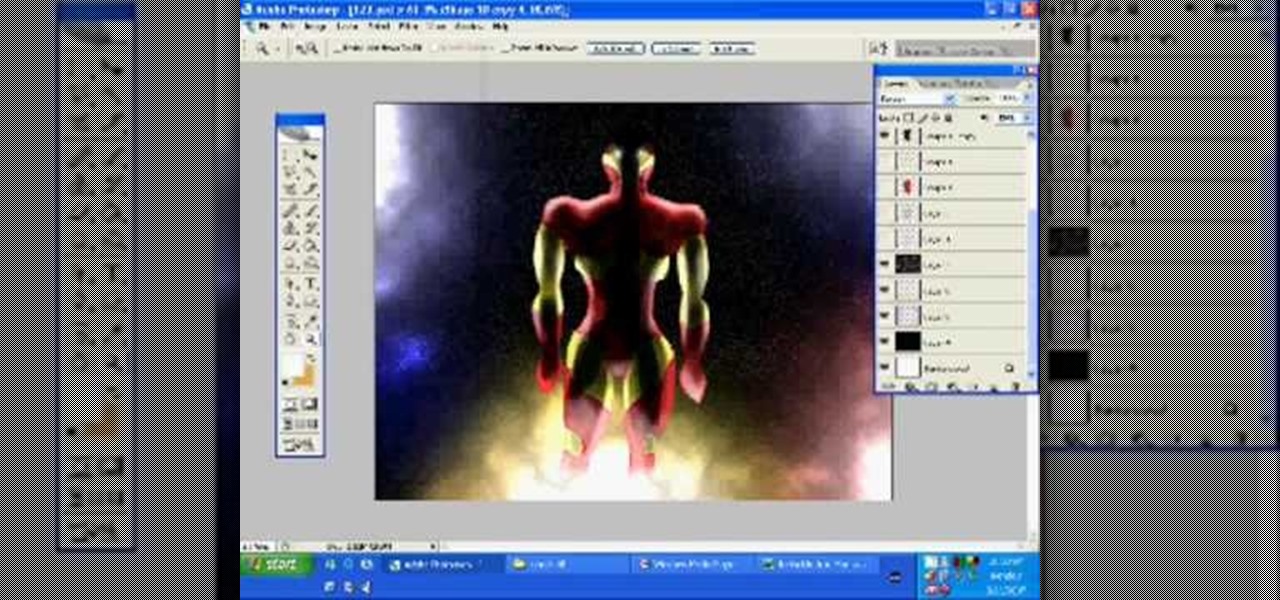
In this tutorial, we learn how to draw Iron Man from scratch in Photoshop. Begin by drawing an outline of the entire Iron Man with a light gray pencil in this program. After you have done this, use a black paintbrush and draw over the lines to make cleaner marks. Next, start to fill in details on the body, such as the metal parts, bolts, and facial features. After this, use red and yellow paint brushes to paint the different colors onto the suit. Next, use a black spray paint brush to color b...

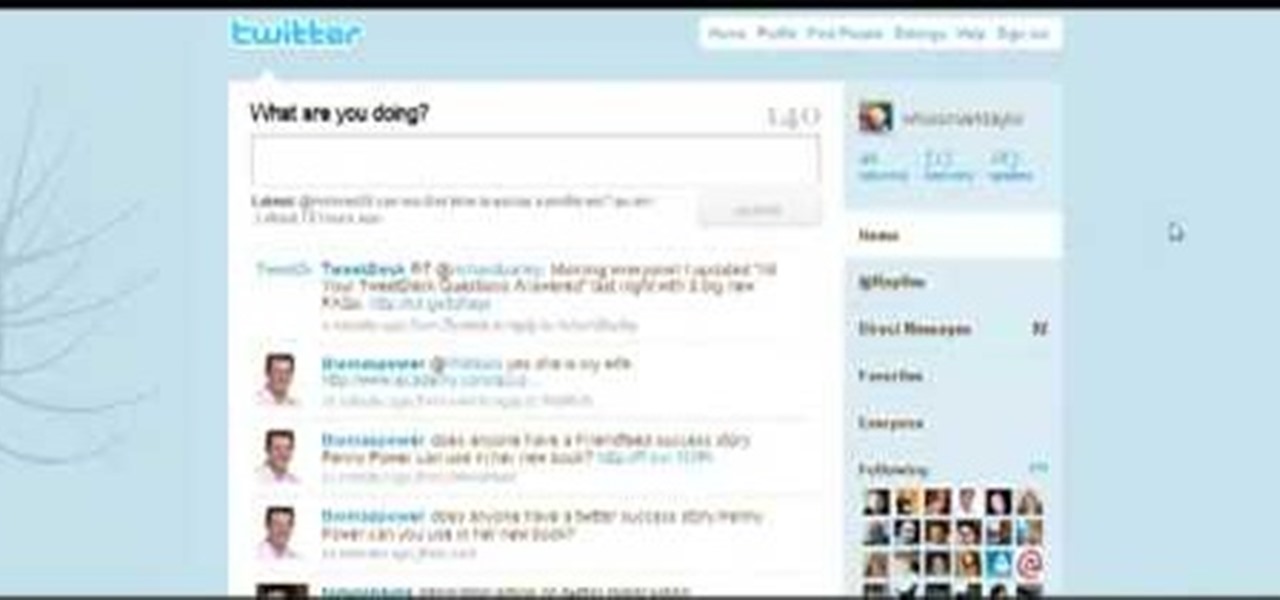
In this tutorial, we learn how to establish an account on Twitter. First, log onto Twitter. After you get onto the website, click on the sign up button, then enter your screen name and other personal information in. When you are finished signing up, you will be able to change your settings and import friends from your e-mail addresses. Under your settings, you will be able to change the background and colors on your page, as well as your icon picture. Next, start to follow people on Twitter, ...

In this video, we learn how to hem a sleeve. First, turn your shirt inside out, then lay it flat. After this, grab the sleeve and fold it over to where you want it hemmed to. Next, place pins in the spots where you want your shirt hemmed, then go over the area with an iron. Next, go to your sewing machine and slip the sleeve around the platform arm. You will have to take the outer base off the machine to do this. Now, lower your needle and sew in the spots where the pins are, removing them as...

In this video, we learn how to crochet and latch hook hair. You will need a large crochet hook and synthetic hair. First, take your loose hair and make sure it's free of tangles. Form a small loop, then insert the hook underneath the corn row until it's all the way through the braid. Once the small latch goes through the hair, insert the loop to the hook, and pull the hook down, so the hair is threaded through. Pull the hair through the loop and pull to make a knot. Now, separate the hair and...

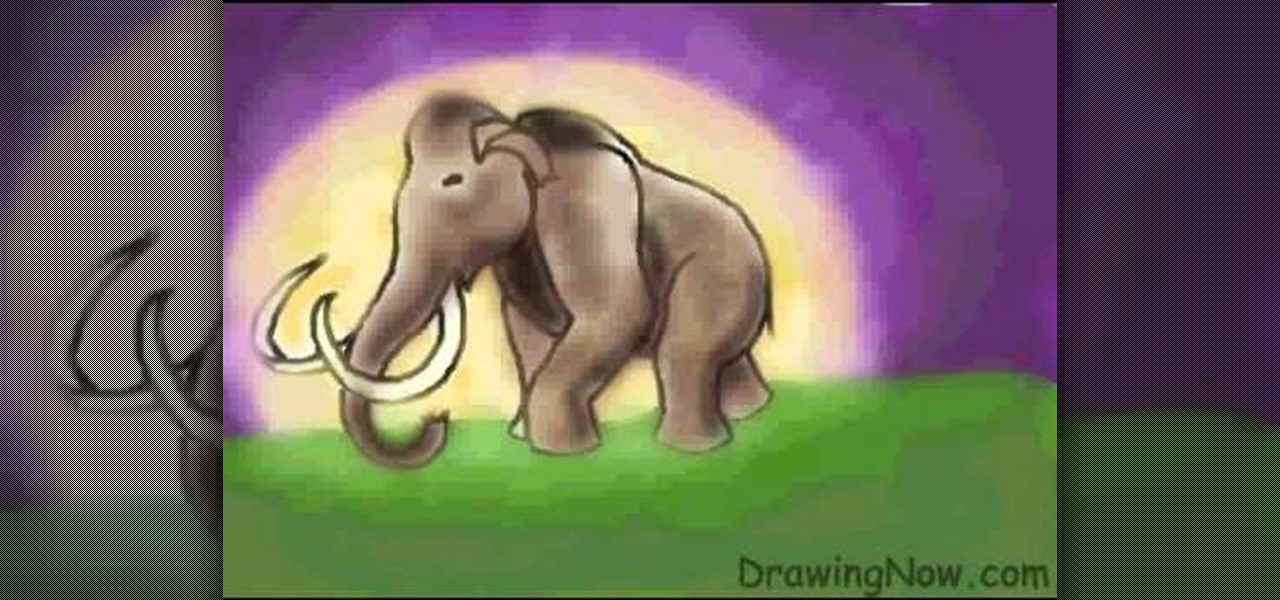
In this video, we learn how to draw a woolly mammoth. Start off by drawing the head, body, tusks, and feet. After you have the basic outline of the animal done, draw over it with a black paintbrush over the entire body and erase the lines underneath that. Next, draw in an eye and color the mammoth brown. Color the tusks ivory, then make the background of the picture purple with green underneath. Next, color the background with orange making it look sunny but also like sunset. To finish, start...

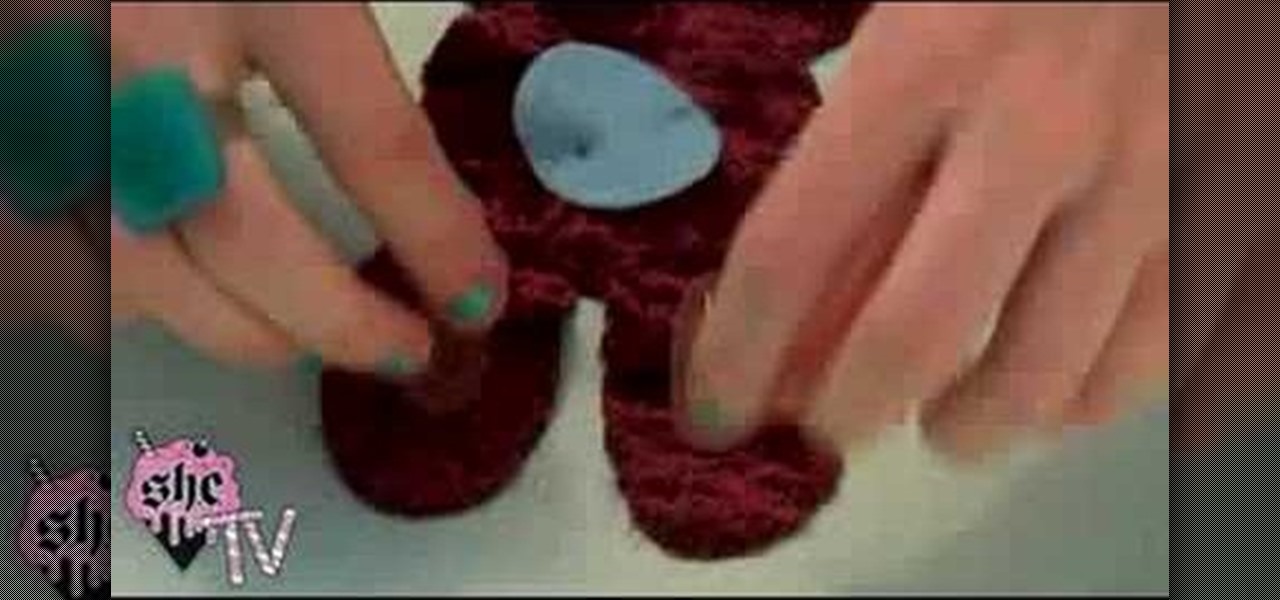
This video teaches us how to make a plush rabbit. Start off with a piece of fabric, then cut out the shape for the bunny out of this fabric to make two sides. After this, cut out the color for the eyes out of various other colored fabrics. When finished, sew the eyes onto the bunny and then sew both sides together. After this, fill the bunny with stuffing and then sew the entire thing together. When you are finished, you will have a small and cute plush rabbit that is not only made cheap but ...

In this tutorial, we learn how to use uTorrent and torrent file. First, to download uTorrent, go to the website and download the software. After you install this, change any settings you want to change, then choose where you want your downloads to go. When you click on the search button, you will be able to search for different movies, music, games, and more. After you download, the file will start to download. When finished, the file will start to seed, which basically means you are sharing ...

In this tutorial, we learn how to insert pictures and format text in Fusion Essentials. Start by selecting your image and then clicking inside the text box. Select an image, then it will appear in the text box. From here, click on the picture and go to the alignment section. Choose how you want the text arranged around the image. You can justify it to the left, center, and right. You can also wrap the text around the image. Preview the page after you align it, then see if it allows the page t...

In this video tutorial, viewers learn how to make free custom ring tones for an iPhone. Begin by clicking on the Start menu and select Control Panel. Then click on the Folder Options and deselect "Hide extensions for known file types". Now open iTunes and select the desired song. Right-click on it and select Get Info. Click on the Options tab and make the song lasts only 29 seconds. Then right-click on the song and select Create AAC version and wait for it to finish converting. Now open the c...

In this tutorial, we learn how to make a lily out of paper and pipe cleaner. First, lay your hand flat on a piece of copy paper. Next, trace your hand with a pen or pencil, then cut it out with scissors. Now use a pencil or pen to curl the ends of the fingers you just cut out. After this, combine two pieces of gold pipe cleaner together and bend in half. Then, place a green pipe cleaner in the middle and make a twist to keep in place. To finish, wrap your paper hand cut out around the gold pi...


