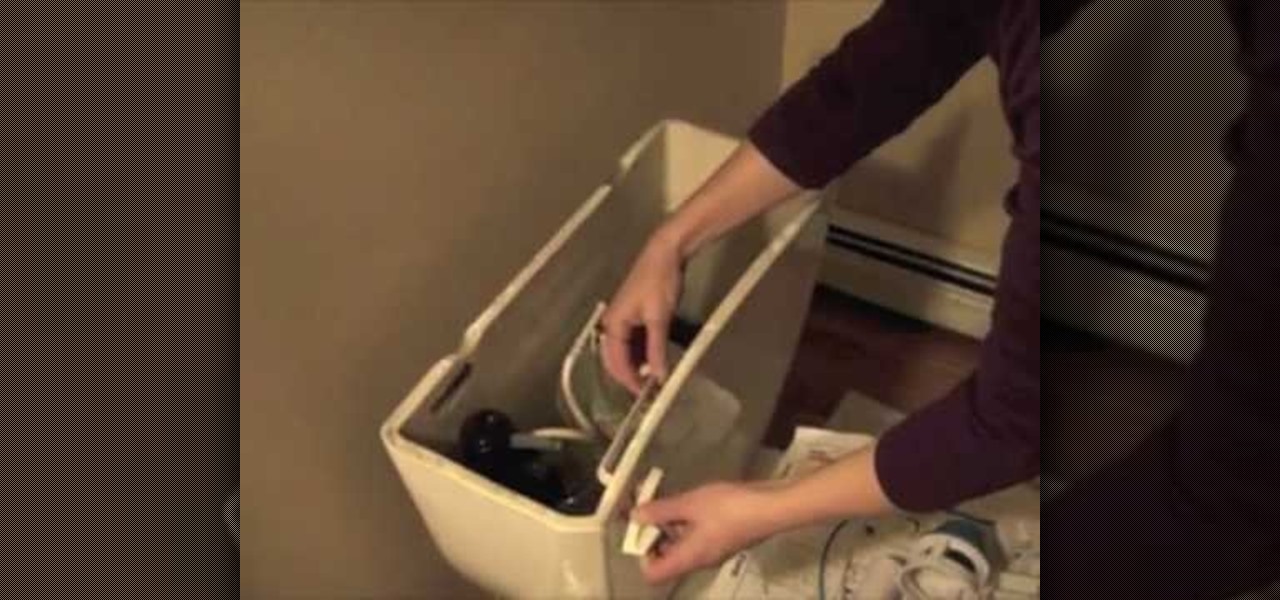
In this tutorial, we learn how to install a dual flush toilet kit. First, grab the directions from the box that the toilet came in and read them! After this, you will take the lid off the tank of the toilet. Then, install the flusher into the tank of the toilet after removing the flapper and the chain. Continue to install the kit according to the directions and secure it inside the tank. When finished, place the top of the toilet back on the tank and then turn the water back on. Test this out...
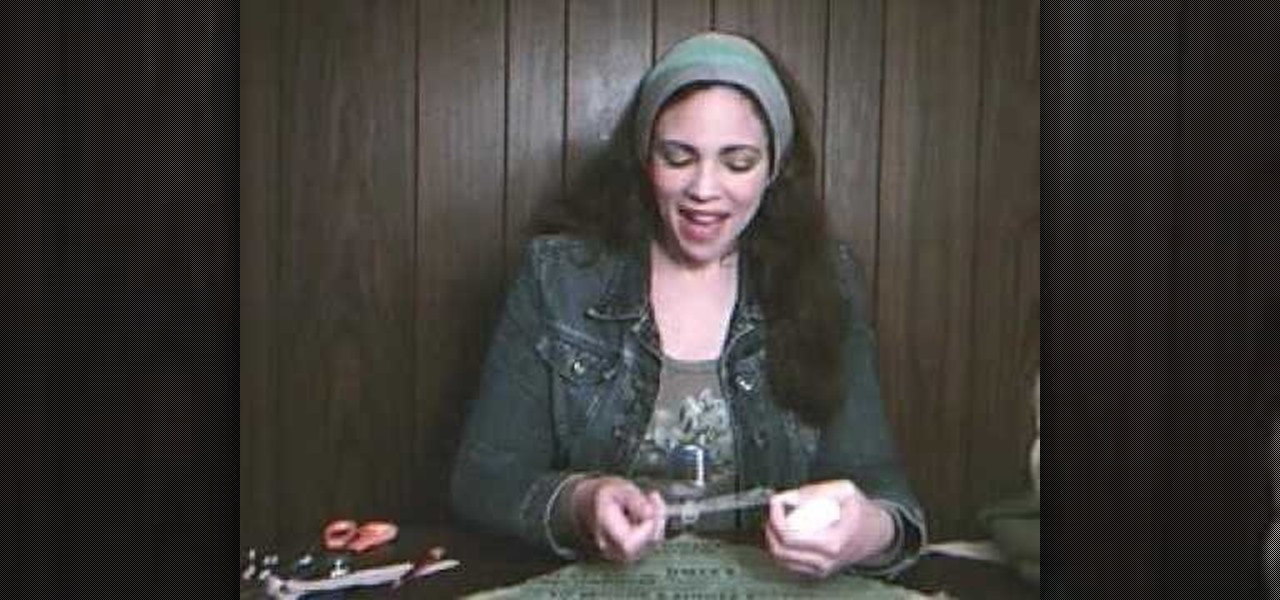
In this tutorial, we learn how to recycle an old t-shirt into a no-sew head scarf. First, lay your shirt out flat on a table and download the paper pattern from the video. From here, measure sixteen inches from side to side on the t-shirt that you are using. After this, follow the paper pattern on the shirt and cut out the pattern with scissors. Once you have finished this, use a fabric bonding agent to make the edges less frayed and fold them into each other. This is great for the environmen...
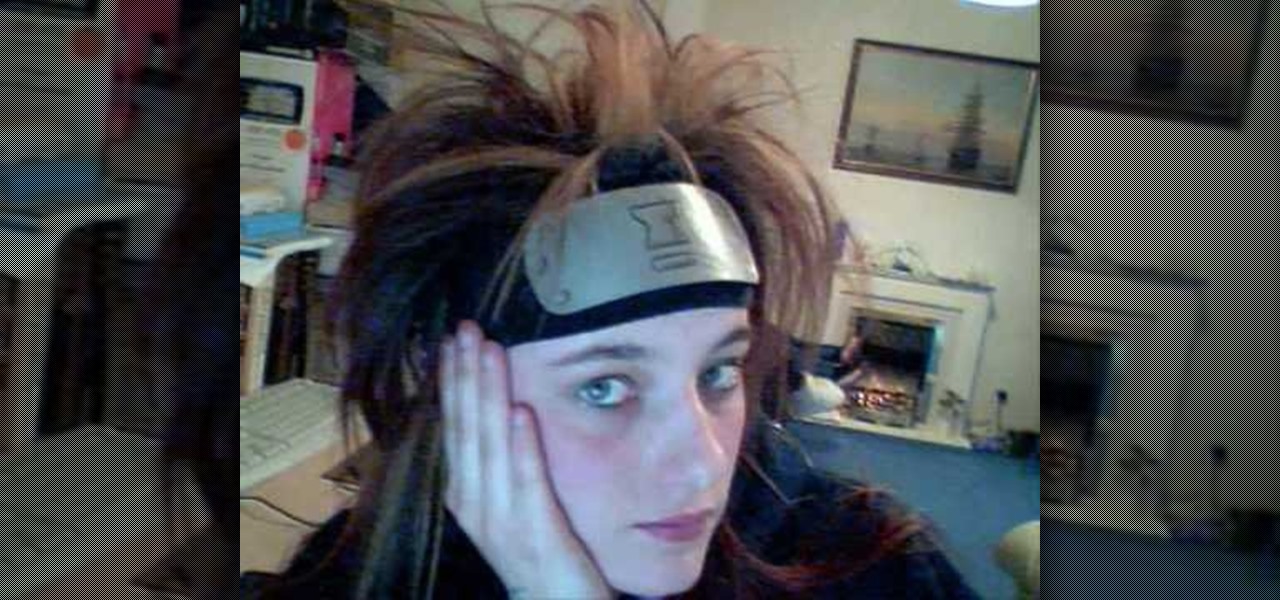
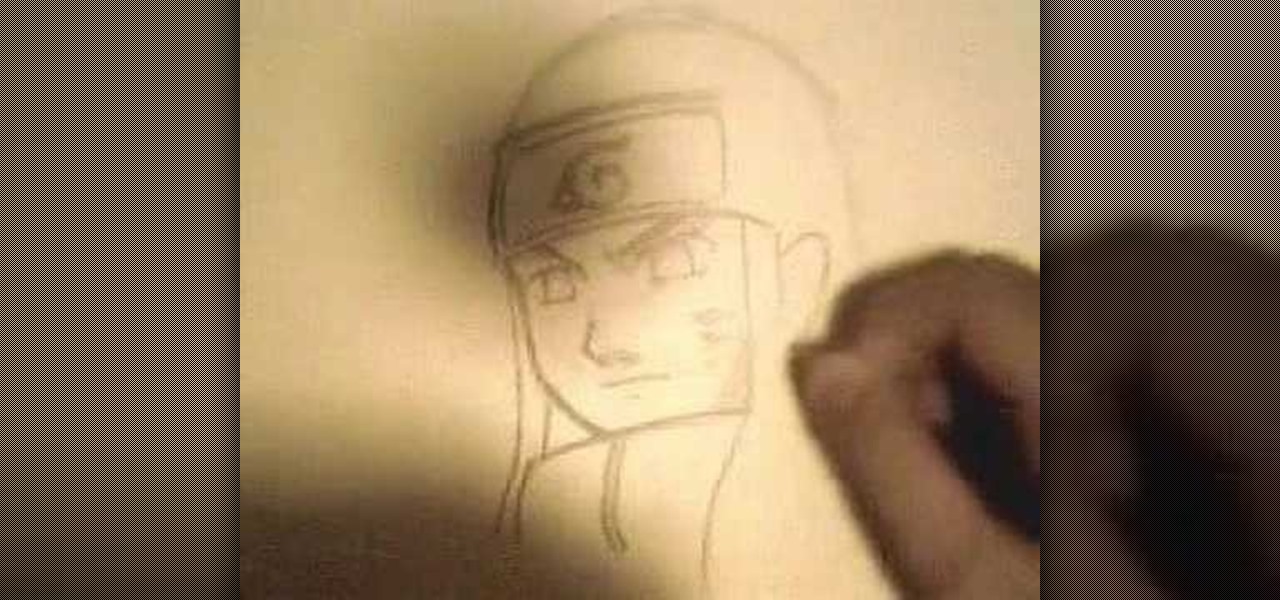
In this video, we learn how to make a decent Naruto headband. First, get a paper plate and figure out how big you want it, draw on the template so you can see it through the paint. Then, apply metallic paint with a paint brush using the template you drew as a guide. Next, you will wait for it to dry and then cut it out. Round the edges like it's a real headband, then draw on the hair band the village insignia. Once finished, glue this to an old sock and wait for it to dry. Then, you can attac...
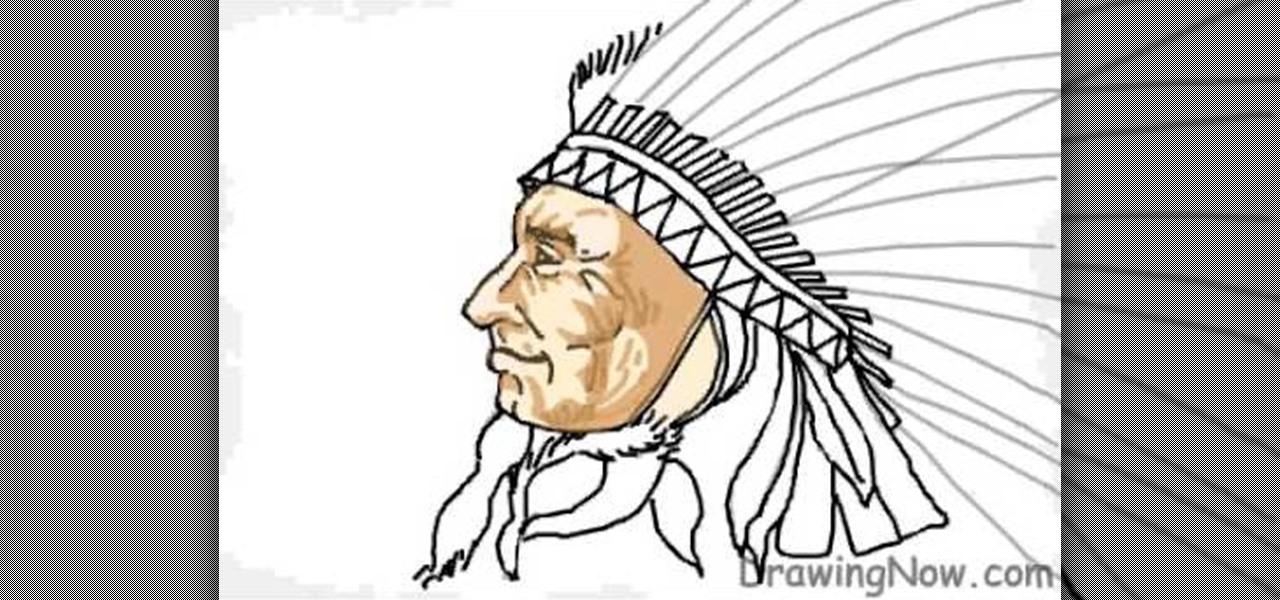
In this tutorial, we learn how to draw the head of a Native American Indian chief. First, you will draw the outline of the head as well as the head dress that he is wearing. Draw in lines to show where the jaw lines, cheeks, and other facial features are. After this, draw in the details of the face then get to work on the headdress. Add in details to this, then start to add in colors to it, making it as colorful as you would like it to be. When finished, add in some feathers at the bottom and...
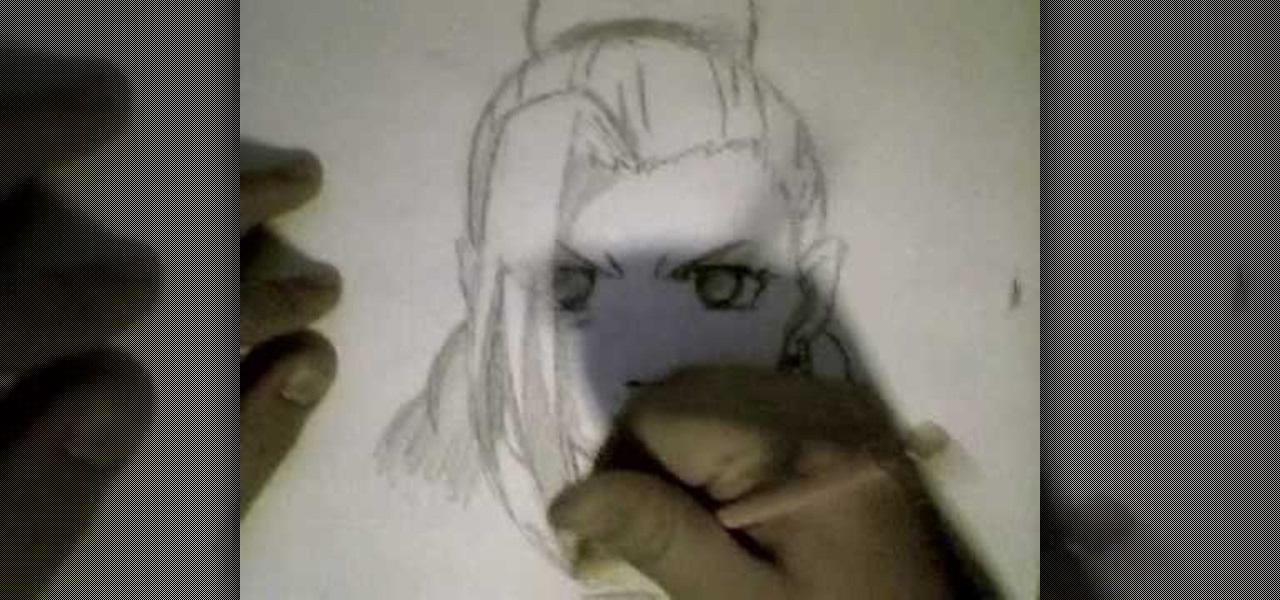
In this video, we learn how to draw Ino from Naruto. Start off by drawing a circle for the head, then drawing lines in the middle to create reference for where the facial features will go. After this, draw in the hair on the top of the head along with the eyes, eyebrows, and creases of the eye. Then, draw the jaw line around the face and erase the lines you used for reference. After this, add in additional lines and hair to make it look more realistic. Use shading around the face to show ligh...
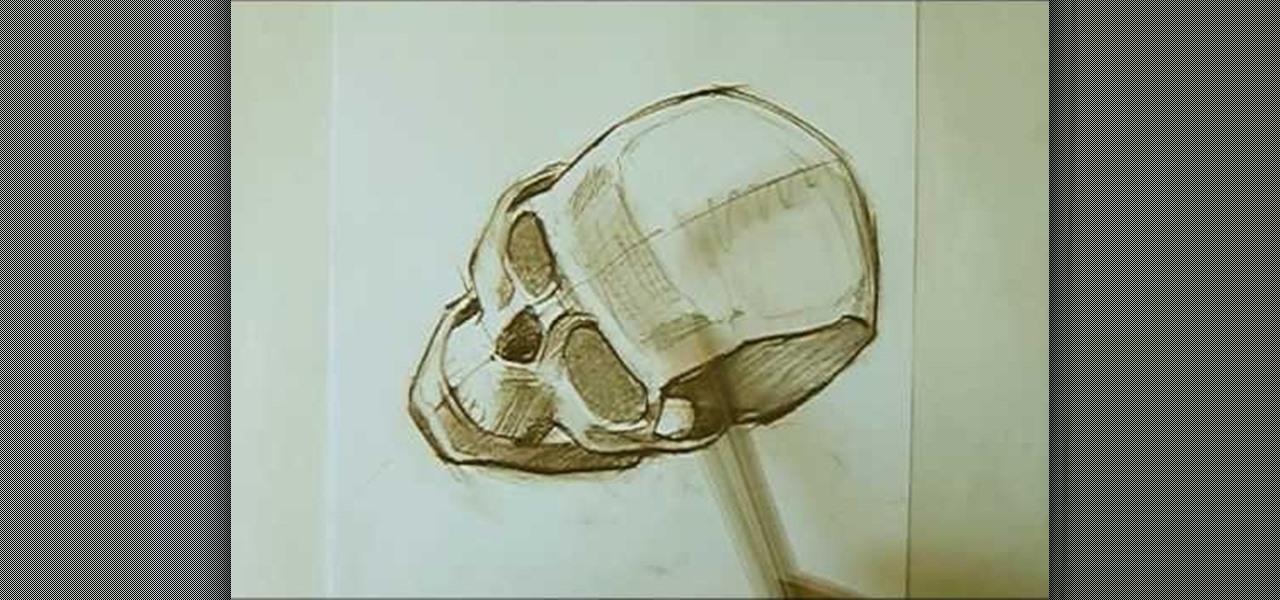
In this tutorial, we learn how to draw a skull with proper proportions. First, draw the outline of the skull with the light touch of a pencil. After this, use the pencil to draw two crossing lines that are the same length. Next, draw in the features of the face and head using the lines on the drawing. From here, you will start to add in the details to the features of the face and erase any background lines. Use the side of your pencil and the top of it to shade in the sockets and lines. To fi...

In this tutorial, we learn how to paint nails with a black and gold fading effect. First, polish a sponge and dab this onto your nails. Then, apply black on the bottom of your nail and gold on the top of our nail. Apply a gold glitter polish to the top of the nail and wait for it to dry. Next, you will apply gold rhinestones onto the gold and the black from the top to the bottom of the nail. When all of the polish has dried, apply clear gloss to the nail and wait for it to dry to finish this ...

In this tutorial we learn how to make a Universal Soldier eye. You will need: old head set, cardboard, hot glue gun, screwdriver, pen, flash light, knife, saw, black paint, and masking tape. First take the cardboard and cut it out into two rectangles. Place these around the headset and stick a rectangle in the eye piece. After this, you will connect the flashlight to the side of the head piece. Once finished, you can spray paint the entire eye piece and then wait for it to try. When done, wea...

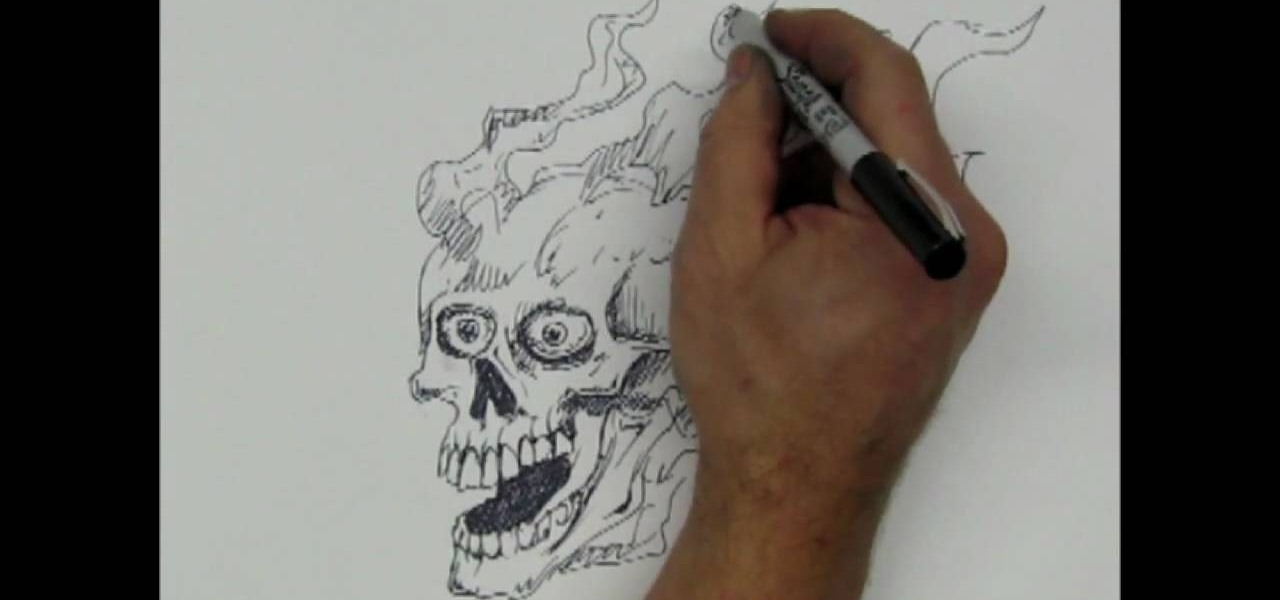
In this tutorial, we learn how to draw a skull with a Sharpie. First you will draw the eyes, make sure to draw lots of little lines around them then cross them to create depth. From here, draw the outline to the head and then the nose and the teeth. Make sure to add lines in around the head to show cracking and marks around the head. Use shading to create darker lines along the head and then add in additional details. Make this unique to you, it doesn't have to look one certain way. When fini...

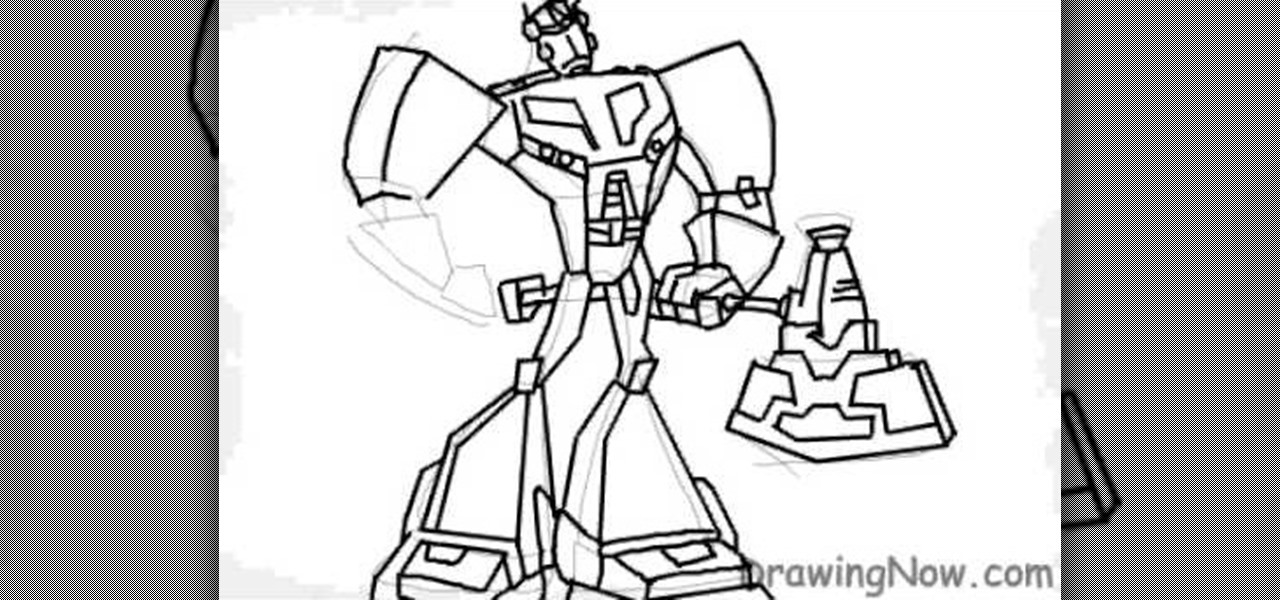
In this tutorial, we learn how to draw Optimus Prime of Transformers. Start off by drawing the outline of the entire body of the character. Make sure to add in the large arms and feet as well. Next, draw over this to make a more elaborate outline including the details for Optimus Prime. Once you have all the details draw, erase the background lines. Ten, color in the character and add in lines and shading to make it look more realistic. Once you have done this, then you will finish off with a...

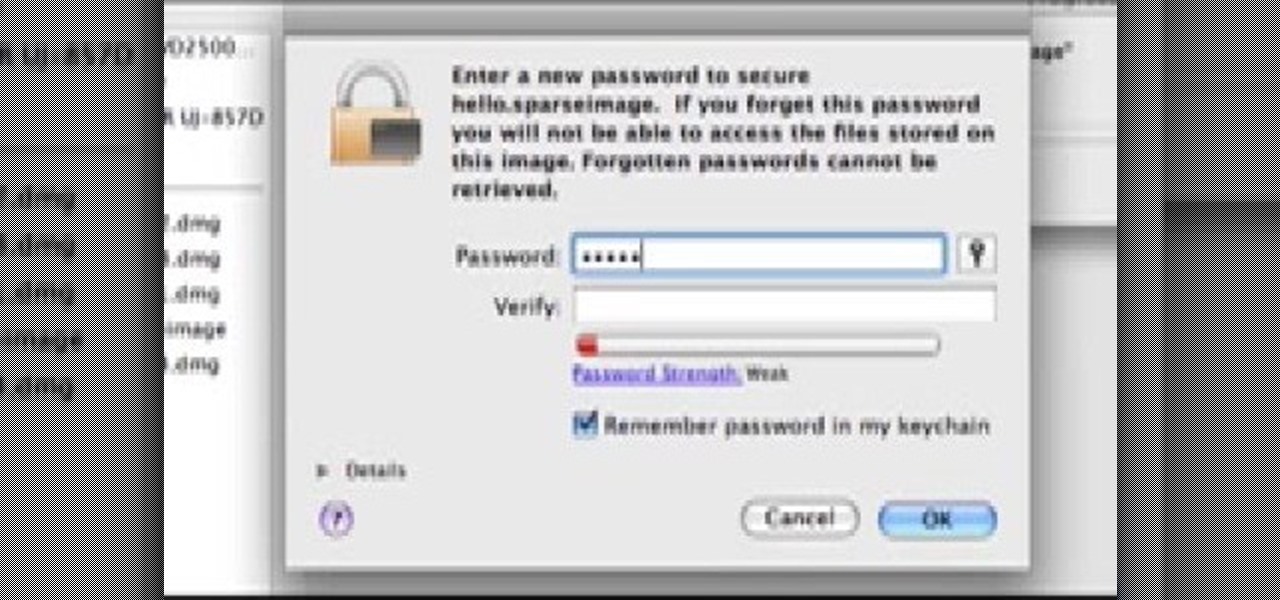
In this tutorial, we learn how to password protect your folders on a Mac computer. First, use the spotlight tool to type in "disk" and then click on disk utility on the drop down menu. From here, go to the save as menu and enter in the name for the volume. After this, change the size of the desktop and change the encryption choice. Use the one that is recommended and then click on 'ok'. Form here you will be asked for a password, then you will need to verify that password. From here, click on...

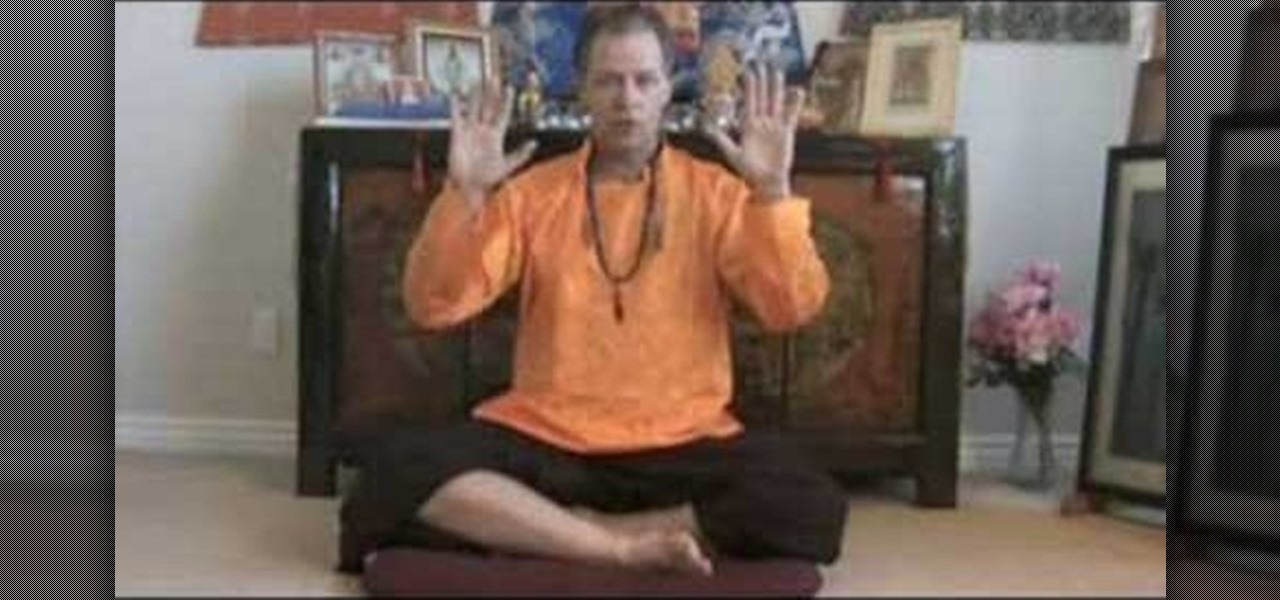
In this tutorial, we learn how to meditate with beginner meditation techniques. If you feel some back stress, try sitting on top of a pillow or something soft, and somewhere you can rest your back on as well. You want to sit where you're erect, so your spine is tall and firm. Rest your feet in a folded position so they are laying around each other. Once you are in a comfortable position, rest your arms to your sides and begin to breathe deeply. Imagine yourself in another place and your mind ...

In this video, we learn how to make Naruto gloves. First, you will need to take an old black sock, thread, needle, and scissors. After this, you will cut the top off the sock and then put it on your hand. After this, you will need to use the needle and thread to sew in between the fingers on the sock. When all of these are patched, up you will add a fake metal plate to the top of it. You can glue this on with a hot glue gun. When finished drying, you will be able to wear this out, enjoy!

In this tutorial, we learn how to create a nice drawing composition. First, use your pencil to sketch a light outline of the still life objects that you're drawing. After this, you will add in lines on the side of them for their shadows, then shade the area in between the lines in. Next, you will darken up the sides of the shapes to make them appear more in-depth and make them look more real. Use your pencil to blur the pencil markings and make everything look more realistic. When finished, y...

In this tutorial, we learn how to draw a skull. First, draw the outline for the skull. Remember not to draw the hair on the head, because skulls do not have these! After this, you will draw on the cracks to the top of the head and shade around them. From here, draw in black on the inside of the eye sockets. Then, draw the lines around the eye sockets. From here, draw the area for the nose and then the teeth. Next, you will draw in the jaw line and add in additional shading and lines to finish...

In this tutorial we learn how to draw a cartoon skull. To start, you will draw the eyes of the skull using two triangles that are facing each other. Next, draw the nose of the skull and shade it in with black. Then, draw in the teeth and color in the inside of the mouth. From here, you will draw a hate on top of the skull and then draw in a body from the bottom of it. Add on baggy pants and large feet. Then, draw in hands and a large cape to finish up this cartoon skull drawing!

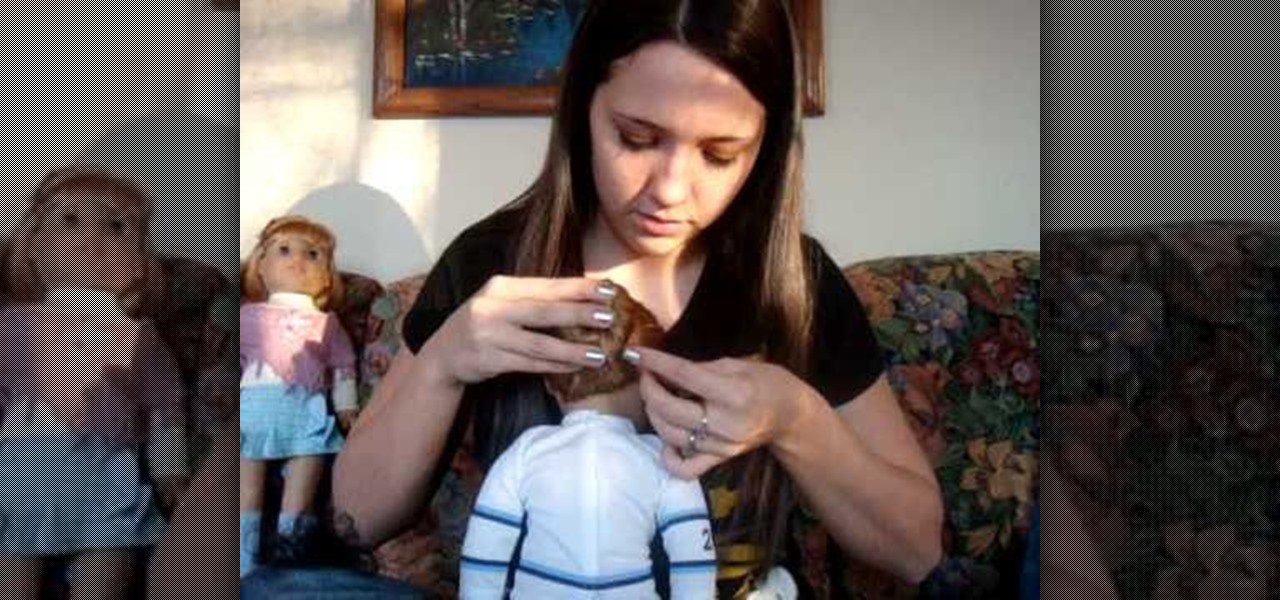
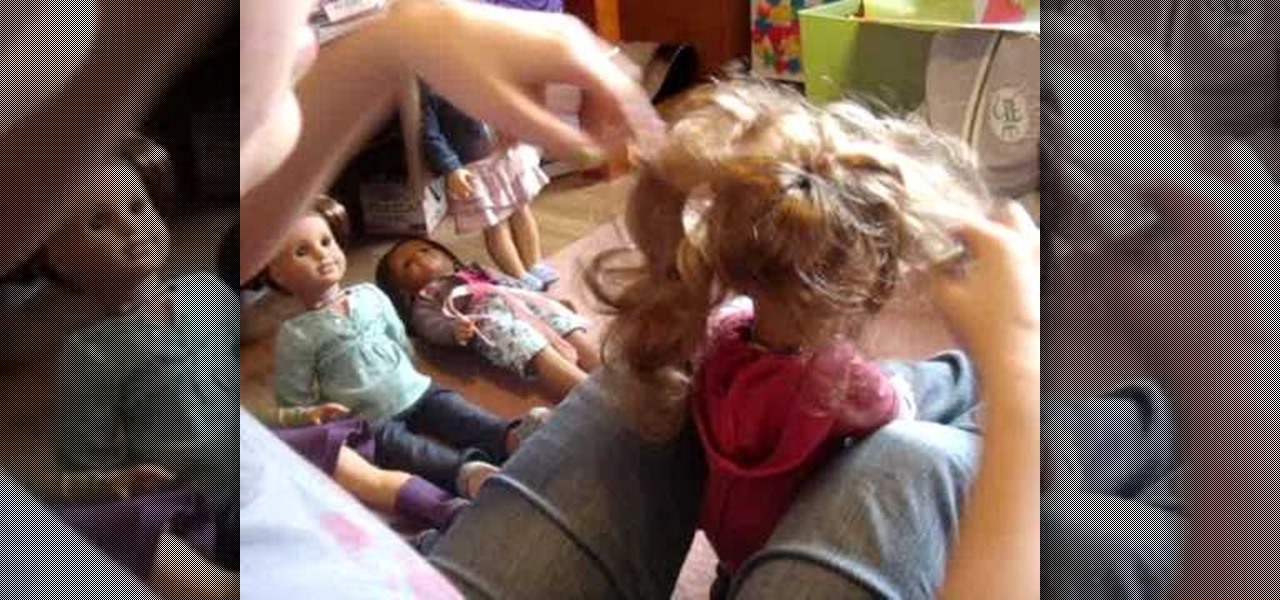
In this video, we learn how to do your American Girl Doll's in a ballet bun. First, you will need to brush out your doll's hair and put it into a low pony tail or high, depending on where you want the bun on the head. After this, take the hair and twist it around the rubber band base and then take a thicker rubber band to tie around the bun to keep it in place. You can then place another rubber band around for decoration. This will finish the simple bun, which will be easiest to do on a doll ...

In this video, we learn how to clear your cache for Windows. The cache is where temporary internet files and information is saved on your browser. A lot of times, if this isn't cleaned out, your computer will go a lot slower. To do this, you will go to Internet Explorer and then click on the tools menu in the right hand corner of the page. After this, select 'delete browsing history' and then click 'delete files'. After this, click on 'yes' and it will load. When it's finished, your cache wil...

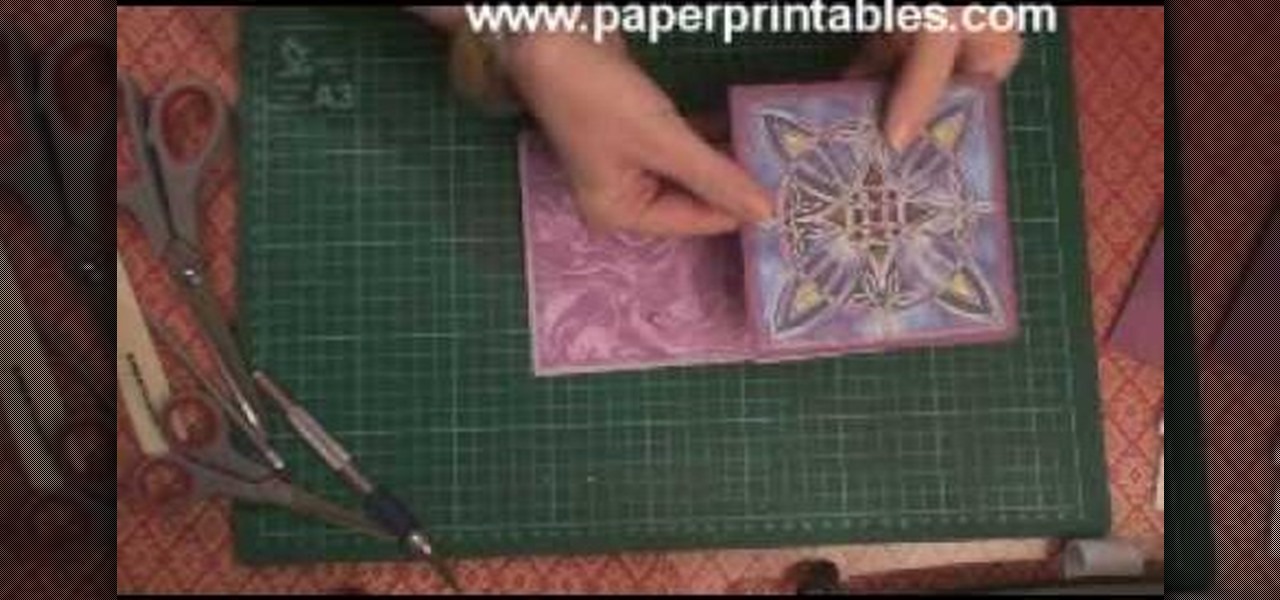
In this tutorial, we learn how to make a half/quarter easel card. First, grab several pieces of colors of card stock that you like. After this, fold the main one up into a square. After you have folded this, fold the edges into the middle and push the creases down. From here, you will glue the bottoms of the other pieces and glue them onto each other so they are backgrounds. After this, you will create a border around the front main picture. When finished, fold this up and then you will have ...

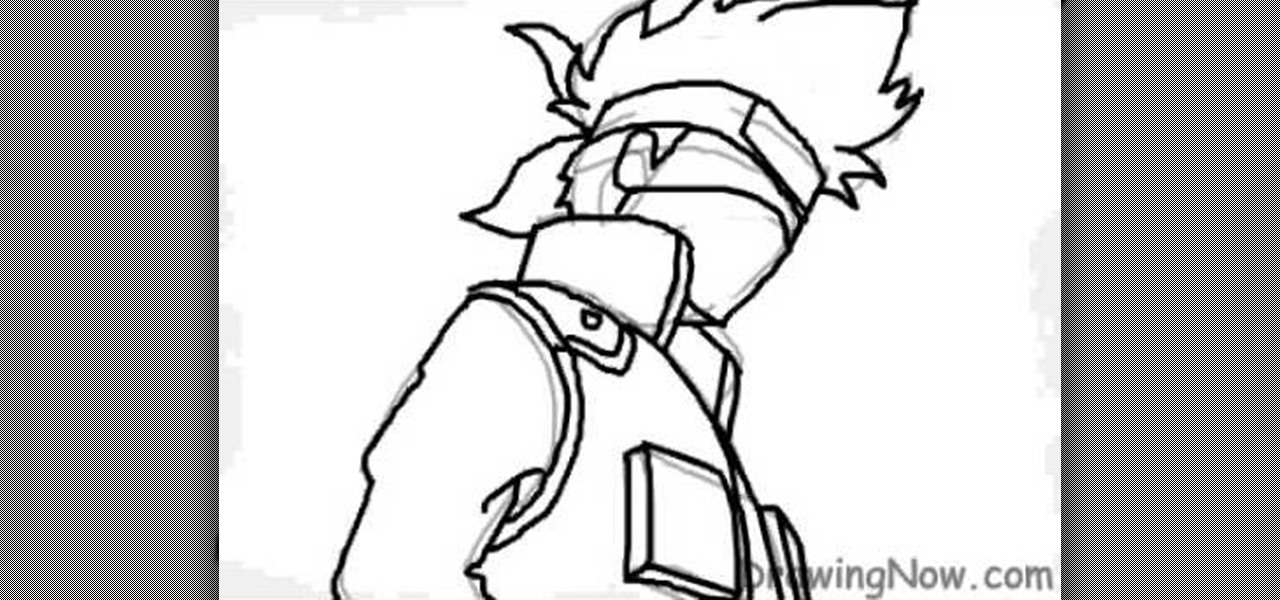
In this tutorial, we learn how to draw Kazekage Gaara. First, draw the outline of the character using a pencil. Then, draw in the features of the face and the hair as well. From here, draw in lines on the clothing to create the folds and make it look more realistic. After this, continue to add in details on the clothing to show the arm and the backpack on the character. Start to add shading to the character and the clothing until you finish the drawing. Clean up any stray or background lines,...

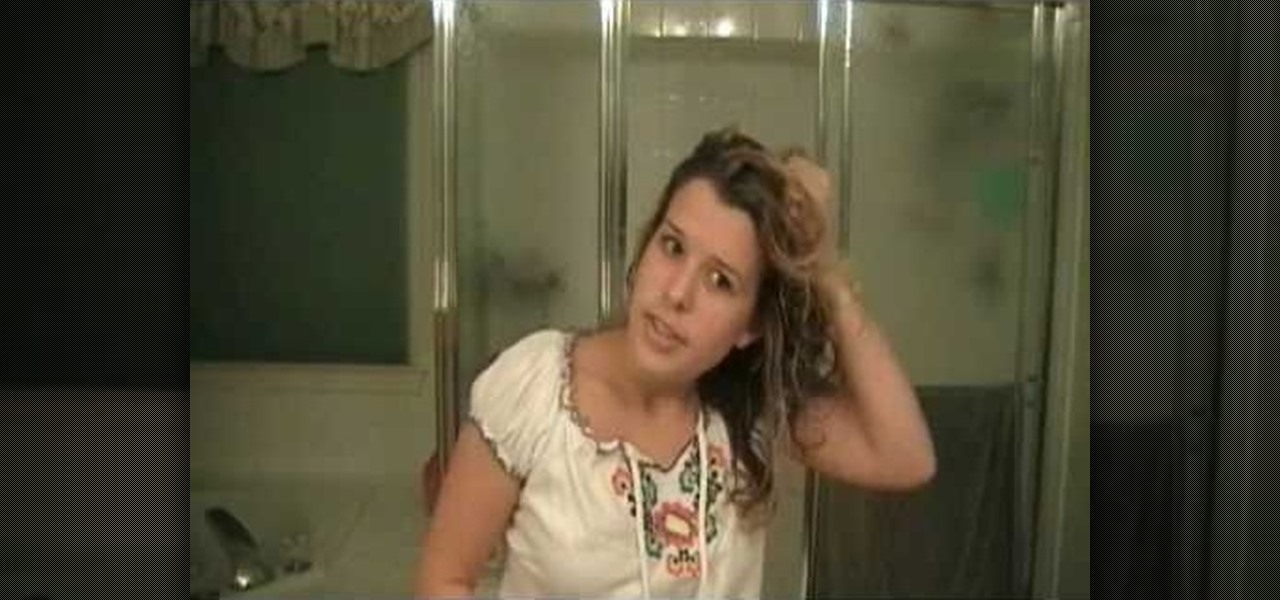
In this tutorial, we learn how to get scrunchy hair right out of the shower. First, take a smoothing liquid you like in your hair and run it through your entire head of hair. After this, take a volumizing gel and run it through your hair as well. Now, spray hair spray all over your hair, working it from the top to the bottom all over. Next, you will take your hands and scrunch your hair by pushing it up and crunching it with your hands. Do this all over until you have the scrunch that you wou...

In this tutorial, we learn how to draw manga Neji. Start off by drawing the outline of the character. Don't forget to include the parts where the facial features, limbs, and hair are at. From here, you will use a darker pen to draw in the rest of the character. Next, you will start to draw in the additional lines and shading to make the character look more realistic. Once you do this, you can start adding some color! Use any colors that you would like or use the normal colors that are on Neji...

In this video, we learn how to do interval training to run faster. When you do interval training, you will learn how to train your body to go to its maximum, giving you more energy and resistance to running faster. Interval training is simply doing a set time of maximum endurance exercises followed by several seconds of resting. You will continue this process for around 5 minutes and you're finished. As you continue doing this, you will build up your endurance and be able to run faster while ...

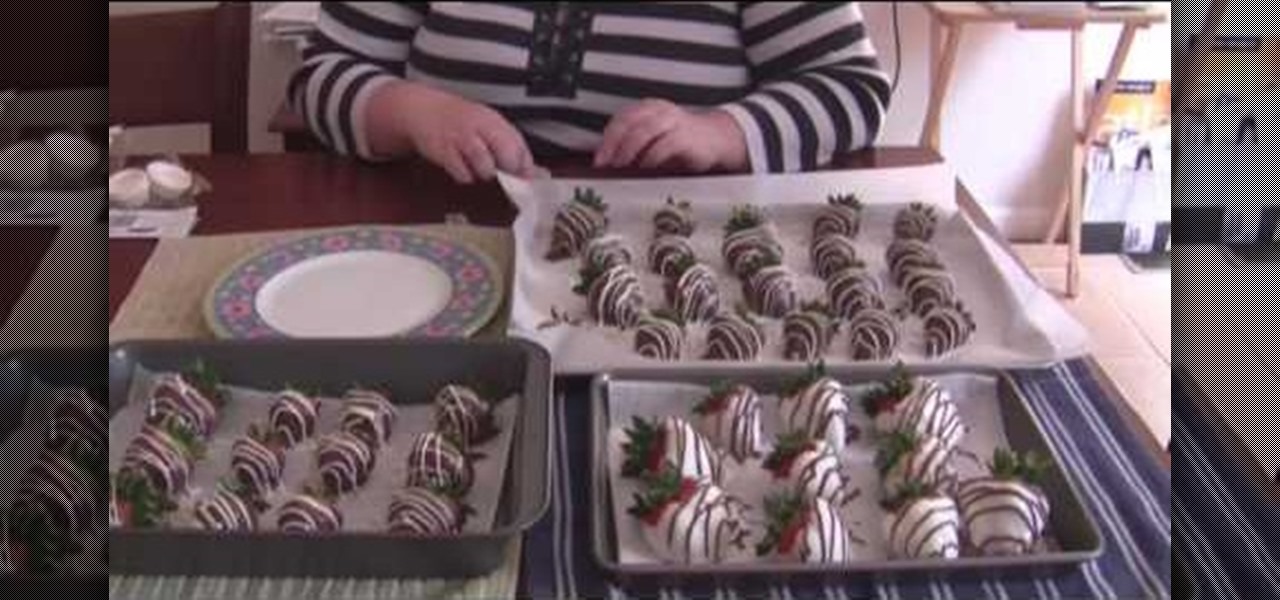
In this video, we learn how to make chocolate covered strawberries for dessert. First you will wash your strawberries and then thoroughly dry them as well. After this, you will take two squeeze bottles from a craft store and fill them half way through with two different kinds of decorating chocolate. Then, heat up a double boiler and heat up chocolate candy melts. Then, melt the two craft bottles in the hot water from the double boiler. Now, dip the strawberries into the chocolate and place t...

In this tutorial, we learn how to cook fried chicken breasts. First, place your chicken on a paper towel and then hit it with a meat tenderizer. From here, you will salt the top and bottom evenly. Finish this off with some black ground pepper and any other seasonings that you would like on the chicken. From here, you will put potato starch on both sides of the chicken until it's evenly coated. Now, beat an egg and place the chicken into the bowl with the egg. Then, dip it inside a bath of pan...

In this tutorial, we learn how to make & decorate a vintage retro rose romance cake. Start out by rolling out fondant that has been mixed with yellow coloring. Once this is rolled out, you will lay it over the cakes and then cut off the excess fondant from the bottom. Do this on all the layers of the cake until it's fully covered and completely smooth. Then, you will use the same fondant to roll into small flowers that you will apply around the outside of the cakes. Use icing to help the rose...

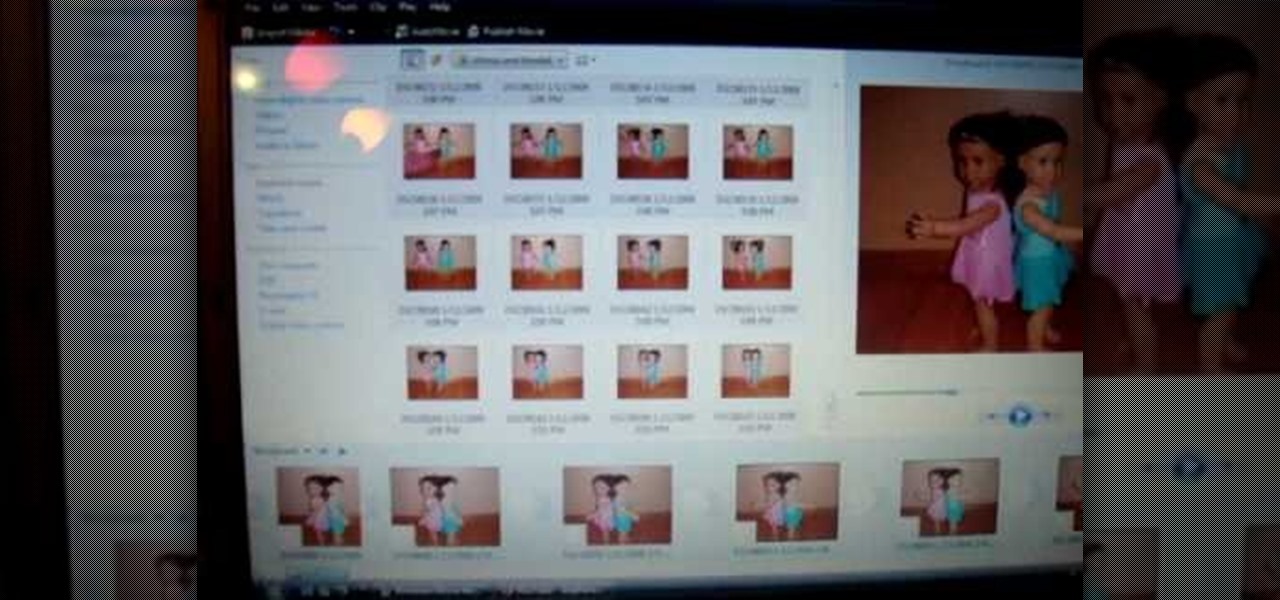
In this video, we learn how to make a stop motion video with your American Girl Dolls. First, you will need to get a tripod to place your camera on and move it around. After this, put your doll out and then take a quick picture. Then, move her arm a little bit taking pictures one by one. You will be moving her, going out of frame, then coming back into the frame. When you're finished, load the pictures onto your computer and then choose all the pictures that you want to use. From here, you wi...

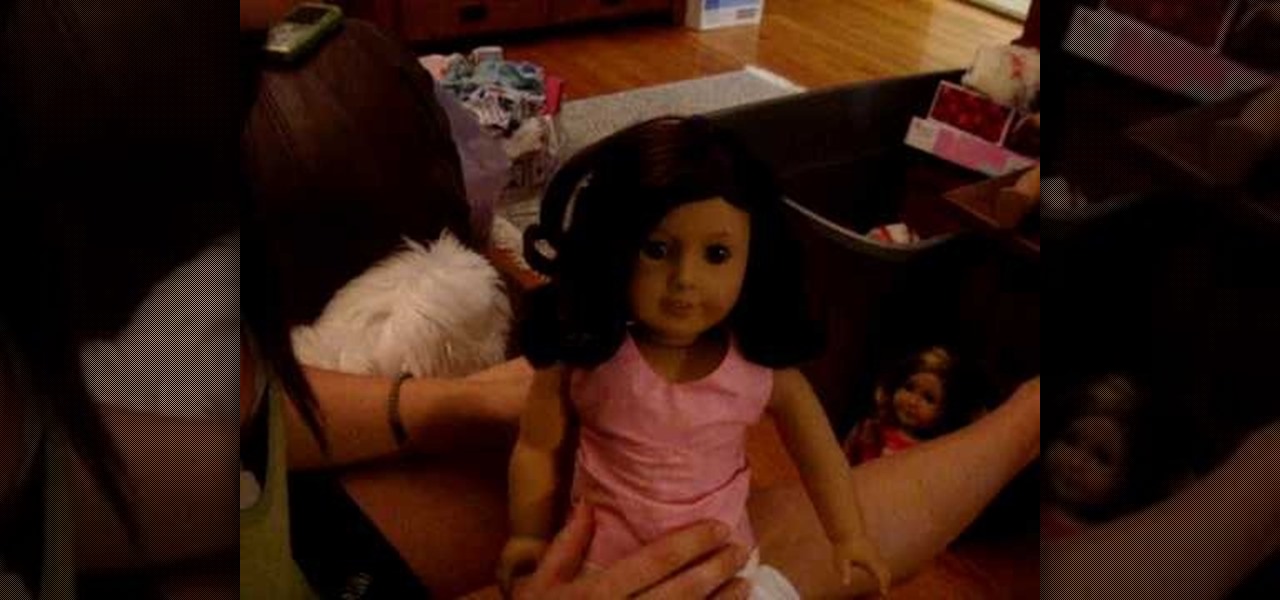
In this tutorial, we learn how to manage your American Girl dolls' curly hair. First, you will need a spray bottle with water in it to spray on the curls. If you can't brush it, that's fine, just run your fingers through it. If you can brush it, run your brush through the hair after spraying it. To curl her hair, you will separate the hair into sections. Then, you will curl the sections by rolling them around the finger to create a spiral curl. When finished, the hair will look gorgeous and l...

In this tutorial, we learn how to lay down ceramic tile. Start off by laying down the mortar for the base. After this, scrape it around with the ridged laying tool. Then, lay the tile down flat and place a spacer in between the one that it is next to. Once you are finished with this one, continue the same process for the rest of them. Make sure you are laying the tile down totally flat and it is lined up with the other ones. There should be spacers in between all of the different tiles that a...

In this video we learn how to draw hands without references. First, draw the basic structure of the hand using a photo to make sure it's true to size. After this, draw on boxes and circles to create the wrist, hand, and the knuckles. Then, you will draw on straight lines for the bones in the thumb. After this, start to add details of the fingers and make out their basic shape. As you continue with details, erase any background lines and start to add lines in for wrinkles on the skin. Finish t...

In this video, we learn how to make a Rivulet scarf or reversible cable scarf. There are a couple ways to make reversible cables to look the same on the front and on the back. First, make sure you print out the scarf pattern and then learn where you want to cross to achieve a different look. First make your firs two cable crossings, doing forty stitches. Then, you can add in more stitches to make it thicker if you would like to. Continue to follow the pattern that you printed out, using both ...

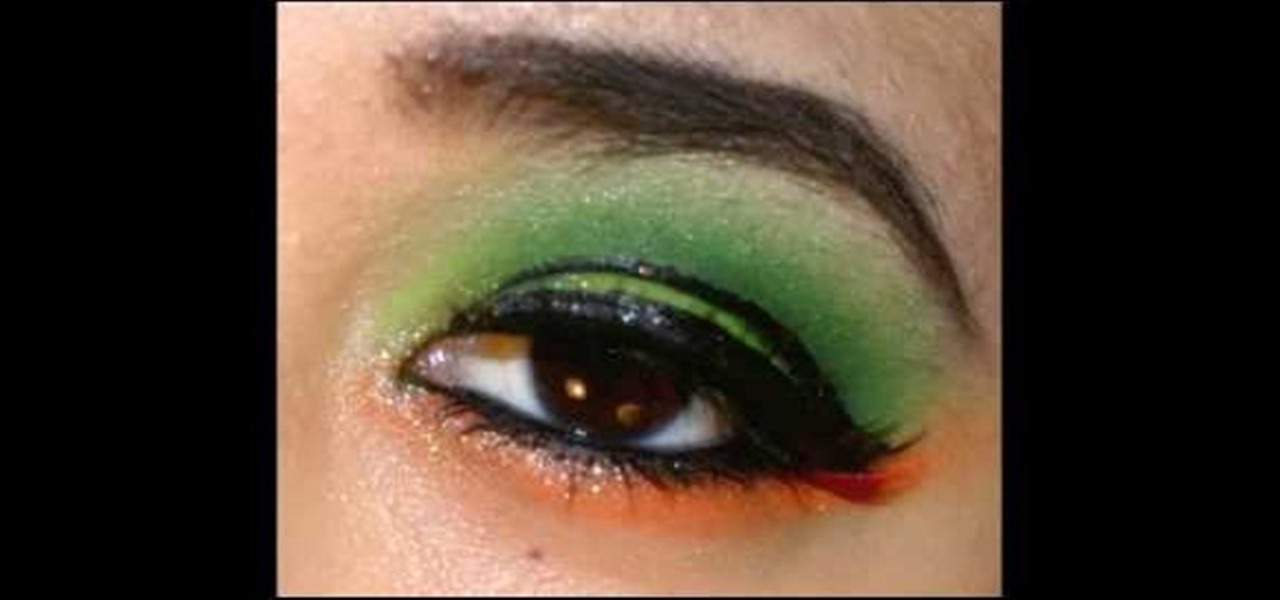
In this tutorial, we learn how to create a neon green and orange look using Kryolan UV. To start, you will brush a shimmery and sparkly white eyeshadow underneath the eyebrow on the brow bone. From here, apply a light green eyeshadow on the eye and into the crease. From here, apply a darker green shimmer shadow to the crease of the eye and blend it into the outer corner. Then, apply a sparkly orange eyeshadow on the bottom lash line, from the inner corner to the outer edge, meeting with the g...

In this video, we're shown how to draw Fred Flintstone from "The Flintstones". Start off by drawing the outline for Fred's body, drawing in his limbs and his upper/lower body. After this, use a darker pen to draw in the full outline and create a more 3D type of image. Next, you can draw in the clothing for the character, drawing in lines to show creases in the clothing as well. Then, you will need to color the skin and the outfit as well and add in the facial features. After this, draw in the...

For those of you who are unaware of who Kakashi is, he is a popular character in the media franchise Naruto and is the titular character's teacher.

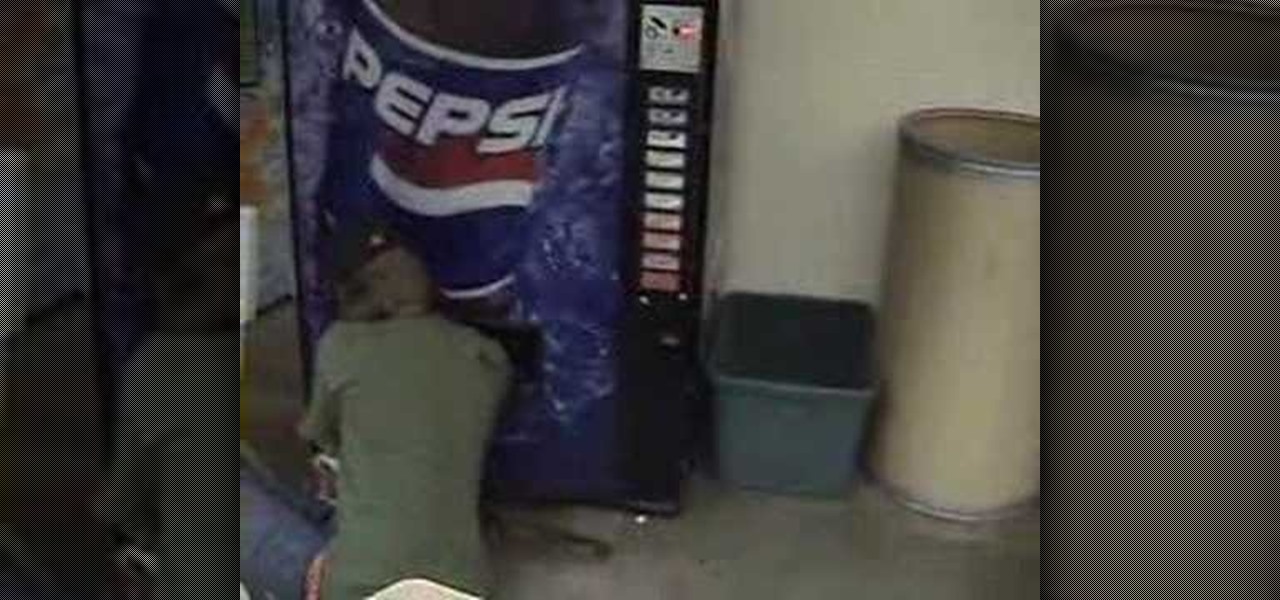
In this tutorial, we learn how to get a free soft drink from a vending machine. First, you will need to find one of those old vending machines, not one of the new and high tech ones. From here, you will need to sit down and lift the hatch up from the machine. Then, reach up into the machine and find a soda. Once you get your hands on one, pull the pop from out of the machine. You should have relatively small hands and longer arms to be able to do this successfully. Once finished, drink your s...

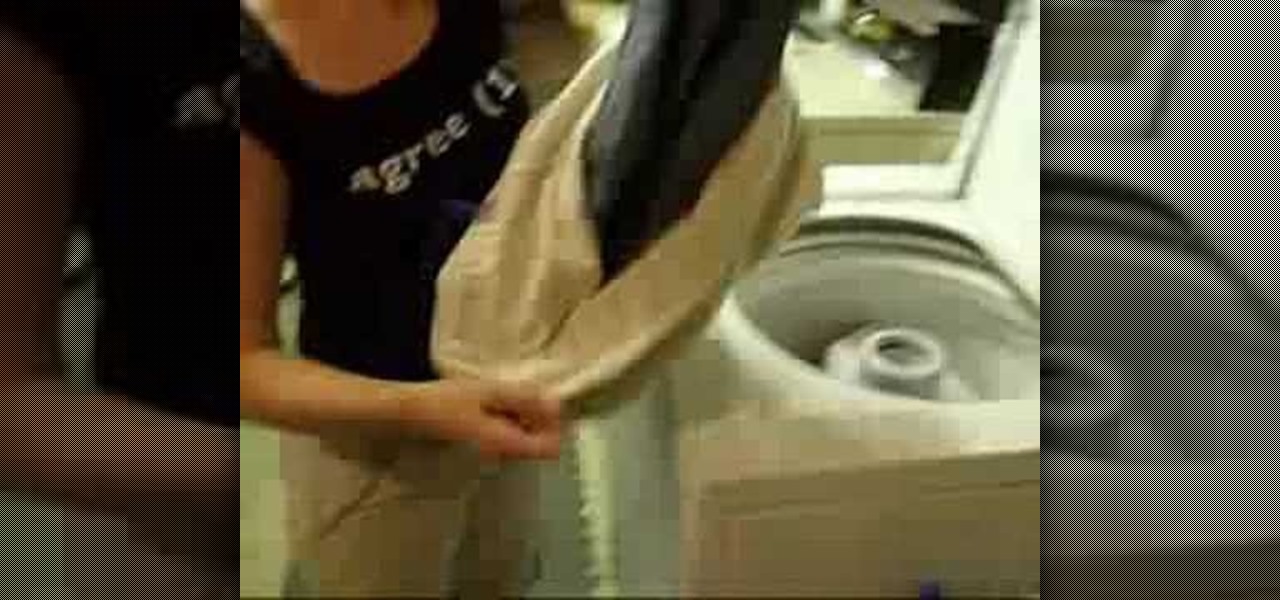
In this tutorial, we learn how to do laundry at home. To start, you will need to set your washer to the right settings. Go with the one that works the best for you and the size/color of laundry you're going to do. Turn off the extra rinse you're doing and turn on the cold rinse because it will save you hot water. From here, pour in your soap and place your clothes in. Then, turn it on by pulling the button. Once your clothes are finished washing, put them in the dryer. Then, clean the lint tr...

In this video, we learn how to do an adorable hairstyle on your American Girl doll. You will need: two ribbons and four rubber bands to do this. First, brush her hair all the way out so it's smooth. Then, part the hair into two sections on the left and the right. After this, tie the right side into a high ponytail and then tie the left side the same way. From here, you will shape a bun into the top of the hair band and then let the rest hang down. Next, you will tie a ribbon in each side into...

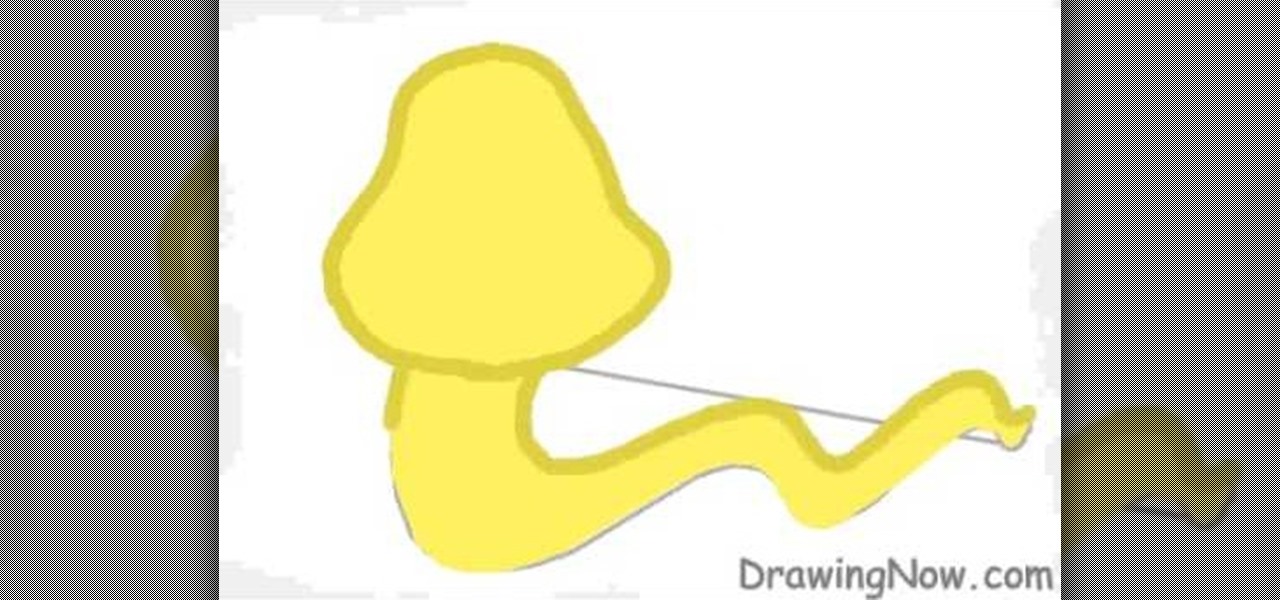
In this tutorial, we learn how to draw a cute snake. First, draw a bell shape for the head, then draw a thick squiggly line for the body of it. After this, color the snake yellow and then outline it with a dark green color. From here, add stripes to the snake in hot pink. Next, you will draw on the face to the snake. Make sure to give it a friendly smile and draw the stripes on the top of the head. Next, you will draw on the tongue, giving it a long one with two triangle edges. This will fini...

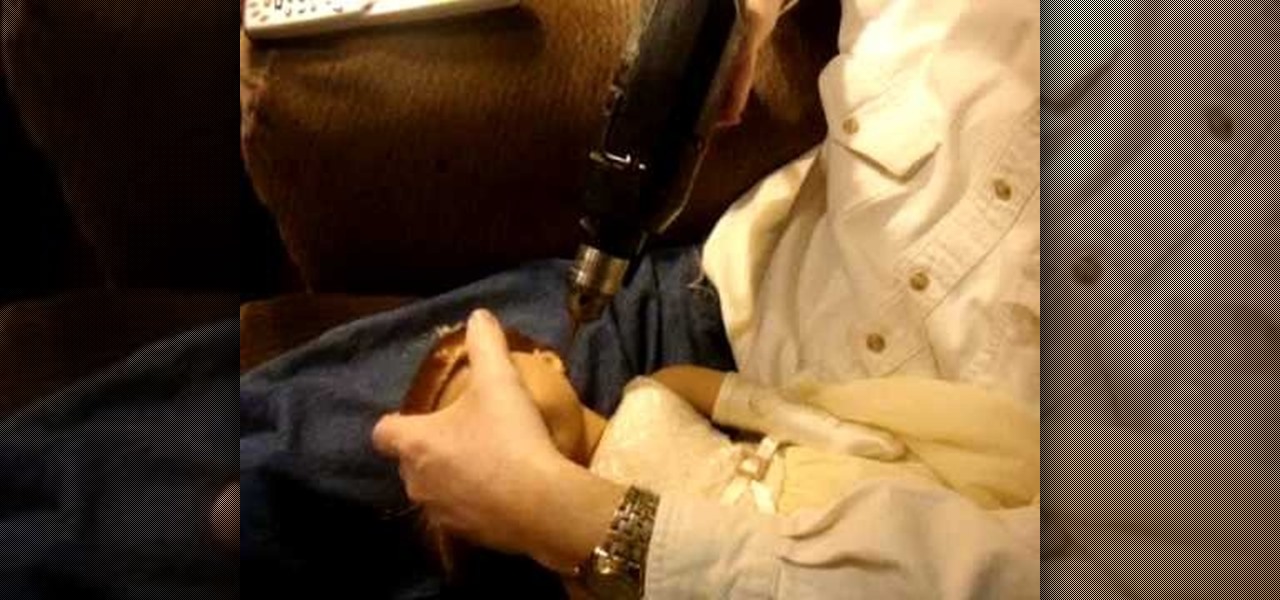
In this video, we learn how to pierce your American Girl dolls' ears! Start out by taking a pencil and marking the ear where you want to pierce it at. Then, take a thumb tack and poke it through the ear where you marked it with the pencil. Then, pull it out and do the same process to the other ear. To help, pull the hair up in a ponytail so the hair is out of the way while you're doing this. Next, give the doll to an adult and grab a #42 drill bit. Put the drill into the same hole and then ge...

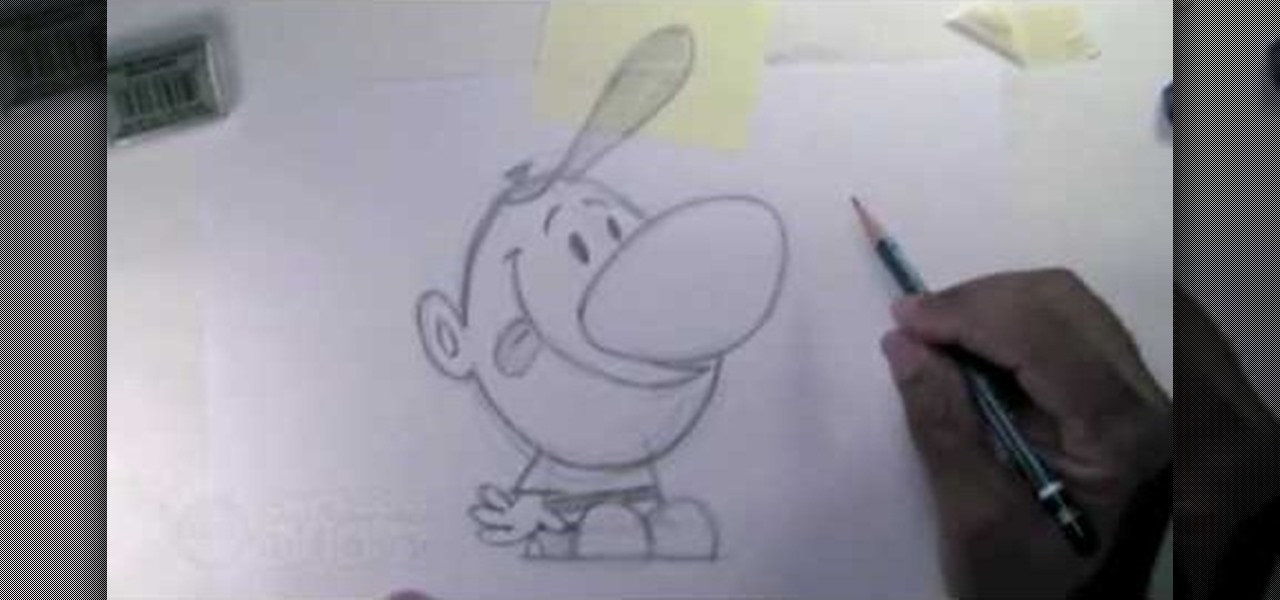
In this video, we learn how to draw Billy from The Grim Adventures of Billy & Mandy. Start out by drawing the egg shaped head with a pencil. From here, sketch on the body by using a block shape then draw the shoes as simple half circles. The arms and hands will be hanging to the sides. Now, draw on the huge nose in the middle of the circle. Attach the mouth to this and draw it all the way up near the eyes, which are simple dots. The brows are simple slashes. After this, add in the minor detai...


