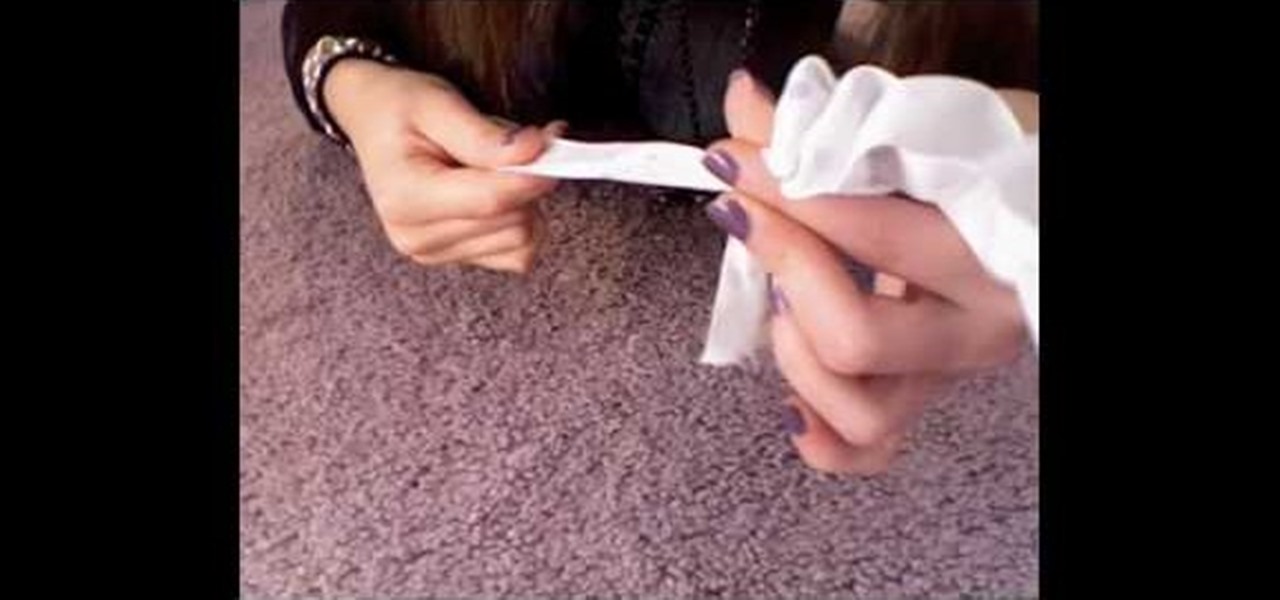
In this tutorial, we learn how to make a window valance. If you have a drop down shade, a valance will help cover up the hardware that is located underneath it. Start out with your choice of fabric, then add in 1 inch to the top, bottom and sides. Next, line the fabric and place Velcro on the top. Now, use a wrap around and mark where you want to fold the fabric in at. After this, sew the valance and then use the Velcro to stick it onto the metal part of the drapes. When finished, enjoy your ...

In this tutorial, we learn how to mix purple & silver for a dramatic makeup look. First, apply primer to your entire eye lid. After this, use purple paint and brush it onto the outer edge of the eye and the crease on top. Next, paint the purple under the brow bone, and then paint a darker purple underneath the first purple. Use light blue on the inner edge of the eye, then paint purple underneath and add eyeliner to both the top and bottom of the eyes. Use a small black brush to outline where...
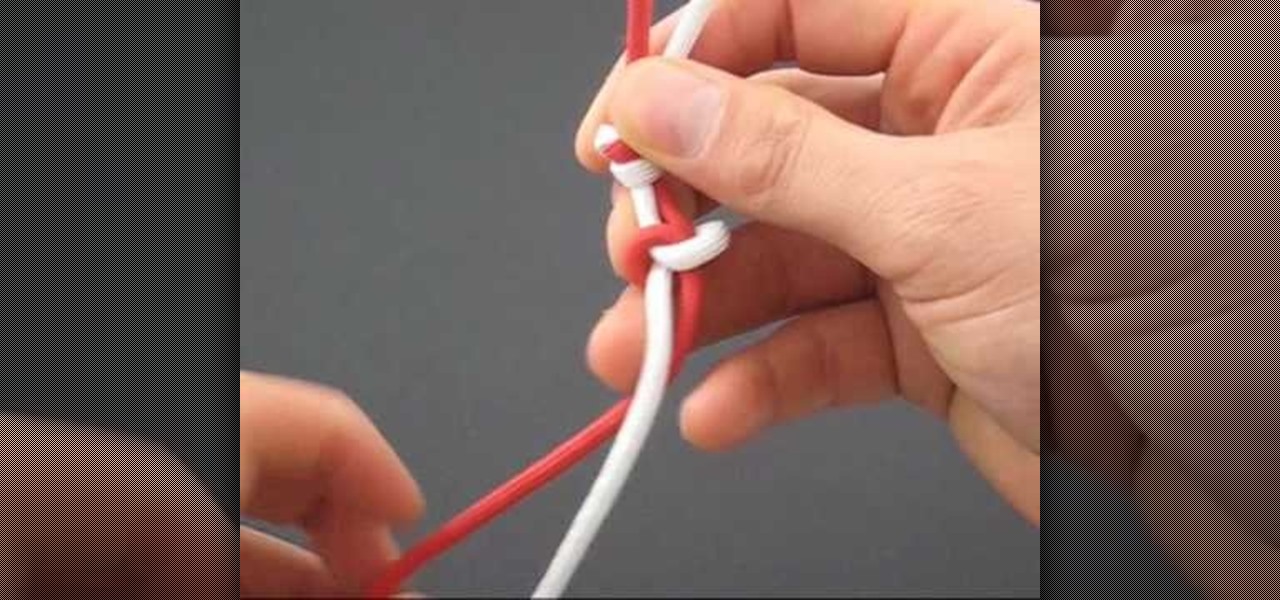
In this tutorial, we learn how to tie a paracord snake knot. Start out with a double overhand knot, by making a loop with two strings and tying it through. After this, start the snake knot by taking the left piece of string and wrapping it around into a loop. Then, take the other piece of string and place it inside the loop, then pull it to the left and wrap it around the other string, then push it through the loop. Continue to do the snake knot until you reach the bottom, then finish it off ...

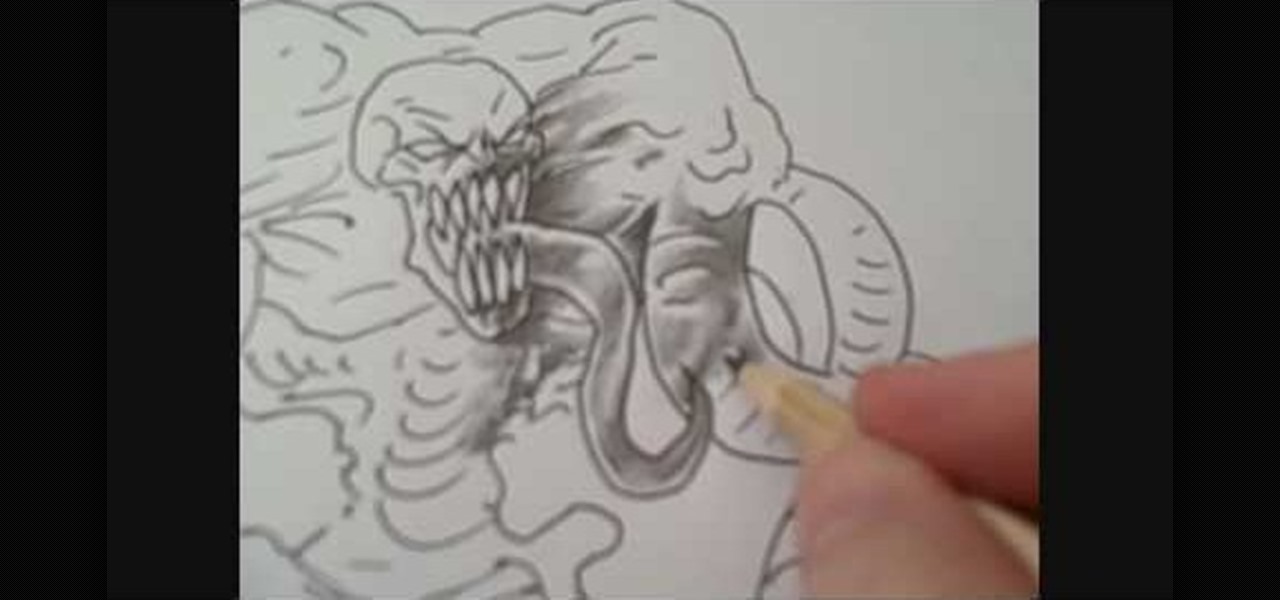
In this tutorial, we learn how to draw a cartoon cyborg. Start off by drawing the outline of the body to be wide and fat. Make the hands look like claws and the toes large. The ears should be pointed out and the belly should be large and fat. Add in hairs, eyes, a nose, a mouth, a chin, and nipples to the appropriate areas. Add shading around different areas to give the cyborg a more chunky look. After this, start drawing the mechanical parts on the inside of the cartoon, making machinery par...
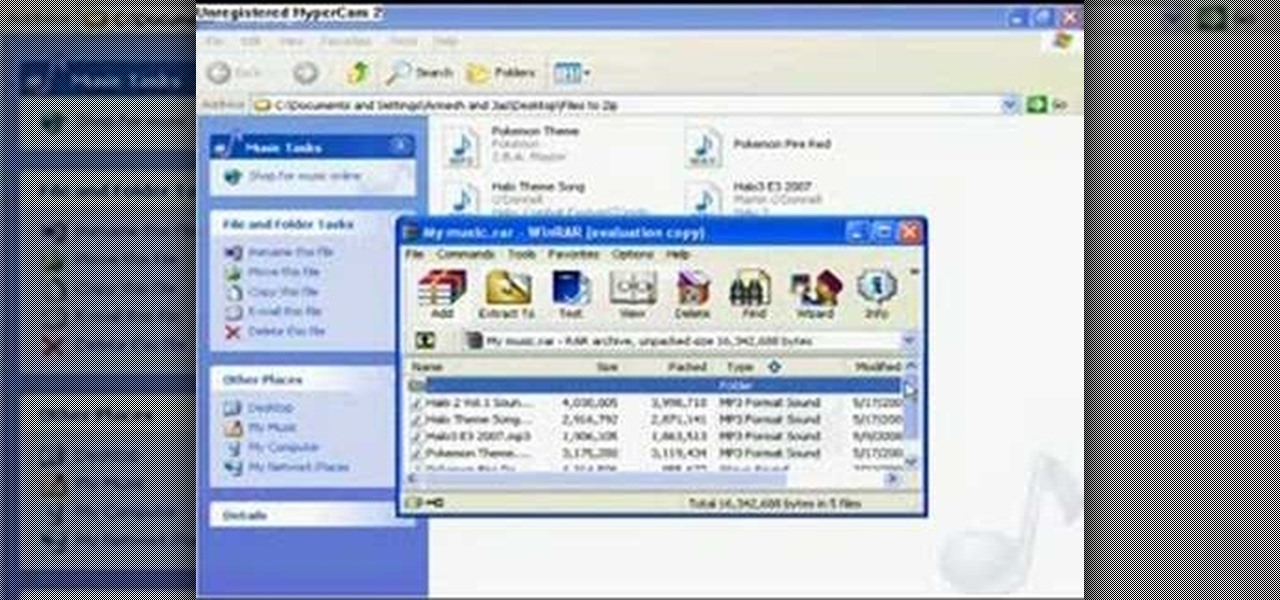
In this video, we learn how to compress multiple files with WinRaR. First, select the files that you want to compress, then right click on them and click add to archive. After this, write the name for your files and press OK. Now, WinRaR will automatically start. When it's finished loading, you will see your new file that has all your files compress into it. When you open this file up, your other files will be inside. You can do this for several files or just do one, depending on how many you...

In this tutorial, we learn how to apply MAC 34 fake eyelashes. First, lift your eyelashes out of the case they come in and lay them on your lash line. If they are too long, cut the ends to fit your eyes. Next, grab your eyelash adhesive and apply it to the strip on the base of the lashes. Let the glue dry for several seconds until it becomes tacky. After this, push the lashes onto the base of the lashes, and use tweezers or your finger to push the lashes on until they are stuck. After this, a...

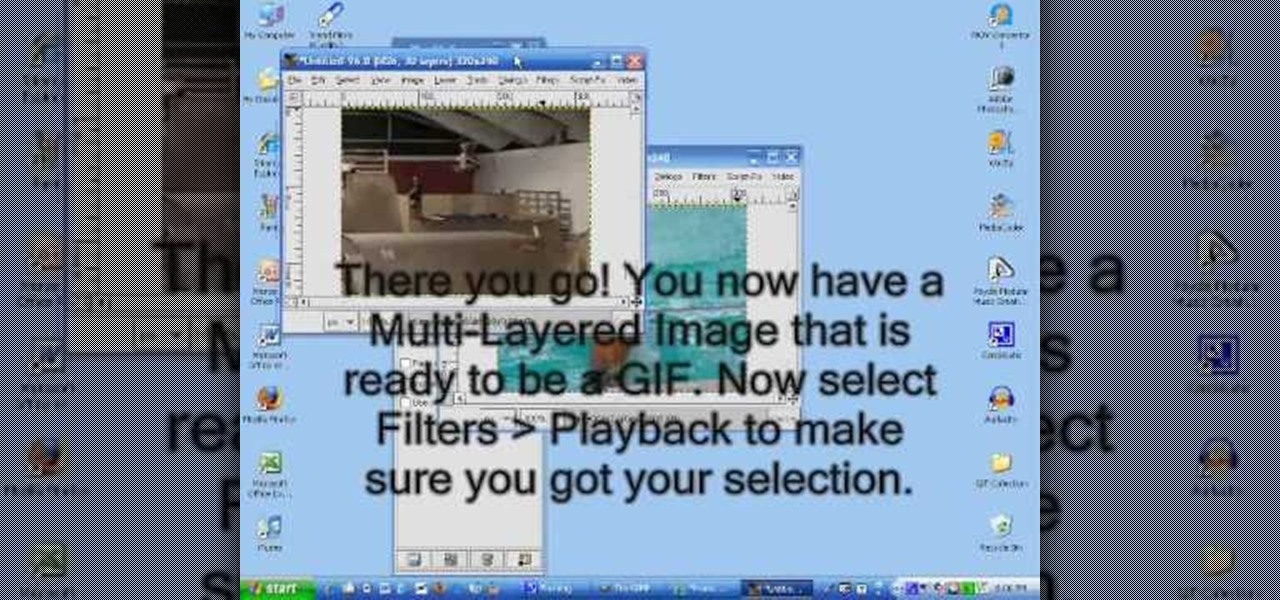
In this tutorial, we learn how to make an animated GIF from a video clip. First, open up your video clip on your computer. Next, open up MediaCoder onto your desktop and convert your video into an AVI file. After this is done loading, open up GIMP software, then click on options, and then extract video. Now, change the preferences and click enter. After this, you will load your video clip, which will take up to 10 minutes. Next, choose playback and then click and change the frame speed to pic...

In this video tutorial, viewers learn how to put their iPod device into recovery mode using Z-Phone. The Z-phone application does not work on 1st generation iPod devices. Begin by unplugging the device from your computer. Then hold down the power and center button until the device\s screen goes completely black. Now hold the center button as you connect the device back to your computer. Finish by following the process in iTunes to restore the device. This video will benefit those viewers who ...

This video tutorial is in the Arts & Crafts category where you will learn how to make a multi-layered embossed floral gift card. Take a piece of 11 x 8 1/2 inch Stampin' Up card stock and fold it in half. Next you punch out layers of colored paper of rose red, very vanilla, regal rose and blush blossom colors of different sizes as stated in the video using the Boho Blossom Paper Punch. Now you take a Sizzix Big Shot Die and cut out a craft paper and set the cut outs aside. Now you got to stam...

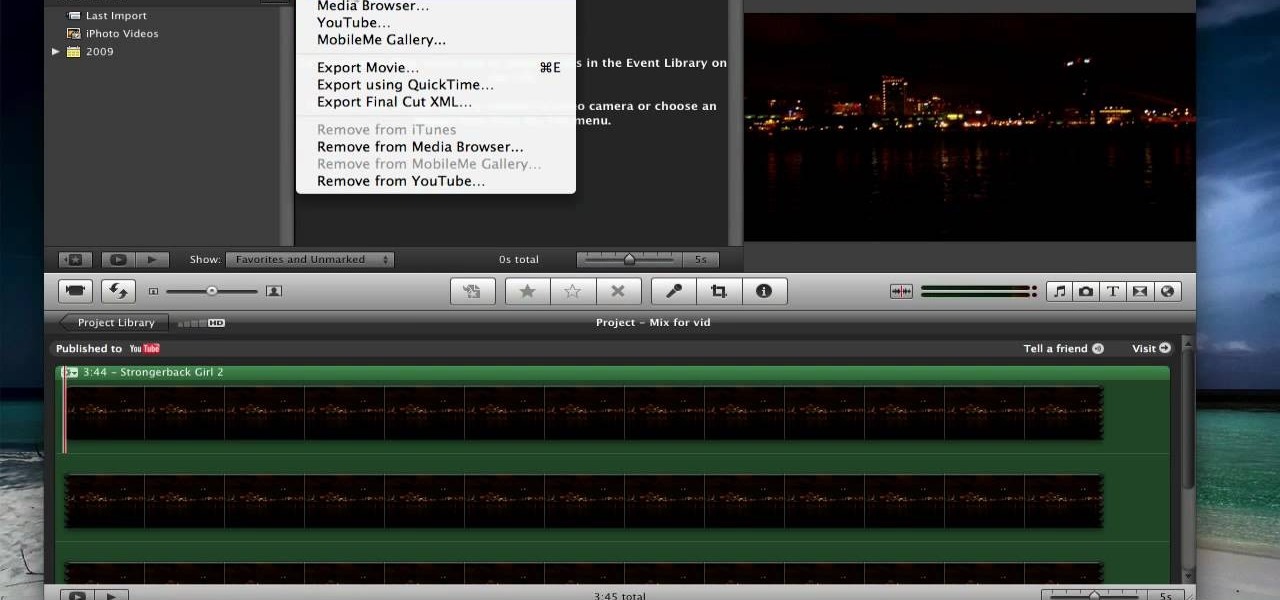
In this tutorial, we learn how to export in HD in iMovie '09. First, open up your iMovie, then go into "share", then "YouTube". If the HD is not checked, you will need to check it and then click "next" and "publish". That is the quickest way to export to YouTube. To do this from iDVD, click on the "share", then "iDVD" and then it will go to iDVD and you can export it in HD. You can do this for any of your movies by simply clicking on the share menu, and making sure your settings are changed t...

In this video tutorial, viewers learn how to burn a CD using iTunes. Begin by opening iTunes and create a playlist. To create a playlist, click on the + sign at the bottom left corner and name it. Then drag the desired song(s) into the playlist. Now insert a blank CD into the computer hard drive and click on Burn Disc at the bottom right corner. When a small window pops up, select the preferred speed, gap between songs and CD information. When finished, click on Burn. his video will benefit t...

In this tutorial, we learn how to draw a husky puppy. Start off by drawing the head, don't use a straight line at the top, make it look like it has hair. After this, continue and draw teeth and a tongue hanging out of the dog if you want it to look happy. Next, add ears to the top of the head and eyes to the face. Give the dog markings and pupils on the eyes. Then, add the nose on with a button shape at the top. Draw out the collar and chest of the dog, then add on the two front feet, the bel...

You know how in kindergarten you loved nothing more on a hot summer afternoon than to sip your Juicy Juice while scribbling wildly onto your favorite coloring book? Well, this tutorial stems from the same idea. While outlines, as provided in coloring books and yourself later as an artist, are a great place to start a picture, they certainly don't count as a finished product.

In this tutorial, we learn how to thread a cord lock. First, tilt the cord lock up and find the two different wheels on the inside of it. Now, push your lift cord up through the two wheels that are on the inside of the lock. After this, pull the thread up through the top and then slide the thread through the smaller hole on the lock. Now, you will repeat this again for another piece of string, but thread it through the larger hole once you reach the top. After this, thread another cord throug...

In this video tutorial, viewers learn how to draw a vampire. Begin by using the paint bucket tool to fill the entire background in black. Then start drawing the vampire in transparent blue. Sketch the outlines of the face and draw curves for the guidelines of eyes, nose and mouth. Now erase half of the face and fill it in black. The other half of the face is filled with tints of blue and purple airbrush. Finish by adding the details with opaque shades of blue, purple and white pencil lines. T...

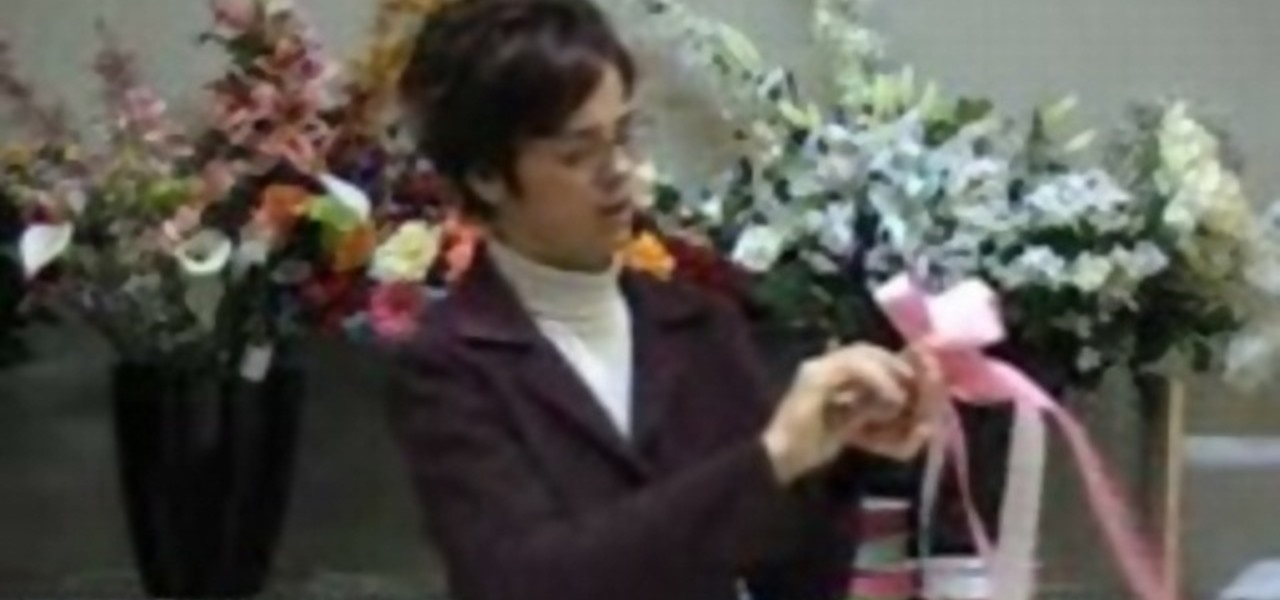
In this tutorial, we learn how to make a double bow with Sandy. First, take two satin ribbons of different colors and place one on top of the other. Leave a long tail, then make a large loop and scrunch it in. Make a loop on the top and a loop on the bottom. Each should get a half a twist and be opposite of the one you made before it. Practice with a single ribbon before you do this one. After you have six loops, create four more to make a bigger bow. When finished, you will have six large lo...

In this tutorial, we learn how to make a flower headband for Valentine's Day. To make this, you will need: rubber band, elastic band, and ribbon. First, take your ribbon and fold it in half, then make one side a little bit longer than the other. Now, make a flower with the ribbon so it lies on the very top of the headband. After this, use your elastic to tie it around the base of the flower so it stays in place. Now, tie your rubber band to the bottom of the headbands and make a knot with the...

In this tutorial, we learn how to preserve and dry herbs. First, you will want to cut your herbs fresh from the garden. Next, use scissors to cut the herbs into small pieces. After this, place the herbs on a piece of wax paper on a plate. Now, place the plate into the microwave on half power for three minutes. Look at the herbs to see what they look like when they come out of the microwave. If there is still moisture in them, place them in a microwave again. Adjust the power and time you cook...

In this video, we learn how to wear a beret securely. This is used to keep the beret on your head so it doesn't fly away. To do this, you will need the beret and bobby pins. First, place the beret onto your head and style your hair around it so it looks how you prefer. Next, grab your pins and place then inside the beret holes onto your hair. Use a couple of the pins to make sure the hat and hair are connected and secured tightly. When finished, move the hat slightly to make sure it is secure...

In this tutorial, we learn how to make a left-hand crochet Valentine's puffy heart. You will need: a size G crochet hook and yarn. Start by working a chain of three then forming a loop and doing a chain one. After this, work 9 single crochets through the center of the ring. Next, do 18 single crochets making the first stitch on a single crochet. Keep doing 18 single crochets around the circle you have created. After this, make one single crochet for a total of 18. The edges will start to curl...

In this video tutorial, viewers learn how to equip their golf bag in World Golf Tour. Begin by visiting the World Golf Tour website and enter the main menu. Then click on My Settings and select My clubs. Here, users are able to select a club that they want to play with for the next round. The upper blue section represents the clubs that are currently in your bag. The lower section represents all the clubs that you own, sorted by type. When finished editing and customize your club selection, c...

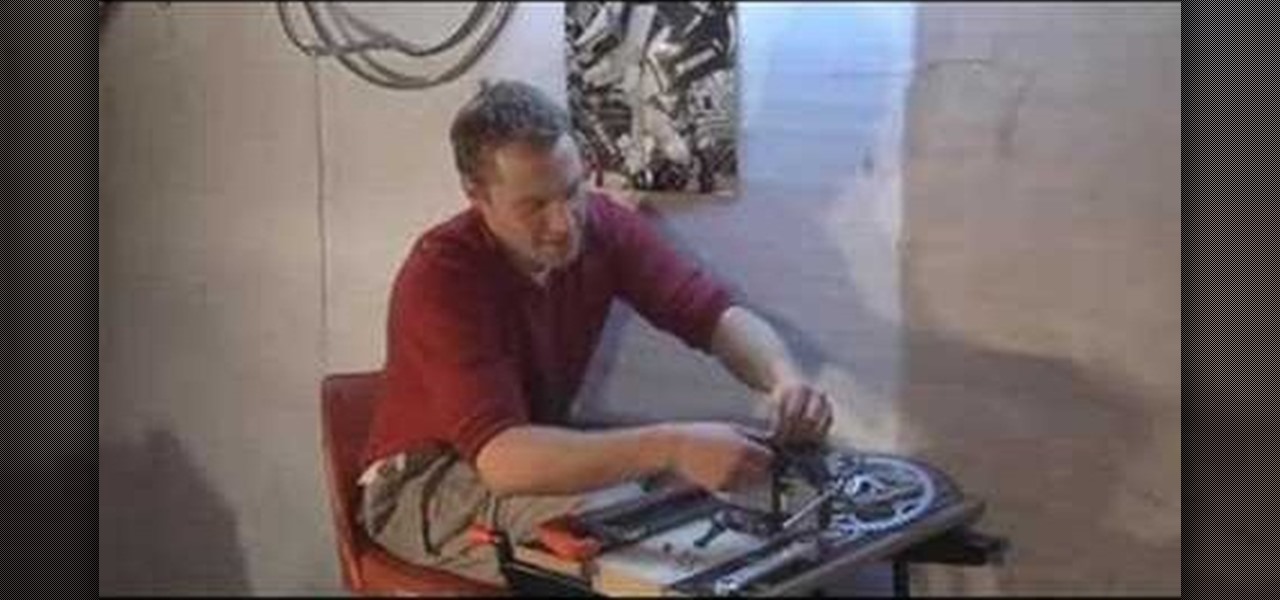
In this tutorial, we learn how to make a single speed bike crank. You will need: chain ring bolt tool, large screwdriver, Allen wrench, file, hacksaw, vise, and crank set with 2 ring. First, grab your chain ring bolts and cut about 3mm off of the end. If the nut moves while you are cutting it, adjust it. After this, put your chain ring on the inside of the crank arm to align the chain. When you are finished, you will have a single speed bike crank! This tool shouldn't take too long to create,...

Kandee shows us how to apply a glamorous makeup look for your wedding in this video tutorial. To begin, apply foundation to your entire face, followed by a blush on the apples of the cheeks. After this, fill in your eyebrows to the appropriate color that matches your hair. Next, you will want to apply a silver eyeshadow along the brow bone and on the entire eyelid. Next, apply eyeliner to your top and bottom lashes. Now you will apply a black eyeshadow to the outer edge of your eye and into t...

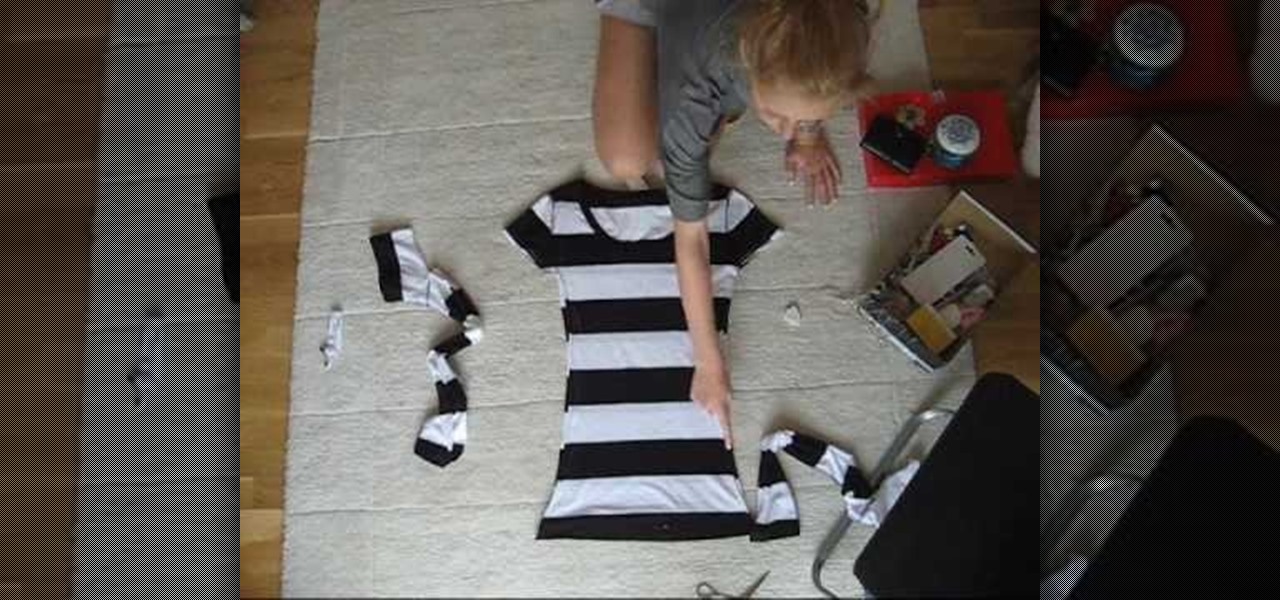
In this tutorial, we learn how to make a t-shirt. First, measure around your waist and your bust, as well as around the hips. Now, take your old boxy t-shirt and flip it inside out. Now, place your measuring tape on the shirt and pin it where your measurements are. Draw out your measurements so you know where to cut. Once you have the new shirt drawn out, Cut out an inch out of the lines and toss the rest of the cloth in the trash. After this, sew the shirt on all the open sides. To finish, t...

In this tutorial, we learn how to create a loose wavy hairstyle using two curling irons. You will need a 1" curling iron and a 2" curling iron to do this look. To start, place the curling irons next to each other and weave your hair in between both of them, making a wave shape. Leave this in your hair for around 15 seconds, then shake the hair loose. When finished, your hair will come out wavy! To keep this look lasting, spray hair spray into it during or after you have curled your hair. Do t...

In this video tutorial, viewers learn how to make chicken broth. Begin by placing the chicken bones into a crock pot. Then pour in the drippings that were stained from the roasting pan. Now add 1/2 of an onion and a handful of baby carrots. Then add in some bay leaf, 1 tsp of salt and 6 peppercorns. Now add 1/2 gallon of water into the crock pot and heat the pot for about 8 hours. When finished, throw away the solids and drain the broth for later use. This video will benefit those viewers who...

In this video tutorial, viewers learn how to draw Obi-Wan from Star Wars. Begin by drawing a circle for the head and rectangular shape for the jaw. Then draw a line 1/3 way across the circle. Draw the eyes on the line and the nose just underneath the line. Now draw 2 lines from the ends of the eyes to the rectangular shape. Use those lines as a guide to draw the length of the mouth. Then add the ears, eyebrows and beard. Now lightly draw the hair. Finish by coloring and shading the image. Thi...

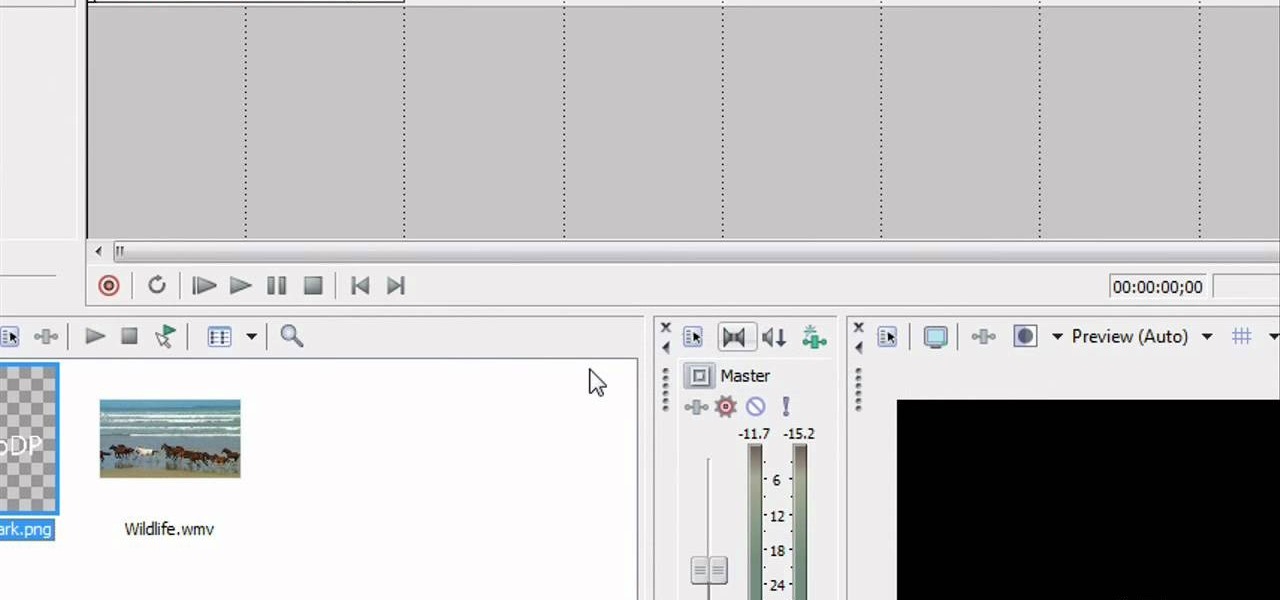
In this video tutorial, viewers learn how to add watermarks to videos in Sony Vegas. Users will need to begin by creating the watermark image in a photo editing software. Once created, make the image into a transparent background and save it as .PNG format. Now load the video into Sony Vegas and place it into the time-line. Then open the image in Sony Vegas and add it into the video time-line. Finish by panning the watermark image to a smaller size in the corner and extend the play time. This...

In this tutorial, we learn how to make homemade chicken noodle soup. First, grab a large pot and add in 2 large chicken breasts. After this, add in 1/2 onion, 2 celery stalks, 2 carrots, and 2 sprigs of fresh parsley. Next, pour in water and add in garlic powder, black pepper, salt, and poultry seasoning. Bring the mixture to a boil then cover and let simmer for one hour. After an hour, skim off any foam that is on the top. When finished, remove the chicken and then pick the meat off the bone...

In this tutorial, we learn how to make kettle corn. First, prepare a large pot by adding 1/4 c vegetable oil and 3 popcorn kernels. Place the cover on the pot and when those kernels pop, you will know your oil is hot enough. Make sure the pot is placed over a medium high heat while you are doing this. When the oil is hot enough, add 1/2 c popping corn and 1/2 c plain sugar. After this, place the pot on the heat for three seconds, then remove it and shake it for three seconds. This will keep t...

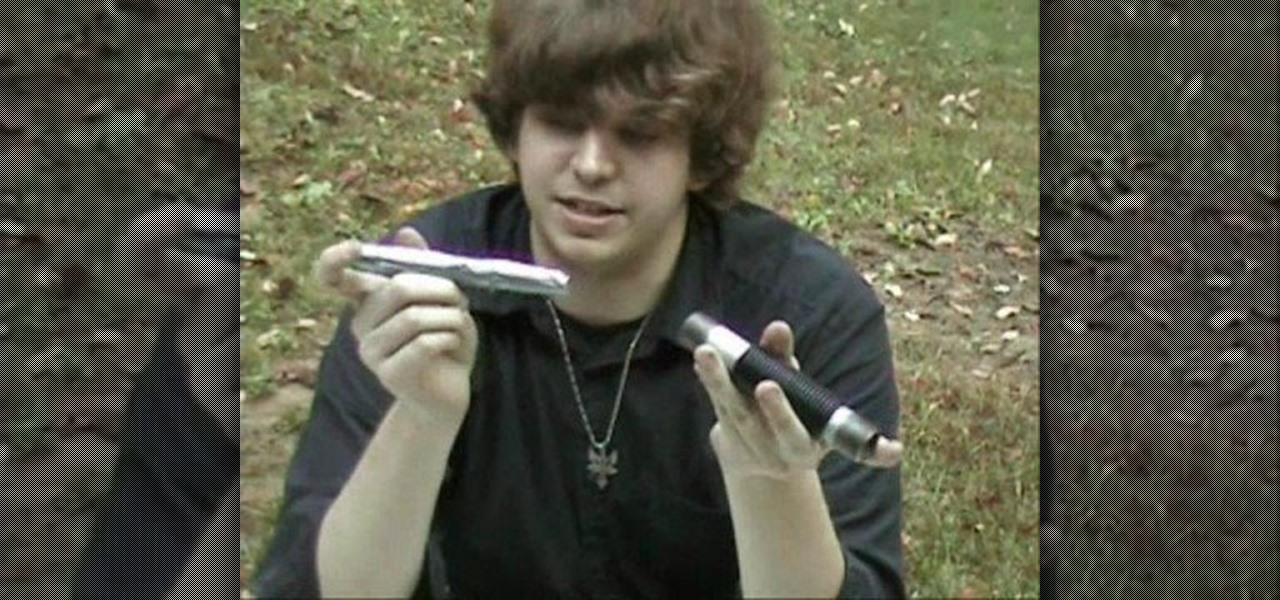
In this tutorial, we learn how to make a prop light saber. you will need rubber o rings, a metal pipe, a dow rod, and attachments to combine the rods together. First, grab the metal pipe and dow rod, and place the rod inside of the pipe. After this, use an attachment to combine the two together. Next, cover one end with duct tape. Now attach two endings onto the rod and place a longer dow rod covered with duct tape onto the rods. When finished, use the o rings to keep the blade in place and y...

In this tutorial, we learn how to make a paper turkey. You will need: a pen, tape, scissors, and papers. First, outline your hand on all the pieces of paper, then cut them out. After this, stack them together and then tape them. Next, cut out and apply the wattle of the turkey. Next, draw in eyes and feather details on to the turkey. When you are finished, you will have a cut turkey made in just a few minutes. This is a great project to do with children and only takes a few short minutes. Whe...

This video tutorial is in the Arts & Crafts category where you will learn how to make Mexican papel picado paper cuts using chisels. This is a traditional craft of Mexico. There are various forms and sizes of chisels used for this purpose. The designs you can cut on paper are only limited by your imagination. First you got to make a design on paper. Then you got to stack up 40 to 50 sheets of paper and staple them together. Now you can start cutting the paper stack using a chisel and a hammer...

In this tutorial, we learn how to build a cheap worm composting box. Start out by using a large plastic box that has a lid, a storage box works great. Also, grab two vents that you will place on the sides. Lay your vents down on the sides of the box and outline how large they are. Now, cut the box and place the vents on the sides with screw to keep it in place. This box is made to keep worms inside, so it doesn't need to look fancy or be decorated on the outside. Once you're finished drilling...

In this tutorial, we learn how to make mini cheesecakes. First, grab a 7 oz tub of low-fat cream cheese and place into a large mixing bowl. Next, add in two eggs, five spoonfuls of Stevia sweetener, 1 tsp vanilla extract, and 1 oz of fresh lemon juice. Now, mix all of this together until everything is well combined. After this, pour the mixture into a muffin pan, until each tray is filled up around 3/4 of the way full. Now, bake these in a 350 degree oven until they are golden brown at the to...

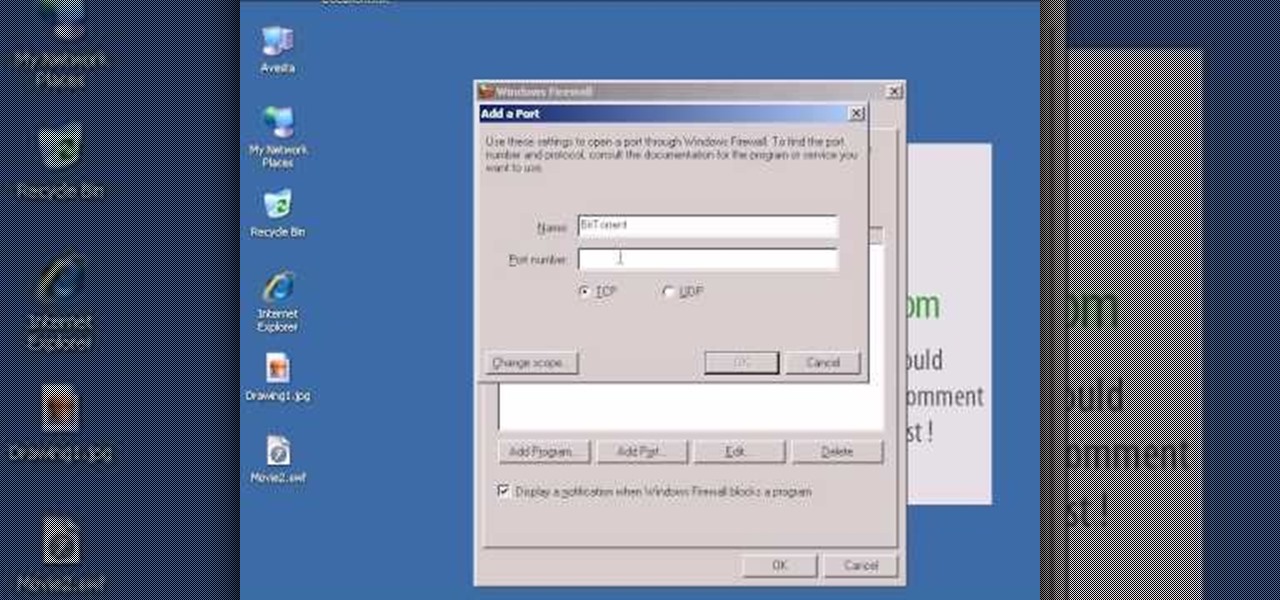
In this video tutorial, viewers learn how to open ports in Windows firewall. Begin by clicking on the Start menu, go to Control Panel and select Windows Firewall. In the Windows Firewall window, click on the Exceptions tab. Here, users are able to add, edit or delete exceptional ports. To add ports, click on Add Ports. Now name the port, input the port number, select the port type and then click on OK when finished. This video will benefit those viewers who use a Windows computer, and would l...

In this video, we learn how to bring out the blue in your eyes using makeup. To start, put black eyeliner on the waterline of your top eye, only using a very thin layer. Next, grab a light blue eyeliner and apply it under the black eyeliner on your bottom waterline. After this, apply the light blue eyeliner to the top of the eye above the black eyeliner layer. You can use any type of blue eyeliner you like, just make sure it's very light blue. When you're finished, apply mascara to your eyes ...

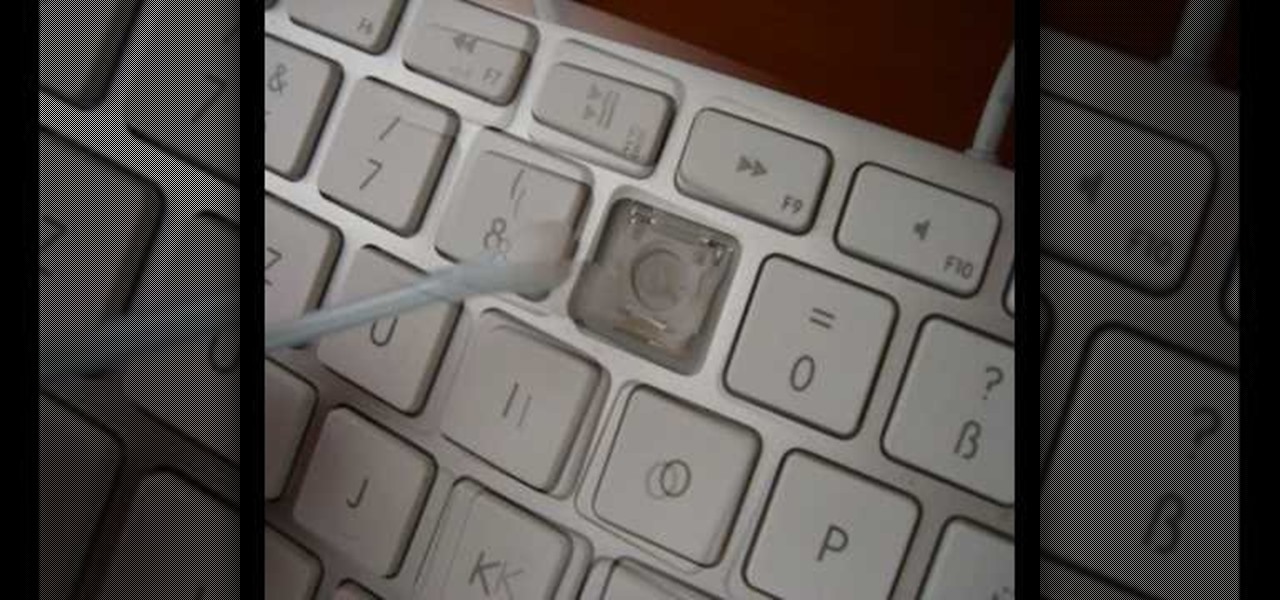
In this tutorial, we learn how to clean an aluminum Apple keyboard. You will need: soap , q-tips, and water. First, remove each individual key to your keyboard gently, then, clean off the keys and the inside with a mixture of soap and water on a q-tip. When finished, place your key back onto the keyboard. Repeat this step for your entire keyboard, making sure to be gentle when you remove and replace the keys back on. Don't do more than two at a time or you run the risk of forgetting where the...

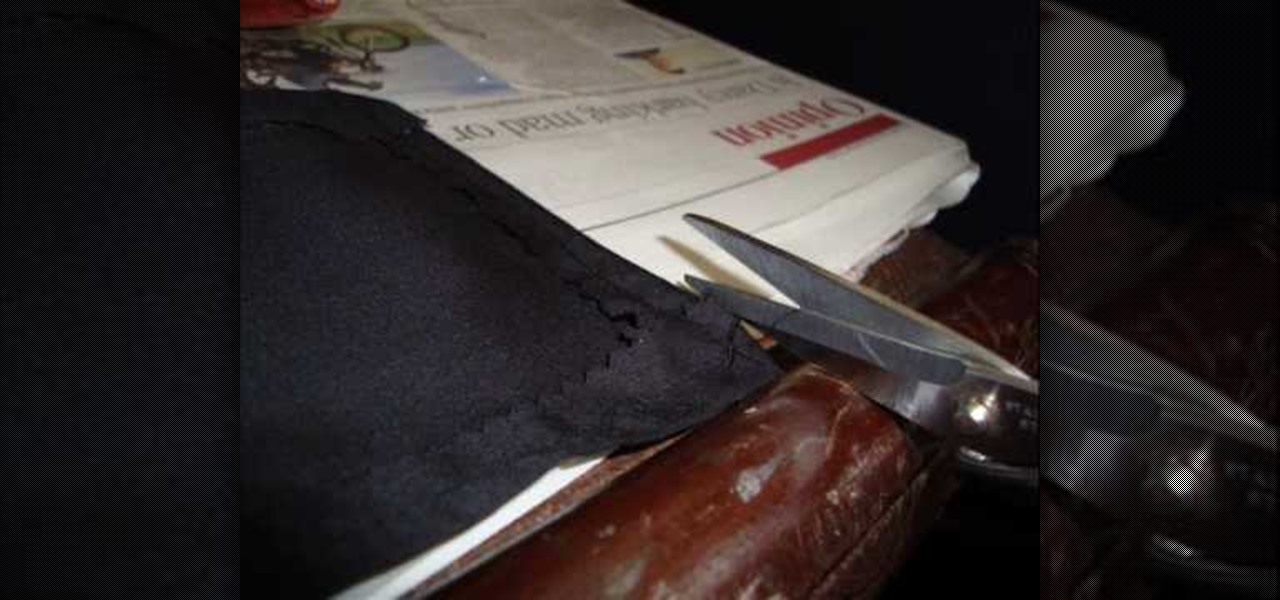
In this tutorial, we learn how to make ring skirts. First, cut out for 22.5 x 5.5" shapes out of black polyester. Next, cut a 21.5" x 4.5" rectangle out of cardboard. After this, iron down all your shapes so they are flat, then place the cardboard on the other shapes so you can see material sticking off of four sides equally. Next, fold the excess fabric onto the cardboard and then iron it down, then pin it on all sides. After this, sew the sides with a sewing machine and remove the pins. Do ...

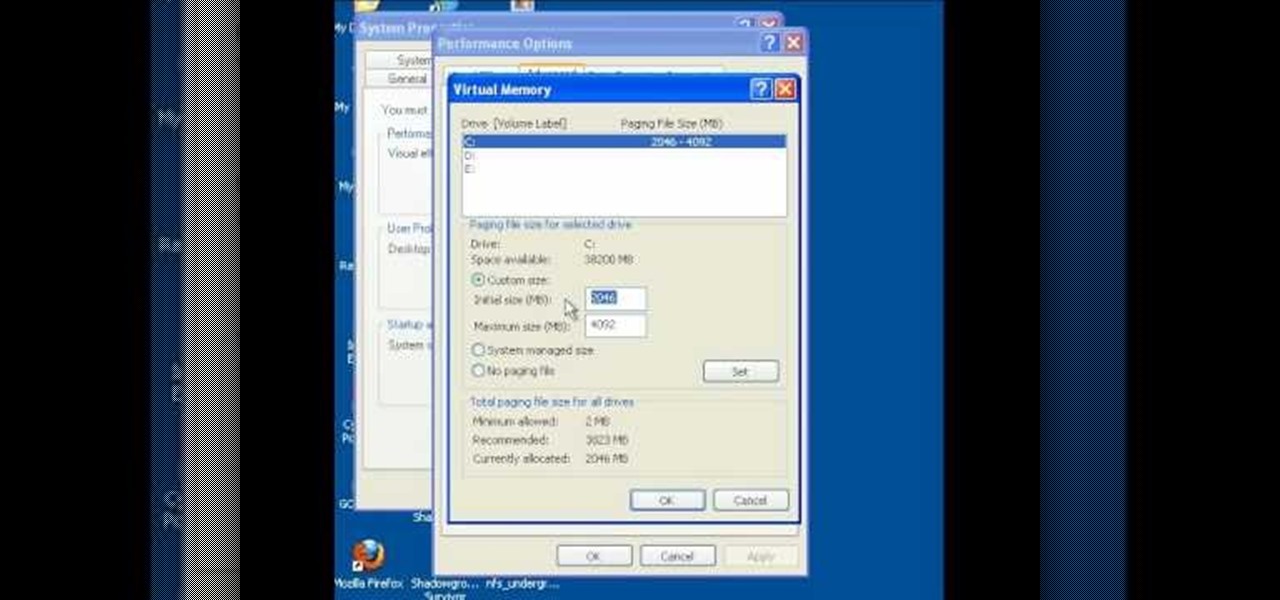
In this video tutorial, viewers learn how to increase the virtual memory in a Windows XP computer. Begin by clicking on the Start menu. Then right-click on My Computer and select Properties. Now click on the Advanced tab and click on Settings under Performance. In the Performance Options window, click on the Advanced tab and click on Change under Virtual Memory. Change the Initial Size to 3000 and Maximum Size to 5000. Finish by click on Set, press OK and restart your computer. This video wil...


