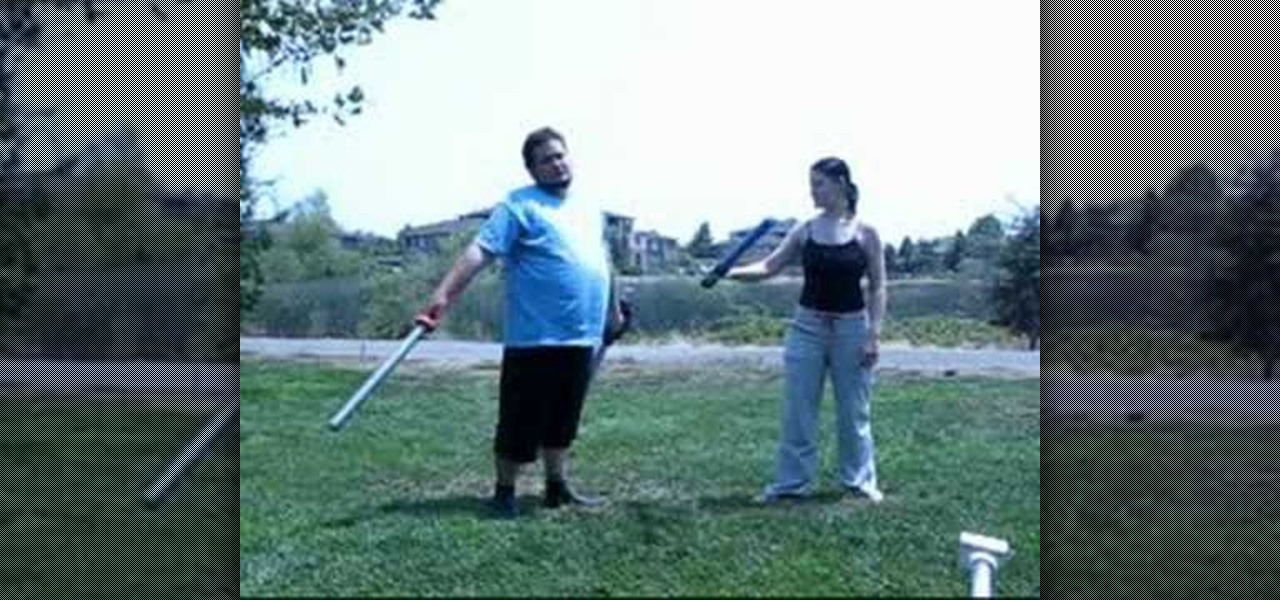
How To: Boffer sword fight with duel wielding
Duel boffer sword wielding! It's twice as defensive, twice as offensive, and twice as aggressive.


Duel boffer sword wielding! It's twice as defensive, twice as offensive, and twice as aggressive.
So, you're into LARPing? Need a new foam boffer? The Knights of Gray show you in this two-part video tutorial, how to make a simple and basic boffer sword.

Live action role-playing. LARP. LARPing. The battlefield. Boffer. Sword fighting. DEAD. Do these terms ring a bell? They should, if you're anywhere but heaven.
The Knights of Gray are back, and they're are here to teach you some boffer sword fighting drills to practice with for your upcoming LARP events.
This lesson in boffer sword fighting with the Knights of Gray is the most important of them all! This video tutorial for all you LARPers out there focuses on the rules and the code of foam boffer weapon fighting.
Thrusting, thrusting, thrusting... No, we're not talking about sex here, we're talking about LARPing. To be specific, boffer sword fighting.
A lot of you probably don't know what a boffer is. That means a lot of you probably don't know what LARPing is either. Well, get your head out of your *** an listen up...
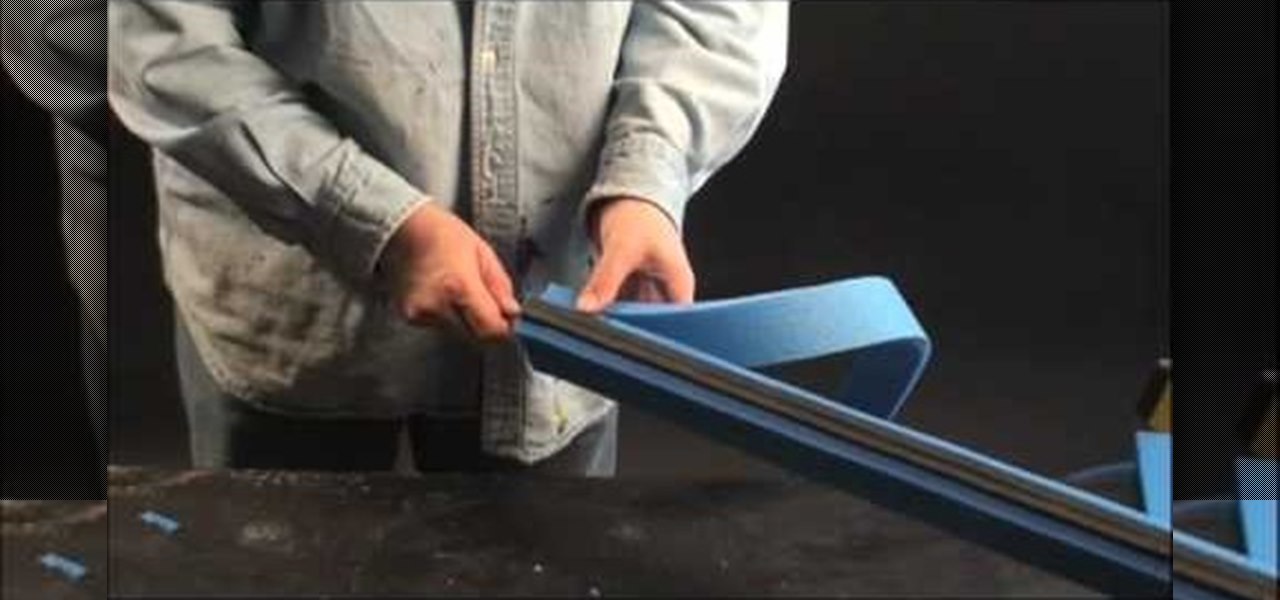
If you're a LARP maniac, or just a fan of LSD-themed (Latter-day Saint) games and activities, then you can't miss out on this. Check this video out to learn how to make a foam-padded sword that is easy and inexpensive. This level three boffer sword will take care of your LARPing opponents like Chuck Norris. If you're a fan of live action role-playing, then this boffer sword is the best of the best for kicking serious ass.
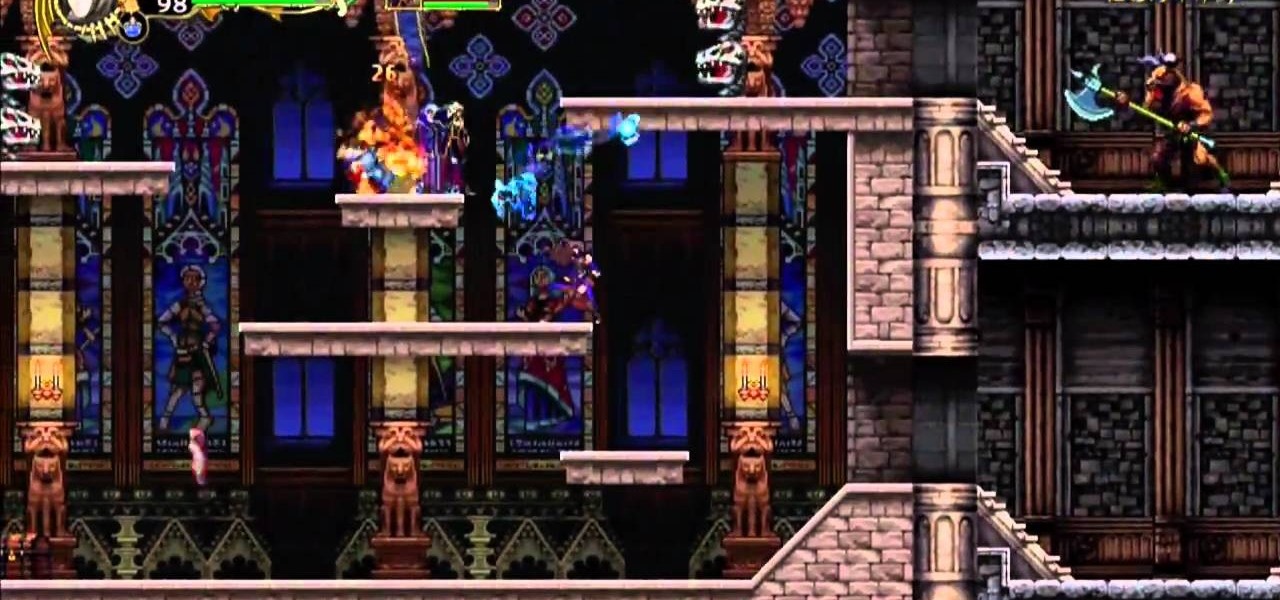
In this video game walkthrough, you'll see the gameplay for Castlevania: Harmony of Decay on the Xbox 360, available exclusively from the Xbox Live Arcade (XBLA). There's tons of vampire smashing action in this 2D action-adventure game, plus you can play with up to six other players on Xbox Live. Watch all of the parts in this Mahalo gaming walkthrough, and check out their site for more information. And check out all of the other Castlevania walkthroughs.
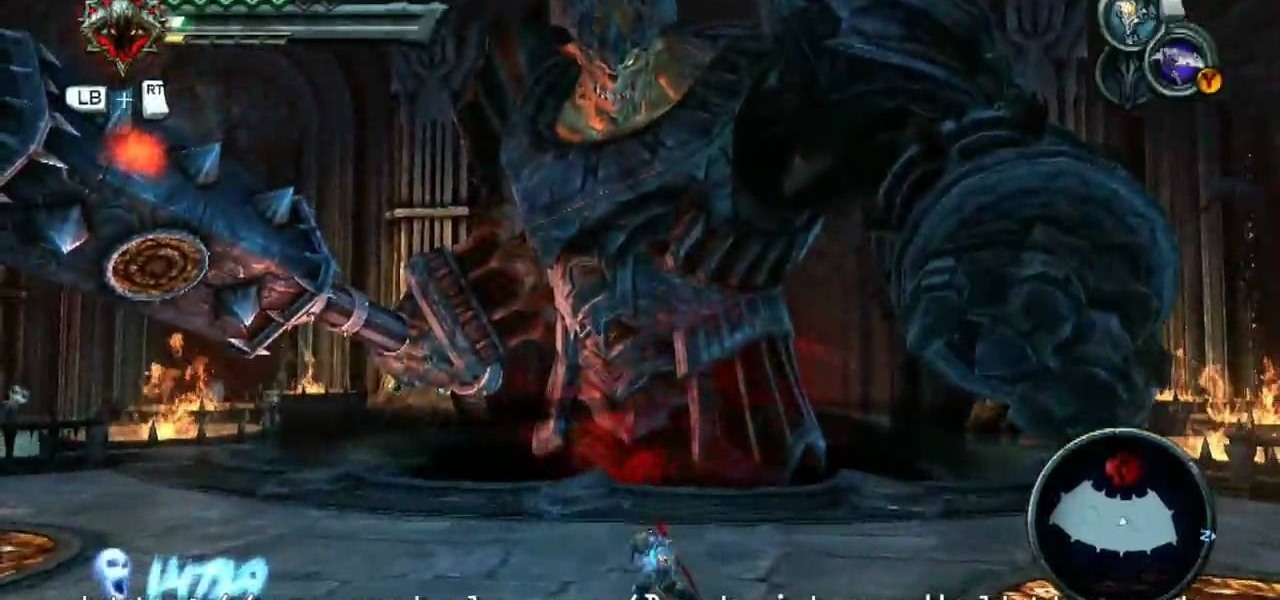
Fighting Straga is the main boss fight In the Xbox 360 game Darksiders - The Black Throne. Can you beat him? Quickly shoot a portal onto one of the floor stations in front of Straga. Watch his mace carefully and you'll see another orange portal point on the side of it. Shoot a second portal onto the mace then wait for Straga to raise the mace back behind his head. When he does this, drop through the portal you made on the ground so your pop out of the portal on his mace and land on the platfo...
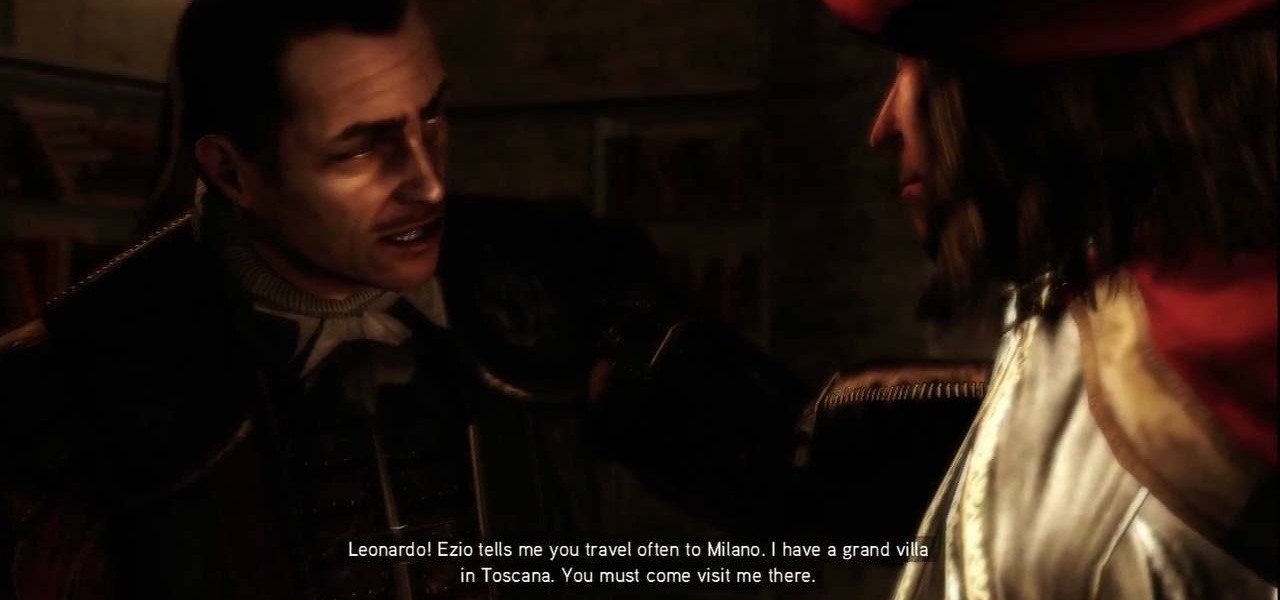
The Battle of Forli: This is downloadable content that fills in the missing pieces and has Ezio defending the town of Forli from the Orsi Brothers. There are six new memories and Leonardo's flying machine makes a return allowing players to fly it across Romagna. Ezio is joined by Machiavelli and Caterina Sforza to protect a Piece of Eden from the Templars. For more info, watch the whole gameplay.

Mission 10 on the Sony PSP takes you through finding the ship for Kyrenia to deliver Alexander's message to the crewmen without being discovered. The path to the Crewman is relatively free of guards if you stick to rooftops as much as possible. Then, leap down to the docks below. The manifest is located on the big ship docked at the Port. Take the ladder down to the deck below and follow your nose to the manifest. With it now in your possession, take it to Alexander. For more info, watch the ...
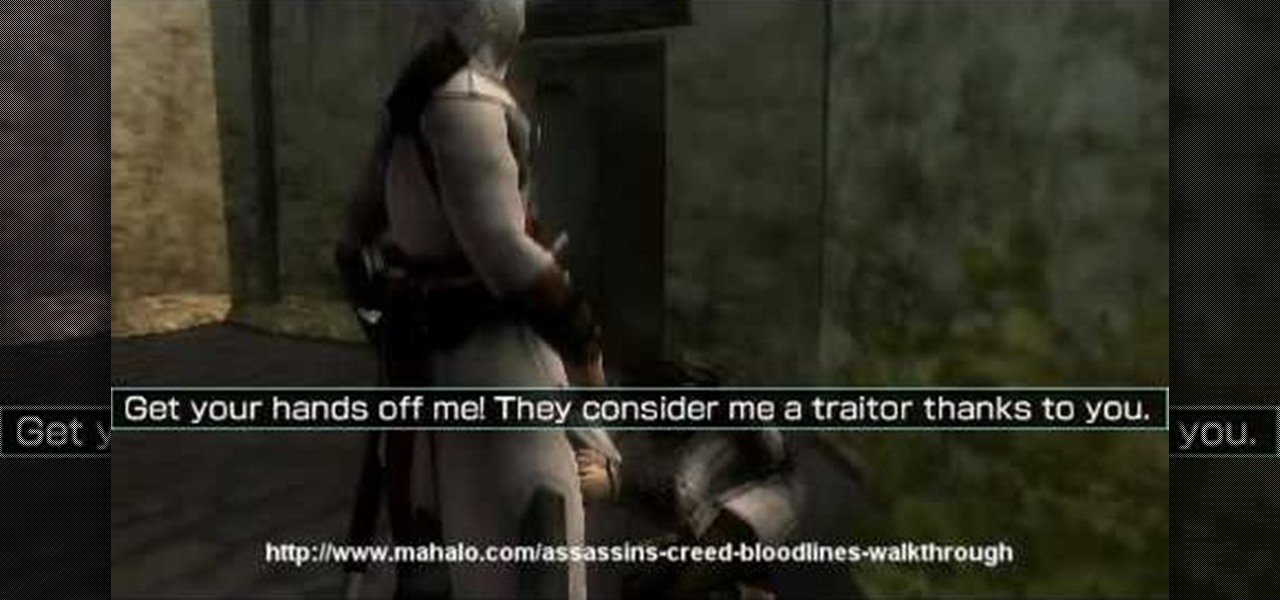
In Mission 9 on the Sony PSP, you just need to recapture Maria. Chase after Maria and her captors. You will end up fighting off these soldiers. Once they've fallen to your sharp blade, Maria rejoins you, and you receive a new objective. For more info, watch the whole gameplay.
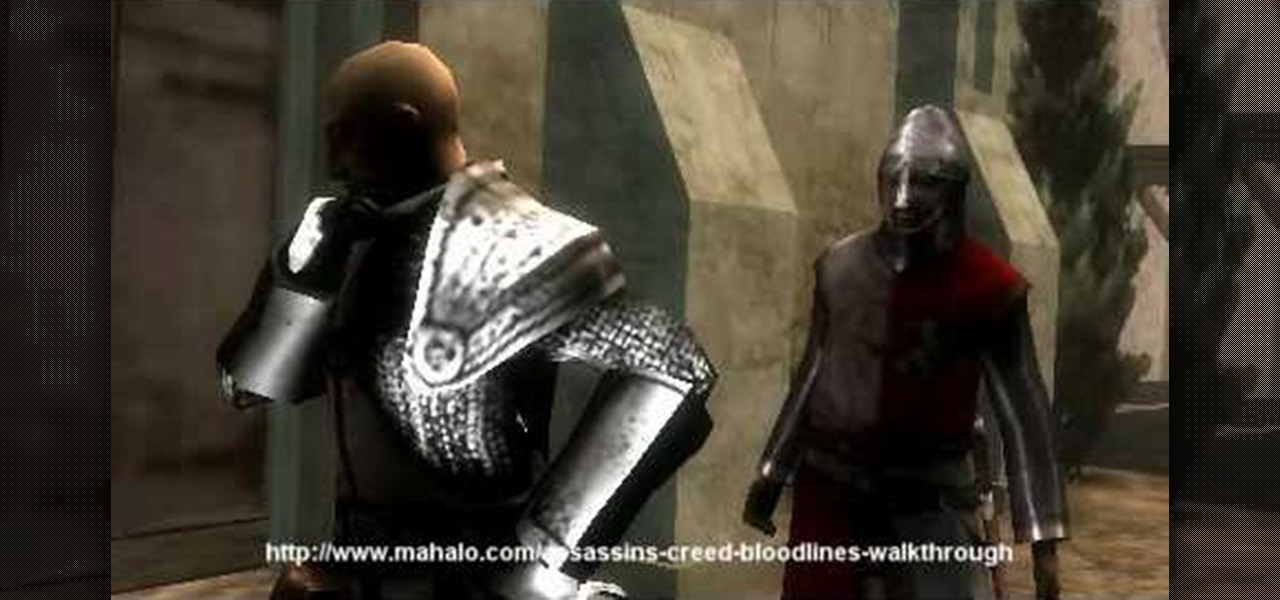
Defeat the Templars in Mission 8 on the Sony PSP and stop the attacks on the safe house. Altair doesn't really catch a break, although the Safe House assault squad comprises only six Templars. Slay them all. For more info, watch the whole gameplay.
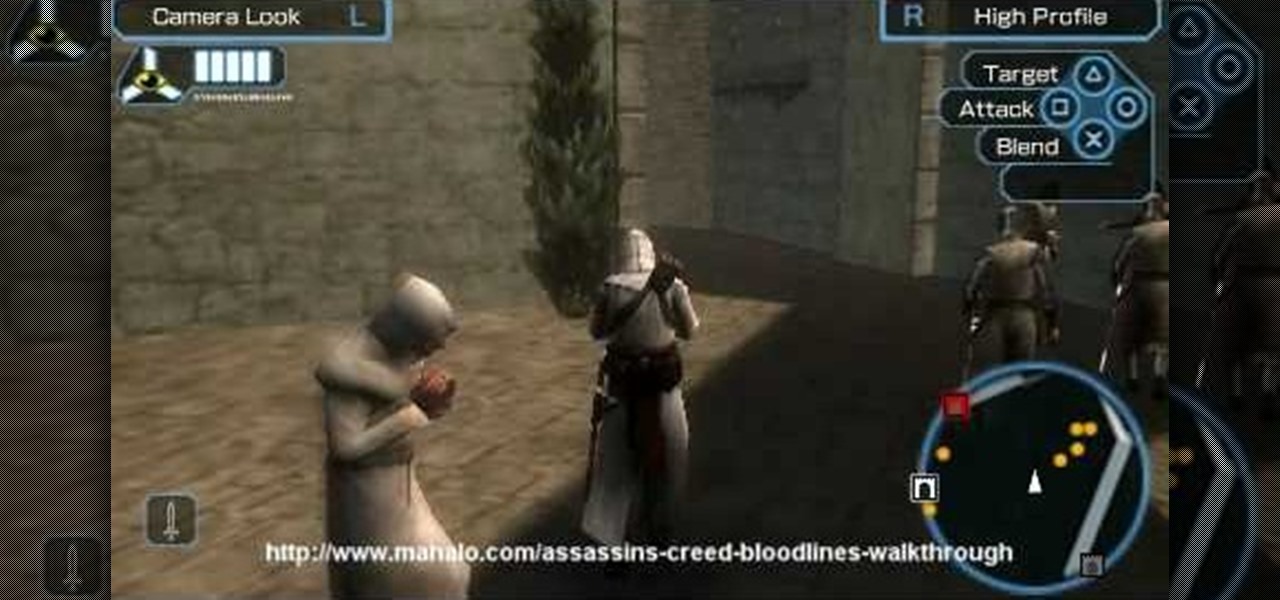
In order to escape the Limassol Castle, you simply need to return to the castle entrance in Mission 7 on the Sony PSP. Ignore all the pursuers and just keep running back toward the Castle Courtyard. From there, mosey on over to the Marketplace.
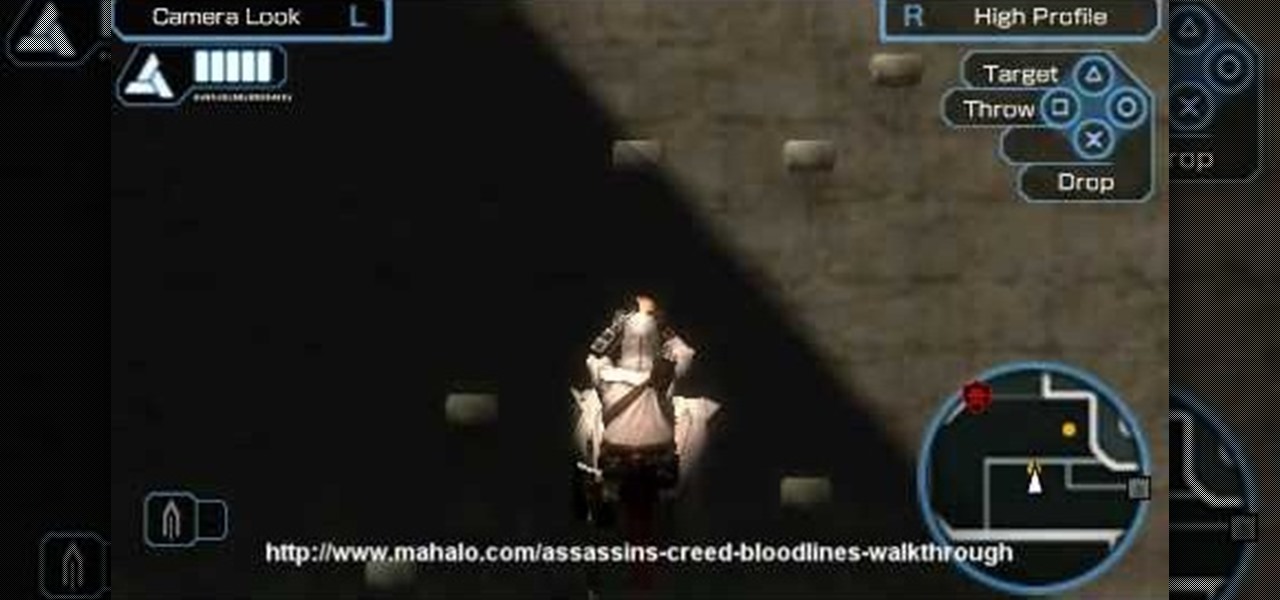
See how to infiltrate the Limassol Castle and kill Frederick "The Red" in Mission 6 on the Sony PSP. Guards patrol almost every corner of the Limassol Castle Courtyard, and soldiers armed with sturdy-looking shields block the normal route into the castle. Looks like you will have to find an alternate way. That path reveals itself quickly enough in the form of protruding pieces of bricks along the wall, allowing Altair to gain suitable height above the ground. Jump on the merchant stand roof f...

Find Osman in the Cathedral Square to deliver Alexander's message to him in Mission 5 on the Sony PSP. Make your way to the Cathedral area, at which point the red delivery icon pops up and denotes Osman's rendezvous point. The only problem is that the area is swarming with guards and that Altair must make successful contact without being detected. Climb up the first buildings in front of you and hop across toward the icon. Silently dispatch the archer on the roof and then head around to the o...

Learn how to locate the assassinate the Templar Captain of the Guard. Locate him in the Limassol Marketplace in Mission 4 on the Sony PSP. The Templar Captain is as good as dead with his location so boldly announced on the map. A word of caution: if you make a ruckus approaching him, he will be backed up by annoying archers on the rooftops. Once you've found him and carried out the deed in any way you see fit, return to the Safe House for the next objective. For more info, watch the whole gam...
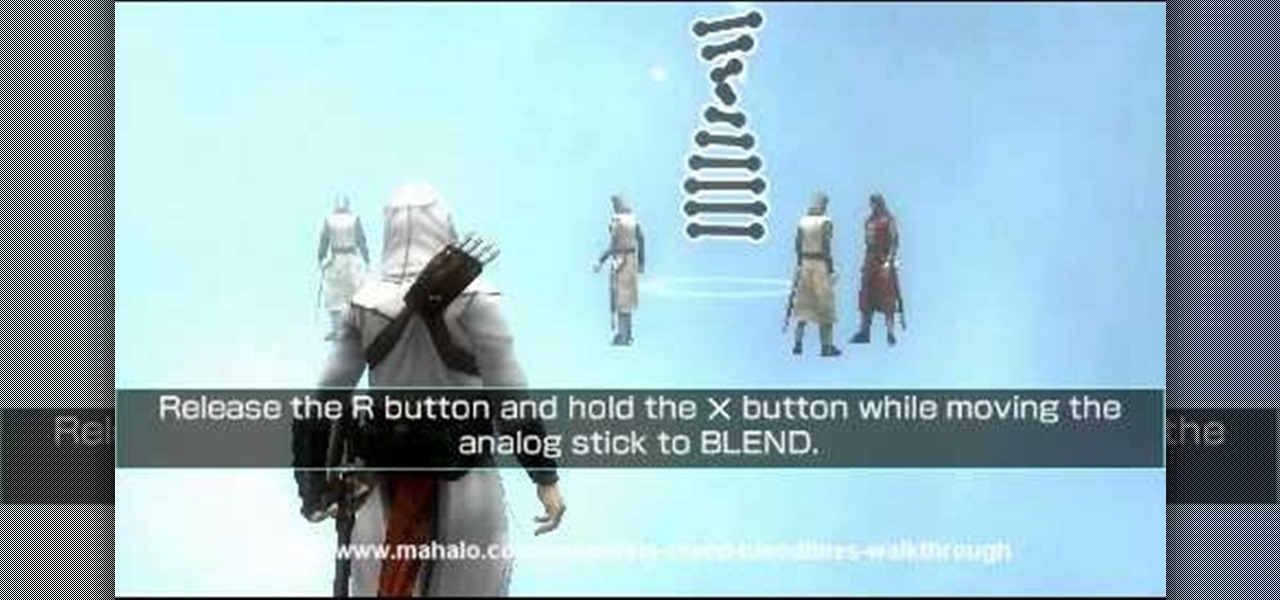
Successfully complete the introduction to gameplay with Mission 1 on the Sony PSP. This is the brief episode of playing the game. See the introduction of the tale and learn the controls of the game. If you don't properly complete this mission, you won't know how to complete the rest. For more info, watch the whole gameplay.
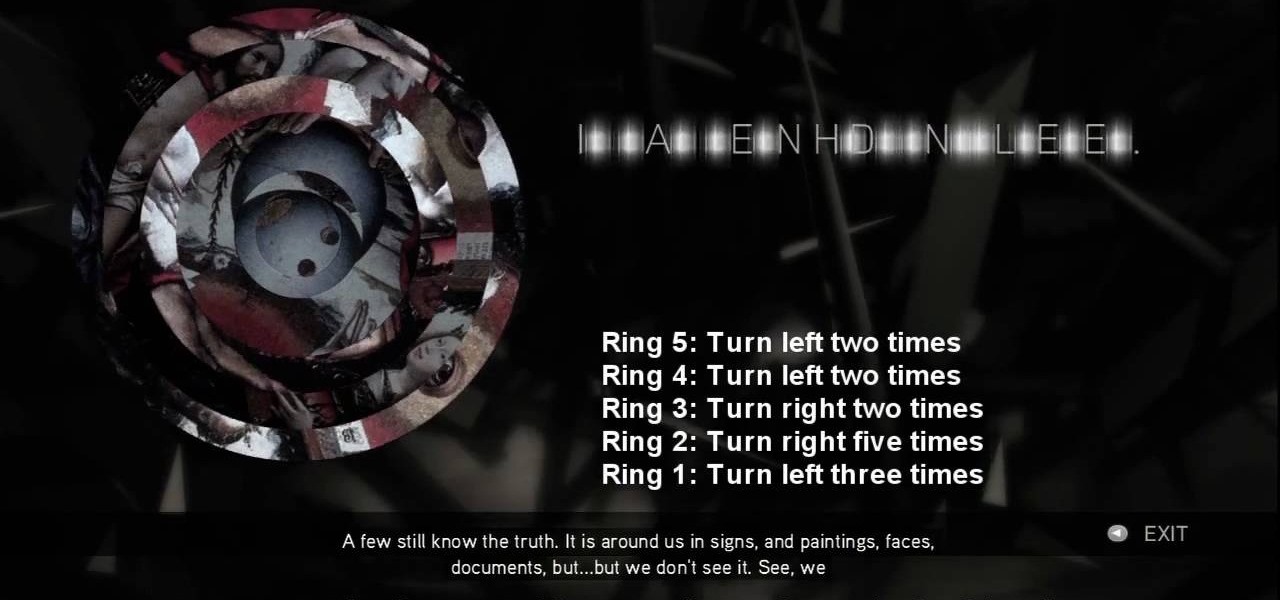
No need to figure out the 20th puzzle, entitled "The Origin of the Species", in Assassin's Creed 2. Here's the answers! Puzzle wheel: Start by turning the fifth ring right ten times, then turn the fourth ring left twice. Then rotate the third (and first) rings right twice, the second ring right five times and the first ring left three times. Image 1: Highlight the eye at the top of the painting. Code wheel puzzle: Ignore the numbers and focus on the Assassin motto: “Nothing is true, everythin...
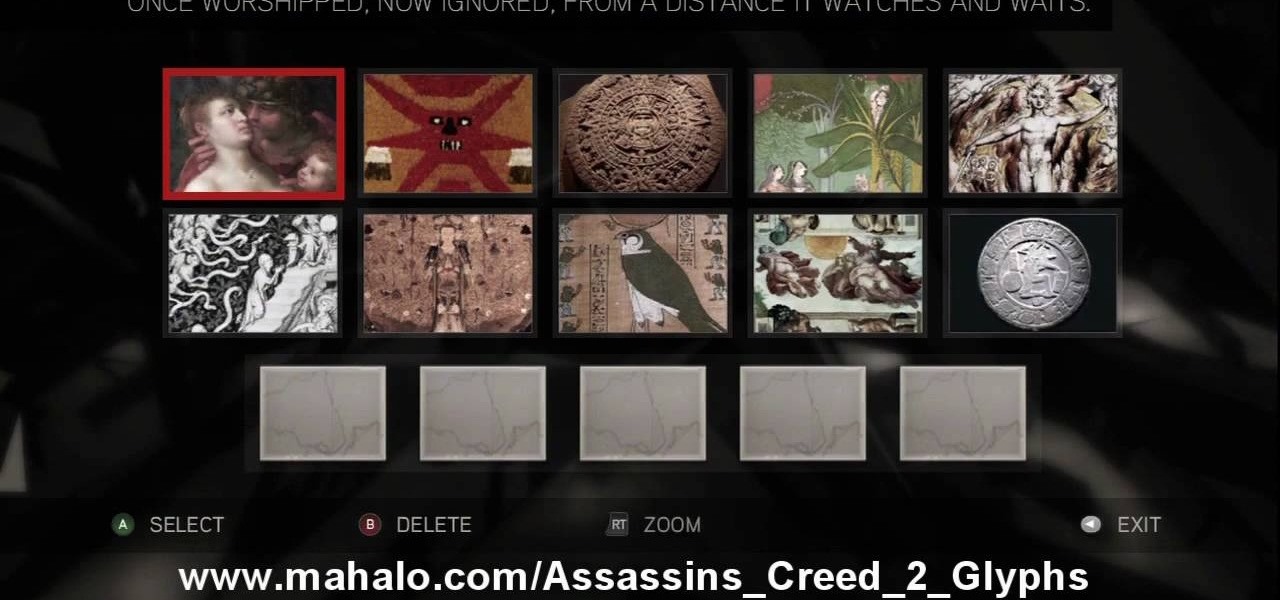
Here's the answers to the 19th puzzle, titled "The Fourth Day", in Assassin's Creed 2. Image set: What used to be worshipped by every primitive culture under the…? That’s right, the sun. Pick the five images that focus on it. Image: Find the tiny image of Earth in the lower-left quadrant of the sun. For more info, watch the whole gameplay.
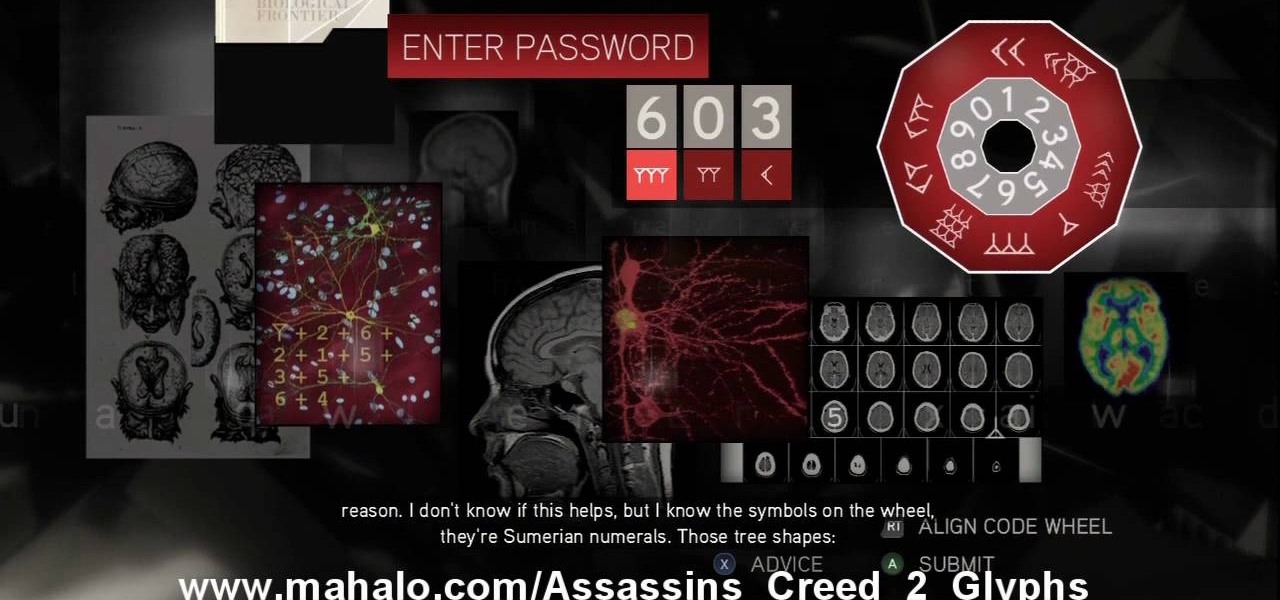
The 18th puzzle is called "Synapses". See how to solve it in Assassin's Creed 2. Code wheel puzzle: Your first clue is to line up 5 with a single tree-looking symbol. The key here is the weird-looking equation on the left, which offers a hint as to the progression of the symbols.
Figure out the 17th puzzle, entitled "The Bunker", in Assassin's Creed 2. Code wheel puzzle: Here’s a tricky one; your clues are “<” and “2,” and the only advice you’ll get from your handlers is that maybe there’s “something we can count” on the strange symbols. In this case that “something” is the number of times each symbol bends sharply. Don’t expect consistency across the wheel on this one; just take a look at what symbols flank the blank spaces and pick a shape with the number of bends t...
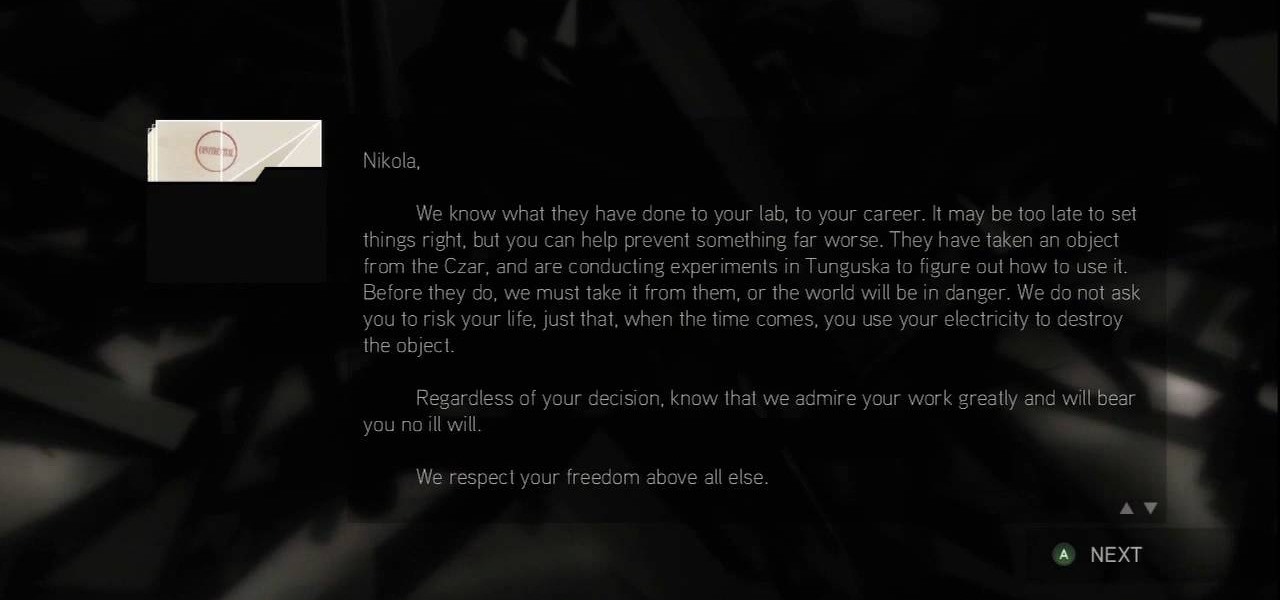
This one's pretty easy. Here's the solution to the 16th puzzle, entitled "The Cavalry", in Assassin's Creed 2. Image 1: Just move the cursor to the word “Tunguska.” Image 2: Move the cursor onto the staff and drag it onto Tesla’s photo. For more info, watch the whole gameplay.
Get all of the info on the 15th puzzle, entitled "Guardians", in Assassin's Creed 2. Puzzle wheel: Seemingly every other ring is linked here, so we’ll cut straight to the chase: Turn the third (and fourth) rings right twice, the fifth (and first) right four times, the fourth (and first) right five times, the fifth (and first) left five times and the second left five times. Finally, move the fifth (and second) rings right five times. Image: Another gimme – just move the Assassin logo over the ...
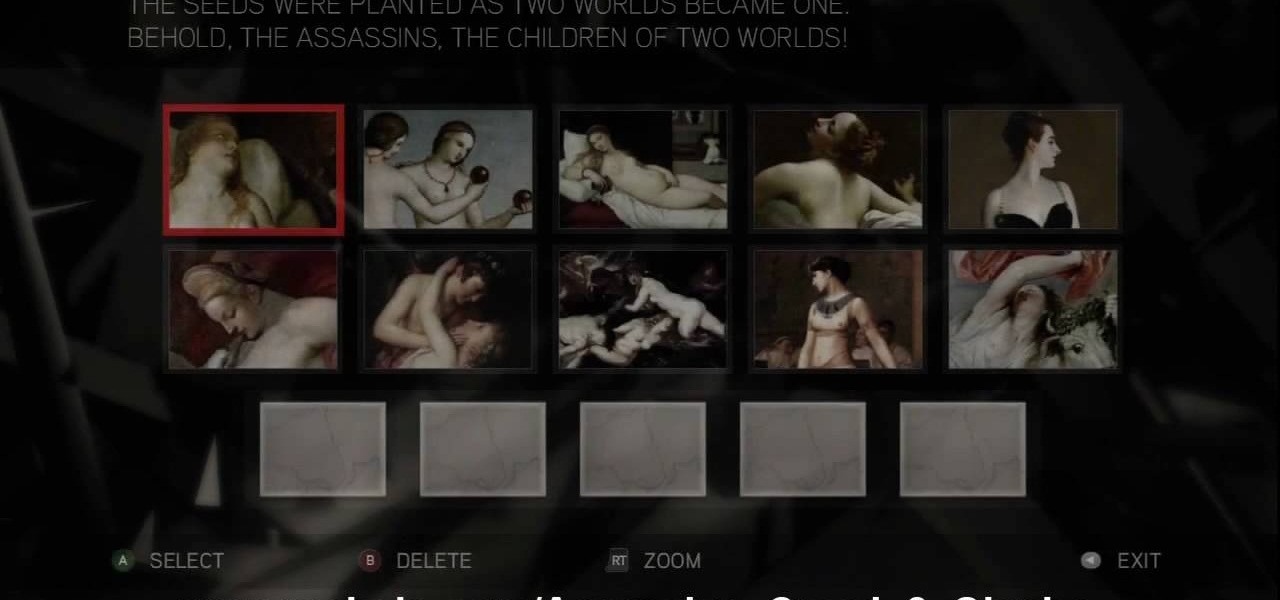
The 14th puzzle, entitled "Bloodlines", isn't really that hard in Assassin's Creed 2. Set 1: Highlight the images that depict women and gods in amorous entanglements (especially if those gods are disguised as animals). For more info, watch the whole gameplay.
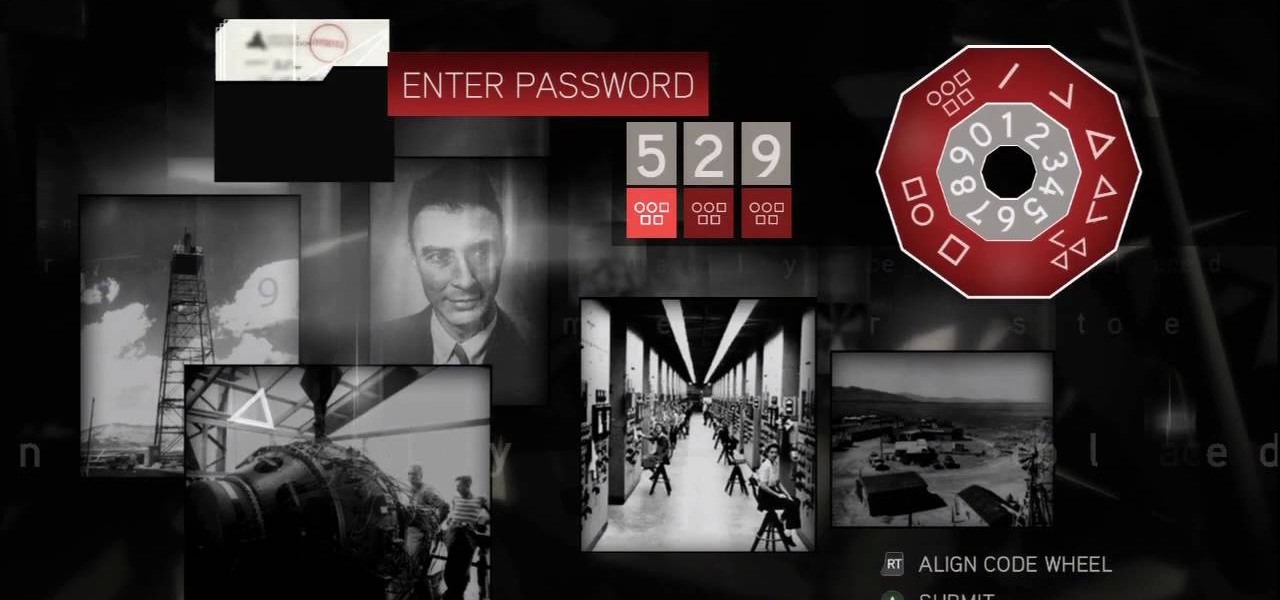
Solve the challenging 13th puzzle, entitled "I Am Become Death, the Destroyer of Worlds", in Assassin's Creed 2. Code wheel puzzle: This one’s even trickier than the last one; starting with the hint that 9 (next to the tower) equals “triangle” (up and to the left from the bomb), you need to figure out which symbols would fill in the blank spots on the wheel, going by the symbols next to them. Image 1: Just hit the button. It’s not hard. Image 2: Use the Geiger-counter clicks to guide you. For...
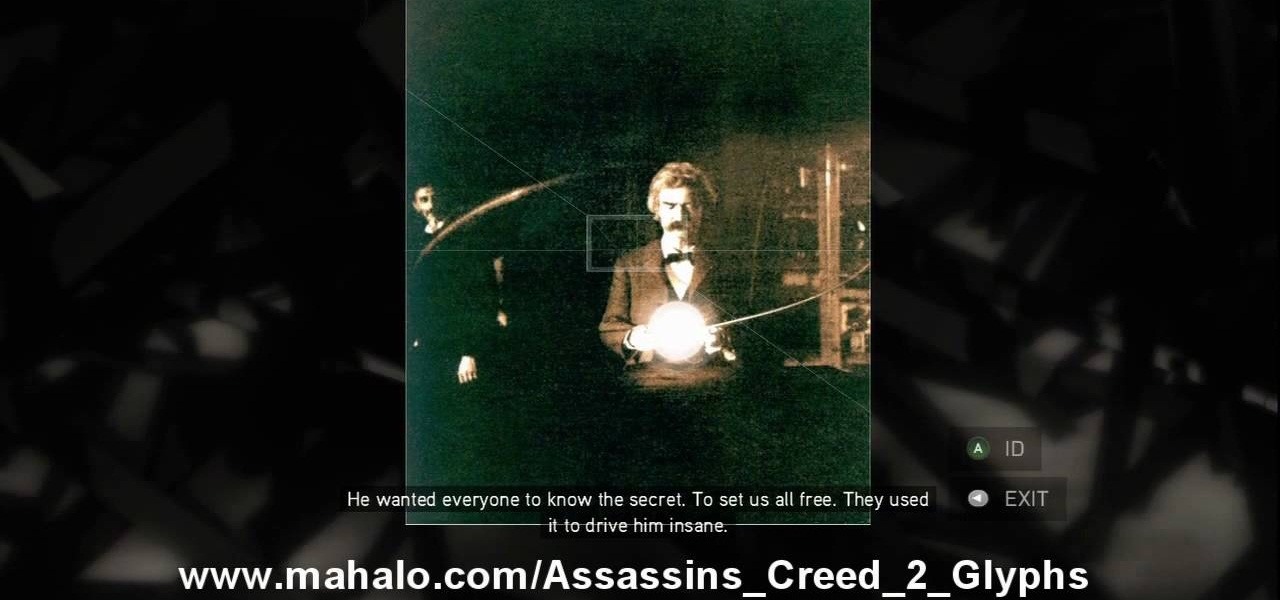
This is the 12th puzzle, entitled "Titans of Industry", in Assassin's Creed 2. Code wheel puzzle 1: The key here is in the “4=1” on the blueprint at the left of the screen. Line up the red 4 over the gray 1 and input the following code: 917240. Image 1: This one’s the opposite of the light-bulb “puzzle” from before – just move the dollar sign over the bulbs to extinguish them. Image 2: Highlight the glowing ball at the center of the image. Code wheel puzzle 2: Your hints here are the “2” on t...

Find out how to solve the 11th puzzle, entitled "The Inventor", in Assassin's Creed 2. Image 1: Just move the lightning bolt over the bulbs to bring them to life. Image 2: Highlight the area just at the base of the tower, between the two windows, to find this hidden image. Image 3: Move the pointer onto Tesla’s lap. For more info, watch the whole gameplay.
Figure out the 10th puzzle, Apollo, in Assassin's Creed 2. Image 1: Highlight the lunar lander just down and to the left of the moon. Puzzle wheel: Another linked-ring rotation puzzle. Your job here is to align all the channels; do this by moving the fifth ring to the left six times, the second ring to the left four times, the fourth ring to the right three times and the third ring to the left five times. Then snap the first ring into place. Image 2: Move the cursor down between the flag and ...
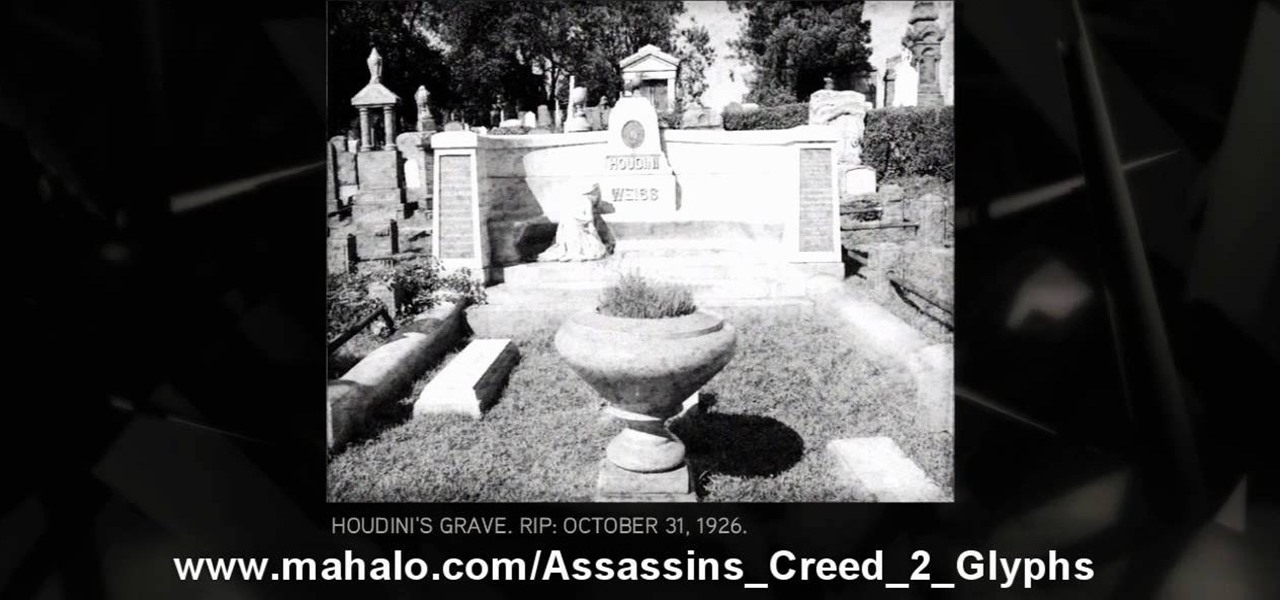
Execute the 9th puzzle, called Hat Trick, in Assassin's Creed 2. Image 1: Move the cursor onto Houdini’s torso. Image 2: Move the cursor over Gandhi’s heart. Code wheel puzzle: Your hint here is pretty obvious; there’s a big, glaring “6=1” next to Oswald’s picture. So move the red wheel so that the 6 is over the gray 1, and plug in the corresponding numbers. For more info, watch the whole gameplay.
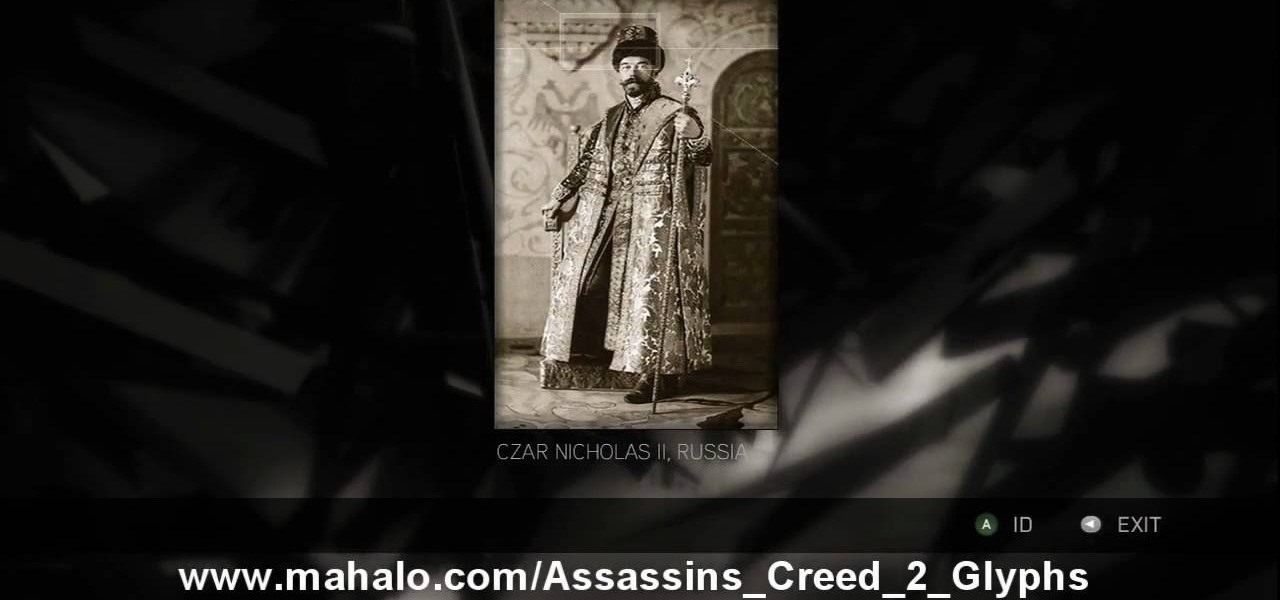
Learn about the 8th puzzle, titled Martyrs, in Assassin's Creed 2. Image 1: Highlight Czar Nicholas’ staff. Image 2: Highlight Joan of Arc’s sword. Image 3: Move the fireball to Joan of Arc’s portrait. Image 4: Move the photo of Rasputin onto Czar Nicholas’ portrait. For more info, watch the whole gameplay.
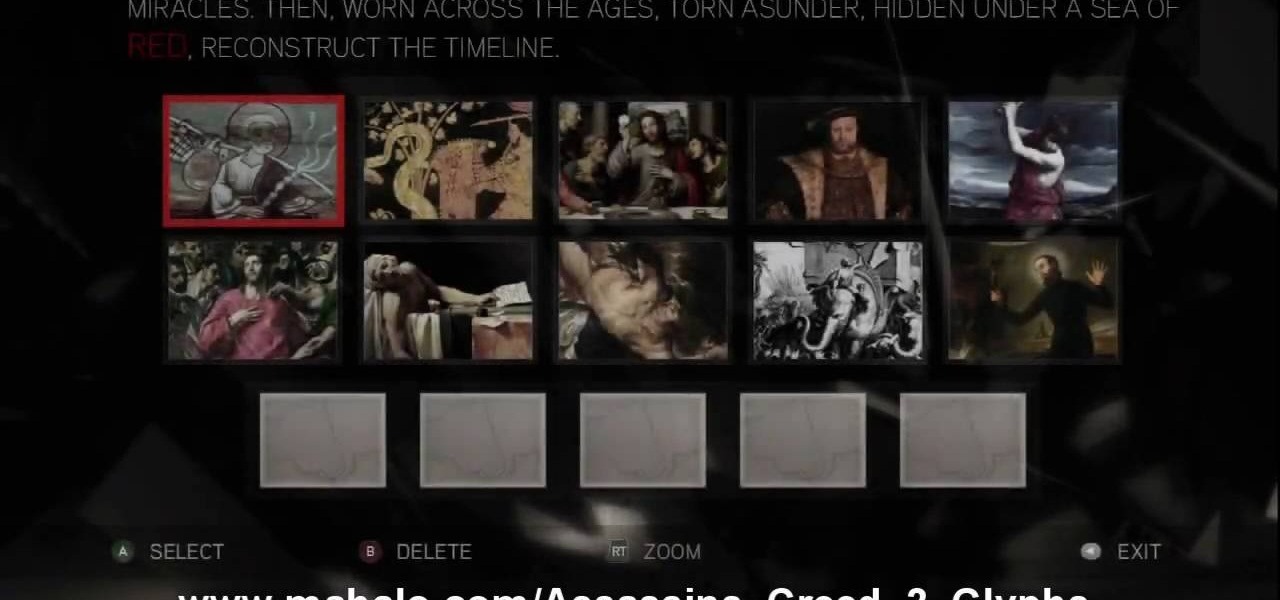
This is about the 7th puzzle in Assassin's Creed 2. Keep on seeking, and you should find… in the first image set, the key word here is "red", so pick the images in which that color shines the brightest. In the second image, highlight the area to the right of Jesus’ hips to reveal a Piece of Eden. For more info, watch the whole gameplay.
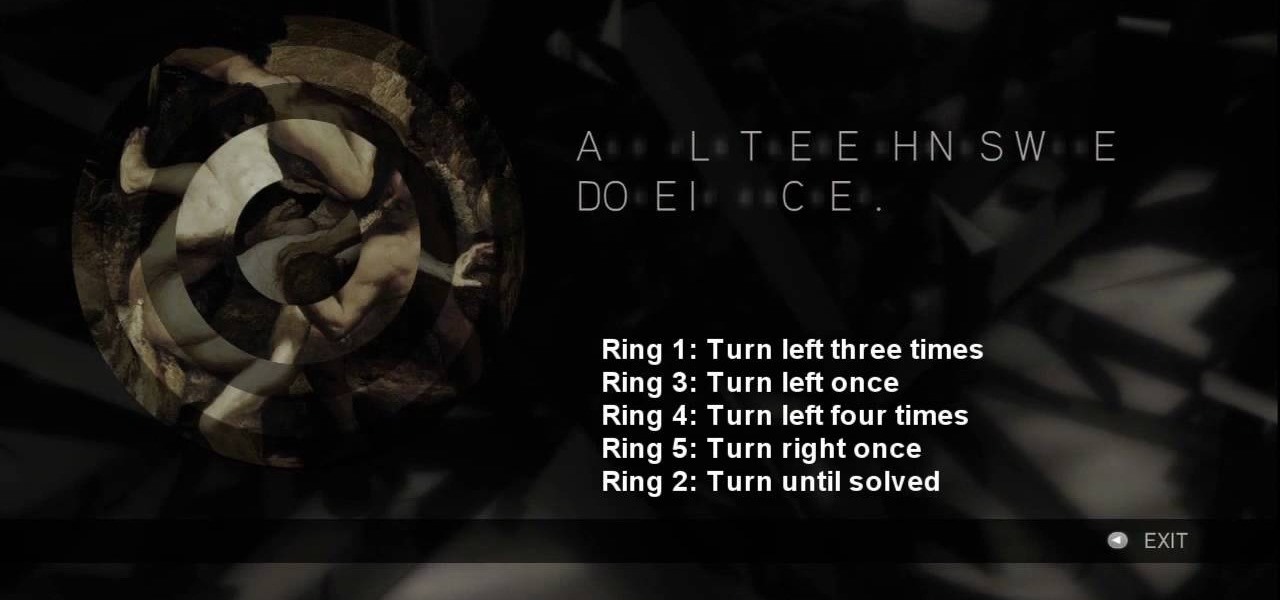
See the key to the sixth puzzle "Brothers" in Assassin's Creed 2. This is where things start to get tricky; while the first batch of ring puzzles were simple, these link some of their rings together, so that you can’t move one without moving another. For more info, watch the whole gameplay.

Find out the solution to the 5th puzzle in Assassin's Creed 2. For set one, the hint here is “cut,” so pick the five paintings that feature swords. For set two, what do the people in these paintings lean on? That’s right – pick out the images that feature staffs. For more info, watch the whole gameplay.
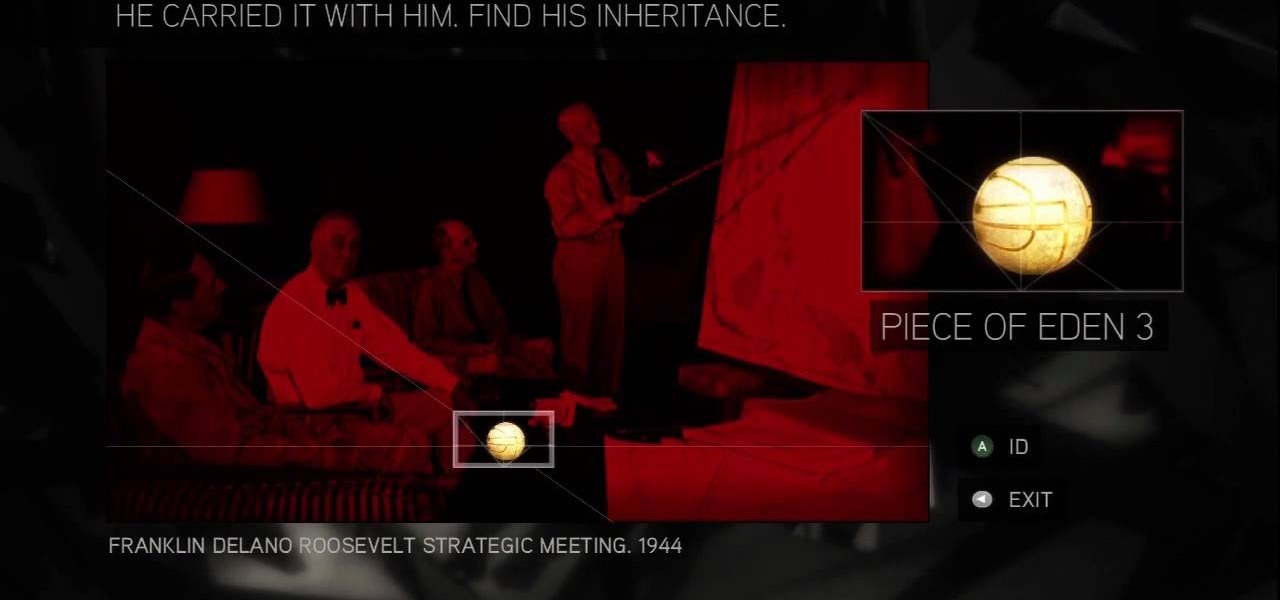
Get the answers to the 4th puzzle in Assassin's Creed 2. This is just another hidden-image puzzle. Find them in the barrel of the bazooka, on the helmet of the soldier crouching in the background, on a rifle held up just to the left of the officers, and in the hand of one of the monsters. For more info, watch the whole gameplay.
Find out about the third puzzle in Assassin's Creed 2. Another simple one – just highlight the spot in each image where the Apple is hiding. You can click around at random and maybe find a couple of hidden messages. For more info, watch the whole gameplay.
Try your hands at one of the first puzzles in Assassin's Creed 2. “Core?” “Pick?” That’s a dead giveaway right there. Just pick out all the paintings that contain apples. For more info, watch the whole gameplay.
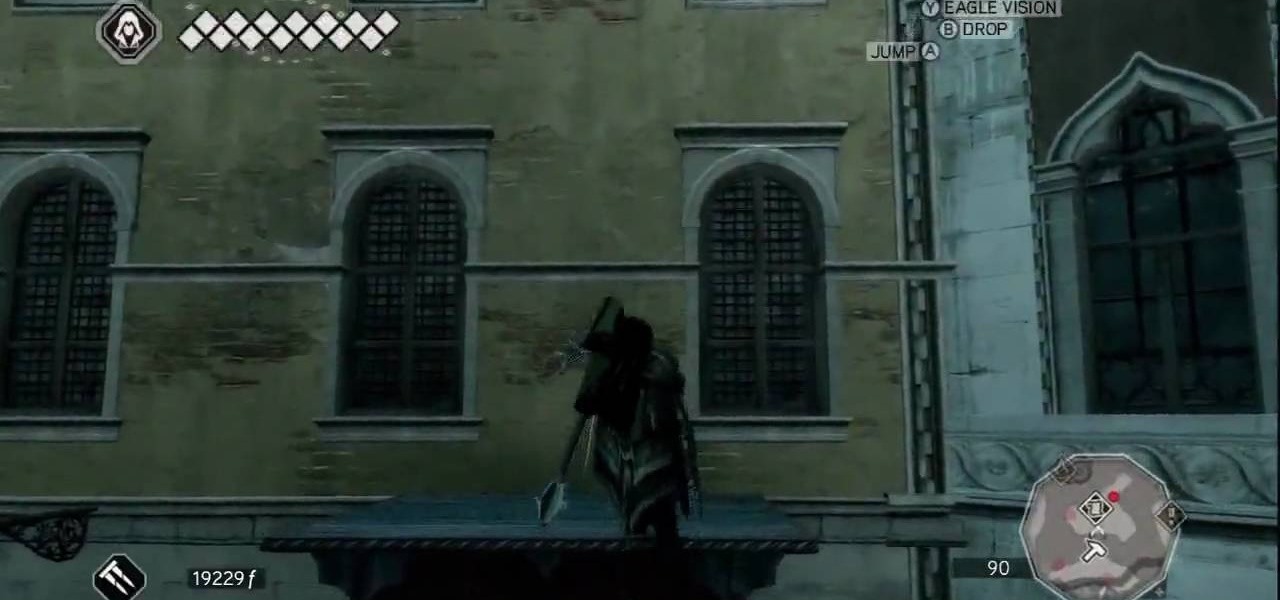
Visitazione's Secret: This is Tomb number 6. The grave of all graves. The entrance to the tomb is on top of the first level of the building's roof. You can pretty easily climb the building on the eastern face and then shimmy around to the north face and continue up. There's a small nook where the building's tower meets the first level of roof, and in there you'll find the entrance.
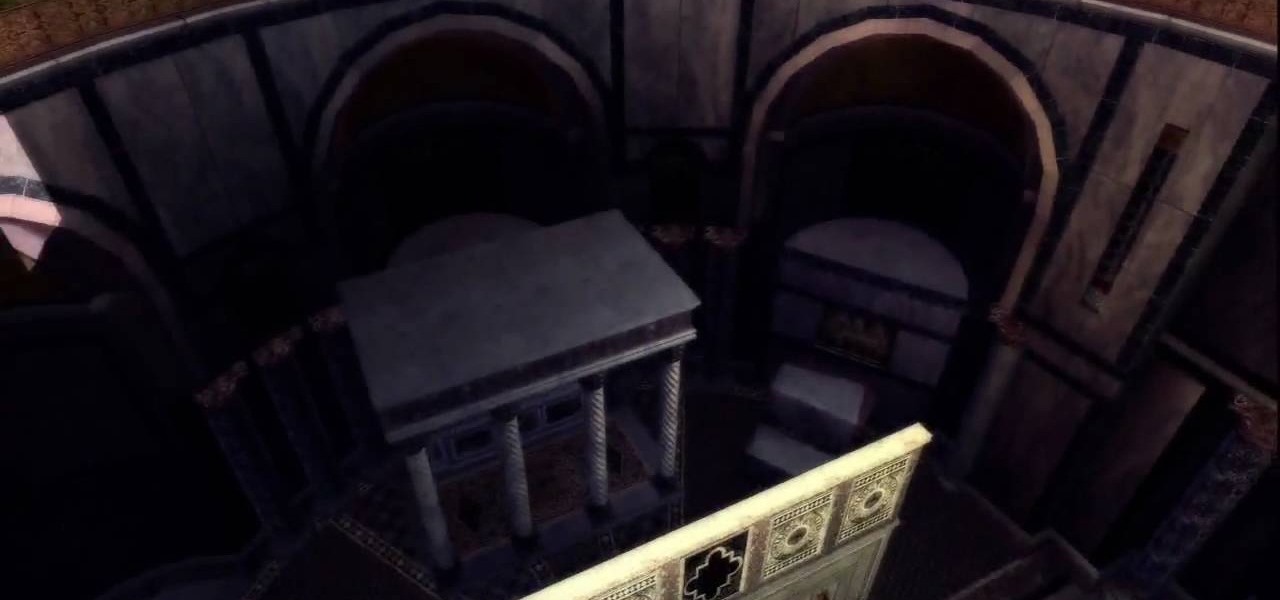
San Marco's Secret: Tomb 5 is not easy, so be careful. Getting into the Basilica without the use of Leonardo's flying machine is tricky. However, chances are that you've already penetrated the massive building's defenses in the mission If at First You Don't Succeed.... But if you haven't yet completed that mission, here's how to get to the tomb's entrance.