
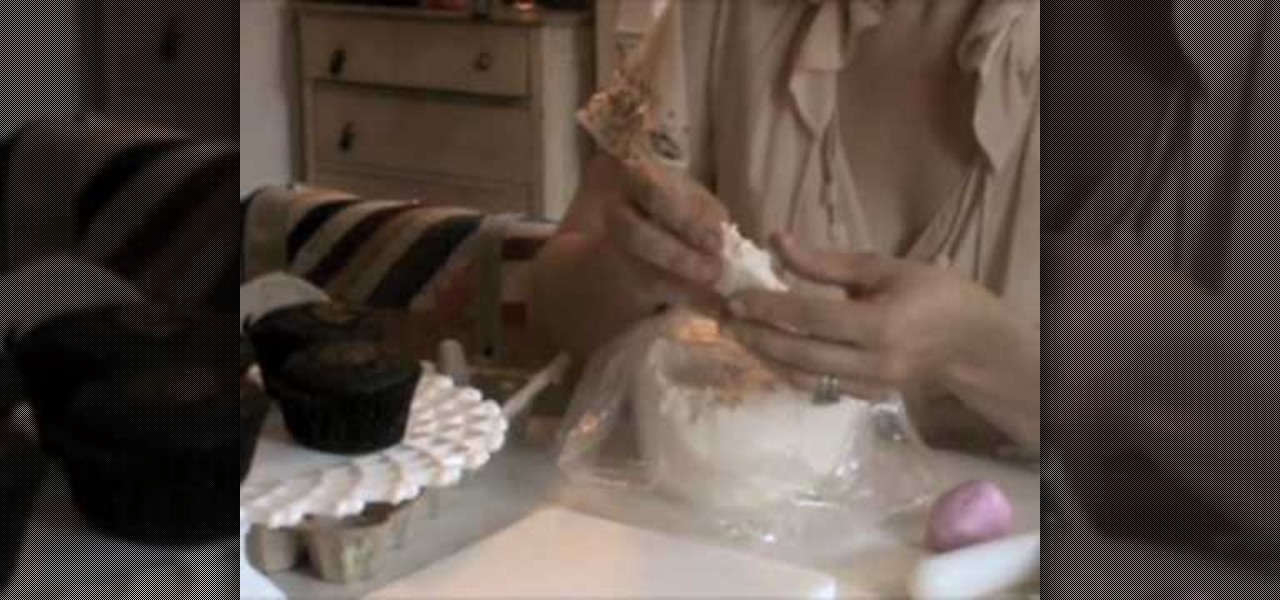
How To: Make chocolate espresso cupcakes with Design Sponge
In this video Sarah Magid shows how to make dark chocolate cupcakes with espresso butter cream along with sugar flowers as follows:

In this video Sarah Magid shows how to make dark chocolate cupcakes with espresso butter cream along with sugar flowers as follows:

Vivian shows us how to use the watercolor salt technique in this video. This is great if you want to make underwater paintings and have a coral effect on them. The salt will cause the painting to look more rough and you can see the salt on the paper and how it absorbed the color. To start, you will wet your cold pressed paper on both sides. Then, add your paint to your brush and continue to paint. Don't apply the paint too dark if you are going to work on it later. When finished, let this dry...
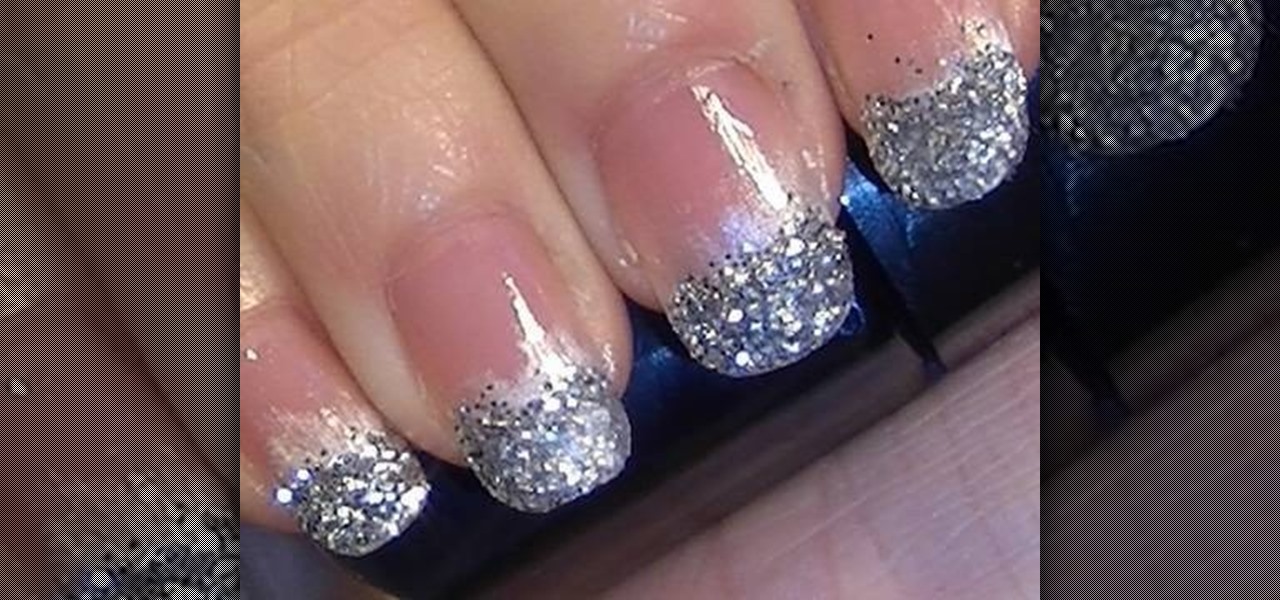
This video shows the viewer how to apply a silver glitter French manicure, a great party look. The creator suggests doing this by first covering the top third of the nails with clear nail varnish. She then dips the still wet nail into a tub of cheap glitter, standard glitter purchase from a local craft store. The using a fan brush she removes the excess glitter. To finish the look she applies a layer of transparent topcoat. This step is essential as it stops the glitter from falling off and g...
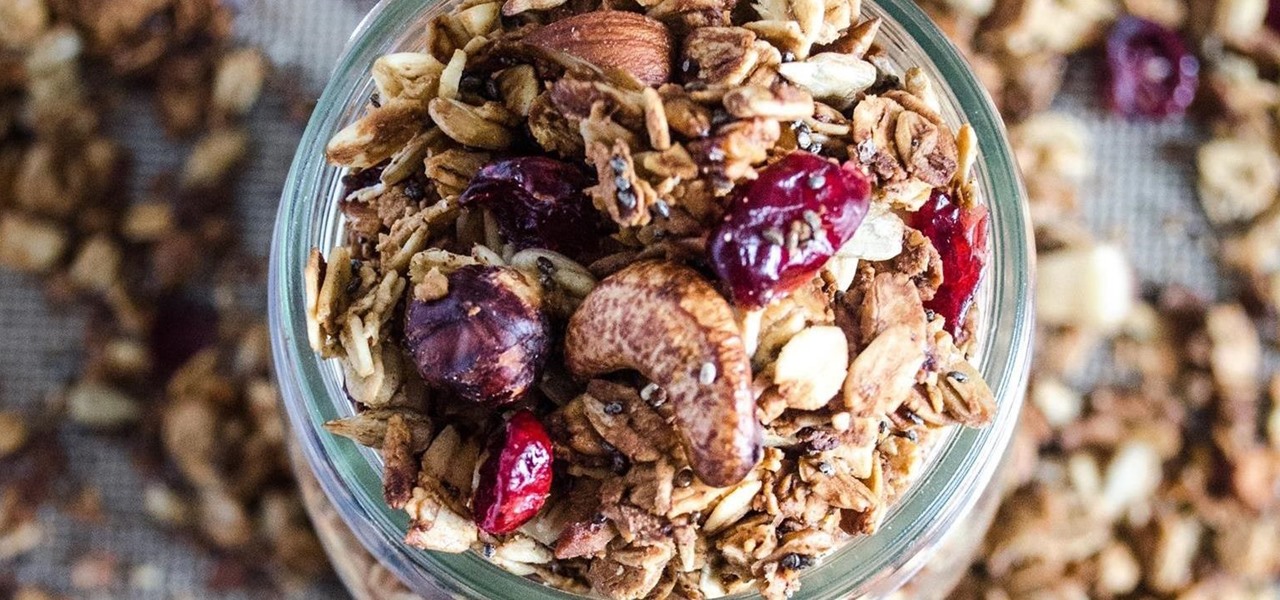
There are literally hundreds of granola recipes floating around the internet—but I can tell you right now that they're all completely unnecessary. You don't need a recipe to make granola; I've been making granola for years and have never once used one!
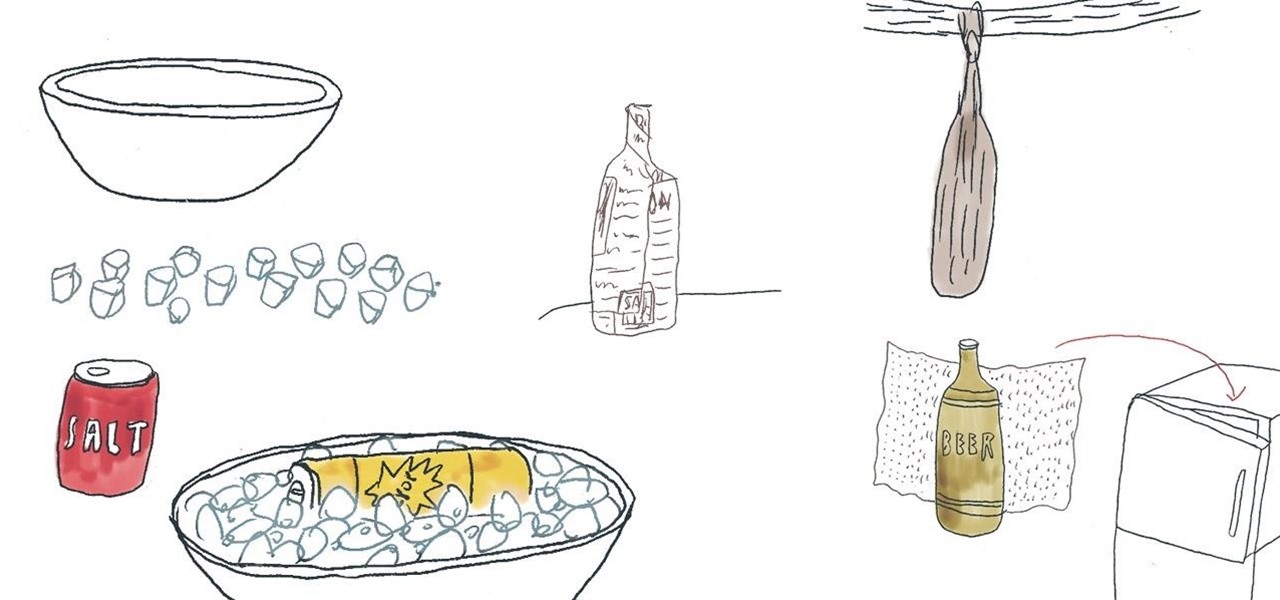
A lukewarm can of soda placed in a refrigerator can take about 45 minutes to chill. On the other hand, a lukewarm can of soda placed in a bowl of ice, water, and table salt can take less than 5 minutes.

Trying to find a new use for old, scratched vinyl? This easy do-it-yourself project shows how to turn a record into a decorative bowl; just follow along with the step-by-step instructions in this video. You will need a record, an oven, a pot (unless you want to free-hand mold the record), and some cold water. Check out this simple craft sculpting project and learn how to make a bowl out of a record, but remember not to eat soup out of it.
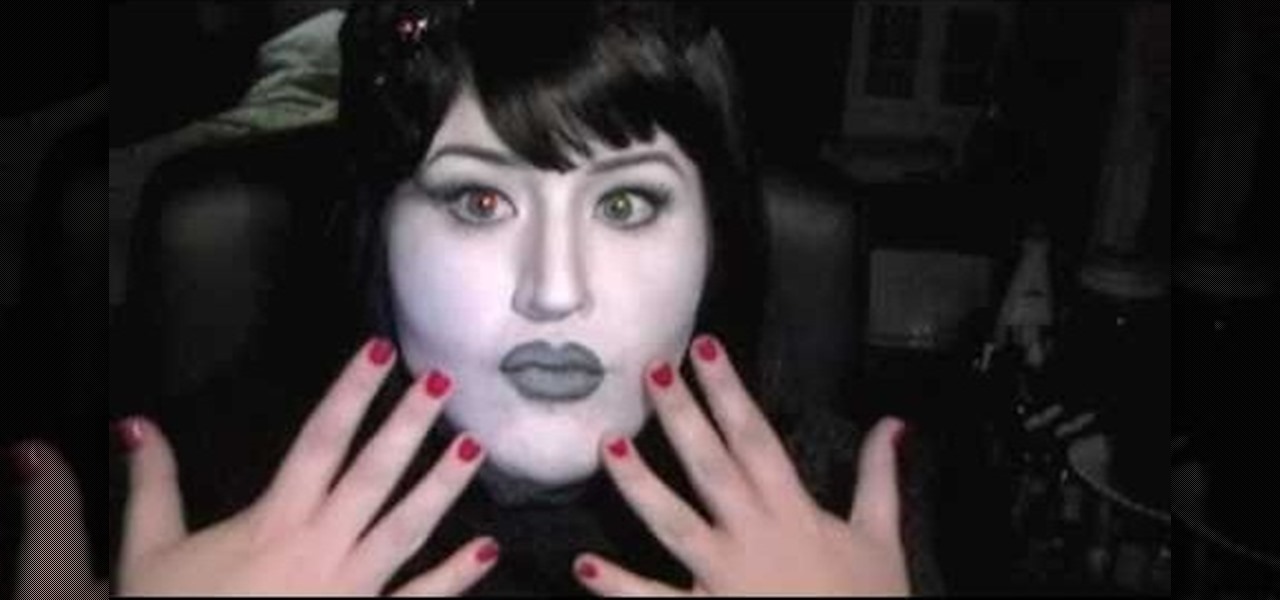
During the age of silent film and film noir film was limited to only variations of black and white. While this aided greatly to produce scenes of dire intensity (a starkly lit shot of a man in an alleyway, for instance), this also meant that actors and actresses had to wear tons of makeup to make their makeup show up on screen.
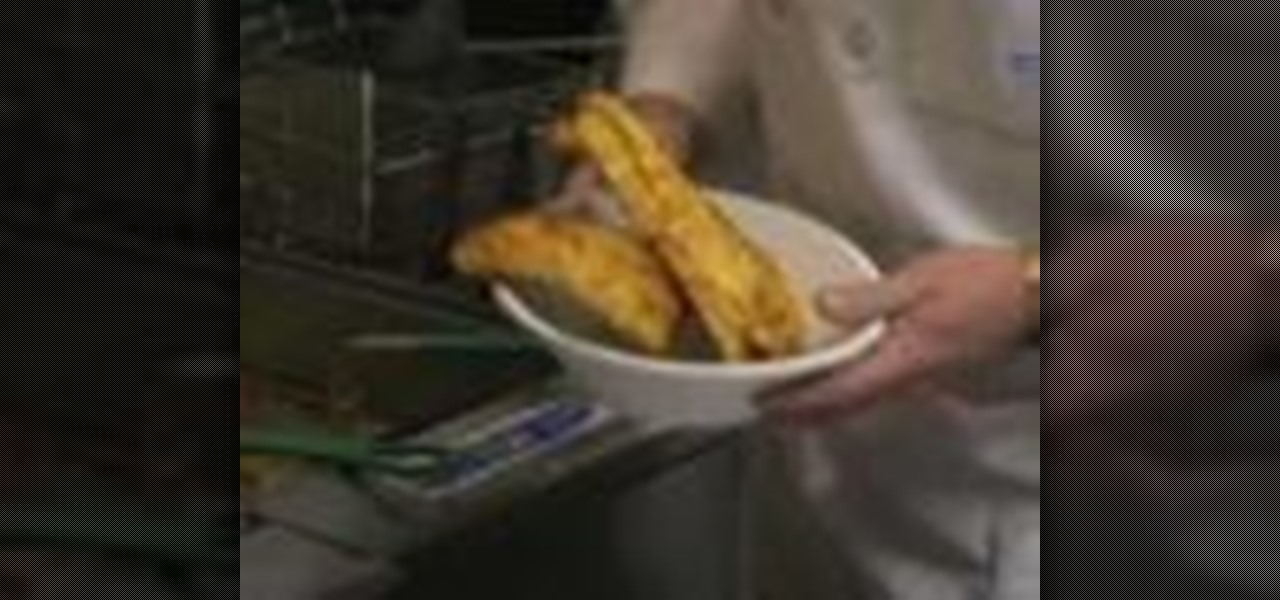
Fish & chips is the most popular fish meal in the country, & you can make it yourself instead of paying a fortune at your local fish eatery. The special ingredient for these fish and chips… beer.
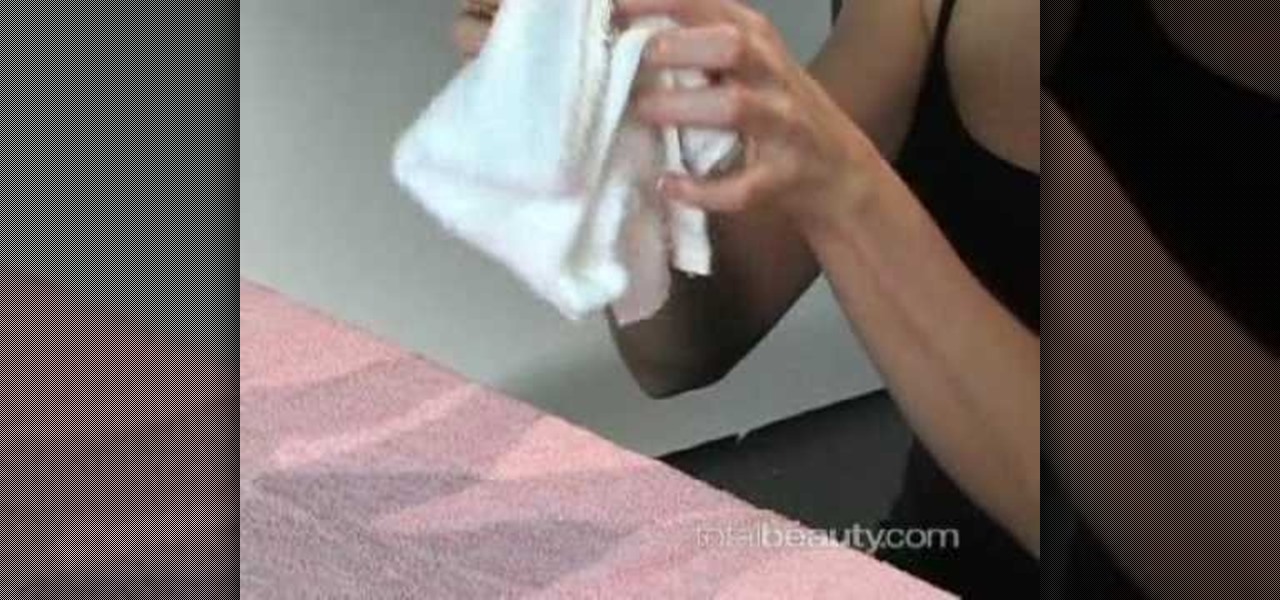
This quick and simple technique shows viewers how to acquire a good manicure. After washing your hands and removing any existing nail polish, mix oil and sugar in a bowl and put it aside while filing your nails. Scrub the oil and sugar mixture over your hands and then submerge your nails in hot water for a few minutes. Push back any cuticles you may have and massage your hands in oil. Wet a damp cloth and put it in the microwave for a few seconds, then wrap it around your hands. If desired, a...

Spice up your next party with some unique party dishes, and we're not talking about food here, we're talking about the actual dishes, specifically bowls. But not just any bowls, vinyl bowls, made from authentic vinyl records. The steps are simple: melt the vinyl record in the oven, then take it out and mold it (safely) into a plastic bowl. Change the shape up each time!

If you haven't heard of Korean pop sensation, PSY, then you really have been living under a rock. Or, you've just never run across any other human. Or, this is your first time on the Internet.
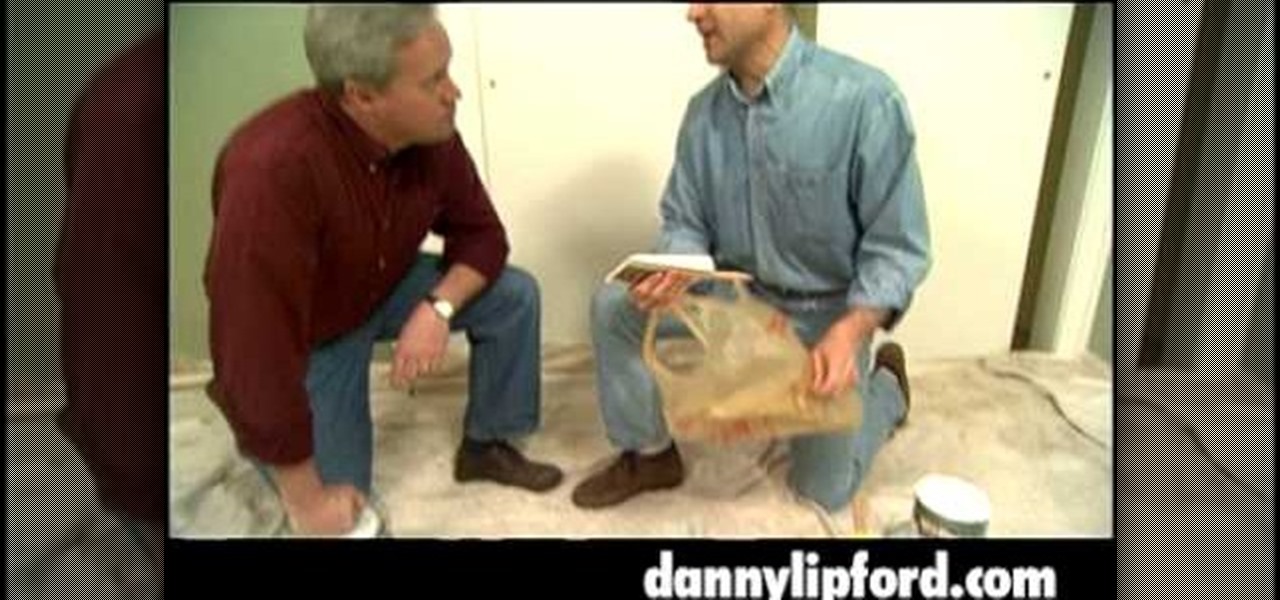
Tired of cleaning up the paint roller tray after a hard day's work? Watch this video tutorial from home improvement expert Danny Lipford to see how to save time and messes painting with a grocery bag.
The Victoria's Secret Fashion Show airs tonight, and we're pretty damn sure that by the end of the sparkling, lingerie-filled affair you'll be in ripe mood for some sexy bombshell hair and makeup looks.
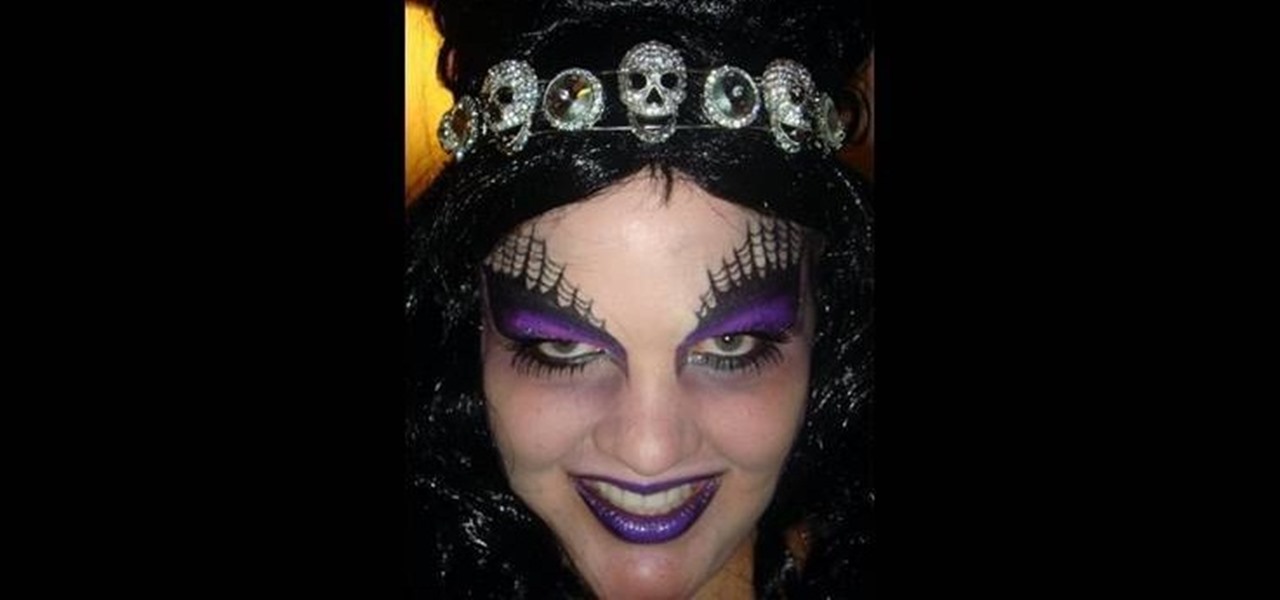
If you're a girl planning to dress up as any evil or dark character, like a spiderella, witch, Goth chick, vampiress, or dominatrix, then you should check out this makeup tutorial for a deliciously pretty Halloween makeup look that suits all evil chick costumes.
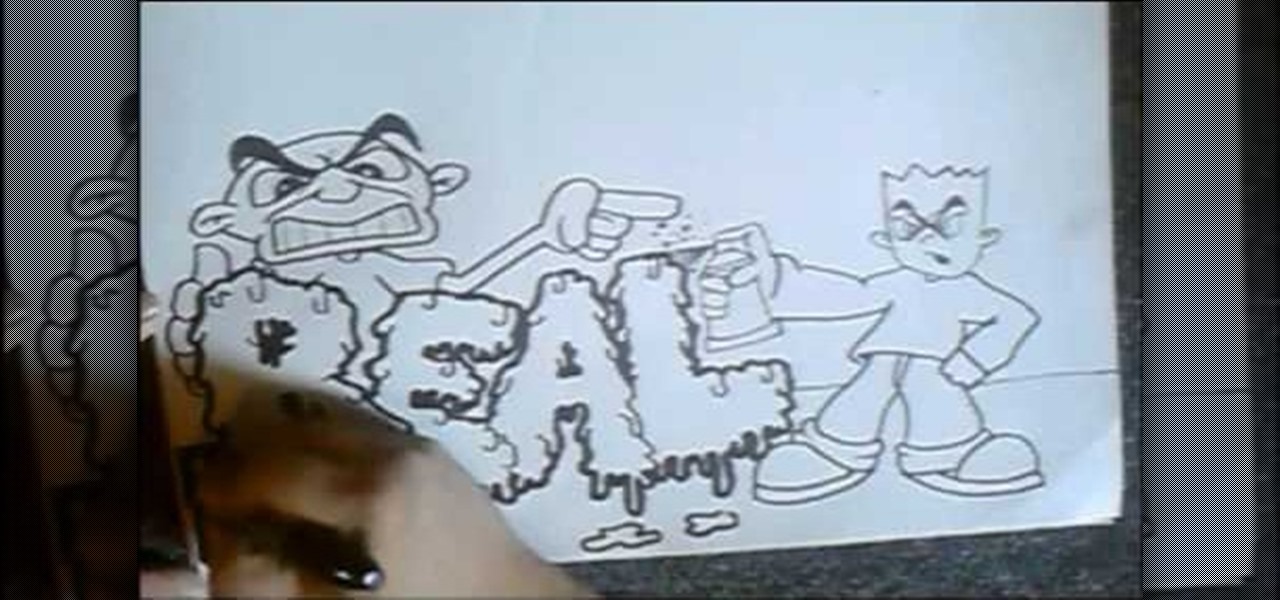
In this tutorial, we learn how to draw graffiti letters. When you are drawing these letters, you will want to use as much imagination as you can. Make sure to add in your own personal flare to give each of the letters a special touch. Now, you will draw the letters making them into a large 3D letter. Add in swirls and lines to the edges of the letters to give them a wet look and then add in shading to the side to make it look darker. Add in more shading and darker outlines, then when you are ...
When it comes to smokey eyes, is there any starlet more versed in how to apply the look than Kim Kardashian? We can't think of any person more enamored with the sultry femme fatale look than the "Keeping Up With the Kardashians" star.
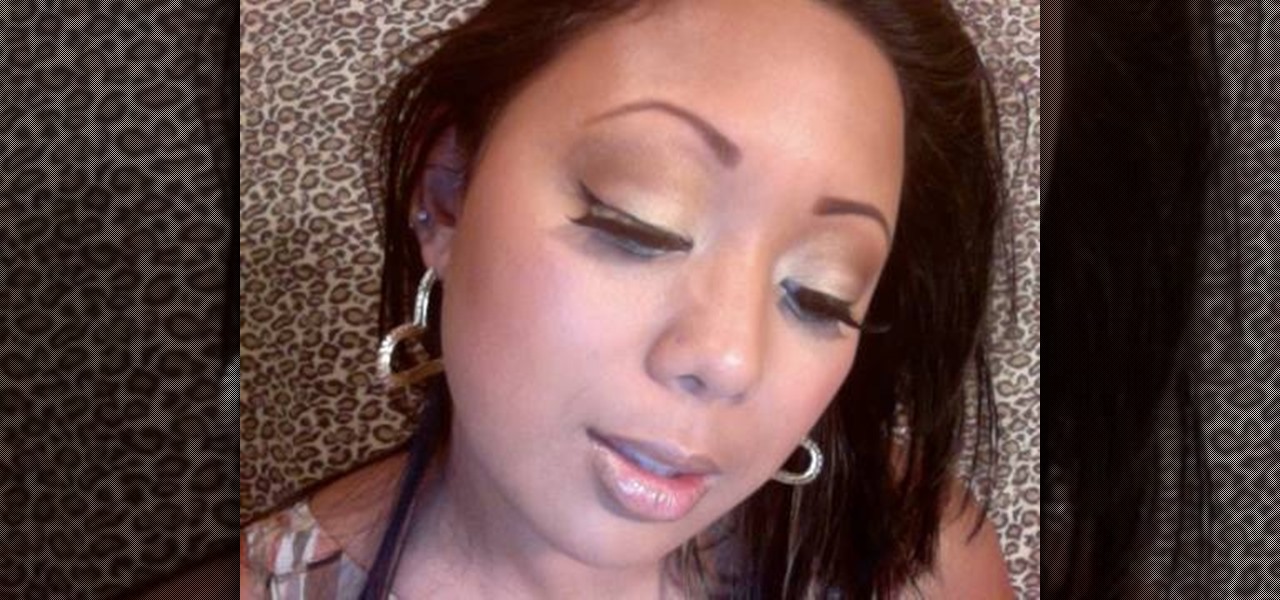
If you're a pale sister who just can't seem to catch a tan this summer but desire a gorgeous, lit-from-within glow that looks like you've been catching waves at the beach all day, then watch this makeup tutorial.
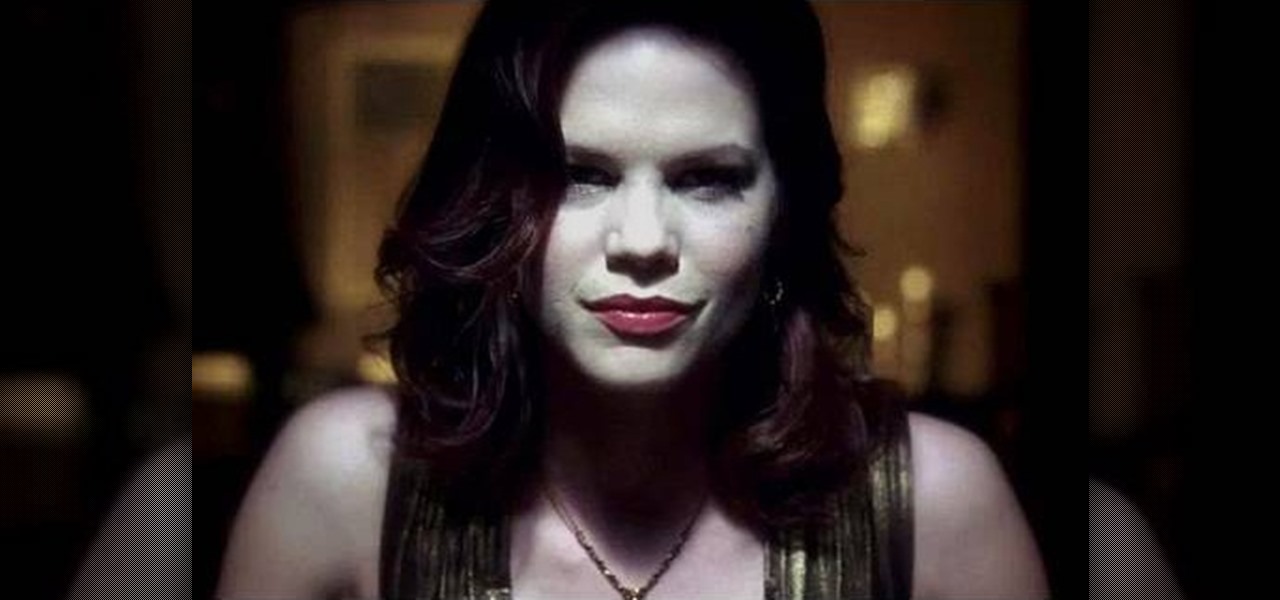
Are you a true "True Blood" fan? Then you probably recognize this evil vixen makeup look as that of Lorena, AKA Bill's maker, from the hit HBO series.

Are you the kind of person who gets kind of sad leaving the beach after a long day on the shores swimming, surfing, and just overall enjoying the sand and surf? Don't ever let that pretty body of water out of your sight by creating this gorgeous nail look.
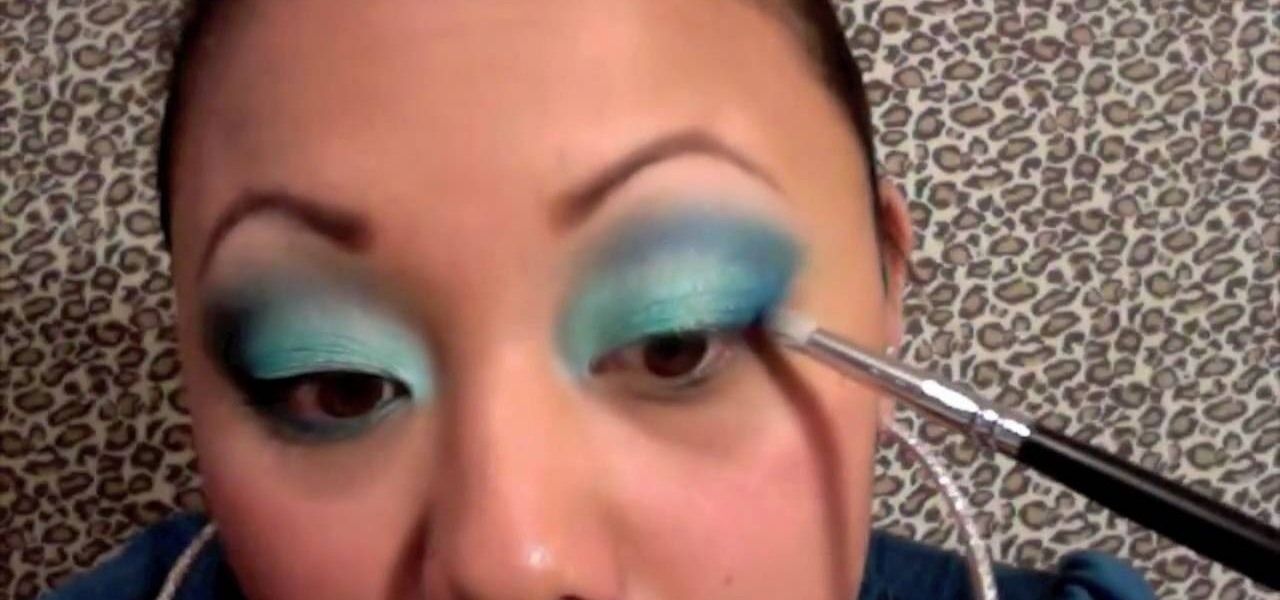
The crystal-clear blue seas of summer have inspired everyone from painters and poets to the creators of "The Smurfs."
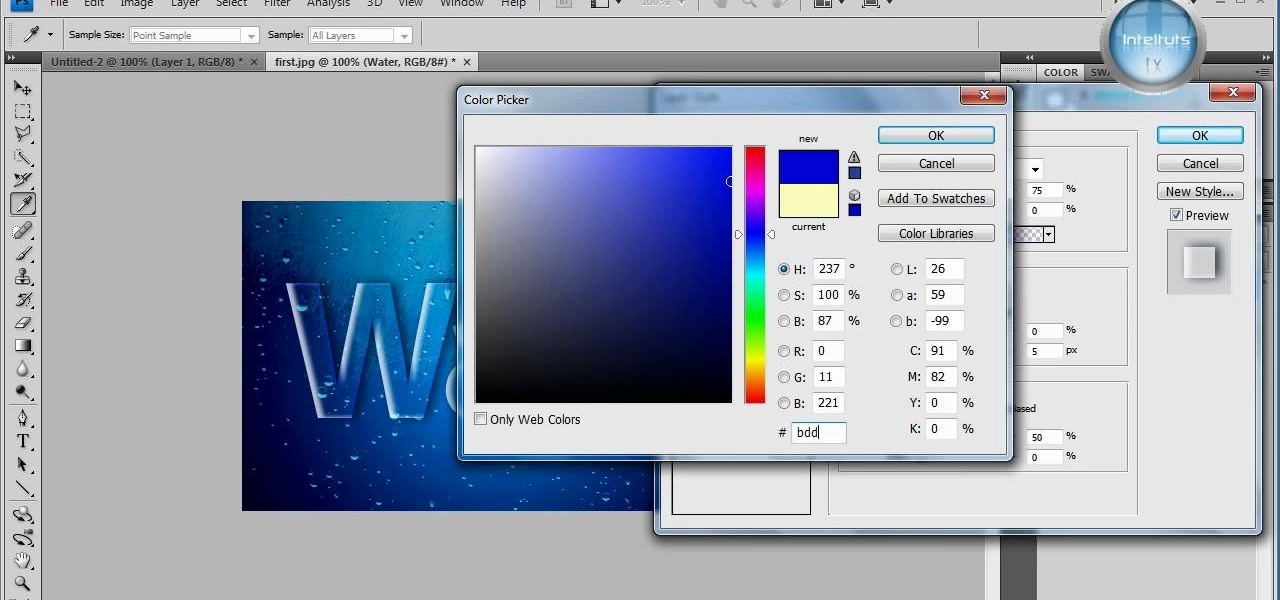
In this tutorial, learn how to make a very cool wet writing effect that you can use for graphics and logos. You will be creating this effect in Photoshop CS4. In this video, you will learn how to take tons of different layer styles and transform a basic text layer into a majestic piece of artwork. You will be shown the process step by step from the very beginning. This tutorial also shows the use of gradients and color corrections tools to optimize the full piece of work.

Curly hair is notoriously difficult to style and cut. Sure, when you wear the hair curly, it is very easy to hide an uneven hairdo, but what if you want to straighten it out? If you would like to cut a cute layered look that you can wear when your hair is straight, you will need to follow these tips for cutting curls.

This video is a demonstration of how to do an interesting artistic design on your nails with dark orange, pink, yellow and white, which can be done in different colors if you like. First apply neon pink to the end of the nail in a diagonal pattern. Quickly, while the pink is still wet, add some white dots and use a toothpick to marble the white by swirling it into the pink. Next use orange, overlapping the pink a little, and dot some white into the orange while it's wet to create a swirled ma...
Attention fans of Candyland! In this two-part tutorial, learn how to acquire a very creative Queen Frostine inspired look for next Halloween or your next costume party.
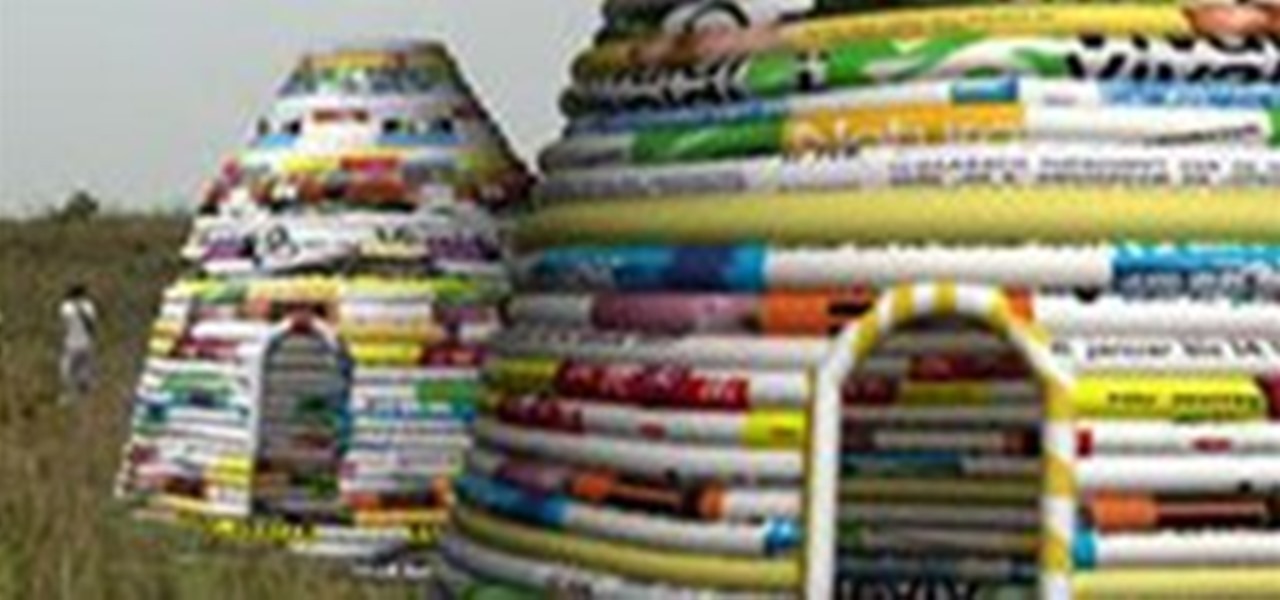
This project is intended to reuse PVC that makes up the images on billboards and make them into houses for disaster and poverty stricken people. While the images are definitely cg mockups, the concept is awesome. I've personally been working on disaster relief shelters, but my concepts all involve using fresh PVC pipe. These guys have taken it a step further by taking vinyl sign material that is headed for landfills and recycling it into homes.

Okay, I discovered (while googling a photo for such a thing) AFTER conceiving this idea for this prank that there was actually a mammoth-sized inflatable toilet- that we would need for this skit- shown in the Kate Winslet/Hugh Jackman movie, "Flushed Away" (which I have never seen.) So, to me, I still consider this an original idea of mine.

This video tutorial is in the Arts & Crafts category which will show you how to make crumpled flowers for scrapbooking. Cut out three circles of 2", 1 1/2" and 1" diameter out of a sheet of paper. Then wet the pieces of paper lightly with water or colored ink and crumple them one by one as shown in the video. Then place the three pieces together and pin them up with a split pin. Now crumple the edges of the paper further to give them the look of a flower. Allow it to dry and your flower is re...
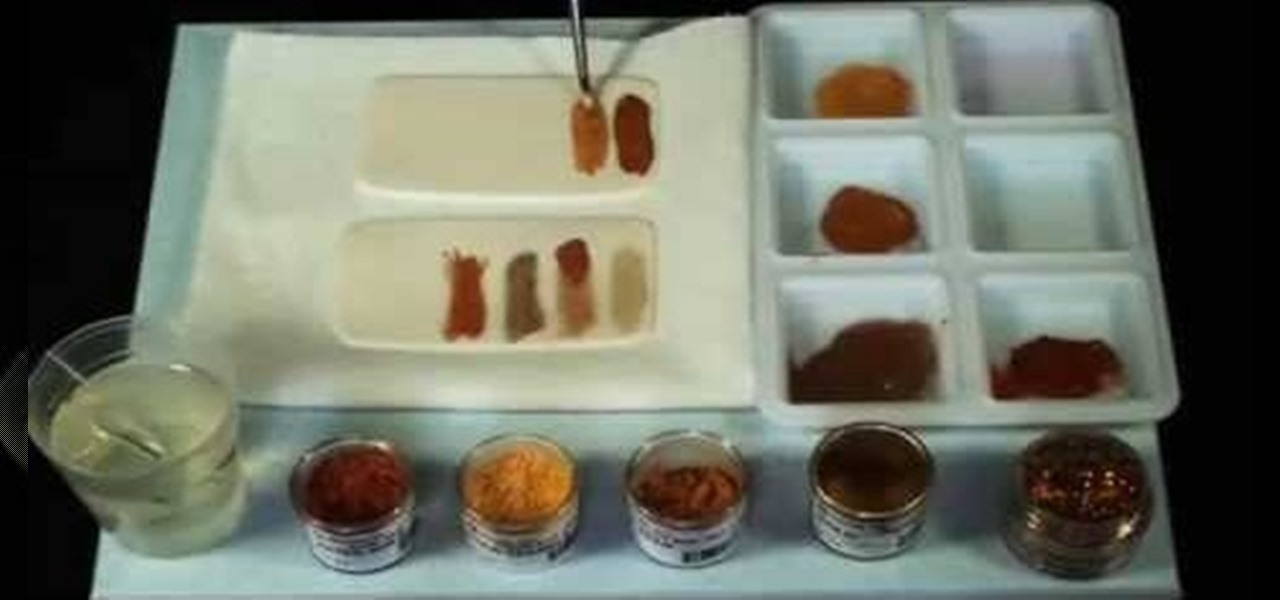
This is a video tutorial on how to design with gold dusts while decorating a cake. There are many different shades of gold available. Some of them are edible while some are not. The names of some types of gold color are Disco dust, Highlighter gold, Old gold, Sparkle gold, Aztec gold, etc. To intensify your colors, add some lemon extract or vodka to the color .When you use dry color, it looks a little lighter than when it is wet. The video will show you how to use different shades and types o...
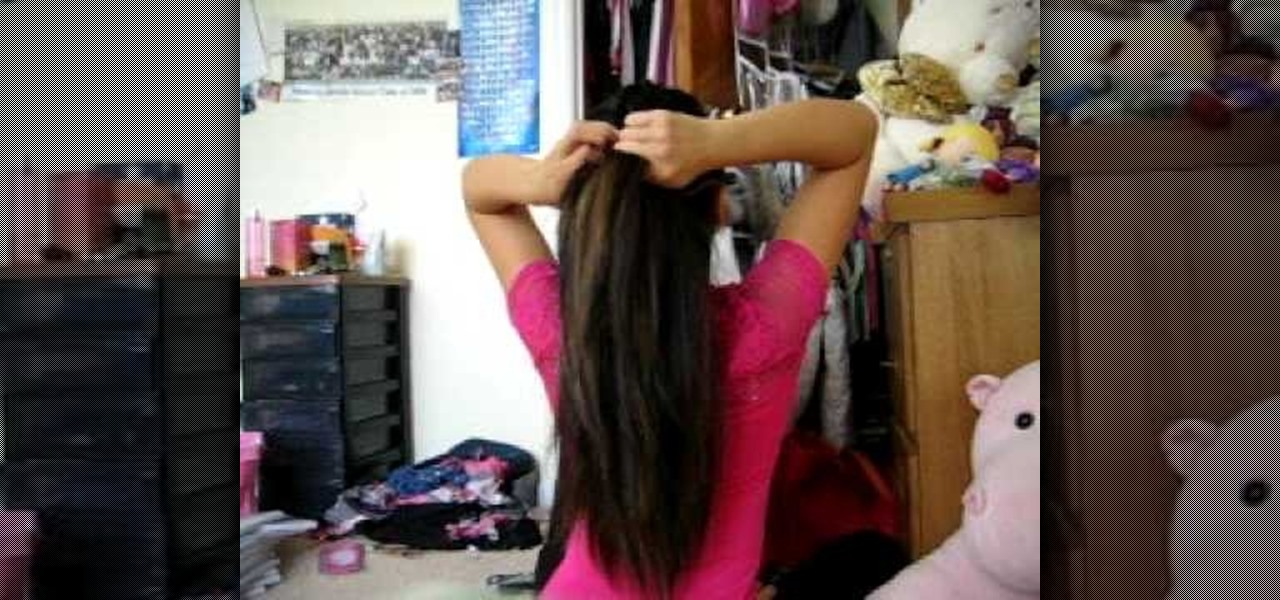
To make an inverted French braid you will need a hair spray bottle, a brush, and a rubber band or a cloth band. First of all wet your hair using hair spray and take almost two inches of hair from the front. Divide your hair into three parts and start making an invert braid. From the right side, add more hair to the braid. Using your fingers on the right side, take hairs from the left side. With your right two fingers grab more hair from left and add to the right side, and take hairs from the ...

Favorited by our man Crow. Submitted by user God. How could I not be tempted by this tutorial? A perfect combination of old school retro, arts & crafts, and hipster cool. Just take an old vinyl record sleeve, cover a part of your body, and snap a photo. Proof once again that the how-to imagination of the internet has no bounds.
Avian flu is making the news again with new human cases in China reported in January. What does "avian flu" mean to you—and how dangerous is it?

You never know when you may need it. Just make sure you always have beef jerky or uncooked rice in the pantry. Handy breakdown on how to save a wet cell phone, courtesy of Geek Squad.
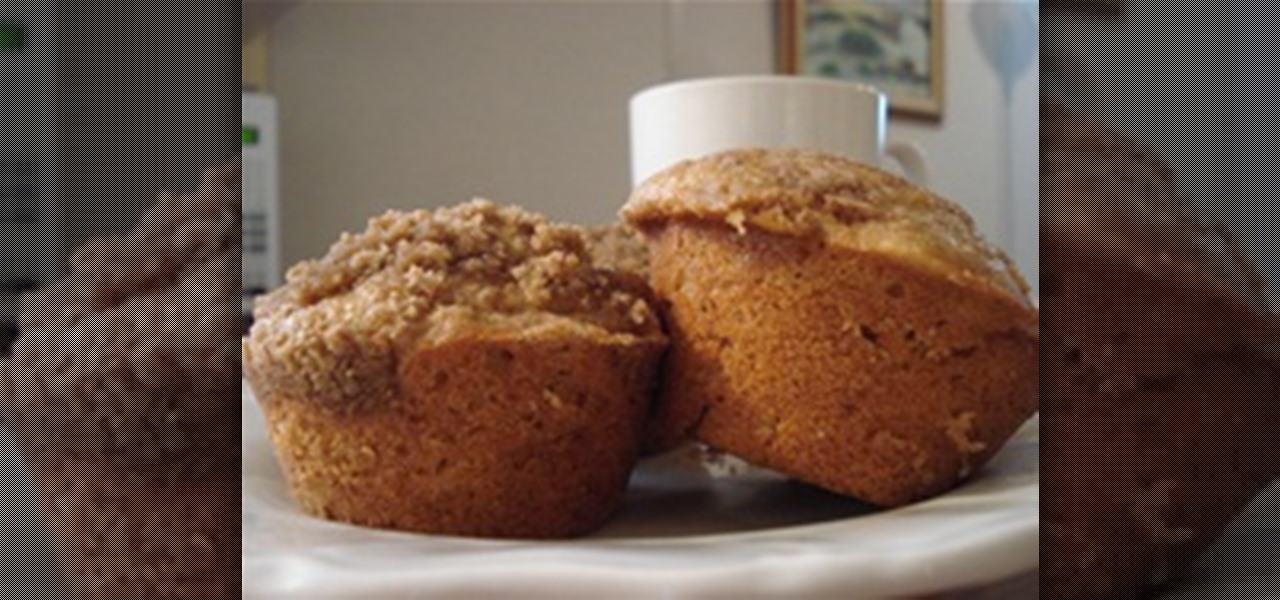
These muffins are a quick, yummy breakfast or a light, delicious mid-afternoon snack. This easy recipe provides you with moist, light muffins every time! This recipe makes 12 large muffins.
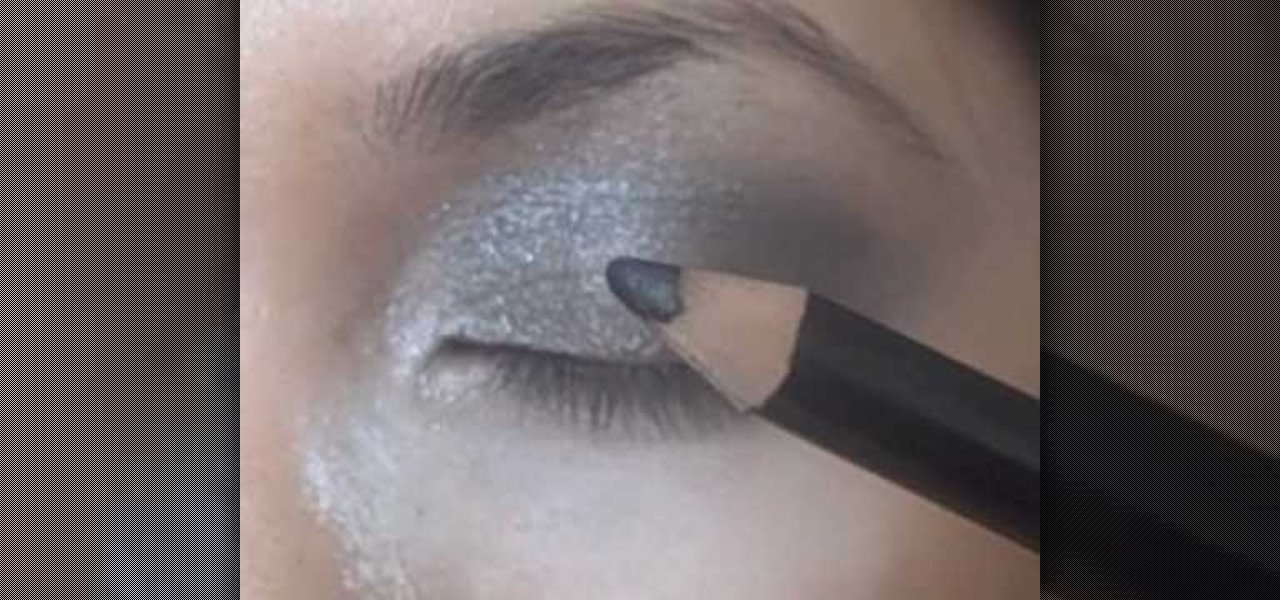
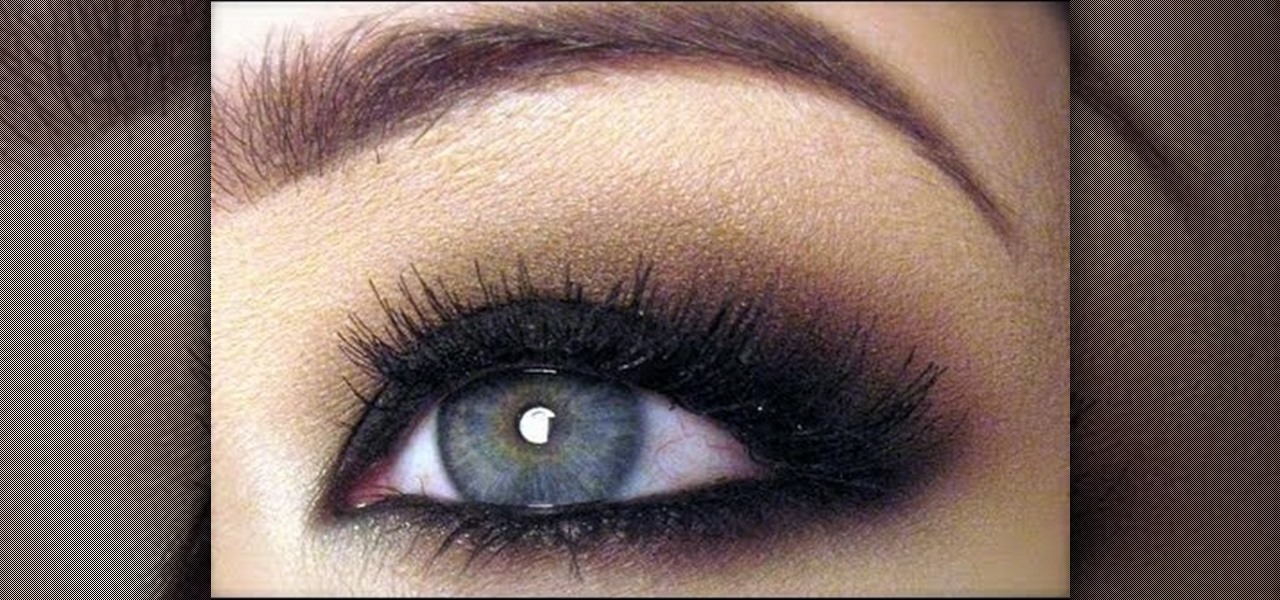
In this tutorial, we learn how to apply Jennifer Lopez inspired smoky eyes. First, apply a light beige glitter all over the eye. From here, apply a white ice color all over the eyelid and into the crease of the eye. Get the color a little wet to make it stick and show more on the eyelid. Next, take a black eyeliner and draw inside the bottom of the eye and on top of the eye as well. After this, apply mascara or false lashes and you will have a beautiful Jennifer Lopez makeup look! Just top it...
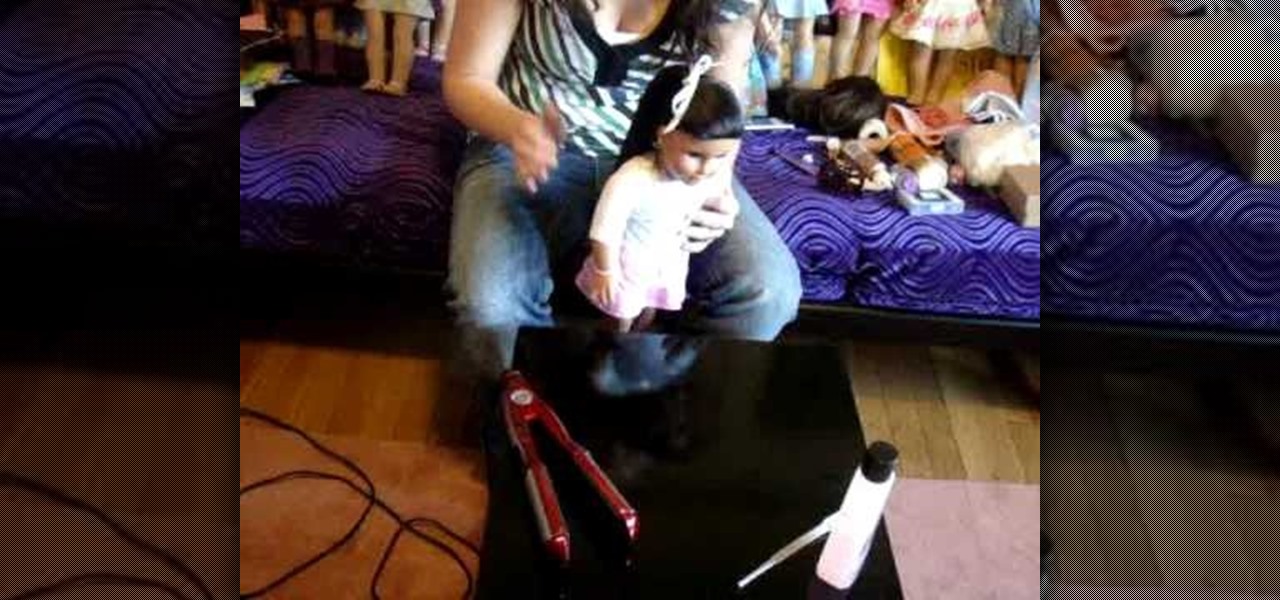
In this video, we learn how to flat iron your American Girl doll's hair. First, heat up your flat iron on the lowest heat setting it has. Now, brush your doll's hair so it doesn't have any lumps or bumps in it. Clip the to of the hair up and then take a small section from the bottom of the head. Then, squirt some water on the hair until it's wet. Comb through the hair and then run the flat iron through the hair very quickly. Run it through again if needed, then continue on to other sections i...

Bring pretty back this Halloween by dressing up as a flirty yet mischevious fairy. Though fairies haven't been all too popular recently in comparison to vampires and werewolves, the revelation of Sookie's fairy lineage on "True Blood" has gotten people interested in these mini nymph-like creatures once again.
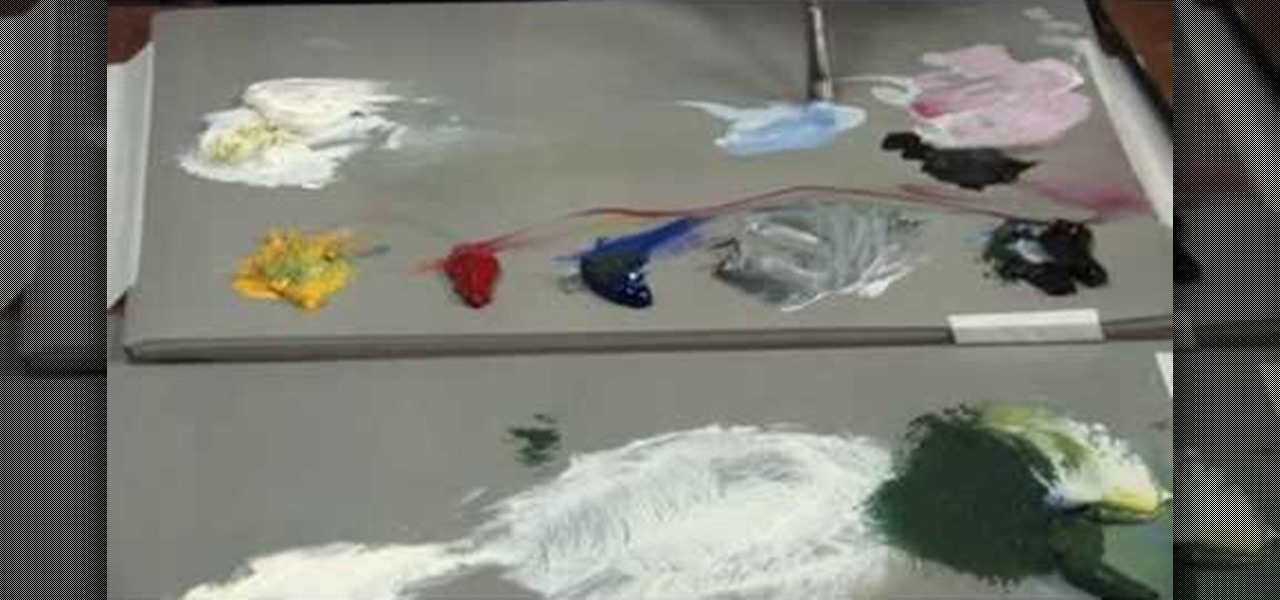
Wilson Bickford teaches us how to paint believable rocks in this tutorial. To begin, you will first start with an easel and several paints. Wet your small paint brush with a mixture of brown and black and paint a rock shape on the paper. You will do this by drawing many lumps and bumps to make it look like a natural rock. Use white paint on the side of the rock to give it a light glare where the sun would naturally hit it. To finish the rock, paint on browns to it, to add a dirt color and mak...
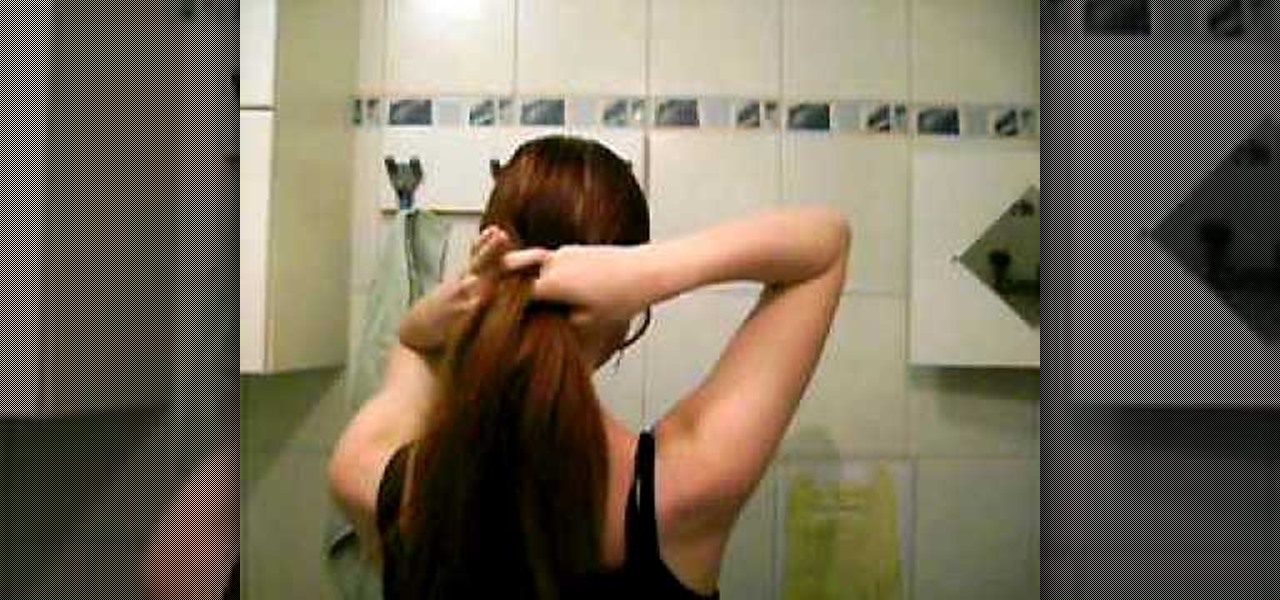
In this video, we learn how to perform a flat four string braid on your hair! First, you want to start off with either wet or dry straight hair that has just been brushed out. Next, you will grab the top three piece of hair on your head and perform a regular braid by placing the right section under the middle, then the left under the middle, and so on. Keep doing this for about 4 braids, then start adding in hair on the right and left hand side each time you get to them. Repeat this until you...

In this video tutorial, viewers learn how to clean a Hummel figurine. The materials required for this task are: light fluid or ammonia, warm water soft cloth and a toothbrush. Begin by mixing the fluid into some warm water and dipping the cloth into the water. With the wet cloth, apply it onto the figurines and rub it gently. If you can't remove the stubborn spot, use the toothbrush and clean in a back-and-forth or circular motion. This video will benefit those viewers who collect Hummel figu...
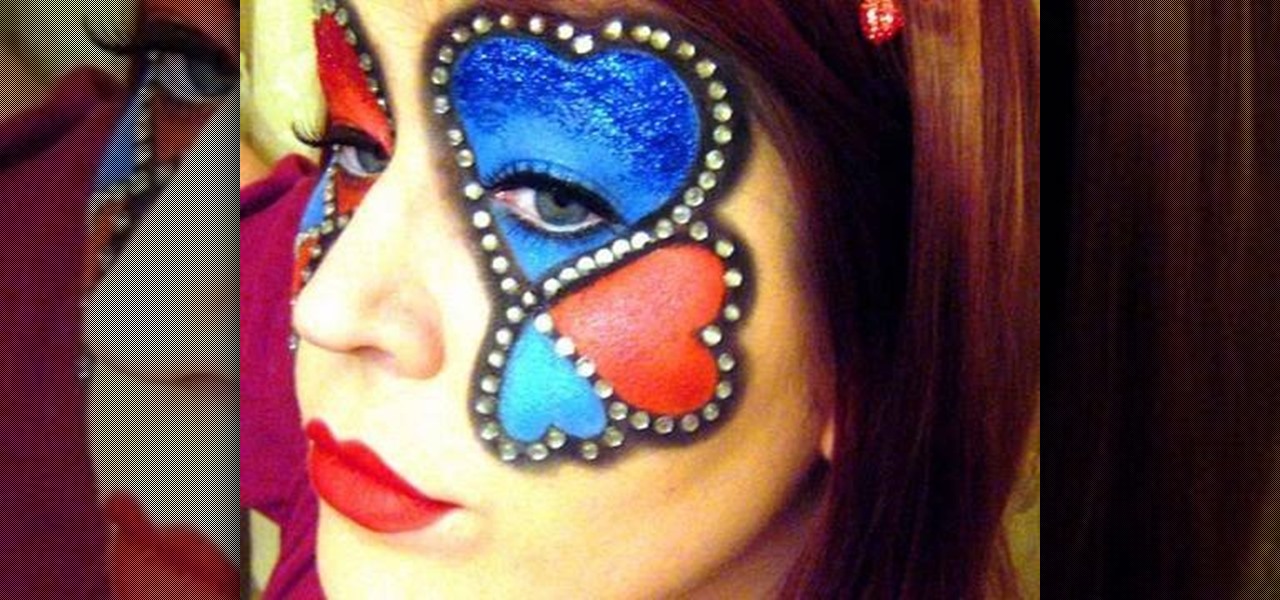
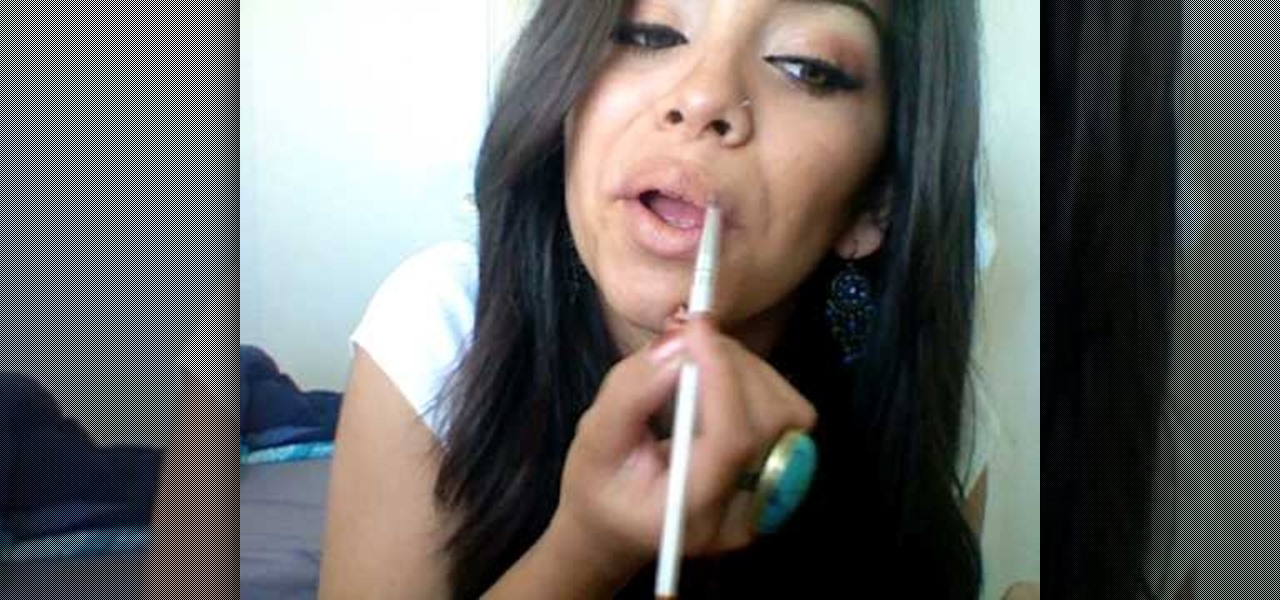
In this tutorial, we learn how to apply Queen of Hearts inspired makeup. First, you will need to draw out where the hearts will go on your face, with a wet eyeliner. Next, fill in your eyes with red on one side and blue on the other, filling in your lid with the middle of the heart and the bottom right underneath the eye. Pack on dry eyeshadow onto the eyes so the makeup won't crease while you're wearing it. Now, repeat this action for the other hearts, all hearts on the face should be connec...