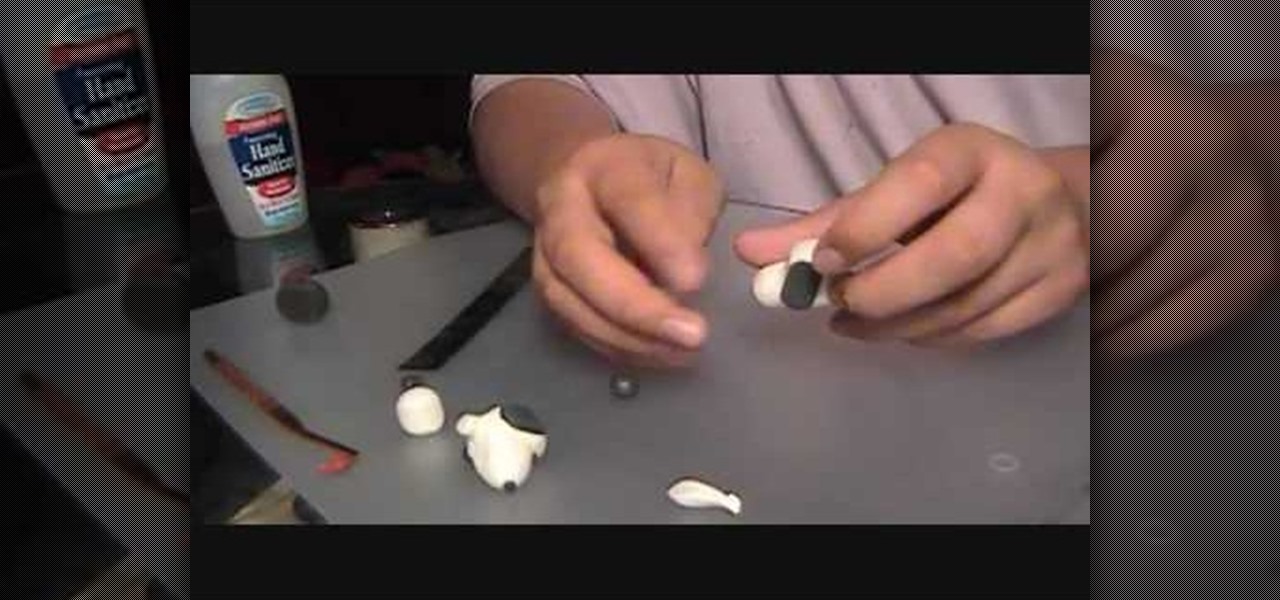
This video describes how to make a snoopy head from a type of polymer clay. You will need both black and white polymer clay, a blending tool and a ruler. It begins with the main part of the head and moves onto creating the correct structure using a blending tool. It advises using your thumbs to smooth away the creases and cracks from the surface of the snoopy head. After the main part of the face is made, it describes how to create the eyes and ears using the black clay. The eyes and ears are...
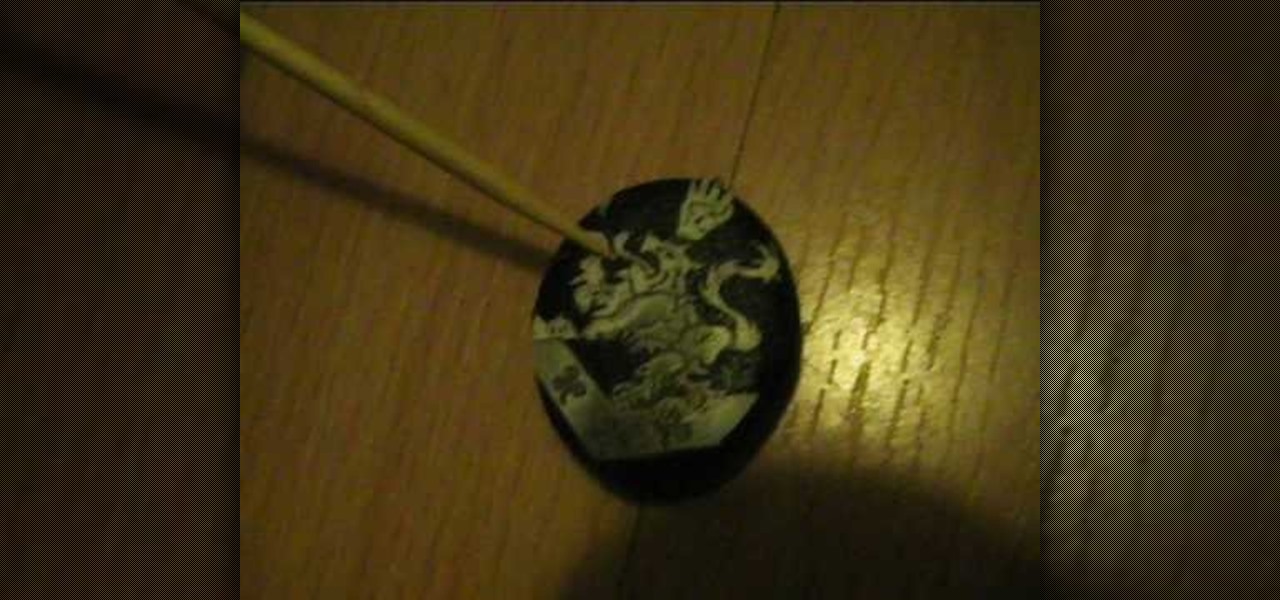
In this video, Alice demonstrates how to make a crest necklace using simple things. For making this necklace she collects some materials such as oblong shaped rock or polymer clay, some paints, a computer print of a cullen crest and so on. She uses the ordinary black paint to paint the rock completely. Next, she collect a computer print of a layout for the culler crest and carefully cutout the shape and using craft glue she stick it on the painted rock to see it fit. she takes some white pain...

Garden of Imagination demonstrates how to make realistic looking ice out of polymer clay. To make the polymer clay ice, first take one part pearl white polymer clay and one part translucent polymer clay. Add the clay to a food processor and chop up the two pieces of clay into clay chips. Bake the clay chips in an oven according to the manufacturer's recommendations. Take the clay out of the oven and let it dry. After the clay is dried, it takes the appearance of ice. Store the ice in a bowl u...

This video shows on-screen instructions on how to make the background of your Google page black. It says that you should go to this page: Black Google and make that your home page. This shows everything you see on a normal Google search page, except the background is black, and all the black type is white, shown in reverse. You can still read everything on the page. You can also find add-ons for Firefox that make different backgrounds, and another one that will make the background of a YouTub...

This video shows us a fun science project to do with our kids; it teaches us how to make flubber out of glue and cornstarch. In one container pour a small amount of liquid starch. You can find this in most laundry aisles in the store. Next in another container, pour in an equal amount of white school glue. Mix the two together by pouring the liquid starch into the glue. If the mix is real sticky, add more starch and if it is real runny, add more glue. To color your flubber you can dab it over...
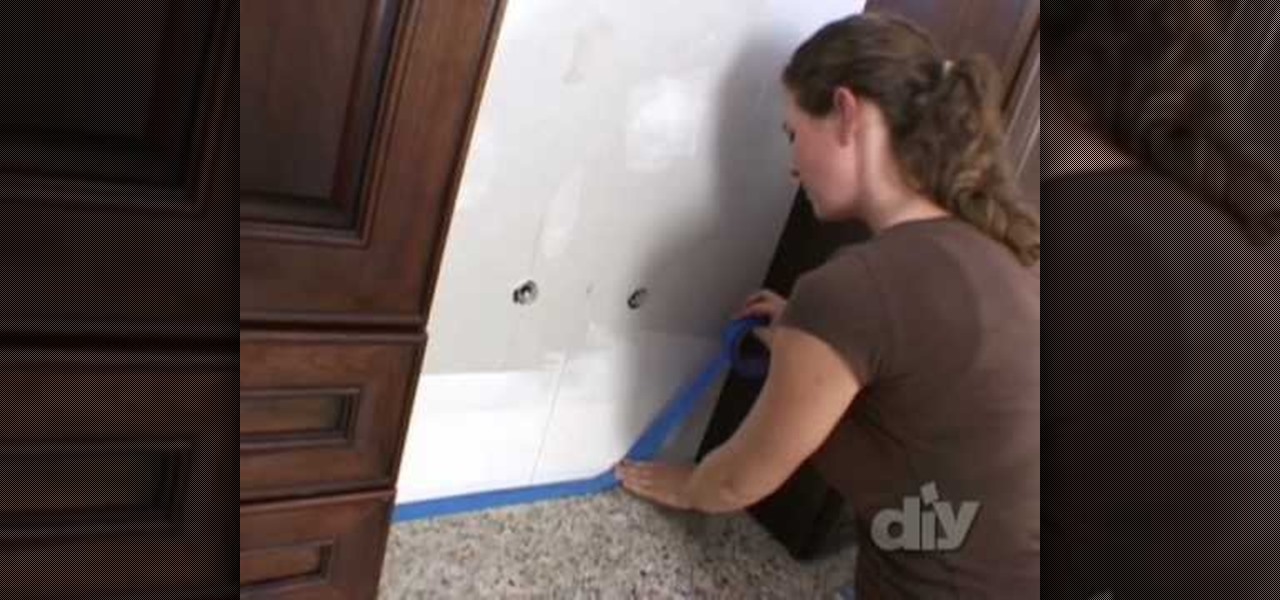
This video is to show how to install a glass tile backsplash. Because installing glass is a little different then installing ceramic, knowing what to do is important. Use painter's tape to protect your surroundings wherever you are installing your glass and use only a white thin set mortar recommended from the glass manufacturer to adhere your tiles. Since the glass is see through, unlike ceramic tiles, you need to make sure there is no discoloration and smooth out the ridges on the mortar fo...

In this video tutorial, viewers learn how to take pictures with an iPod Touch. iPod Touch is a portable media player, personal digital assistant, and Wi-Fi mobile platform. The iPod Touch does not have a built-in camera, but it is able to take screenshots. Begin by going to any option or application that you want to take a screen shot of. Then hold power and home button at the same time until you see a white flash. The picture is located in the Saves Photos folder in the Photos application. T...

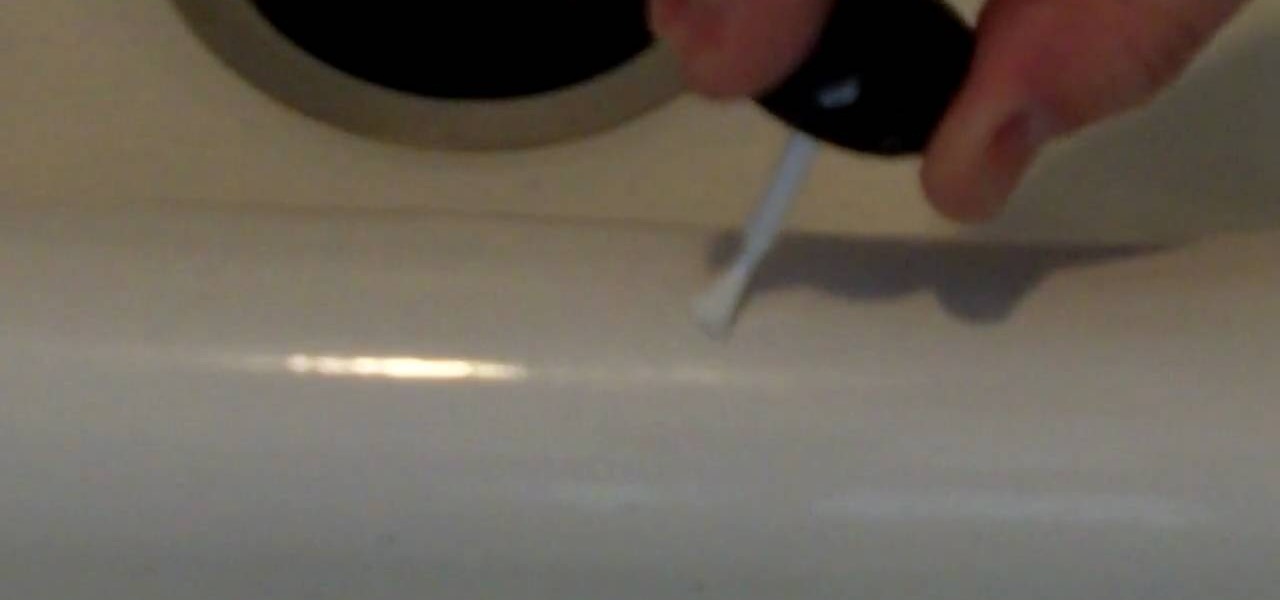
You can buy a porcelain patch kit to fix chips in your porcelain sink. You used to have to take two steps to repair it starting with a filler followed by a glaze to make it shiny. The video teaches how to use patch kits that you paint on like nail polish. To apply the patch you want to put on several thin coats and let each coat dry. When you apply the coats the key is to get the patch level with the rest of the sink. Then you can sand it with 220 grit sandpaper. After you have sanded the are...

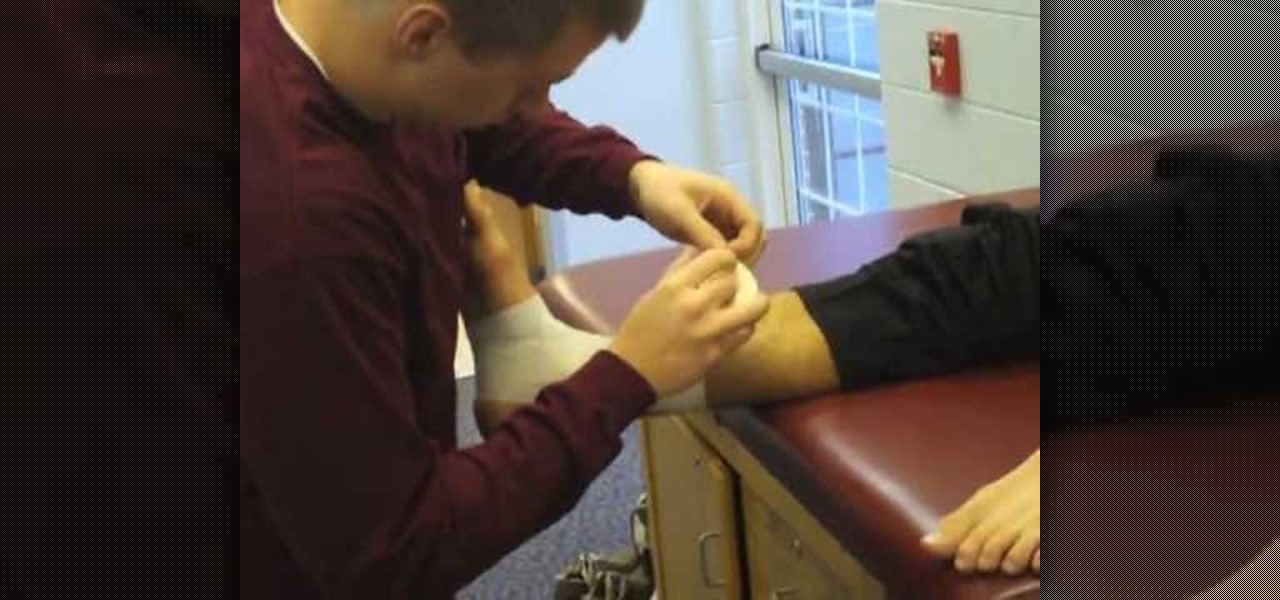
This wrap is intended to support and stabilize the ankle joint. Supplies needed include a 1 - ½'' – 2'' adhesive tape, pre-wrap, and heel and lace pads. Apply heel and lace pads at high friction areas, including the distal aspect of the Achilles tendon, and the dorsal aspect of the ankle joint. Apply under-wrap to secure them in place. It is critical that the foot remains at a ninety degree angle for this portion of the procedure. Apply an adhesive tape anchor strip at the lower leg, approxim...

For a complete look, eyebrows can really add to your face. Learn how to properly shape and fill your eyebrows for a complete look that frames your face and presents a done look regardless of whether you are wearing makeup or not. To figure out how you want to shape your brows, line up the inner corner of your brow and the outer edge of your nose. Use a pen or anything straight to create this alignment. Where the tip of this tool ends is where your brow will start (from the inner corner). The ...

If you've ever experienced problems with applying/getting a fake tan and having mistakes, then this video is going to show you how to cover up those fake tan mistake spots. The solution to this problem is very simple and all you need to do to start is buy any kind of white mint toothpaste. With this toothpaste apply it by hand to the trouble spots of your fake tan, and with the bleach inside of the toothpaste it will fade the tan. Another method is to take a regular lemon and rub it against y...

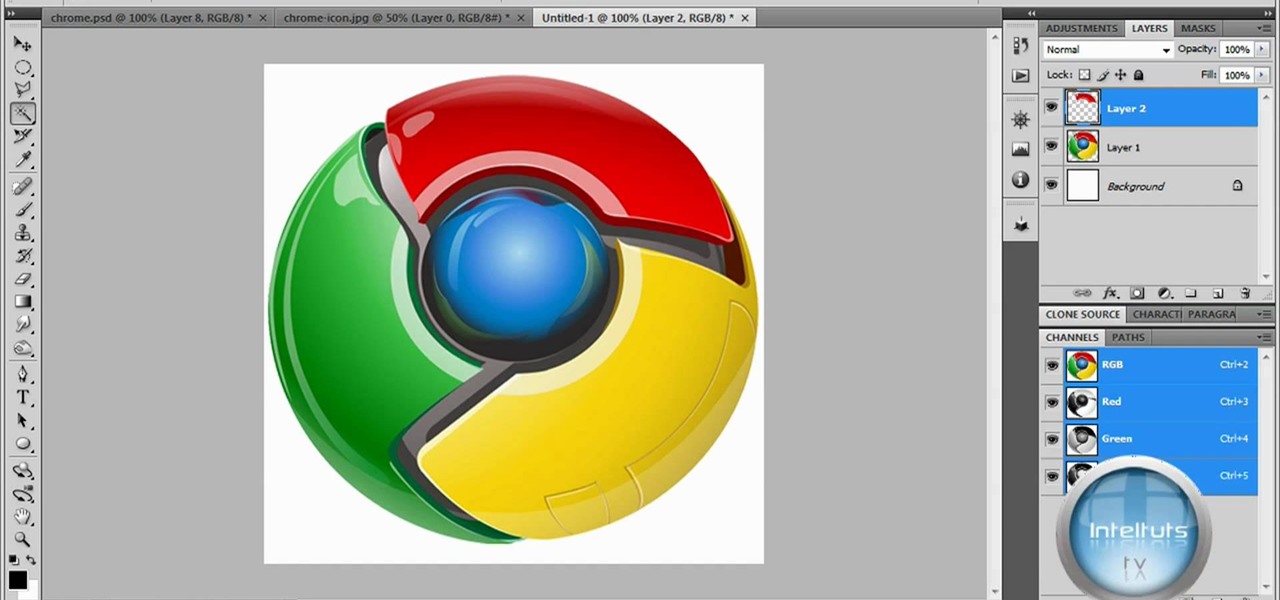
The tutorial shows you how to make a professionally looking Google Chrome logo in Photoshop CS4. To start, download the Google Chrome logo, as well as an Earth picture, in a Zip file from Inteltuts. Next, open the logo file in Photoshop CS4, turn the white background layer into transparent, and transform the logo by de-saturating the picture, but make sure you leave the blue center area untouched. The last step is to transform the Earth picture so that it fits right into the center of the des...

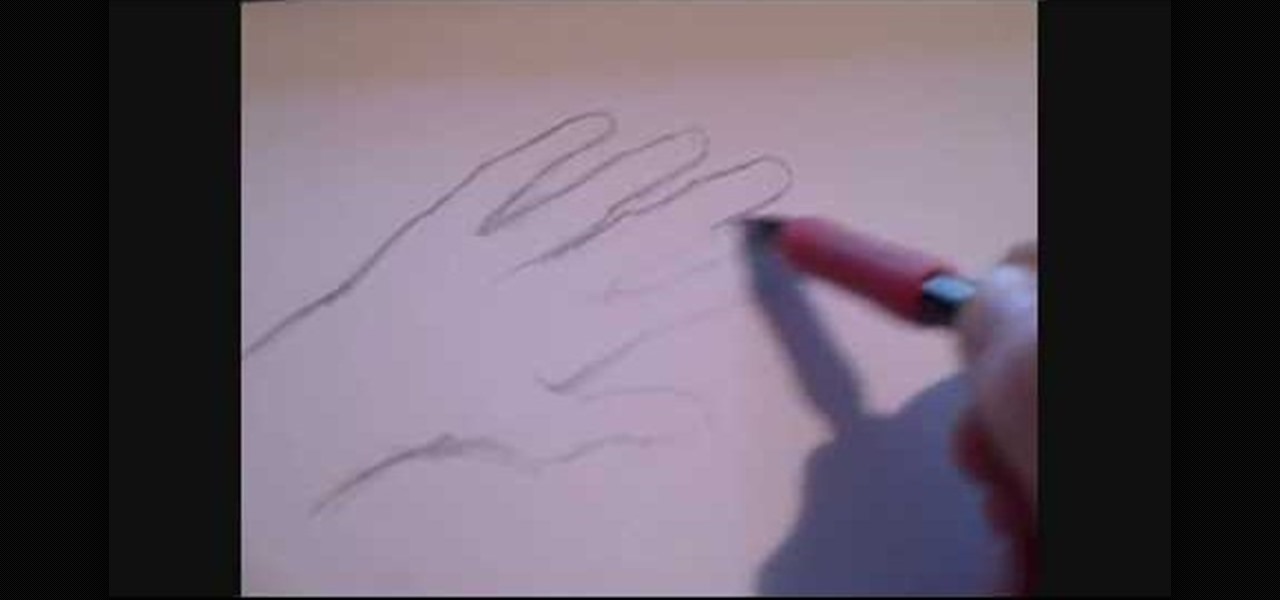
WayneTully1 teaches you how to draw a severed hand. Use a white piece of A4 paper and a mechanical pencil. Start with the wrist and work your way up to the index finger. Go down and draw the other fingers, paying more attention to the thumb. It needs to be in a right position to look realistic. When you're happy with your sketch you can use the pencil again, applying more pressure this time. Once you're done, you need to add details like curves, hair and fingernails. Also, because this is a s...

To unclog a drain without the help of a plumber you will need 1/2 of a cup of baking soda and 1/2 of a cup of white vinegar. Pour the baking soda down the drain. Next, pour the vinegar down the drain. It will react with the baking soda and bubble up. Then, close the drain and wait fifteen minutes. Pour boiling hot water down the drain. Your drain should now be clear.

The first step in making burritos for a dollhouse is to take some off white clay and roll it as thin as you can get it. After that, take a small circle using a small circular cutter of some sort. Next, make the "beans" with translucent liquid sculpting clay and some red clay by mixing the two ingredients together. Take a toothpick and apply this mixture in a line down the center. Now take one side of the circle and fold in just past the bean mixture. Now fold the side flaps over and roll the ...

In this video we are show how you can make old furniture look softer. It looks really easy but dirty so old clothes and cloves would be advisable. First of all take your glazing color and mix it with a white. Then take mix and mix it with a glazing medium 1 part color and 3 parts glazing medium. After it is mixed well take a brush wipe on a thin layer of the paint/glazing mix. Wiped directly after with a sponge. What will give your old furniture a softer look. But you don't have to stop there...

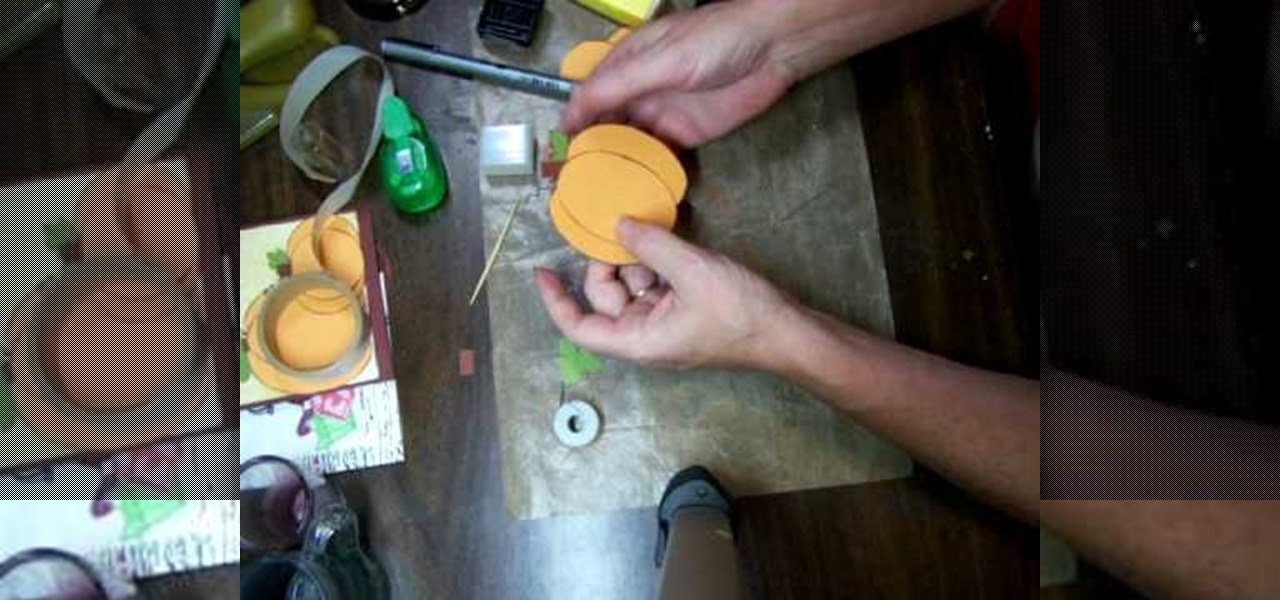
For anyone looking to dress up a card, learn how to make a paper pumpkin using punches in this video tutorial. Take a white piece of paper and distress it with Memory Mist (with the pale ale color). Use a box to distress the paper, while avoiding getting the mist all over your work space. To actually make the pumpkin use a store-bought punch (either round or oval). Make the punches with orange cardstock. For each pumpkin, you will need either three ovals or circles. Using a chalk ink to distr...

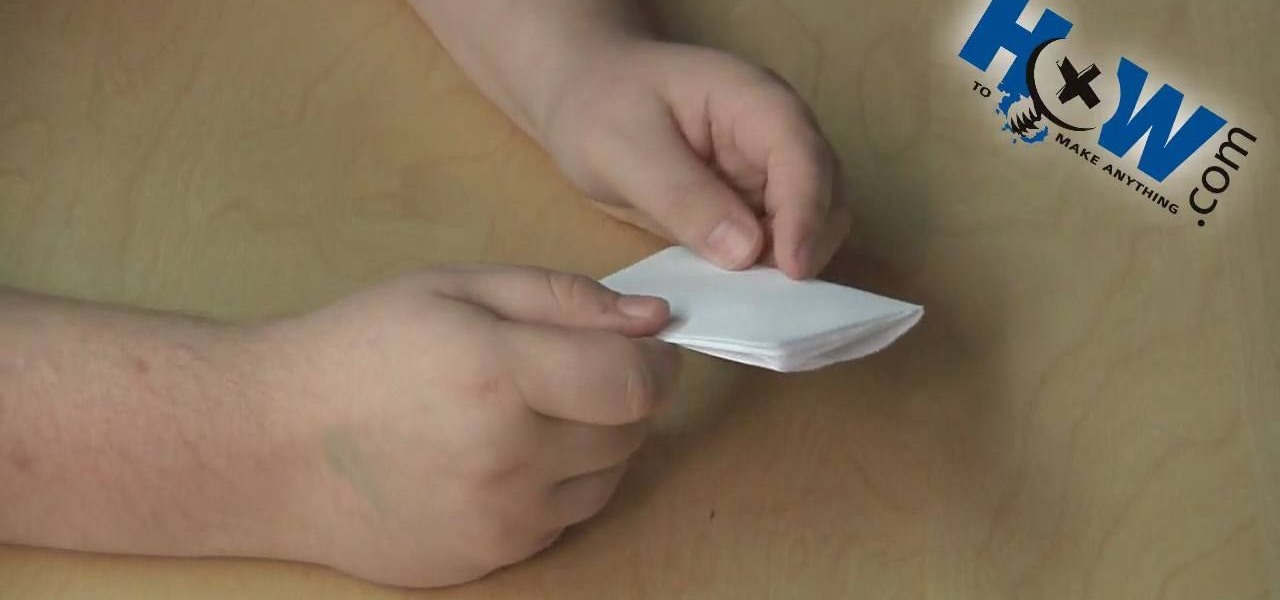
"How to make anything" is going to show you how to create a pocket mod, which is very handy and more elegant then just tearing a sheet of paper and stuffing it into your pocket. This demonstration is going to show you how to create the pocket mod using a regular piece of blank white paper. First, you want to fold the piece of paper "hamburger" style, and then fold each flap back towards the crease. Fold the paper again in half the "hamburger" way and unfold the paper so there's a ridge in the...

Brittney White shows us how to make Baked Ziti, YUM! You will need, 1 box of ziti pasta, 2 jars of spaghetti sauce, 1 tsp dried oregano, 1tbs dried parsley, ½ tsp garlic powder, 2 cups mozzarella cheese, 1 ¾ cup ricotta cheese, one egg, and salt and pepper to taste. Preheat your oven to 375% and make Ziti according to package directions. While ziti cooks, in a separate but large bowl add 1 ½ cups of the spaghetti sauce and the rest of your ingredients, and salt and pepper to taste, and stir. ...

This video by Architectus777 teaches us how to ink comic book pages. Inking is simply another term for outlining or black lining. This first step is to find an image in black in white. Following this, you may edit the image to be as light or dark as you wish. Afterwards, the shading is left up to your discretion. Moving on, Architectus777 shows other methods of inking, including using various other programs outside of Adobe Photoshop. We are then actually shown the inking process, in which Ar...

Make mini truffles out of polymer clay for a dollhouse. Watch this video to learn how to do this. You will need amazing mold putty for this project. It comes in two parts; yellow and white. Take equal amounts of each and mix them up; they are like clay. You will make a mold out of this for the mini truffles. Then you take whole black peppercorns and press them into the mold putty and keep it out for drying. After it is dry, remove the black pepper and you got the mold ready. Now you take clay...

The chef shows how to prepare and cook a perfect roast chicken. Begin by rubbing sliced garlic over the skin of the chicken. Then place the garlic into the cavity, along with some thyme and sliced lemon. Rub the chicken with olive oil and sprinkle with pepper and rock salt.

If you've ever wanted to learn how to build a LEGO chicken, today is your lucky day. First you'll need a 1x1 red LEGO stud, flat square with claw, smooth white, orange with a tooth, flat square, and a flat square with a circle coming out of the side. Starting with the claw, but the stud on top. Now take the piece with the claw and attach that to the opposite side of the claw. Put your flat square on top of that, then the flat with the tooth and another flat square goes on top. Now you're done...

To make the 'lady boy' Thai noodle salad begin by making the dressing. White vinegar, sugar, sriracha, and garlic are brought to a boil. Then a marinade is made for the shrimp which combines grape seed oil, red onion, red curry paste, lemongrass, sriracha, sugar, and fish sauce in a blender until smooth. Cover a pound of shrimp with marinade for about two hours. Next place rice noodles in boiling water for five minutes, drain water off, let them cool, and place them in a bowl. Add julienned m...

This is a simple video of a person drawing a flower with a mechanical pencil on a piece of plain white paper. If you follow along with the video and copy each shape as the artist makes them you will get a similar result and hopefully a picture of a flower that looks the same as the artists. The final product looks like a rose. A beginners video to art, all the viewer needs to is watch, copy and listen to the soothing music that is playing in the background.

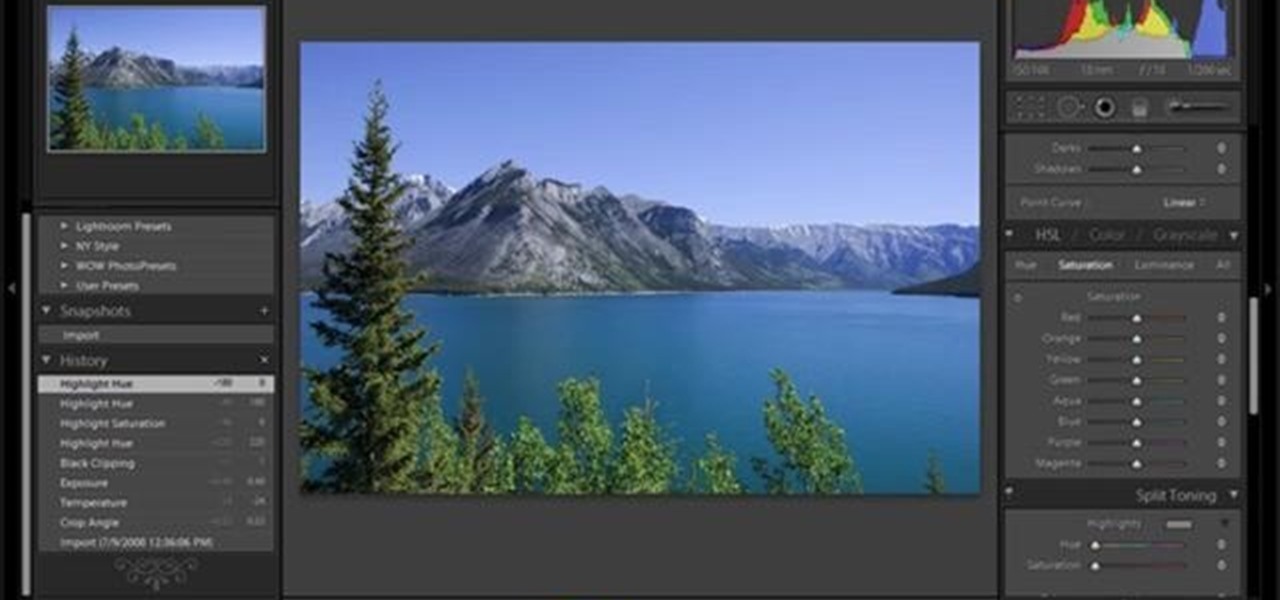
This video shows the method to split tone in Lightroom. Firstly, go to the 'Grayscale' button to change the photo into black & white. Go to the split toning section and change the tint into the color you want using the 'hue' option. You can also use the 'Highlights' option to select the color and see the preview. Bring the saturation down to get the right color. Repeat the same procedure with the shadows. Choose the right tint for shadows. Hold the 'Alt' key down to see the effect of change i...

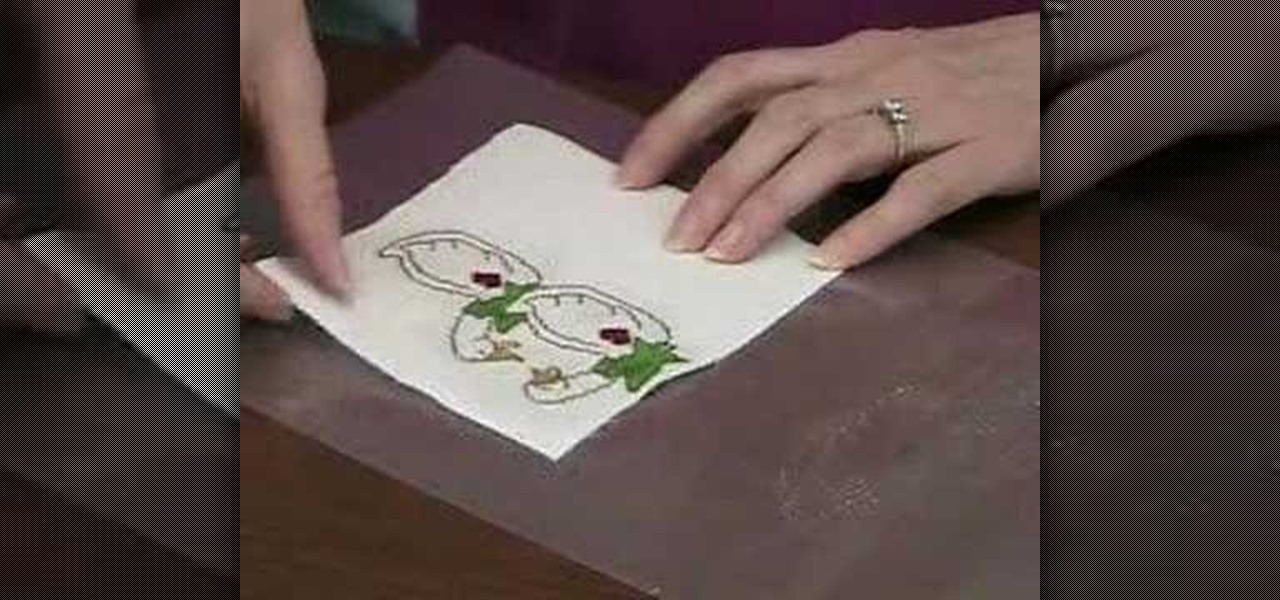
Beth Johnson explains how to use Needlework Finisher to turn cross stitched pieces into ornaments. Needlework Finisher comes out of the bottle as a thick, white liquid, but turns into a clear plastic coating when dry. No special equipment is required, and Beth demonstrates how to daub the Needlework Finisher onto the cross stitched items with a finger tip. She allows one side to dry before coating the other side. The "wrong" side of the cross stitch can be covered with plain fabric, by using ...

Mix cinnamon brown chalk powder and clear polymer clay and roll it out flat. Paint some more powder on the flat clay. You need quite a lot of powder to create brown rings later. Roll up the flat clay into a sausage shape. Cut slices of the long sausage and lay them on a wooden tray. Blunt the edges with your finger. Put some white chalk into a blob of thick varnish to make icing. Drizzle the icing on the top of the cinnamon rolls. You can add yellow chalk to make it look dark and cooked befor...

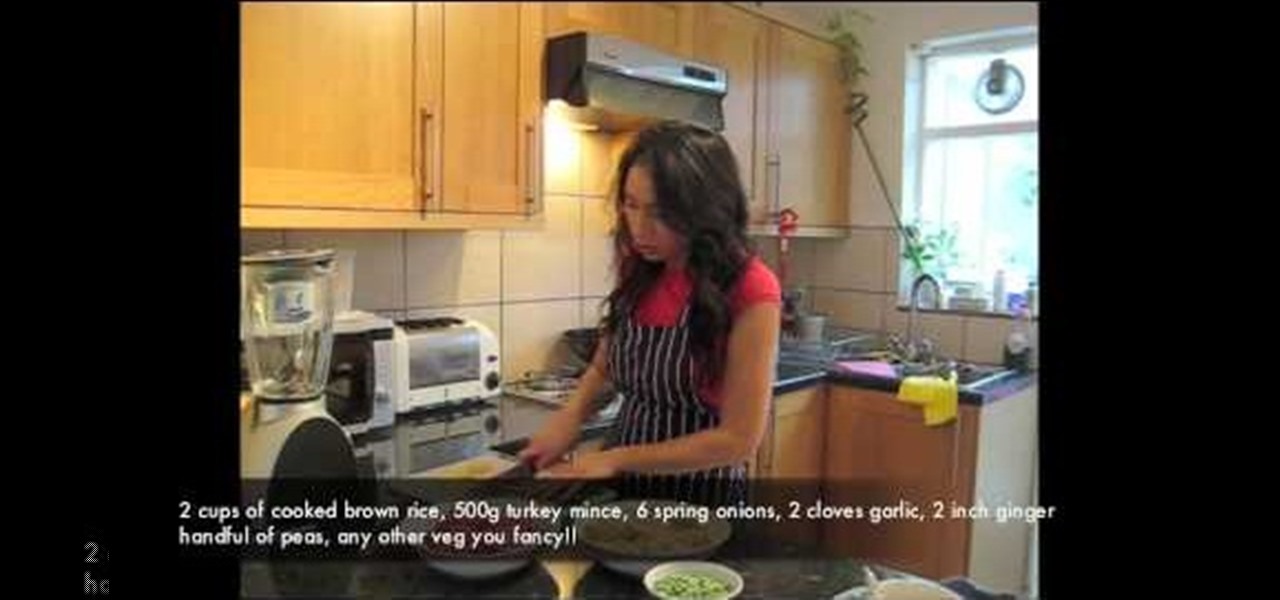
This video from The 10-Minute Cook demonstrates how to make healthy fried rice with ginger and spring onions. Start with cooked brown rice, 500g of minced turkey, 6 spring onions, 2 cloves of garlic, 2 inches of ginger, a handful of peas and any other vegetables you like. Finely chop the spring onions, garlic and ginger. Use about a tablespoon of sesame oil and heat up a wok. Add the garlic and ginger and cook that. Then add the turkey and cook it for 5-8 minutes until it's white and cooked t...

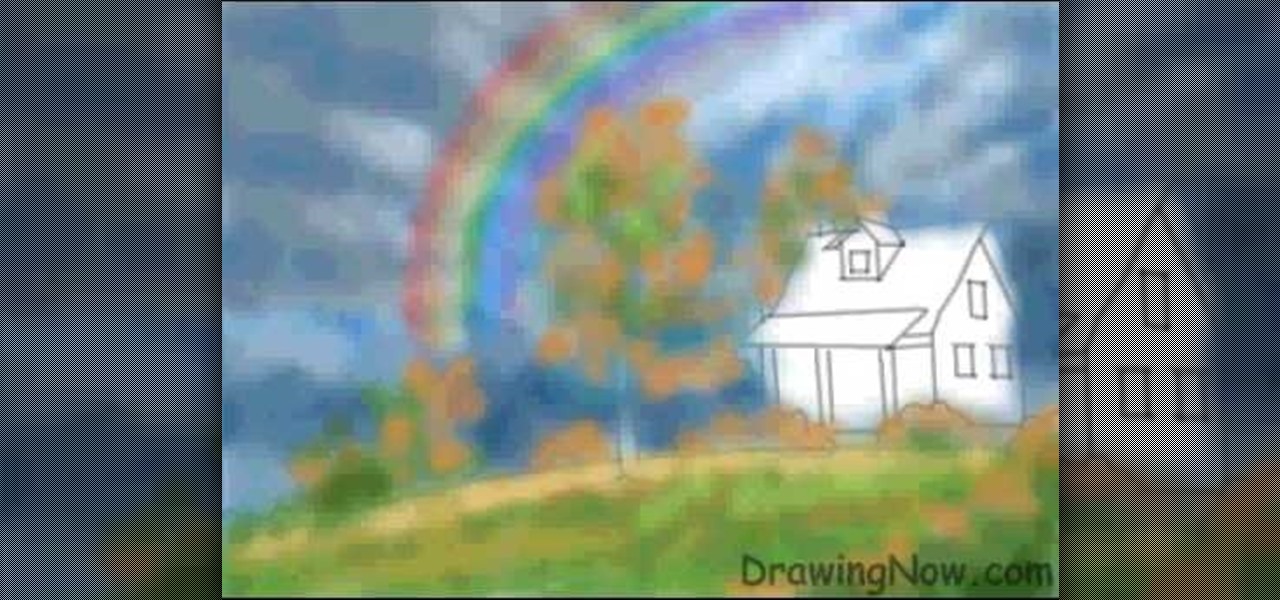
This video is all about how to draw a rainbow. The picture is drawn using a computer paint tool. In a blank white page they started drawing the outline for the trees, shrubs, house.

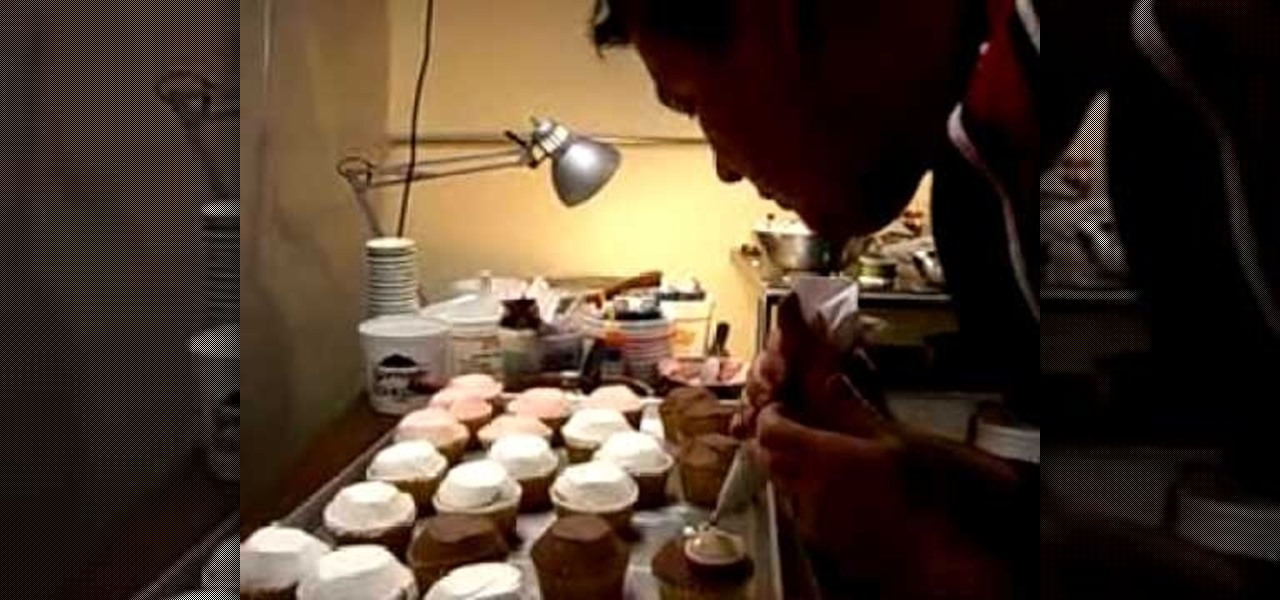
Baker Michael Anderson shows how to make three different festive cupcake decorations. Learn to adorn your cupcakes with either a reindeer, poinsettia, or holiday wreath made of frosting. The reindeer is made using brown, white, and black frosting, complete with a pair or pretzel antlers. For the poinsettia, red frosting is used for the petals, with yellow stamens and contrasting green for the leaves. The wreath uses heaps of green frosting with colorful sprinkles and a pretty red frosting bow...

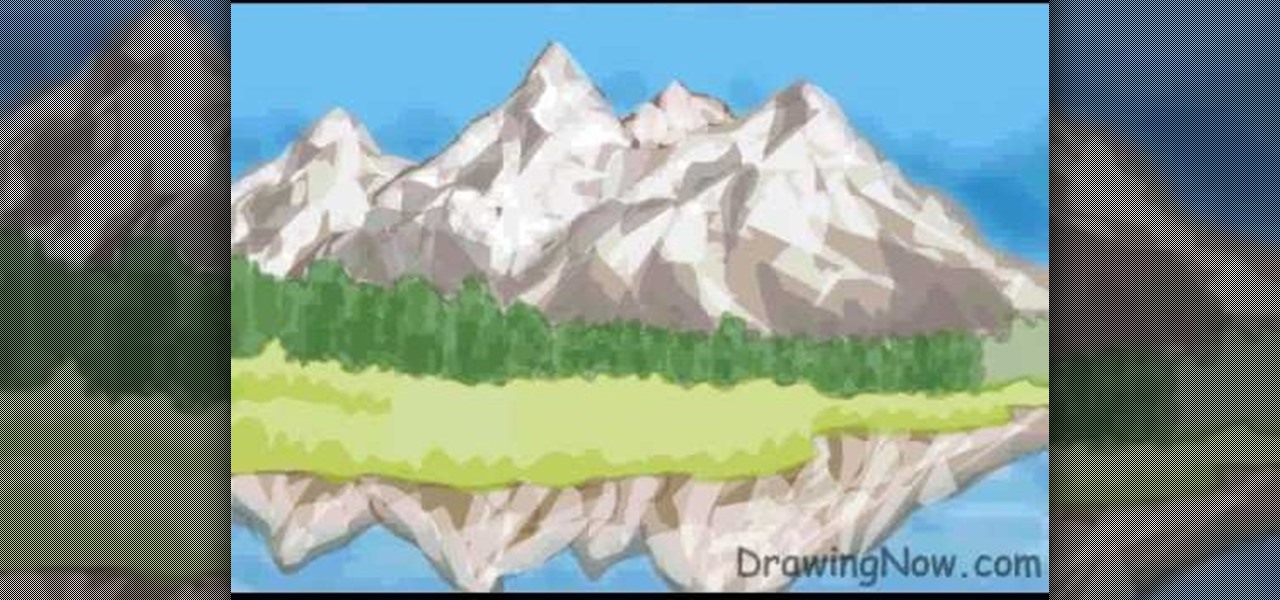
DrawingNow teaches you how to draw a mountain scene. You start with simple triangles on top of each other, which will serve as the sketch for the mountains. Use horizontal squiggly lines, which will act like a sketch for trees and water. You can color the sky blue to get that out of your way. Color each mountain a different shade of brown and make regions of white on the tops, to simulate snow. Then you have to color in the water and the mountains that are reflected in it. Next, draw grass ne...

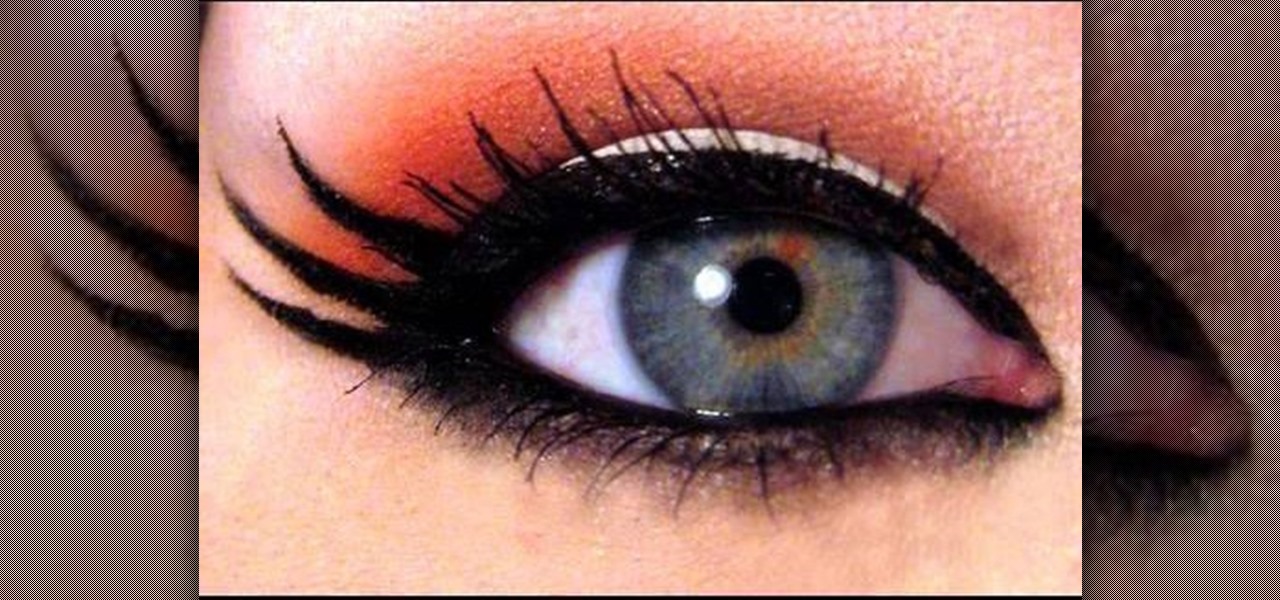
Goldiestarling teaches you how to apply a modern gothic Valentine pin-up makeup look. Start with a milky white pencil that you apply on the eyelid. Use a small haired brush with red powder and apply on the edges of the eye. Use a liquid eyeliner to do the outer eye part. Also use the eyeliner to make a contour around the red edges of the eye. Use a black pencil for the inside of the eye and also add mascara for the eyelashes. Finally, use a pink lip liner and a bright red lipstick to finish t...

Doc Willoughby, Executive Editor of Gourmet Magazine, shares the recipe for this delicious pudding cake, so called because it separates into a pudding layer and a cake layer as it bakes.

To make the Italian wedding cake martini, use vanilla vodka, white cream de cocoa, amaretto, a little bit of cranberry juice and a little bit of pineapple juice. First, fill a shaker with ice. Then, add 2 ounces of vanilla vodka, 1/2 of an ounce of amaretto, 1/2 of an ounce of crème de coca, one ounce of pineapple juice, and one ounce of cranberry juice to the shaker. Shake the ingredients together. When it's nice and cold, pour the light pink martini into the martini glass and serve.

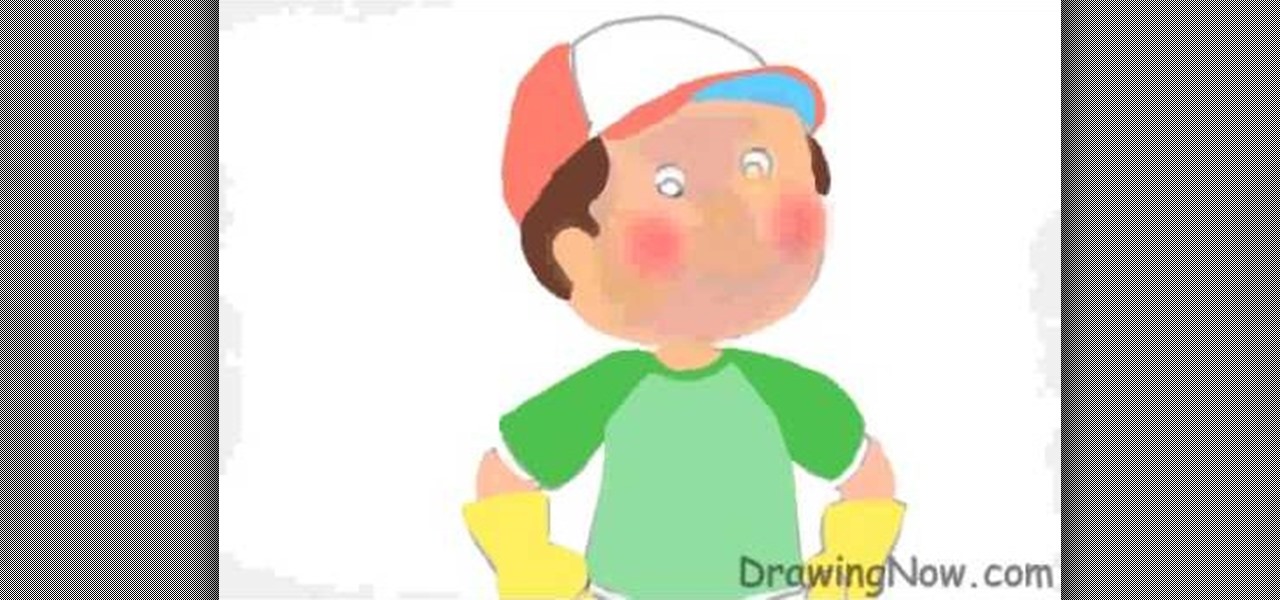
In this video tutorial, viewers learn how to draw Handy Mandy. This is a close up, which means it’s easier to draw. Sketch a large circle for Handy Manny's face and box in his body. Flesh out the arms, draw in gloves, sketch in the T shirt, draw the cap and put details on the face. Handy Manny has big eyes, snob nose and a smiley mouth. To color this in, use the airbrush tool with orange for the face and rosy cheeks. Make the face red and white, then outline the whole thing in a darker shade....

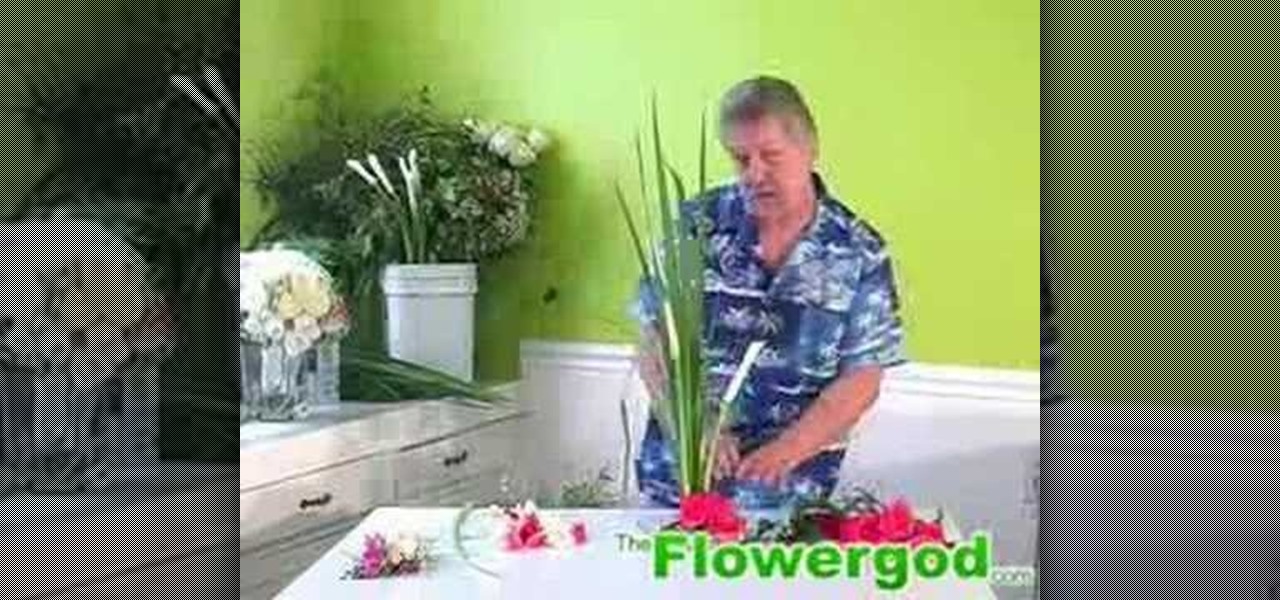
This is a short, very fast paced (6x normal speed) demonstration of how to arrange a floral and green head table piece. The 54 seconds shows the designer how to complete an arrangement from beginning to end. It is difficult to see what the shape of the base is, but it is fresh flowers going into the design. The designer places long greens into the center of the base, adding some long white stemmed flowers. Red carnation heads are then placed around the base along with some additional greenery...

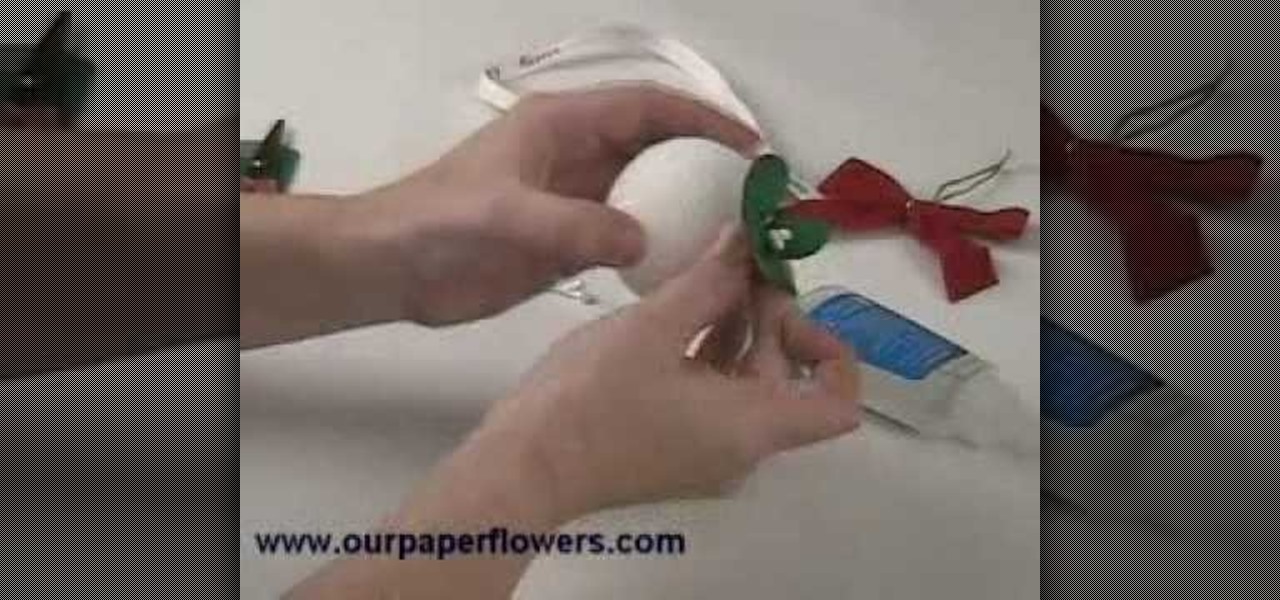
To make a paper flower mistletoe kissing ball, cut leaf petal shapes out of green paper. Apply glue to white wire berries and attach them in between four paper petals. Wrap the ends of the petals with wire to secure the bouquet. Adjust the leaves as desired. Snip the excess wire with wire cutters. Insert the mistletoe bouquet into a Styrofoam ball. Repeat until the ball is completely covered in mistletoe bouquets. Attach a red bow to the top of the mistletoe ball. Finally, add string to hang ...

This video walks you through the process of making a paper box that would be suitable for a gift or any other purpose for which a paper box could be used. This is a very simple paper folding exercise for anyone to approach. The video's presenter is silent and starts with one piece of white paper to demonstrate all of the folding techniques, using pointing and other hand gestures to do so. Follow along yourself, step by step. By the end of the fifth step, the open-faced box is complete and rea...

This video shows the viewers how to create a simple but well done Halloween text in GIMP. Starting from a simple white background you will end up creating a creepy text perfect to use every year on the 31st of October . The video is actually a easy to learn walk through , showing your each and every step you need to make . Advance users but also beginners can benefit from this short clip . At the end of the video you will surely create the type of text you usually see only in horror movies su...


