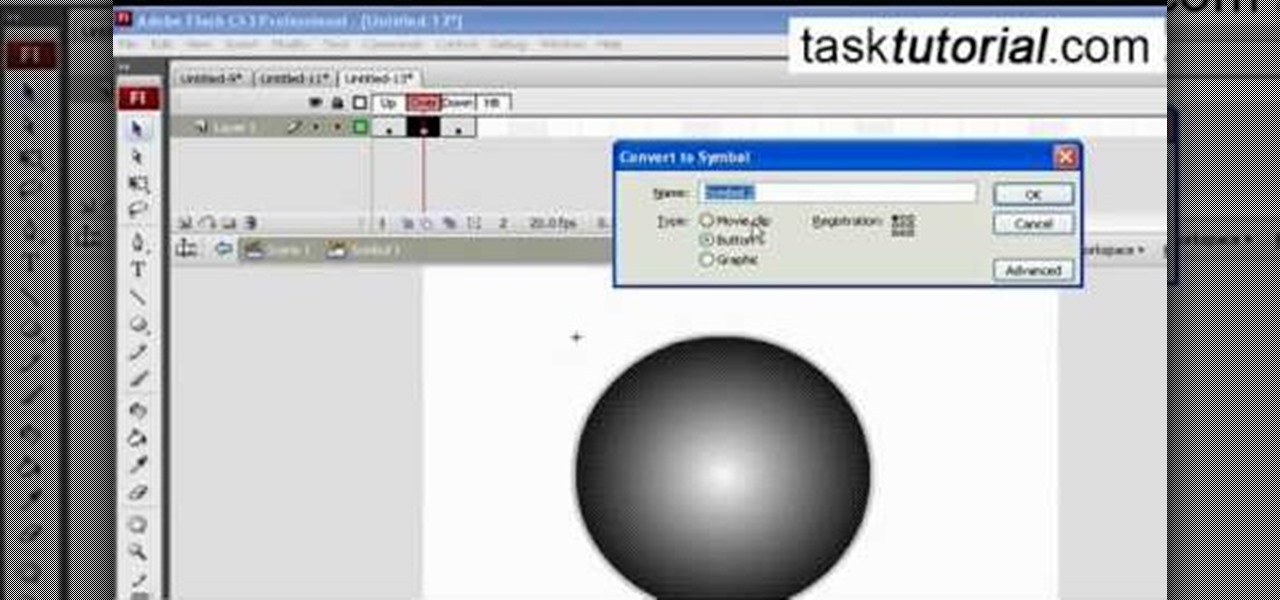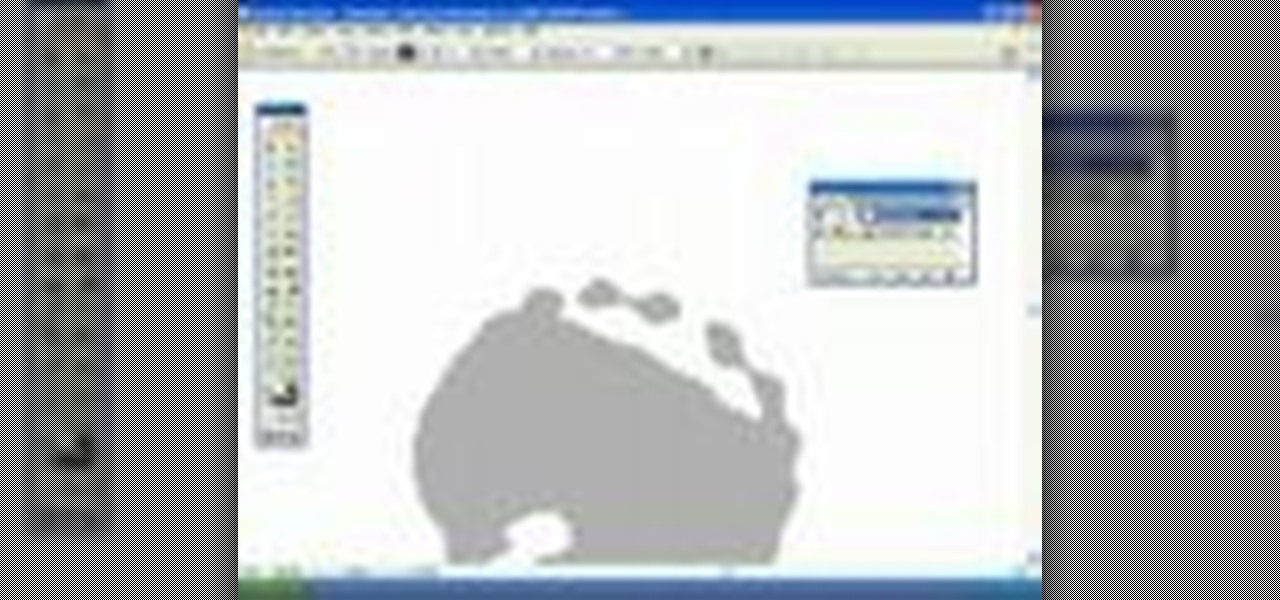
For that, first, click insert, select any shape from the given options. Take drawing tools from format option. In that, we can choose from the most used colors , like, black, blue and red. Also we have options like, fill color. In that, theme color can be used for different type of colors. Also there are options for gradient colors, color effects. We can make 3D effects of the shape we inserted 3D options in format option. In text wrapping option, we have edit wrap points.

This film from Woman's Weekly shows you how to line a round cake tin. First you take non stick baking parchment. Fold the paper to double thickness, then rest the tin on top and draw around it with a pencil. After that, then cut just inside the pencil line to compensate for the thickness of the tin. For the sides, you roll the tin on its edge, allowing some extra for overlap and a little extra height above the tin. Make a fold a couple of centimeters from the top and then make some cuts from ...

This video shows a quick way to lift your sagging jowls with face exercises. This video targets the platysma and sternomastoid muscles at the front of

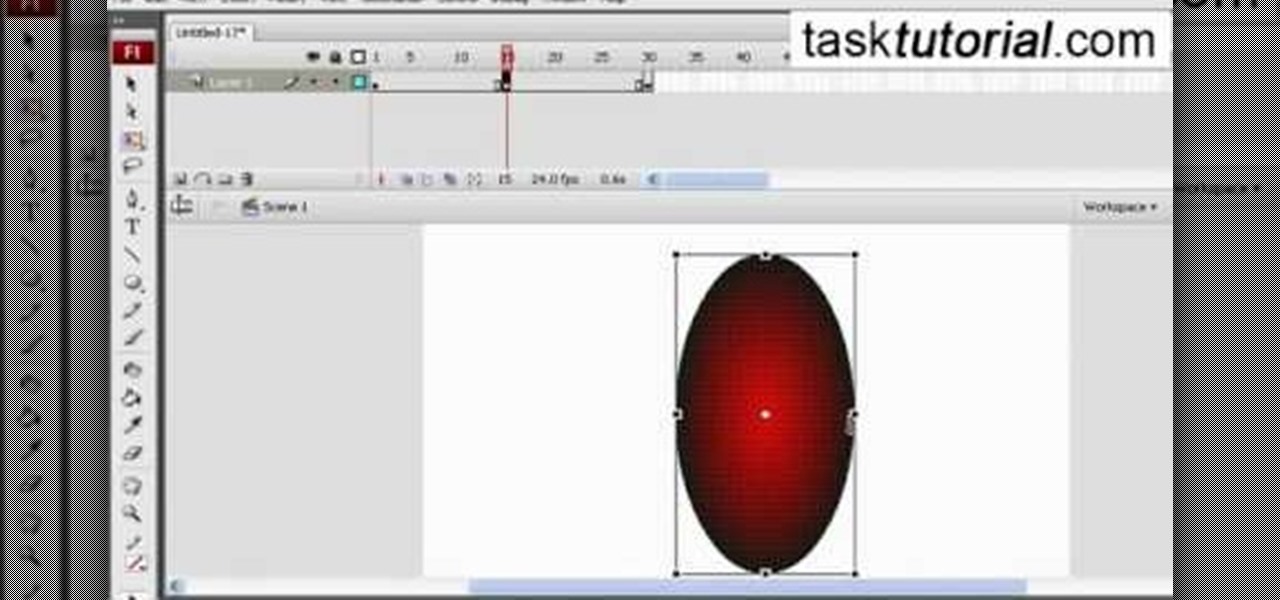
Now you can easily animate gradient image using Flash. For this you need to open flash, and then import an image which you want to work with. Create a new layer. Draw a rectangular. Go to color option and choose liner. You have to keep alpha in one side of gradient. Ad few key frames and use motion tween. Now go to your picture. You also make the same key frames of that. So it will be regular. After watching this tutorial you will be able to make nice gradient animation using Flash.

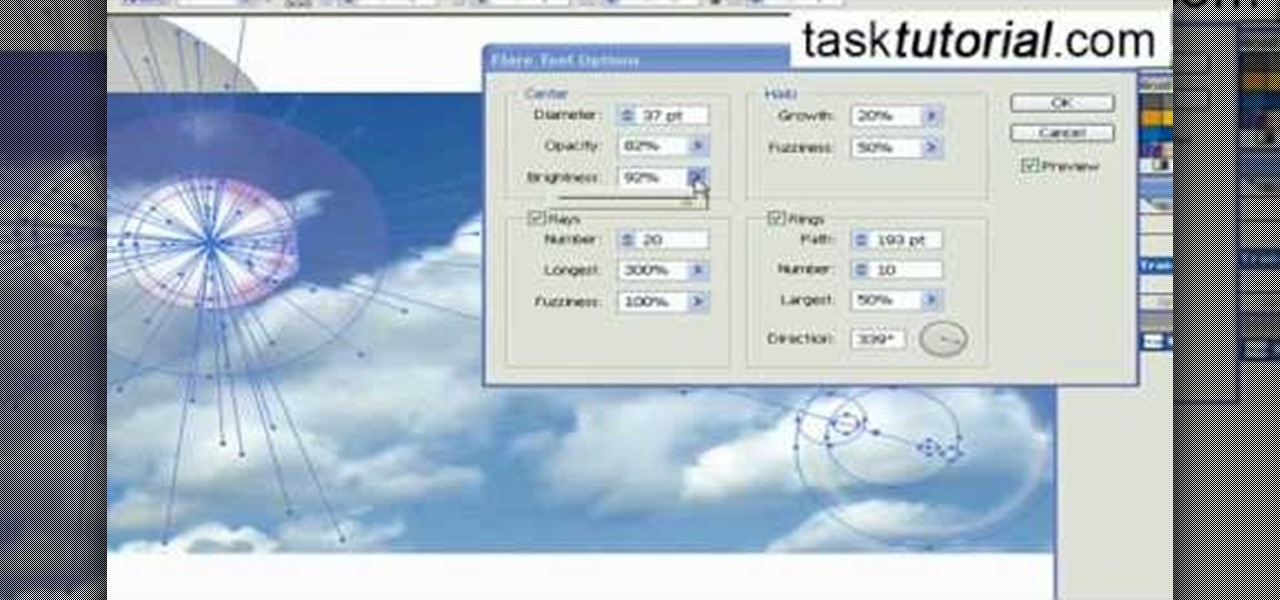
Ever wondered about the flare hitting your eyes from reflective surfaces (vehicle mirrors)? Let's create one. Open Adobe Illustrator with an image and embed it. Take the flare tool from tool palette. Draw the first shape and then second shape. To change settings, go to flare options. You can change the brightness, opacity and diameter of the flare which will add life to the image(open sky). This will help bring out some cool effects as well as realism to the image.

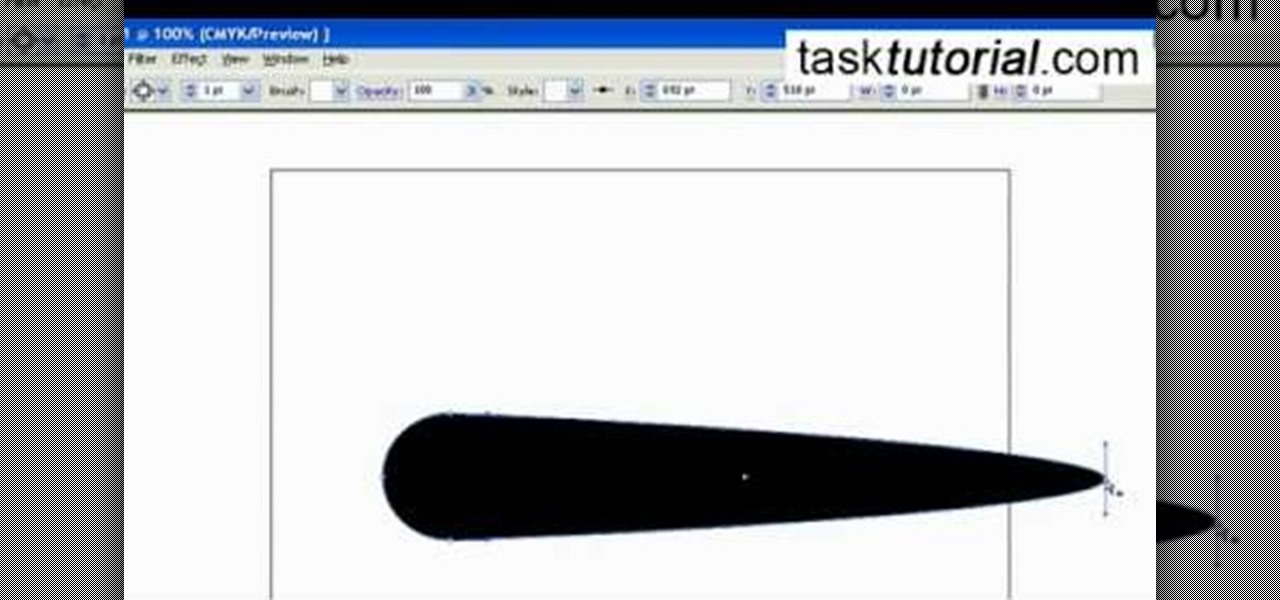
Let's get creative! In this video learn how to transform that boring old paintbrush in Illustrator into a totally new shape and size. You can turn your art brush into an arrow to a paint stroke to charcoal or even a fire truck or another fun shape! This tutorial will show you how to change your brush, step by step, and get the most out of Illustrator's drawing capabilities. Follow along with the video and soon you will be making unique designs with ease.

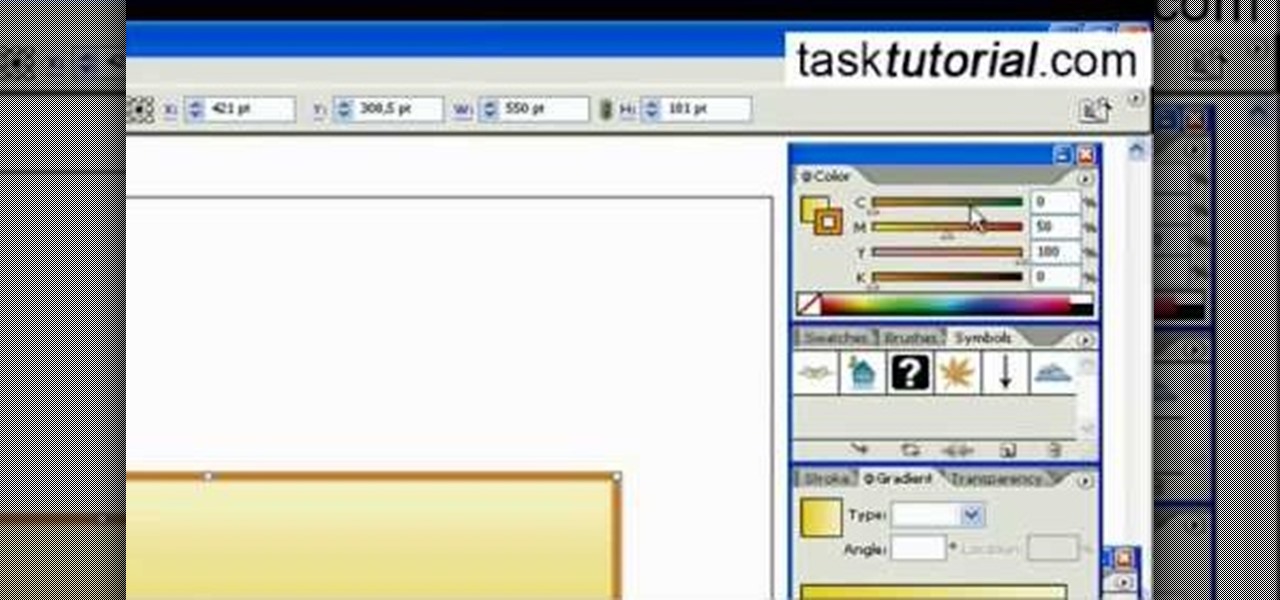
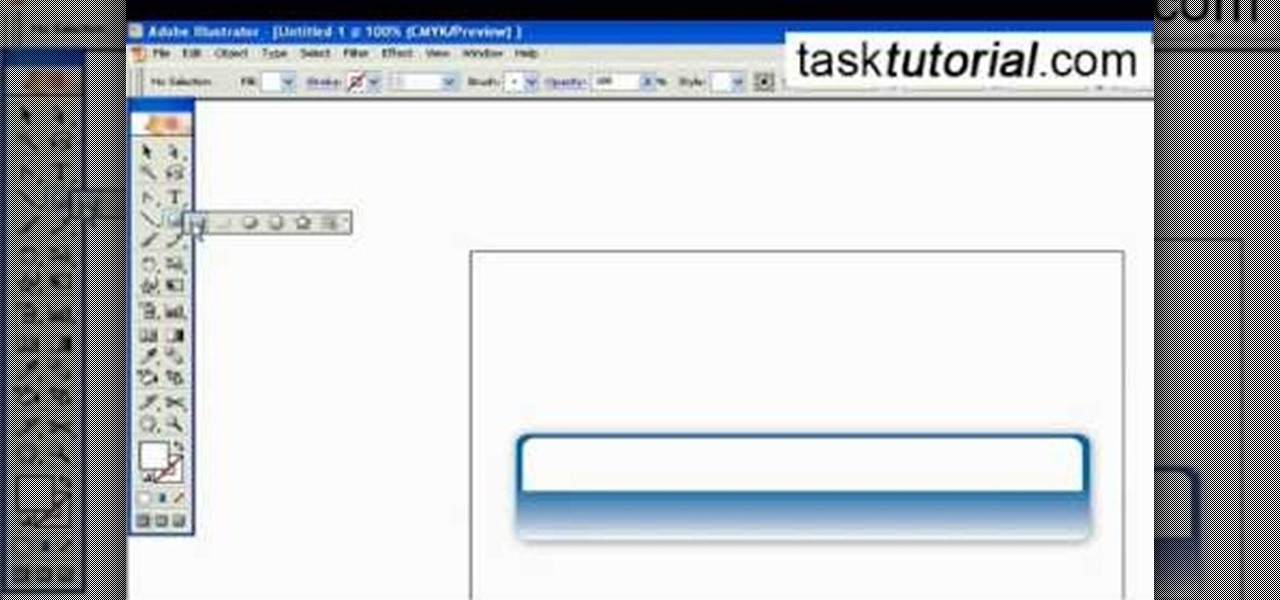
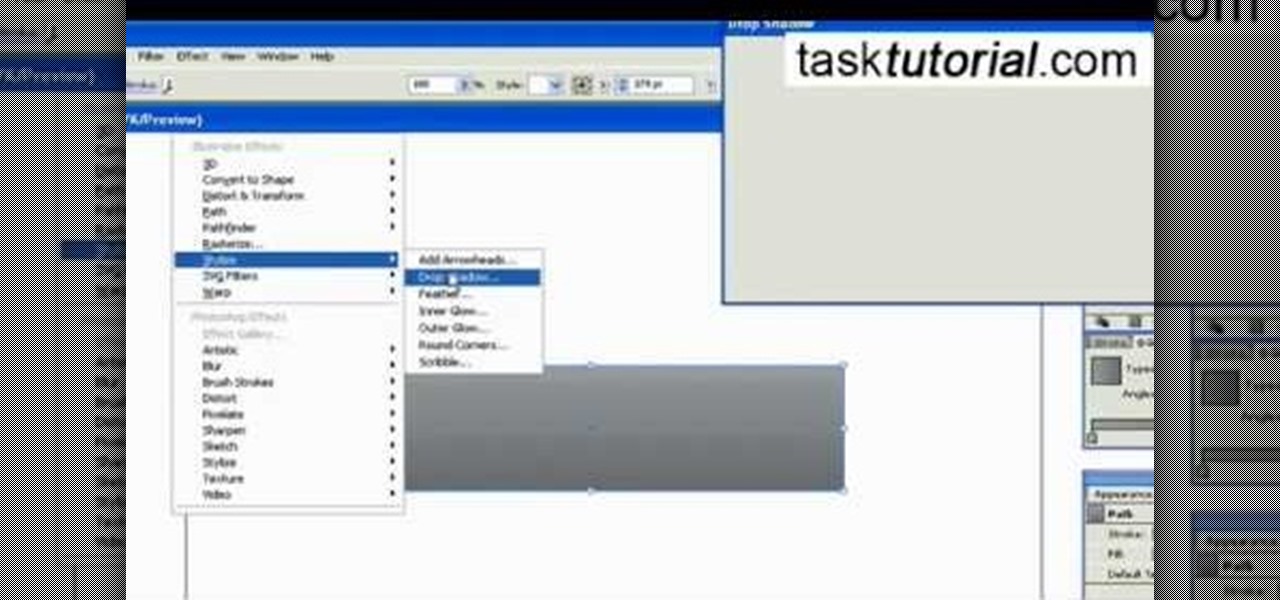
In this video tutorial by Task Tutorial we learn how to create a YouTube subscribe button using Adobe Illustrator. The first step to creating a button is to select the rectangle tool and draw a bar and then select a gradient fill. Next create the first color in the gradient and then the second color in the gradient. After that you'll want to change the gradient angle and also change the stroke width. Then you'll want to edit the stroke color to 9.6%. Then select the text tool and create your ...

In this video tutorial the author shows how to stretch objects and text in flash. To do this open the flash tool and select the radial gradient. Pressing shift key draws a shape. Go to frame 30 and create a key frame by pressing F6. Now similarly do it at frame 15. Now at frame 15 select the free transform tool and stretch the image. Now create the shape twins in the locations shown in the video. Repeat the same process for a text starting with adding some text to the scene. Finally convert i...

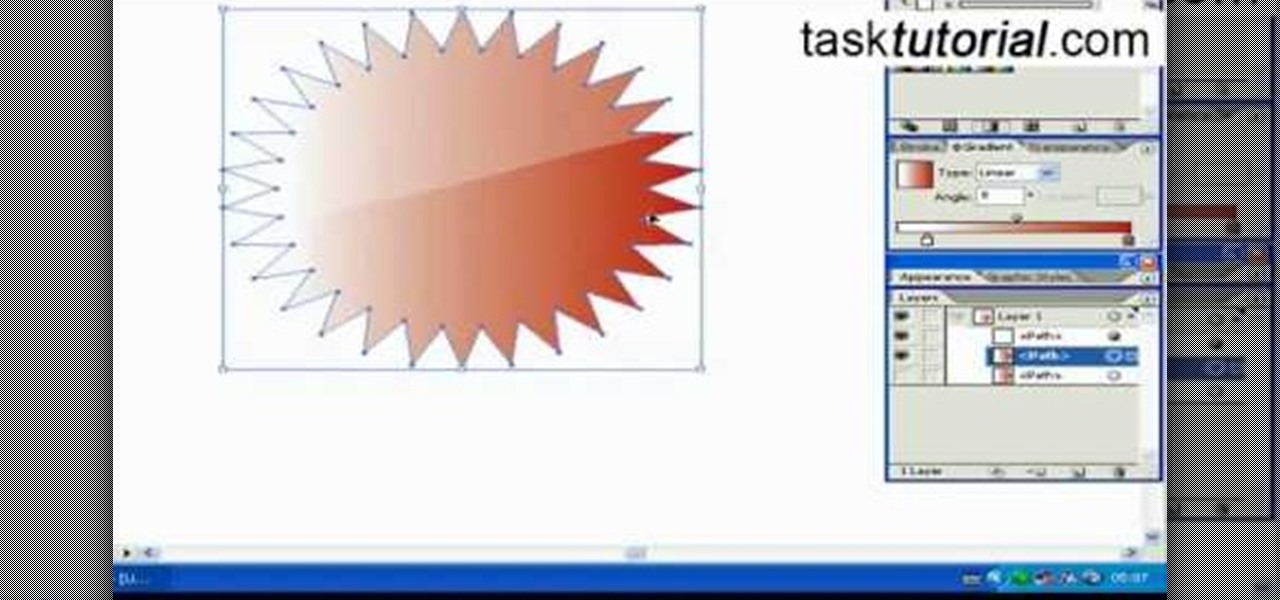
Do you have interest in creating 3D objects? Open illustrator and draw a star tool with gradient fill in it. Then go to effects>3D>Extrude/Bevel. Select preview to view the star in 3D while changing its settings. One can rotate the star in any angle as well as change the thickness of the star. Then go to object>expand appearance and then click on the gradient. Our star is ready. It will help in creating 3D objects and shapes.

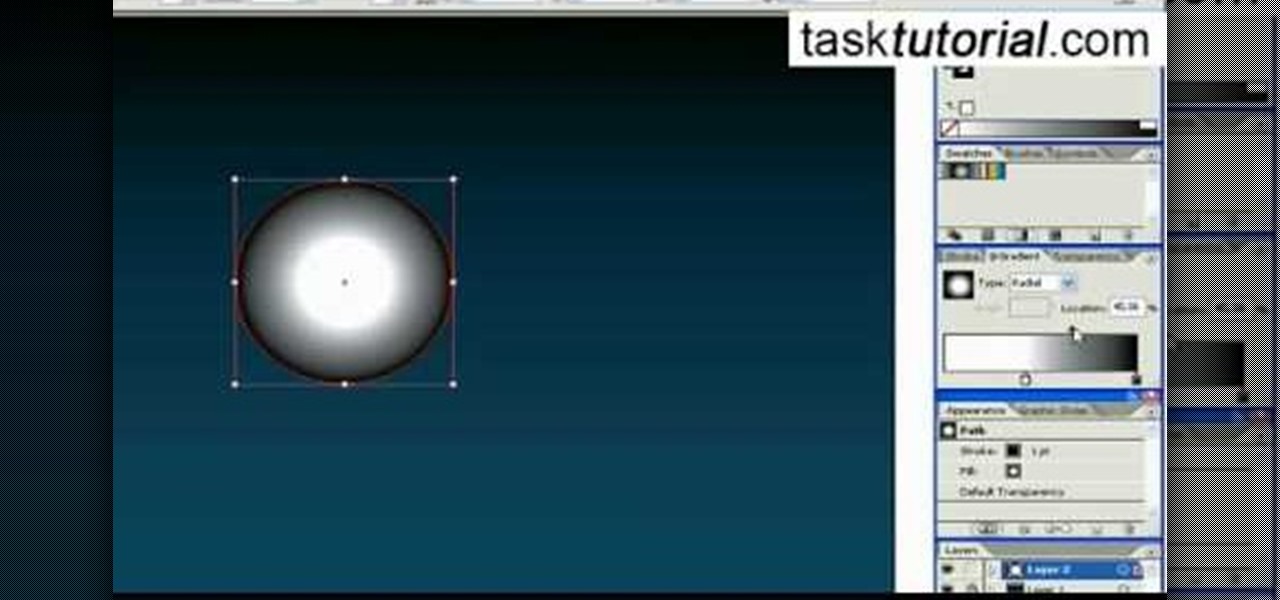
In this video tutorial, viewers learn how to create a web 2.0 style badge using Adobe Illustrator. Adobe Illustrator is a vector graphics editor. Viewers will learn how to manipulate the Star Tool in Adobe Illustrator, how to apply a custom radial gradient to that shape and how you can create, save, and open custom swatches. This video will benefit those viewers who design websites. These web badges can be used on a website to promote a product, announce a sale, or simply draw attention.

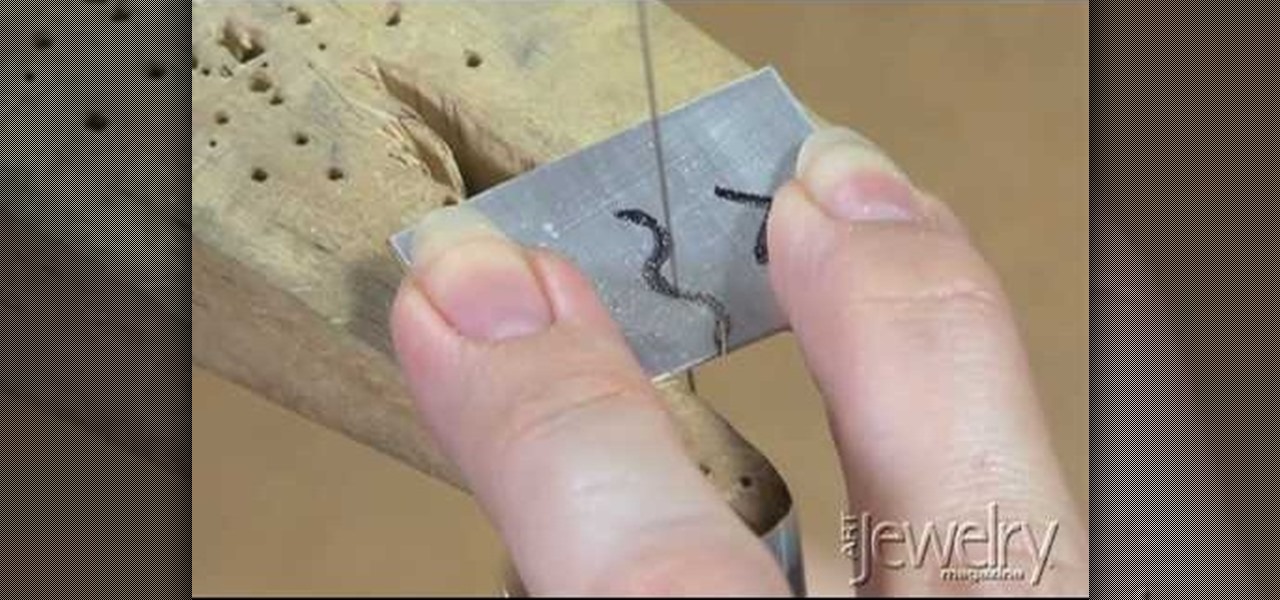
This video tutorial is about basic sawing techniques. Before practicing it you need to wear safety goggles for protecting your eyes. First of all, make a practice sheet. Draw three lines in a metal piece. One line is straight, one is curve and another is zigzag. Lubricate the saw blade and start sawing. Hold the saw straight and move forward. Blow the dusts away. For making curve don't move the saw, rotate the metal piece to cut it. Hold the metal piece tightly when you sawing it. Addie kid h...

This tutorial will show you how to create a cool image animation using mask in Flash. First lets import image file and now lets create a new layer. Choose oval tools and now lets draw a shape just outside our scene. Then go to frame 30, and add the key frame and select transform tool. Now lets re-size our shape and go to 50 frame and add the key frame. Then go to frame 80 and add the key frame, re-size our shape and use free transform tools. Now lets create shaped in frame over 30, 50,and 80 ...

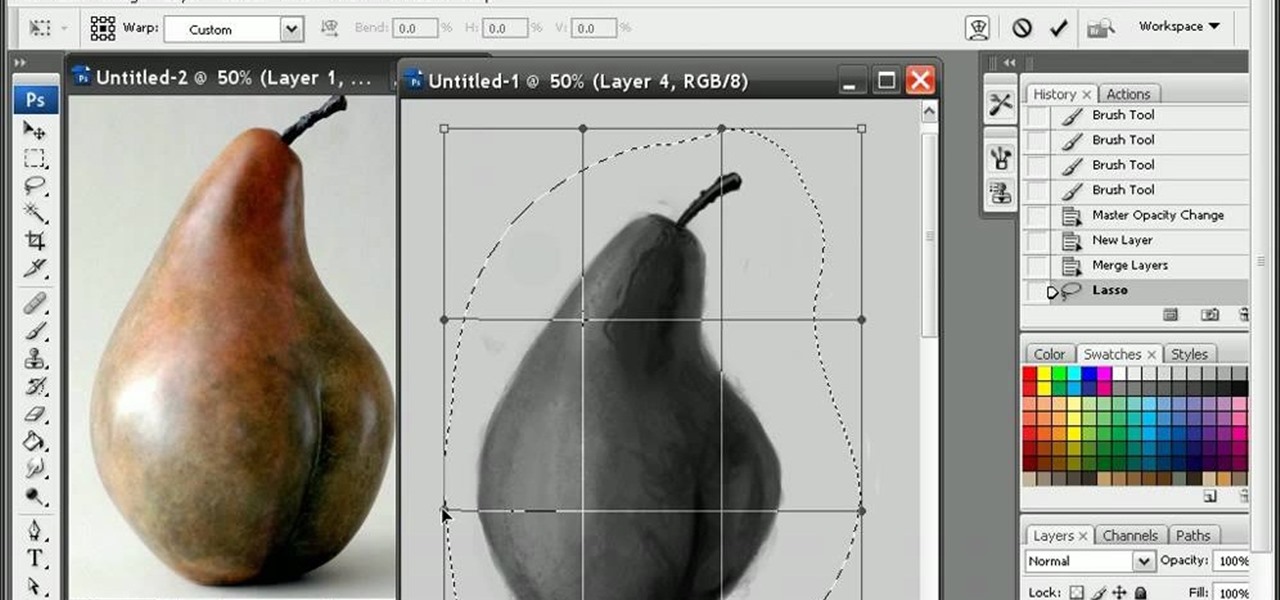
If you are looking to improve your Photoshop skills by learning how to digital paint in it, this video shows you how to do it. To do this, open a new Photoshop canvas and select your brush to paint with. In this example the author shows how to paint a pear for demonstration purposes. You start by drawing a rough sketch, just using your paint brush and reference an image of a pear that you find in this tutorial. Now do the dark textured work on the non lighting side as shown in the video. Now ...

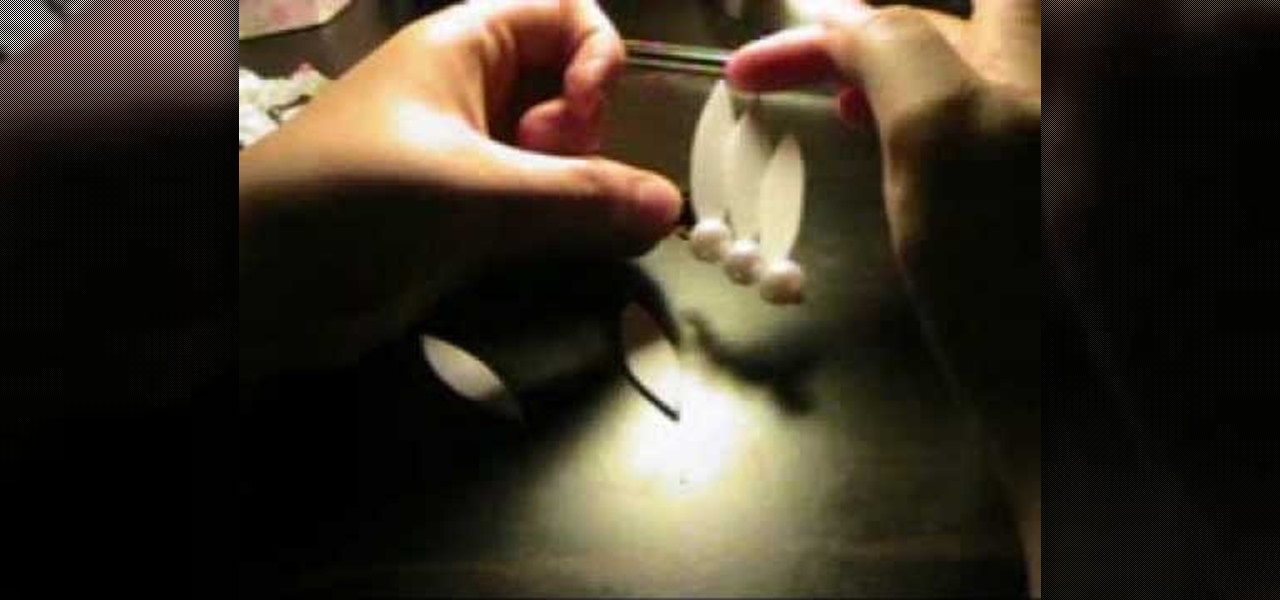
This video is a demonstration of how to make Sailor Moon style hair clips. Start with two alligator clips, six half pearls, craft foam, glue, a pencil and scissors. Draw an outline of a feather shape on the craft foam and cut it out. Trace around the cut-out to make several more and cut them out. Spread some glue on the top of an alligator clip and stick the feathers shapes on in an overlapping design. Put some glue on the back of each half pearl and stick it to the clip at the base of each f...

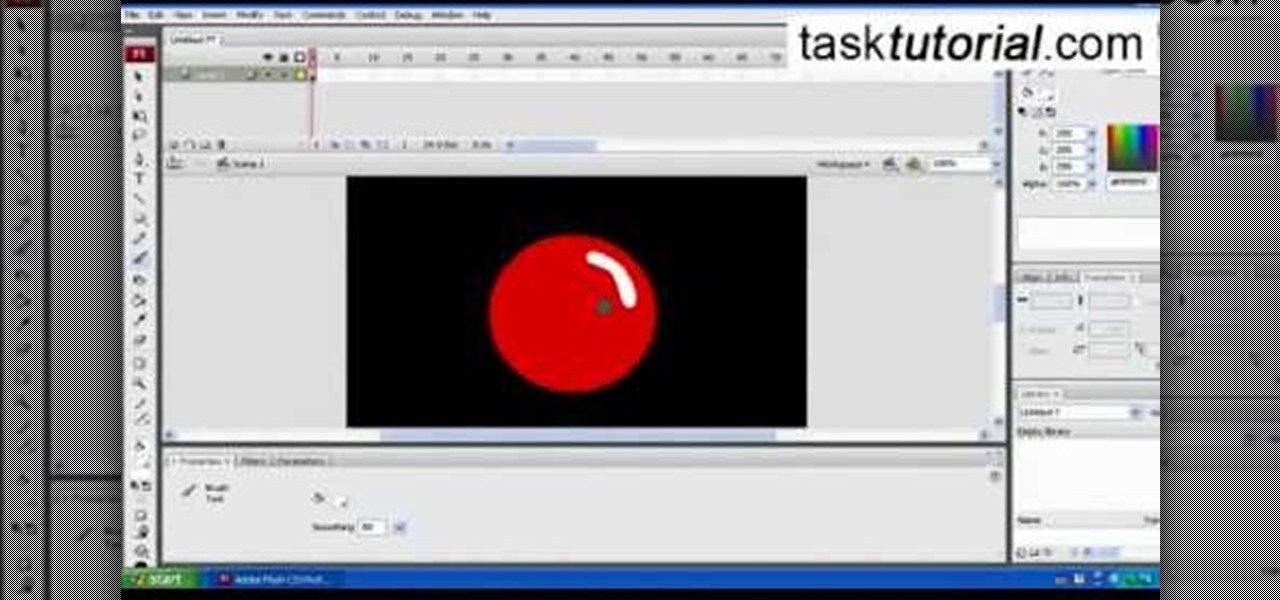
This video shows you how to create a glowing object in Adobe Flash CS3 Professional software. This is a tutorial video for beginner level viewers. Making objects glow is one of the many effects that can be applied in Flash. In this video the narrator draws a shape, converts the shape into a movie and adds a glow filter to the object. Watch this video and learn the correct parameters to be supplied to the program to get the desired glow effect.

Ever wondered about when your mouse moves over a website and some animation plays? Well, that's an invisible button. To create one, first type some text in Flash. Then create a new layer, draw some basic shape, and convert it to a button. Then double-click and create a new keyframe on hit. Scale the shape according to the size of the text. Now, when one moves the cursor on the text,the cursor becomes active. It really helps for some animation with greeting cards.

Outcomes are endless in Adobe Illustrator. You can create pretty much whatever you can think of and what you can create. This tutorial will demonstrate how to create a glass bar in Adobe Illustrator. You will need to:

Want to create some cool effects in illustrator? Create a new layer. Draw the ellipse tool and add radial gradient, then go to transparency and select screen. Then create the star tool and deselect stroke. Drag and place the star shape on ellipse and group them. Then duplicate that layer to make multiple sparkles on different layers. Resize other sparkles by holding down shift key. One can change colors of other sparkles. This will help you in making a good background.

You can make a rollover button in Flash by following the instructions shown. You start by opening up Flash to work on your project. You then follow along and draw a shape for the actual button. Then follow the steps given to turn your shape into a button that is click-able and links to your movie clip. This is great for placing on a website instead of placing a bulky video clip on the site. If you complete the directions correctly you will have a fully working click-able button that will link...

Dougsimmsonline shows how to determine whether or not 2 triangles are similar. Not only does he go on to show that they are but he describes step by step how to do the math to find missing angles. He does this process twice to show one set of triangles being similar and show the other set of triangles as not being similar. Doug is using a large computer touch screen as his drawing board to show you how this process is done.

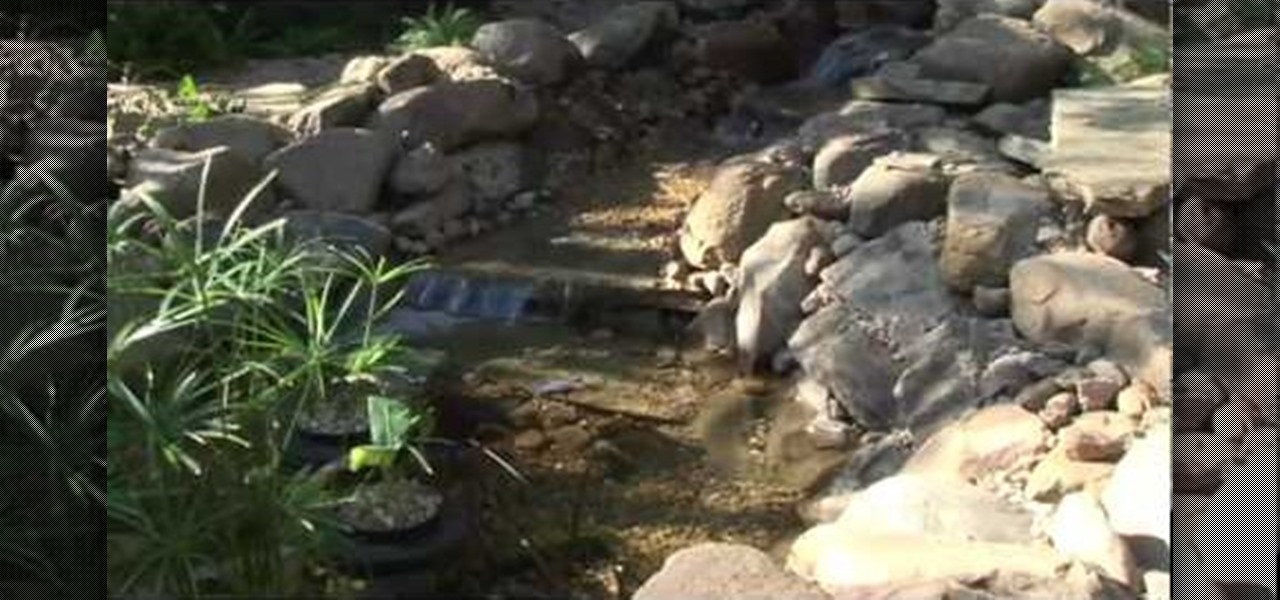
The Smart Pond system can be used to create a water feature in a backyard. Ponds can be made above the ground or in the ground using a preformed pond. Various types of ponds are shown, which would be appropriate for various locations. The location of a pond is discussed; it shouldn't be under trees to avoid debris and too much shade. Draw out the plan for your pond and dig one or two feet deeper than the depth of the pond. Determine the size of the liner, place it in the hole and anchor it wi...

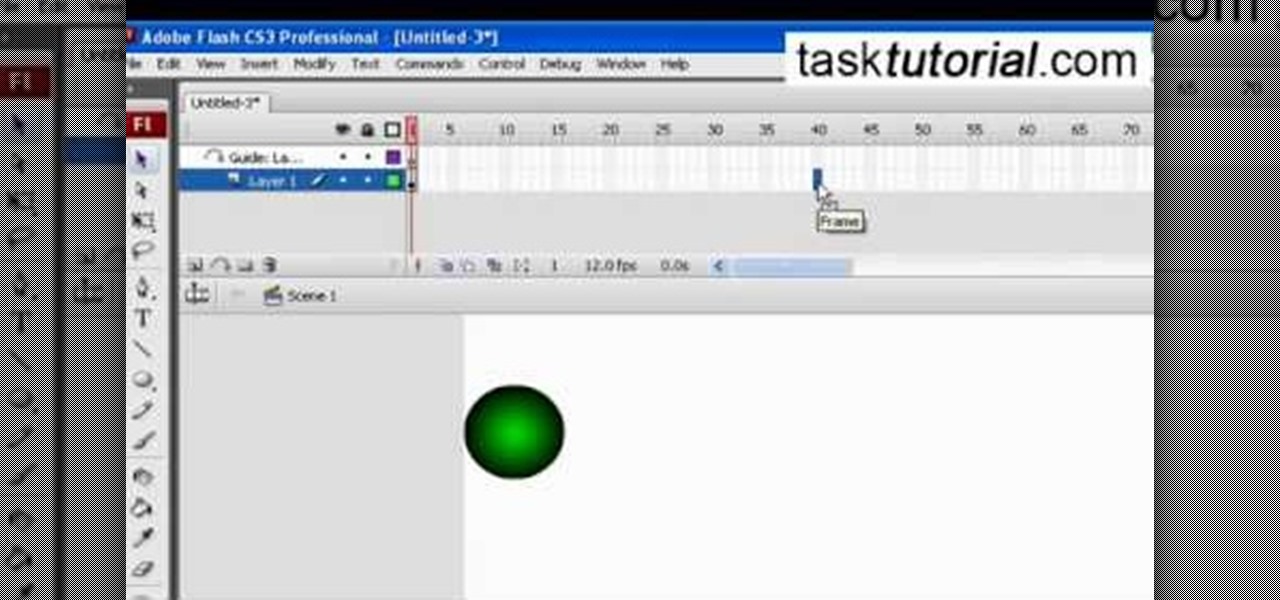
This tutorial video, from tasktutorial demonstrates how to create animation using the motion guide function in Flash. You will learn how to create an object, in this case, a ball, and create an animation that makes it appear to bounce. The guide shows you, how to add a motion guide by selecting a key frame and drawing it in. Then you will learn how to snap the object to your guide line, and add motion to it by selecting another key frame between the first and last frames, and snapping the obj...

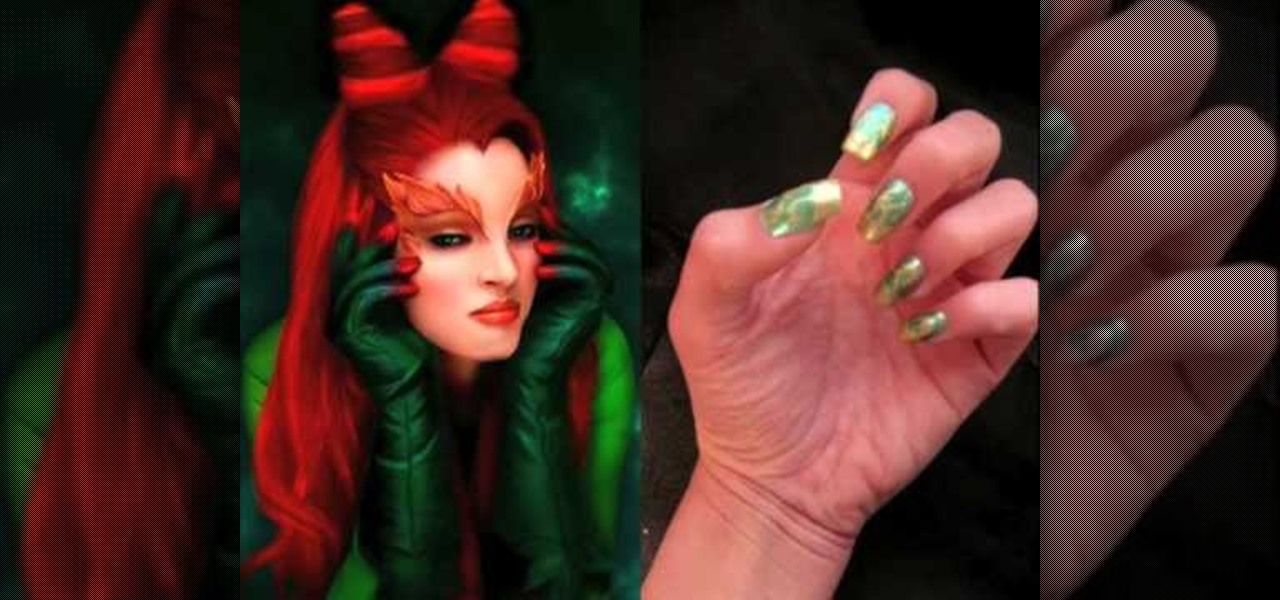
This video demonstrates how to make nail art inspired by the character Poison Ivy. You'll need a nail file, three non-fabric Band-Aids, scissors, toothpicks, green metallic and gold nail polish, and top coat. First file nails into a square shape. Cut each Band-Aid in half. Paint over entire nail with metallic green and let dry. Cover the lower part of the nail with the Band-Aids, and paint the tips with metallic gold polish, let dry, and remove Band-Aids. Create a vine design on each nail by ...

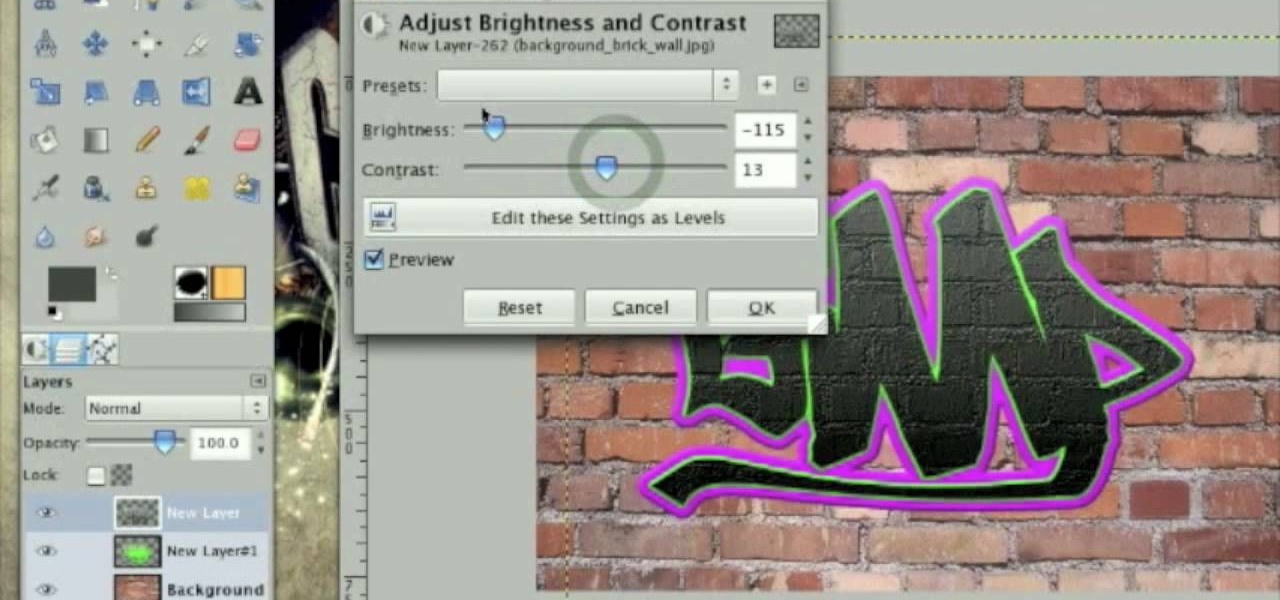
This tutorial describes how to create a realistic graffiti effect in a program called GIMP. You must first make sure that you have the font "writers original" installed on your computer. If not, you must download it to create this graffiti effect. Simply open a brick background on GIMP and put whatever text you want to have. Enhance the text by creating multiple layers and create a multi-dimensional image by creating contrast among those layers. Lowering brightness opposite layers and changin...

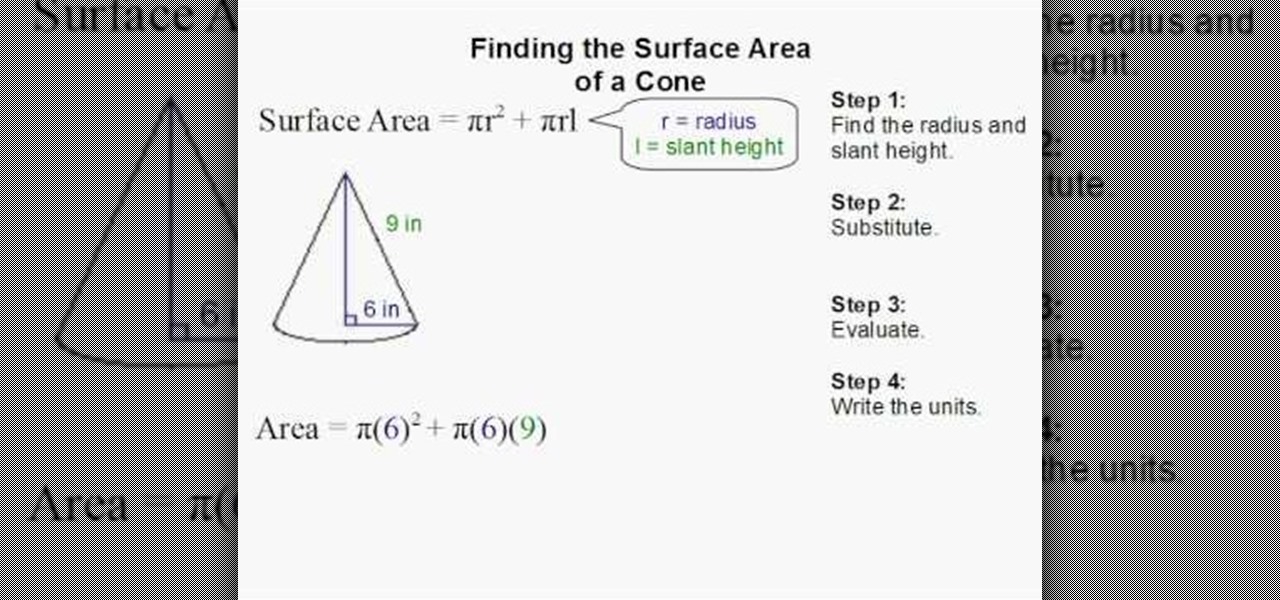
In this how-to video, the author, , Davitily, has a simple drawn out diagram of a cone figure and it's measurements, and also has the mathematical formula of how to find the surface area of this and any other cone figure.

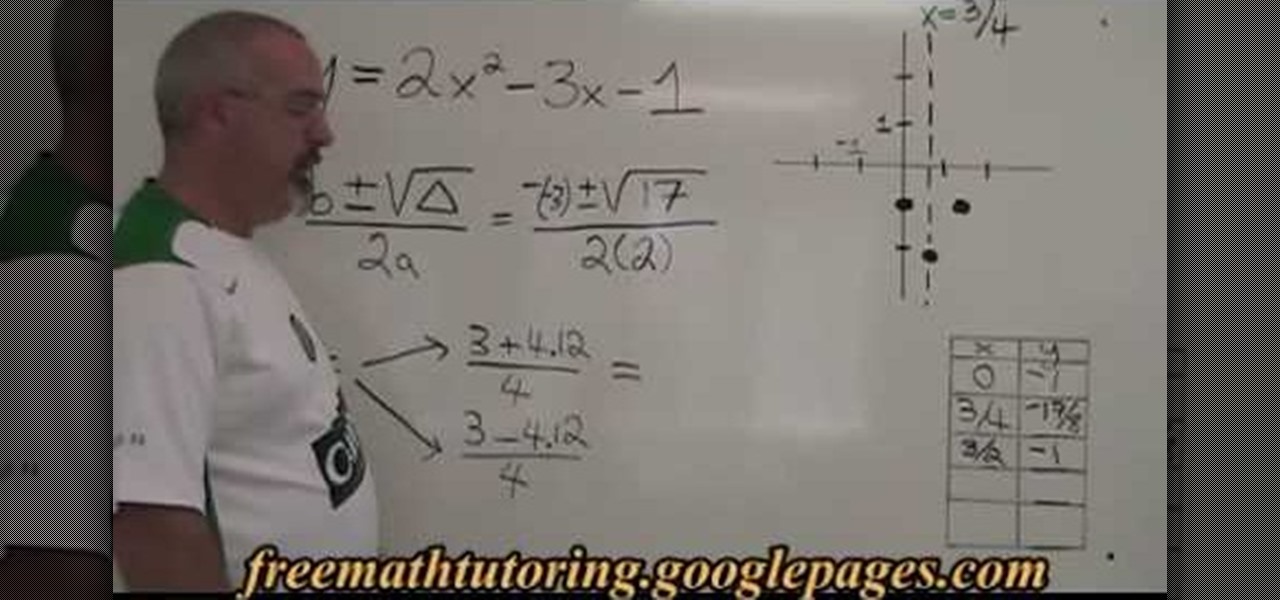
In this tutorial the instructor shows how to graph a parabola and also how to find its roots which are also known as zeroes. He gives the quadratic formula of how to find x-intercepts of a parabola. He takes an example and substitutes the values and finds out the values of the roots of the parabola. Now he substitutes these values in the equation to obtain the corresponding y coordinates. Now using these pairs of values he plots the parabola on a graph and draws it. This video shows how to fi...

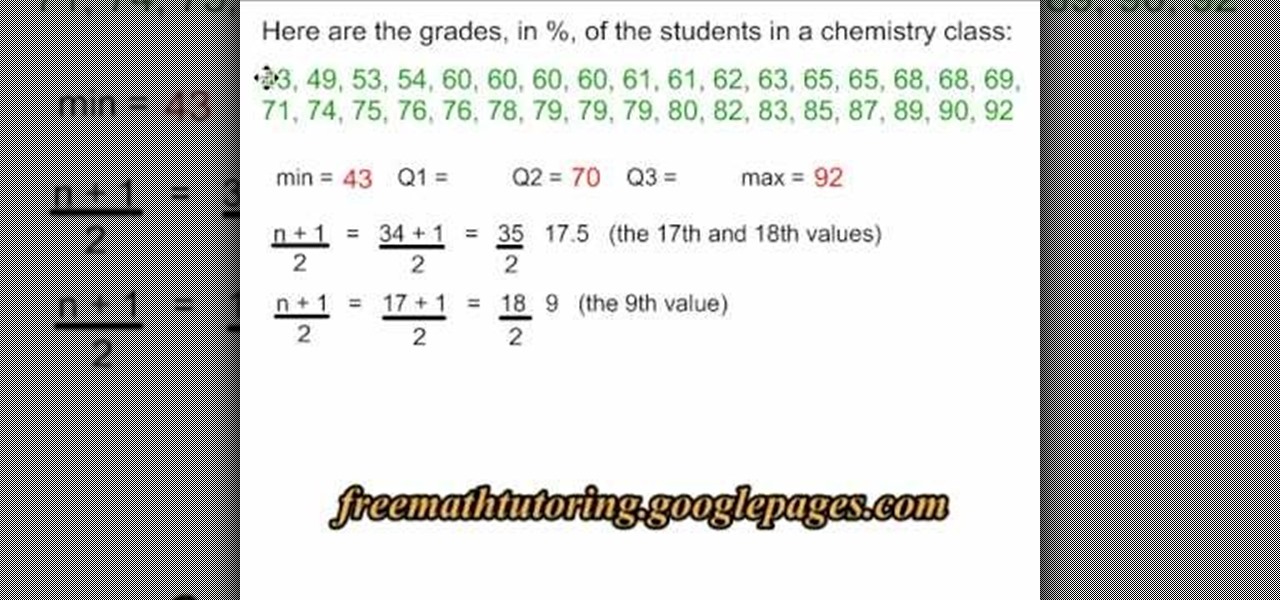
This is an interesting mathematical instructional video on how to make a quartile diagram. This example is about 34 grades obtained by chemistry class students. We need a minimum value, a maximum value, Q1, Q2 and Q3 values to make a quartile diagram. The minimum is 43 and the maximum is 92. To calculate Q2 median formula (n+1 over 2)is used. The Q2 median is 17.5. So the average of 69 and 71 is 70 and hence Q2 70. Similarly Q1 is calculated as 61 and Q3 is calculated as 79. Now you can draw ...

This video tutorial by Tasktutorial shows you how to create an Apple style bar in Illustrator. First, select the rectangle tool in Illustrator and draw a bar as shown. Now select the path, go to gradient and choose the black and white gradient from the swatches. Select two shades of gray and change the angle to -90 degrees as shown. Tweak the colors and go to effects-stylize and select drop shadow, change the opacity value and select black color, normal blend mode as shown. Select the type to...

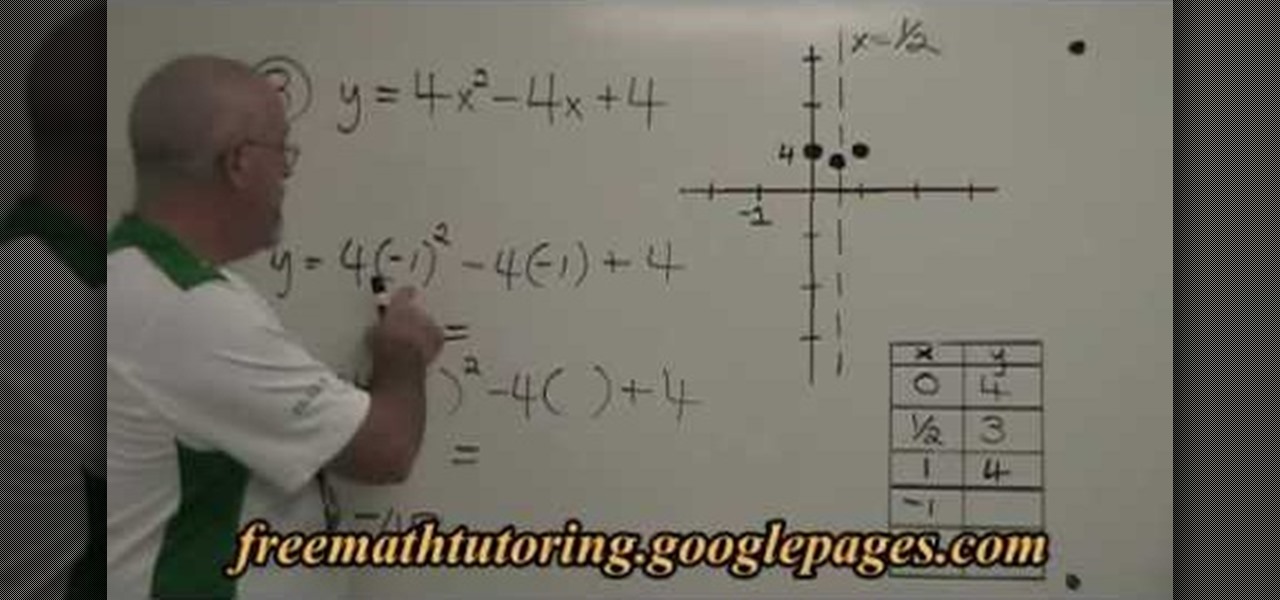
This is a mathematical educational video on how to find extra points for a parabola. In the first two examples there is no need for finding extra points as they have five points and have zeros of the parabola. In example 3 we need to find extra points. The equation is y=4xsquare-4x+4. You can take x= -1 and get the value for y. You will get a point now. Similarly you can substitute -2 for x in the same equation and get the value for y. Now you get another point. Now you can draw the parabola.

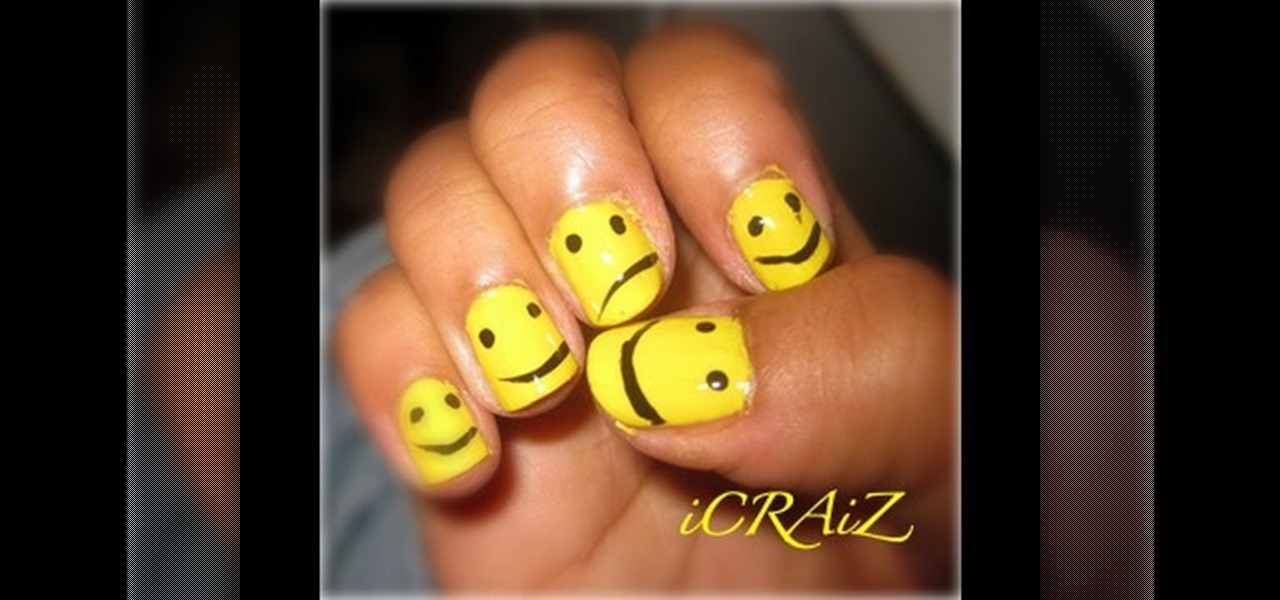
For those who would like to have fun, interestingly designed nails, this video shows how to paint smiley face nails. After applying a base coat, mix a plain matte bright yellow and a plain matte white nail polish together on a piece of paper. This will create a lighter shade of yellow. Apply the lighter yellow mixture to the nails. After applying two coats and allowing them to dry, use a black nail polish to draw the eyes and mouth of the smiley face. This will give you a cute and stylish des...

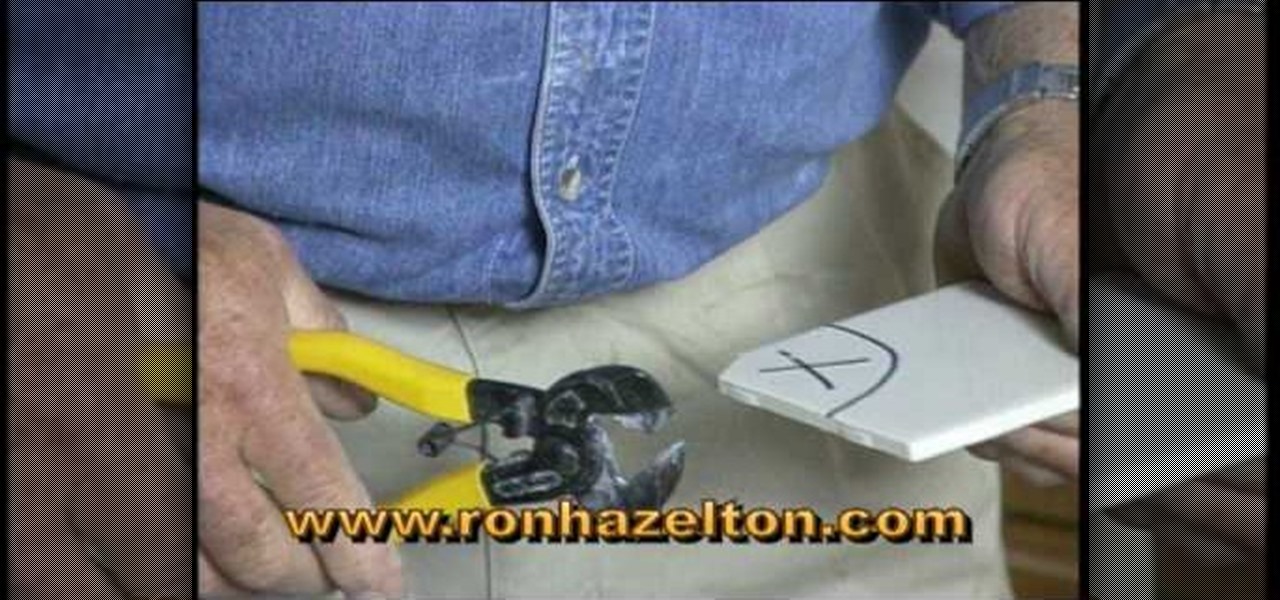
If you lay tile it is rare to do a job and not have to cut a curved piece of tile. If you do have to cut a curved piece there are two ways to do it. First, you have to draw outline of the cut that you need to make on the tile itself and mark the part you are going to remove with an X. The low tech method involves using a pair of tile nippers. You nip away pieces of the tile until you have nipped away the whole area until you have a circular cut out. For a more polished cut you can use a spira...

This simple video tutorial teaches you how to change the pivot point position when using Flash. The tutorial handles drawing basic shapes, such as squares and rectangles and converting them to movie clips.

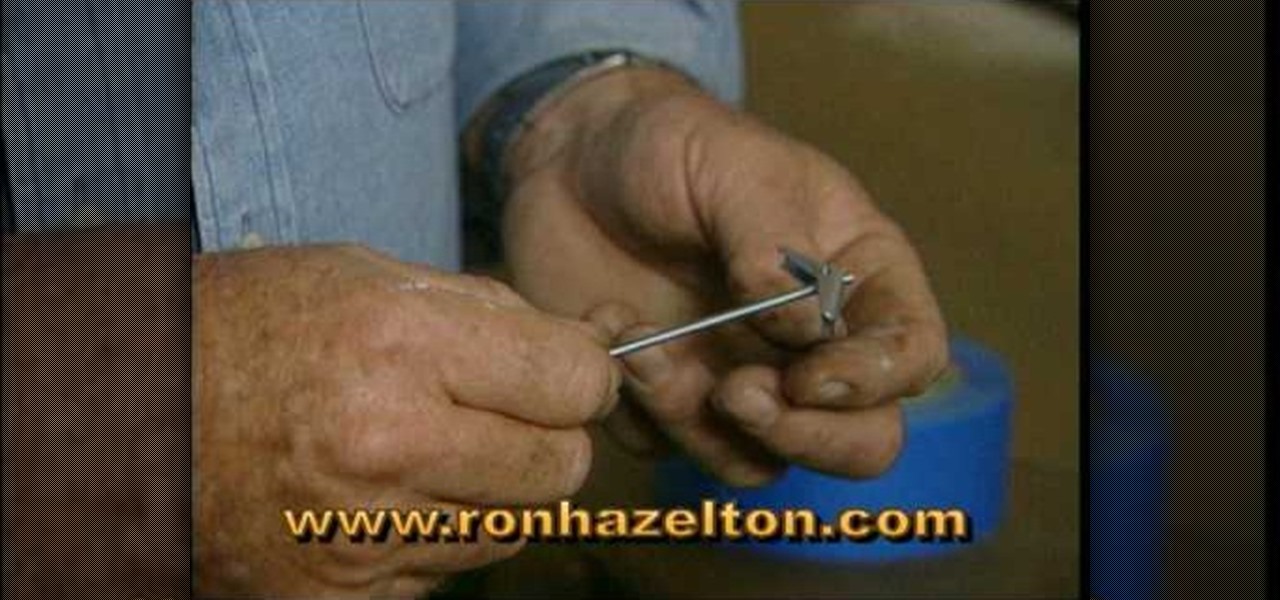
Ron Hazelton shows the most secure way to hang heavy mirrors or art on plaster walls using toggle bolts. Attach a sturdy hanging wire to the piece if necessary. Draw a level line on the wall where the top of the piece will go. Stretch the hanging wire taut and measure the distance between the wire and the top of the frame. A two-bolt system will keep the piece level. Drill two holes this distance below the wall line. Using masking tape prevents the plaster from chipping. Fold the toggle wings...

Creating curves with the pen tool in Adobe Illustrator is a good challenge. Check out this video on both drawing and editing with the pen tool. Click once in a place and then drag. This pulls out the direction handles.

See how to choose a tattoo that’s right for you. A tattoo is forever – unless, of course, you want to go through the pain and expense of removing it. So think long and hard before you get one!

Sketching takes exercises and practice. Learn different sketching techniques to get started with this free drawing video series.

How to play root notes on the harmonica. A look at the three root notes that make up the rudiments of a standard 12 bar blues and how they serve as an introduction to blues improvisation! Part 2 is an expansion by adding the 3 draw in all its bent and unbent forms as a harmony of the previously discussed root notes.

As augmented reality continues its collision course with mainstream adoption, the technology will now have a role in one of the most anticipated boxing matches of the year.

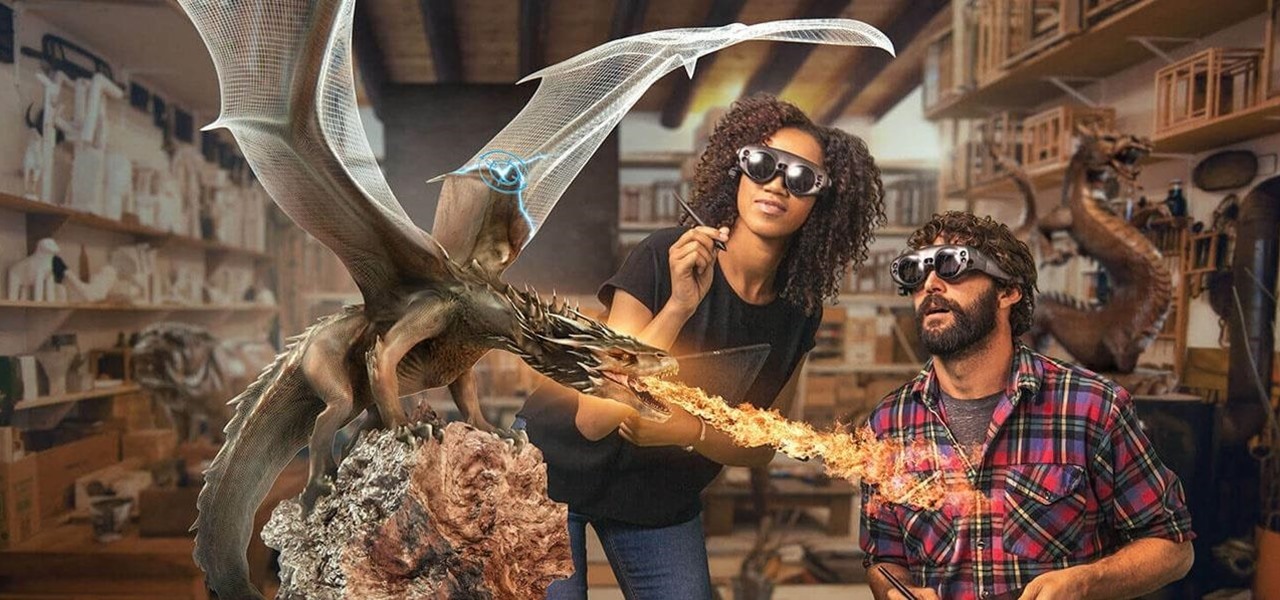
The collaboration between Magic Leap and Wacom, which was first announced during last year's L.E.A.P. conference is progressing rapidly.

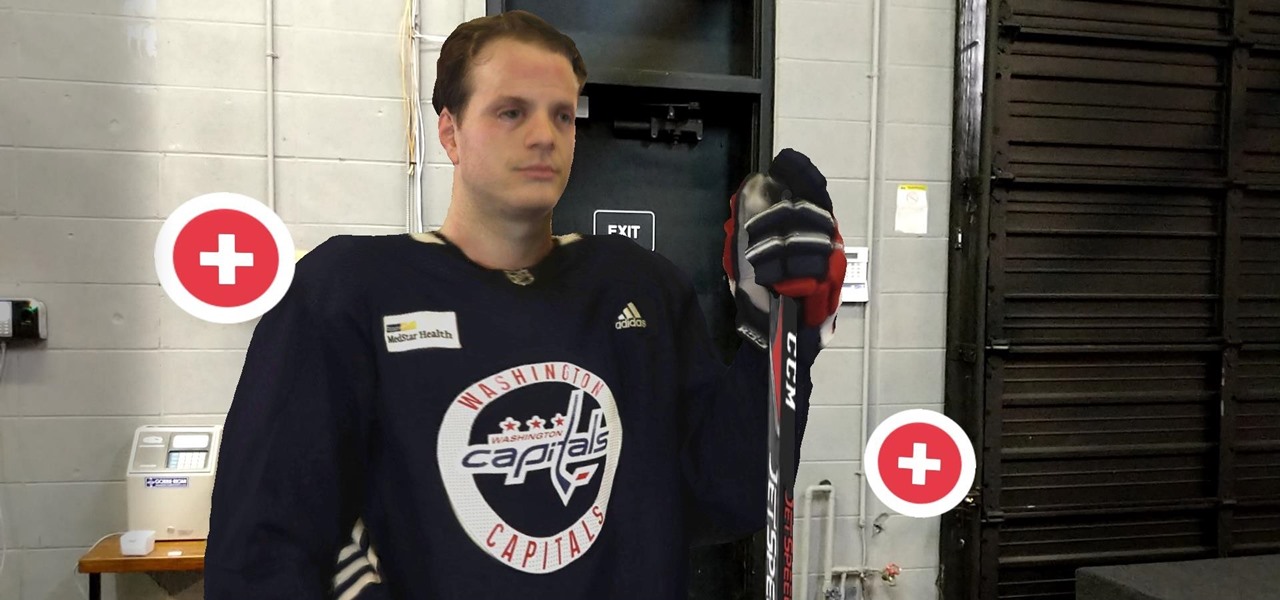
If you've blocked out your calendar to watch the NHL All-Star Game this weekend, then you might be excited to know that USA Today has given its readers the opportunity to meet Washington Capital's John Carlson in augmented reality.
