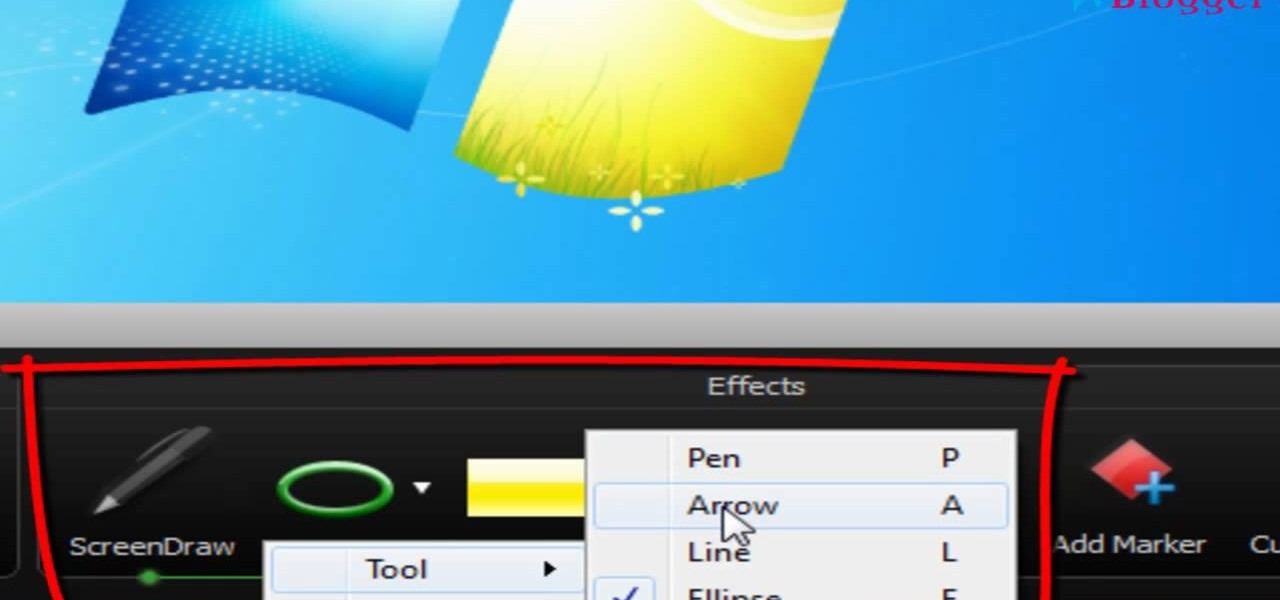
A really cool feature in Camtasia 7 is the ability to draw directly on the screen during a recording. This is helpful if you want to circle something onscreen, or if you want to highlight some text during your screencast. There's plenty of other options also in the ScreenDraw feature. To learn out how to use it, watch this video, which will show you all the things you can do.
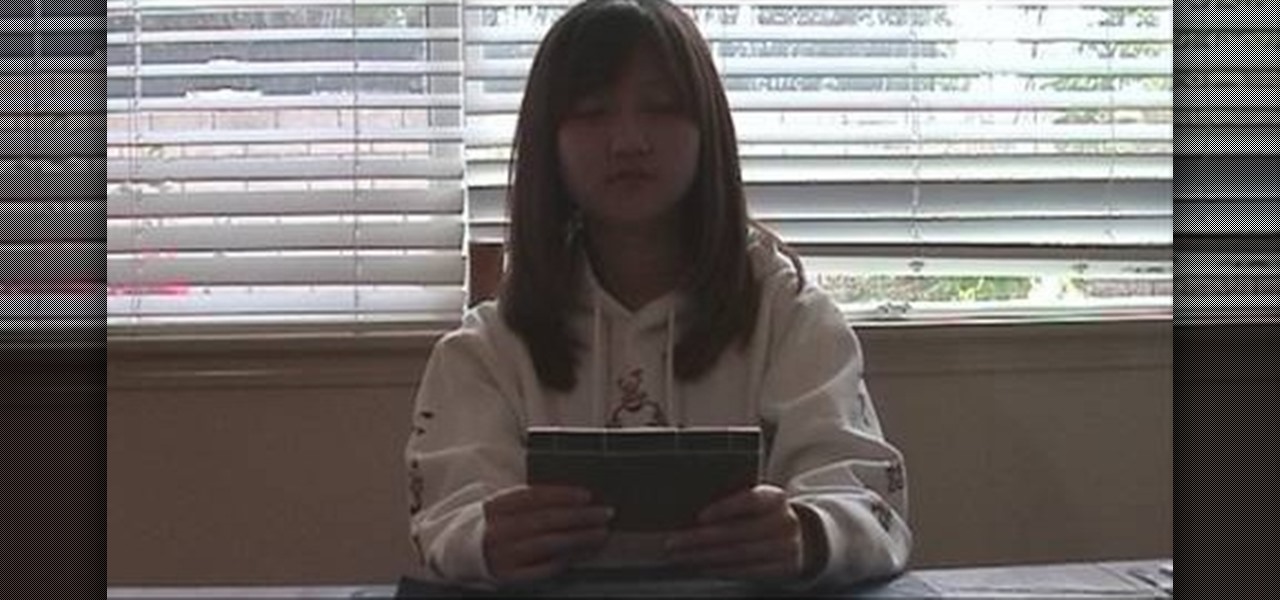
This two-part video demonstrates the ancient Chinese book binding technique called stab binding. If you do a lot of calligraphy, you can use this technique to put all of your sheets together into a really attractive and traditional book. Make sure you line the pages up correctly!
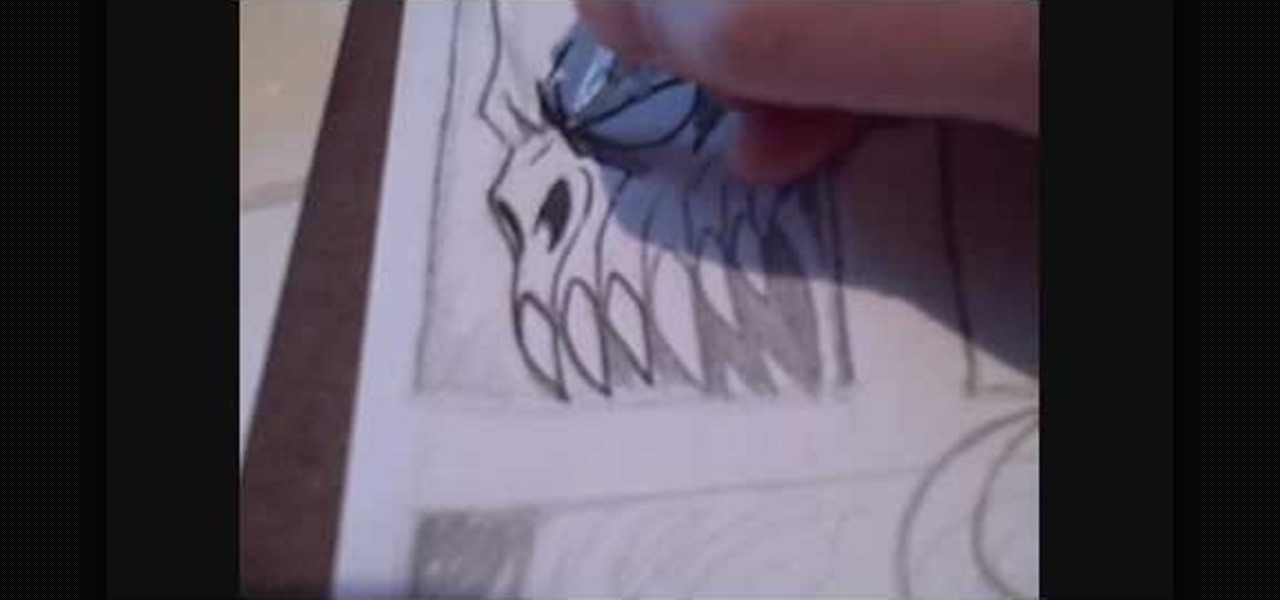
This four-part video series demonstrates how to ink a comic book. Inking is often thought of as a lesser comic art than drawing or writing, but proper inking is essential to creating a really beautiful final product. In the end, it is what the reader sees, not the pencil work that the illustrator did. All you need is a gel pen and a sharpie.
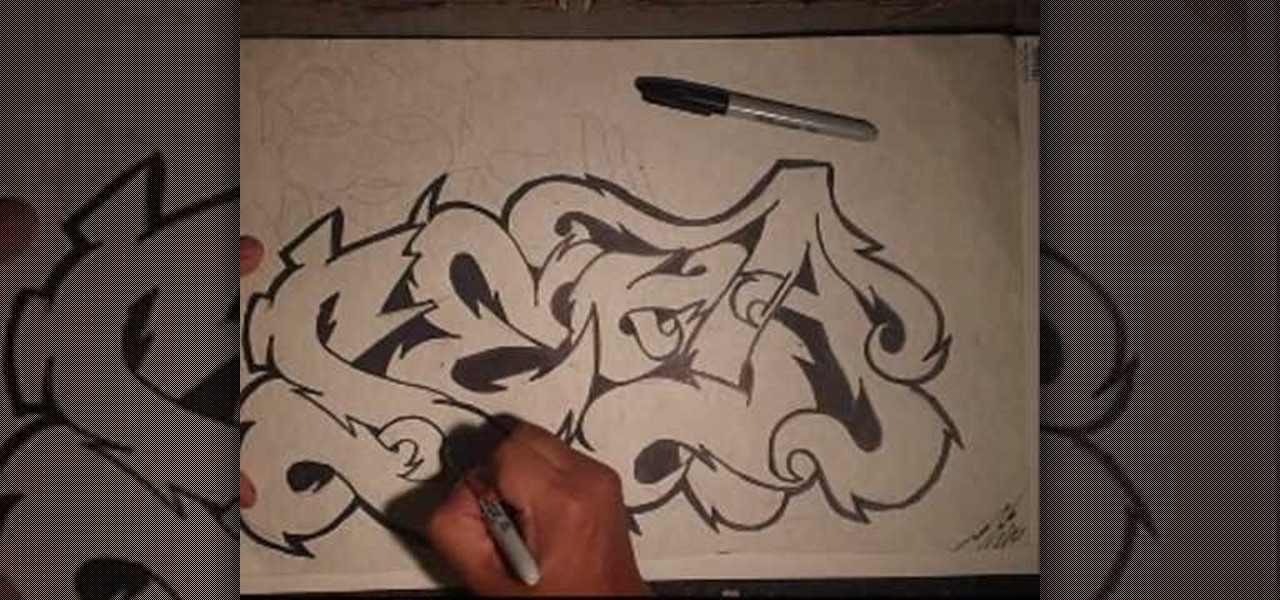
This video demonstration shows established graffiti artist Wizard creating a tag of the name SESA. It features a figure in the background sticking his middle finger thorough the second S in the name. The elaborations around the letters and the types of curves he used in this particular design have little bit of a Japanese flair to them, a different sort of style for Wizard, but one that this master of graffiti tags handles with the same skill with which he handles all of his other tag designs.
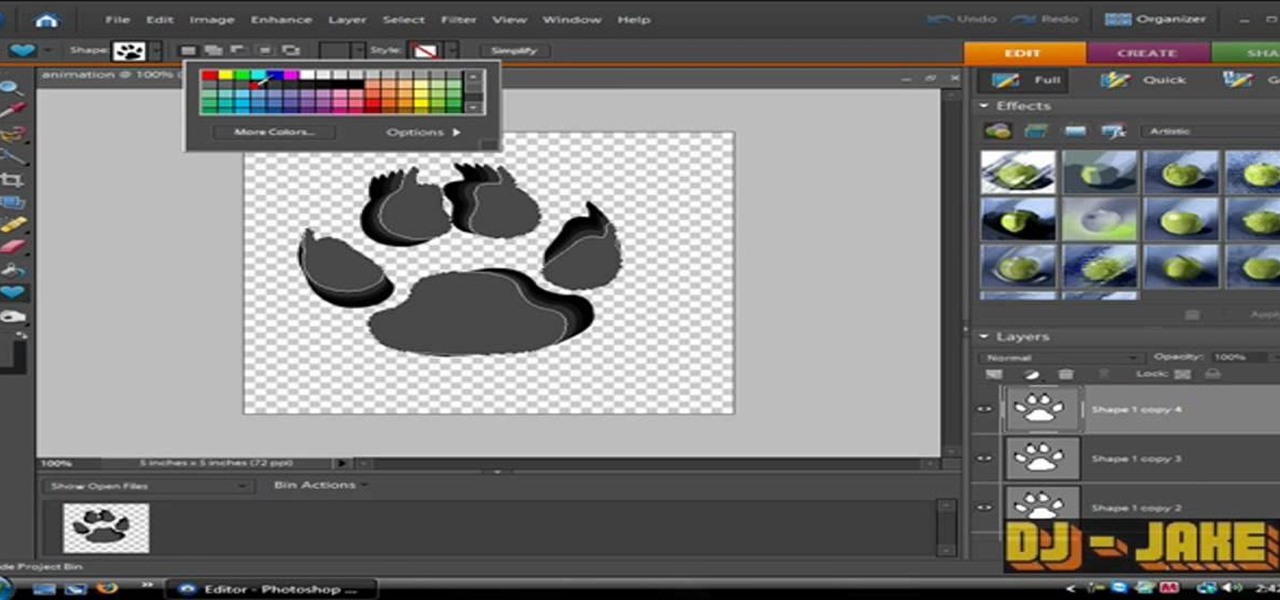
An animated GIF is a great addition to any website. By animating your image, you will draw someone's eye to it almost immediately. This is especially useful if you are creating an advertisement or a logo.
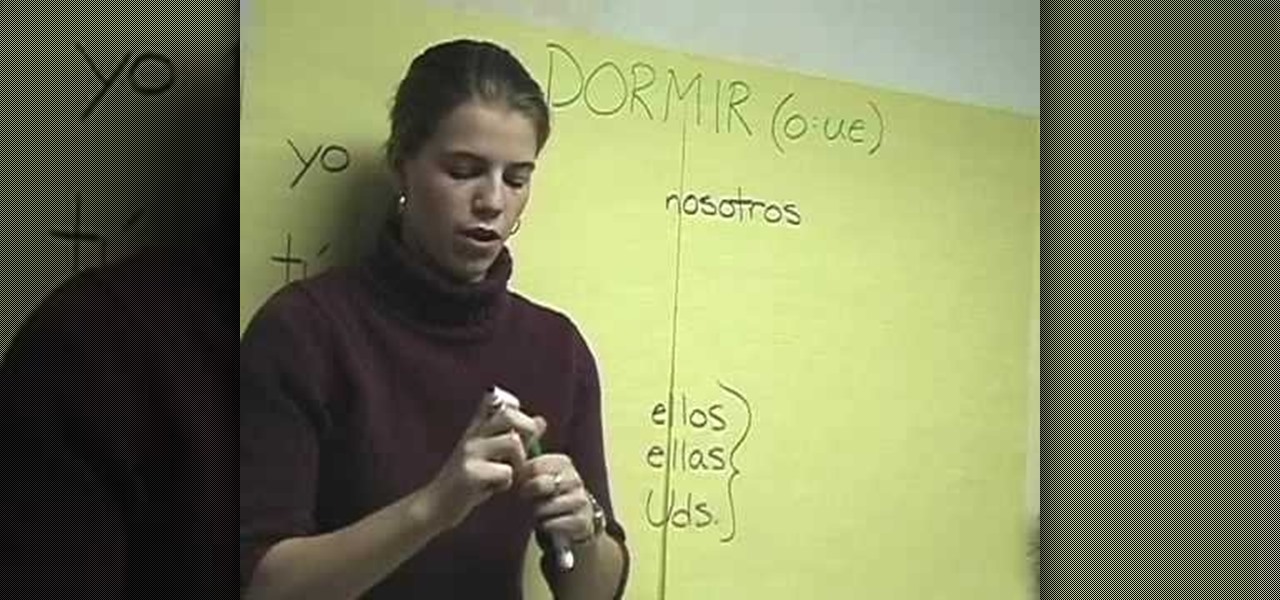
If you are confused in Spanish class, give this tutorial a try. In it, you will learn how to conjugate stem changing verbs in Spanish, using the verb "querer" as an example. Stem changes can be confusing for a first time Spanish learner, but this video can help.

In this video tutorial, viewers learn how to eliminate facial imperfections using Adobe Photoshop. Begin by opening the image in the program. Then select the patch tool. Now draw a circle around the imperfection and then move it to an area of the skin that has no blemished. Continue doing this for all the imperfections. This process can be done to eliminate pimples, moles, blemishes, scars and wrinkles. This video will benefit those viewers who enjoy editing images to enhance them and would l...

This video demonstrates how to make a broken mirror effect using Photoshop.

In this Arts & Crafts video tutorial you will learn how to make a diamond folded card. Get a sheet of paper 4x12 inches. Draw a pencil line at the half way mark, that is, at 6inches. Fold one of the lengths to the center pencil line. Do the same to other half of the paper. Open up the sheet and do the same fold in the opposite direction. Open up the paper and flip it over and you will see the diamond fold in the center. Now you fold from each side up to the cross where the diamond begins. Fli...

This video shows the method to make a line graph. First step involves drawing a horizontal and vertical line joined at one end. We have to plot the maximum and minimum temperatures during 5 days. Label the vertical with the temperatures(10, 20, 30...50) and the horizontal line with the days of the week(Monday....Friday). Label the vertical line as 'Temperature' and the horizontal line with 'Day of the week'. Plot the temperatures selecting the day from the horizontal line and marking at the c...

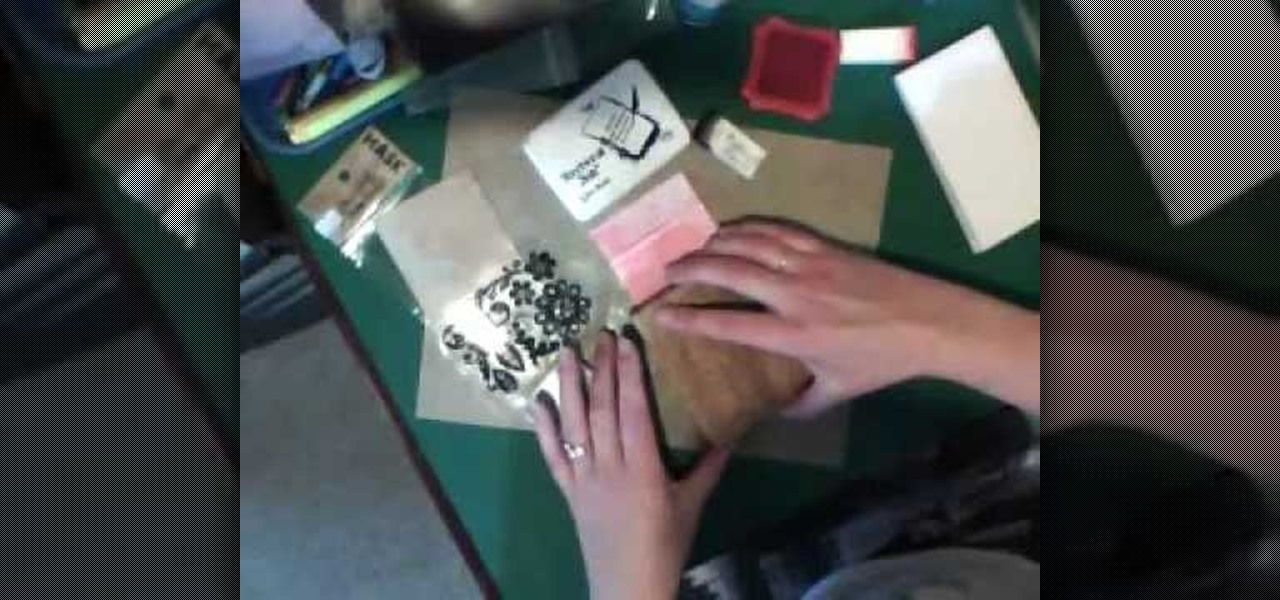
In this Arts & Crafts video tutorial you will learn how to make a stamped notepad cover. Put the note pad on the edge of a bigger sheet of paper, draw the outline and cut the paper along the lines. The paper should be longer than the notepad. Put the note pad on top of the paper aligned with one end and fold the other end of the paper. Remove the paper and crease it properly along the scoring lines. Depending on the theme you want for the cover, apply the required ink with sponge on the paper...

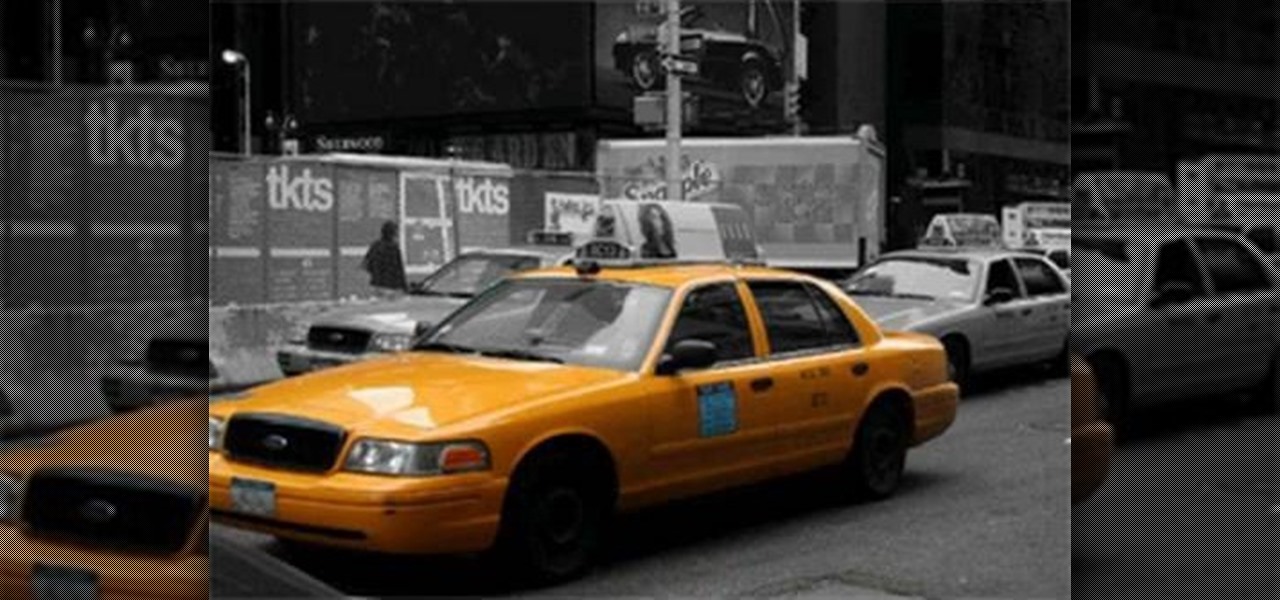
This video shows us how to turn parts of a color photo into black and white and keep the colors for the parts we choose. Start by choosing the polygonal asso tool in the tool box. Now create borders for the parts of the image that you want to keep the colors. Hold the ALT key while clicking to draw borders around a second or third object. Once all the borders are created, right click on your selection and click "select inverse". Now go to "image menu, highlight "adjustment", and then click "b...

This video shows how to paint your nails with a very attractive red and yellow nail art design. Using a glitter nail polish, dip it in yellow glitter powder. Pat it on the nail, rather than brushing it on. Then apply large glitter shimmers randomly all over the nail, and this forms the background.

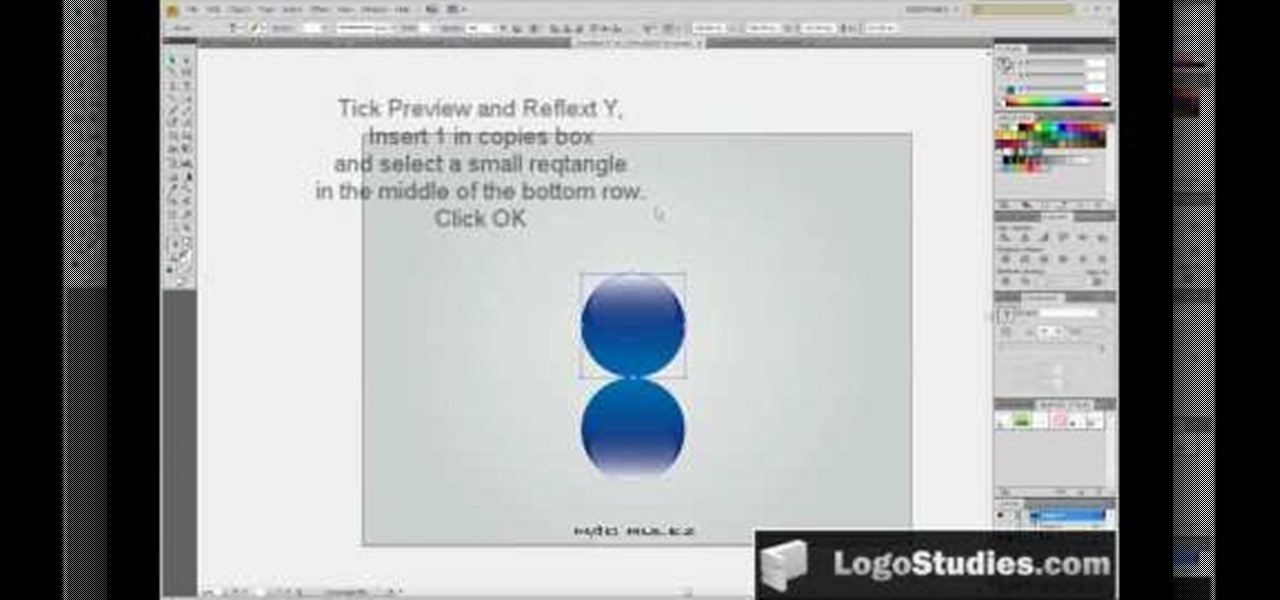
In this video tutorial, viewers learn how to create a 3D sphere and reflection in Adobe Illustrator. Begin by using the ellipse tool and create a circle. Select the black and white gradient, and drag the colors that you want into the gradient panel. Now hold the Alt key and draw a smaller circle inside. Fill it with white/transparent gradient. Select the sphere and go to Object/Group. Now go to Effect/Distort and Transform/Transform. Tick the Preview and Reflect Y, insert 1 copies box and sel...

Chef Donald demonstrates in this video how to make grilled tuna steaks topped with red pepper sauce. The tuna steaks are marinated with pepper and extra virgin olive oil. He avoids salt as it draws out moisture and adds it later. The steaks are cooked on a hot frying pan. For the pepper sauce, he blends the roasted bell peppers in a food processor to a smooth pulp. The pulp is transferred to a sauce pot and heated for about 2 minutes with a little bit of butter and lemon juice. Olive oil or m...

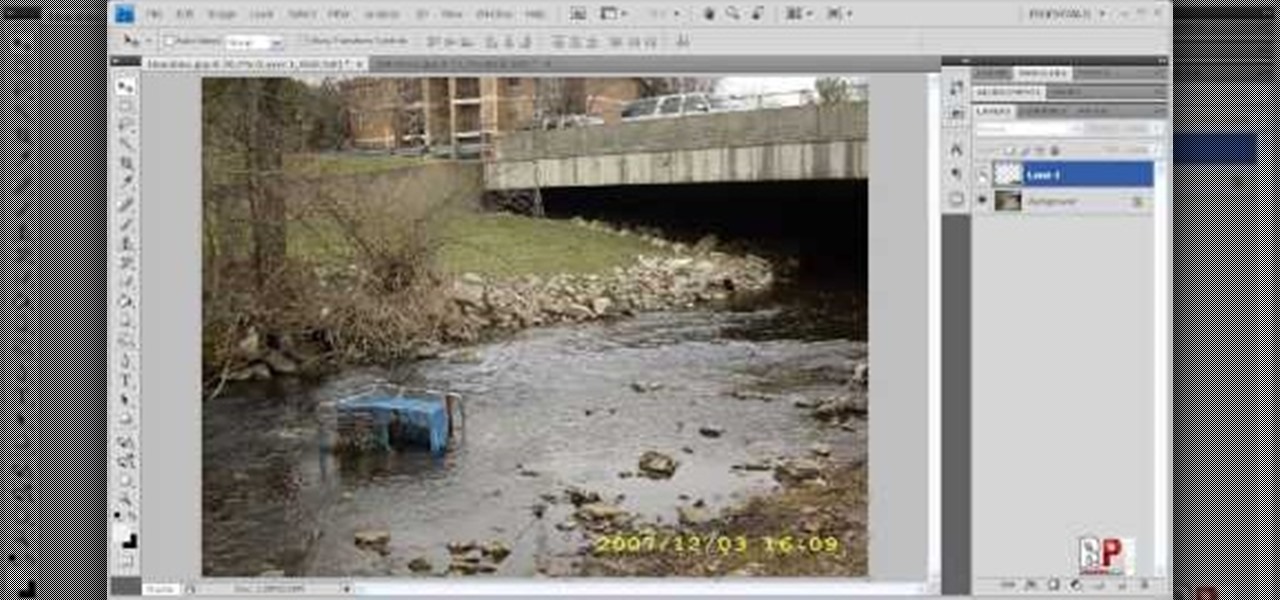
There are various ways to remove the timestamp on your photos using Photoshop. You can use the crop too and crop out the photo, but then you'll lose parts of the photo as well. You can use the patch tool, and draw a border around the date, then drag the date to another area, let go and press ctrl+D. The time will disappear and the area will be patched up with surrounding colors. Another method is to use the spot helium brush tool, and simply just brush over the text, and the spot helium brush...

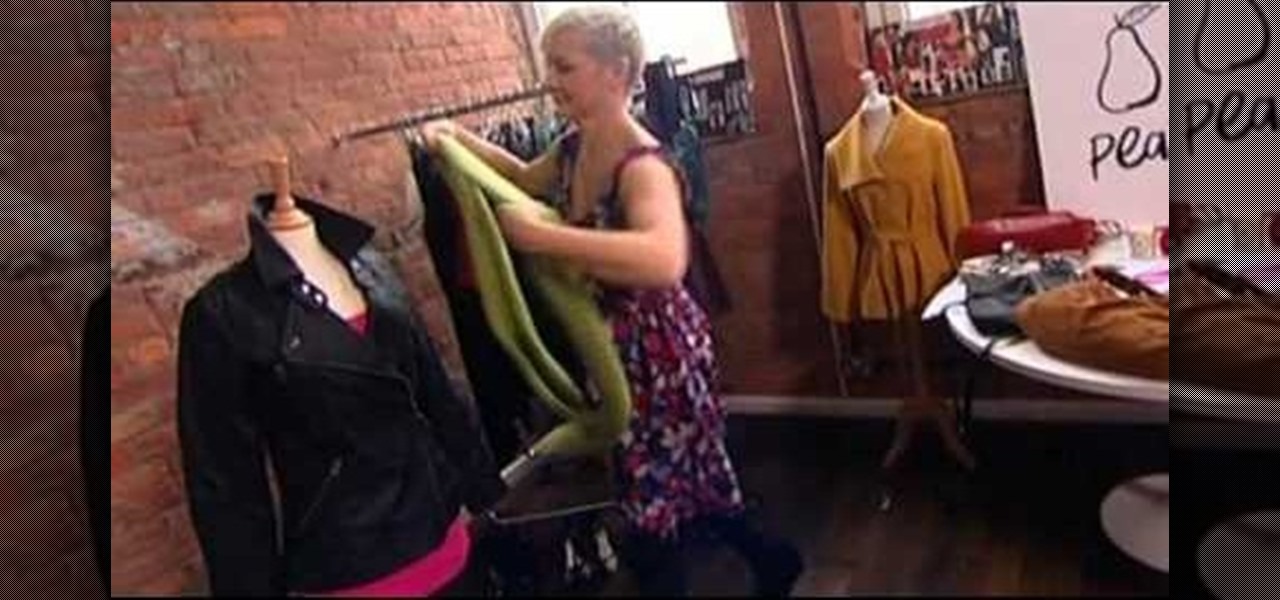
Being pear shaped means your body is smaller on top and bigger around the hips. While this can seem like a difficult body type to dress, a few tips can make a pear-shaped woman look amazing. For example, start with a bright top that calls attention to your bust. Add more volume on top with layers, such as a leather jacket. Add another brightly colored scarf to draw the eye towards your face. You've created a tough chic look very quickly!

In this Software video tutorial you will learn how to make a copyright brush using Photoshop. Open up Photoshop and open a new document by clicking ctrl+N. Create a new text layer on the right side and type in your text. Right click on the text layer > rasterize type. On the left side select the ‘rectangular marqee tool’ and draw a rectangle around the text. Go to edit > define brush preset. In the next box, give it a name and click OK. Then go to file > open and select a picture on which...

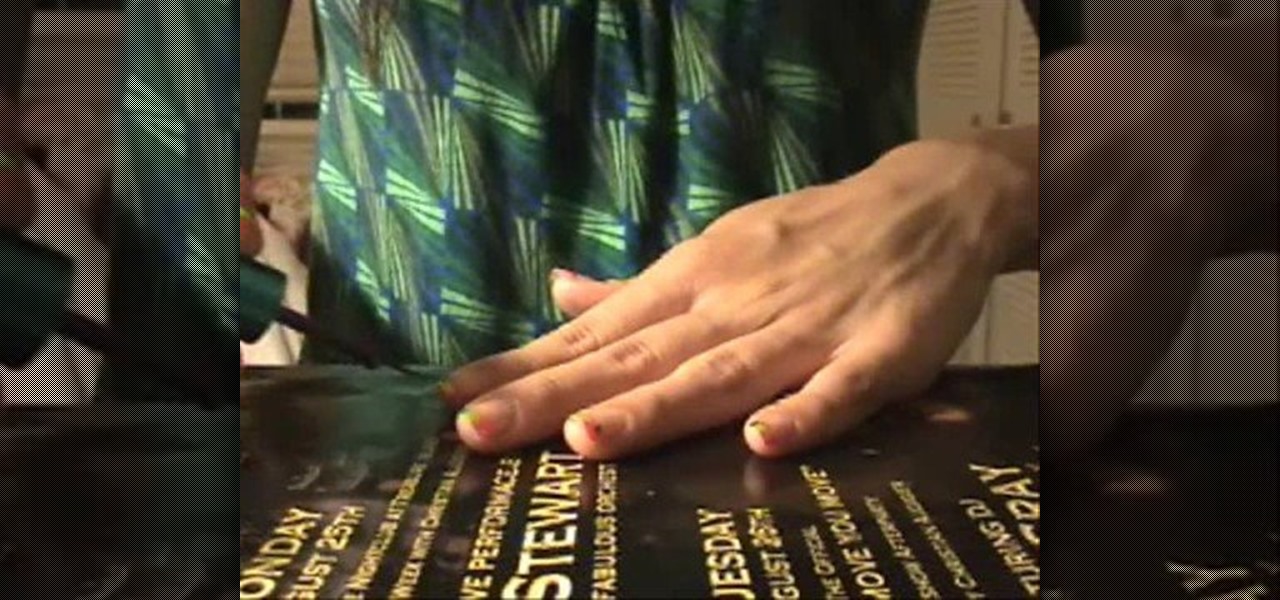
She shows us how to apply the rainbow brite french tip by first applying a white tip. You should let the paint dry. Next you should do you first thin stripe in pink. After you finish pink you should do orange and then yellow. The last thin lines of color to apply is green, blue, and purple. She recomends doing two coats of paint for brighter result. After all the polish has dried you should apply a top coat. When it has dried get your silver polish and draw a thin line under the color lines. ...

This video demonstrates how to make a hexagon from a square paper. Fold a square paper into half horizontally. Fold this rectangle into half again forming a square one-quarter of the original size. Fold the open edge towards the center fold on either side forming a crease. Take the closed corner and fold towards the center crease. Open the center fold and fold it inwards. Fold the corner towards the diagonal edge on both sides, this forms a cone like structure with a paper edge at three-quart...

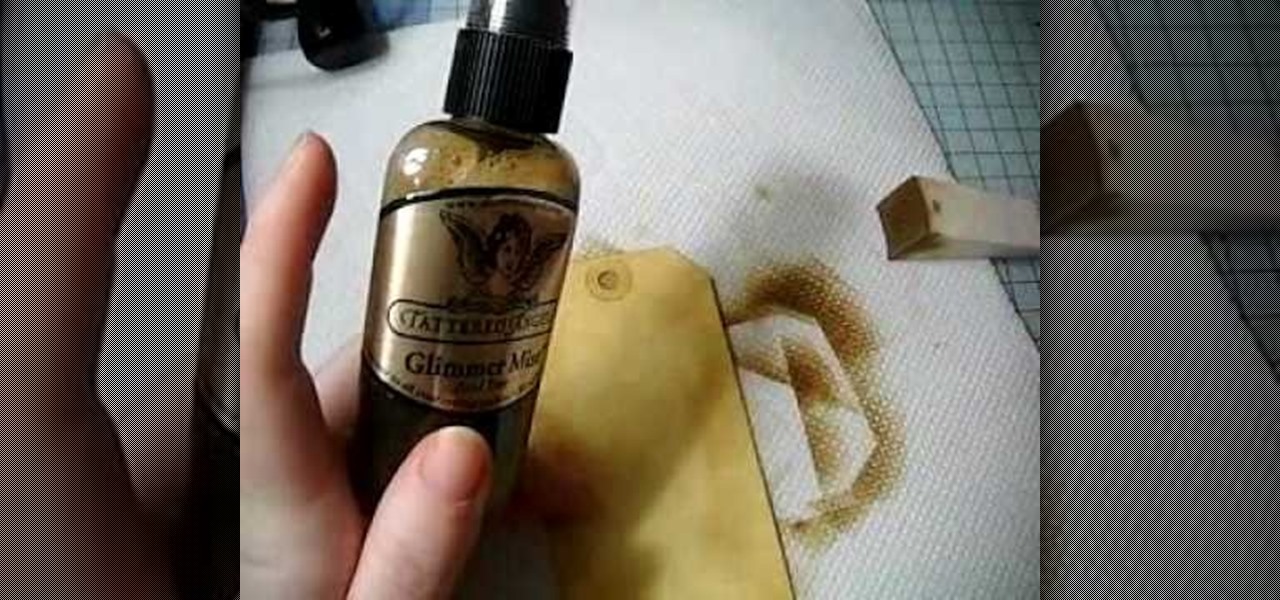
In this Arts & Crafts video tutorial you will learn how to make a distressed scarpbook tag. Take two tags, one red color and one yellow color and strip the threads off. Take a light color ‘Distress’ ink on a sponge and dab one side of the yellow tag with it to give it a light rough look. Now take little darker brown ink on another sponge and dab the edges of the tag with it. Then place the tag in a box and spray Glimmer mist on the tag. Dry the tag with a dryer. Now dab some more brown in...

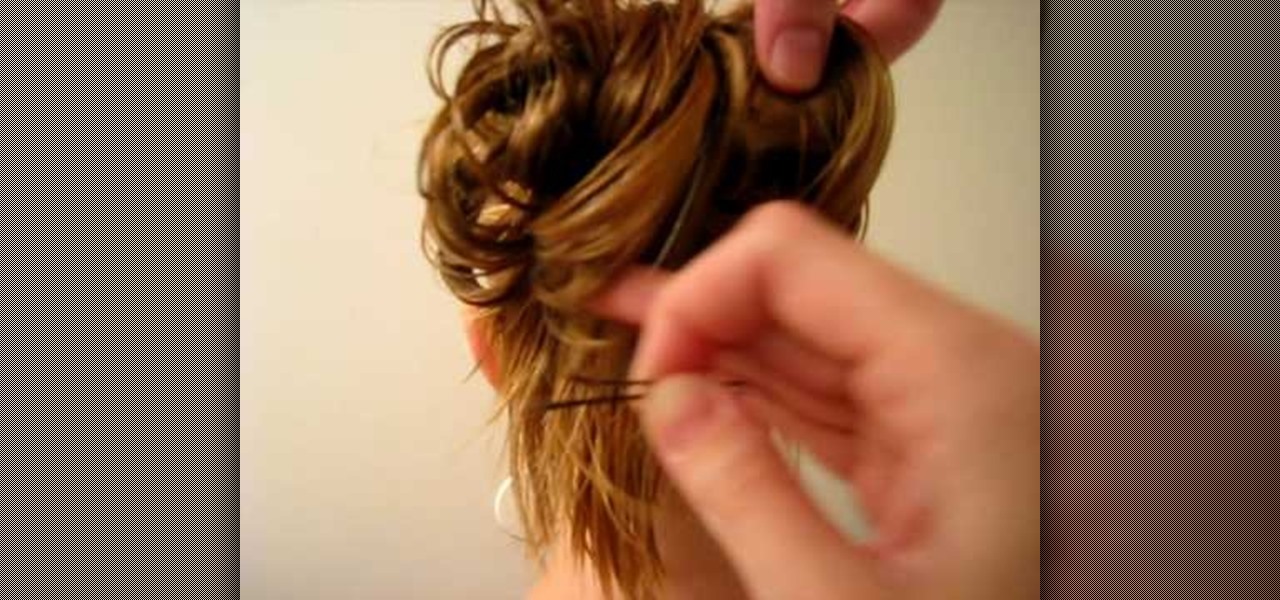
This video here is about making a messy hair bun. First the hair is drawn into a ponytail. Then, using a thick rubber-band, insert the the middle of the ponytail partially into the rubber-band so as to make a loop. Then spread the hair strands of this loop to make it look messy. Now from this spread loop, take bunches of strands and lift it slightly upwards and fix it using a hairpin. Fix the hairpins firmly so that they stay in the place. Spread out this bun from the middle. Curl up or tuck ...

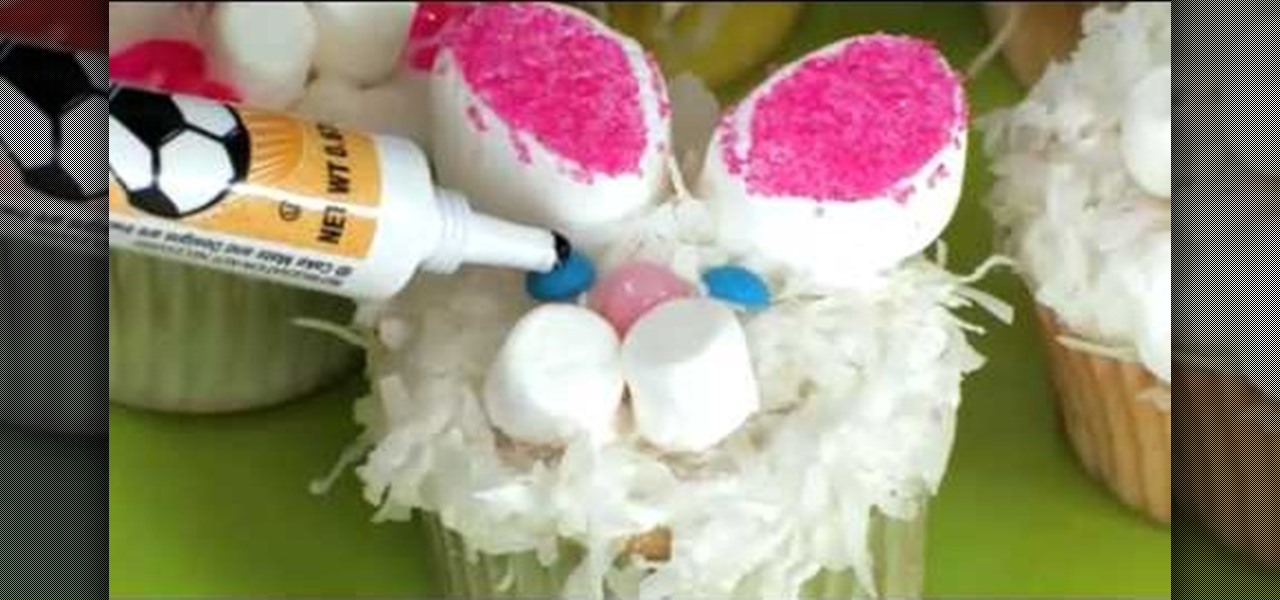
This Family Fun video shows how to make very cute Easter Bunny cupcakes. This is a great project to do with kids. You will need some cupcakes, white frosting, shredded coconut, pink decorating sugar, pink jellybeans, small round blue dot candies, marshmallows, and pink and black decorating gel.

This video describes how to use Adobe Photoshop CS4 software to create and manipulate text in animated .GIFs. GIF stands for Graphic Interchange Format, a type of image file which allows short animated sequences to be displayed. A preselected scene from a television show is opened as a GIF in Photoshop CS4. Animation window is opened by selecting window then animation. The text tool is selected and a textbox is drawn by clicking and dragging. Photoshop CS4 then applies the text to the frames ...

In this how-to video, you will learn how to remove tattoos using Photoshop. First, open the image in Photoshop. The patch tool is the easiest for removing these type of tattoos. If the tattoo is very ornate and complicated, it will take longer to remove. First, select the patch tool, which looks like a band-aid. Hold it down and select patch tool. Zoom in on the tattoo and draw a selection around it. Once it is selected, click the left mouse and hold it down. Drag the selection to an area sim...

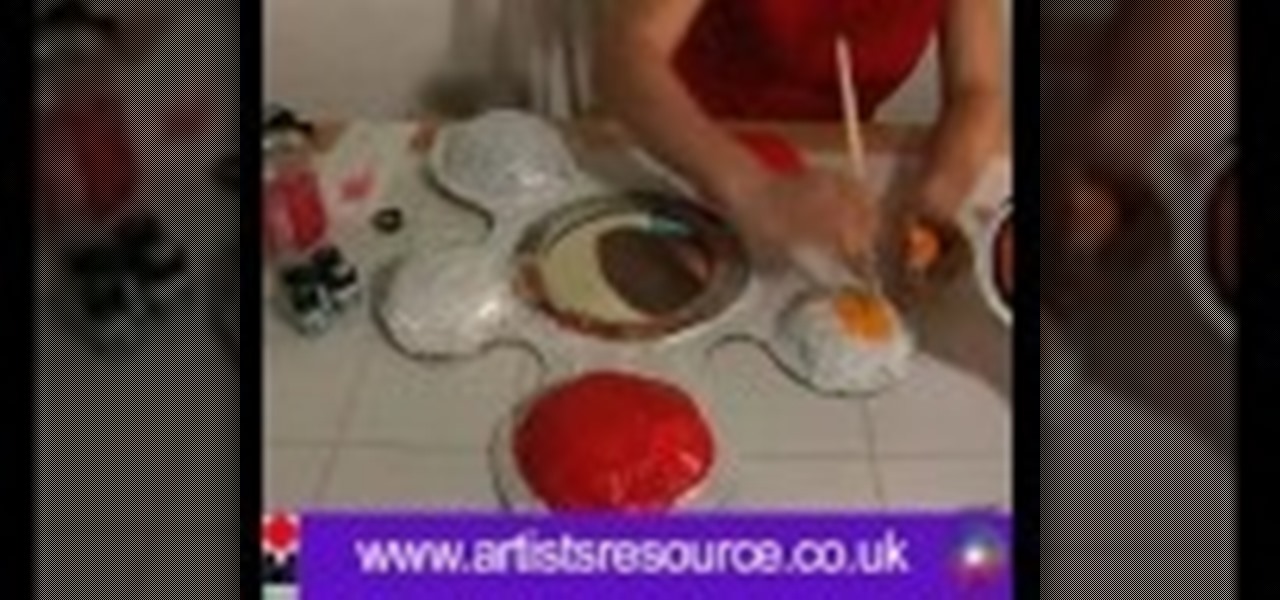
This illustrate us how to make paper mache mirror. Here are the following steps.Step 1:Take a piece of cardboard and make two circle on it with two different circumference.Step 2: Now cut through the outer circle as well as the inner circle to obtain the rim.Step 3 : Now take a sheet of cardboard and cut it in shape of a flower.Step 4: In the center of the sheet place the rim.Step 5: Now along the petals of the flower stick a pile of rounded newspaper.Step 6 : On this newspaper and cardboard ...

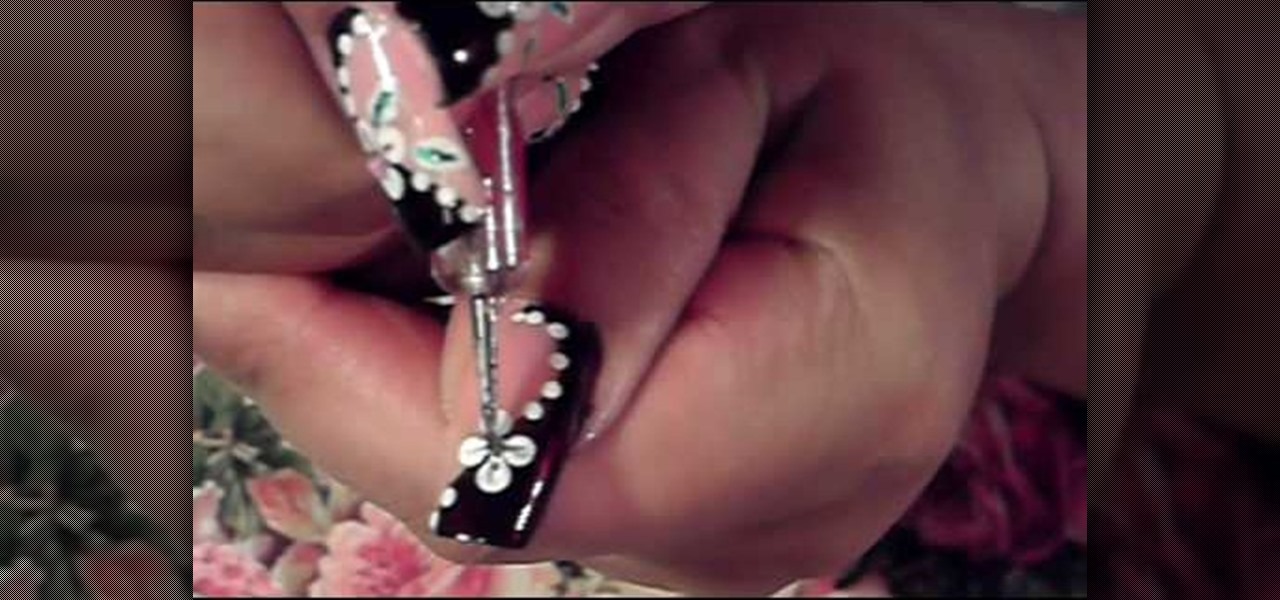
dark brown and pink white flowersdark and rich colors are used: brown, pink, white and green. firstly lightest color is used for the base polish then dark colors applied. first, with dark brown polish a simple curved line drawn on the nail from bottom to top then dark brown polish applied to fill the back part of the previous line. then put some white polish onto a white paper and use it with dotting tool to put flowers petals as a dot on to your nail. then with another dotting tool put dots ...

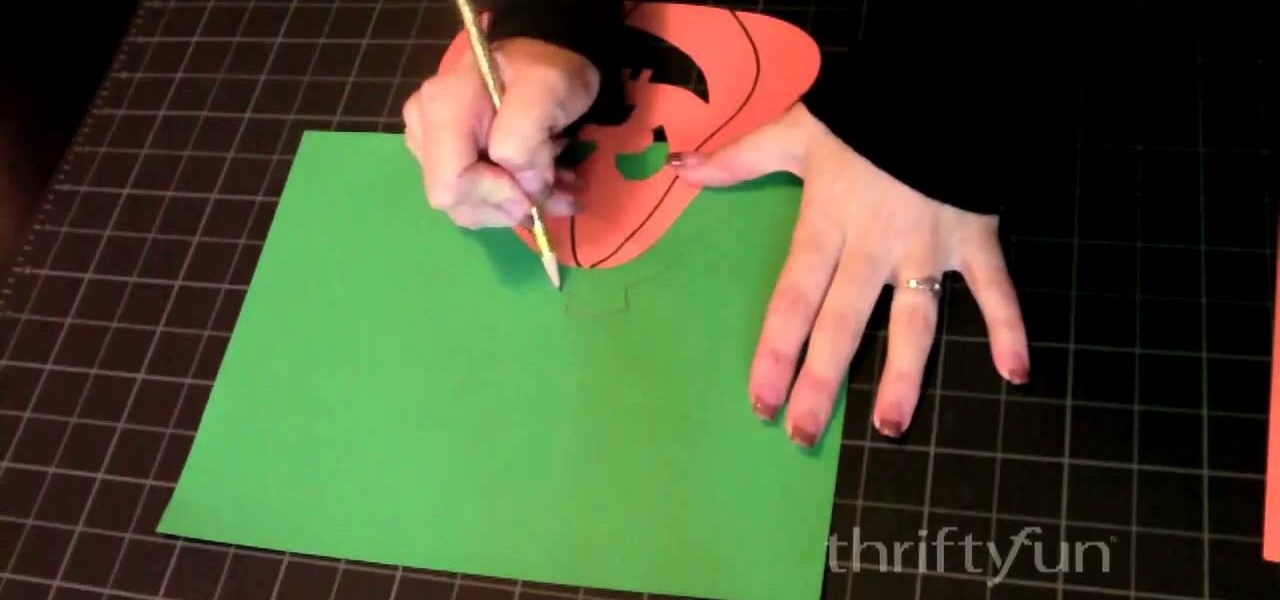
This is a fun and easy craft demonstration that shows how to make a paper jack-o-lantern with orange, green and yellow construction paper, scissors, tape, a pencil, a black Sharpie and an X-acto knife. Begin by drawing a jack-o-lantern on the orange paper. Use the knife to cut out the eyes, nose and mouth. Cut a top out of green paper and attach it with tape on the back. Cut out a piece of yellow paper and tape it to the back, to show through the holes on the front of the jack-o-lantern. Add ...

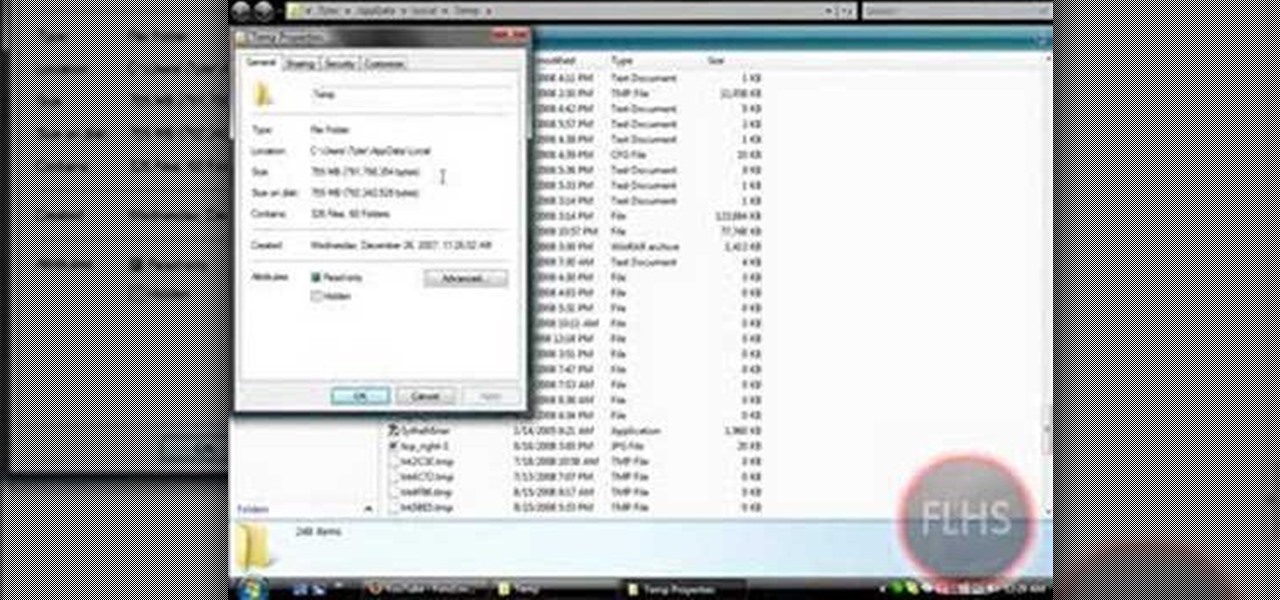
In this Computers & Programming video tutorial you are going to learn how to remove temp files from your hard disk in Windows Vista. Go to search, type ‘%TEMP%’ and click ‘enter’. The search result will show all temp files that are in your computer. These have come from all the sites you have visited. Normally each of these will be small files of a few KB in size. Now scroll down the bottom of the page and draw a transparent box to encompass all the files. Then right click and click on ‘delet...

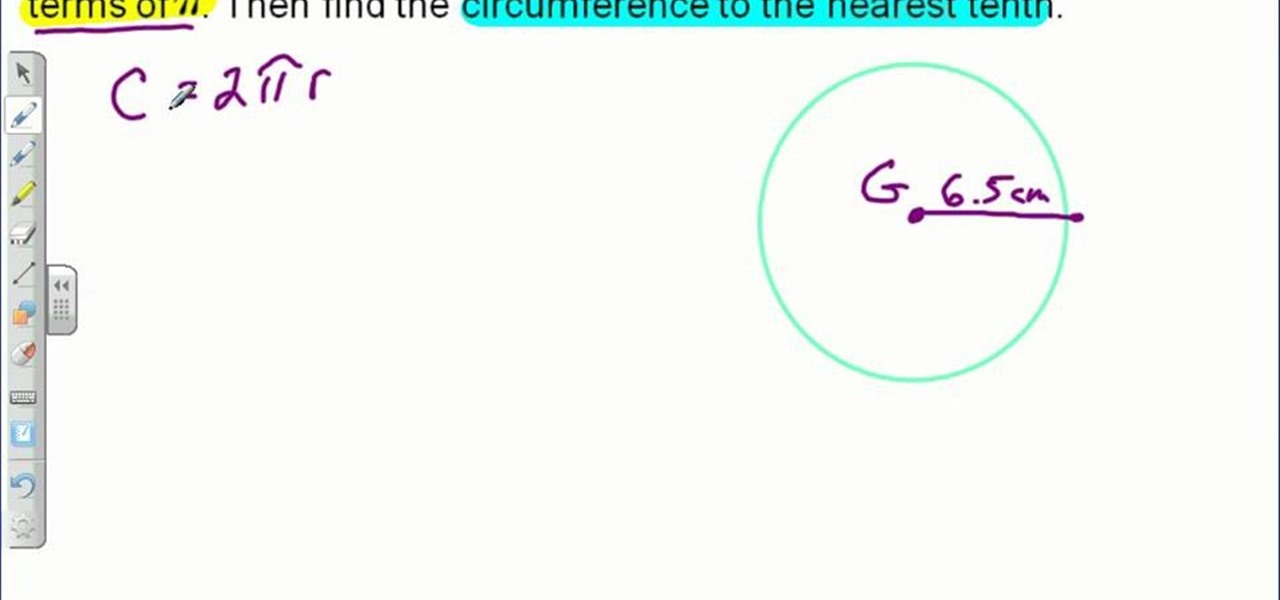
This video teaches us the method to find the circumference of a circle given its radius. The video tells us to find the answer in terms of pi and also to the decimals value. The formula to find the circumference is two times the product of pi and the radius. The first step involves the drawing the circle and marking the radius. The radius of the circle in the video is 6.5 cm. Now use the formula to find the circumference. Substitute the value of the radius in the formula of circumference. We ...

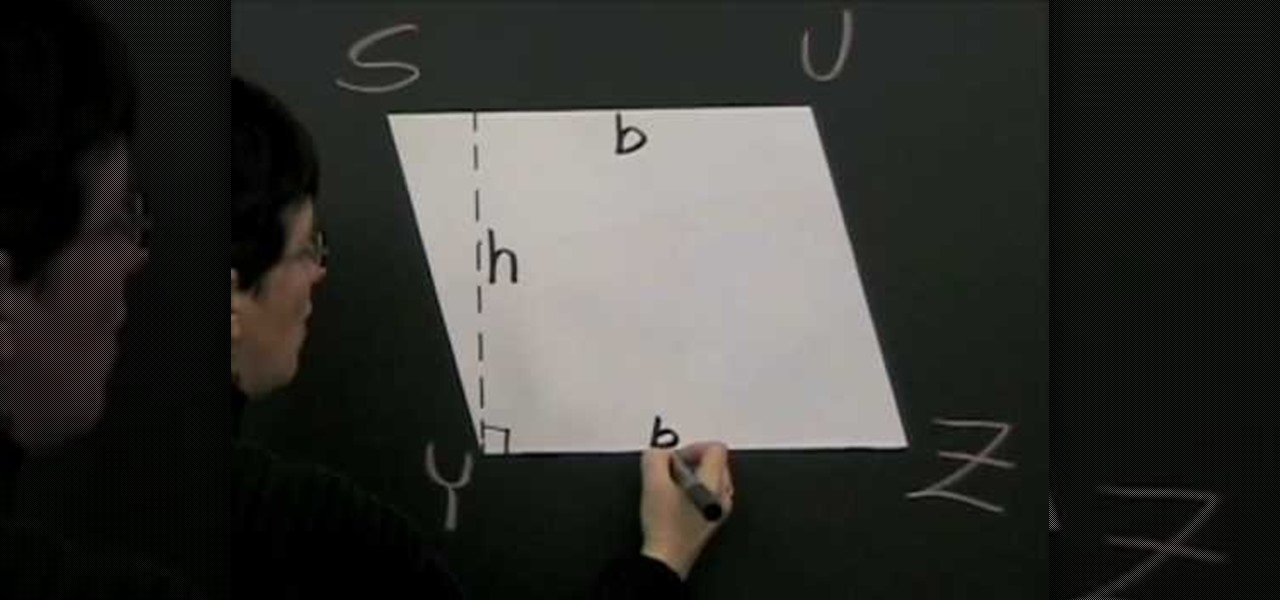
Parallelogram is a quadrilateral in which both pairs of the opposites are parallel. To find the area of a parallelogram first draw the diagram of a parallelogram. Parallelogram can be further divided into squares and rectangles. To calculate the area of both of these kinds of parallelograms multiply the length of the parallelogram with its height. In general the area of a parallelogram in obtained by multiplying the base of a parallelogram with its altitude. In square and rectangle cases, the...

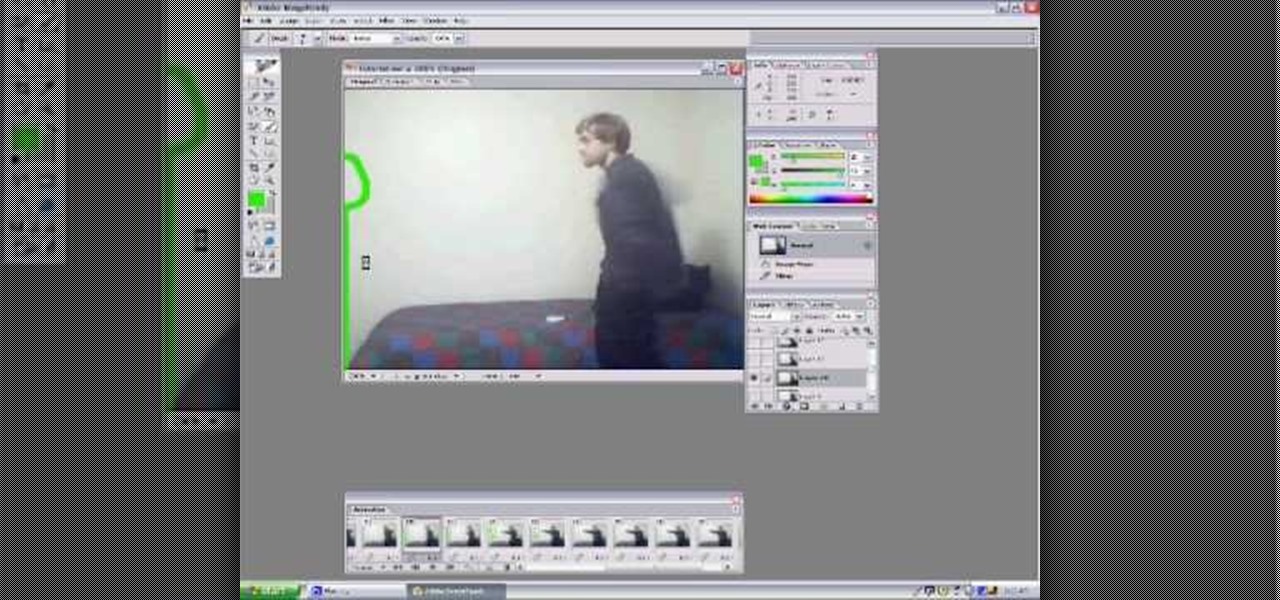
Make stick figure animations using Magix softwareFirst, record yourself with a webcam using Magix music maker. This software is used to record, save and edit the entire video. A trial can be downloaded or it can be purchased. Second, edit the video. Third, save the edited video as and AVI file. Open the AVI file with Adobe image ready. This is only available in older versions of Adobe Photoshop. Next, draw stick figures into frames. Add blood. Export each frame as a gif file into a new folder...

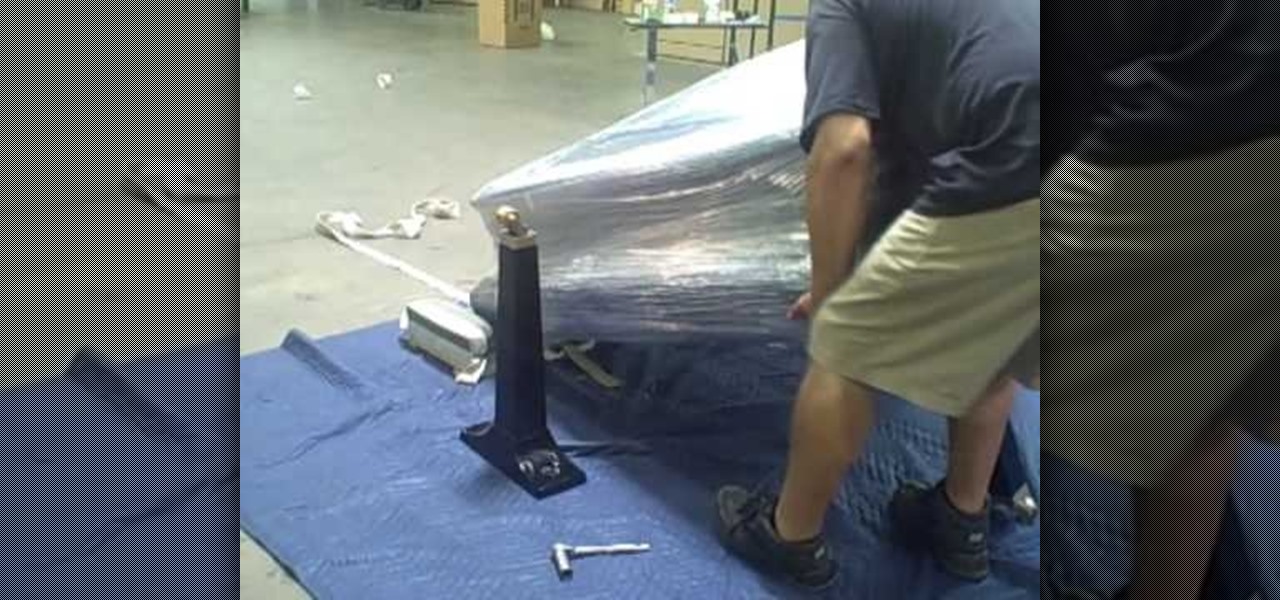
This video demonstrates how to move a piano in one minute. First, cover the top of the piano with tarp. Then wrap cellophane tape around the top, cover and all. Remove the foot pedal. Set aside. Then, remove the first leg of the piano. Rest the corner of the piano body carefully on the floor. Continue to remove the piano legs one at a time. Lifting the piano carefully, wrap 2 straps around the broad top of the piano and lock the straps tight. Draw another strap through the other two straps to...

In this tutorial, we learn how to make a paper hat easily with only one piece of paper. First, take a piece of paper and fold it in half. Once you've done this, fold two triangles on both sides of the paper. Now, flip the bottom flap up. Next, flip over the hat and flip the back flap of the hat up. Now, pick up the hate and open up both sides of the hat! You can now decorate your hat and draw on it as you wish. This is a great project for kids to do with parents or with other children!

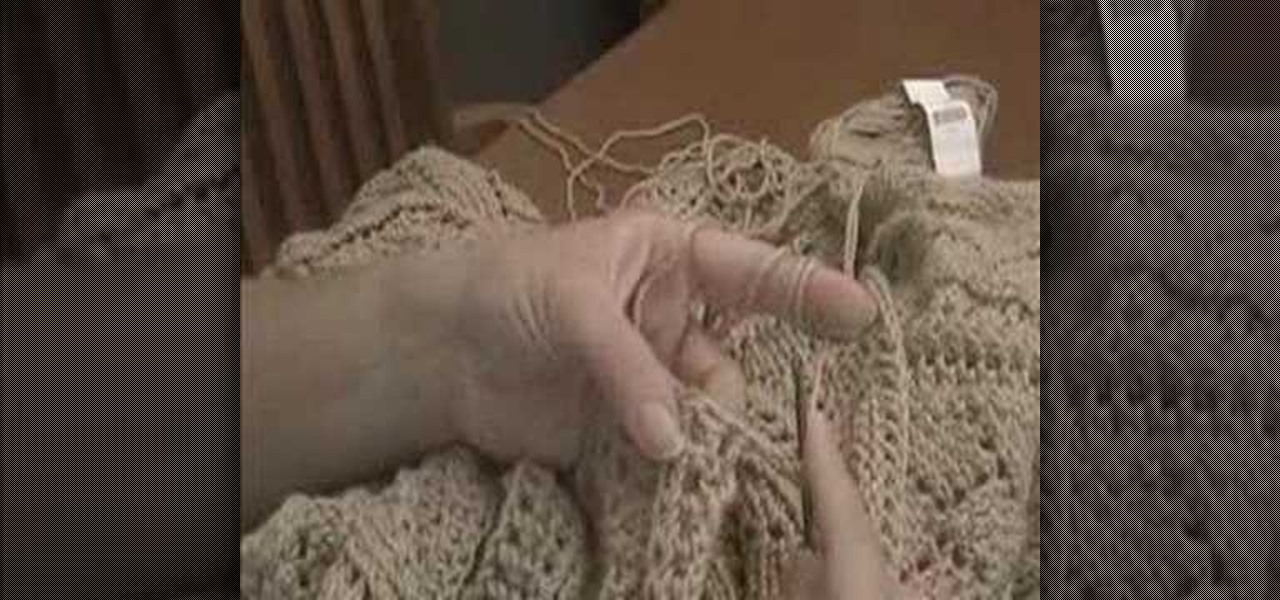
This video demonstrates how to make a double- crochet edge. The video uses a large cardigan neck to create a double crochet edge on. First, back the yarn around the hook and go into the next stitch. Then pull through a loop on to the hook. Take another loop on to the hook. Next, go through the first two stitches at the end of the hook. Then take another loop onto the hook and go through the last two stitches. So, you wrap, insert through next stitch, pull on another loop, draw the hook throug...

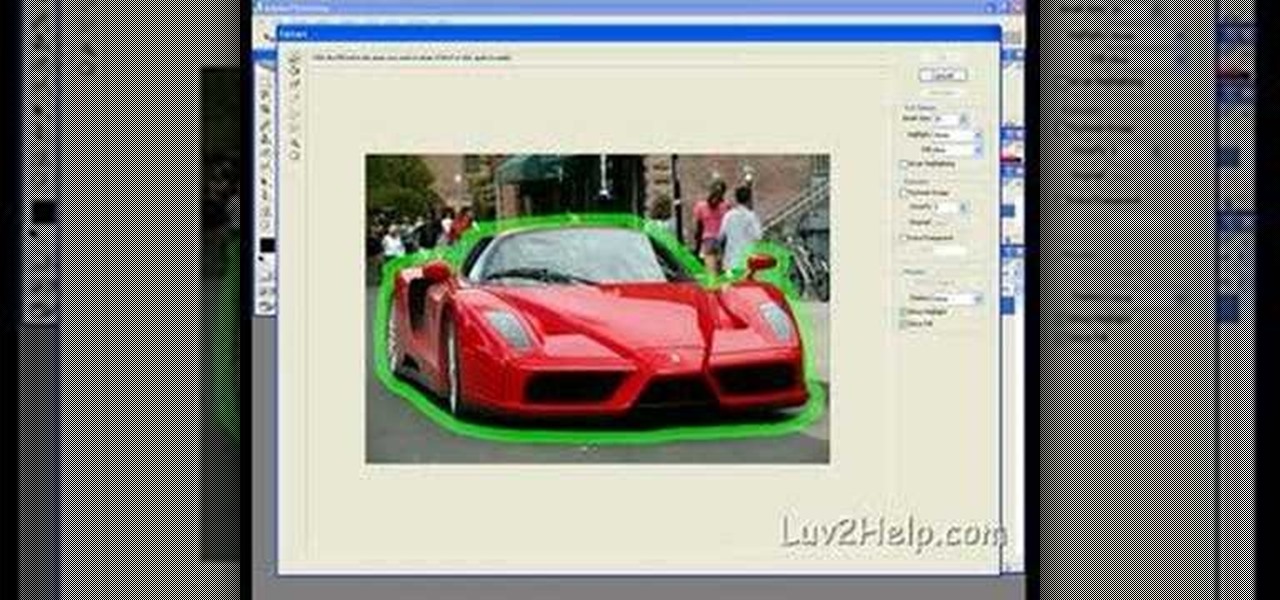
In this how-to video, you will learn how to crop an image using Adobe Photoshop CS4. First, open Photoshop and open the image you want to crop. Next, press filter and select the edge hollow tool. Carefully draw around the image you want to crop. Once this is done, click on the fill tool and left click in the middle of the image. Now, press preview to see if you missed any spots. You can clean these spots up by pressing the clean up tool. This will allow you to erase these particular spots. On...

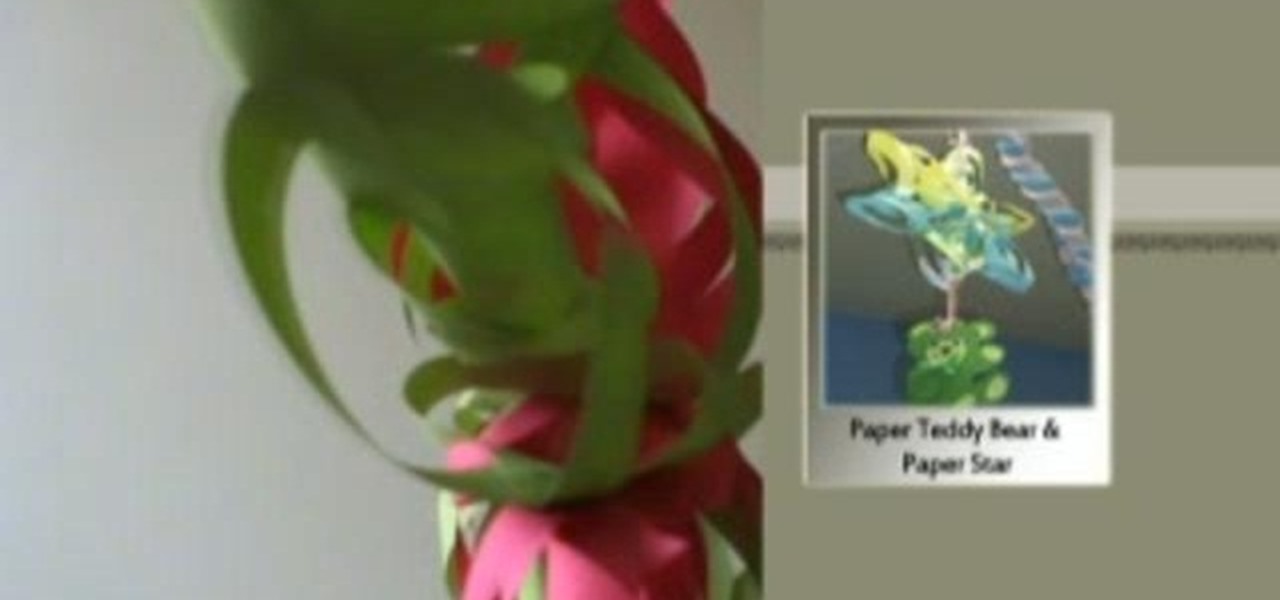
This is a great instructional video on how to make a decorative paper star. The materials you need are color papers, ruler, stapler, scissors, adhesive tape, pencil and cutting pliers. Take a paper and make a square of 20 cm side. Now fold the paper twice and get a triangular shape. Now draw four lines on it. Then cut along the lines with the help of scissors. Take the middle square and staple it. Then go to the back side and staple the ends. Repeat this process and get a star. You can make t...

Love4Nails demonstrates a nail design consisting of black and white swirls and dots on a red background. She has already applied a base coat and two coats of red polish. The first step in making the design is the white swirl on the tip. Using the pointed end of a nail dotter, she dips it in the white polish and draws the outline of the swirl, and then fills it in. Next she does the black swirl at the bottom in the same manner.

In this three-part sewing tutorial, learn how to make a pair of pants that fit like a glove! In the first video, you will learn to take measurements and calculate measurements to plan out your pattern. In the second video, learn how to draw the pant pattern based on your measurement calculations, make a test pant and finalize your pattern design. Lastly, in the third installment of this series, learn how to sew on the zipper and button and stitch the legs of your pants.

This video explains how to convert fractions to decimals by providing a good example. 1. To better explain the notion draw a box divided into sections to represent the 1 whole. 2. In this example the fraction used is 7/10. So, you have to color in 7 out of the 10 sections that make up the box. 3. To make the conversion to a decimal is now even simpler. Since not all the boxes are shaded the number must be less than 1, so start by writing 0. 4. The next step is to check the number of boxes you...


