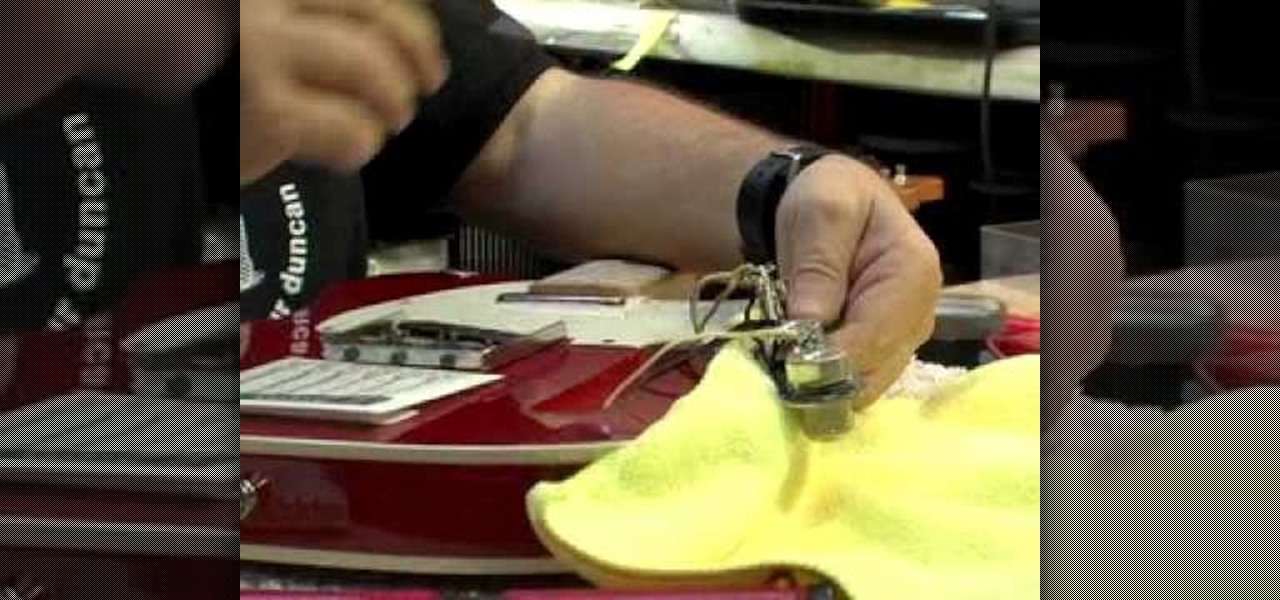
1. This video tutorial in Music & Instruments category will show you how to replace or install a new pickup in a Telecaster guitar. First you need to remove the strings so that you can take the bridge plate off. Pull the strings out from the back of the guitar. Take a calipers and measure the distance from the back plate to the front of the bridge and note down the readings. Then remove the four screws from the bridge plate and unscrew the telecaster panel. The pick up wire is connected betwe...
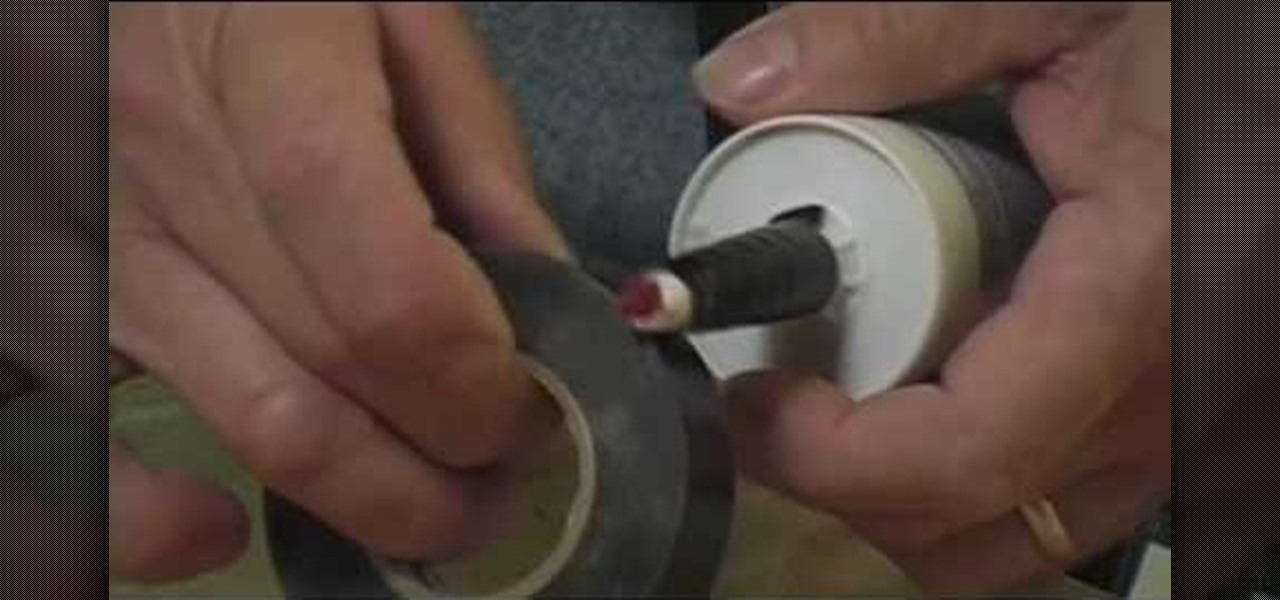
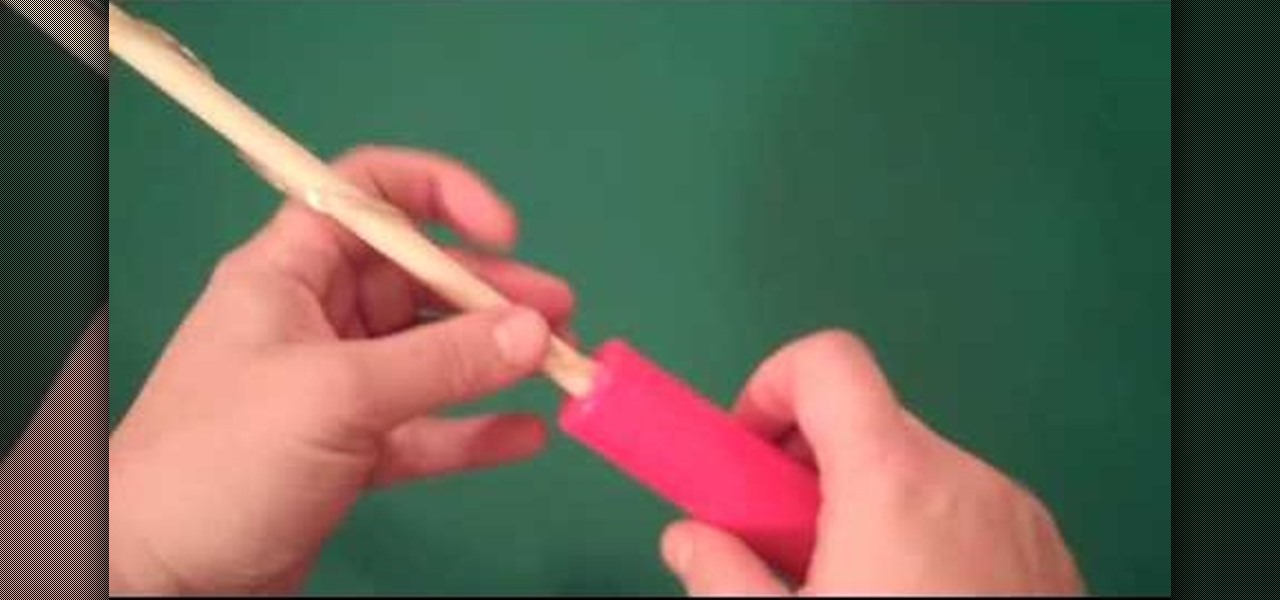
How do you salvage a clogged caulk tube? In this Quick Tips with Chuck Miller video, you will see there is an ingenious and simple way to salvage a clogged caulk tube. Take a utility knife and simply make a slice on the side of the caulk tube nozzle. Probably the entire length of the nozzle is clogged and you may not be able to clear it with a wire or nail. After slicing it, take a sharp tool and remove the clogged material from the nozzle and clean it up. Then wrap the nozzle with electrical...
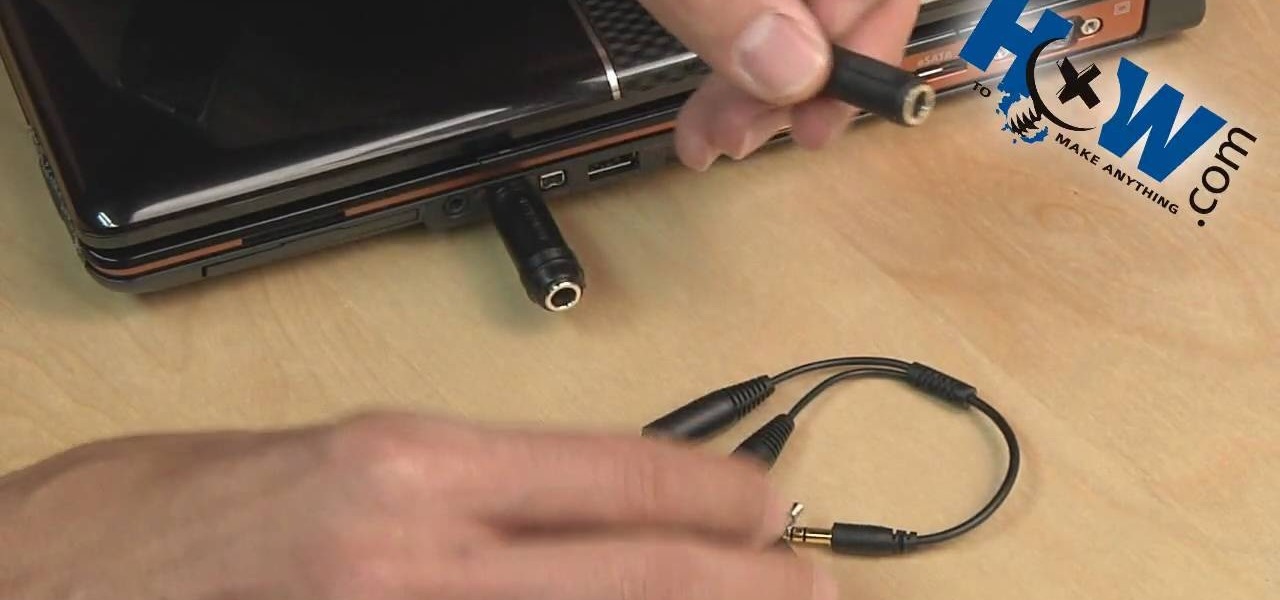
Learn how to make a mute plug for your computer by following the steps outlined in this tutorial. This plug can be used for anything, including computers, stereos, mp3 players, or anything else with speakers that has audio. A mute plug is useful to get back at someone that constantly plays their stereo too loud because you are essentially cutting off their audio with this plug. The plug is place into where the headphone equipment would normally go. What you need are some old headphones. Take ...
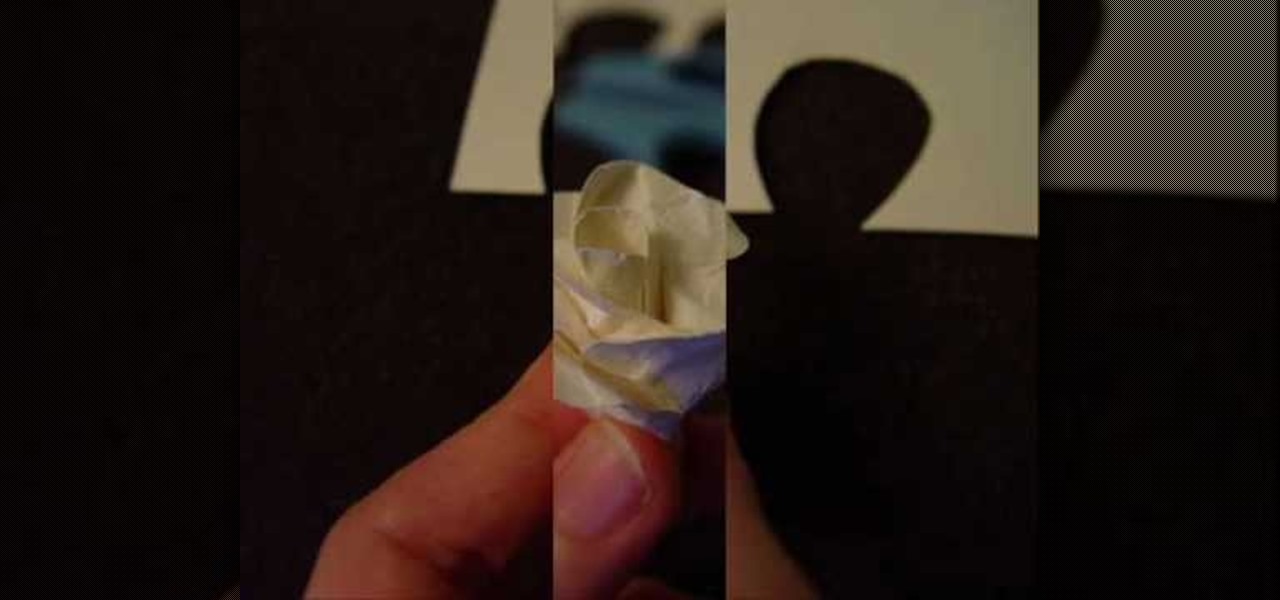
This tutorial demonstrates how to make simple yet beautiful paper roses using only a few materials. The image displayed at the end of this video is just one example of how realistic a paper rose can look. In order to do this, you will need at least one sheet of plain or colored paper, tacky glue, wire and a pair of scissors. Initially, you must first cut your paper in to the shape of your pedals, then crumple them up. Crumpling your pedals not only makes them more flexible, but can also add a...
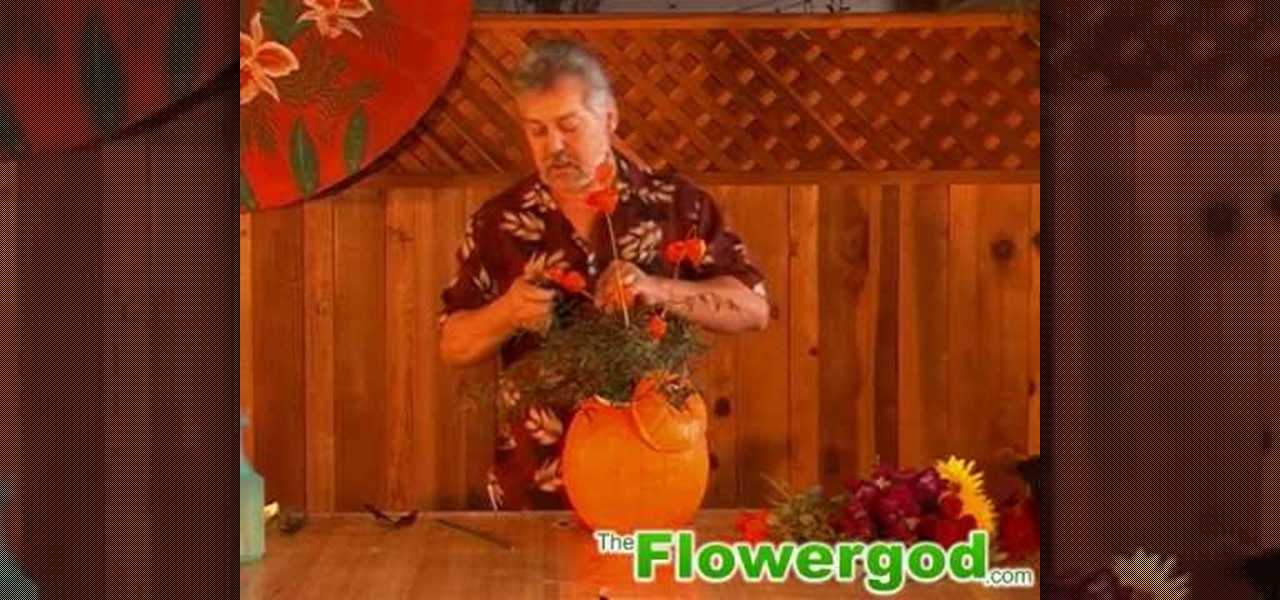
He starts with a pumpkin and some flowers from the supermarket, and some greens that he trimmed from a bush in his yard. He first cuts off the top of the pumpkin and cleans it out. He put newspaper in the bottom of the pumpkin, then puts a container with floral foam inside the pumpkin so the foam is sticking up a bit. He attaches the lid of the pumpkin to the foam with a piece of wire. He starts with the foliage and then begins adding flowers. He puts a tall stem of Japanese Lantern in the mi...

The self-proclaimed "Flower God" was shopping the other day when he came across a vase that he could not resist purchasing. He shows us how to create a beautiful flower arrangement. He works with two different heights: a high plain and a low plain. He wires up some flowers so that they hold their shape better, clustering them down at the bottom. He then accents the low section with some Japanese Lanterns which project outward from the lower section. Next come the flowers for the height, tall ...

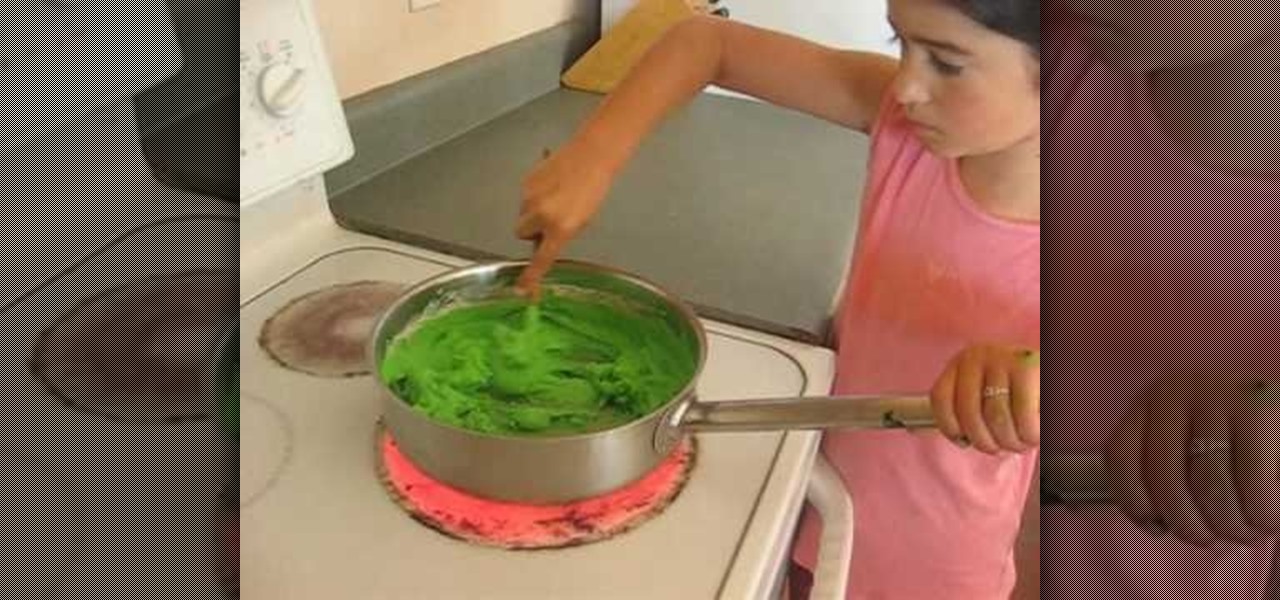
In the video 8-year-old Emma makes the play dough. The ingredients needed for the play dough are flour, water, salt, oil, cream of tartar, and some food coloring to give it the color.

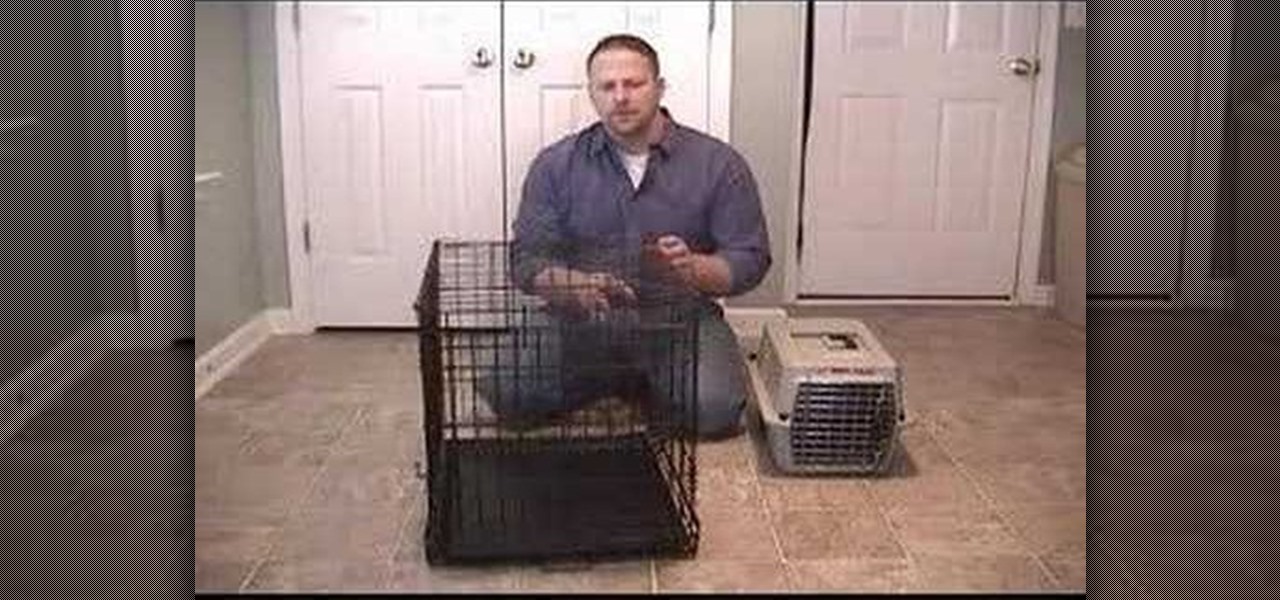
This video solves the problem of getting the right crate for your puppy. You should visualize the size of your puppy after six months and get a crate of that size. If you have a mature dog, get a crate in which the dog can move and turn around easily. The presenter recommends a plastic crate. It is designed well. The door can be opened in both directions. The top can be removed easily and there are holes for the air to come inside. The wire cage is not recommended. Its door is fixed and the c...

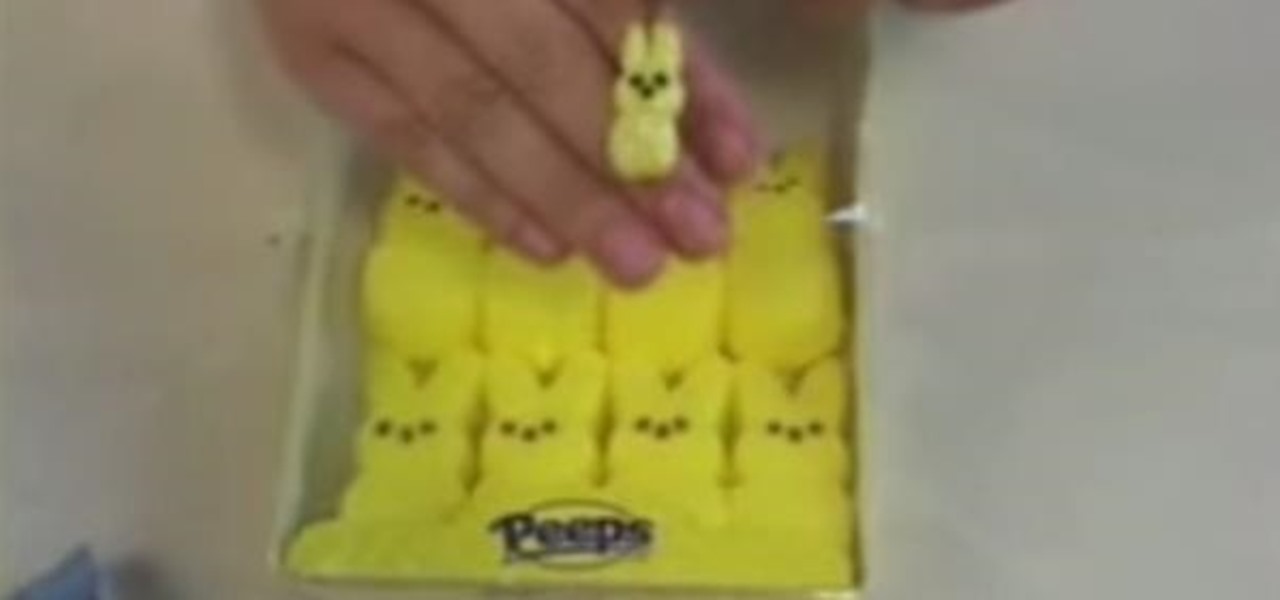
In this video from Polymer Clay Productions, we are shown how to make earrings out of polymer clay marshmallow Peeps. They use holographic yellow glitter for the sugar, polymer clay, and Sunny Side Up yellow coloring. Use a clay color and glitter color that match. Have some real Peeps handy for reference.

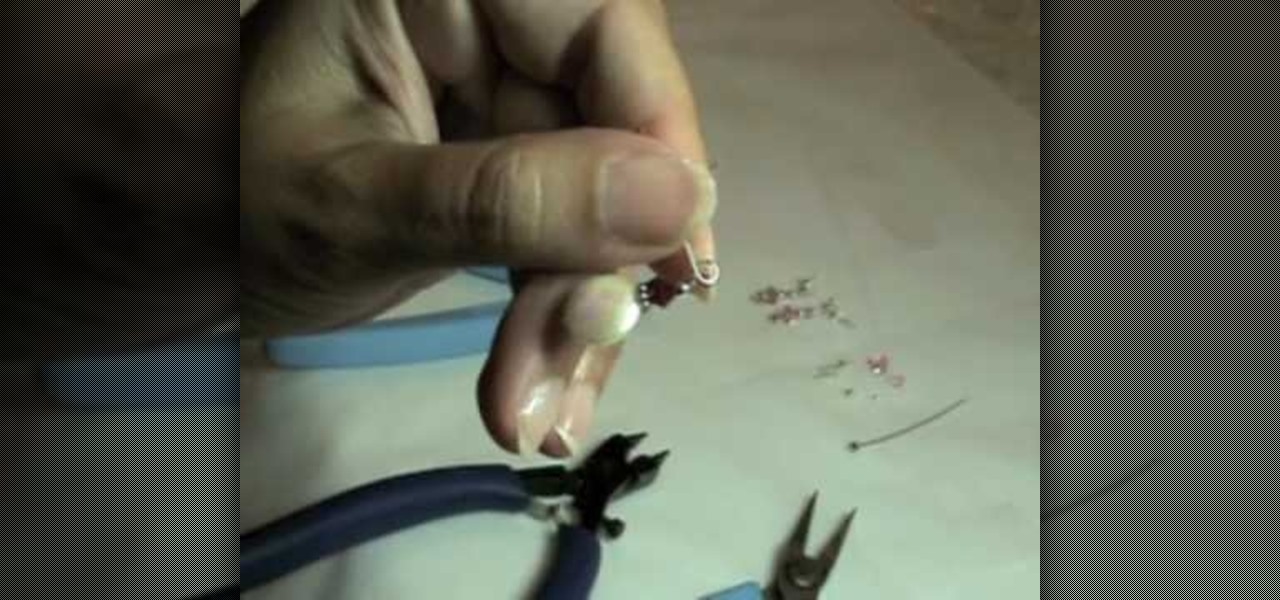
In this video tutorial, viewers will learn how to make two pairs of simple earrings. The video provides all the materials required to make the earrings. The materials required include: freshwater pearl disk, 4 mm Swarovski crystal, bally bead accent, 2 mm silver bead, head pin, flat nose pliers, round nose pliers and wire cutter pliers. This video provides step-by-step instructions and a visual demonstration for viewers to easily understand and follow along. This video will benefit those view...

The Mad Hatter from Tim Burton's Alice in Wonderland not only makes a great costume but a great project. The hour-glass shaped hat, the striped pants, the fingerless gloves, and the Hatter's signature scarf are the most important components in this costume. If you're fairly skilled with costuming already, this shouldn't take more than four or so hours.

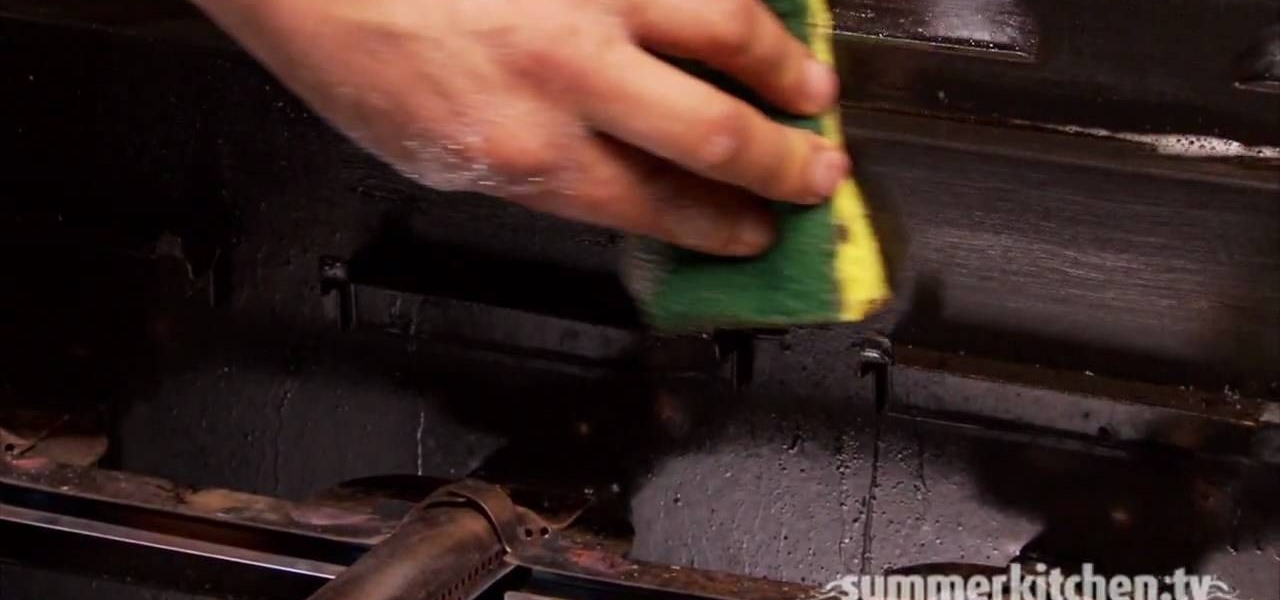
Keep your grill clean for both health and taste reasons. When it builds up old crust it will give off a burned flavor and the blackened bits create carbon, a carcinogen. With a clean grate, you'll get those gorgeous charred cross marks -- the sign of a healthy grill.

Never be frustrated by a rusted nut and bolt again with this foolproof removal method. Loosen as much rust as possible off the nut with a wire brush. Tap the sides of the nut with a hammer to help the rust separate and fall off. Apply heat to the side of the nut for about a minute. When the bolt is cool enough to touch, spray WD-40 on and around the nut and bolt. Tap the end of the bolt with a hammer to loosen the threads and allow the oil to penetrate. Wait another minute or so for the oil t...

How to prepare a thermocouple for attachment to a printed circuit board (PCB) for profiling a reflow or wave soldering system. This is advanced PCB circuitry and you need to watch all videos in the series to understand all the steps of wiring a printed circuit board entails.

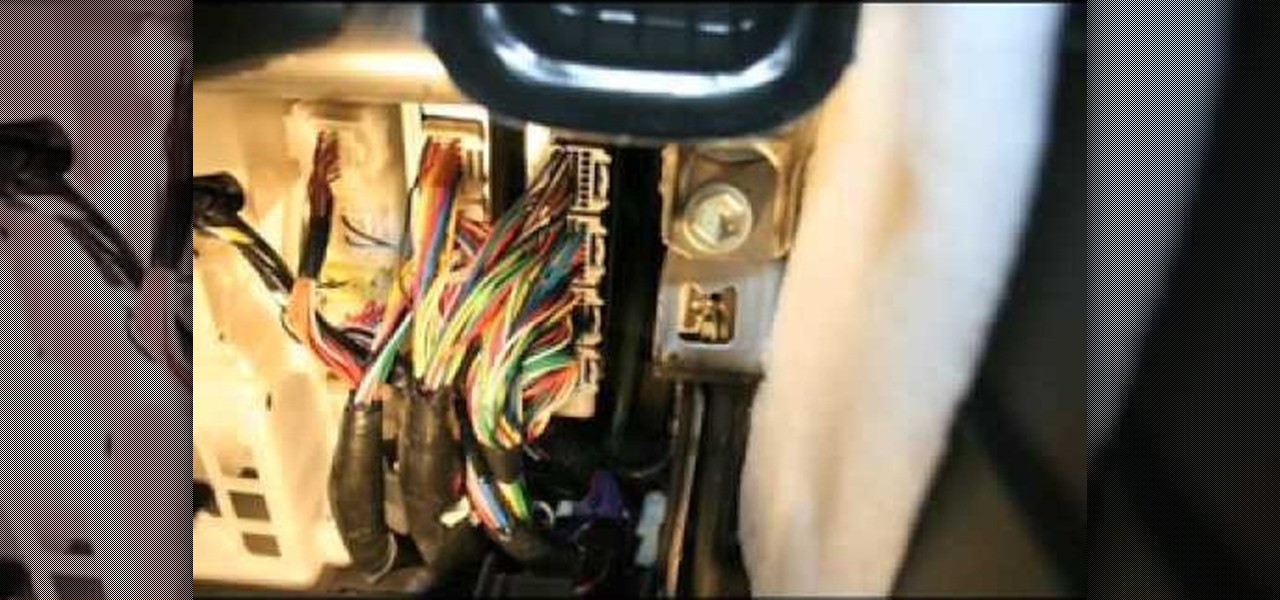
The EVMODE electric only option is a must have Toyota Prius Hybrid accessory. Prius owners, improve hybrid MPG, activate the factory EV MOD option for electric only mode. Known as EV Mode or EVMODE allows you to switch to electric-only mode for increased fuel efficiency and performance up to 34mph. Easy installation with no wire cutting necessary. Make your green car more eco-friendly. Stop using gas!!

A nifty step-by-step guide to making your very own laundry detergent lamp. Upcycle that recyclable detergent bottle and gain a swell lighting fixture for your home! This involves some basic circuitry and wiring of a cheap lamp fixture. You use the laundry detergent bottle as the base of the lamp. It's a bit arts & crafts project and a bit conservation! Help our mother nature with this nifty at-home craft decoration project!

Warning: this video does not demonstrate the actual instructions for making this spooky Halloween LED light up pumpkin that blasts a truck horn. Check out http://blog.makezine.com/archive/2008/10/howto_tuesday_scariest_pu.html for more information and a complete build process. Learn how to make it with the text and image process step by step. Halloween fun!!

One day, your car may break down and you won't be able to afford to hire a mechanic, so what do you do... you look on the web for some how-to vehicle repair videos and become your own car mechanic, that's what. You don't need any advanced training to perform repairs and simple maintenance on your automobile, but you may need a few tools. Invest in the basic tools and you'll be prepared for just about any car malfunction you can think of. These tutorials will help get you on your way, as long ...

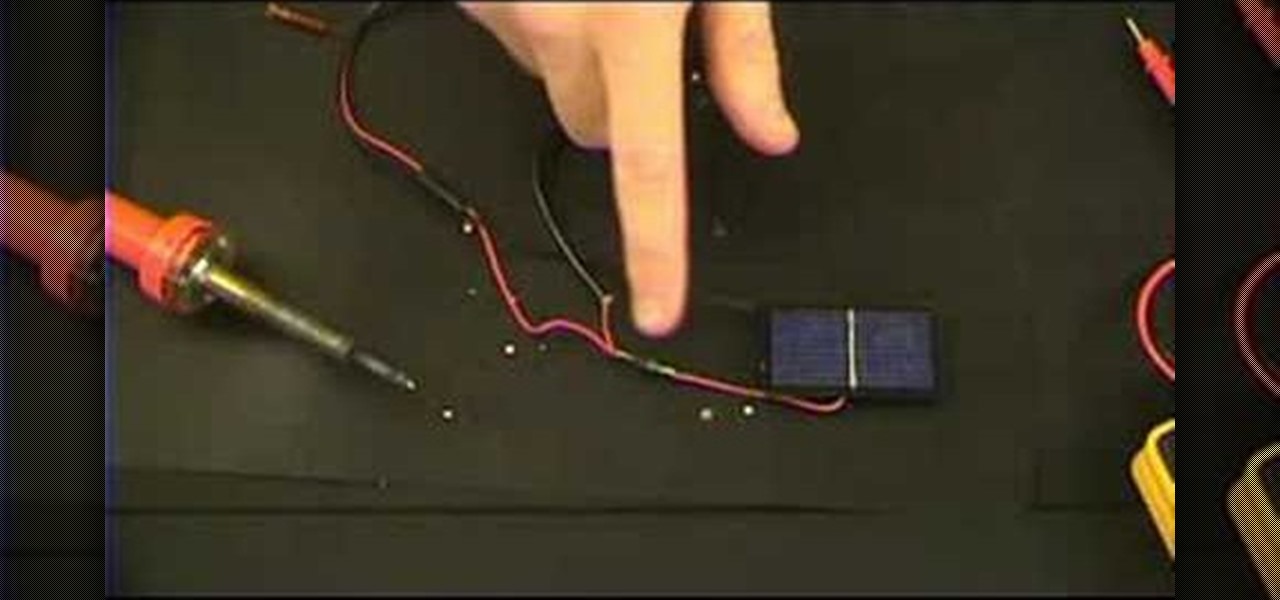
An emergency battery charger for your mobile phone comes in handy, but it's not the ultimate solution; once it's dead it's useless (what a waste). If you want to really get off the metaphorical grid, you can follow the steps in this video to construct a more robust circuit that will not only bail you out of an inconvenient situation but also recharge in between uses. The simple addition of a low voltage solar panel and rechargeable batteries makes this possible. Enjoy!

Building a DIY Alarm System: The Concept So, you want to protect your property, or maybe a room, car, or even your backyard. The concept of an alarm system is to notify the "alarm administrator" that there is an intruder entering the previously designated boundaries. The triggers for this boundary could be as simple as a pressure sensor, or as complicated as a laser network. They all do the same thing, but some work better than others.

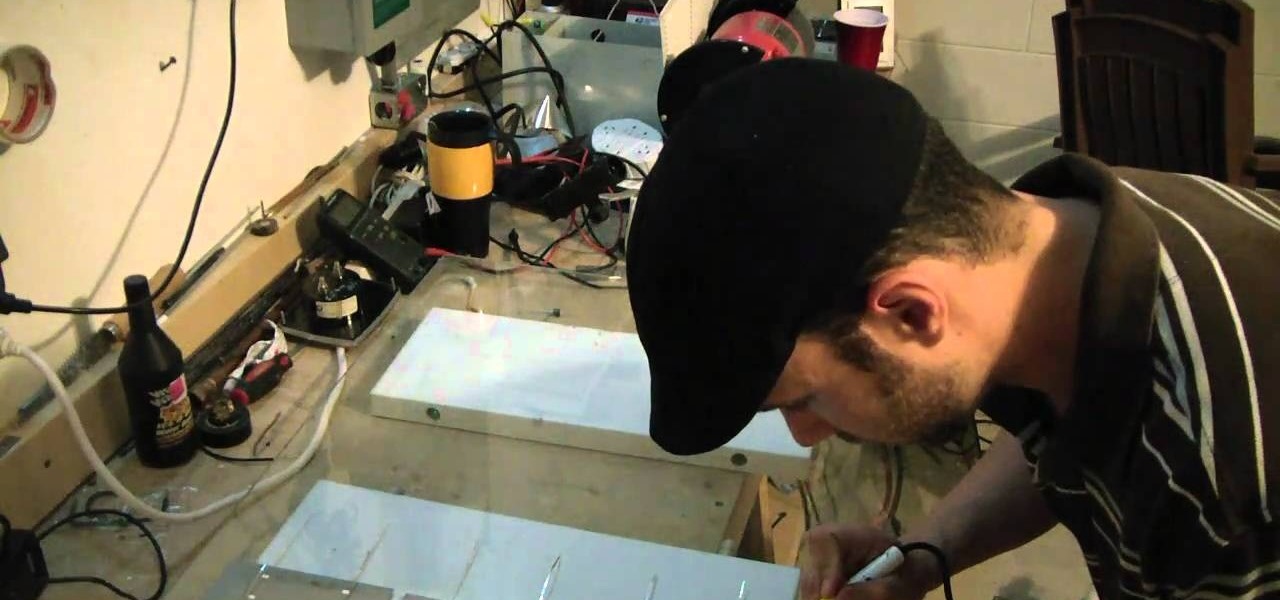
If you want to save money on your electric bill, try building some of these solar panels using solar cells wired in a series. You can save money by using extra glass you or a friend may already own if it isn't being used. Soon you can harness the power of the sun by creating your own solar electricity.

Because who wants to mess with all those wires, programming and power sources? You can make your own origami robot out of paper or cardboard! Though it probably won't do as much as a real robot would, it's nevertheless a fun project to do! All you need are a few sheets of paper (you can also used cardstock or a thin cardboard, depending on how sturdy you want your robot to be). Then just follow the steps in this tutorial!

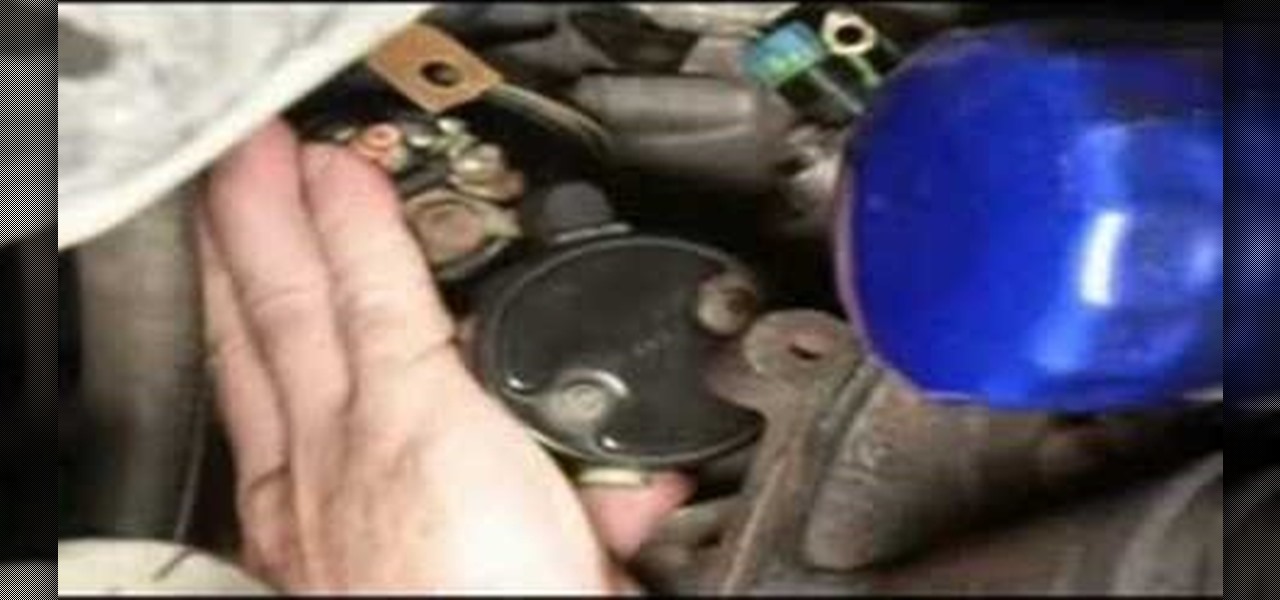
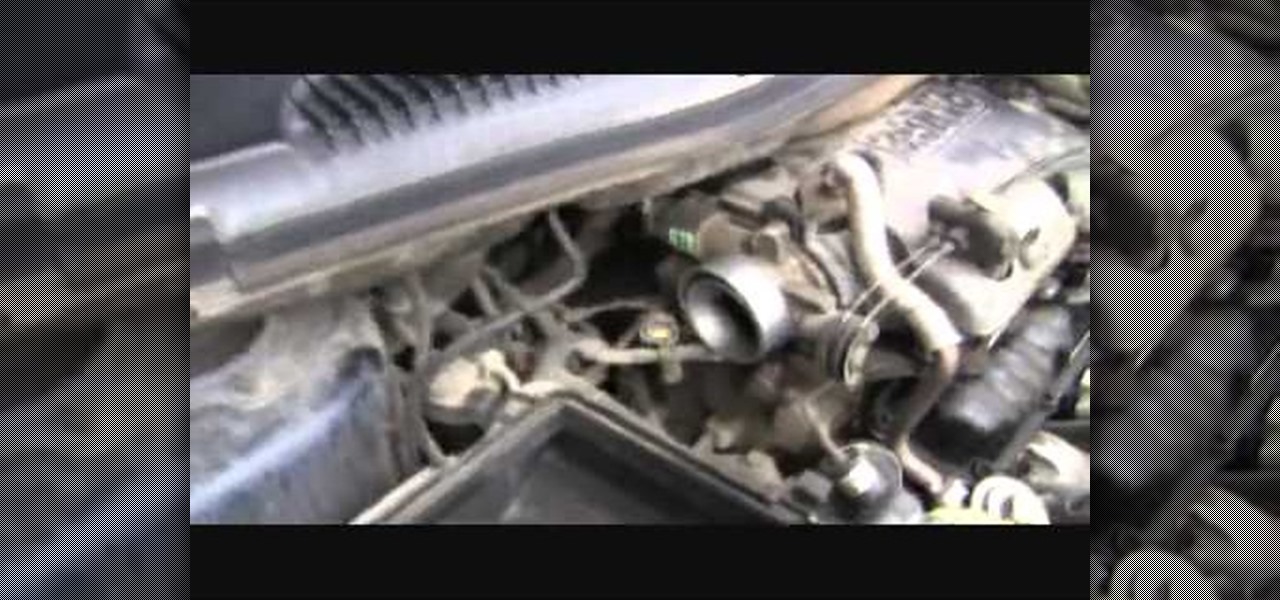
You don't have to pay a mechanic half a fortune when it's so easy to do yourself. This video can be a tutorial for changing the valve cover gasket on nearly any model of truck or van, but is specifically aimed at those who drive a Dodge Caravan. You'll have to get at the back of the engine block, but that's not too difficult - all you have to do is move a few wires and parts out of the way, then move them back when you're done.

Redstone is versatile and can be put to a myriad of uses when constructing things on your island in MineCraft. This tutorial shows you a couple basic ways to start building with redstone, such as wired doors and solid walls.

With the first installment of "Harry Potter and the Deathly Hallows" out, don't be surprised if you find yourself more than ever wanting to whip out a twelve inch phoenix feather wand and wrist twirl your way to defeating your own personal Voldemort. While this video won't teach you how to do magic (so sad), it will teach you how to craft a very cool-looking "Harry Potter" wand that can do the "lumos" spell.

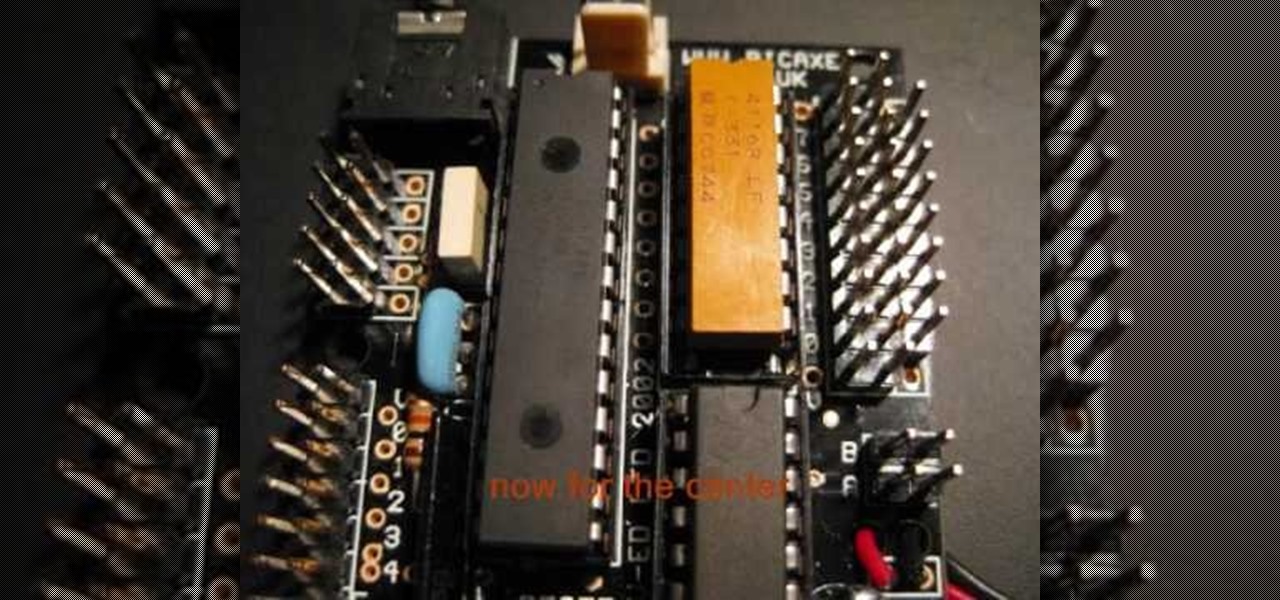
In this tutorial, we learn how to make a robot car. To start, you will need to prepare the sensors by placing in the pins and soldering. After this, you will need to connect the wires to these and solder them into the correct places. Use a map to find the correct placement for everything. After this, you will take your sensor boxes and bolt them into place on the base of the car. From here, you will need to use a band saw to cut out the cover for the car and the sides/back. Glue the sensors i...

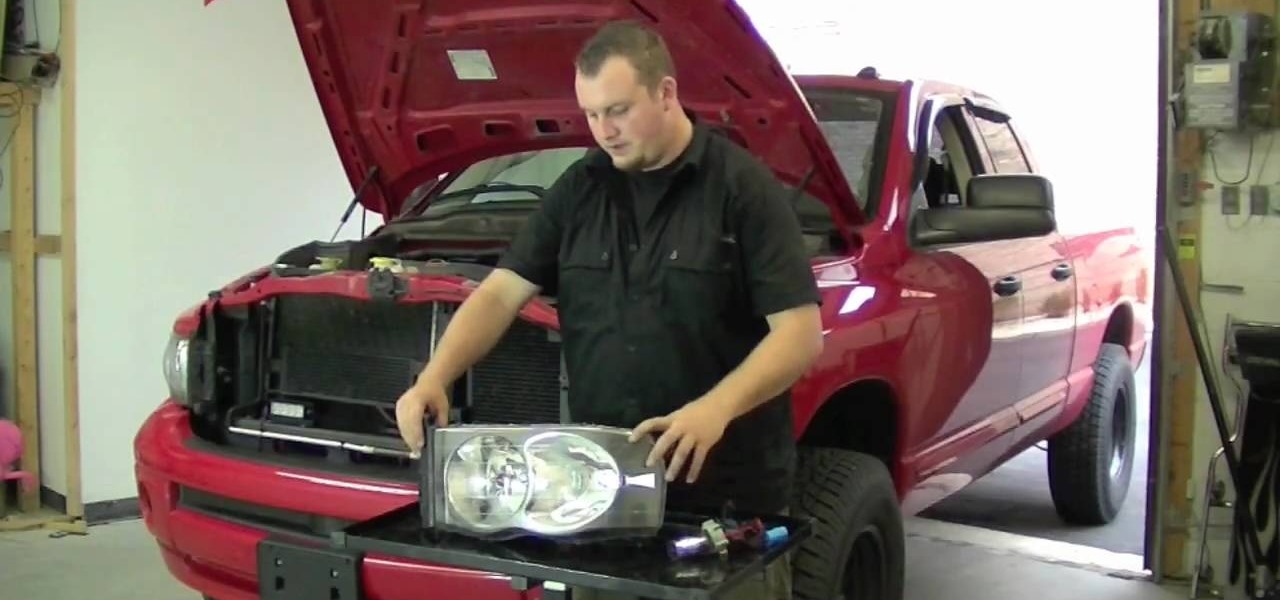
In this tutorial, we learn how to install Recon LED Strobes and HIDs on a truck. You must first learn where each of the tires need to install and make sure they are placed in the right direction for what you want the lights to look like. After this, you will connect one side to the white wire on the positive. Then, you will leave the white disconnected on the other side for the flash to alternate between each of the lights. These will look great on a big truck! Just make sure to follow the di...

In this tutorial, we learn how to prevent mice from living in your house. To start, you will need to inspect around your home and see if there are any holes that mice can get in and out of. Also, look for signs of their waste laying around. Get on the roof and make sure it's secure, with no holes in it where mice can get into your attic. If there are small holes, cover them up using small pieces of wire that they cannot push their way through. After you do this, your home will be safe from mi...

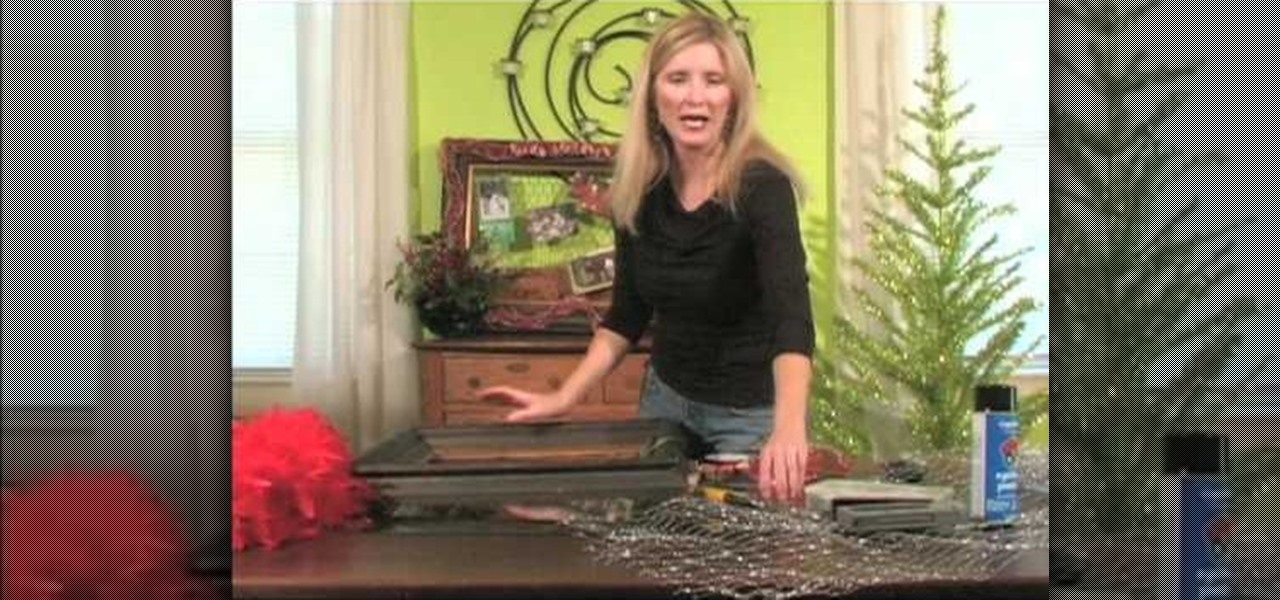
In this tutorial we learn how to make a Christmas wreath card holder. To do this, you can use a Styrofoam wreath, feather boa, glue gun, and pictures. First, glue the feather boa around the Styrofoam wreath in any color that you would like. After this, attach your favorite color of ribbons to the boa and then attach some wire to the back of it with the glue. After this, you can place the pictures on the frame and then attach anything else you would like! This is a fun craft that looks great i...

In this video, we learn how to build a nest box and ladder for a chicken coop. Start off by creating the box with several pieces of 2x4's. Measure each piece individually, then screw them into place. Make sure it's the size that you want it and that it's secure and lays flat on the ground. Once finished, you will bend some metal and place it on the sides of the coup and then fasten the hinges so they are free swinging. Then, pull in a few more piece and you will have created the nest box insi...

In this tutorial, we learn how to use foam to make diorama terrain. Foam will make a realistic diorama because it comes in so many different shapes and sizes. You can buy this from hobby shops and even online. To put these together, you will simply use some wood glue. You can easily cut this with a sharp knife, scissors, and anything else that is sharp! You can use a hot wire cutting tool to mold and sculpt the foam as well. You can also use a hot glue gun to connect the pieces of foam togeth...

This is a video tutorial in the Hosting & Entertaining category where you are going to learn how to decorate your Christmas tree with big impact using ribbon. You begin the process by fluffing. Choose two beautiful ribbons. Try different ribbon combinations like metallic and satin or velvet and harlequin. The ribbon must be wired. Make a simple loop and twist the ribbons together. Wrap one loop around one piece of the tree branch. Then make another loop on the ribbons and wrap it around anoth...

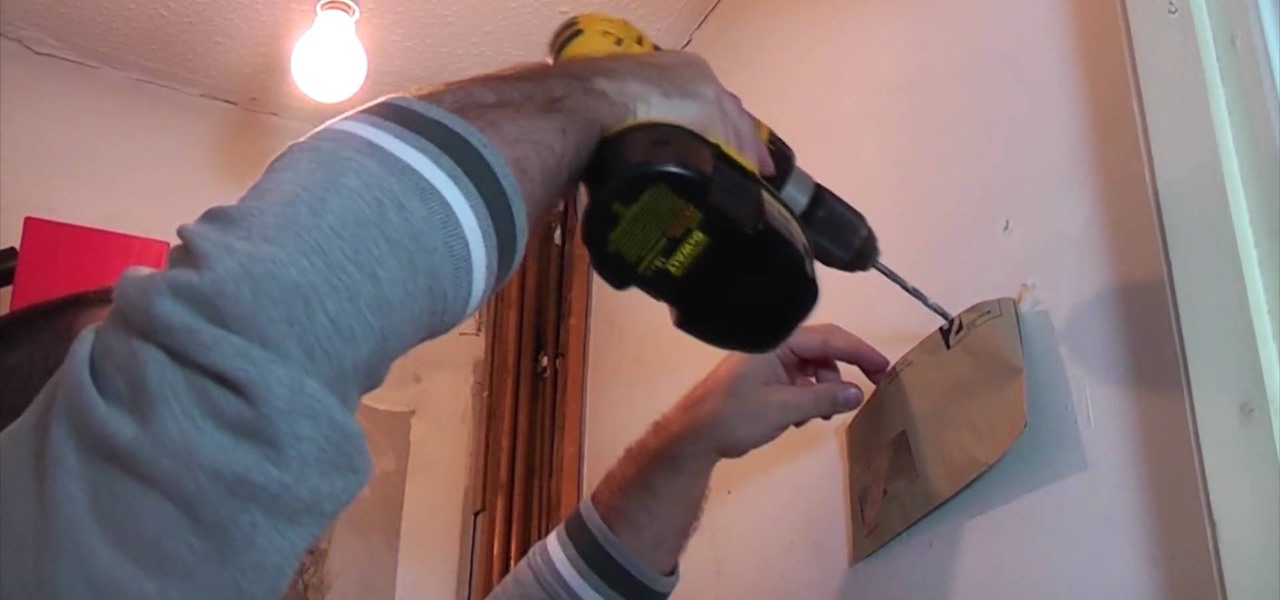
In this video we learn how to prepare a wall for drilling. First, check for pipes and cables in the wall using a digital detector. After this, it's a good idea to tape some masking tape with an envelope on the wall to catch and dust and debris that falls off while you are drilling. When you're finished drilling the hole, remove the envelope from the section you are on and continue on to the next part of the wall. It's just that easy to drill a hole in the wall once you know you won't be hitti...

This video could very well apply to most bathroom exhaust fans, but this video specifically installs the Delta Electronics Breez Humidity Sensor Exhaust Fan, Model VFB25AEH (130 CFM). With this video, you'll learn the DIY approach to installing one of these exhaust fans in your bathroom, along with removing the old junk one. An upgraded bathroom fan can help eliminate the dangers of moisture, mildew and mold within your bathroom areas. Milan Rosan shows you the complete installation process. ...

In this tutorial, we learn how to install a cold air intake for a 96-04 Mustang. First, you will need to lift up the hood and locate/disconnect all wiring harnesses. Then remove the bolt around the air filter housing and set aside. Separate the intake and the housing, then pull out the air filter housing. Reinstall rubber grommets that may have come out, then disconnect all hoses from the engine. Put the intake and the pieces together, then you will start to place it back into the car the way...

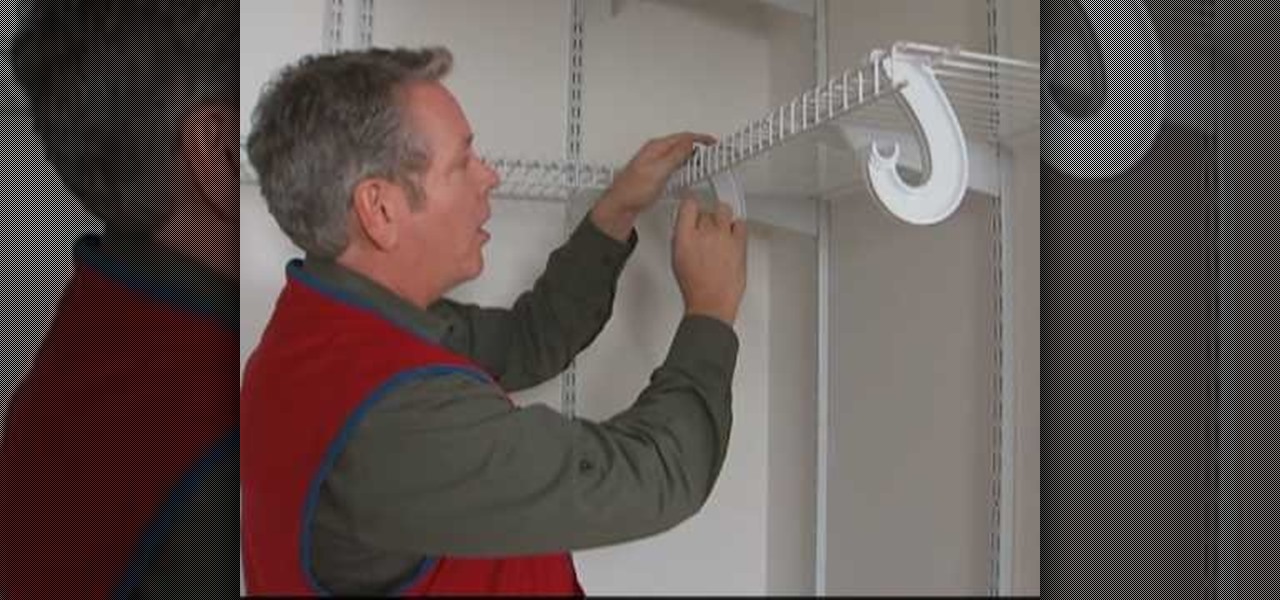
In this video, we learn how to install shelves to organize a closet with Lowe's. A wire closet system is a great way to organize a closet, but you first need to map out your space and where you want things to go. After this, it's time to install. All you need to do is place in the brackets, then level them and screw them into the wall. After this, you can place on the holders for the shelves wherever you would like to place them. Next, you will be able to place the shelves on and then place y...

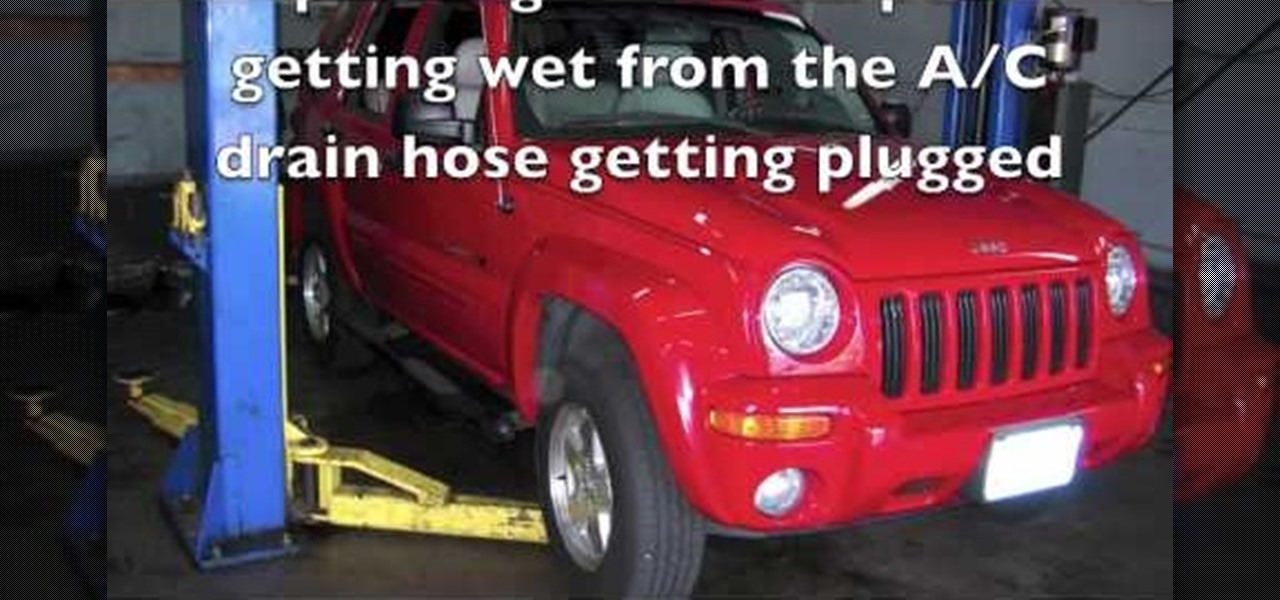
A common problem on Jeep Liberty SUVs involves the passenger side carpet getting wet because of the air conditioner drain hose being plugged, where the condensation water is supposed to drain from. The drain hose sticks out about an inch inside the engine compartment, and is relatively easy to access. All you need to do is use a wire, at least six inches, to probe into it and release and buildup. You can also blow air into the hose. Watch and learn this simple A/C repair trick.

In order to make an adjustable cable necklace, you will need the following: 20 inch adjustable cable chain, a slide bead frame, 2 head pins, 8 mm bi-cone, 8 mm crystal, 2 6-mm round rondells, 2 7-mm jump rings, a pair of nipper tools, a pair of round nose pliers, and a pair of chain nose pliers.

In order to build a trip wire, you will need the following: a knife, fishing line, a rope/string, sticks, and a large stone.

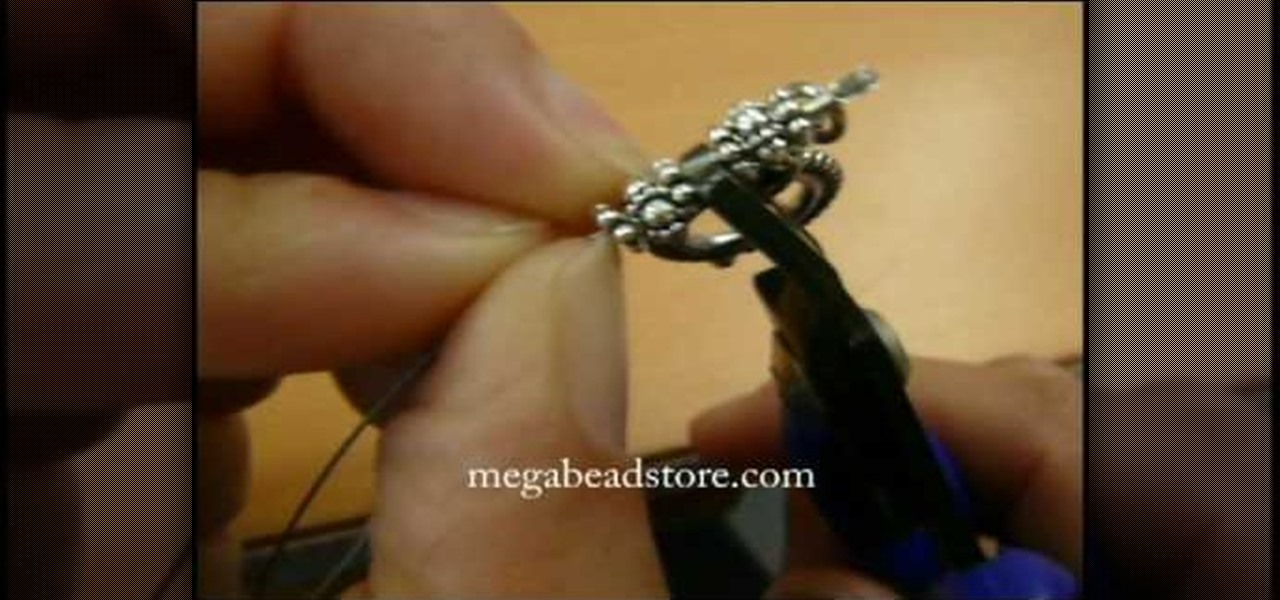
In this video, we learn how to hide a crimp bead with a crimp bead cover. First, string your spacer followed by a crimp bead and another spacer. At the end, you will have the end piece with the wire protector next to it. Then, bring the piece of jewelry through the crimp bead twice, then through the spacer once more. Now the spacers and crimp beads will be pressed with the crimping tool tightly. Pull on the string to test it out, then slip in your crimp bead cover so it looks like another bea...


