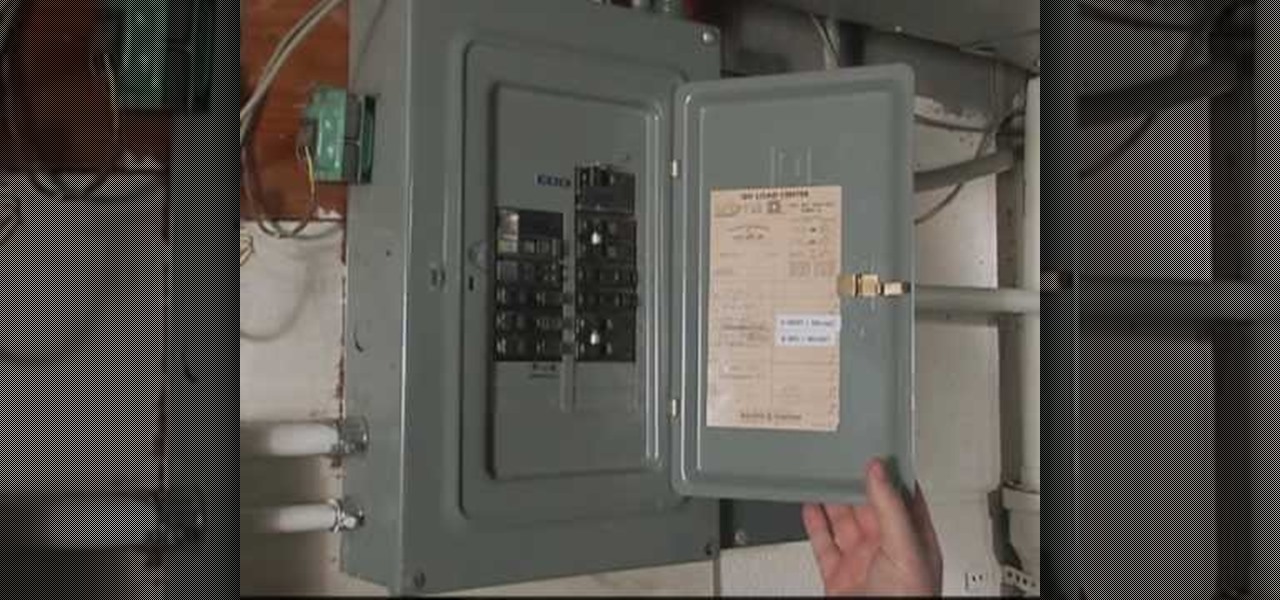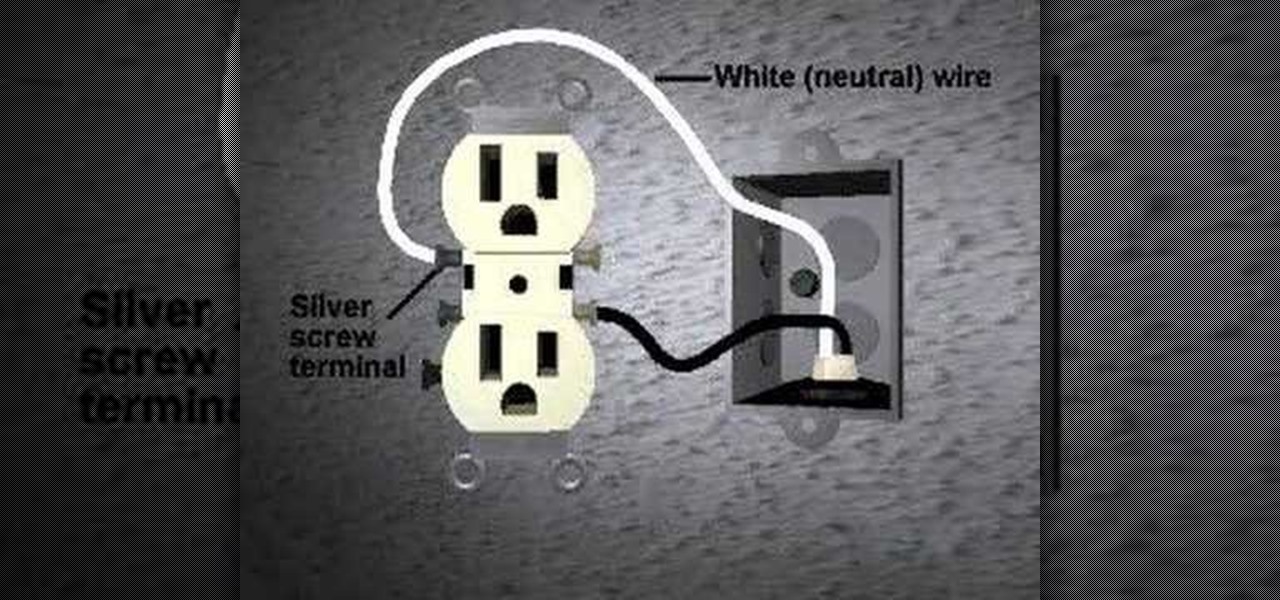
This video home improvement tutorial is a basic explanation of the wiring in a plug-in electrical receptacle, so you'll know what to do when replacing one. Learn how to change the plug-in without short-circuiting or hurting yourself by watching this instructional wiring video.

Here is the first attempt to make a scorpion on video using copper wire bending.
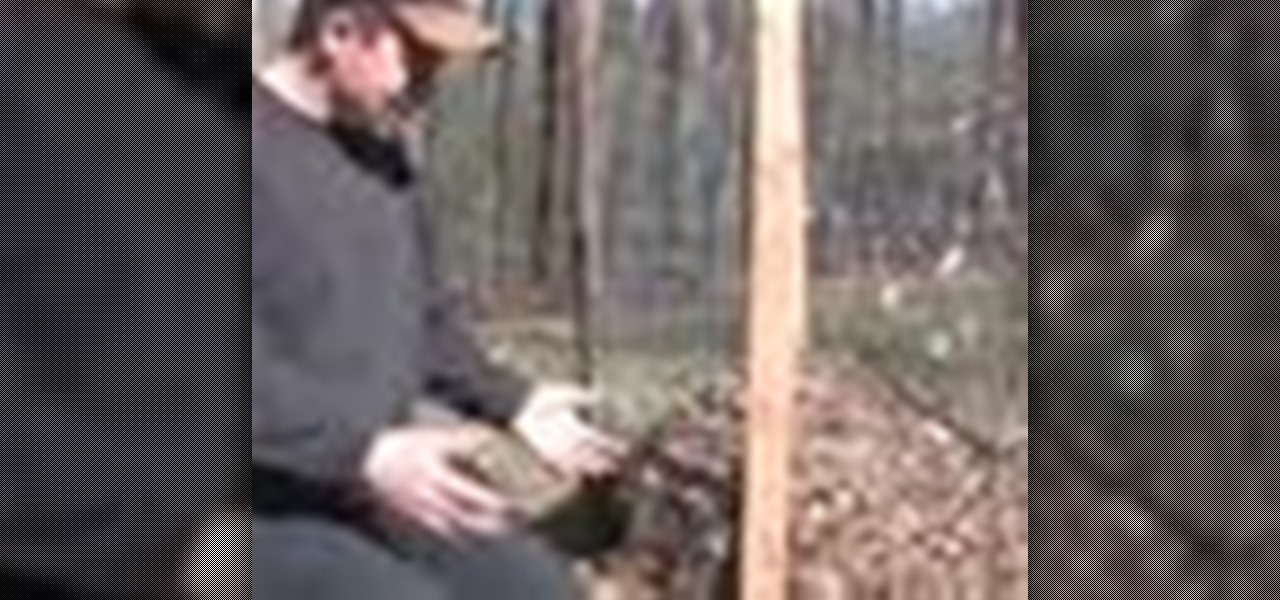
Today we learn how to make a simple compost bin in this how to video. Simple is good here, so you can have more time to do other things. All you really need to start composting leaves from the garden is chicken wire and some wood.

Watch this video tutorial on how to crack a simple puzzle made of wire. This is a simple puzzle that you can make yourself.

Learn ferrocement tying techniques. This video explains two different ways for attaching welded wire mesh and lath to rebar armatures.
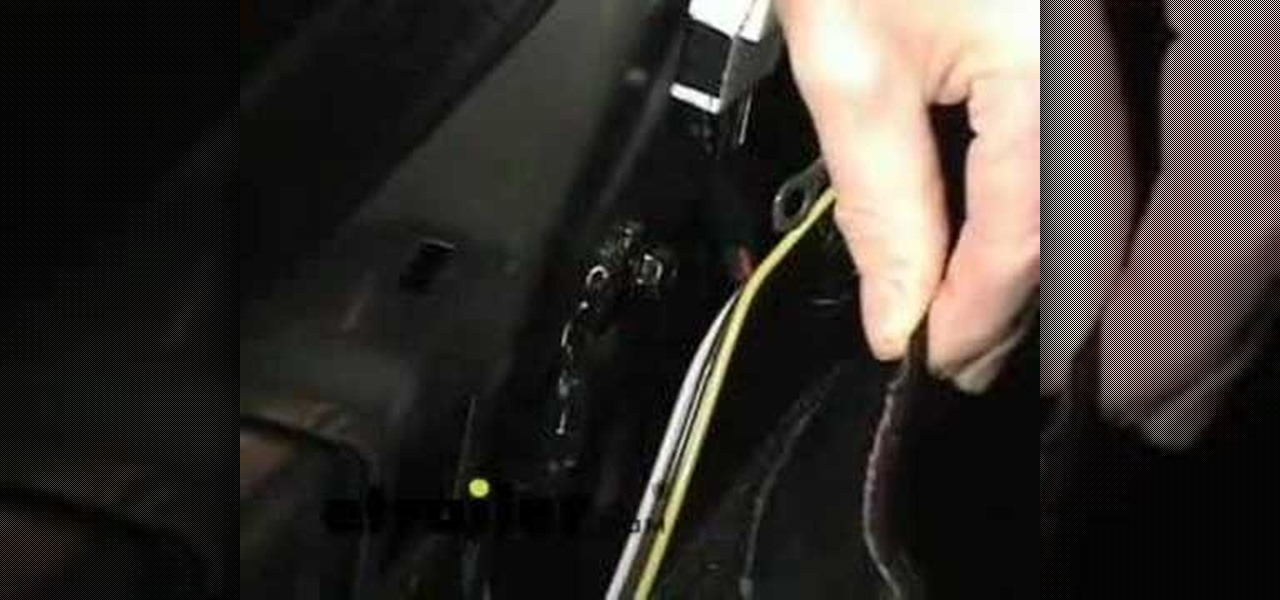
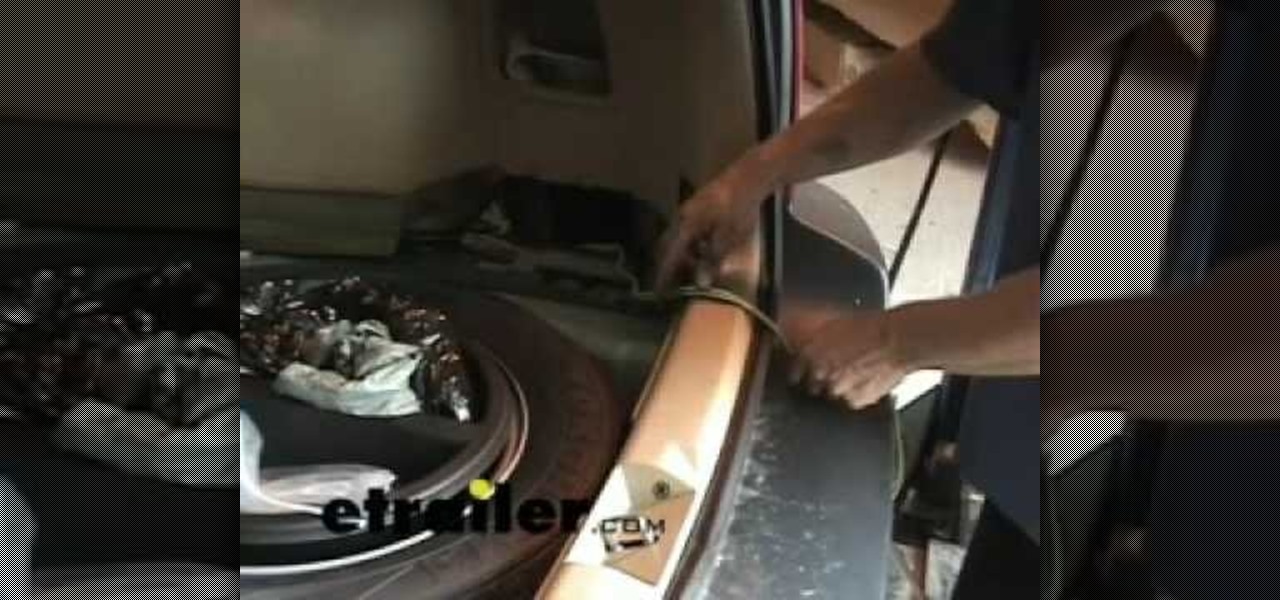
Learn how to install a trailer wiring harness in a Hyundai Sonata. This install will also cover Draw-Tite part # 24757. The first step involved is gaining access to your vehicle, the second step is we can hang the hitch on the tie down loop in the center of the vehicle.

In this video, they are going to be replacing the wiring on a trailer starting with the 4 pole flat.
See how to install a trailer wiring harness in a Chrysler 300. This is a necessary component since it will power the brake lights and lights on your trailer.
This video shows you how to install a trailer wiring harness on a Subaru Forester. All you have to do is get to the inside panel and get to the connector. When you don't need it, it can sit with the spare tire, when it is needed go ahead and pull it out.
Watch this video to learn how to make a wire wrap bracelet.
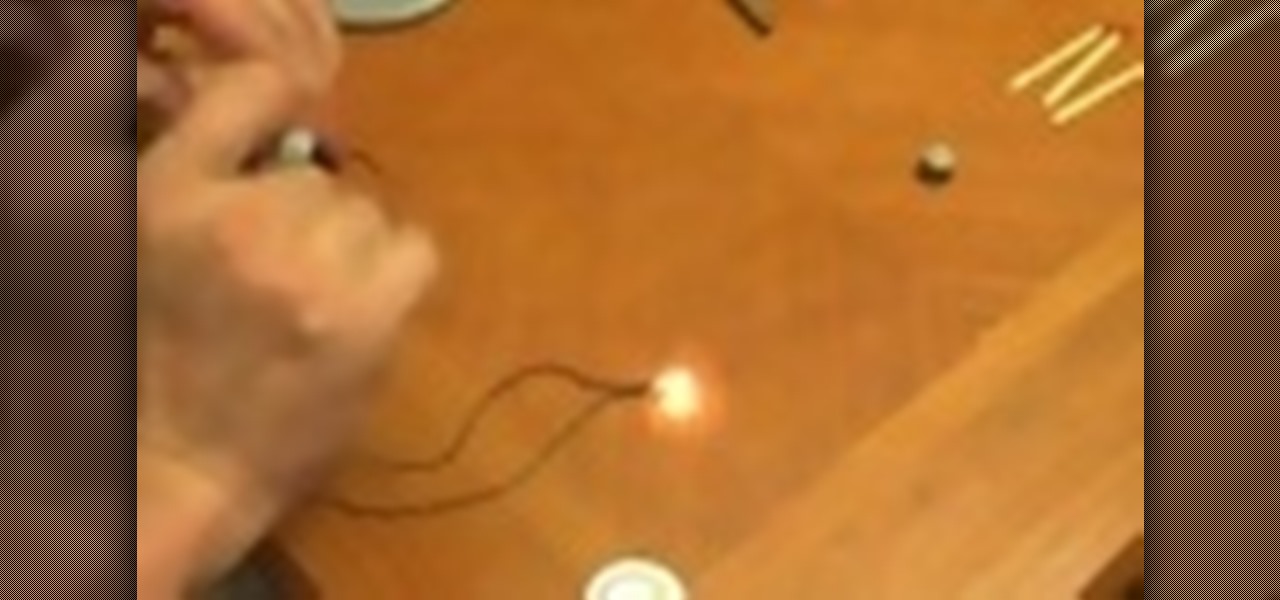
F for FAKE. This video has been labeled a "Faux-To". Commonly contested as bogus science, we believe this video to be a hoax. What's your opinion? Comment below.
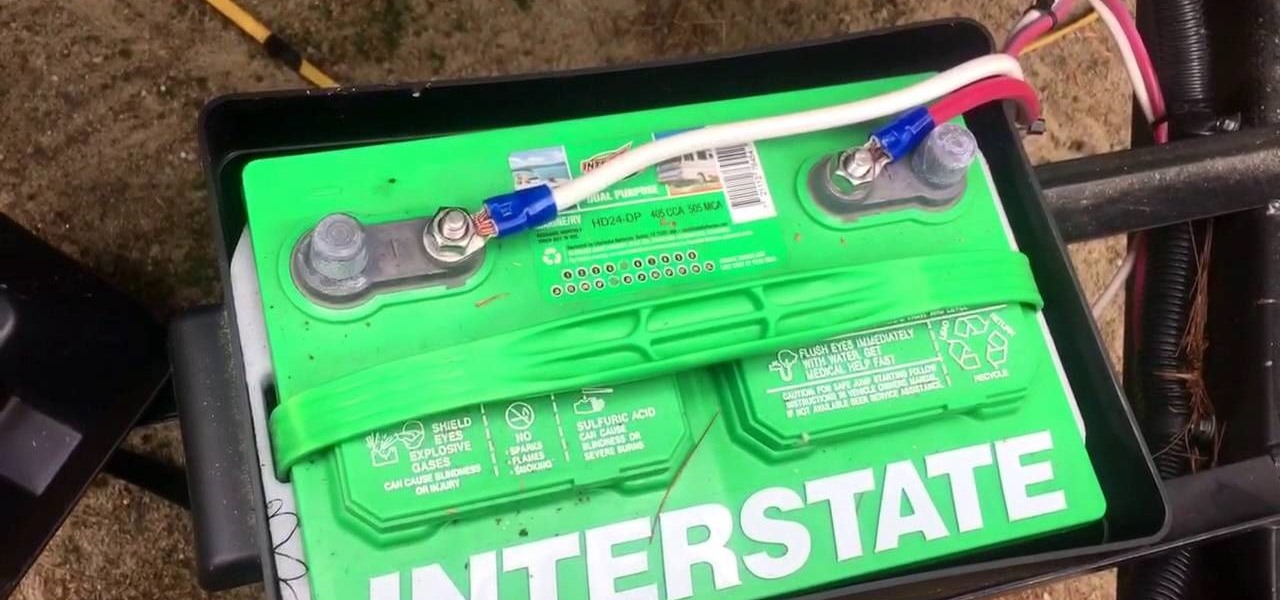
Video: . This video will show you how to connect the positive and ground wire on the battery of your RV or camping trailer.
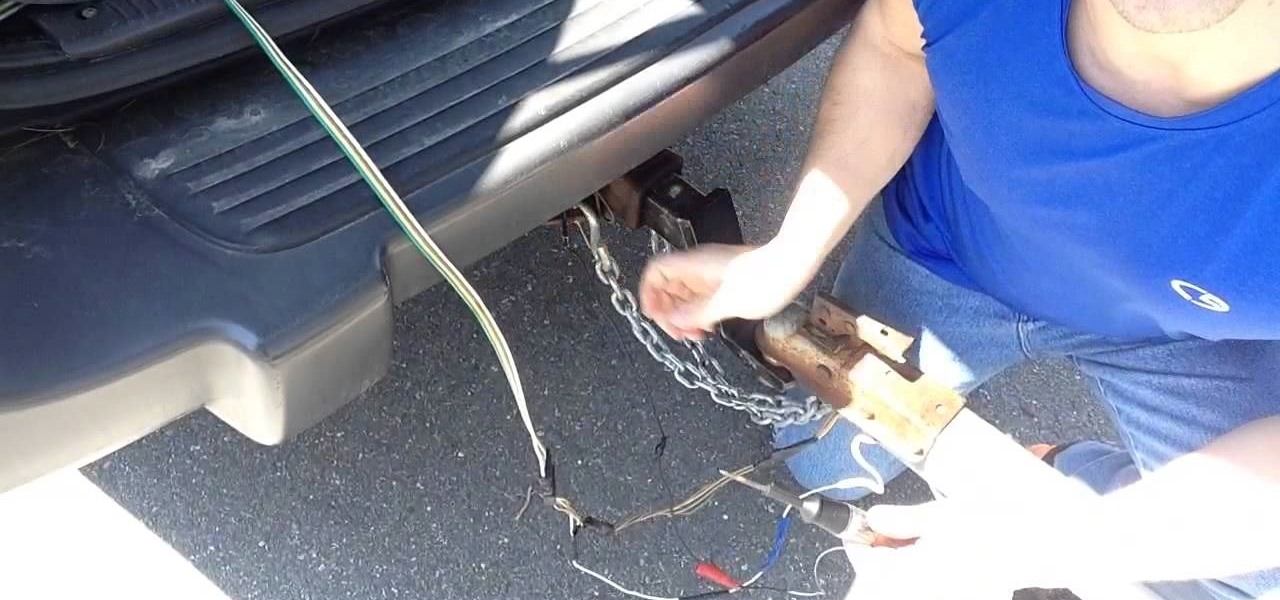
Learn how to troubleshoot, fix or repair trailer wiring issues or problems. This video will show you how to diagnose and troubleshoot common issues what your trailer lights aren't working correctly.
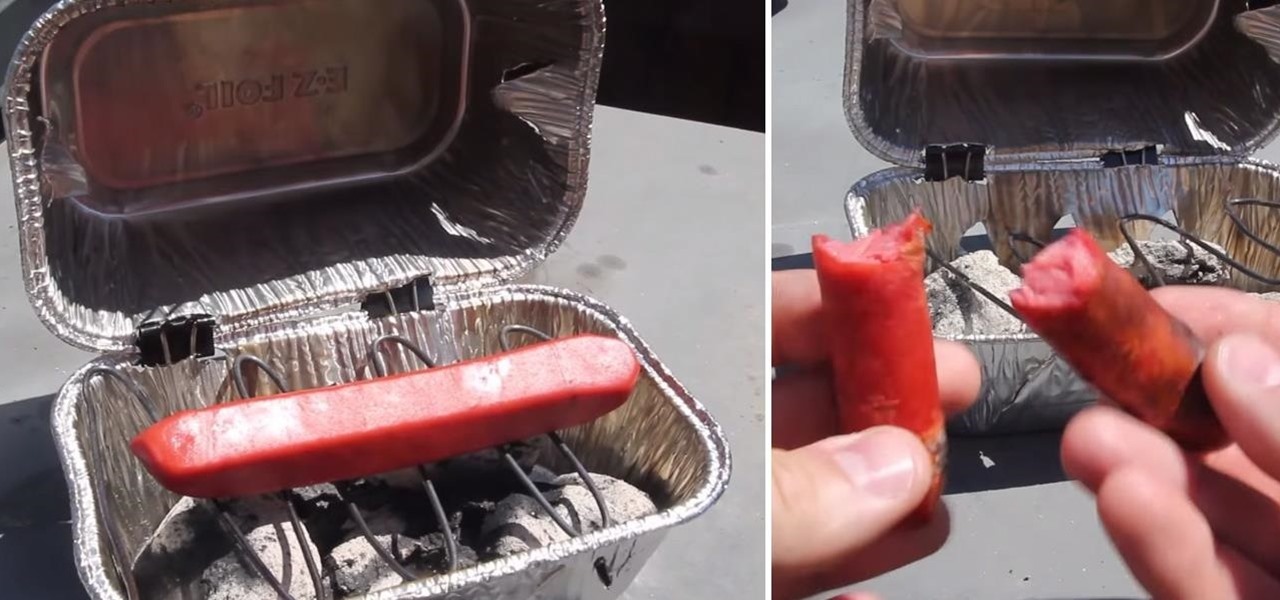
It is a beautiful, yet scorching day here in Los Angeles, and the only reason I would ever step outside from my air-conditioned castle would be to grill out by the pool. There's just one problem: backyards are few and far between here in The City of Angels.
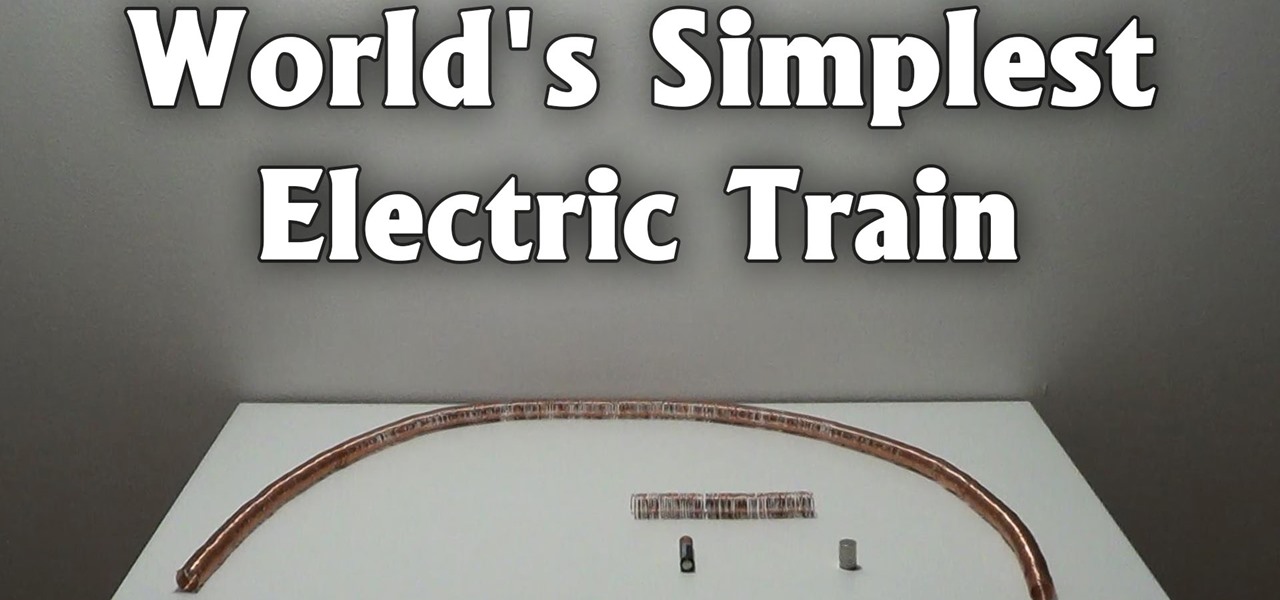
The trick in the video is that the magnets are made of a conducting material and they connect the battery terminals to the copper wire, so the battery, magnets and copper wire make a circuit that generates a magnet field just in the vicinity of the battery. The geometry means the two magnets are automatically at the ends of the generated magnetic field, where the field is divergent, so a force is exerted on the magnets.
This video will show you how to install or replace a chandelier or ceiling light in your home. We also explain the wire colors and that the white one is power.
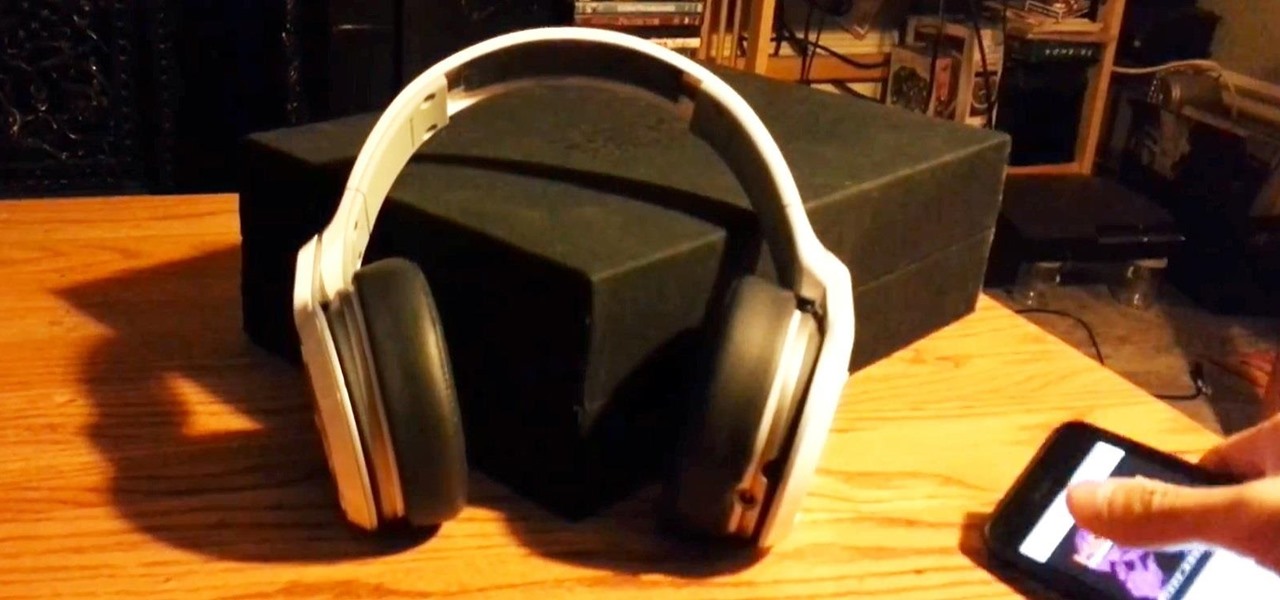
Headphone cords are one of those things we all deal with because it beats the alternative (no music). But they can be so obnoxious—they're always getting caught on things, and they seem to be perpetually tangled. If you have ear buds, you can make a simple a cord container to keep them organized, but over-ear headphones are a little more tricky.
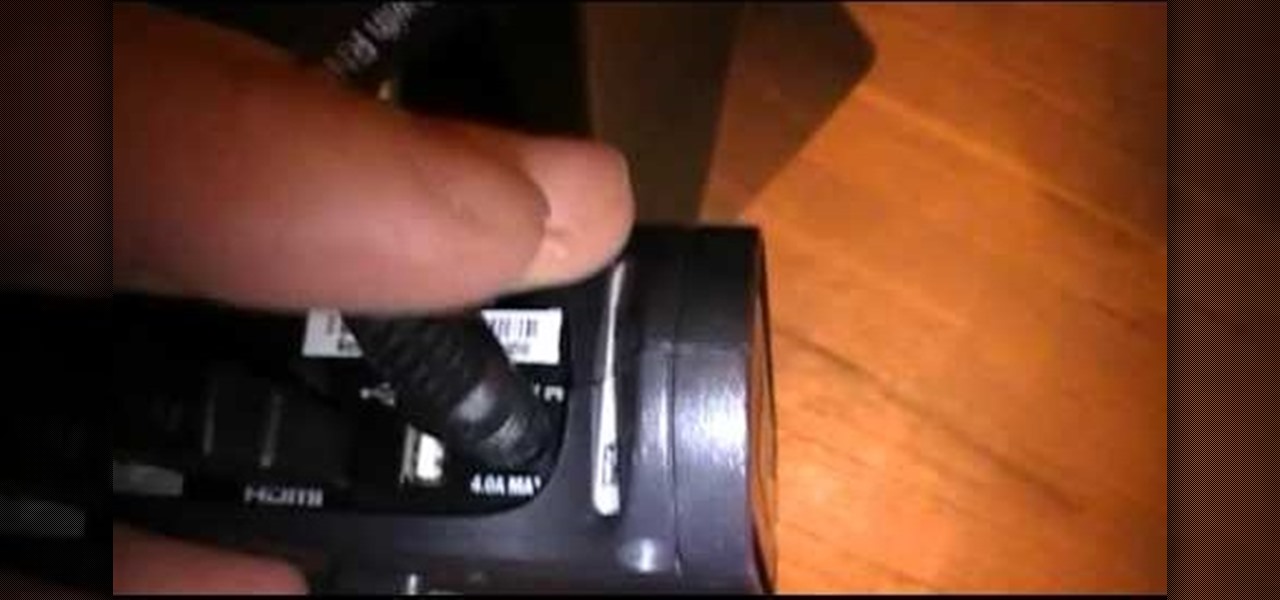
This video will show you how to connect and hook up a Comcast Xfinity cable box to your HDTV using a HDMI wire.
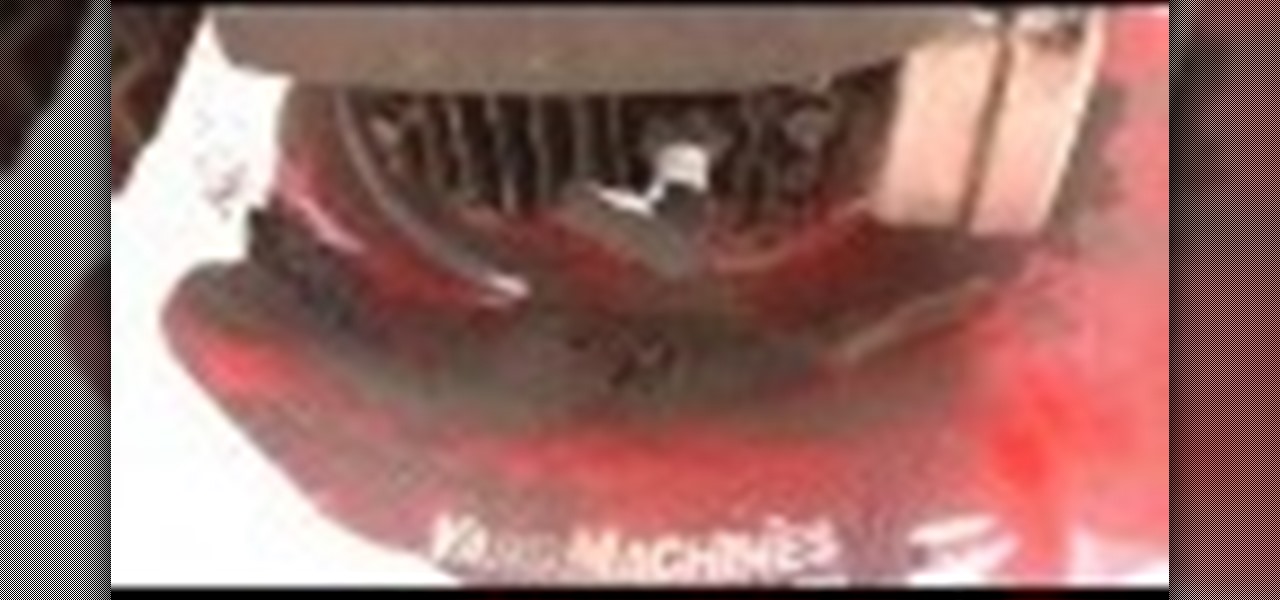
This vide will show you how to fix a broken spark plug wire that has pulled out of the spark plug boot on your lawn mower.
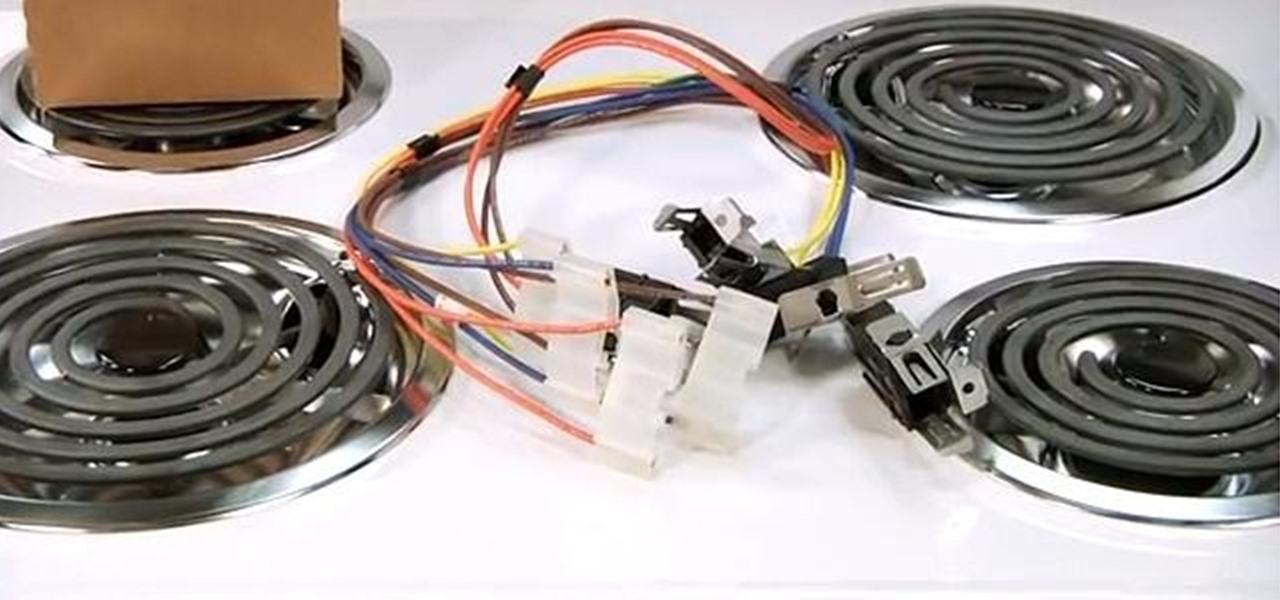
If you get no power or intermittent power to your oven element, you will probably have to replace the oven block wiring harness. You can follow the steps in this video to help you do this easy repair.
War leaves a lot of stuff behind. Torn families, delegitimized institutions, mass graves, and unexploded ordinances litter the post occupation landscape. Whether or not you have driven the imperialist out, or are still in the phase of armed resistance, you will need the ability to safely diffuse bombs. My bomb defusing Silvia-bot can do it all. She can catch grasshoppers, cut wires, collect samples, tase enemies and even play chess! Materials
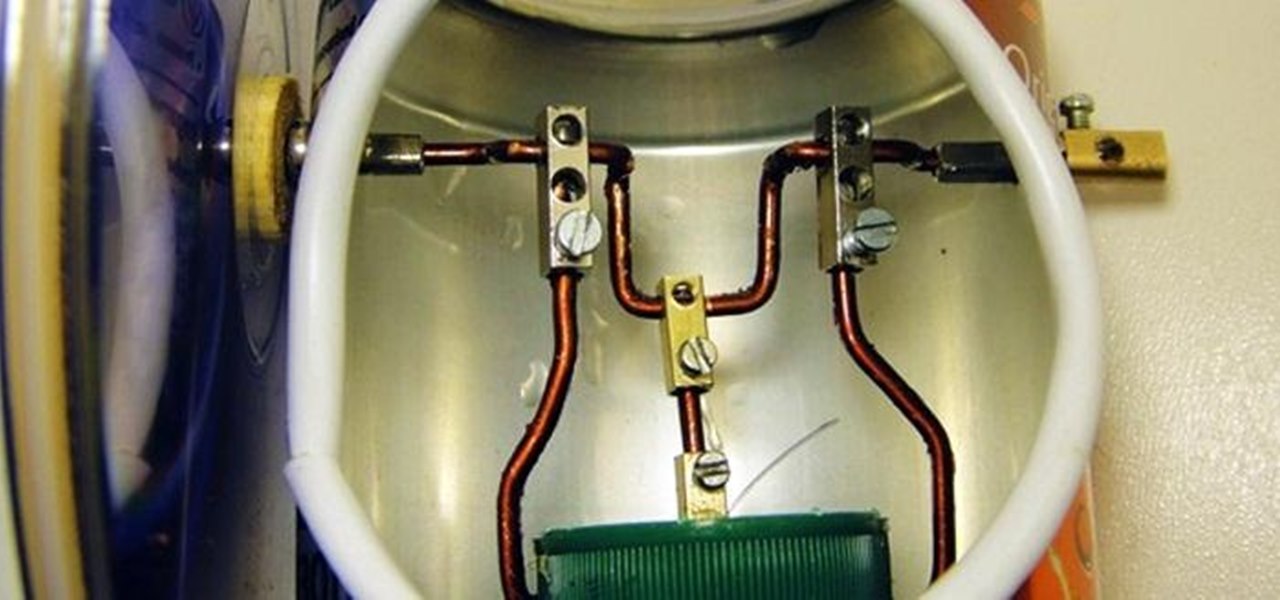
Ever wonder how to make an engine out of soda cans? Not even sure if it's possible? These videos will show you how to build a working Stirling engine out of cans and other general materials. Here it is in action:
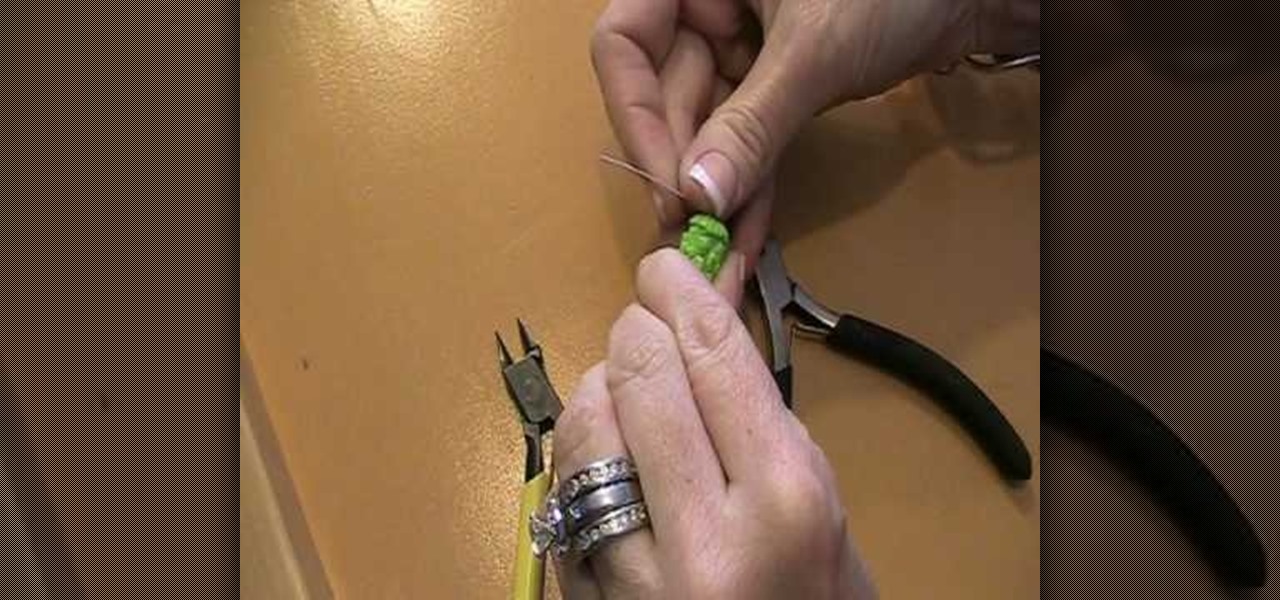
What exactly is a head pin? In jewelry crafting, a head pin is the small wire loop on top of a bead that allows the bead to be attached to a necklace or an earring. If you're looking to get into making your own jewelry, then creating a headpin is one of the most basic skills you'll utilize for the rest of your career.
In this video tutorial, viewers learn how to replace and install a programmable thermostat. The materials required for this project are: a screwdriver, masking tape, marking pencil and batteries. Begin by turning off the power of the furnace. Then remove the face of the old thermostat and detach the labeled wires. Now remove the wall plate. Then mount the plate of the new unit and connect the wires to the corresponding codes. Finish by inserting batteries, placing the face plate on the wall p...
In this video, we learn how to install chase tail lights on a Mustang. First, you need to remove the rear trunk panel and trim piece. Next, prepare your tail light kit by following the directions that are given to you with the package. Next, cut the tail light wire. Now, put on your turn signal and take note of which light it still blinking, then mark it with electrical tape. Now, swap that light into the in board position and run the new wires by rewiring the new lights into the tail light. ...
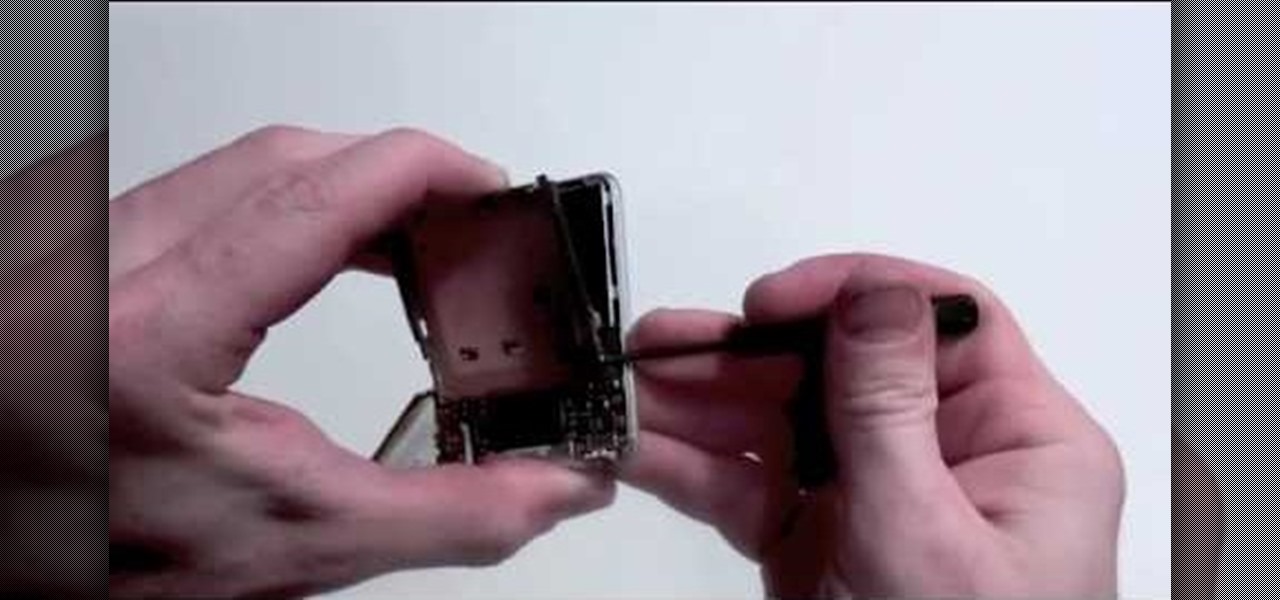
In this tutorial, we learn how to take apart an iPod Nano 3rd generation for repair. First remove the back casing using a guitar pick. Next, use a flat tool to lift up the battery carefully and remove it from the casing. You will see three wires that lead to the launch board, which are soldered into place. Now, use the flat tool to remove the back of the battery casing from the device. Now, remove the logic board by removing the 6 small screws inside of it. Next you will remove the LCD by lif...
In this tutorial, we learn how to clean and repair gutters with Mike Kraft. Damaged gutters can mean leaking roofs with water dripping everywhere. To fix this, you will need: buckets, a shovel, gutter sealant, a trowel, wire hooks, garden hose, nozzle, and gloves. First, place your ladder up to your house so you can easily reach the gutters, being careful not to touch any electrical wires. Next, clean the debris out of the gutter with the trowel and place into a plastic bucket. When finished,...
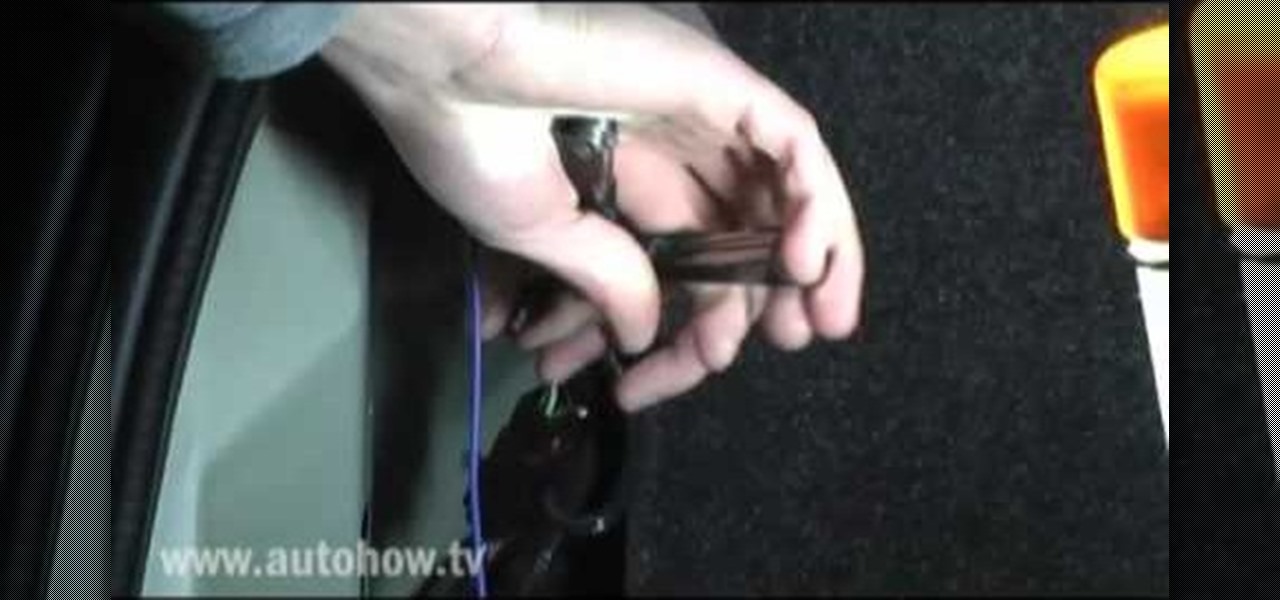
In order to fix a broken power window, you will need the following: a screw driver, a socket wrench, a plastic pry tool, and a Phillips head screw driver.
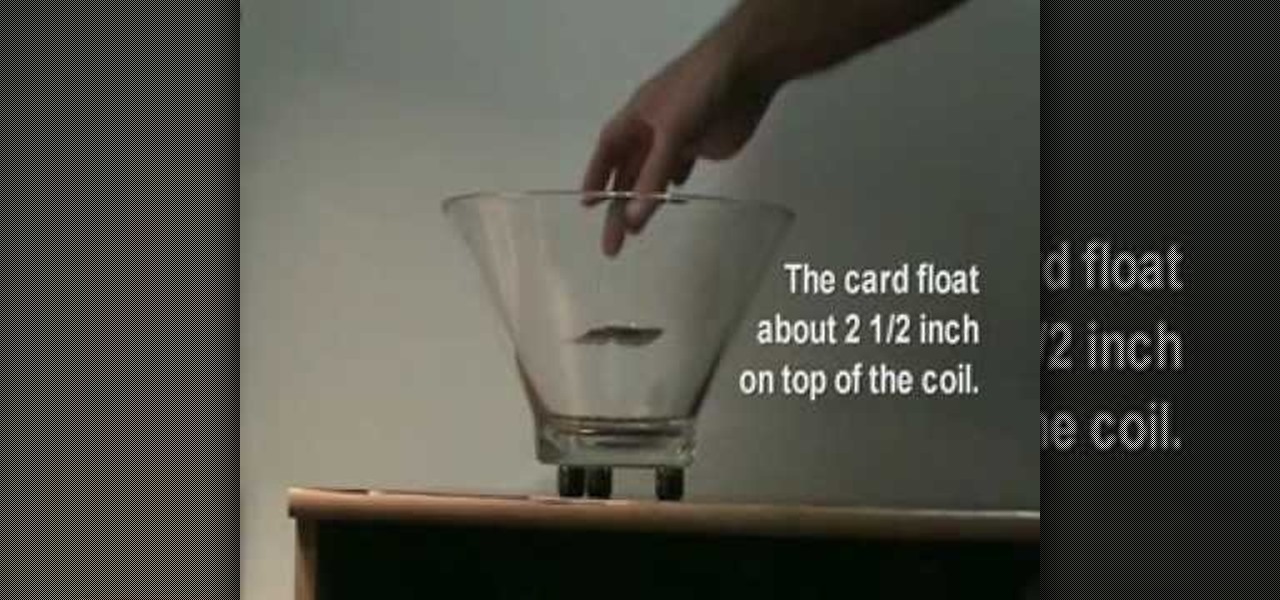
Make an antigravity toy with just some magnets, a pyrex bowl, coper wire, a playing card and some aluminium foil. This is really cool! You can even interact with the flying card when the bowl is shut! Put 3 magnets somewhere, making a circle,over them, place a bowl, then wrap the card with aluminum and place a neodium magnet on each corner, then make about 15 loops with the copper wire (make it a copper coil) and put it inside the bowl. Then put the card in the bowl. Be careful, The negative ...
This tutorial shows you how to set up the high voltage wiring for your RC kit. Although this is not a basic step for putting together your RC vehicle, it can be used to help make things easier. Be careful though, this can mess up your ability to use a remote control. So pay attention and enjoy!
In this video tutorial, viewers learn how to make a plain paper clip into a spinner. The materials required for this spinner are a paper clip and a pair of pliers. Take the paper clip and straighten it. Now use the pliers to bend the tip of the clip at 90 degrees. Then bend it 90 degrees to left side and start bending the wire into a circular shape. The shape will look like a pretzel. Now bend the end tip of the wire 90 degrees to the opposite direction of the first bend. You should end up wi...
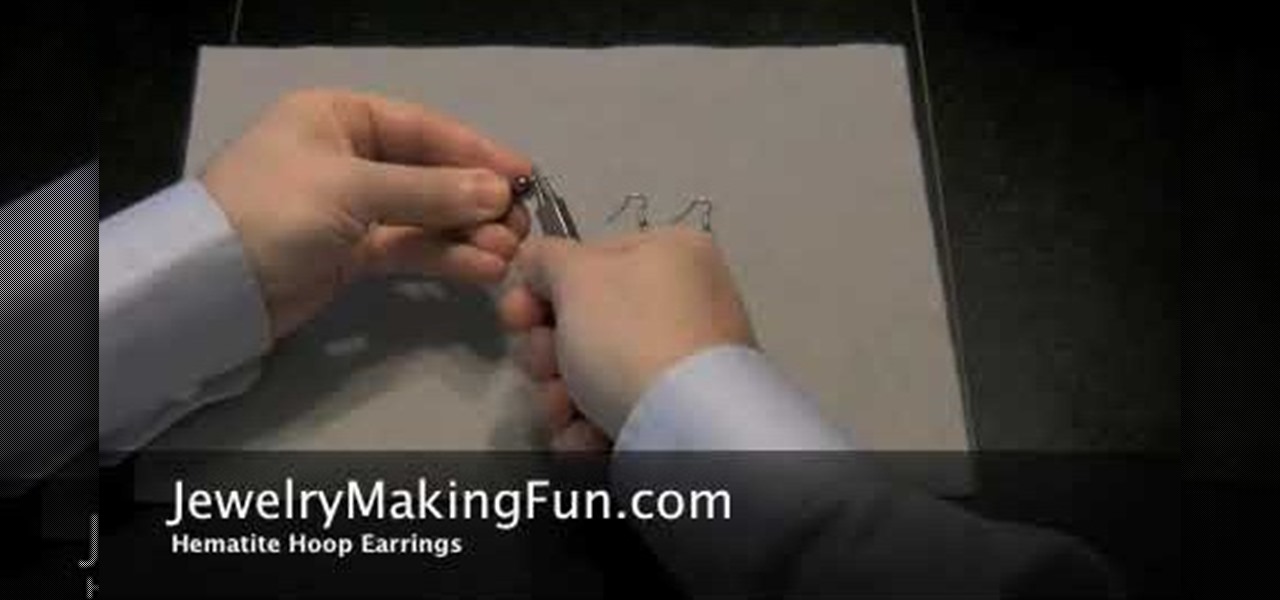
The first step in making a pair of hematite hoop earrings is to gather your supplies. You are going to need some needle nose pliers, two head pins, a hood bead, a small bead, a bigger bead, and two French earring hooks. First, take a head pin and insert it into one of the holes on the loop bead. Follow with the smaller bead and then the larger one. Then, taking your needle nose pliers, bead the remaining wire of the pin 45 degrees. After that, go above the bend about a quarter of an inch and ...
Save the trees! Have a few extra wire hangers hanging around? Make your own retro Christmas tree for your next holiday season out of old hangers, wiring, and shiny tinsel. With help from ThreadBanger's Decor It Yourself, your new Christmas tree will be done in no time, standing tall and eco-proud!
F for FAKE. This video has been labeled a "Faux-To". Commonly contested as bogus science, we believe this video to be a hoax. What's your opinion? Comment below.
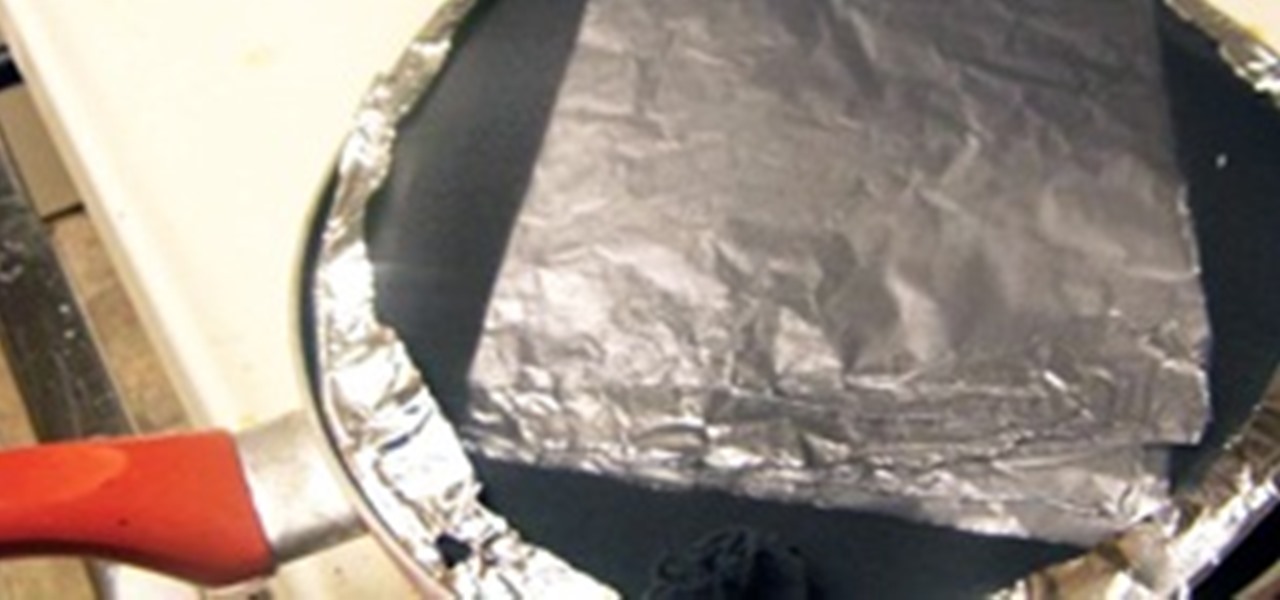
We've all been there. You wake up early, hungry for breakfast, but not just any breakfast will do. You want bacon and eggs. So, you blindly stumble into your kitchen, underwear-clad, and begin fumbling about with pots and pans. After a few minutes, you fill your pan with delicious and smokey rashers and turn the heat on. Everything seems okay... until the bacon actually starts to cook. With a splat, burning hot grease flies out of the pan and bombards your skin, causing intense pain and great...
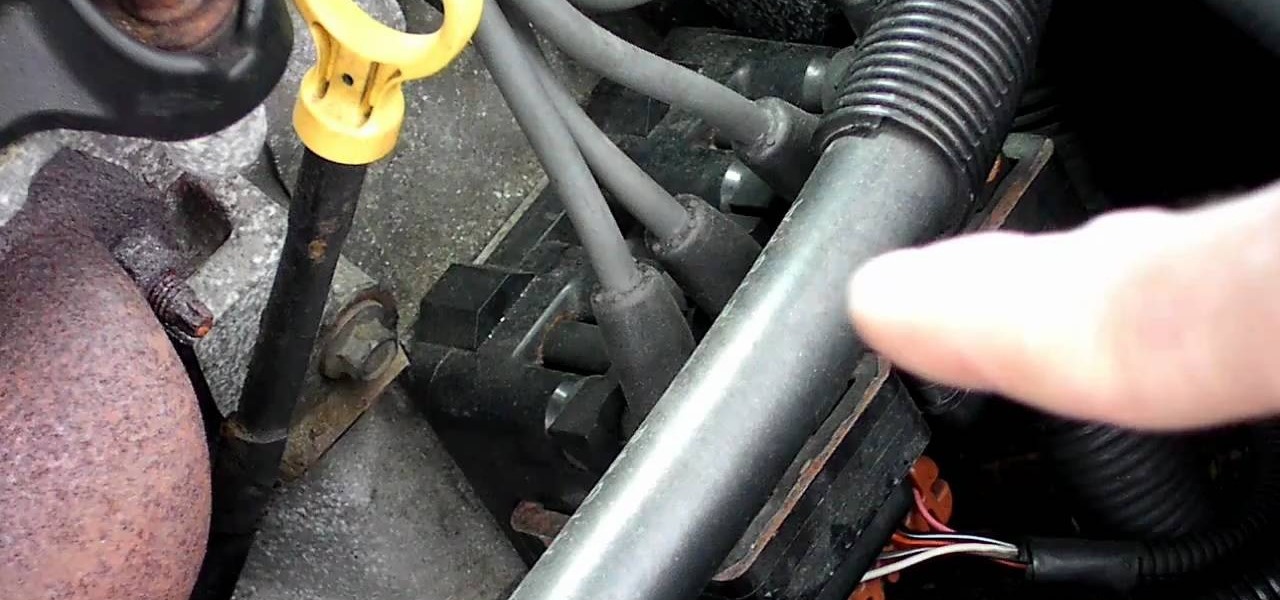
IF you have a Saturn S-Series and it's thrown a P0340 or P0341 error code at your on the scanner after the check engine light has come on, you might be wondering how your cam position sensor can be off if you don't actually have one in your car. Watch this video to learn exactly what this code means to your car and some thoughts on how you might fix it. Three words: spark plug wires.
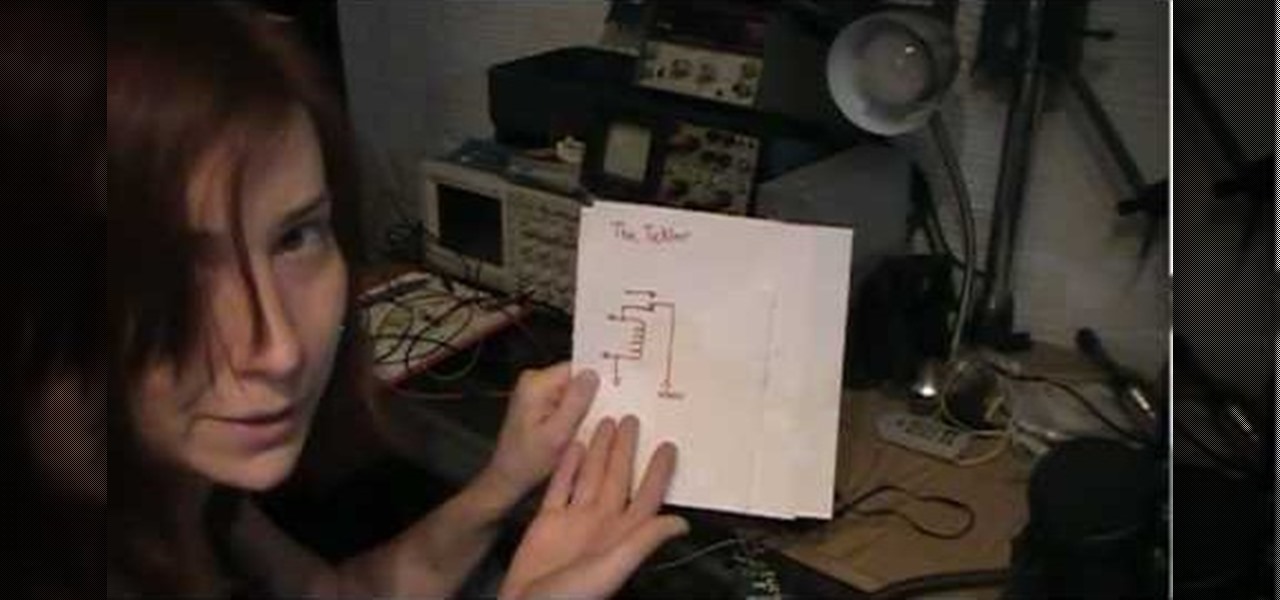
Electroluminescent devices need electricity to light up, clearly, so if you're working on an EL project building a proper power supply is crucial. In this video you'll learn how to make a DIY power supply for your EL projects that is safe, effective, and cheap.
This article is a guide for making Chainmail Armor from start (simple wire) to finish (a finished chainmail shirt). We will be using the European 4 in 1 weave, as this is the most common weave. This is the weave that you usually see in movies. There are several sections to this guide: Materials, Making the Rings, Weaving the Rings, and Making the shirt.
Poison Ivy isn't the only woman who can get away with wearing vines in her hair. Rather than picking up a bunch of poison ivy vines and sticking them in your hair (which would be bad news for all), we recommend crafting the delicate beaded hair vine presented in this tutorial.
Real rockets require top ingenuity from physics and engineering experts, but you can construct a smaller replica that costs almost nothing can can be made from materials you already have at home or can find at a hardware store.