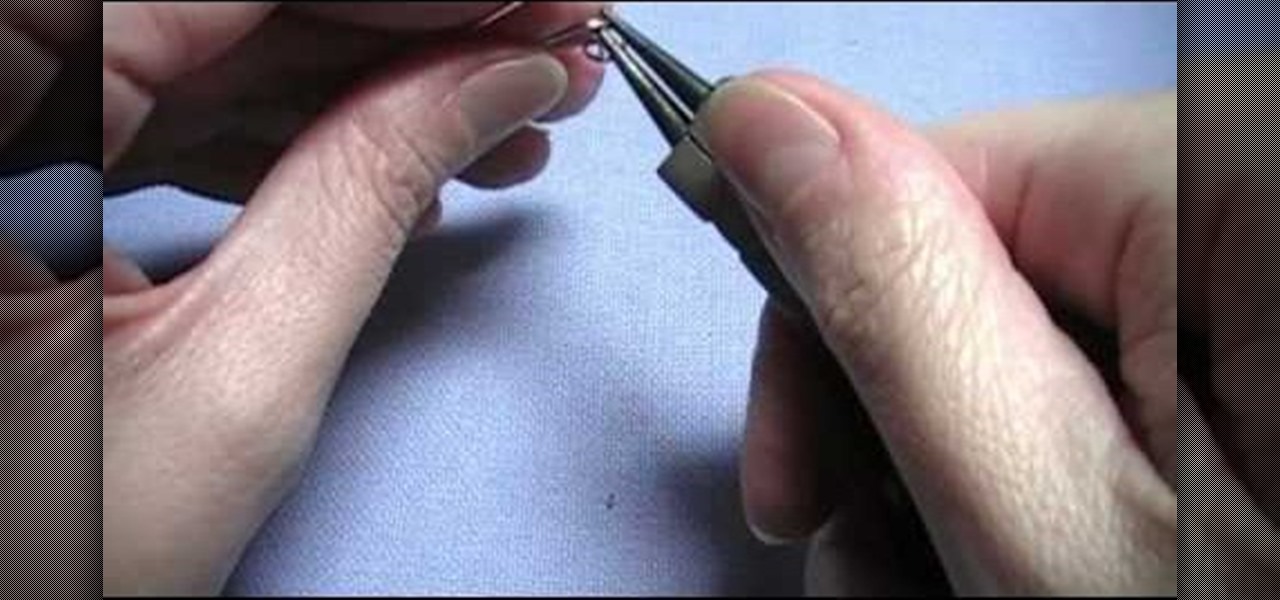
Wire hearts are cute, friendly jewelry pieces that are as versatile as they are attractive. Composed simply of a bent and twisted piece of wire, they can be shaped into bookmarks, earrings, necklace chains, and bracelets.
The basics of Wire jewelry making are extremely easy to learn, and it's easy to get started quickly making your own earrings, bracelets, and necklaces, but excelling into harder wraps and loops is something only seasoned jewelry makers can do.
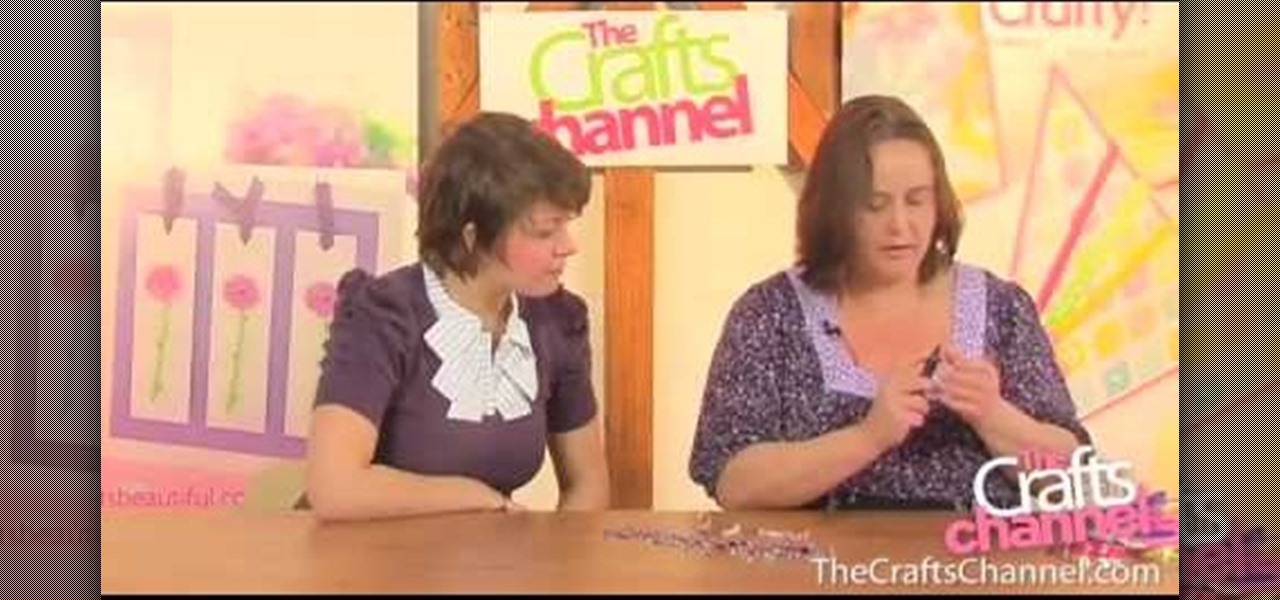
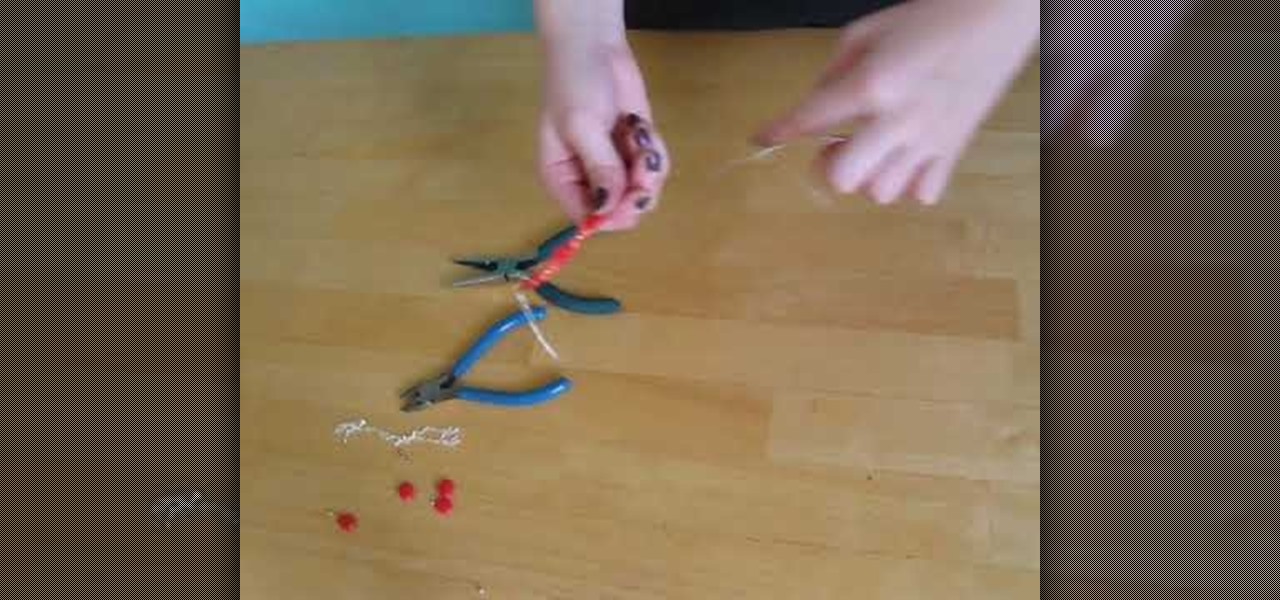
In this video the crafts channel demonstrates how to make a crystal cluster ring. Start with a pen about the size of your finger and wrap your thin gauge wire around it completely twice. Give the wire a simple twist. Put your beads on the wire, then bend the wire around into a circle. Next wrap the wire again around the base on the stone setting. Be sure to wrap it tightly. After twisting the wire tightly around the shank of the ring cut the wire. Use a pair of round nose pliers to create a f...
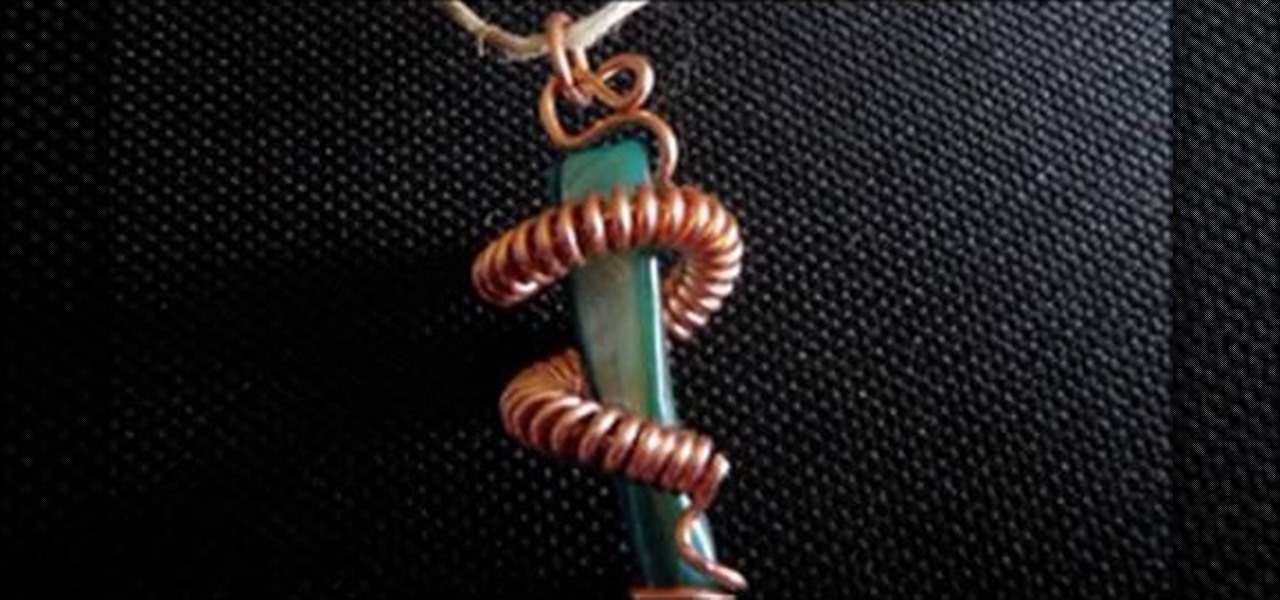
This video shows you how to use household electrical wire to make stunning jewelry pieces for you or a friend. Taking the wire from a renovation project, I stripped the wires of their plastic and then started twisting and creating designs. Make cheap jewelry but expensive designer like stuff with your own hands.

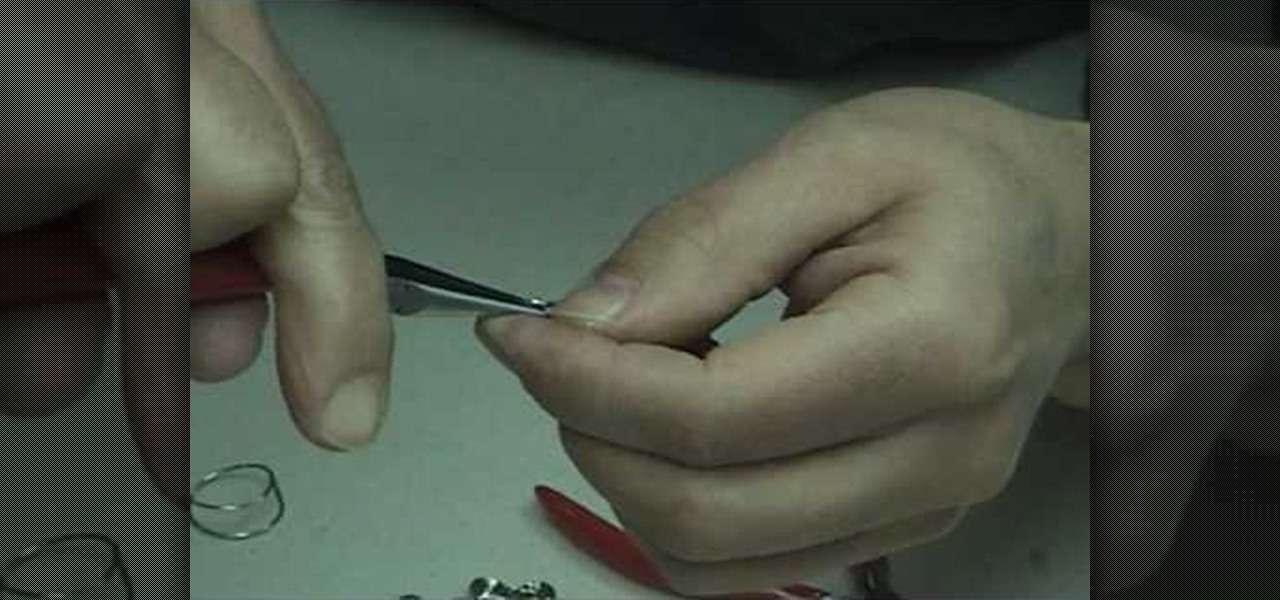
In this jewelry-making basics tutorial, learn how to make an eye pin. To create an eye pin, you will need wire. Size 24 or 22 gauge wire is the best kind of wire to make an eye pin. The thicker the wire, the more difficult it may be to work with. To begin, straighten out your wire and cut the length you need to make your eye pin. Taking some round nose pliers, you will bend the wire up while rolling it toward yourself. Do not pinch the wire too tightly with the pliers because it can leave per...
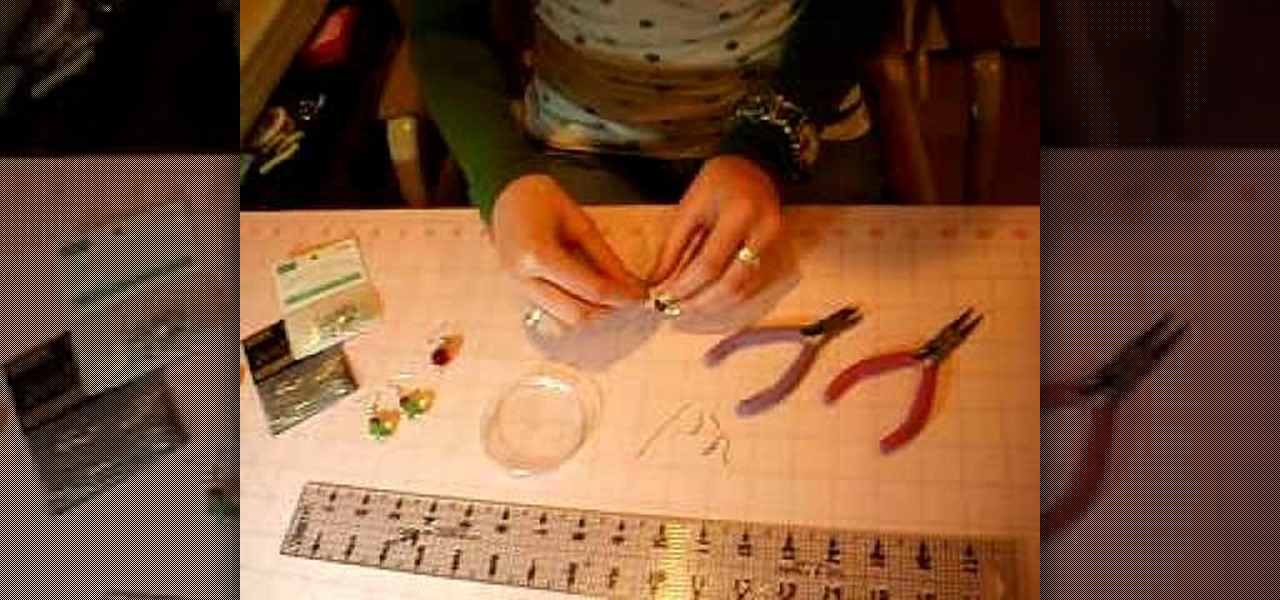
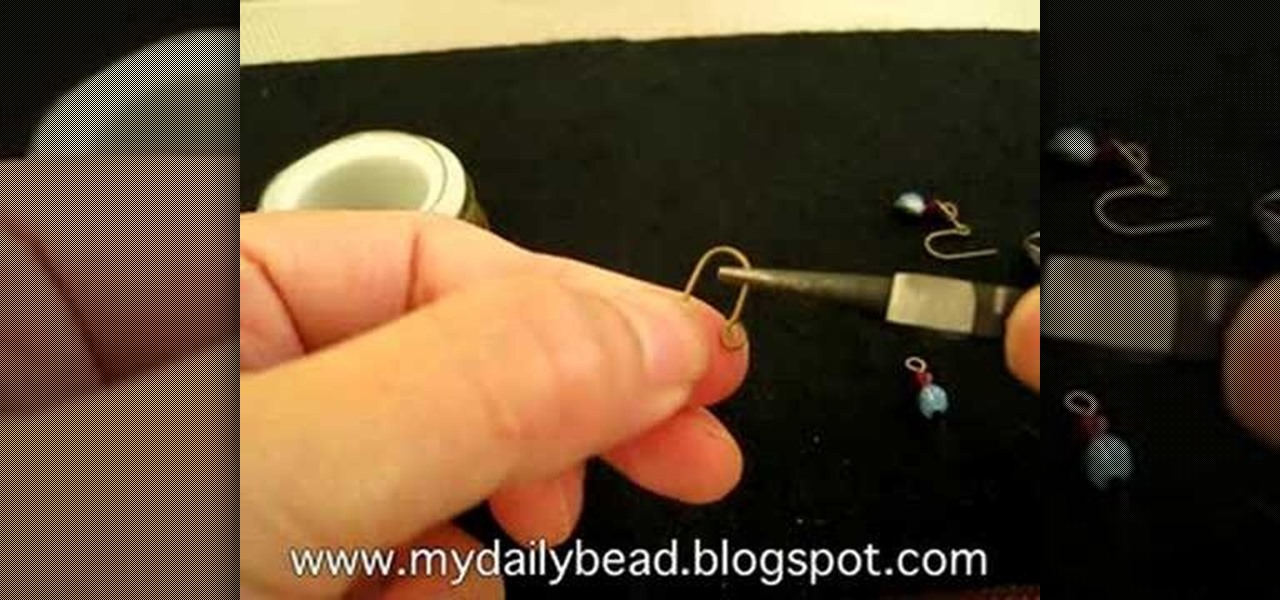
To begin you will need to gather the following supplies: needle-nose pliers, wire cutters, two fish hook wires, two head pin wires, and a few beads of your choosing. First take the head pin and string your beads onto the head pin. Once all of the beads are on the head pin bend the top of the pin at a 90 degree angle, then cut the wire about 3-4 cm from the top of the wire. Next use the needle nose pliers and bend the wire into a circle, place the fish hook wire on top of the head pin wire to ...

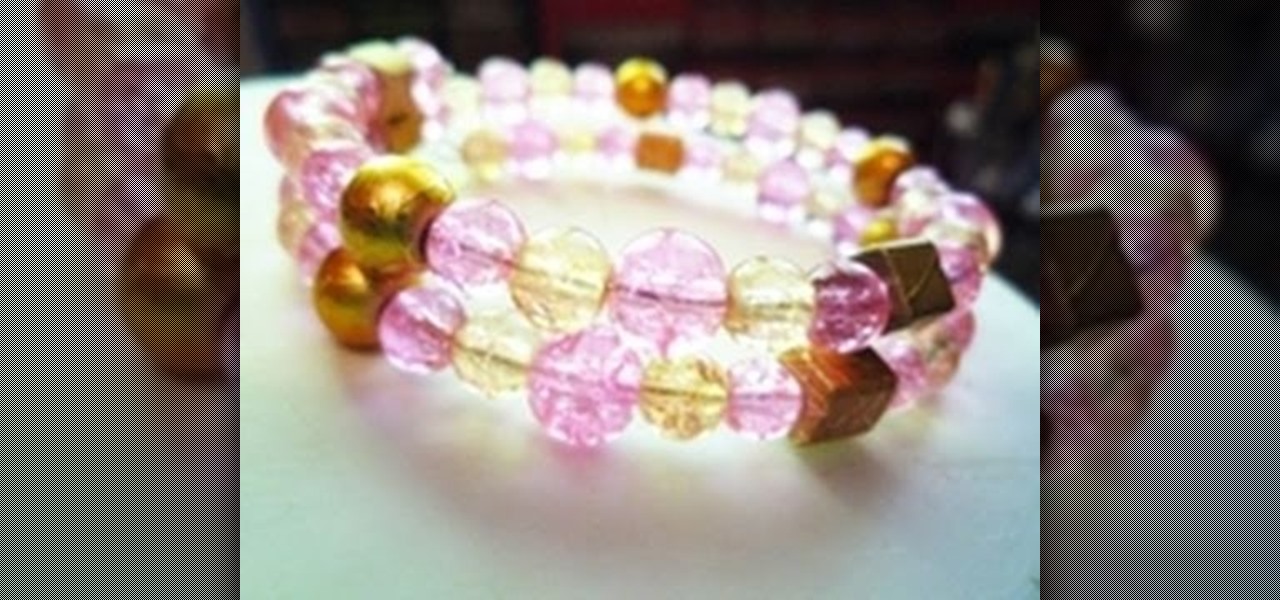
In this video tutorial, viewers will learn how to make a memory wire bracelet. This video provides all the materials required to make the bracelet. The required materials include a memory wire (bracelet size), heavy duty wire cutters (memory wire shears), round-nose pliers and several beads. First, determine how thick you want your bracelet to be and cut the wire according to that size. Now, layout the design of your beads; make a loop on one side of the wire and add the beads on. Once finish...

If things are getting a bit stuffy at your desk, don’t fret. A cool breeze is just a USB slot away. Watch this video to learn how to make a USB fan.

Watch as Novastar and Gundamaniac demonstrate detailed wiring for a crystal focus board for Star Wars Lightsabers! Making your very own Jedi Light Saber may be a daunting task if you don't know what you're doing, but this four-part video tutorial will save the day from evil forces. To start off wiring the CF board, make sure you have your SanDisk on it already.

Wire spirals are quick to make at home, and can be added onto any jewelry. To make wire spirals, you'll need soft round wire, bent chain nose pliers, round nose pliers, a flush cutter, a spiral maker, and a WigJig Olympus or Delphi. Learn how to make wire spirals by watching this video jewelry-making tutorial.

Jewelry wire components are quick to make at home, not to mention cheaper and more customized. To make a wire component for jewelry, you'll need practice wire jewelry, a flush cutter, fine step jaw pliers, nylon jaw pliers, and a jewelery making jig with metal pegs. Learn how to make wire components by watching this video jewelry-making tutorial.

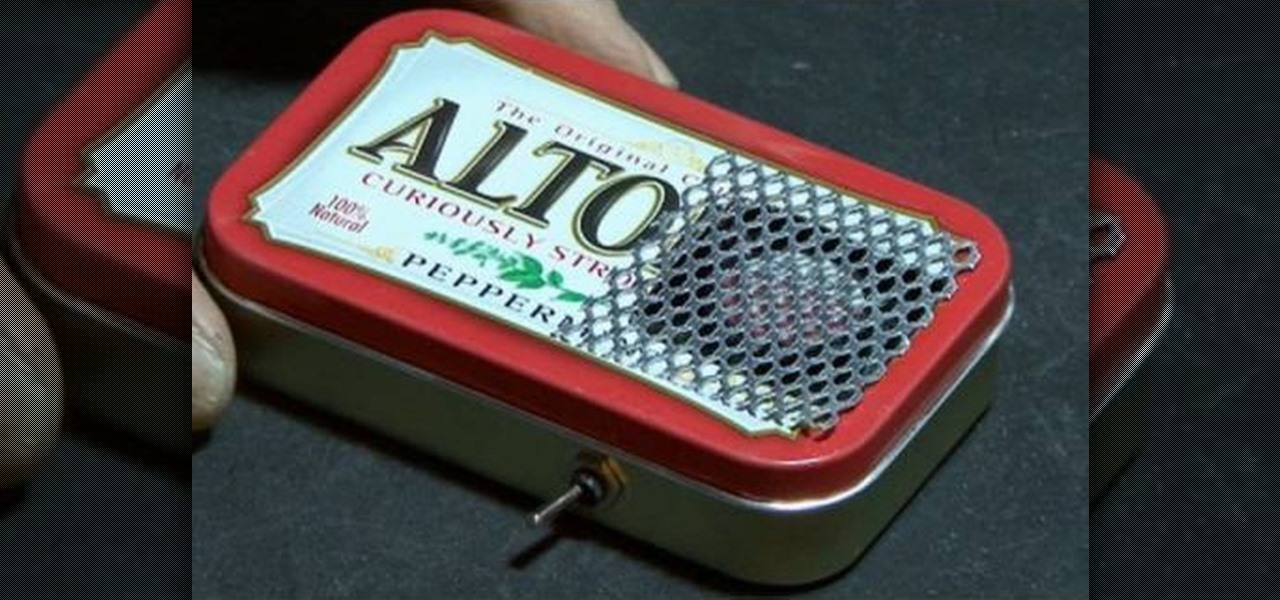
Materials needed: Altoid mint tin, 9 volt batter and connector, switch, 7812 voltage regulator, 12 volt computer fan, carbon filter and 2 pieces of screen. Wire the battery connectors. Solder all of the following: Negative connector to the switch, wire to the switch, ground wire of the voltage regulator to the middle wire, output for the 7812 to the fan, positive lead on the 9 volt connector to the input on the 7812 and the negative from the 7812 to the negative on the fan. Test. Put all the ...

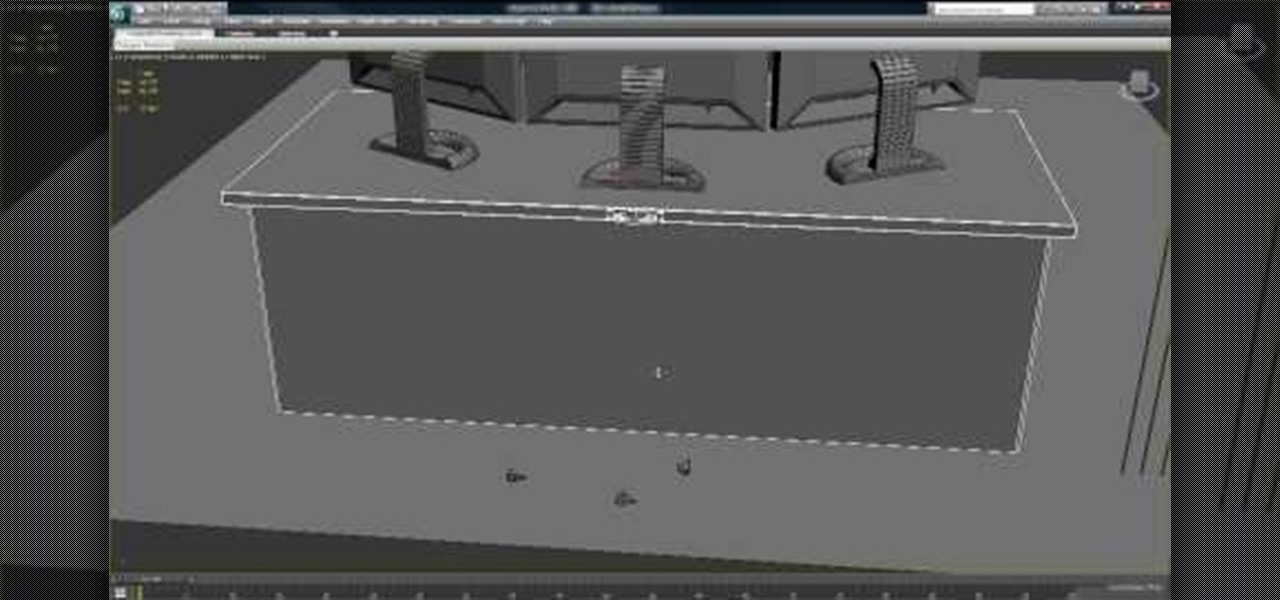
Creating wires, cords, and other rope-like objects in 3D Studio MAX can be tough, as they are oddly proportioned and often oddly positioned. This two-part video will show you how to model such objects in 3DS MAX. Now you can model yourself sitting at the computer modeling with all of your desk's many cords accurately depicted.

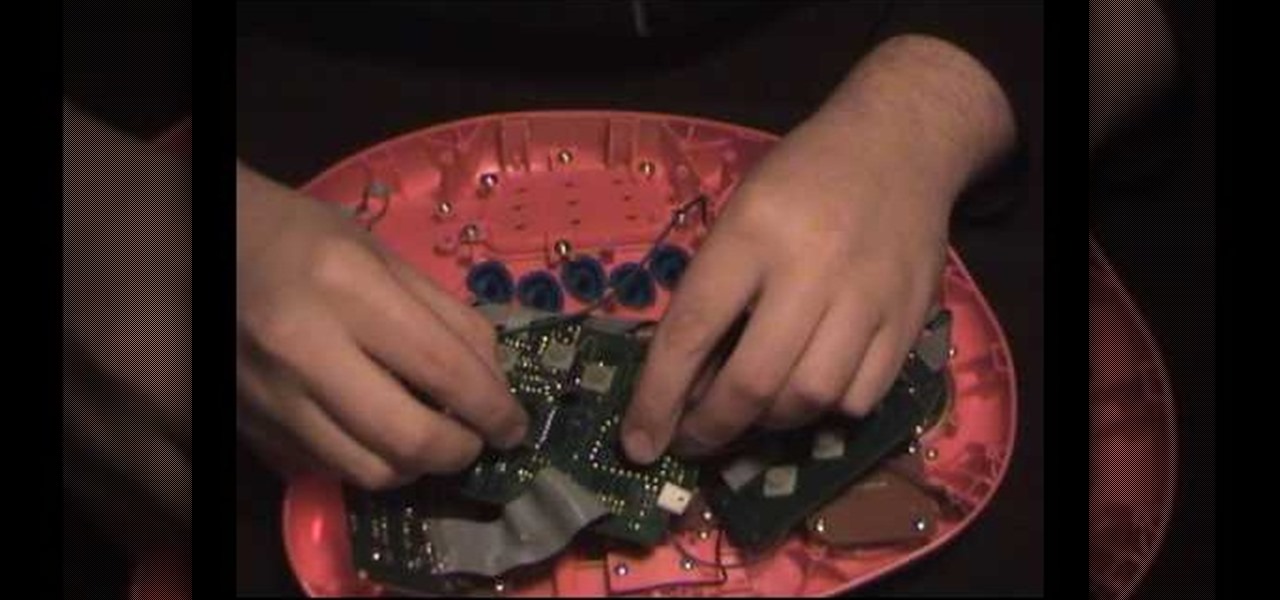
In this how-to video, you will learn how to perform basic circuit bending. You will need a screw driver, alligator clips, solder, a soldering iron, wires, a wire stripper, a button or switch, and a drill. Open up the device you want to circuit bend. Once the side of the board with the solder points is exposed, take your alligator clips and find two solder points that make an interesting noise. Be careful of areas where the battery is connected, as you might shock your self or destroy the devi...

Zonealarm not working out? Is it slowing down your computer? Forget those programs and have a home made DIY lag/standby switch!

The Solar Schoolhouse presents this video tutorial on how to use the Solar Cell Classroom Set. The purpose of this set is to give students hands on experience making electricity using sunlight. See what's inside the set, and then see how to wire three different types of electrical circuits: a simple circuit, a series circuit, and finally a parallel circuit.

Any electronic equipment is bound to accumulate dust, slight moisture, dirt or any combination of the above on its sensitive parts over time. The delicate nature of items also means further care is required.

In this tutorial, we learn how to make earrings with Swarovski Crystal & coiled wire. You will need: 6 mm round bead, 4 mm Swarovski crystal, 2 inch head pin, and coiled wire. First, place the beads on to the head pin then bend the pin to 90 degrees. Cut this around 8 mm with a wire cutter, then use pliers to curve the bottom of the pin into a loop. Now grab the wire and cut it into a small strip. Form a loop at the bottom, then twist it into a wired circle. Attach this to the loop on the ear...

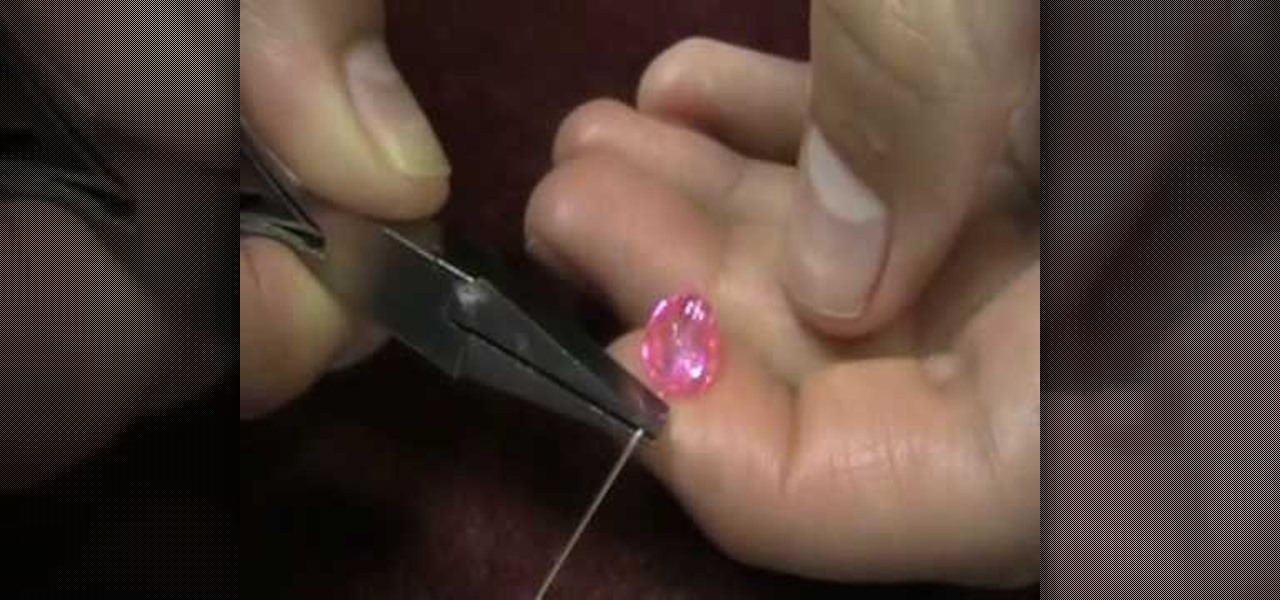
In this video tutorial, viewers learn how to wire wrap a head pin loop. Begin by placing the bead on the head pin, or on a 5 inch piece of wire. Then make a bend on the head pin approximately 1/8 inches above the bead to a 90 degree angle. Now wrap the pin around the jaw of the pliers, pulling it slightly to one side. Holding the bead and wire, rotate the pliers back to form a loop. Finish by wrapping the tail of the wire around the exposed part of the headpin as many times as possible. This ...

Wire jewelry is one of the most beautiful types out there. With a delicate appearance and ability to bend into gorgeous curvalinear patterns or wrap endlessly around necklace pendants, wire jewelry is also easy to maneuver for beginners.

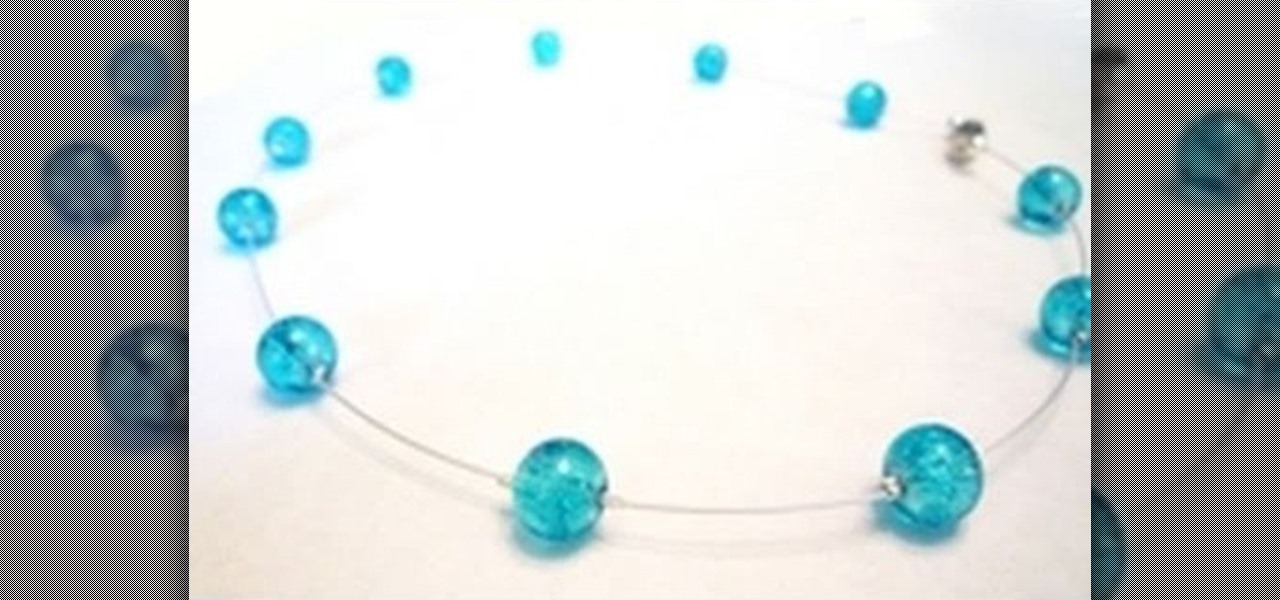
In this tutorial, we learn how to make a floating illusion style necklace. You will need: beading wire, crimping pliers, wire cutters, beads (your choice), crimp beads, crimp covers (3mm), and a clasp (barrel clasp). First, cut your beading wire to the length you want your necklace, add 3-4 extra inches. Next, space your beads out on a beading board evenly, 1 1/2" apart. Now string a crimp bead onto your wire and take the end of the wire and string it through the crimp bead on the opposite si...

Missa teaches us how to create a claspless lariat necklace in this video. First, cut your wire so it's 20 inches long and then make a loop on one of the ends, and attach a chain to it. Now put on the end bead and attach the chain to the metal wire. Now make a loop around the end where the bead is. Now take pliers and clamp the wire on the end down. You can now take wire cutter and cut an inch down on the chain and cut it off. You can now apply your favorite beads to the wire, and any pendants...

In this tutorial, we learn how to work with memory wire to make jewelry. This is a coil material that remembers its shape and comes in a variety of different sizes. First, decide how thick you want your jewelry piece to be, then cut the excess wire with wire cutters. Next, apply a drop of superglue to one end of the coil followed by a Memory Wire end cap and let dry. Now, string your beads onto the wire. When finished, put a bead stopper onto the wire and apply glue to the very end with anoth...

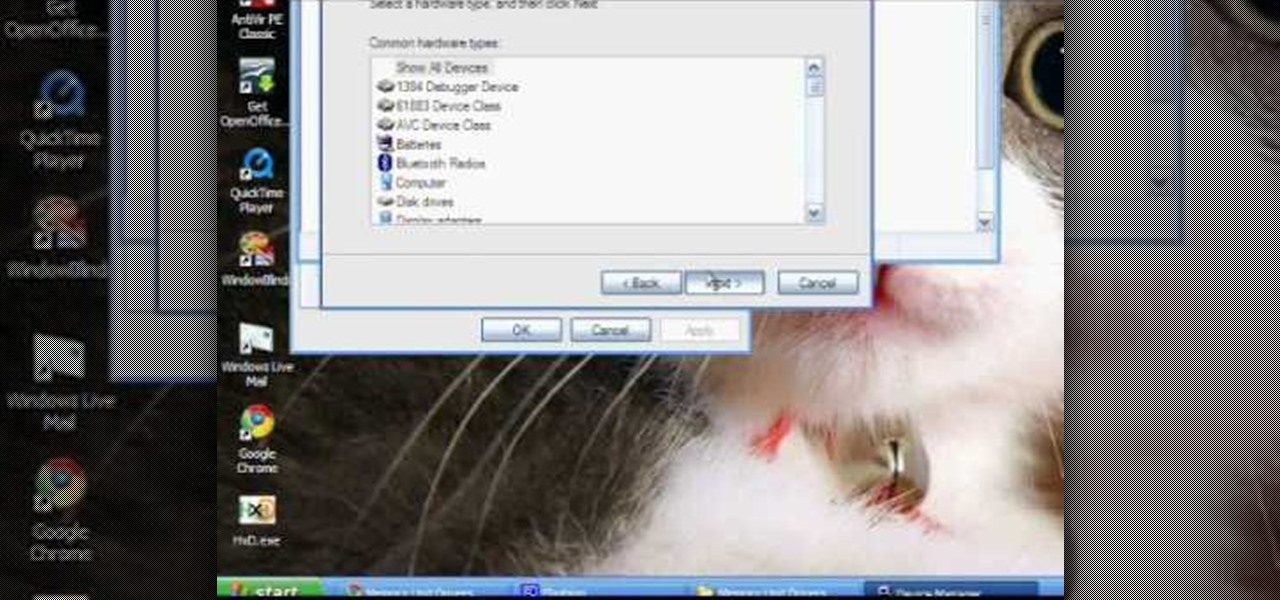
The XBox 360 memory units were never very popular and have become even less so since Microsoft enabled the use of flashdrives with the XBox in the last firmware update. If you haven't updated your firmware or still want to make use of your memory units for modding, this video will teach you how to install drivers for your memory units on a PC so that they can access them and you can modify the contained data however you see fit.

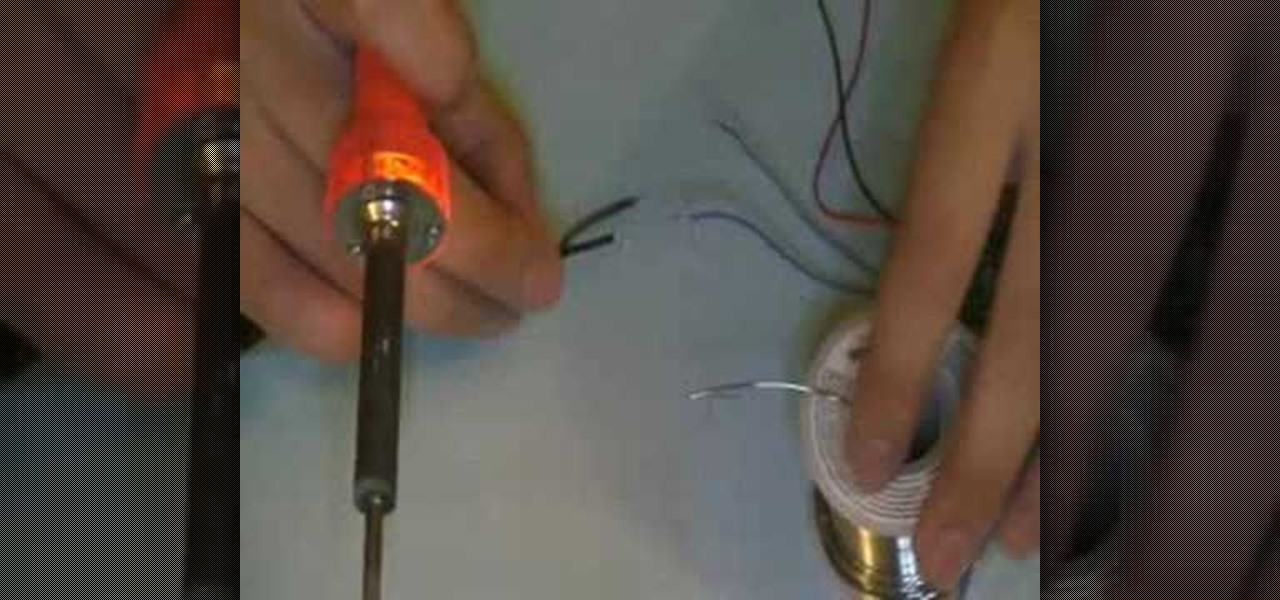
Teaching the basics of soldering, you should be able to learn how to fix broken headphones. There should be two wires protected by a covering, one which is a silvery metal and an orange wire which is your copper wire. Taking the plate for your speakers, there should be two connections where the wires belong. Using your soldering material, melt some onto your soldering gun and apply it to the two sites of the connection on your speaker plate. Place your wires on the correct areas and carefully...

Ceiling fans are great to have in your home and can sometimes be better to use than an air conditioner during summer. But installing one may be tricky for those who have no experience working with electrical wiring. In this video series, you'll find out how to wire a ceiling fan in your home. It can be difficult to do and dangerous, so please be careful and enjoy!

Removing wires from a 'trap door' switch can be a bit tricky to do and of course you don't want to just yank them out. If you get yourself a thin pick to fit into the holes and just circle the wire to hit a spring you need to push down in order to release the wire.

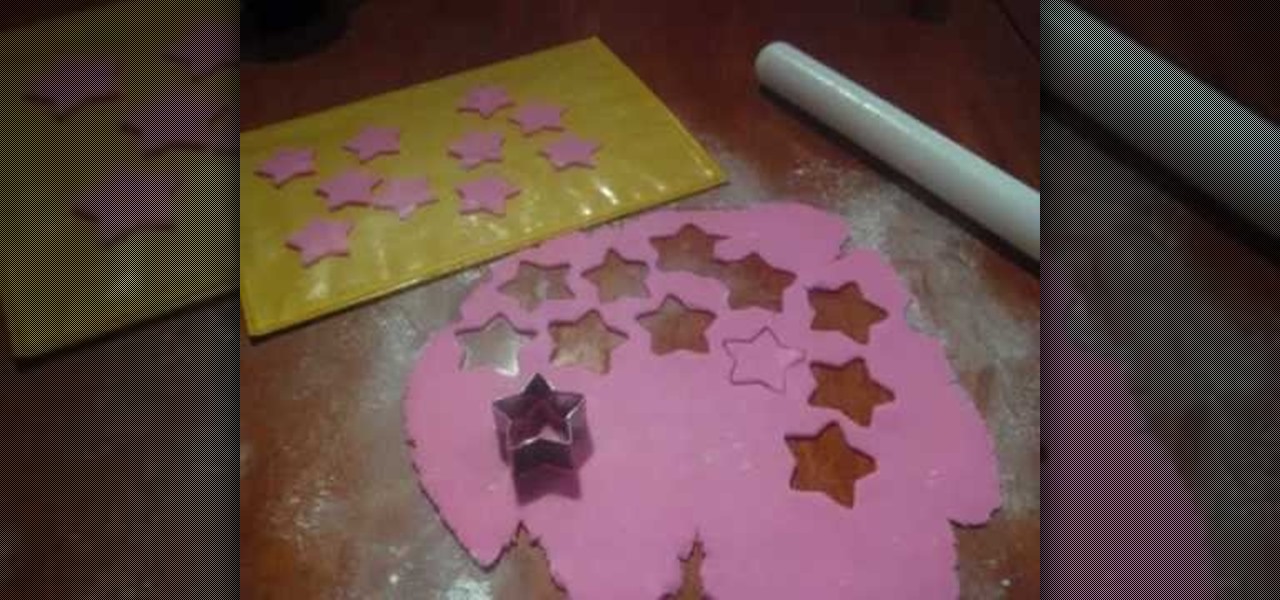
In order to make Shooting Stars for Cakes made from Fondant Icing, you will need the following ingredients and supplies: fondant cookie cutters, wire cutters, gumpaste, a pastry brush, icing spatula, glue (or gumpaste with water), a paint brush, a fondant rolling pin, powdered sugar, floral wire, and a cookie sheet lined with wax paper.

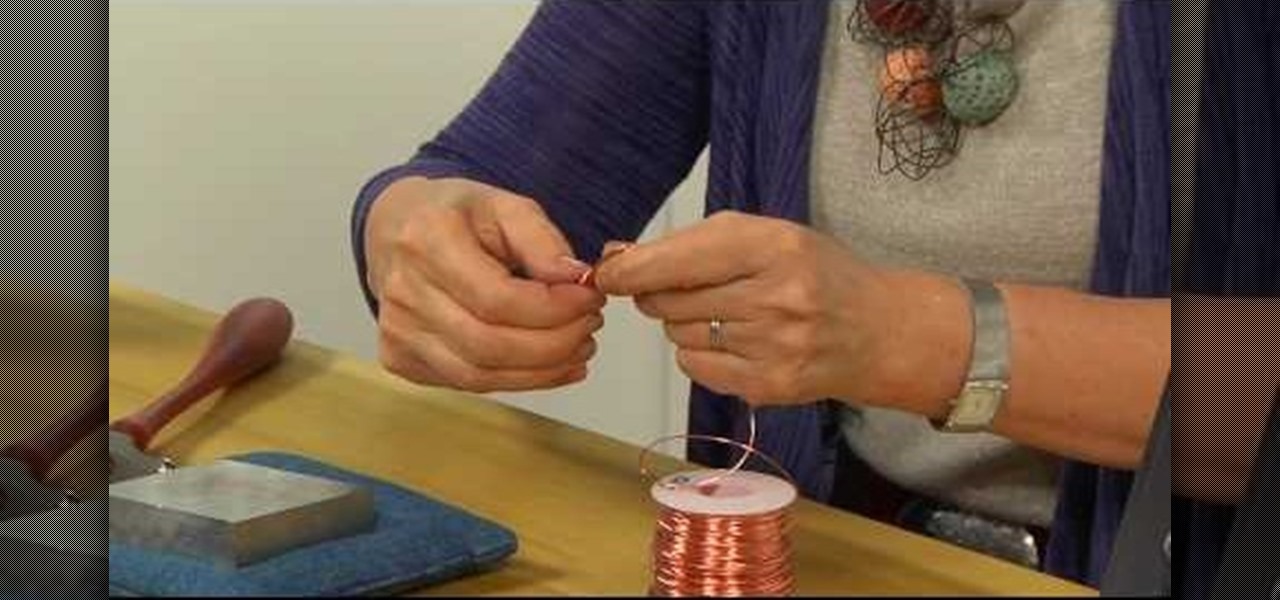
The video describes to make wire hoop earrings. Take a steel metal of anything and take a eighteen gauge wire and wrap a few length of it around the taken piece of metal which is cylindrical in shape. Cut the wire at the desired part and remove from metal.The wire takes the shape of a standard spring. Again cut it into two or three pieces. Hold the wire again and straighten the edge and after that once again bend it down holding at the place where bent begins. Put some on it to design and the...

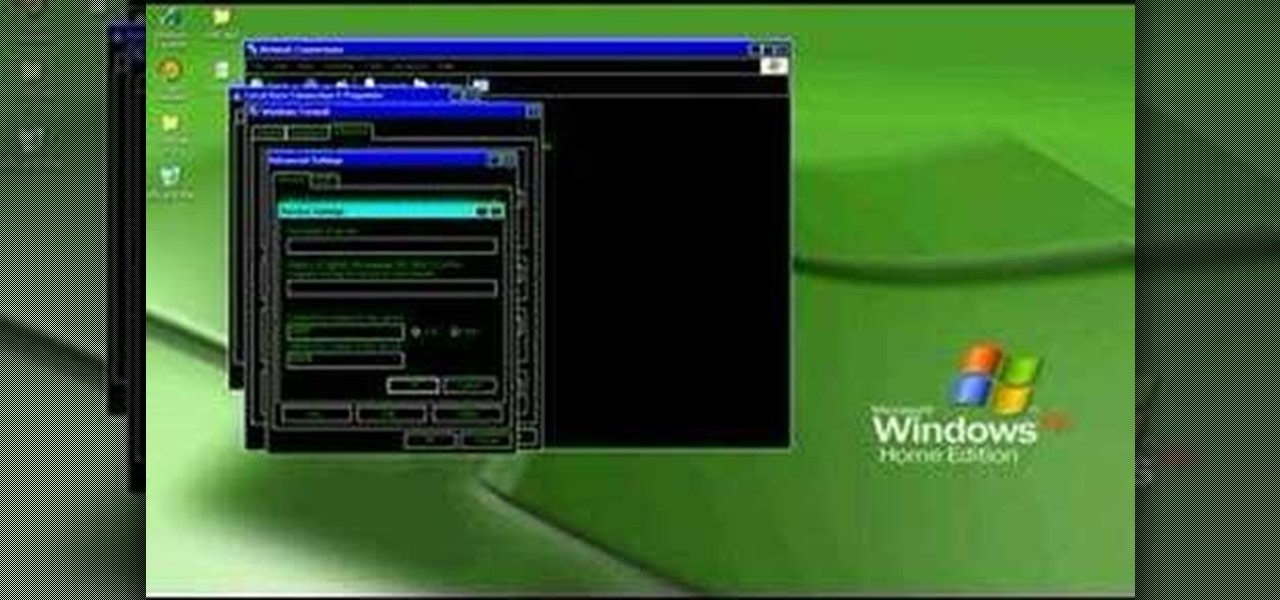
In this video tutorial, viewers learn how to open ports on a Windows XP computer. Begin by clicking on the Start menu and open Control Panel. Double-click on Network Connections and select your network connection. Right-click on it and select Properties. Click on the Advanced tab and click on Settings. Select the Advanced tab again. Click on your internet connection and click on Settings. Click Add and fill in the port information. Click OK. T forward a port, users need to go to their router'...

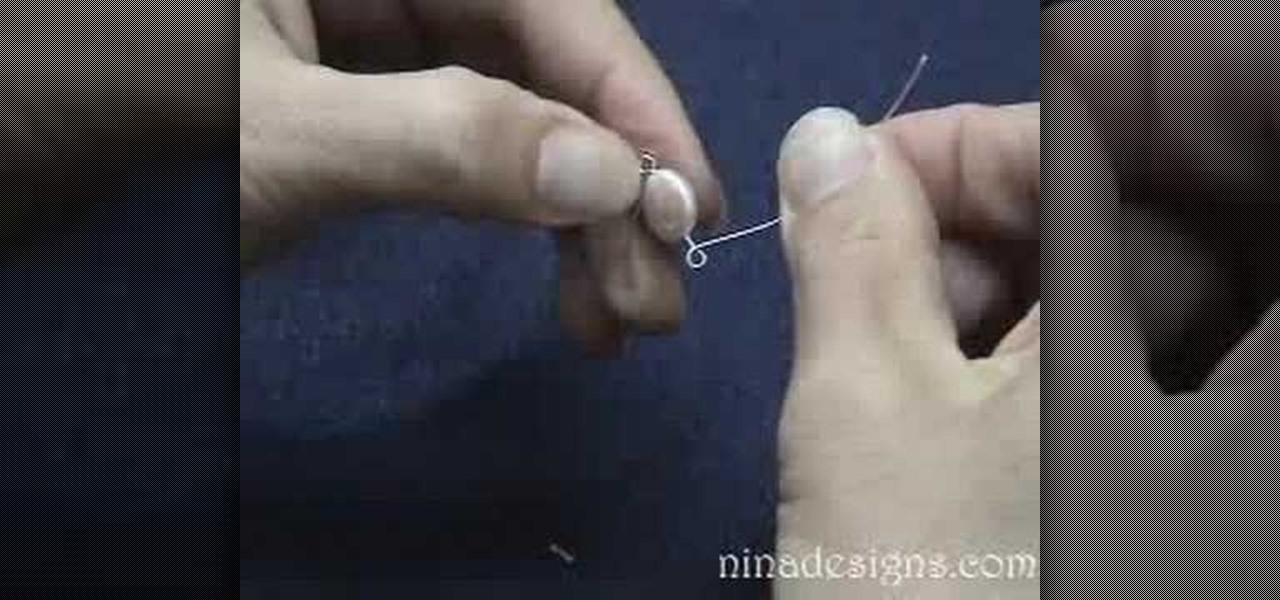
First of all you need to have a piece of silver wire which is about three inches long and twenty-two to twenty-four gauge. Now take pliers and bend the wire into a right angle. Now take round nose pliers and wrap the wire around the tip. At the half way reposition the wire and then complete the loop. Now look at the loop which should be nicely stemmed in the middle. No insert the bead into the wire and grab the bead with thin nose pliers. Bend the wire at the right angle. Now take round nose ...

Those interested in learning how to make their own jewelry, can learn how to make a floating illusion necklace by following the steps in this video tutorial. You will need a beading board, beading wire, crimp beads, beads of your choice, a barrel clasp, wire cutters, and crimping/flat-nosed pliers. First measure out how much wire you will need. The tutorial is making a 16-inch necklace. Make sure to cut extra wire. For a 16-inch necklace, this means you should cut approximately 20 inches of w...

Do you have magnet wires that you need to solder together to get your device working again? This video can help you immensely! Soldering is when you put two wires together using a soldering iron so that even cut wires can be made useful again. Great care and time is taken into soldering these wires properly. Watch the video to learn the proper techniques of soldering magnet wires. The wires shown in this video are extremely thin and are used for small, ready-to-fly airplanes.

Moontagu teaches you how to use eagle vision with martial arts. Eagle vision refers to the way lizards see in general and the way eagles watch their prey from above. It takes time to focus on something so you are better off seeing the whole picture. When a punch comes towards you, block it using peripheral vision, but keep your eyes on your opponent. This means you have almost 180 degrees vision. All you need to do in eagle vision is seeing, perceiving objects moving towards or away your body...

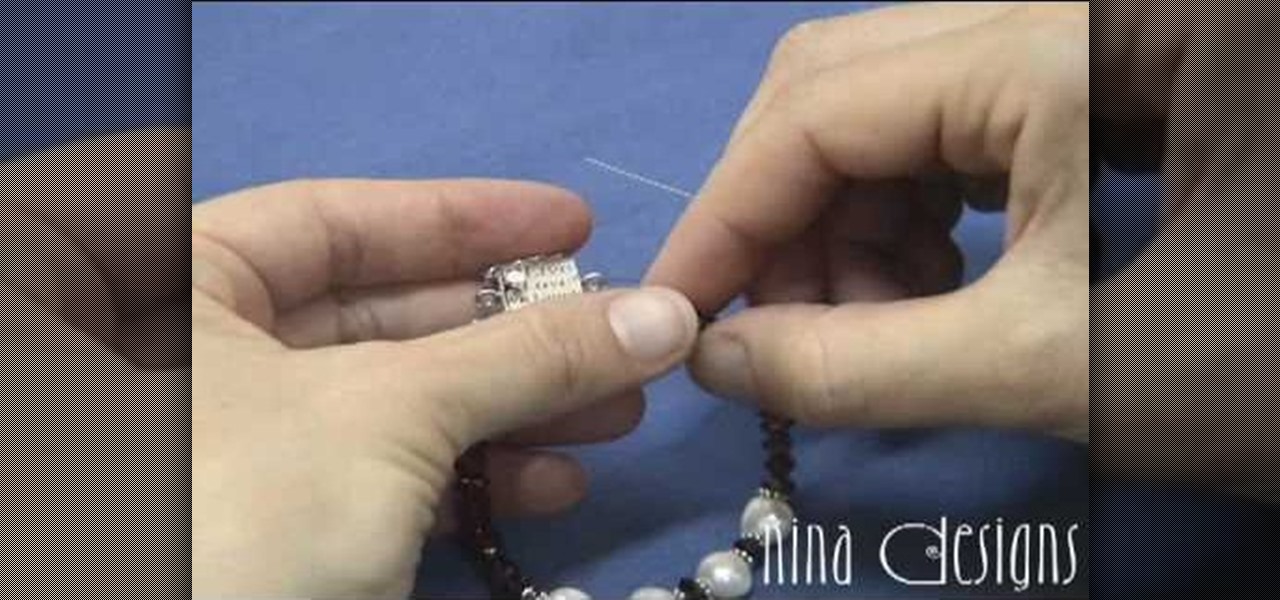
Learn how to finish a bracelet with crimps and covers to finish a bracelet start by putting a crimp bead over your beading wire and then add a clasp. After putting the clasp on the wire run the beading wire back through the crimp. Move the crimp bead up toward the clasp leaving a little room for play in between the clasp and crimp bead. Take your crimping pliers and put the crimp bead in the backspace of the pliers. Squeeze the pliers firmly to smash down the crimp bead. The crimping pliers w...

You can very easily replace your normal light switch on the wall with a dimmer switch. The first step is to turn the power off at the circuit breaker. To prevent anyone from accidentally turning the circuit on put a piece of tape over the fuse switch so that it is clear that it is to stay turned off. Remove the screws that hold the switch plate and use a tester to make sure that none of the wires are still live with electricity. Remove the two screws that are holding the switch itself in plac...

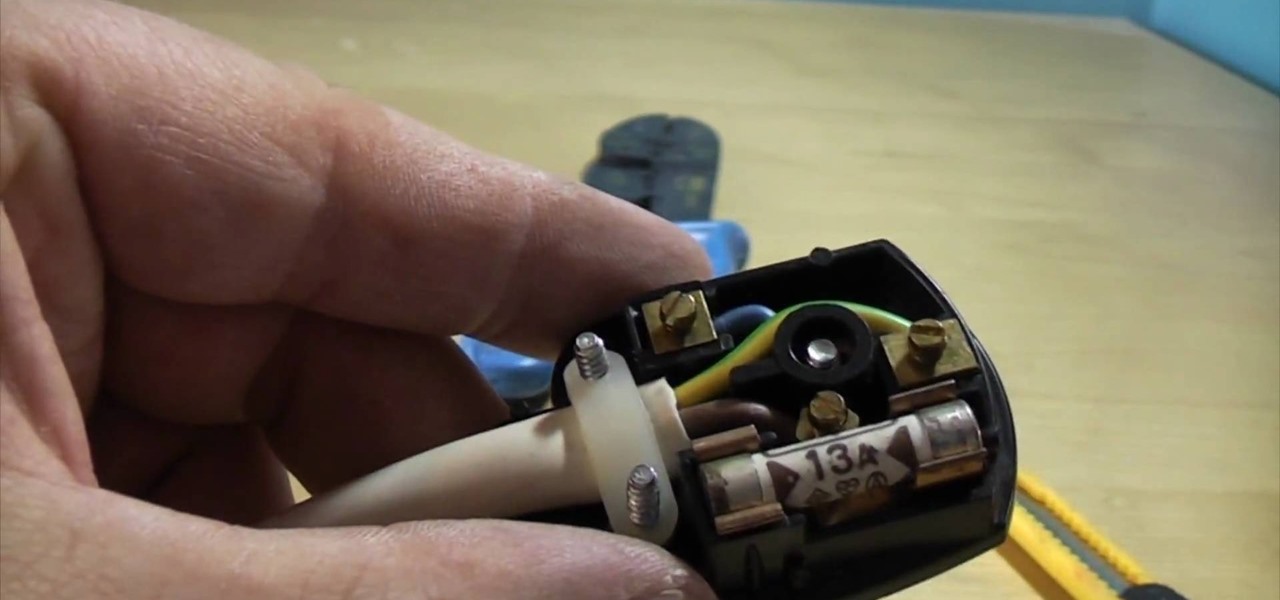
The Type G plug is the standard plug in the United Kingdom, usually 230V and 50Hz, and is referred to as the BS1363 (British Standards 1363). It's most commonly referred to as the "13-amp plug" because it has a 13-amp fuse inside. The wires consist of a hot (or live) wire, neutral wire, and an earth (or ground) wire.

This instructional video shows how to bead and craft a gothic style wire cross choker necklace. For this project you will need straight wire, memory wire, glass beads, head pins, and eyepins. Learn how to craft this goth choker necklace by watching this video jewelry-making tutorial.

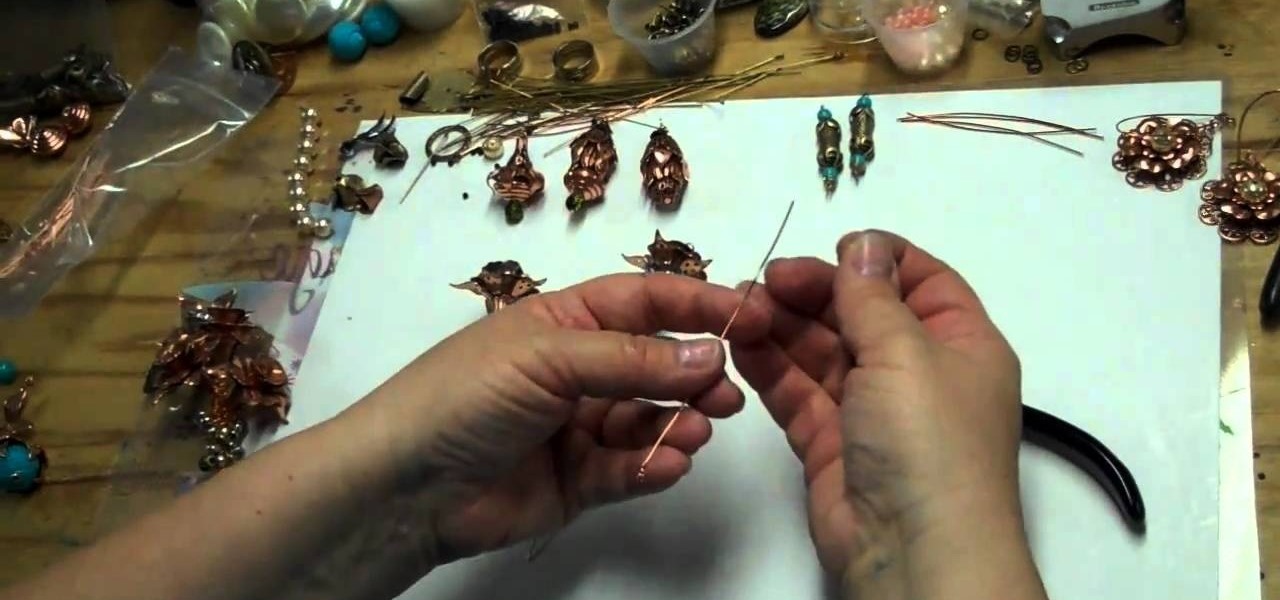
When you think of flower brooches, you probably imagine those dusty, ancient things your grandmother used to wear on her wool cardigan. But brooches can be uber cool - and even street chic - when done in a vintage/Steampunk style.

Learning how to wire wrap jewelry is one of the most important skills you need to learn on your way to achieving jewelry making enlightenment. Wrapping with wire, whether it's attaching a stone to a pendant with an intricate, flowery wrap or adding a head pin to a crystal, allows you to attach adornments to your necklace or earring, something you'll be doing over and over again as a jewelry maker.


