With vintage-inspired, indie Etsy pictures being all the rage, isn't it about time you jumped on board the retro picture wagon? Whether you desire making that vignette of schoolbooks from the 1920's topped with mini celluloid deer look more aged and sophisticated or you simply want to endow your portraits with a more old timey feel, fading the edges of a picture is your easiest and quickest way to achieve instant vintage.
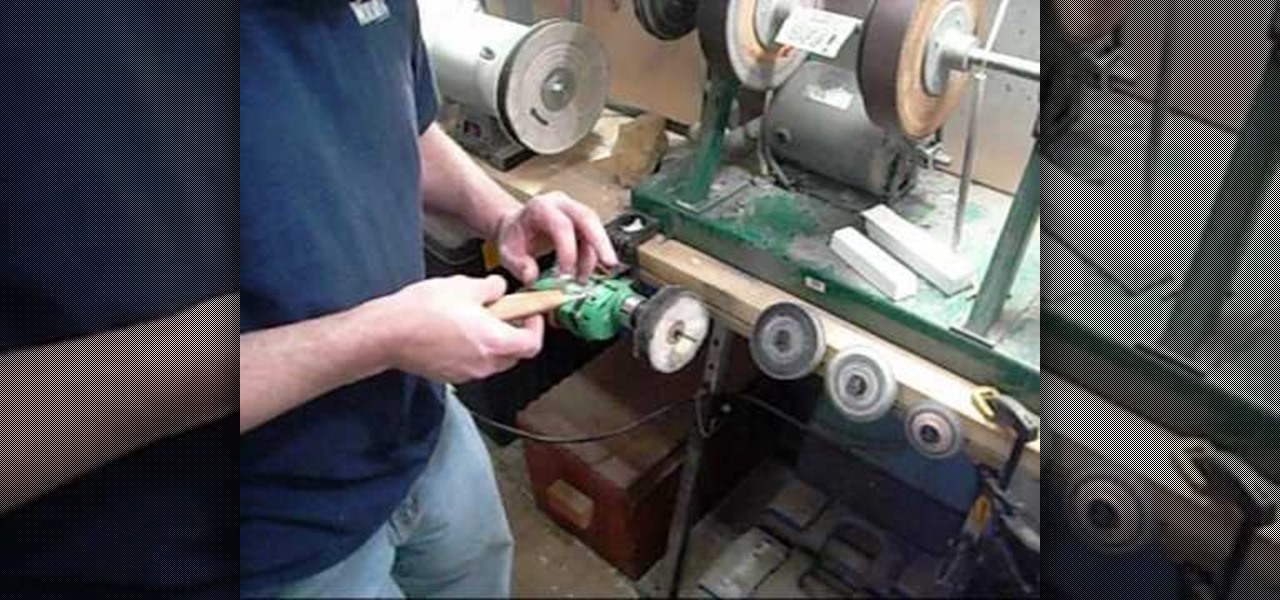
The first step needed to maintain an edge on your woodcarving knife is to test the knife each time before use. One sign of a woodcarving knife becoming dull is for the cuts to come off in small splinters instead of curled shavings. One of the easiest ways to sharpen your knife is to hold it at a 20 degree angle on your sharping belt and push away from your person. You must repeat the rolling motion shown in the video around ten to twelve times before retesting for sharpness. This step can be ...

The first step to make Internet Explorer as fast as Google Chrome is to download Google Chrome Brain. Google Chrome Brain is a software program that allows you to manage and customize settings for higher performance in Google Chrome. After your download is complete for Google Chrome brain you must then install the program. After the program has completed it's installation you can choose from various settings to optimize performance. The narrator in this video explains that the simplest way to...
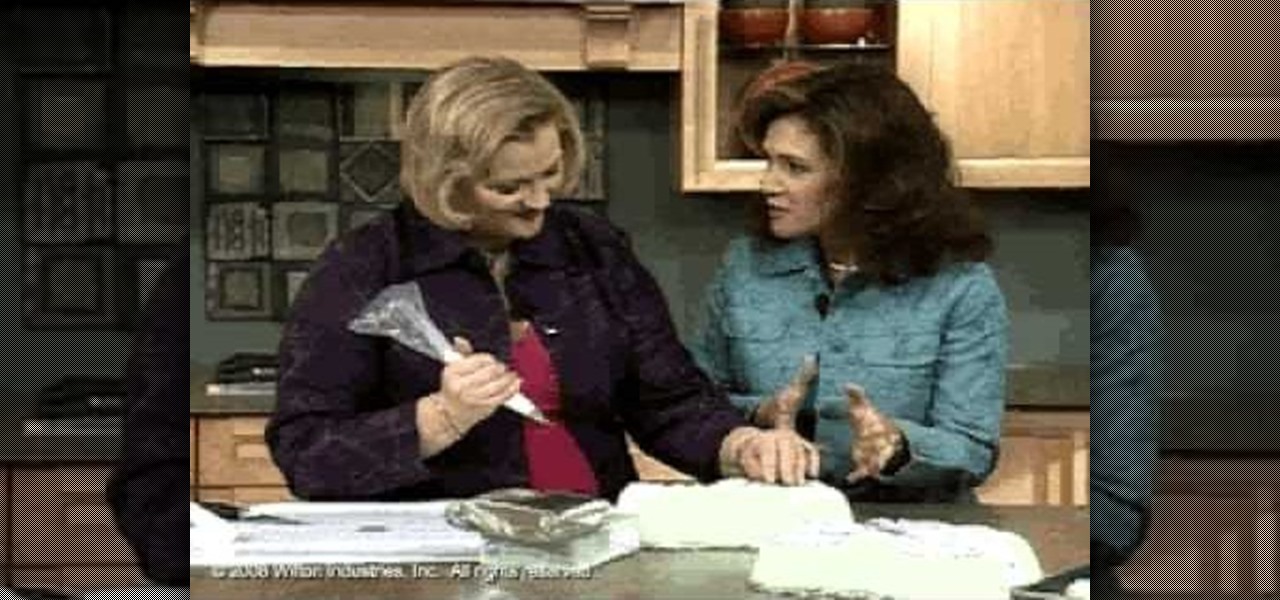
In this video techniques are shown to add ice letters using only butter cream icing. The reason butter cream icing is used is because of the ease of use when writing ice letters. Once your icing bag has been filled with the butter cream icing you must make sure all air has been removed from the bag before beginning. having your desert item on a turn table makes writing with butter cream much easier. Keeping a steady hand and moving at a slow place will give you the best result. The narrator e...
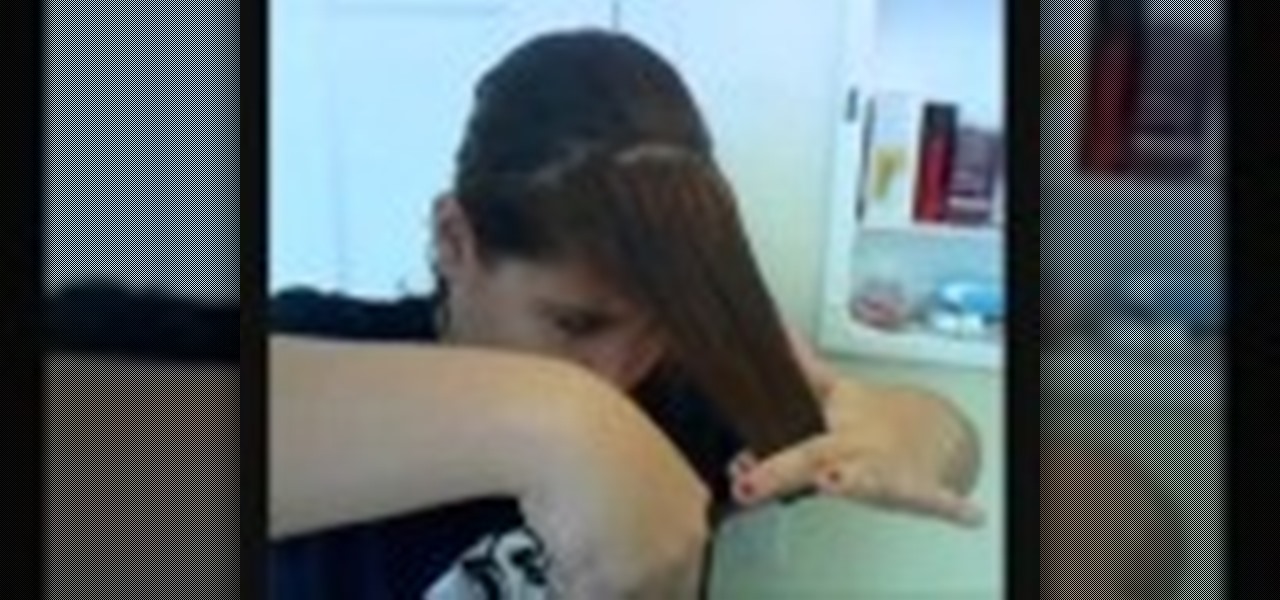
In this video, we learn how to scrunch & style short hair for a sexy effortless look. Start off by spraying hairspray throughout your hair, around five sprays. After this, you will massage your scalp, bringing the hair into a curl and scrunch style. After this, repeat again with more hair spray and scrunching spray. Turn your hair upside down and then start to scrunch with your hands. Once you have finished your hair and have the desired curl that you wanted, then you will be finished! You ca...
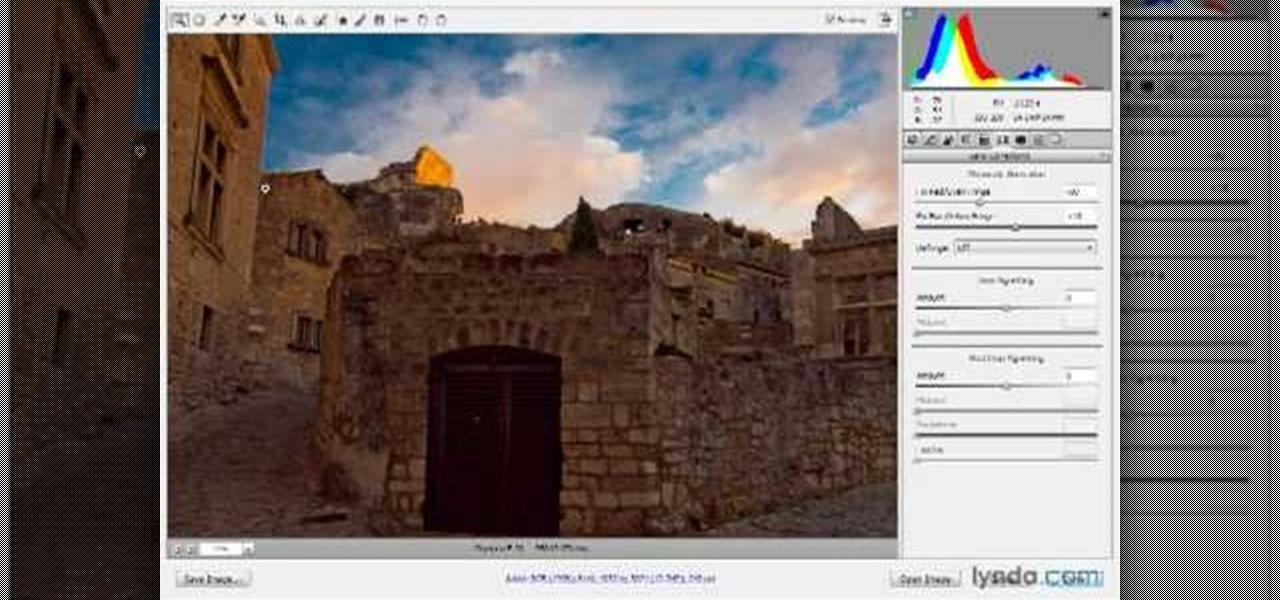
In this video, we learn how to use Camera Raw in Photoshop. This is a great program to use with your SLR digital camera that will make your photos come through more clear than ever before. After you have downloaded this application, you will load your photos to it and open up your desired on to edit. On the right hand side you will see a toolbar allowing you to edit and change different effects on the photo. Move the bars from left to right to edit how the photo looks to your liking. On the t...

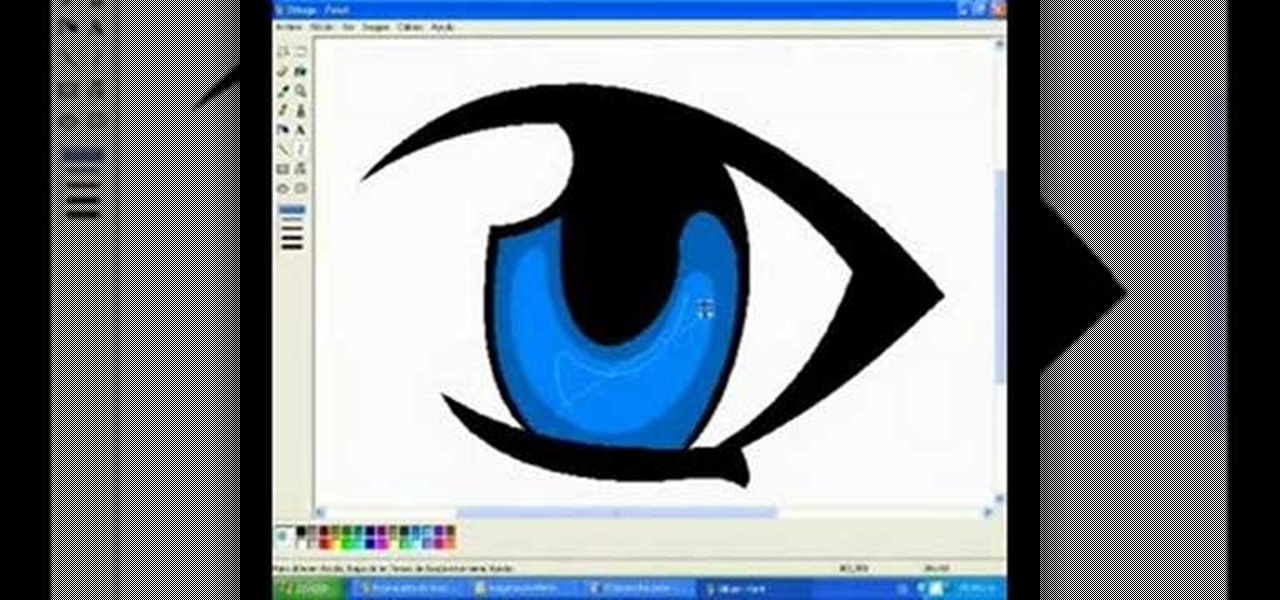
In this video, we learn how to draw a manga eye in MS Pain and make it blink. Start out in Paint and draw the outline of the eye. After this, color the outside area in black and then fill in the pupil area of it. Color the eye blue or any color that you desire, then add in lines to the middle of the eye to make it look more realistic. Leave white around the edge of the eye. Create an eyebrow over this, then add it to a flesh-toned background. Once you have done this, you will be finished with...
In this video, we learn how to make a duct tape wallet with a change pocket. First, grab your favorite color of duct tape and then place some down on a flat surface with the sticky side up. Overlap these until you have the desire size you want, then fold the edges over. After this, apply the sticky side down to this and you will have a nice little wallet that is made between them connecting to each other. Make the change pocket by doing the same process, just use a smaller piece and connect w...
In this tutorial, we learn how to make an over-sized fashion bow fashion accessory. First, take your fabric and cut it to the desired size you want the bow to be. Cut this in a square shape at first, then sew the sides of the square. Then, fold this in half and pull in the middle of the square. Cut this in the middle to make a hole. Then, turn this inside out and push out the edges. Put an additional square of fabric around the square in the middle, then shape it out to be a cute bow to wear ...
Love handles, also affectionately known as saddlebags, don't look quite so cheery in a bikini or popping over skinny jeans as a muffin top. In fact, if we're going to be honest here, the only time you can get away with being adorably chubby is when you're five.
In this video, we learn how to cut side bangs. Fist, you will need to grab some shearing scissors, a comb, a trash can, and water. Now, get your bangs wet in the area that you want it, then part your hair where you usually part it. Once you do this, separate your bangs from the rest of your hair and clip the rest back. Next, use your scissors and cut at an uphill angle from the bottom of your bangs to the top. When finished, continue to cut until you have the desired length. Keep in mind your...
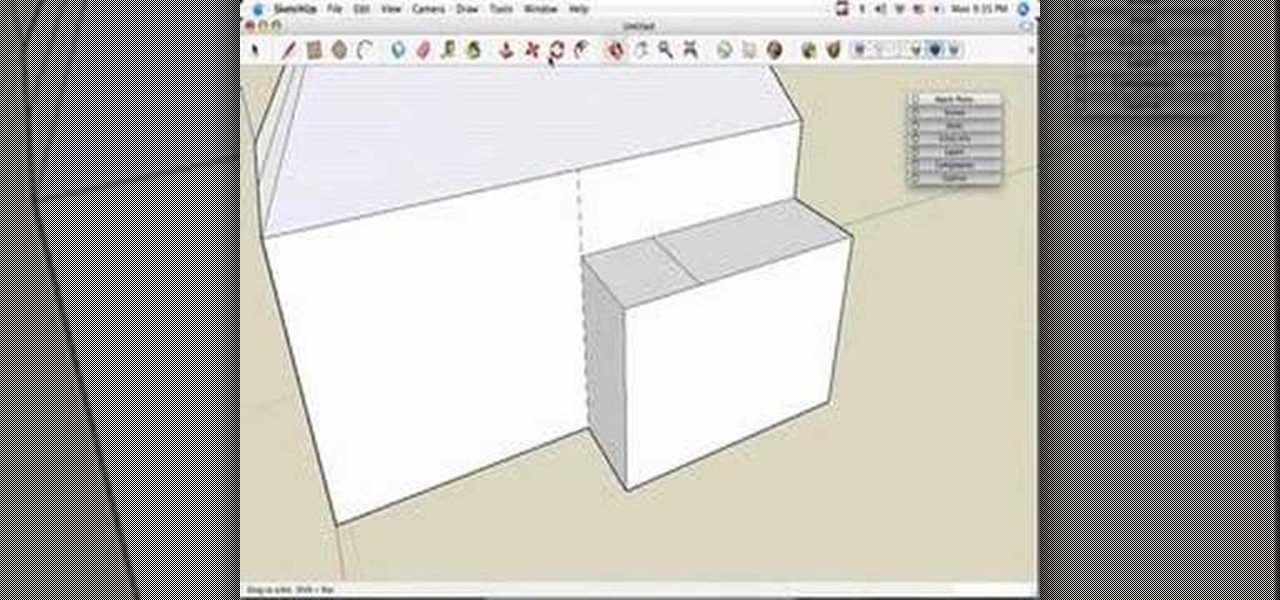
This video tutorial is in the Computers & Programming category which will show you how to build a simple house in SketchUp. Start with the floor plan, draw a rectangular main living space and attach a small extra room. Next you use the push pull tool and pull the house up to as high as you want. You can make it 21 feet. Now draw the roof line in the center of the house along the length and draw the lines for sloping part of the roof on either side. Now grab the center of the roof and lift it ...
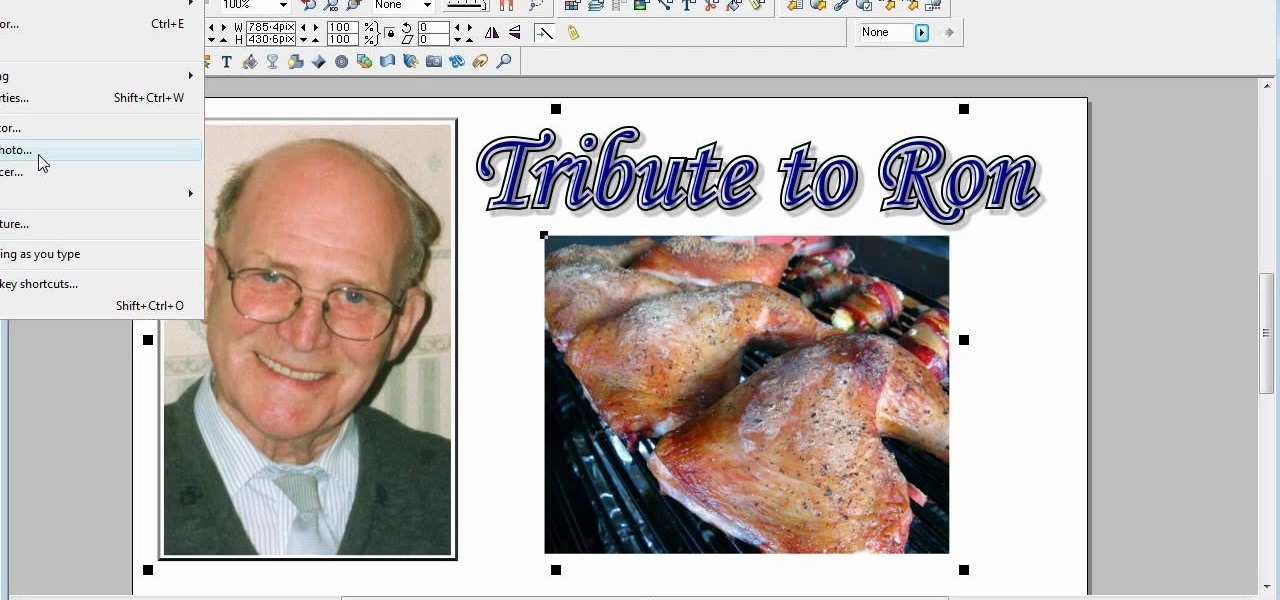
This is a video tutorial in the Software category where you are going to learn how to optimize photos in Xara Xtreme / Xara Web Designer. This is really very easy and simple to do and takes practically no time. Open up Xara Xtreme and go to the object gallery and select a photo that you want to work on. You can now resize the image by simply stretching or shrinking it in any direction. You can also drag and position the image at any part of the canvas that you desire. You can now go to file a...
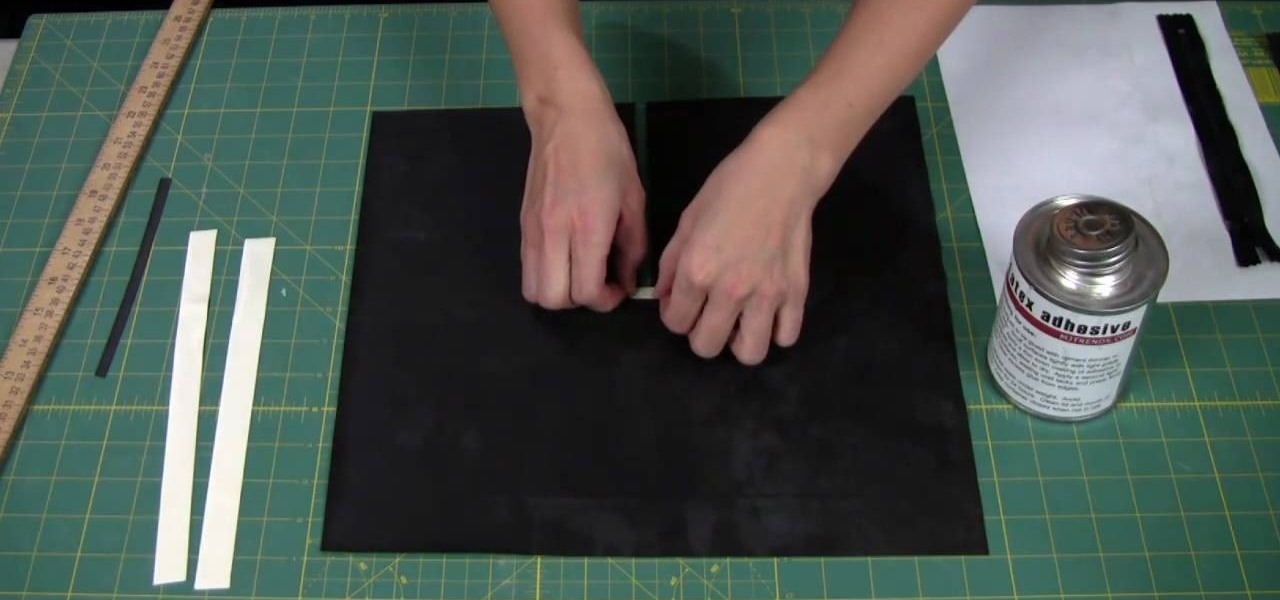
In this video, we learn how to add a zipper to a latex garment. First, apply glue to the zipper, using an ammonia based adhesive in one coat. Next, take a small paint brush from any store and apply a thin layer of adhesive to the zipper. The top will take about 45 minutes to dry, then turn it over and apply another layer of glue to the back. After this, cut two 1/2" strips of latex a little bit longer than the zippers. Also cut a 1/4" wide and 1" long piece of latex as well. Now, apply these ...
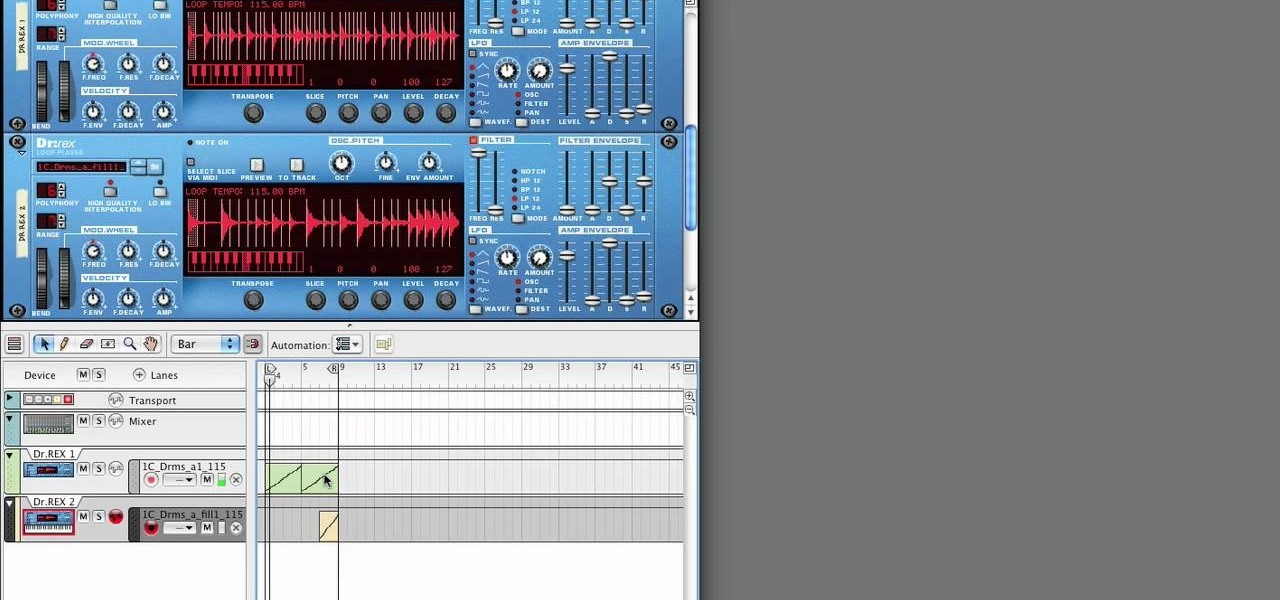
In this tutorial, we learn how to use Reason Soul School. First create a Doctor X loop layer. After this, browse for a loop and search through the different folders that contain loops. These will mimic different sounds depending on which one you want to use. Each category contains drums, bass, tempos, and more. Load the different sounds from the folders as you would like. Then, when you have your desired sounds, start to edit them and change how they sound. You can then add in new loops to th...
Ever wonder how people make those wonderful and awe-inspiring time-lapse films? Well, this video shows you the bare basics of creating a time-lapsed movie. First, you'll need to set your digital camera on a tripod and set it to take stills at your desired intervals. Then, you'll need to import all of these photographs into Aperture or iPhoto on your Mac computer. Then it comes times to turning those pics into a time-lapse film. Watch and see how!
In order to make an adjustable cable necklace, you will need the following: 20 inch adjustable cable chain, a slide bead frame, 2 head pins, 8 mm bi-cone, 8 mm crystal, 2 6-mm round rondells, 2 7-mm jump rings, a pair of nipper tools, a pair of round nose pliers, and a pair of chain nose pliers.
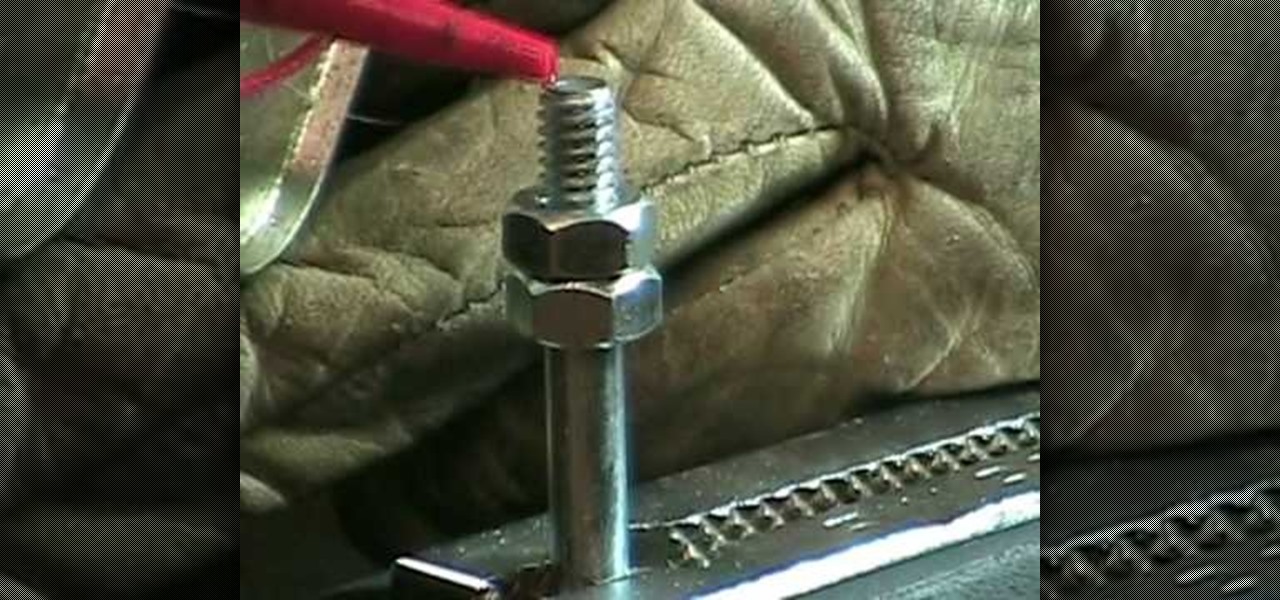
In this video tutorial, viewers learn how to cut a bolt and save the threads. The materials required for this task are: a hacksaw, steel bristle brush, bolt cutters, wrench, oil and a filer. Begin by putting some oil onto the threads of the bolt. Then place the saw on the desired groove and cut across through the thread. Now brush it with the steel bristle brush to remove the debris. Finish by removing the excess metal with the filer and unscrew the bolt(s). This video will benefit those view...
After having a slice of New York cheesecake for the first time we thought that life couldn't get any better...that is, until we encountered these lovely iced cheesecake pops! Basically these tiny desserts are cupcakes on a stick. And instead of adding frosting on top as you'd do with a traditional cake, these cheesecake pops are dipped into a layer of chocolate, cake crumbs, and can be covered with a coating of frosting if desired.
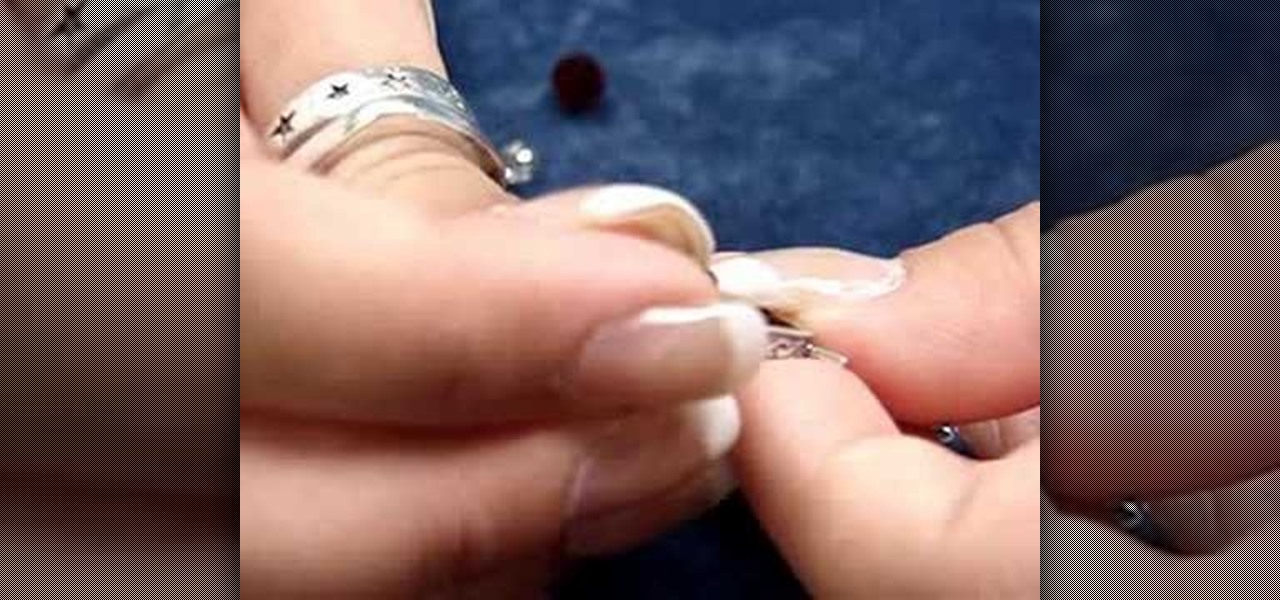
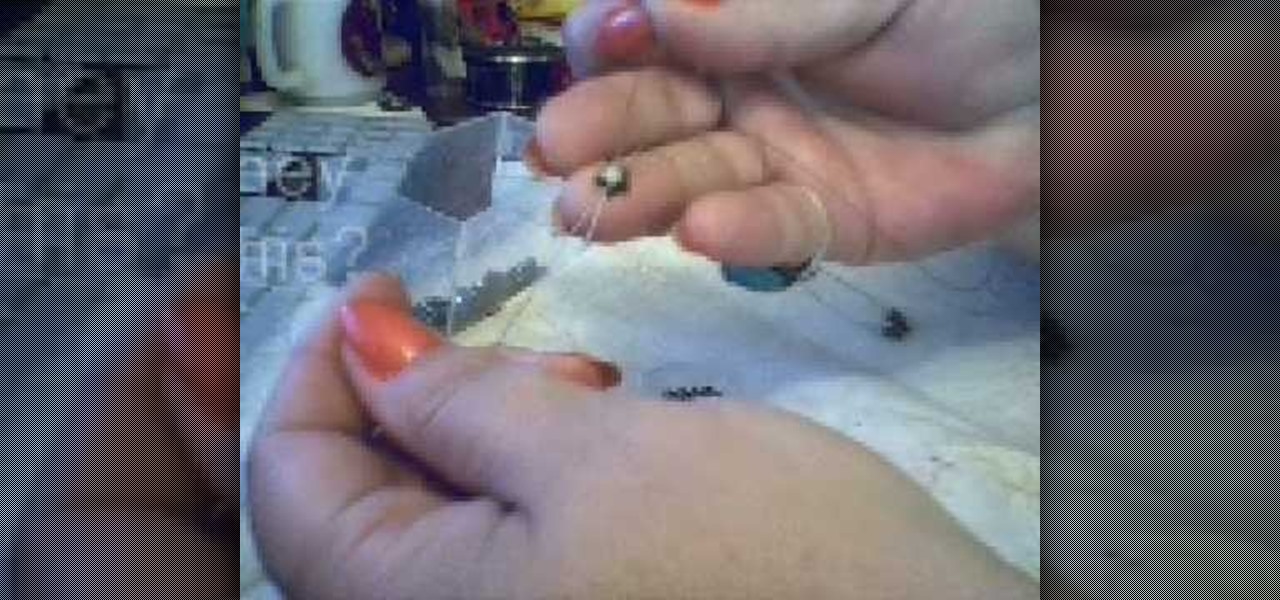
In this video, we learn how to use cones when jewelry making with Christina. First, take a half inch hard wire with a looped end and use a pair of pliers to open up the loop slightly. Next, take your strands of beads and place them onto the loop. After this, close the loop making sure it's secure and the beads won't fall off. Then, take the cone and insert the wire through the wide end and pull it through the narrow end. Using your fingers, bend the wire to a ninety degree angle, then trim of...
Make a hematite bead ring
In this video, we learn how to buy a can of soda. First, you want to find a soda machine that accepts dollar bills or change. After this, you want to find the soda that you want to purchase and see how much it costs. Next, you want to insert your money into the machine and press the button for the desired kind of soda you want. Now, wait for the can to dispense out of the bottom, then collect any change that comes out as well. After this, you can open your soda and enjoy drinking it as a grea...
In this tutorial, we learn how to crochet a beanie hat. First, you must place the yarn around your fingers, then thread through the needle with a slip knot. After you do this, grab the yarn and move the string through the slip knot to make a chain stitch. The next type of stitch you will do is a seam stitch, where you will find a hole and grab the string, then bring the needle through so you have two loops around the needle, then bring it back through the hole. You will continue to do these s...
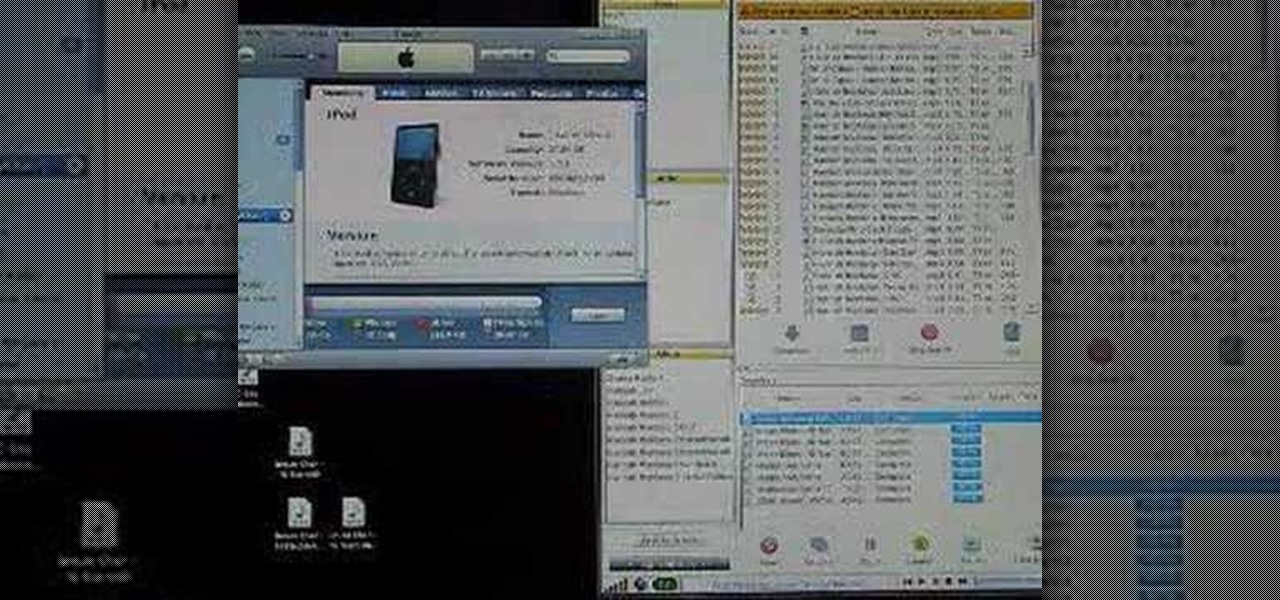
In this video tutorial, viewers learn how to download music from Limewire to iTunes to be able to sync it into their iPod device. This task is very easy, fast and simple to do. Begin by opening the Limewire and iTunes program. Then download the desired song(s). Now go to the Limewire library by clicking on the Library tab. Then simply highlight the song(s) and drag it into the iTunes library. This video will benefit those viewers who have an iPod device, and would like to learn how to get fre...
In this video, we learn how to easily cut your bangs. First, you will want to take a shower and have your hair went and brushed out. Next, part your hair so that your bangs are in the front and the rest of your hair is tied back behind you. After this, grab your scissors that are for hair cutting, and then level your hair out in front of you. Be sure to hold your head up straight and don't look too far down or up. Next, cut the bottom of your bangs where you want them to be at, then continue ...
In this video, we learn how to thin and layer hair for a spiky look. To do this, start off in front of the mirror with sharp scissors and a razor over the sink. Grab the scissors first and brush your hair to the front of your face. Start off cutting different layers into your hair, making some longer and some shorter. Next, take a razor and run it through your hair to create a think layering of all the hair. After you are done cutting it to your desired length, add in hair gel or wax to your ...
In this video tutorial, viewers learn how to burn a CD in iTunes. Begin by opening the iTunes. Users will need to create a play-list. Then click on File and select New Play-list. Users may wish to name the Play-list. Now simply go to the music library and drag the desired song(s) into the play-list. Then insert a blank disc into the hard drive. Finish by clicking on Burn Disc and configuring the options. This video will benefit those viewers who use iTunes, and would like to learn how to burn...
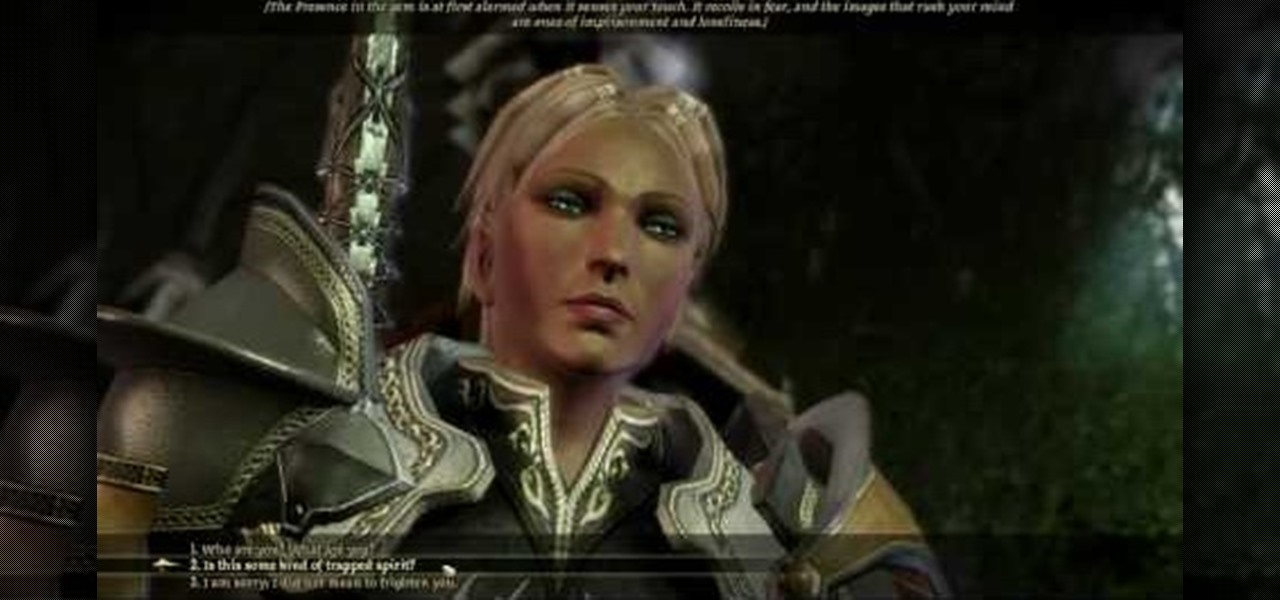
In this tutorial, we learn how to unlock the Arcane Warrior class in Dragon Age Origins. Turn on your game first, then you will need to learn how to unlock the class from The Presence in Brecilian Ruins. Once you learn how to do this, you will be able to unlock the class and advance to a new level. To unlock the Blood Mage, you will have to learn from the Desire Demon in Fade. To unlock the shapeshifter, you will have to learn from Morrigan. Finally, to learn how to unlock the spirit healer, ...
In this tutorial, we learn how to enhance the color of your lips and eyes with GIMP. To change the eyes, use the ellipse tool to highlight each individual eye, then change the contrast of the eye as well as the color and highlights. Do this for both eyes, then save. To change the lips, use the lasso tool to highlight the outside and inside of the lips, then go to "select", "from path", and then change the color balance as you did on the eyes. Change it until it's the desired color you want, t...
Make sure your camera is set to the Manual Mode. Then, adjust your camera to your desired shutter and aperture settings. Make sure the pop-out flash button in your camera works. Prepare night lights such as sparklers, glow sticks, and flash lights as props.
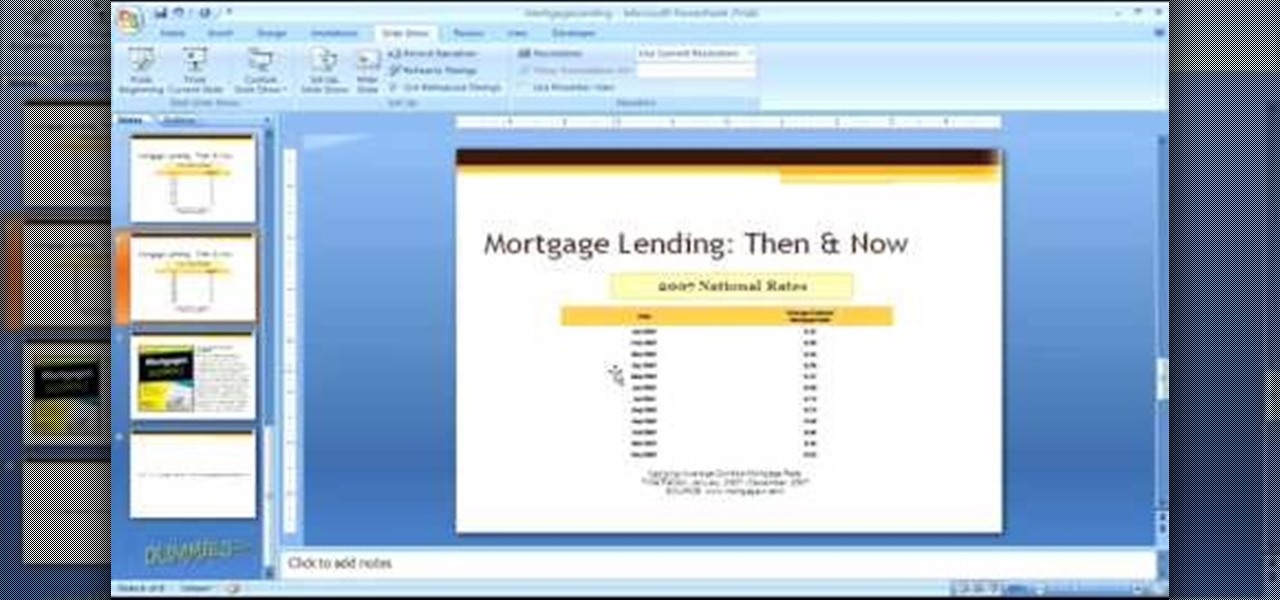
In this software video tutorial you will learn how to add hyperlinks to PowerPoint presentation for Dummies. With hyperlinks you can link part of your presentation to another slide within the same presentation, a separate presentation, a website, an e-mail address or to a file like a word document. Say, for example, you want to create a hyperlink to a picture in your presentation. Click on the picture to highlight it, click on the 'insert' tab, and select the 'hyperlink' option. Choose the de...
In this tutorial, we learn how to get a digital portrait backdrop in Photoshop. First, start by using the erase tool to remove the background from around the object completely. After this, fill in the background with the desired backdrop. Next, use the blending tool to blend the object's sides in with the backdrop, for a seamless look. Continue to do this for the entire object, cleaning up any blurry spots that you see as well. When you are finished, your object will have a new background and...
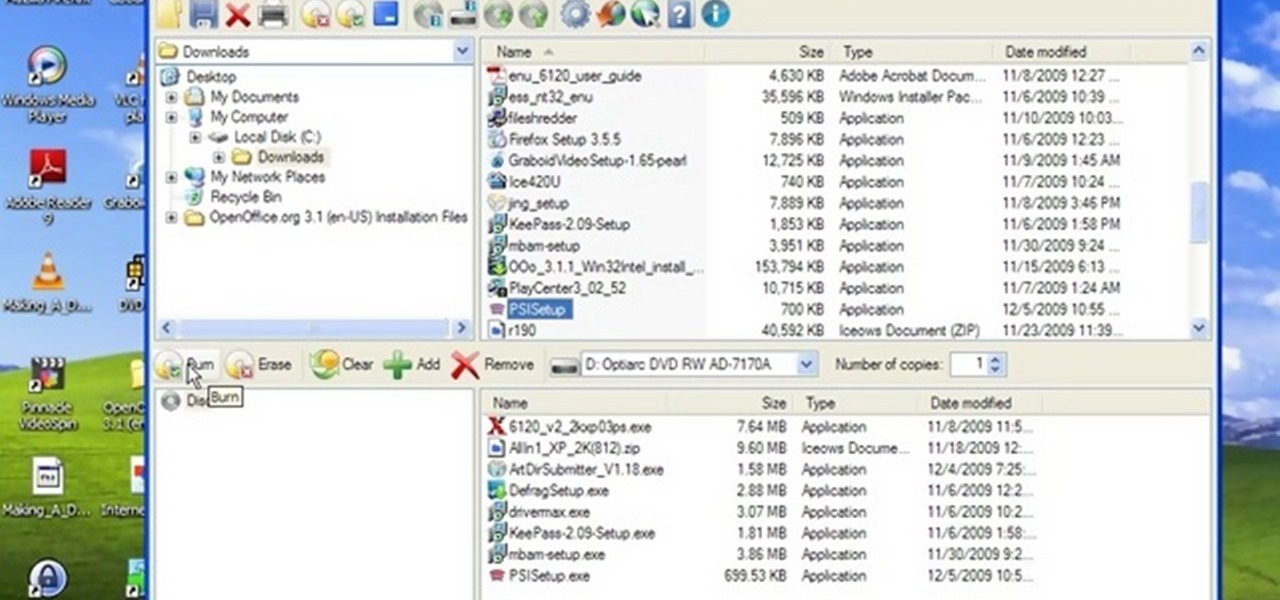
In this video tutorial, viewers learn how to burn CD with the program, CD Burner XP. Begin by downloading the program. Once downloaded, open the saved file and follow the procedure to install the program. Once installed, open the program. Then drag the desired files into the bottom window of the program to burn onto the disc. Users may also add the files by clicking on the Add button. Now insert a blank disc into the hard drive. Finish by clicking on Burn to start the disc burning. This video...
In this video tutorial, viewers learn how to make free custom ring tones for an iPhone. Begin by clicking on the Start menu and select Control Panel. Then click on the Folder Options and deselect "Hide extensions for known file types". Now open iTunes and select the desired song. Right-click on it and select Get Info. Click on the Options tab and make the song lasts only 29 seconds. Then right-click on the song and select Create AAC version and wait for it to finish converting. Now open the c...
In this video tutorial, viewers learn how to make stop motion animations. Begin by mounting the camera onto a stable surface position, such as a tripod. Then layout the figure to a desired position for the first frame. Now take a picture and slightly move the figure for the second frame. Continue moving the figure and taking frames until you have completed your animation. Then upload the frames onto your computer. Open the images in a movie editing program and make sure to set the picture dur...
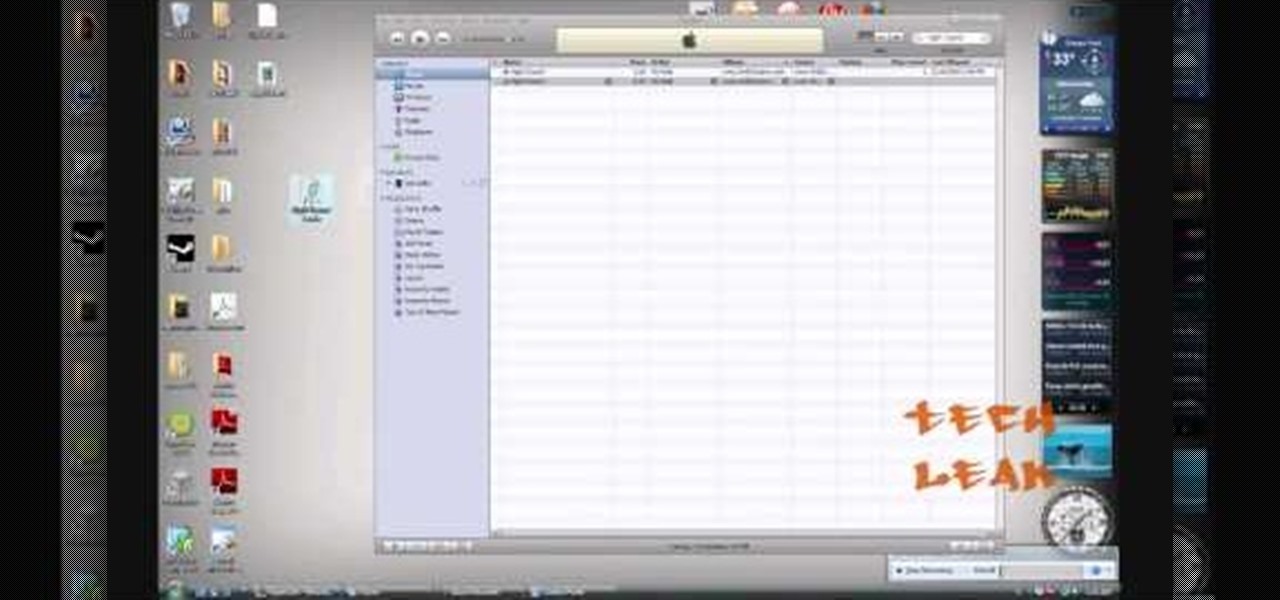
In this video tutorial, viewers learn how to burn a CD using iTunes. Begin by opening iTunes and create a playlist. To create a playlist, click on the + sign at the bottom left corner and name it. Then drag the desired song(s) into the playlist. Now insert a blank CD into the computer hard drive and click on Burn Disc at the bottom right corner. When a small window pops up, select the preferred speed, gap between songs and CD information. When finished, click on Burn. his video will benefit t...
If you're a pale sister who just can't seem to catch a tan this summer but desire a gorgeous, lit-from-within glow that looks like you've been catching waves at the beach all day, then watch this makeup tutorial.
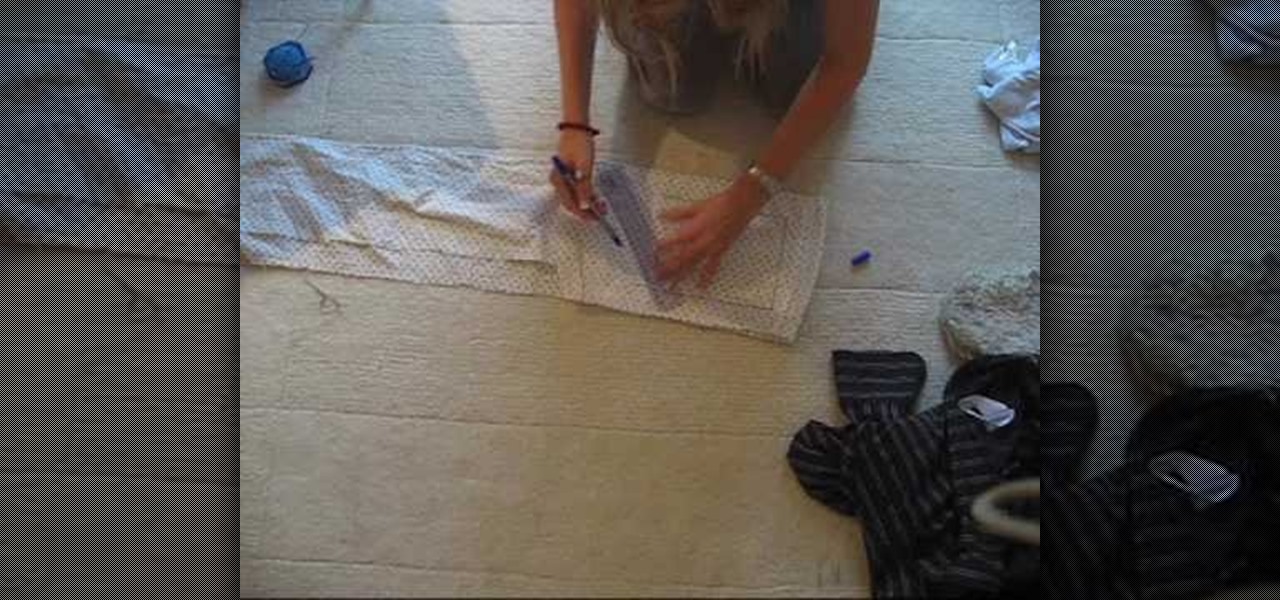
In this tutorial, we learn how to decorate your jeans with embroidery. First, you will lay your jeans flat on a surface, then trace out the space you want to make on a piece of paper and cut it out. After this, place the paper on an embroidery sheet to transfer the design. When finished, cut the embroidery out. After this, use a needle and the same color thread as the design to sew it onto the desired spot. When you are finished, you will have a unique embroidery that you designed! This can b...
In this tutorial, we learn how to make beeswax candles. To make this, you will need thread for a wick and a small bucket of beeswax that is melted on a hot surface. To start, cut the wick thread into even strings, you will only need two of them. Next, place the strings into the wax and dip them in until they are coated. When finished, let the strings dry and continue this will several other strings to make even more candles. Continue dipping the strings and letting them dry so you collect mor...
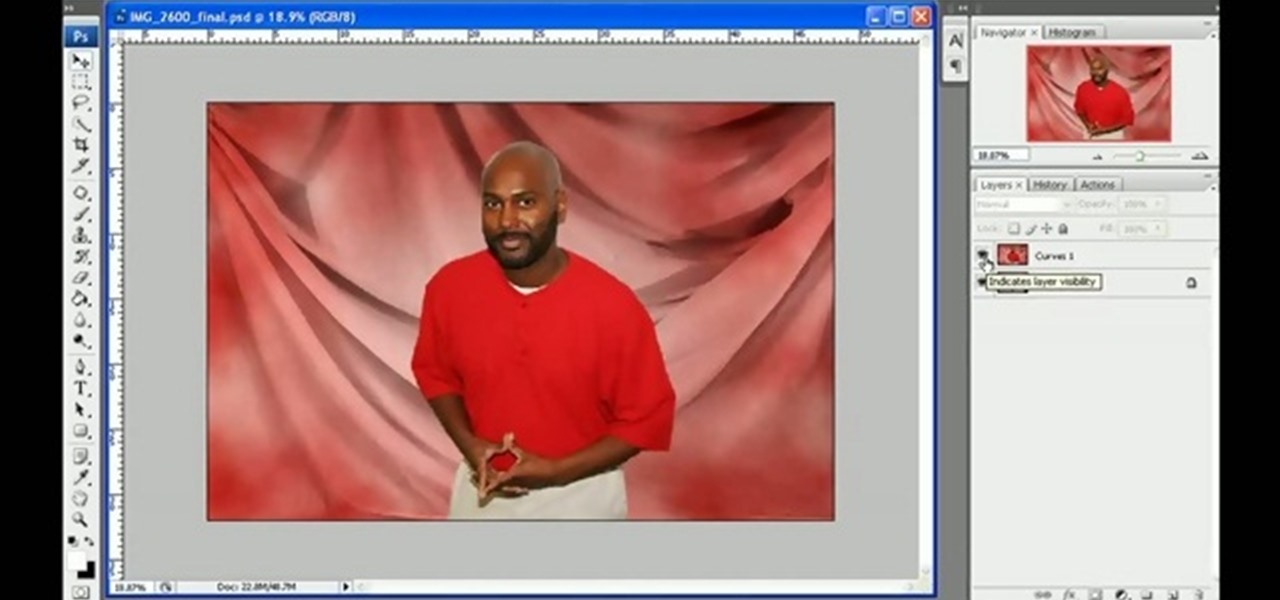
This video tutorial is in the Software category which will show you how to "Photoshop' someone into an image. It is like cutting and pasting one image over another. First open both the images. Ctrl and click the person's image that you want to move over. Drag the cut out image over the other picture where you want to superimpose it. Then click "edit', resize, rotate and position the image where you desire. Then go to "Image Adjustments' and adjust the brightness and contrast to match with the...