
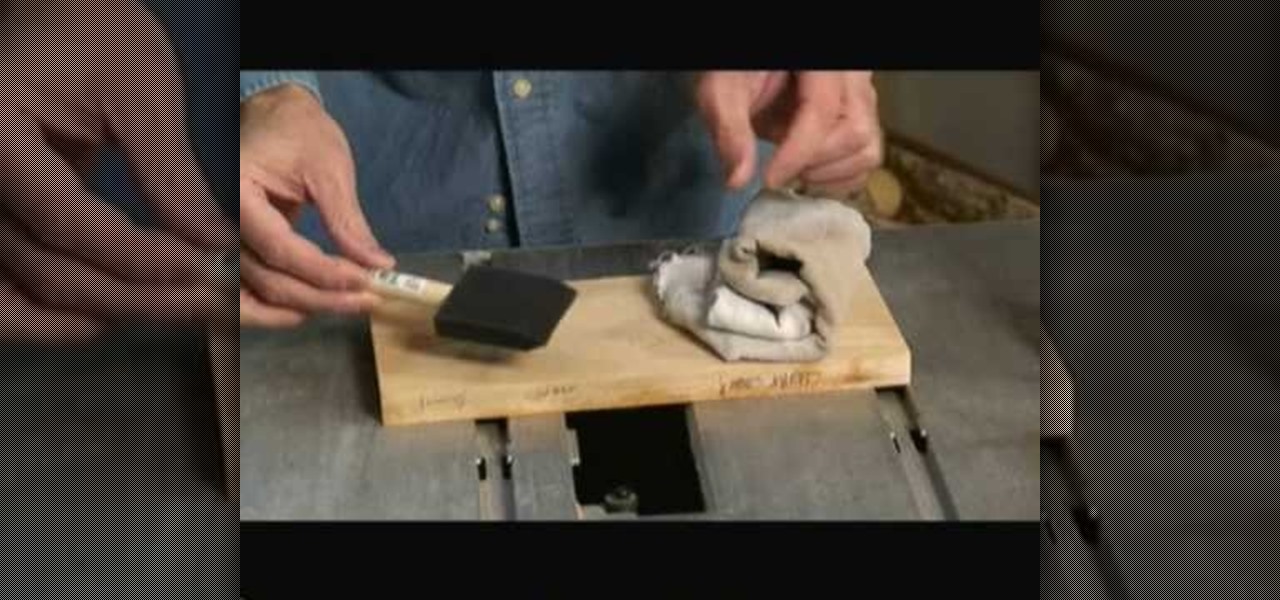
How To: Paint on wood
Looking for a fun and easy craft project to demonstrate your creative side? Learn how to make wood art paintings with expert tips in this free arts and crafts video series.

Looking for a fun and easy craft project to demonstrate your creative side? Learn how to make wood art paintings with expert tips in this free arts and crafts video series.

Pottery Barn has teamed up with Google to create 3D Room View, a new mobile app to allow all wannabe interior designers (like me) to pick out the perfect couch, table, or whatever, and then overlay it onto a spot in his or her house.
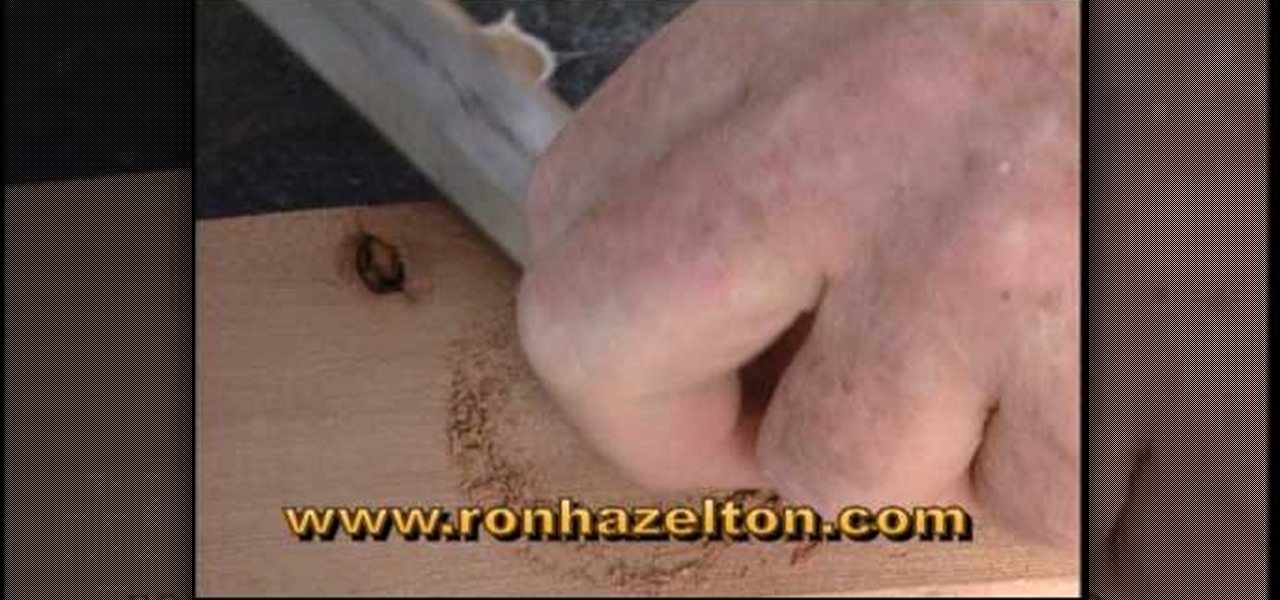
There are a number of ways to deal with screw holes that are visible. You can buy some wood buttons and put them in the holes. You put a little wood glue in the hole and then tap the wood buttons into the holes using a hammer. This is a decorative solution to cover up screw holes. If you want to completely cover up the holes completely put a plug cutter on your drill and cut a plug out of a piece of wood that matches the wood that the hole is in. Take the plug put a little glue on it and tap ...
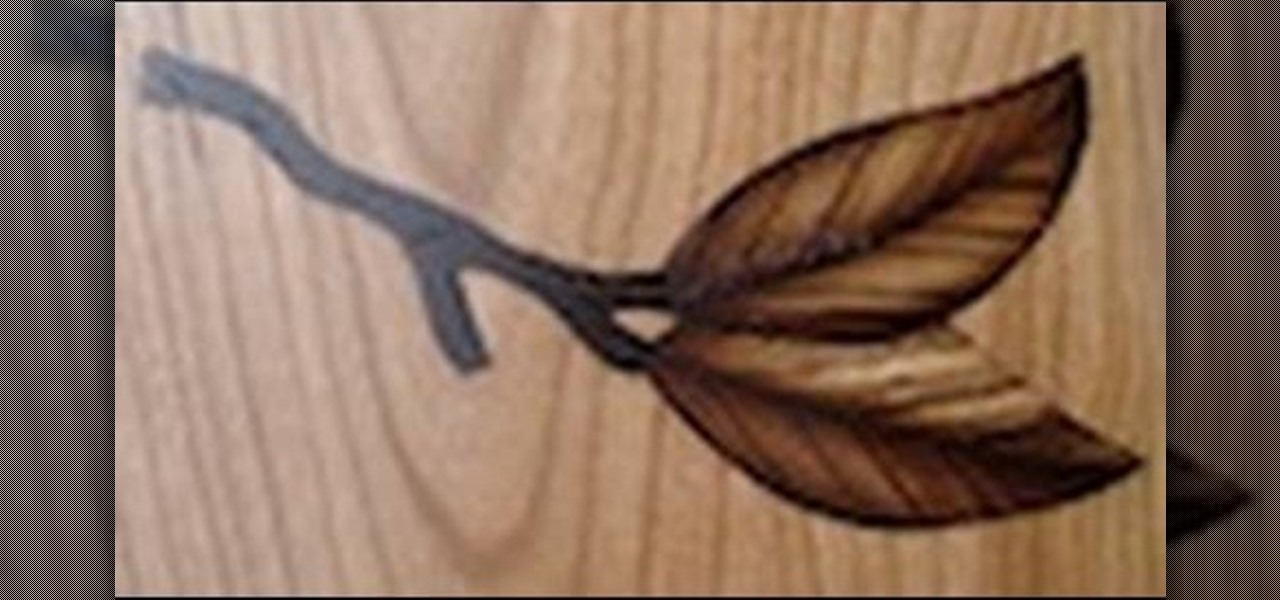
In this tutorial, you will learn exactly how to make a router-based inlay. And inlay is made up of small cut out sections of wood, and looks like a stencil or pattern when you are finished.
The Wood Whisperer thinks you have what it takes to be a great woodworker. In this 4-part series, the Wood Whisperer is building a steamer trunk for a friend. He takes you through the process of building a steamer trunk, from beginning to end. Check out more tutorials on woodworking by searching for woodworking on WonderHowTo.
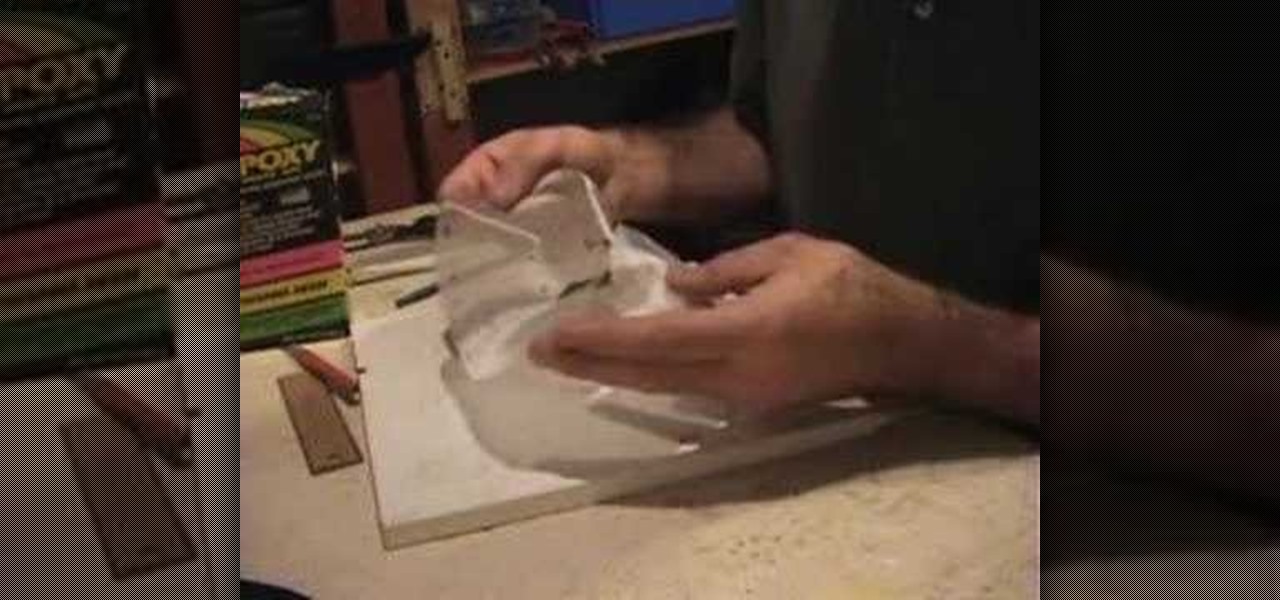
Check out this five-part video tutorial on how to use fiberglass finish over balsa wood for RC airplanes. If you like building engines and bodies for remote-controlled vehicles (airplanes), then this will definitely help you out, just by learning how to apply simple fiberglass to the balsa wood parts of the RC airplane body. You will learn all of the tricks needed for fiberglassing.

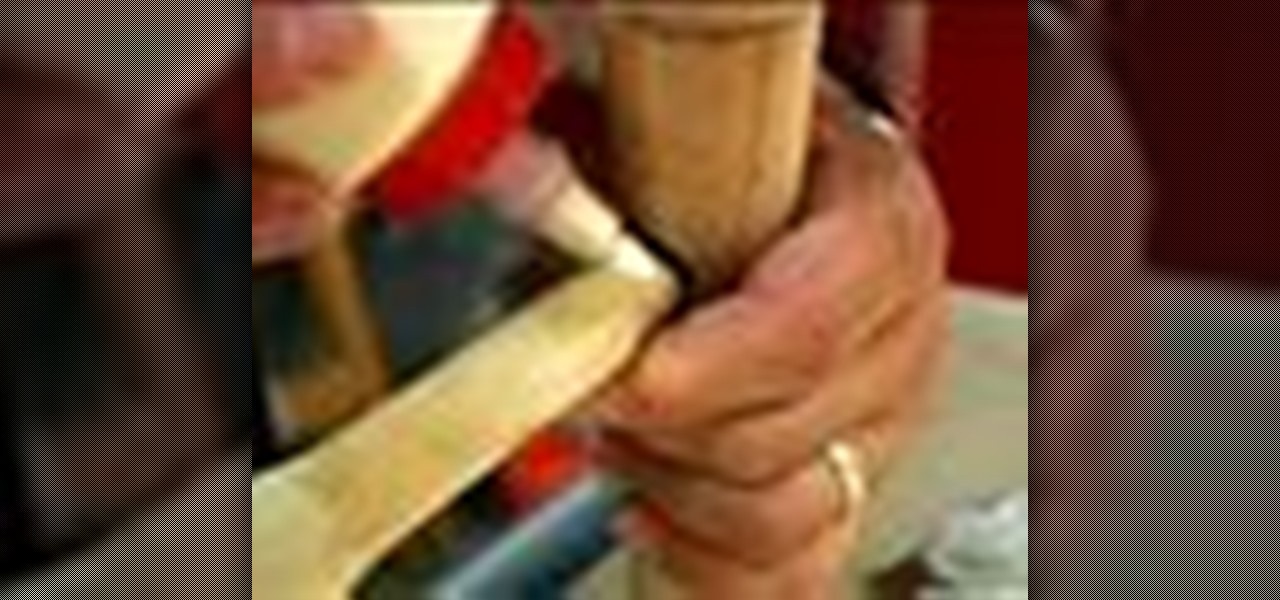
This instructional wood turning video demonstrates how to dry a green piece of wood and avoid cracking. Date the piece and mop a green wood sealer inside the bowl. Set it aside for 90-120 days in a dry climate. This is a necessary step when preparing wood to make a carved wooden bowl.

This mapping tutorial shows you how to create maps using the Woods tileset in RPG Maker XP (RMXP). Part 1 of 3 - How to Use the Woods tileset in RPG Maker XP (RMXP).
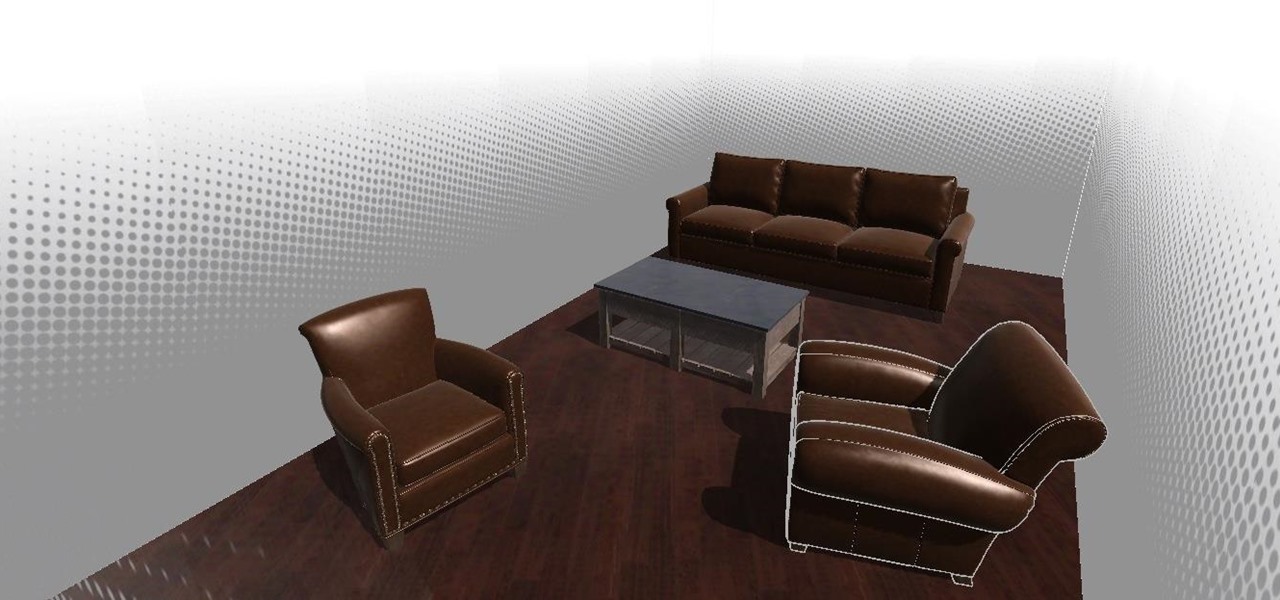
With the advent of ARKit, apps that can place virtual furniture in a real room have become nearly a universal practice for furniture retailers, with Pottery Barn being the latest to join the fray.
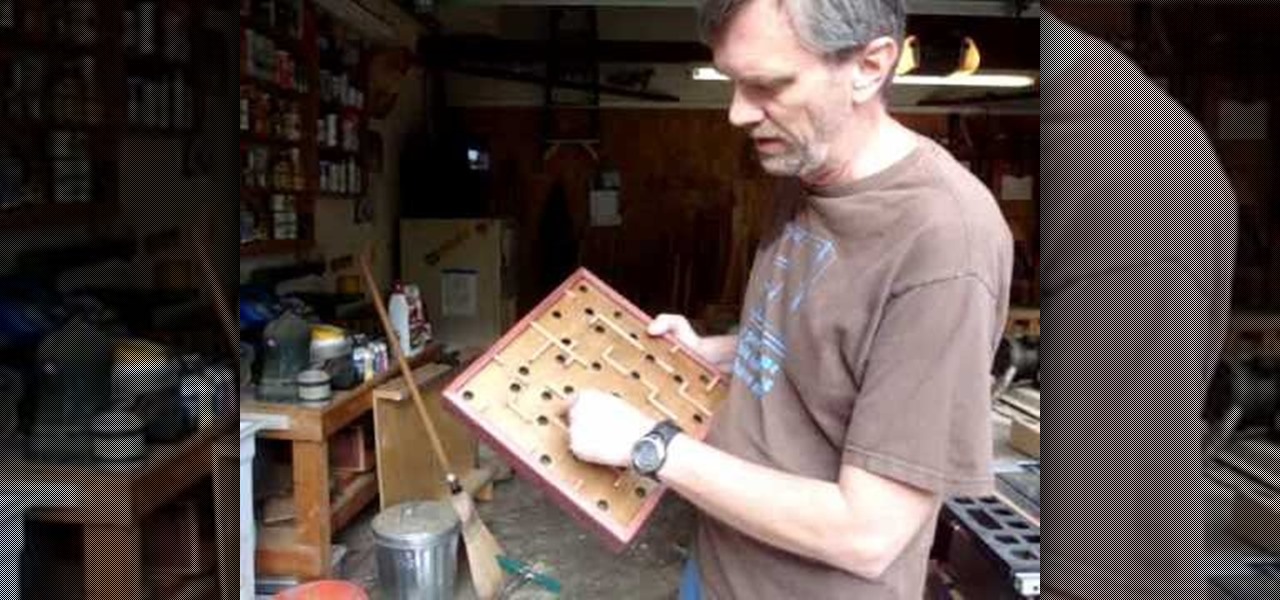
This video shows viewers how to create a wood labyrinth in which you can roll a small ball through a maze, trying not to allow the ball to fall into the hole. You will need some boards of wood which you will need to cut to the correct dimensions. You will need to create a box-like structure which will have an opening near the bottom from which you can retrieve your ball if it falls in a hole. After designing the template for your wood labyrinth, you should then proceed to make holes in the to...
In this tutorial, we learn how to make a Japanese screen. First, cut your wood out and sand it down. Then, use a corner clamp to drill a hole in and screw the different sides together. Also use wood glue to help stick the pieces of wood together. Once your frame is assembled, sand the corners of it. Next, you will stain the wood with black Japan wood stain. You will only have to put one or two coats of this on, because the color is so dark. Now score notches onto the wood to allow your screen...

In this outdoors how-to video from fitclimb.com we're shown how to make a fire in the snow. The first step is to find a good flat spot, or make a flat spot yourself. Next, we look for trees with dead branches and break those dead branches off for the wood. The key here is to be organized because you'll have to carry this wood back to your camp. Next, you want to make a platform for your fire to keep it from sinking down as the snow melts. Here, we're using the bark from a dead stump for a pla...
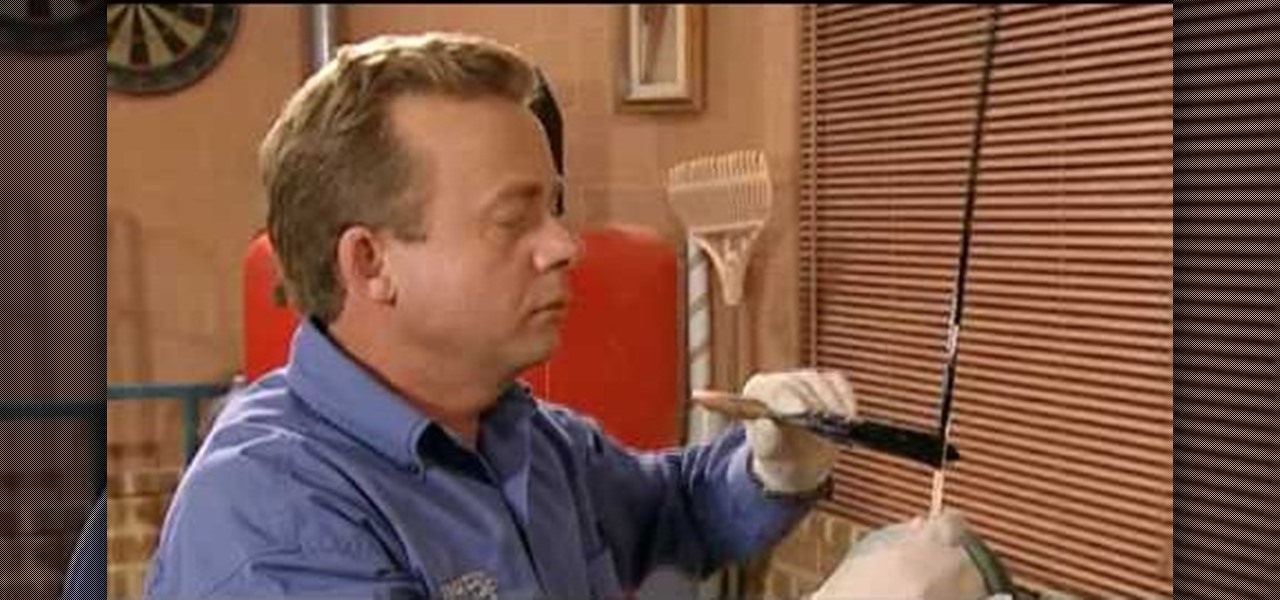
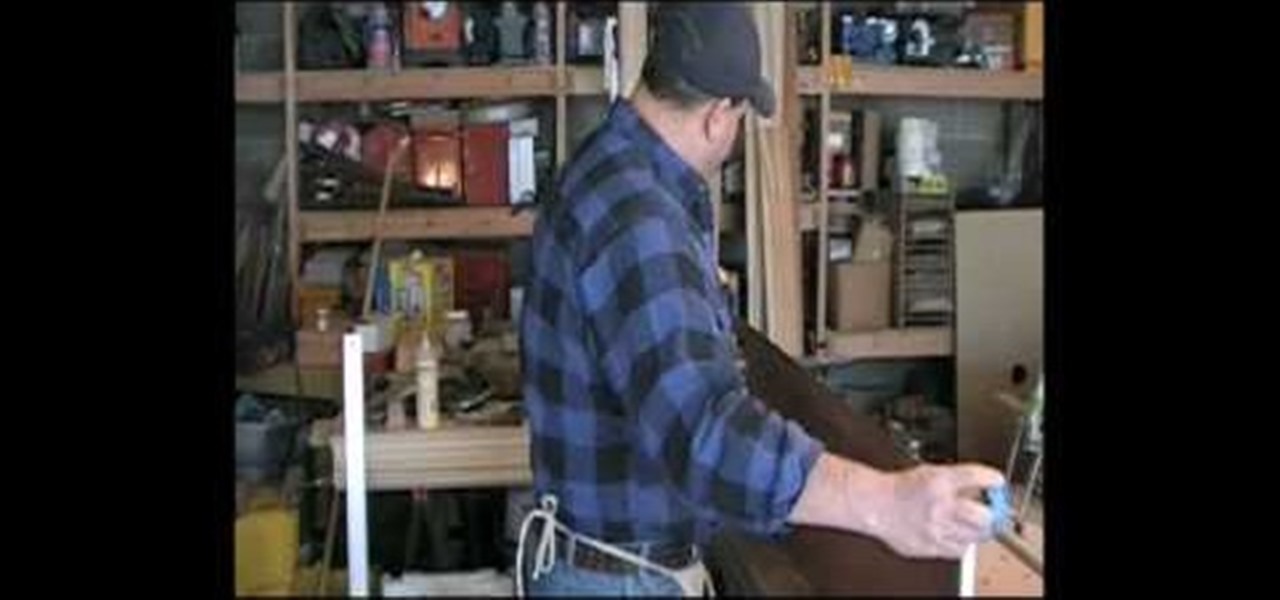
Staining wood can give it a really dazzling effect. In this video, Mark Donovan of HomeAdditionPlus.com shows us how to revitalize old wood and make new wood look better with staining. Before you stain, it's important to know what you're doing. After all, if you stain something badly, it can be tricky to clean it up.

In this DIY guide from the folks at the Home Depot, we learn how to prepare a patio set for painting. It's easy! So easy, in fact, that this clip can present a complete overview of the technique in about a minute. For all of the details, take a look.
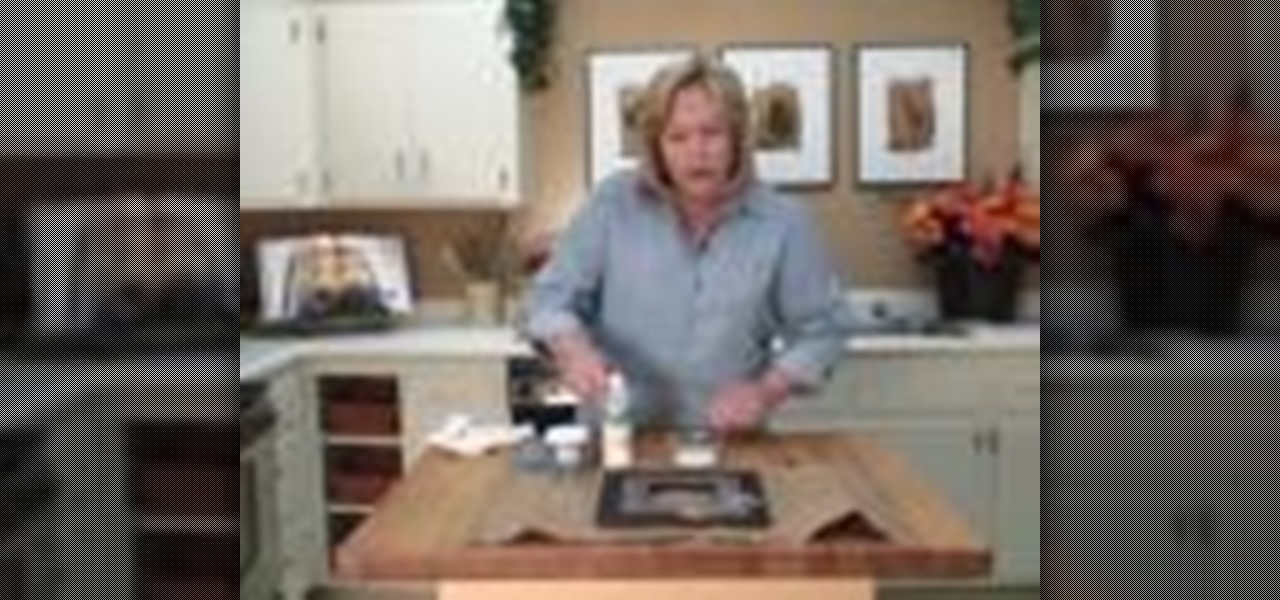
Not sure what decoupage is? Then watch this video to find out! It will show you how to turn an ordinary, drab wooden picture frame into a decorative wood picture frame using decoupage (gluing different kinds of paper onto unfinished wood).
Watch this video tutorial to learn how to use yellow glue and an a household iron to adhere a wide edge band. This how-to video is a must-watch for all furniture and woodwork enthusiasts.

it is essential that a furniture maker or a woodworker know how to find the center of any board. Watch this video tutorial to learn a simple way to find the center of any board. To do this, you will need a straight edge and a pencil.

Are you going to start a home project but not quite sure what kind of wood to buy? This how to video talks about different kinds of lumber, and teaches you how to pick the right wood for your home project.

Secure a bookcase without drilling holes in the furniture. Use velcro! Mark the top of the cupboard or bookcase first.

Tim Carter, of Ask the Builder, demonstrates three easy ways to remove nails from pieces of wood, like trim or baseboards, so they can be reused in future home projects.

Learn about different finishes. In this video, the Wood Whisperer puts the finish on a pencil holder. It's not just any finish. Since we are working with a beautiful curly maple, the finish deserves a little extra special attention. Learn how to pop the grain.
Learn how to repair a broken or loose joint on your chairs or other furniture for long-lasting stability. Chairs take a real beating over time and it's only natural that over time one of those glue joints is going to fail. What do you need? Well to start with you need some common, everyday carpenters' glue.
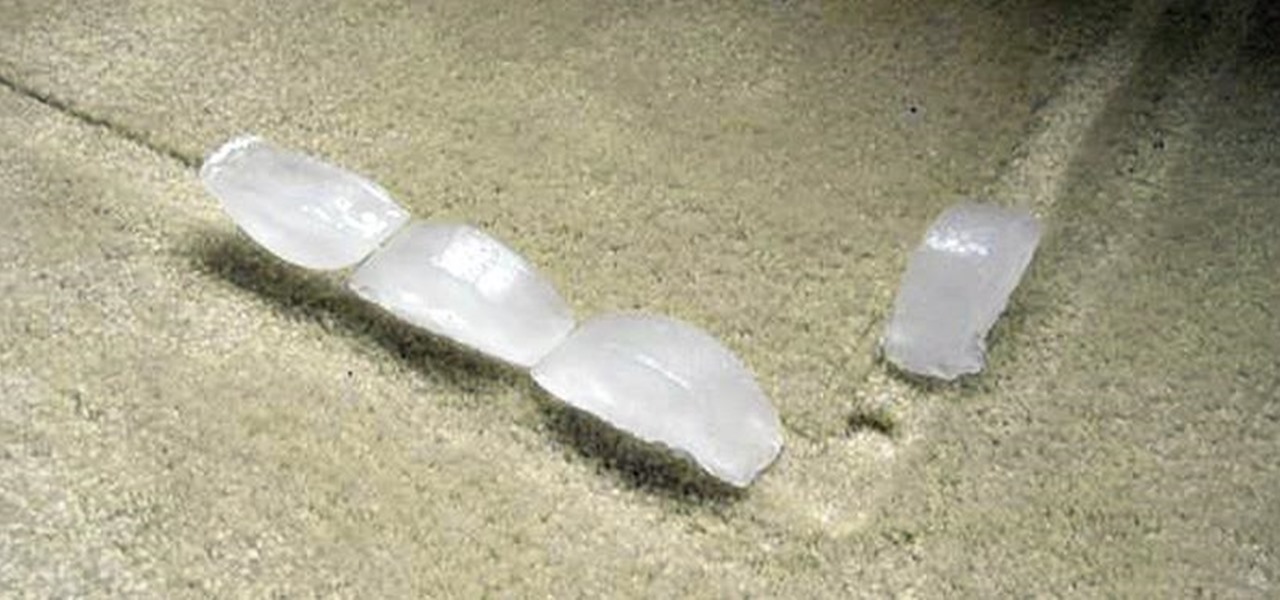
Once your furniture is finally moved in, settled upon a spot, and used for comfort or leisure, chances are it won't move very often. We tend to leave—and use—our furniture in the same spot for years, which can leave signs of great wear beneath, deeply indenting our carpeted floors and fancy rugs.
Pallets, Pallets, Pallets. You have to love them! How to build an outdoor play kitchen for the kids using old pallets and recycled / reclaimed wood. I came up with the idea after seeing how my young son loved playing with the one at childcare. Pallet projects and Pallet Ideas are never far from my mind so l couldn't wait to get stuck into building my play kitchen.
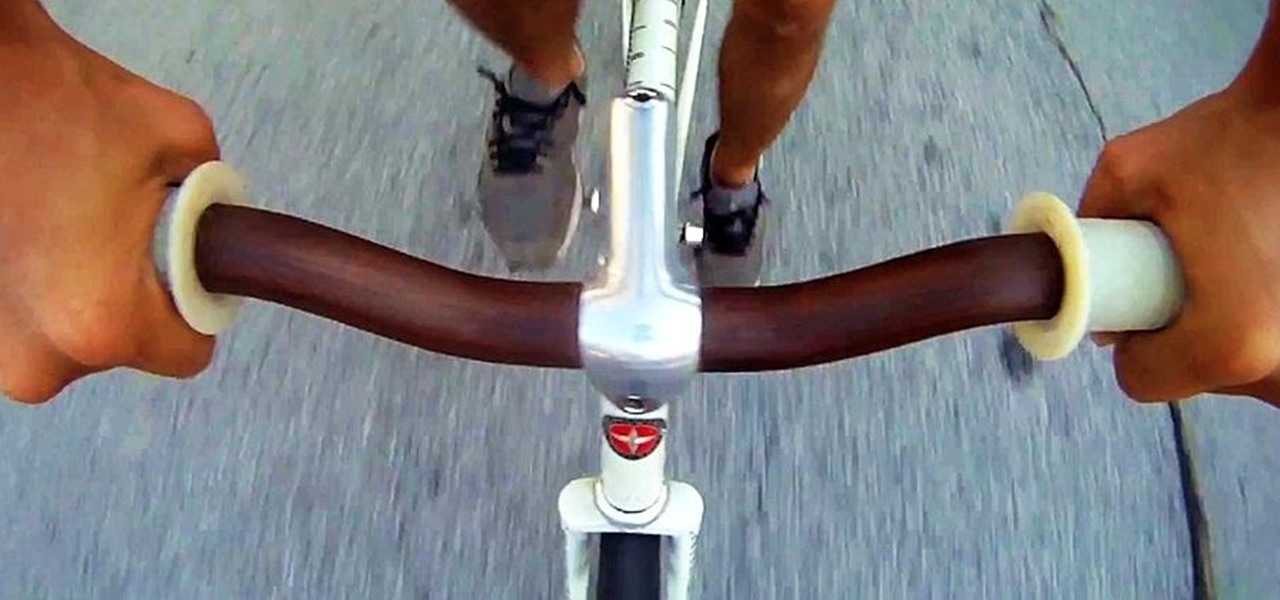
Looking for a way to make your bike stand out? You could light it up with LED rim lights or turn signals. Or if you're looking for something a little less flashy, you could make your own set of custom wooden handlebars like these by furniture designer David Moore. To actually make these wooden handlebars, you will need some woodworking tools, not to mention some actual woodworking skill, or at least the tools and some knowledge on bending and forming wood. In his video below, David shows exac...

Danny Lipford and Allen Lyle demonstrate how to turn an old door into a desk. First, remove the door hinges. Then, fill the biggest part of the voided hardware holes with wood and seal them with bonding adhesive. Don't leave too much excess bonding adhesive on the door or else you'll have to sand it off once it's dried. You may need at least two coats of bonding adhesive to get the surface level. Cut wood for the sides of the desk and then run them over a router. Sand down the door and the ne...
Getting splinters is no fun, but making them can be if you've got the right tools and the proper technique.
Sanding is an important step when preparing wood for painting or staining. You Will Need
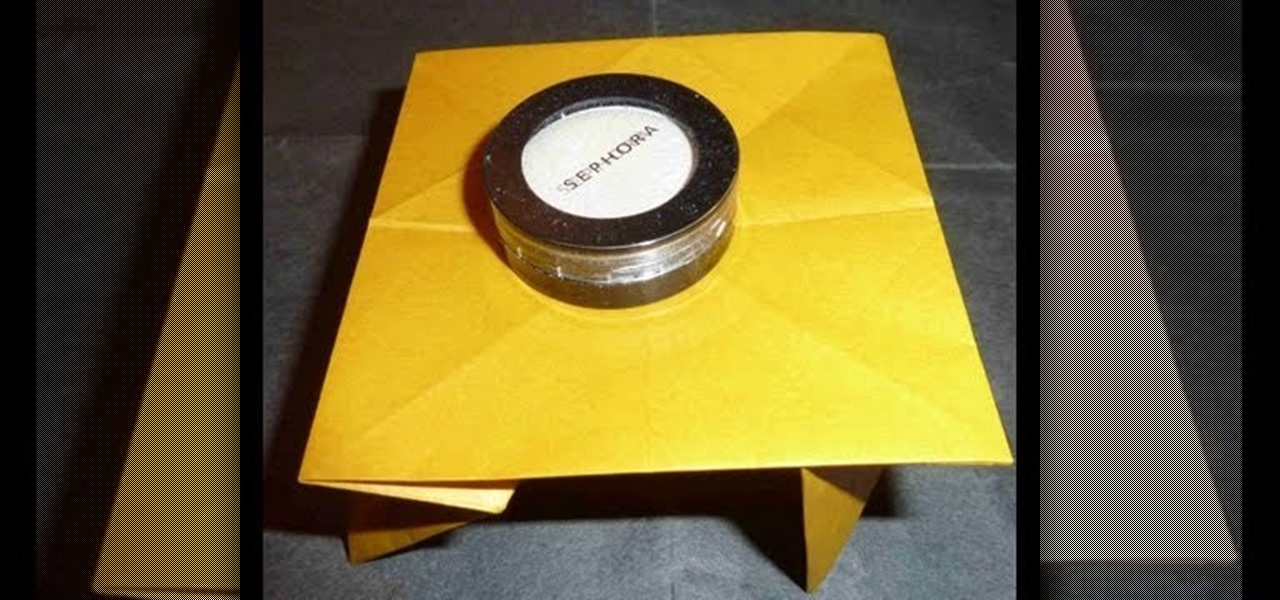
Got a niece who loves playing make believe in her doll house? Then she'll get a kick out of this project. After all, every doll house needs a set or two of furniture. Make her a furniture piece that's unique and can actually hold a few light objects (like fake food) by watching this origami tutorial.

You're probably under the (false) impression that building wads of Hulkish muscle also requires wads of cash, because most muscle builders have complete gyms filled to the brim with weights and tabatas.

Out for a leisurely hike in the woods? Well, don't leave home without a few simple supplies or you could be facing a survival situation out-of-doors. Make sure to take supplies along with you, like a compass, but make sure you know how to use it. Watch this video outdoor safety video and learn how to survive a hiking trip in the woods.

DominickDiy teaches you how to use a wood router. You figure out what and how you will use it for by looking at it and adjusting the blade. Then lock it into place and you're ready to cut. The piece of wood you'll be working on should be on top of a piece of rubber mat, so that the wood doesn't slip. You also don't want the router to slip, as it might injure you or cut a wrong way. You go from a rip to a cross cut, when going from one side to another, via a corner. So one time you will be pus...
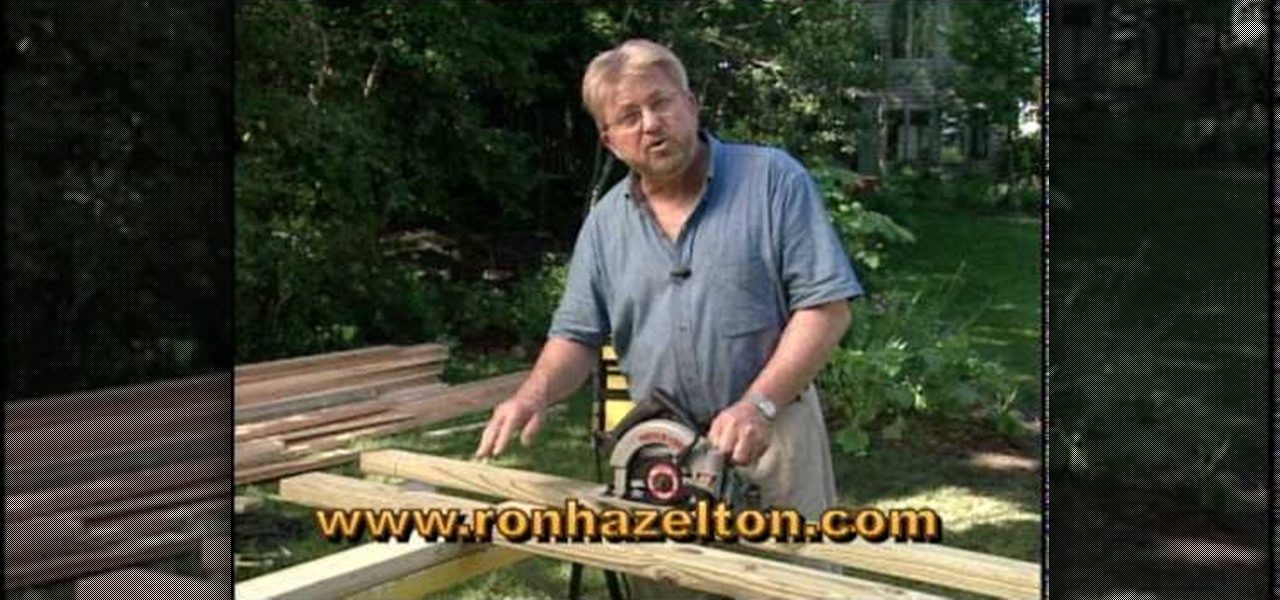
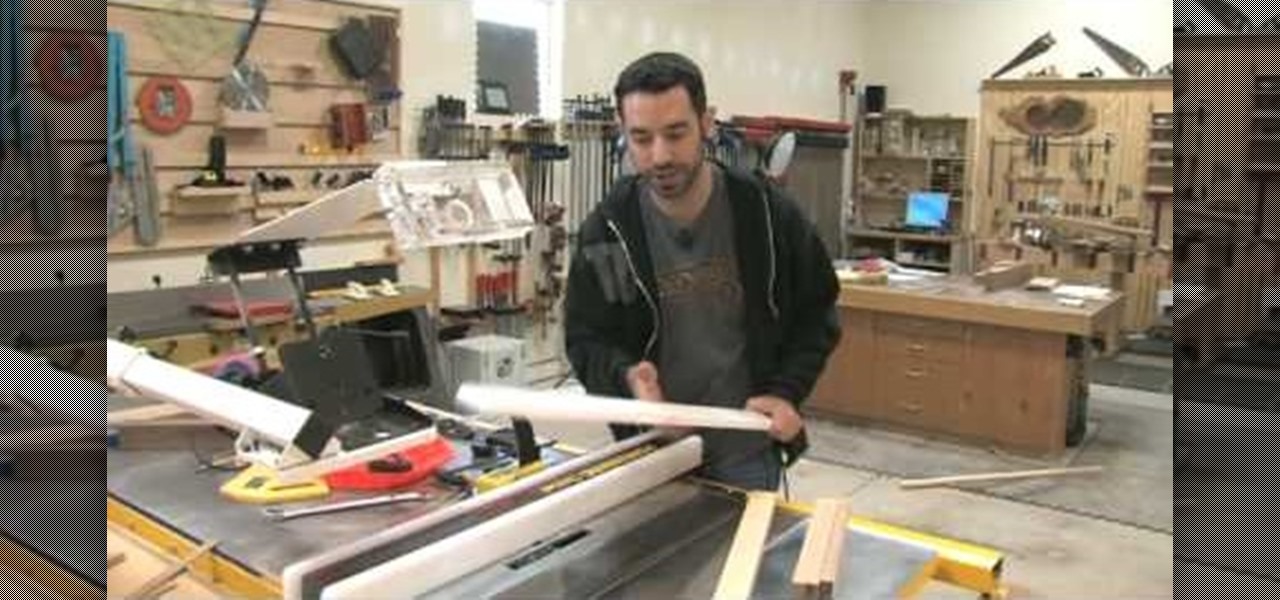
Ron Hazelton shows how to rip cut a very long piece of wood using a circular saw instead of a table saw. First, place sawhorses approximately every 4 feet under the wood. Choose the correct blade for the wood. Affix the circular saw with an edge guide. Set the blade depth so that the blade barely goes past the wood. Put scrap pieces of lumber on the sawhorses under the wood. Then the long rip cut can be a zip.
Make your leather furniture look like new again by getting out spots and stains. Step 1: Clean stains immediately

Weather can really do some damage to the wood siding on your home. When your siding becomes worn and rotten due to the elements, it's time to break out the tools and install new wood. This instructional video walks you through the basic steps of repairing the wood siding on your home. Follow along with the tutorial and keep your home fortified.
Drywall screws were originally created specifically for drywall projects. But they have become increasing popular for woodworking projects because you can often screw them into a soft piece of wood without having to drill a pilot hole. But because they have threads all the way up to the head of the screw they will not pull two pieces of wood tightly together. So to get the drywall screw to hold two pieces of wood tightly together you have to drill a shank hole through the first piece of wood ...

Robinia frisia limbs are prone to dying, that is why it is important to prune them properly. If you wait until the winter to prune the dead wood you wont be able to tell the difference between the dead wood and the dormant tree limb. In this how to video Martin Fish from Garden News explains how and when to prune dead wood from Robinia 'Frisia'.
This video tutorial instructs how to use marbling techniques to make a faux wood finish out of polymer clay. Learn how to manipulate different colors of polymer clay to create a fake wood effect. This tutorial teaches how to make a faux wood polymer clay picture frame.

In this tutorial we learn how to build pet steps for your animals with Lowe's. Start out with making the lines for the sides of our steps on a piece of ply wood. Cut these out with a circular saw and then start assembling the steps. Use wood glue, nails and a hammer to do this. After you have these assembled from the bottom up you can insert the steps for the inside of the stairs. Make sure all of this is secure and everything is nailed in properly. Then, add in padding to the steps for your ...
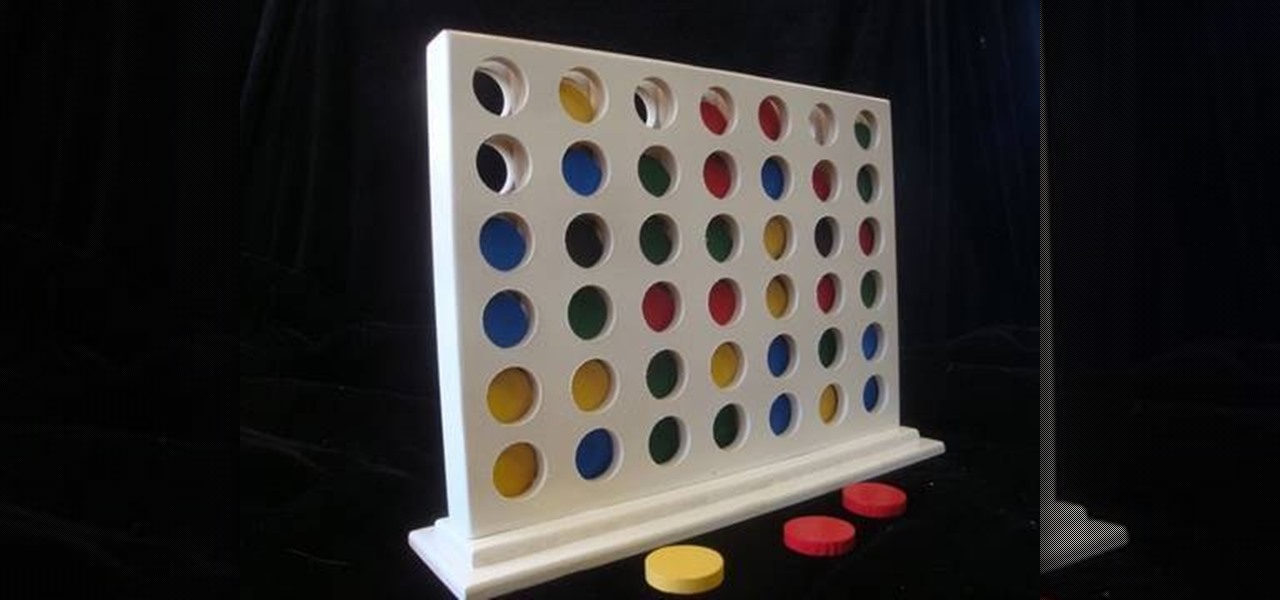
In this next woodworking tutorial, you'll find out how to make a favorite game using, of course, wood!