
How To: Paint a porch with precision with Martha Stewart
Painting a room is pretty easy stuff: just add a layer or two of primer if your wall color is extremely dark or has crack and bumps, and then load on a few layers of paint.


Painting a room is pretty easy stuff: just add a layer or two of primer if your wall color is extremely dark or has crack and bumps, and then load on a few layers of paint.

Laura Bateman, of Extreme Fitness Now, demonstrates how to wrap your hands for boxing. Wrapping is important for protecting your wrists and knuckles from injury. Mexican hand wraps are longer than the typical hand wraps. Place the looped end of the wrap over your thumb. Be sure to position the wrap the right side down. Next, wrap it around your wrist three times. Feed the wrap under your thumb, under the palm and up to the knuckle of the index finger. Wrap the knuckle two times. Cross down to...
Watch this video from This Old House to learn how to animal proof a house. Steps:
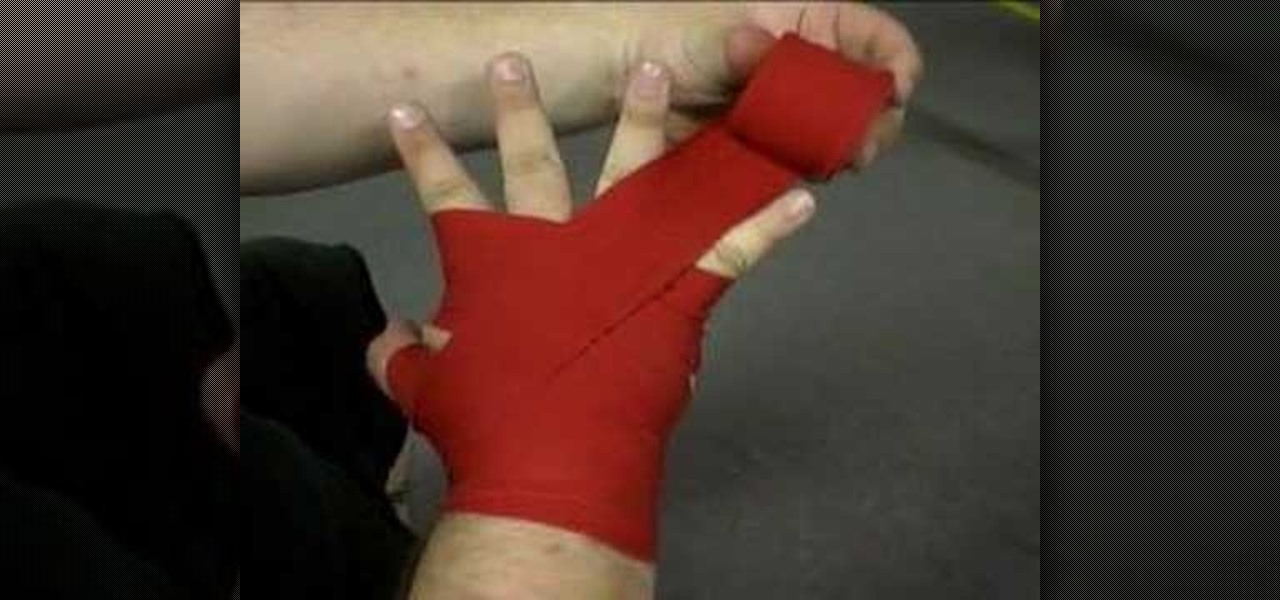
The first step to wrap your hands for boxing and kick boxing is to place the hoop at the end of the wrap around your thumb. After the hoop is around the thumb the fabric is wrapped around the hand four times slowly moving towards the wrist. The fabric is then tied in an X formation around the thumb and returning back down to the base of the wrist. The fabric is then wrapped around each knuckle until all of the fingers have been wrapped correctly. The last step involved is wrapping the fabric ...
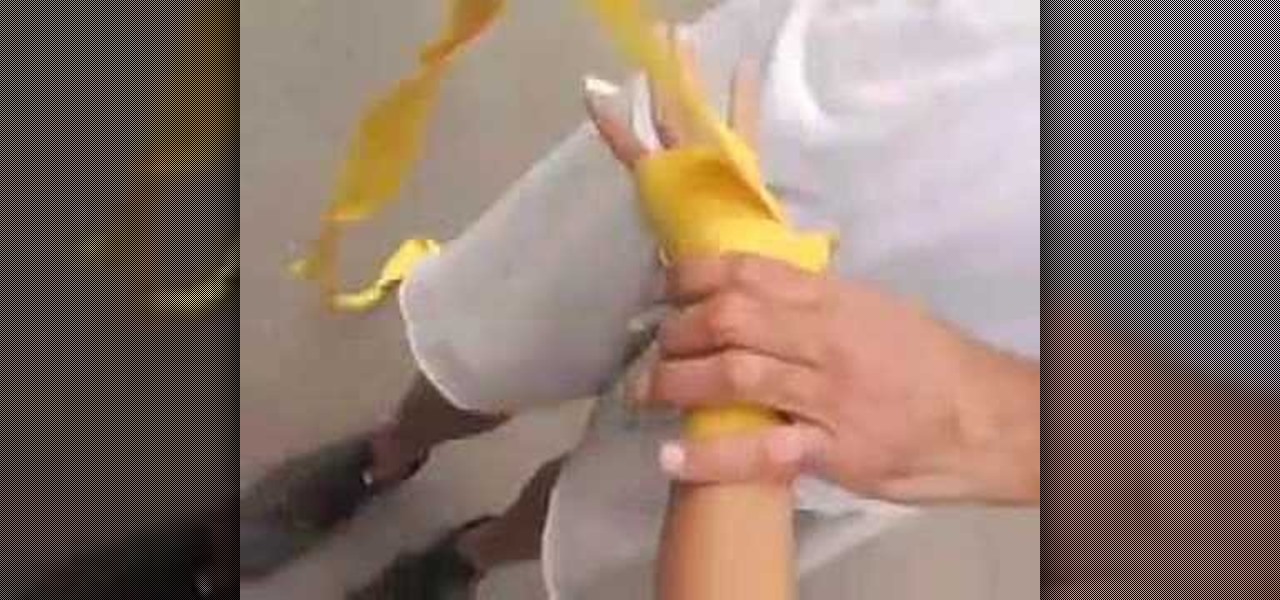
In this video tutorial, viewers learn how to wrap their hands for boxing. Begin by putting the hand through the loop and put the wrap over the hand. Now wrap it 3 time around the wrist and layer it. Then go back and criss cross the back of the wrist, as well as in between the thumb and index finger. Now wrap it around the thumb. Now wrap 3 times around the knuckles and layer it. Go through a pair of fingers, then wrap it around the thumb and repeat this for the other fingers. Finish by coveri...

Add pictures always seems to mess up your document— but not anymore. In Word 2008 for Mac, adding photos doesn't have to be stressful. Words and pictures can coexist beautifully now. The Microsoft Office for Mac team shows you just how to make text wrap around pictures in this how-to video. They will look and fit better, and your words can be friends now with your added images.

Several Tanzanian girls demonstrate how to tie a kanga (an African sarong). The first method is to wrap the kanga around the waist and tuck the end in at the waist to secure. The second method is to wrap the kanga into a cylinder to use it as a base for carrying a parcel on the head. Another way to wear the kanga is to wrap it around the neck like a shawl or wrapped under an armpit and tied over the shoulder for a fancier look. To wear the kanga as a scarf, fold it into quarters the long way,...
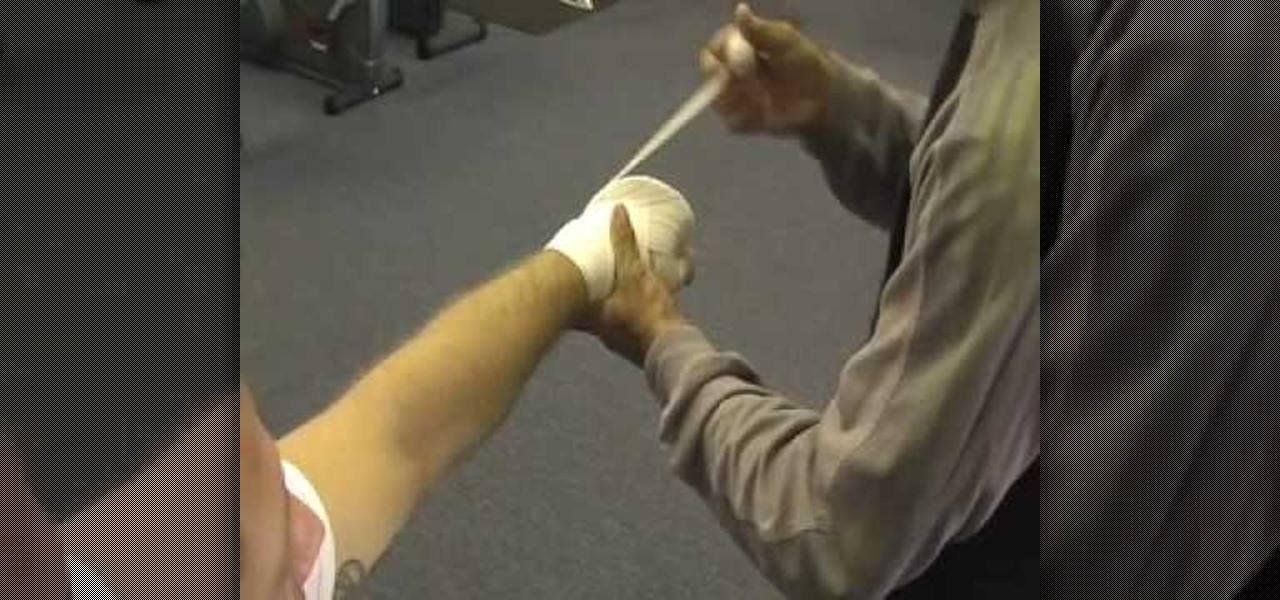
In this tutorial, we learn how to do a basic hand wrap for boxing. First, grab the wrap and wrap it around your knuckles several times. After this, wrap down towards your thumb. Then, wrap diagonally and go the wrist, wrap around this several times. From here, wrap around the thumb from the wrist and then go diagonal to the area below the knuckles. Use your fingers to space in between the wrapping so you don't make it too tight. Continue to do this same pattern a few more times until you have...

To create an added interest with text, learn how to wrap text around paths or shapes using Illustrator software. This video from Task Tutorial shows us each step involved with wrapping text around an oval as an example. However, any shape or path can be used to wrap text around that object. An object just needs to be placed on the page and then the "text wrap" command needs to be applied, and the wrapping will be done for you automatically. The Illustrator effect allows you to break up a page...
When you place an image in the same box as text, chances are you're going to want the text to wrap around the image just as you would in page layout. In this tutorial, Terry White will show you just how easy it is to not only wrap the text around, but to also give your image some extra white space around it. Watch this amazing video now!
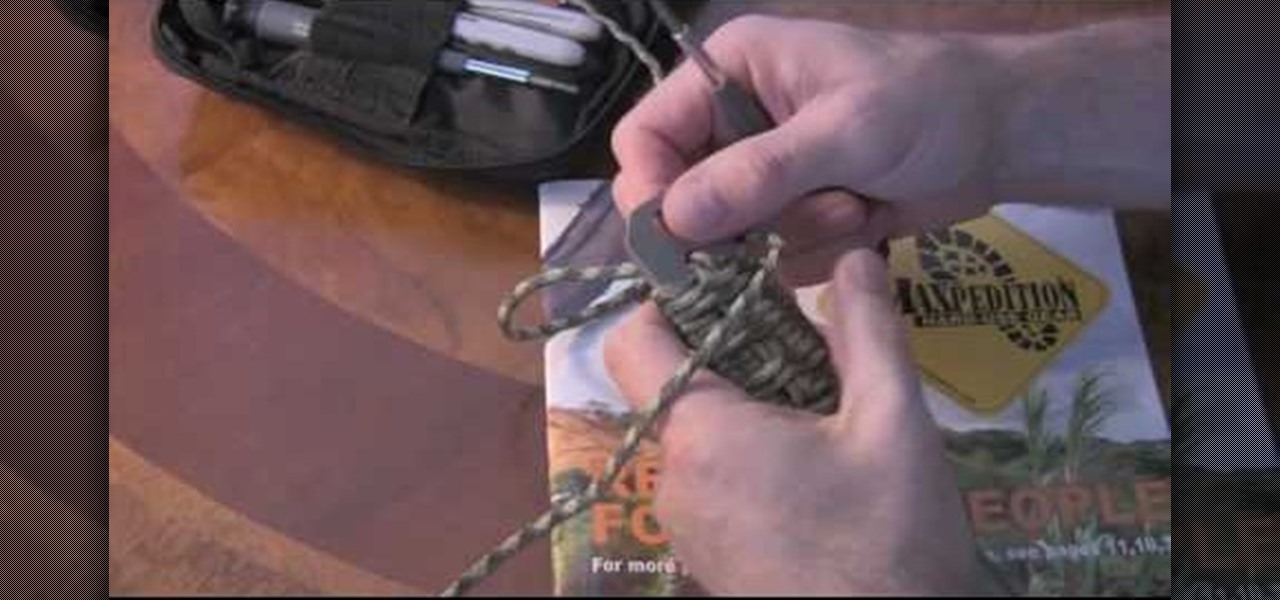
Breacher bars are like the much cooler older brother to the swiss pocket knife. In fact, there's little comparison between the two. A breacher bar, which is a rectangular shaped knife, is used by SWAT teams and bomb techs to easily and quickly cut through and pry open just about anything. But safety comes first.

Learn how to add use text wrapping in your Microsoft Word 2010 documents. Whether you're new to Microsoft's popular word processing application application or a seasoned MS Office professional just looking to better acquaint yourself with the Word 2010 workflow, you're sure to be well served by this video tutorial. For more information, and to get started wrapping text around images in your own Word documents, watch this free video guide.
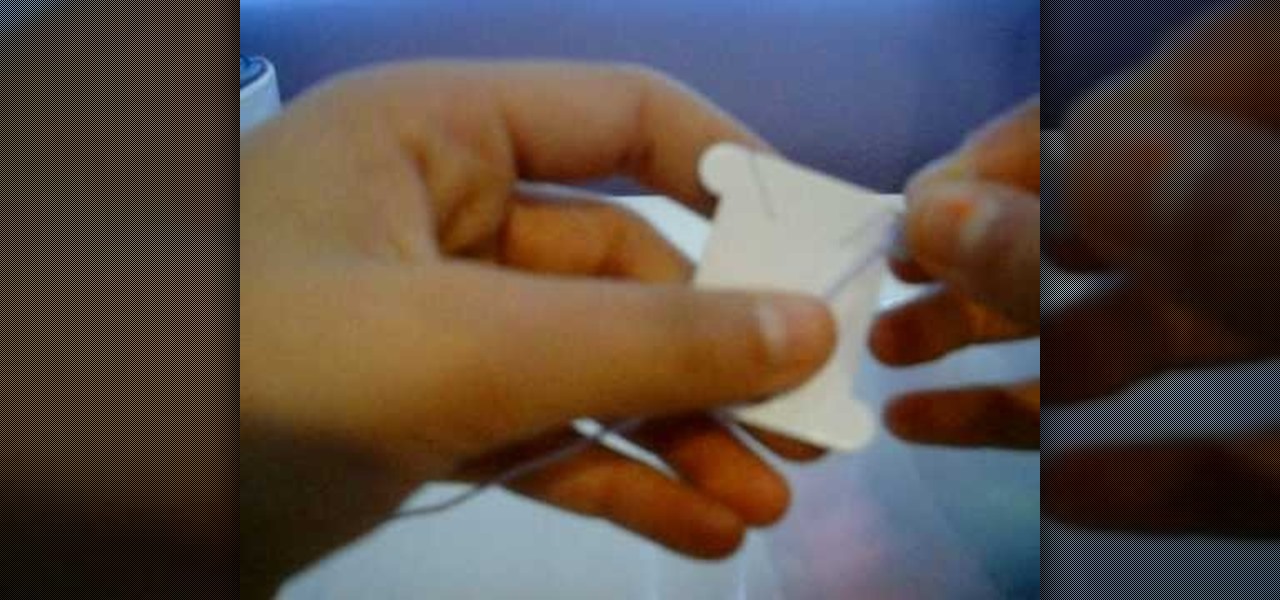
In this how-to video, you will learn how to wrap embroidery thread around a bobbin. In this example, the embroidery thread is both purple and light purple, but you can choose whatever you want. First, take the end of the embroidery thread and place it through one of the slots. Hold it back, and then wrap the embroidery thread around the bobbin until you get near the end of the thread. The end should be placed in a different slot on the bobbin. By viewing this video, you will learn how to quic...

Here is one technique to wrap your hands for boxing, as recommended by an instructor. You'll need a wrap that has a thumb loop and Velcro on the other end. While you're doing this, make sure that it's comfortable and not too tight.
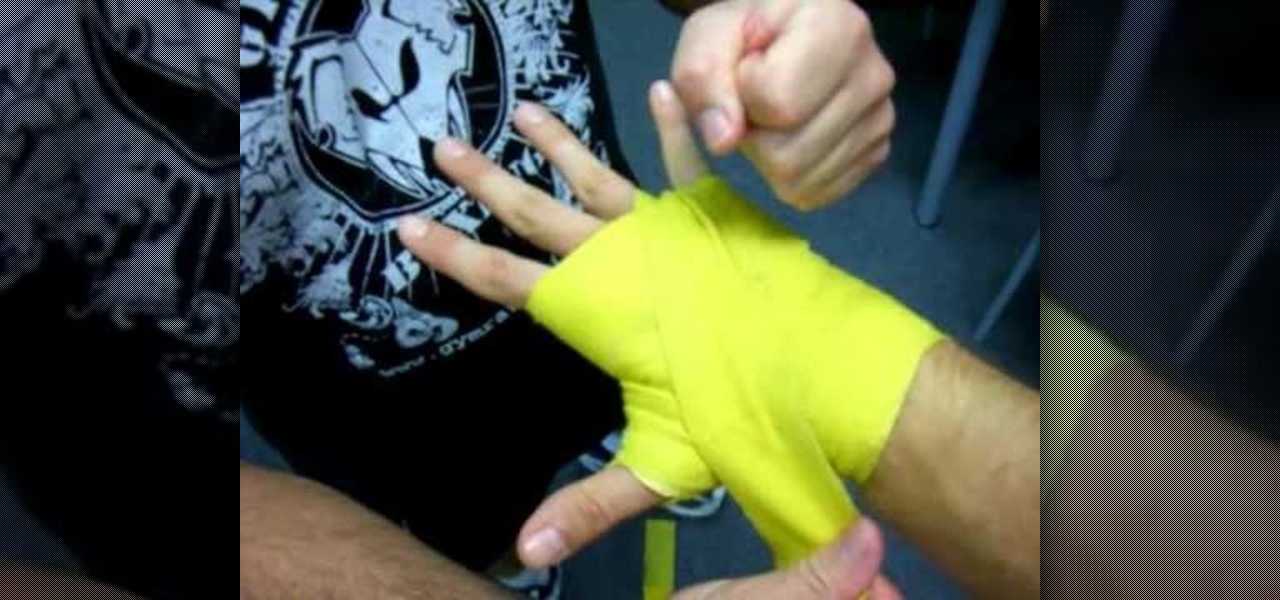
In this video tutorial, viewers learn how to wrap the hands for boxing, MMA and kickboxing. Begin by putting the thumb through the loop and bring it under the palm. Wrap it one time around the wrist. The cross it through the thumb and index finger. Wrap around the knuckles 3 times. Now cross it behind the thumb and over. Then go under the wrist and over the thumb again. Then go over the wrist, under the palm and through the pinkie and ring fingers. Roll around it to secure and repeat for othe...
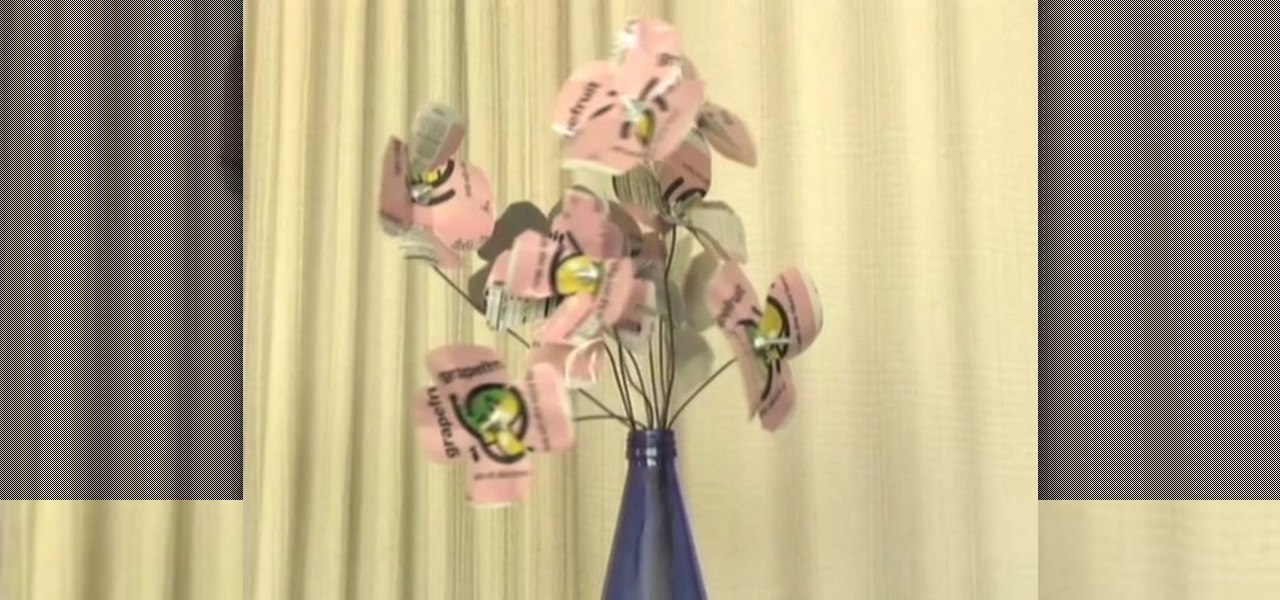
Watch and learn with the GOMI crew. This instructional arts and crafts video shows you how to turn your empty cans into cool, beautiful flower bouquets. Recycle cans and make a fun flower design for your bedroom, dorm room or front porch. Place the aluminum flowers in a recycled glass bottle to use as a vase for your beautiful bouquet.
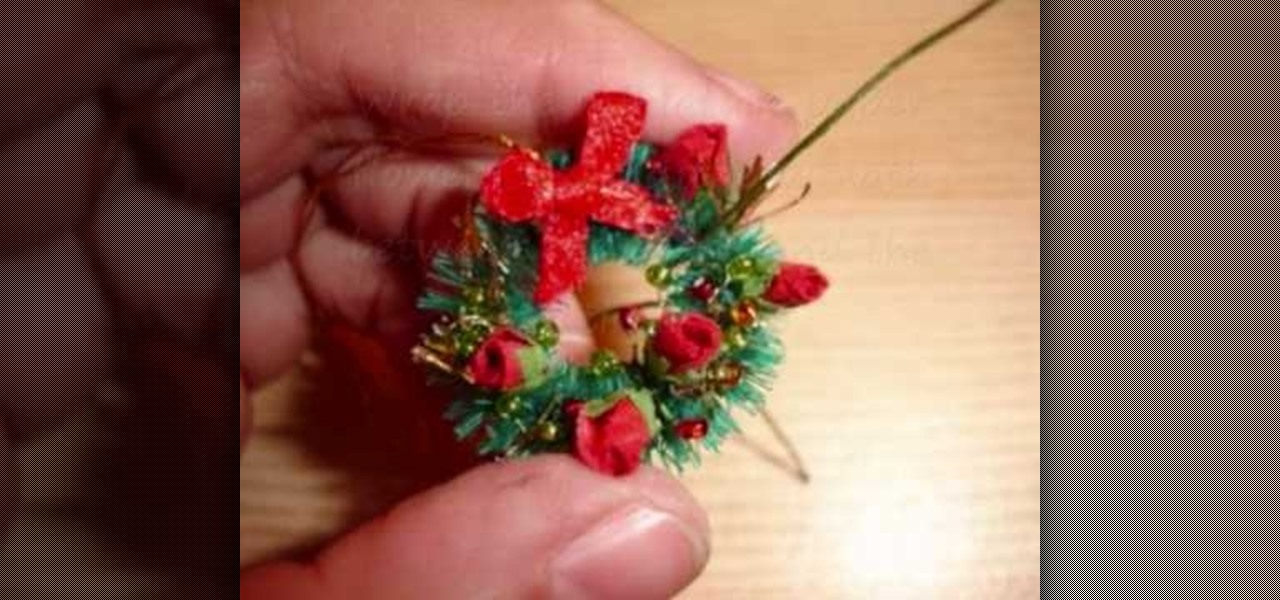
The equipment that you need is pliers, beads, beading wire, tinsel, some miniature flowers and a plain wreath. Twist a section of beads onto the wire, 5 beads make a nice grouping. Twist the 5 beads onto a single wire to make a bunch. Make enough bunches to cover the wreath. Fold a piece of tinsel between your fingers. Wrap the beading wire around the tinsel to hold it firm. Fluff the tinsel to give it some depth. Wrap the bead bunches and tinsel wraps around the wreath. Wrap the miniature pa...
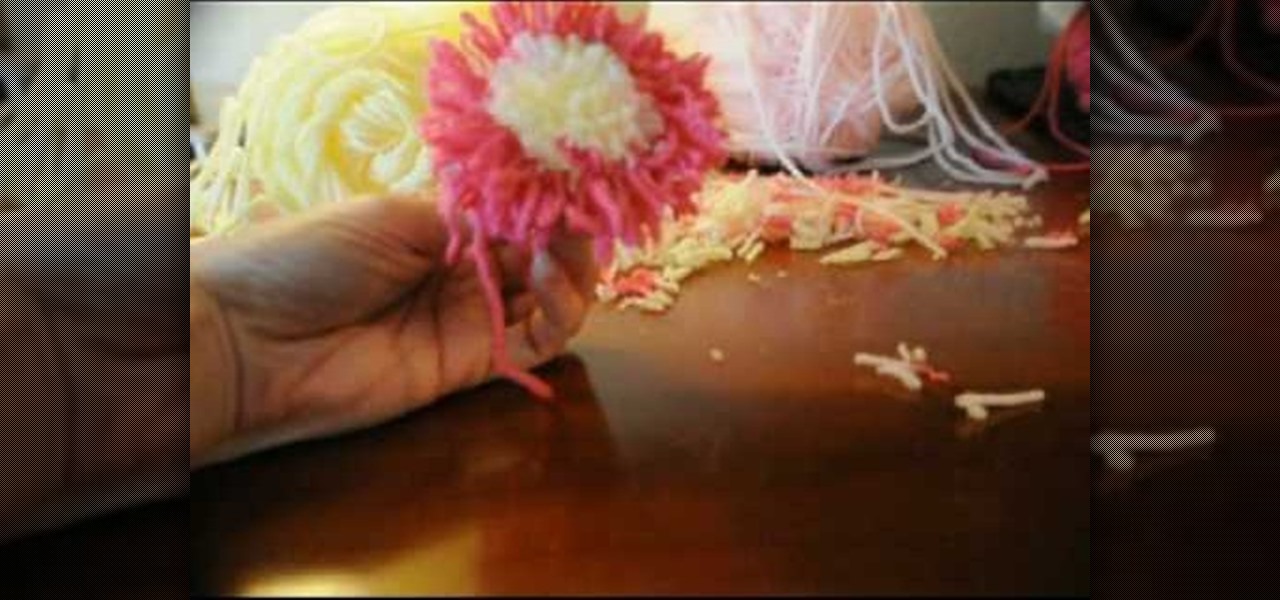
Tracey shows us how to crochet an easy pom pom flower in this tutorial. First, wrap your yarn around four fingers several times, and then wrap another color around as well. Last, wrap one last color on top of the middle color still wrapping around your fingers. Now pull the yarn off your fingers and tie a piece of yarn down the center of the wrapped yarn. Pull this as tight as you can and make as many knots as possible with this piece of yarn. Now cut your loops open with scissors through the...

As you apply the wrap you want the most pressure down by your toes and the least up your leg above your ankle. That keeps swelling out of your feet and back up toward the heart. Start by wrapping around the base of the foot. As you move up toward the ankle you will begin wrapping the ankle in a figure eight going around the ankle and then around the foot. You want to wrap the ankle 3-4 times to give it some good stability. Then wrap the ankle in circles around the ankle and then up the leg. Y...
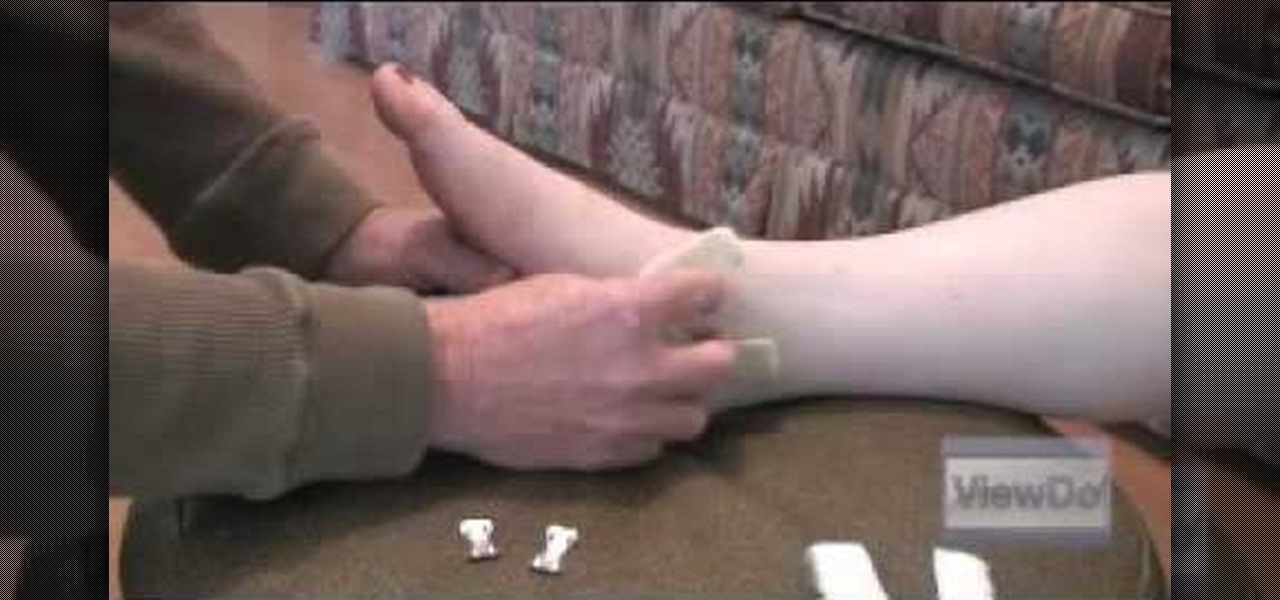
Assemble the necessary equipment: a roll of 1- to 2-inch-wide athletic tape and a pair of scissors. Wrap one piece of athletic tape under the heel of the foot and bring both ends up the ankle to either side of the leg. The tape should form a "U," like the stirrup on a horse's saddle.
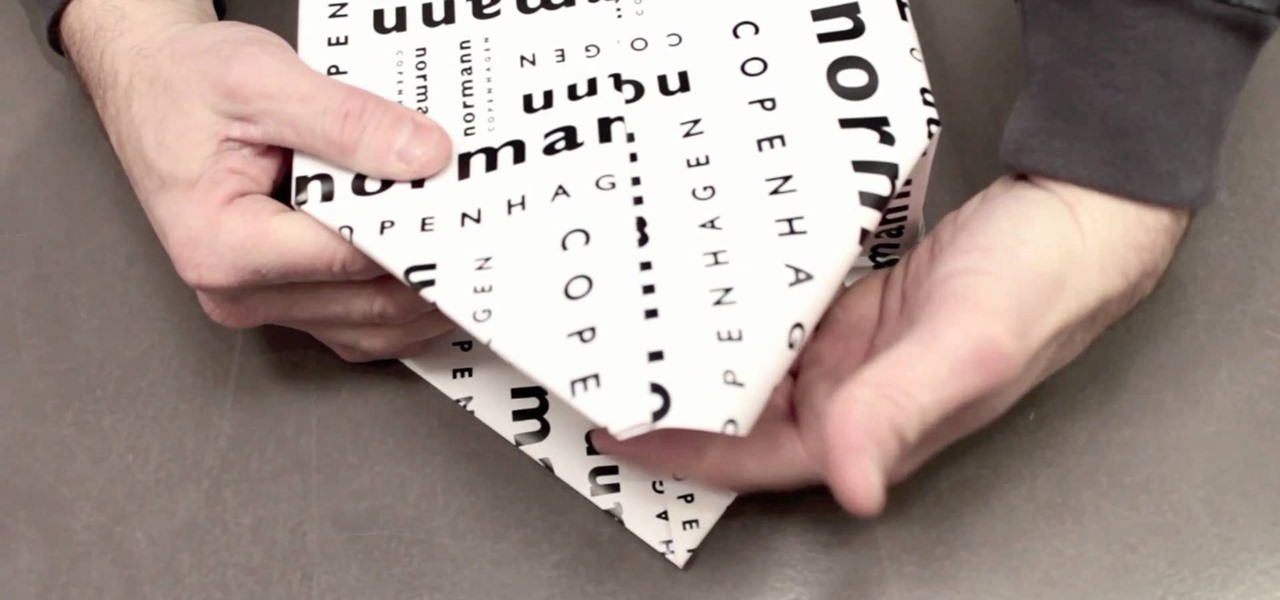
We totally get it if you're a present wrapping procrastinator. Thinking about what presents to get your friends and family is hard enough, and then actually going to the store and shopping around for them for hours on end is exhausting. By the time you have everything in front of you, the thought of wrapping them is just painful.
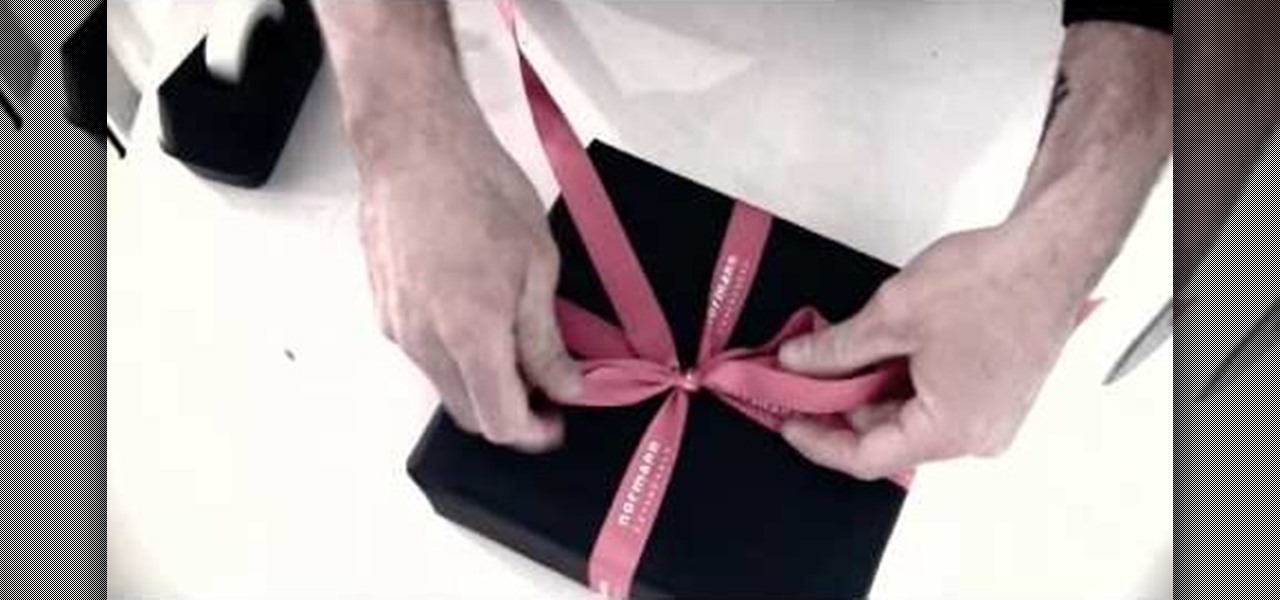
In this tutorial, we learn how to wrap a gift the easy way. To begin, lay the wrapping paper down on a flat surface. Next, lay your gift down upside down on the middle of the paper. Next, fold the paper over half the gift, then tape it. After this, measure the other side to meet in the middle, and make a crease. fold it over the middle and tap it. Now, fold in the sides. To do this, fold in the edges first, then push the top layer down, and bring the bottom layer up. Tape this. Now, turn the ...

The way to wear hijab shown in this demonstration with a simple wrap around the head, securing the hijab with bobby pins at the back of the neck. The ends of the hijab are pulled forward to the chest. Then a thin scarf in a contrasting color can be wrapped around and tied at the nape of the neck as well. A portion of the hijab is pulled forward over it and pinned over the ear. Then one of the ends is pulled under the chin to the opposite ear and pinned to the head. The other end is wrapped ar...
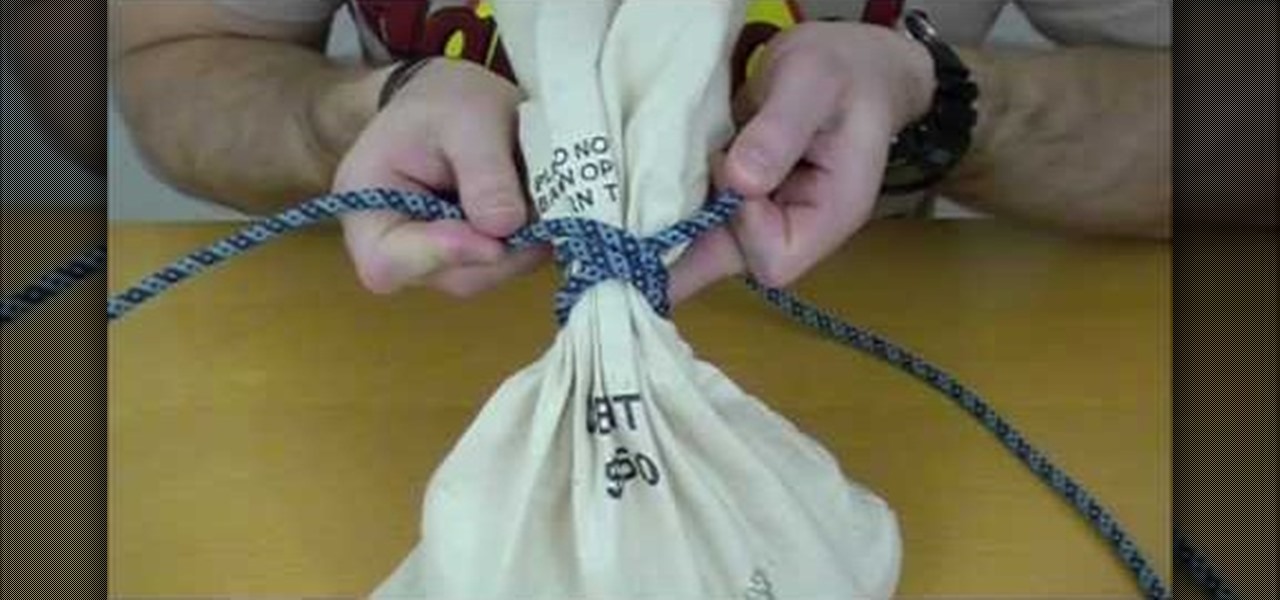
In order to tie a Miller's Knot, which is also known as the bag or sack knot, you should begin by wrapping the rope around the object you wish to bind: the Miller's knot is a binding knot. It is used to bind things. Next, wrap one of the free ends around it. You are, basically, wrapping one end around a second time.

In order to tie a 7 x 5 Turks Head Knot, you will need to begin by draping the rope or twine over the fingers of your outstretched hand. Fold your pink down, leaving your three fingers outstretched. Catch the string in front and hold it with your pinky.
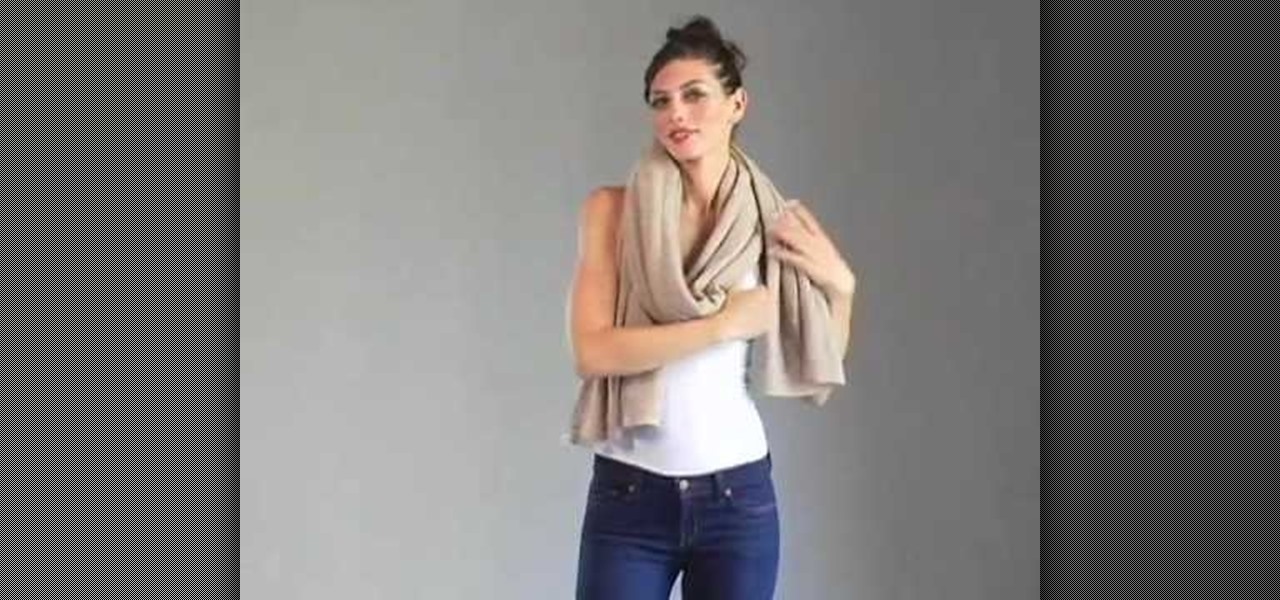
In this video, you will learn how to wear your White + Warren Cashmere Travel wrap. There are four different ways to wear this wrap. The first way involves placing the wrap around your neck. This is similar to a scarf. The second way involves wrapping the cloth around the back of your neck and having the ends go across your chest. Tie the ends behind your back. The third way involves a fancy loop and knot, similar to a fancy scarf. Lastly, you can wear the cloth behind your neck with the ends...
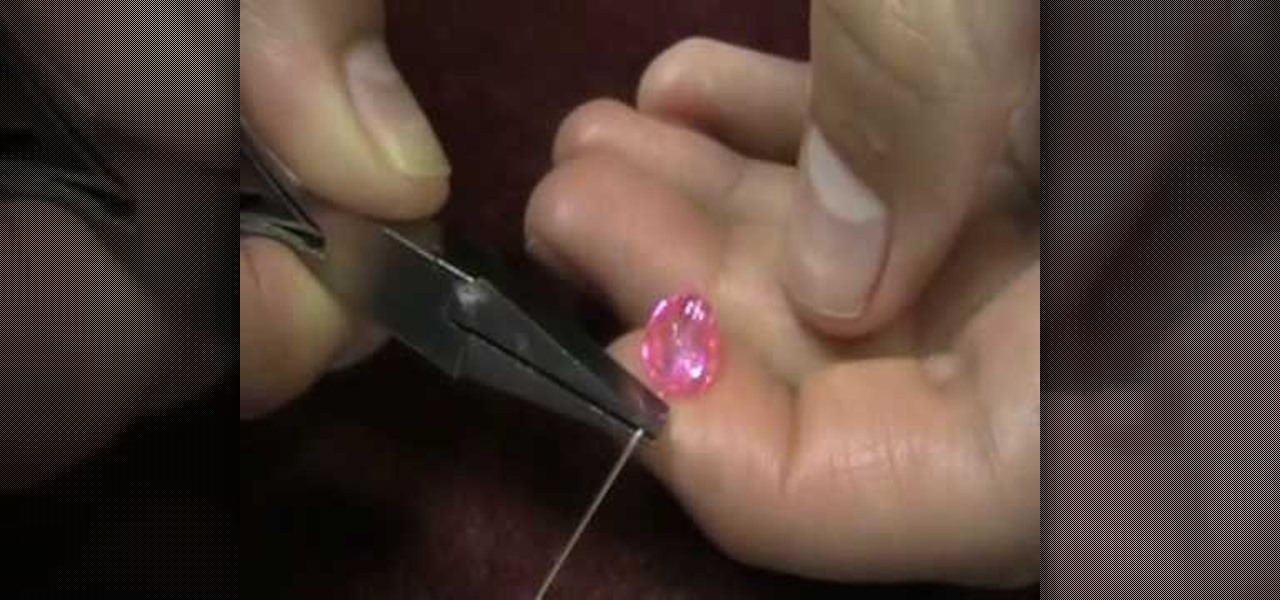
In this video tutorial, viewers learn how to wire wrap a head pin loop. Begin by placing the bead on the head pin, or on a 5 inch piece of wire. Then make a bend on the head pin approximately 1/8 inches above the bead to a 90 degree angle. Now wrap the pin around the jaw of the pliers, pulling it slightly to one side. Holding the bead and wire, rotate the pliers back to form a loop. Finish by wrapping the tail of the wire around the exposed part of the headpin as many times as possible. This ...
Tie a double overhand knot 4" from the end of the shock tippet or other material to which you want to connect your class tippet. Gently tighten the double overhand knot, but only until it turns over and forms a figure-eight. This leaves two gaps through which you can pass the tippet material. Create a doubled section of your tippet 18". Putting a sharp angle on the tip of the doubled loop will help it pass through the figure-8. Pass the doubled tippet line through the top of the figure-8 knot...
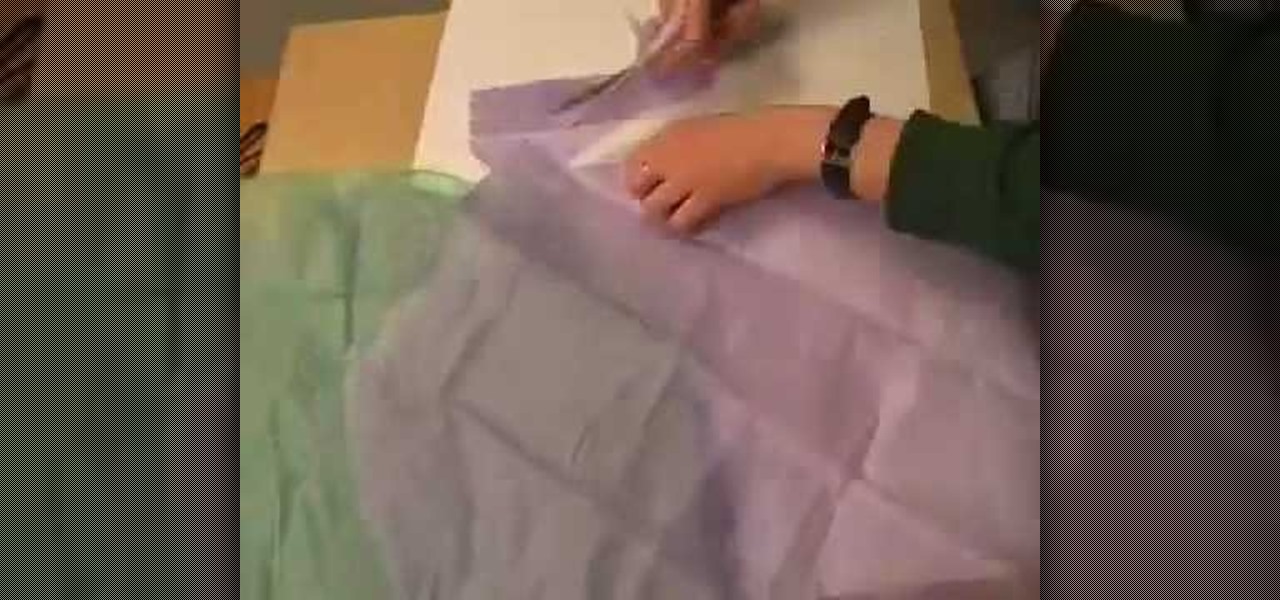
You know those oddly shaped presents that ordinary wrapping paper just can't maneuver around without awkward bulges or rips? Rather than trying to wrap up your chocolate orange in traditional wrap, why not try tissue paper instead?

In this tutorial, we learn how to make a toga in two minutes. First, pick out the fabric that you want, you will need around 6 yards. Next, get in a stance with your legs apart so you have leg room to move after you wrap it around. Then, wrap the fabric around your waist, tucking it into your back pocket to avoid using a safety pin. Next, start wrapping the rest of the fabric around your entire body until you reach the top around your chest. Don't wrap up to your neck. Then, throw the rest of...
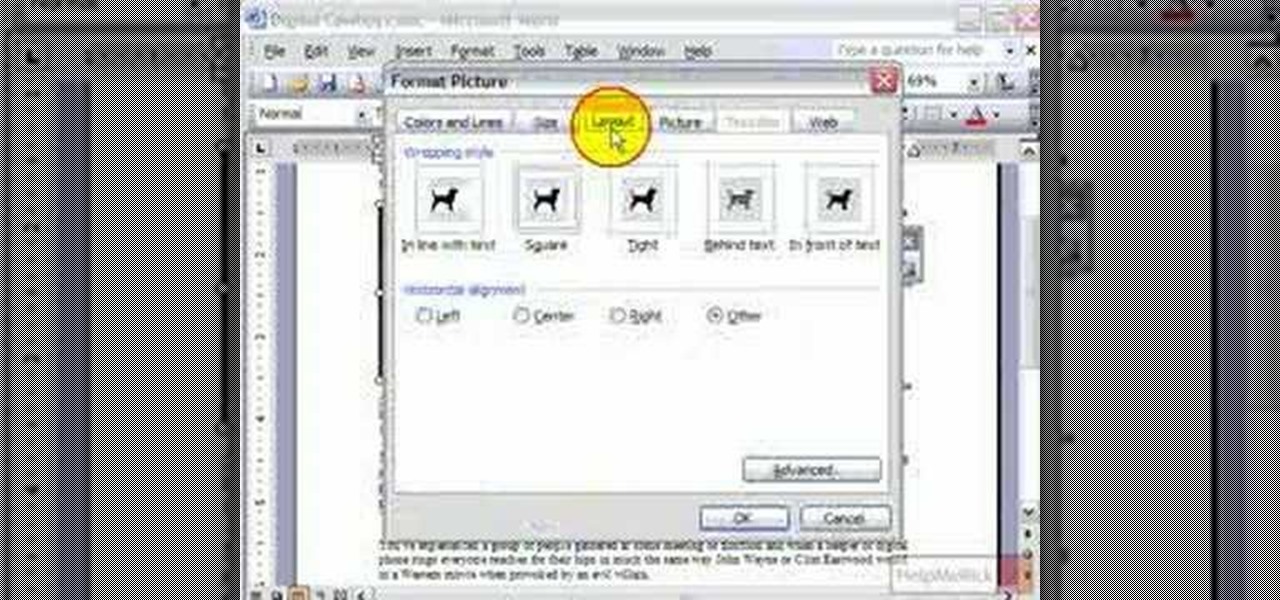
Ever wanted to wrap text around a picture in Microsoft Word (or most any other comparable word processor) but weren't sure how to do so? If so, you're in luck: this video tutorial will take you, step by step, through the wrapping process. To get started wrapping your own text around your own graphics in Microsoft Word, take a look.
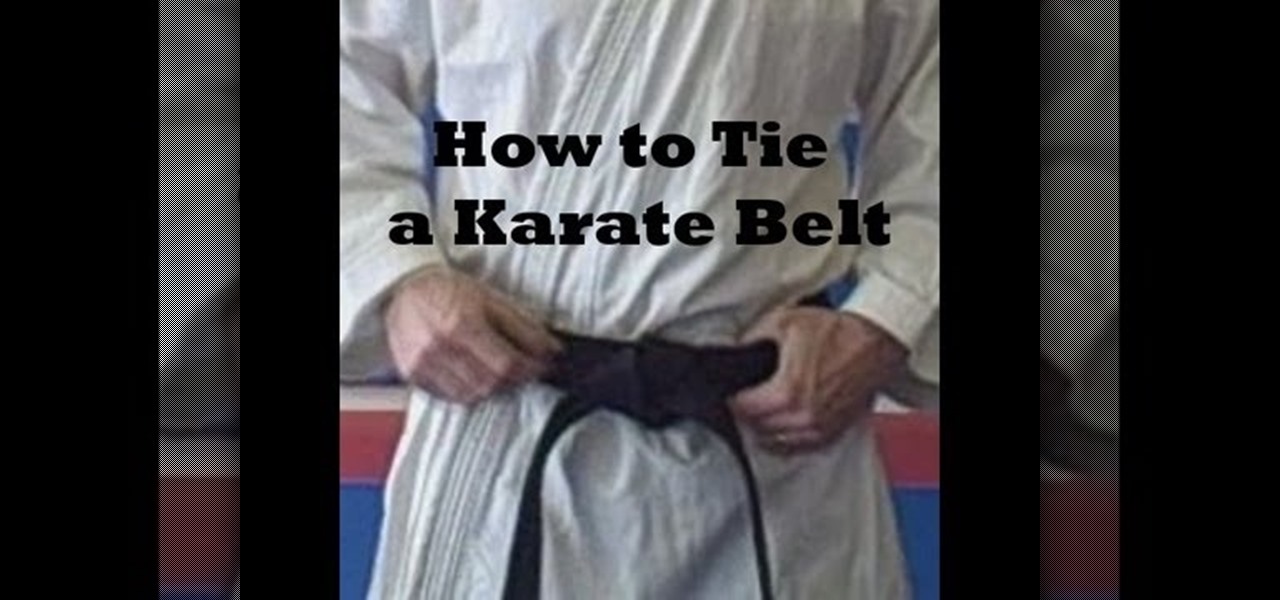
In this how-to video, you will learn how to tie your belt in two different ways. For the first method, take the halfway point of your belt and place it at the belly. Wrap it around and then take the ends an go underneath and through with the right side. Take the left side and wrap it over the right. Tighten the knot. For the second method, take a section of the belt and wrap it around your body. The right will go over the left and go through. Take the left and go over the right and wrap it th...
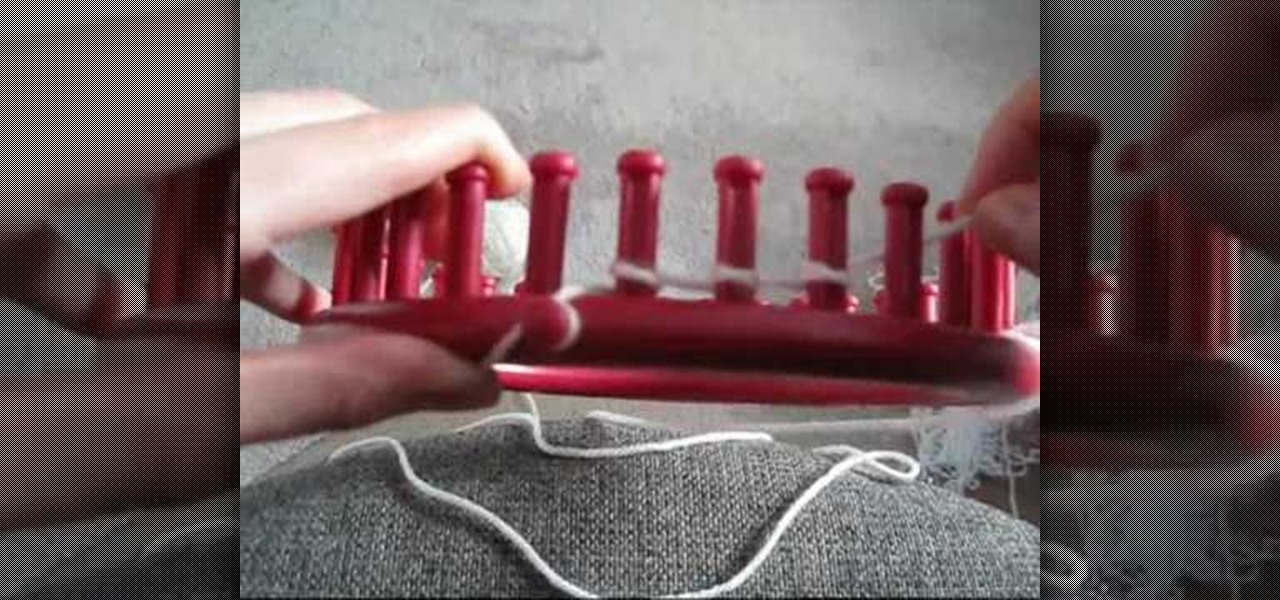
Learn how to cast on to knit using a circular loom. Start at the beginning with an empty loom and wrap your yarn around the beginning peg. Working to the right, wrap the yarn behind each peg, and around in a clockwise fashion. Do the same on the next peg, until you have returned to the beginning again. Repeat this process for the second row. Take your tool, which will come with the loom, and lift the bottom stitch over the top stitch and off the peg. Work all the way around the loom to the be...

This video describes how to wrap text around an image in Wordpress. The video starts with an example describing the technique, showing a video left justified with text flowing around the right side of the image and then vice-versa. He then goes into the Wordpress editor and inserts an image into a new post. After the image has been inserted into the post, the video shows how to set the image alignment to the left. Once this setting is complete the text will then wrap around your image.
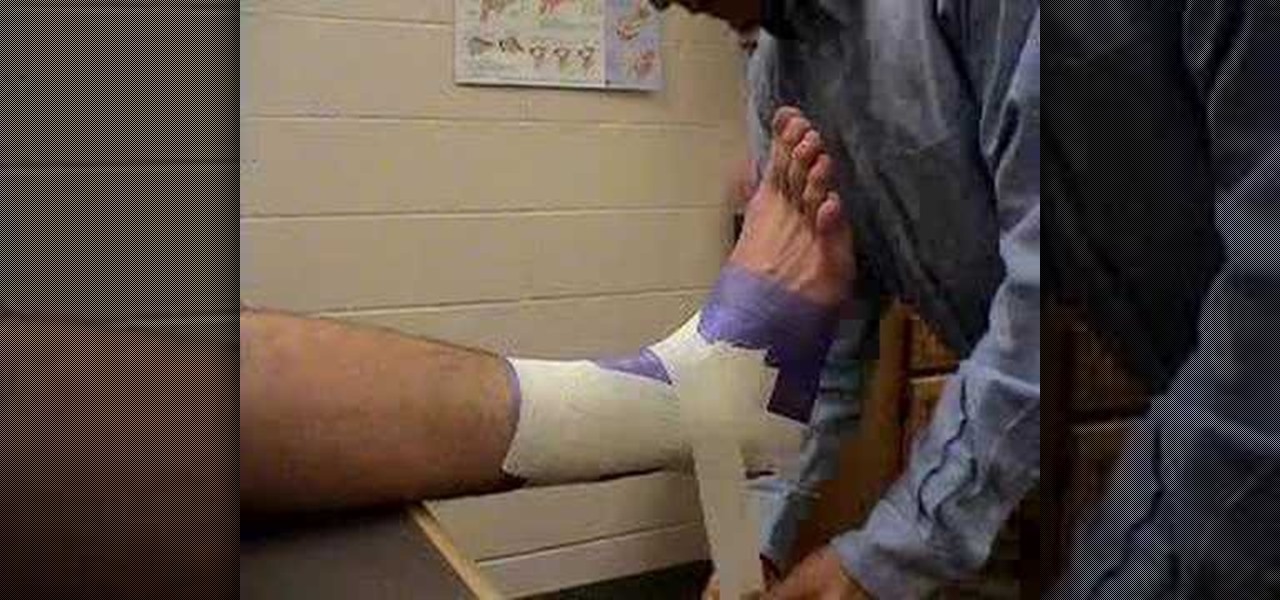
This video shows how to wrap an ankle with athletic tape. First he sprays a little spray adhesive on the ankle and sticks a couple thin pads on places that are prone to blistering. He then wraps the foot and entire ankle with a prewrap to protect the skin and cover the hair so that the tape won't irritate the skin. Then he begins by taping two anchors around the top of the ankle, and putting a piece of tape down the side from the anchors, under the heel, and up the other side like a stirrup, ...

There are many ways to wraps your hands for Muay Thai or kickboxing. One way is to first attach the Velcro to itself so that it creates a loop, after rolling the hand wraps back up in the opposite direction. Now you want to attach the loop to your thumb then wrap the wrap around your wrist three or four times. Secure the thumbs and come up towards the knuckles them you need to make a knuckle pad. You do this by looping the fabric about four times against your knuckles, securing it with your t...
Mixologist Eben Freeman, of Tailor restaurant in New York City, demonstrates how to prepare a variation on the classic Mint Julep cocktail. This Southern whiskey drink conjures up lazy afternoons on the porch or a day at the Kentucky Derby, so it's more of a sipping and enjoying cocktail. You will need sugar, soda water, mint leaves, crushed ice, and whiskey. Watch this video mixology tutorial and learn how to make a mint julep cocktail.
With Christmas just around the corner, it's prime time to start thinking about what gifts you're going to get, as well as how to wrap them. Even a fancy schmancy iPad isn't going to look all that appealing if haphazardly wrapped in 5-year-old Rudolph wrapping paper, right?

Some babies like to be carried on the hip, but arms can tire quickly, and most carriers function either to the front or back. This how-to video demonstrates the process of tying a hip cross carry out of a long baby wrap. Find the middle marker. Place the wrap behind you. Make one side of your cross the short side. Bring the longer side under the short side then around your back making a cross on your hip. The longer side is the tail. Make a slip knot around the tail on your shoulder. Grab you...
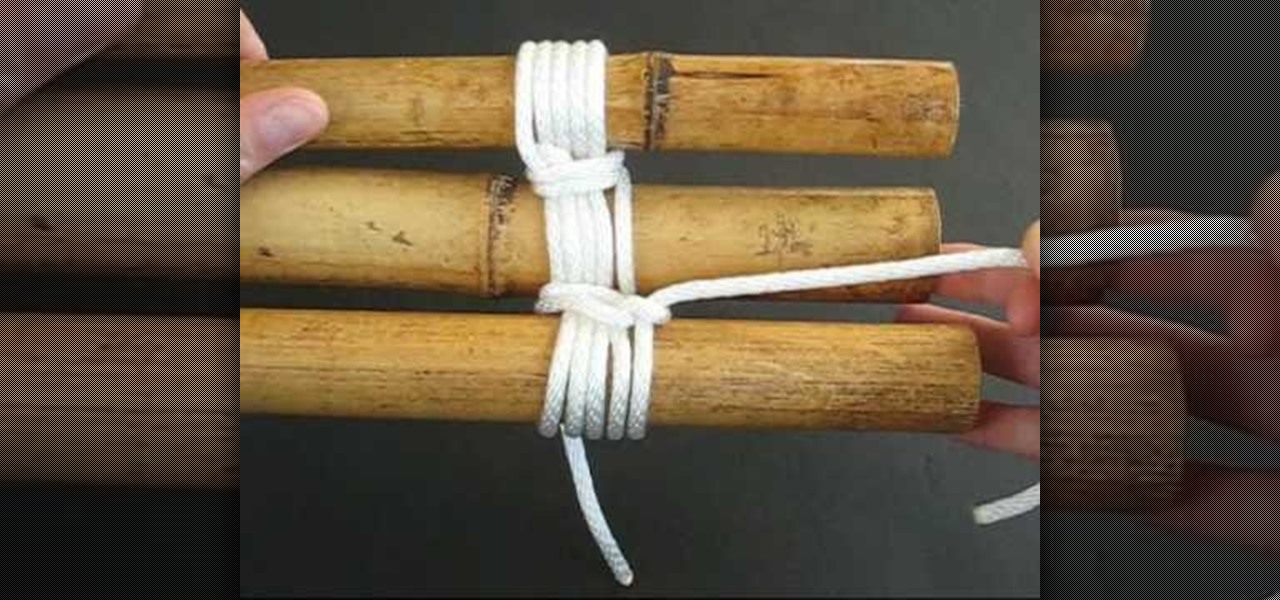
In this tutorial, we learn how to lash a bamboo tripod. First, you will tie a clove hitch by taking one piece of bamboo and wrapping the rope around it, then crossing the two sides of the string together to make a hitch. Next, you will secure the clove hitch around the third piece of bamboo. Now, you will rap all the pieces of bamboo together with the rope. Continue to do this until all the pieces feel secure together. Wrap the rope several times around each of the pieces, then wrap it in the...