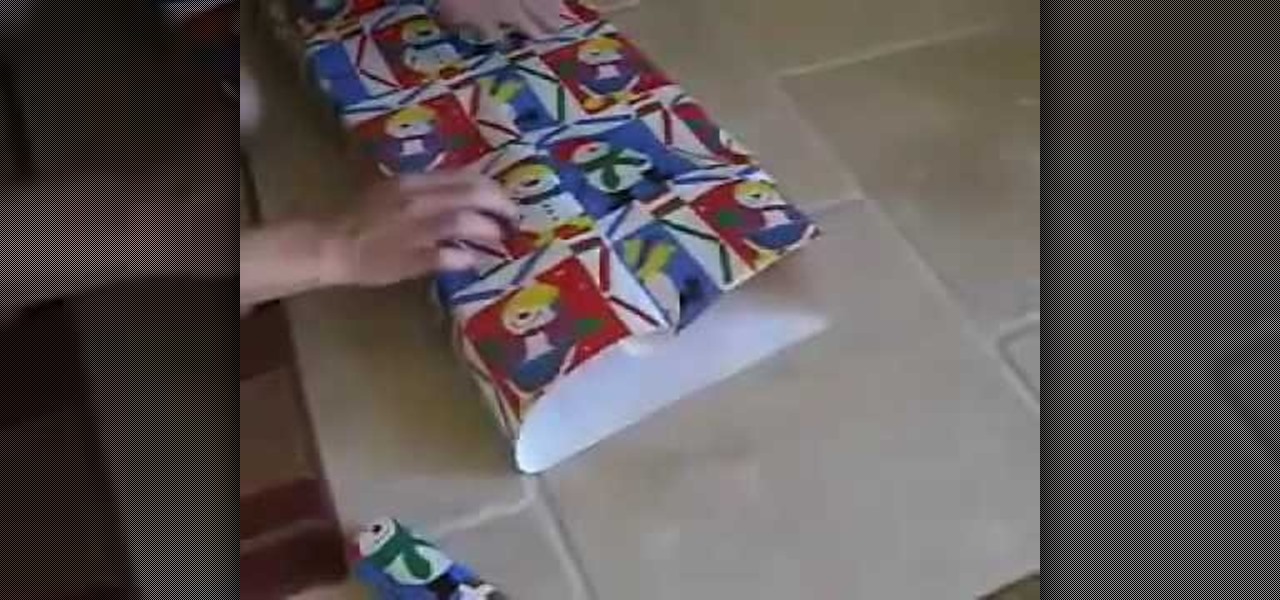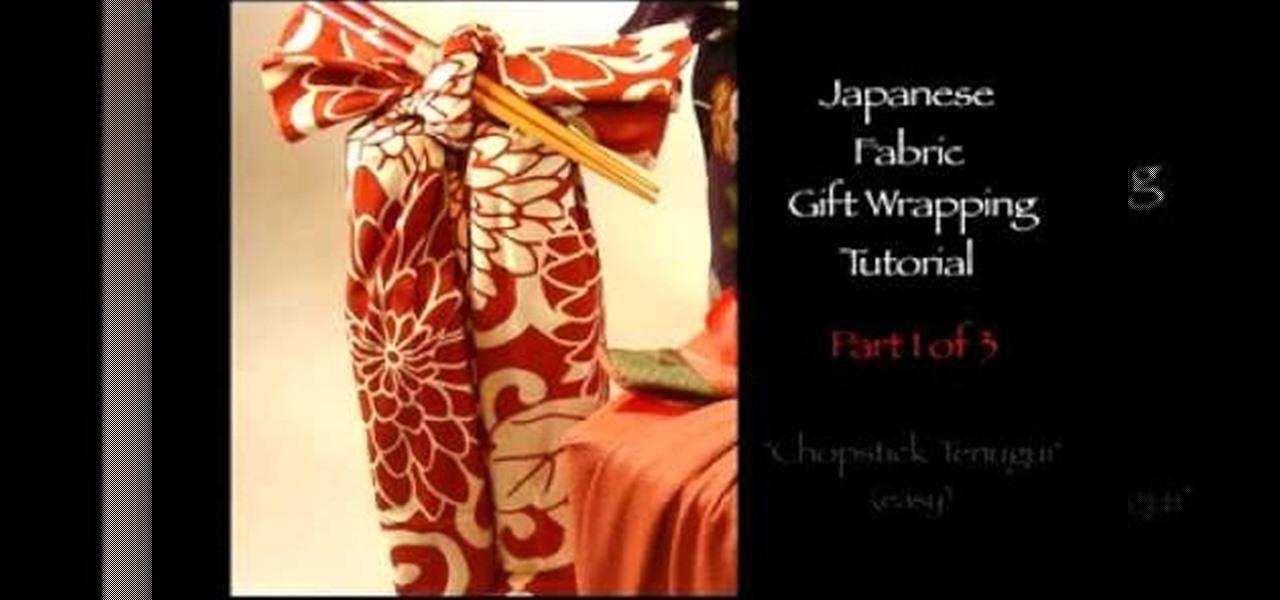
Keep your Christmas green! Don't resort to environmentally unfriendly wrapping paper. You can put your gifts in cloth bags or use catalog and magazine pages as your wrapping paper. Or, just use plain brown paper bags and decorate them as your wrapping paper!
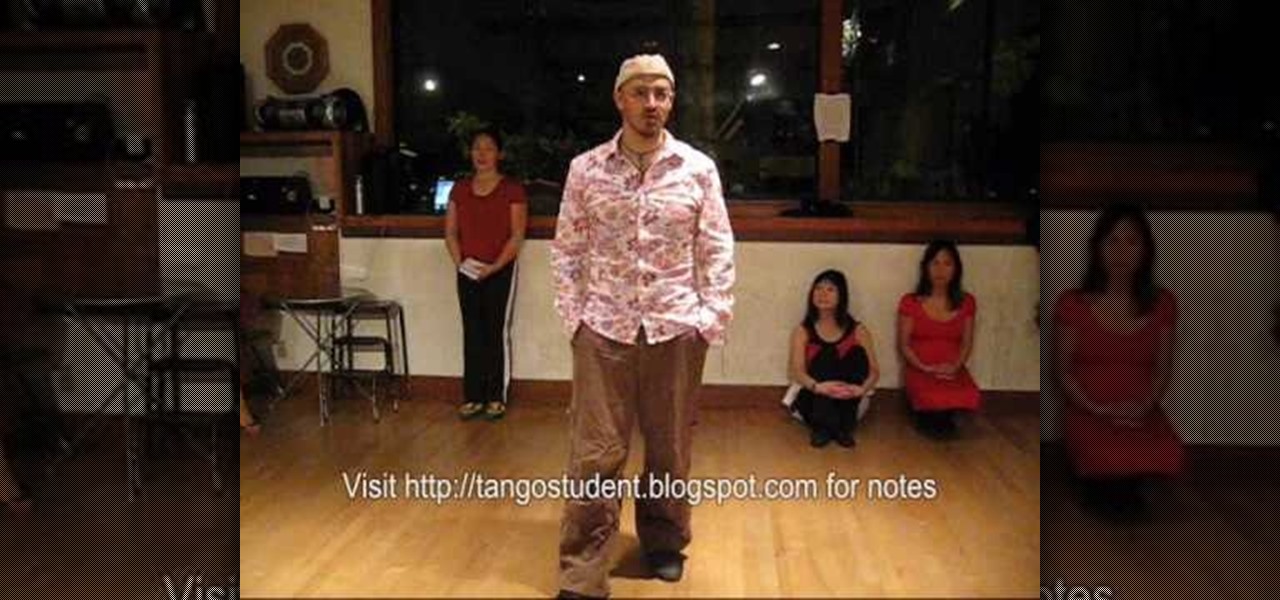
In this video, we learn how to do low and high leg wraps in tango. Whether you are doing a high or low wrap, you want to make sure you have total control over your leg. The leader should know how to position their body and have the right energy while doing this. The leader should have their thigh positioned in the correct place so they can receive the wrap and the woman can wrap correctly. You will have choices on how you articulate the wrap. Have the intention to have full contact with your ...

Do you consider yourself a survivalist? Well, you can't be a survival expert if you don't know how to start a fire without a match or lighter. The bow drill is an ancient tool for making fire. The bow rotates the drill, and the friction produces enough heat to start a fire.

In this video from FusionNW, Paige Walker from The Container Store gives us some gift wrapping tips. A lot of people have trouble wrapping presents with wrapping paper. Here we learn how to make it simple, with your gift-wrapped presents looking like they were professionally wrapped. Remember: A gift that's wrapped in a very special way is just as special as the gift itself! One thing that's important is that you measure the wrapping paper right, and this is demonstrated for us. You'll want t...
There’s an art to packing boxes without breaking your good china—or breaking your back. You Will Need
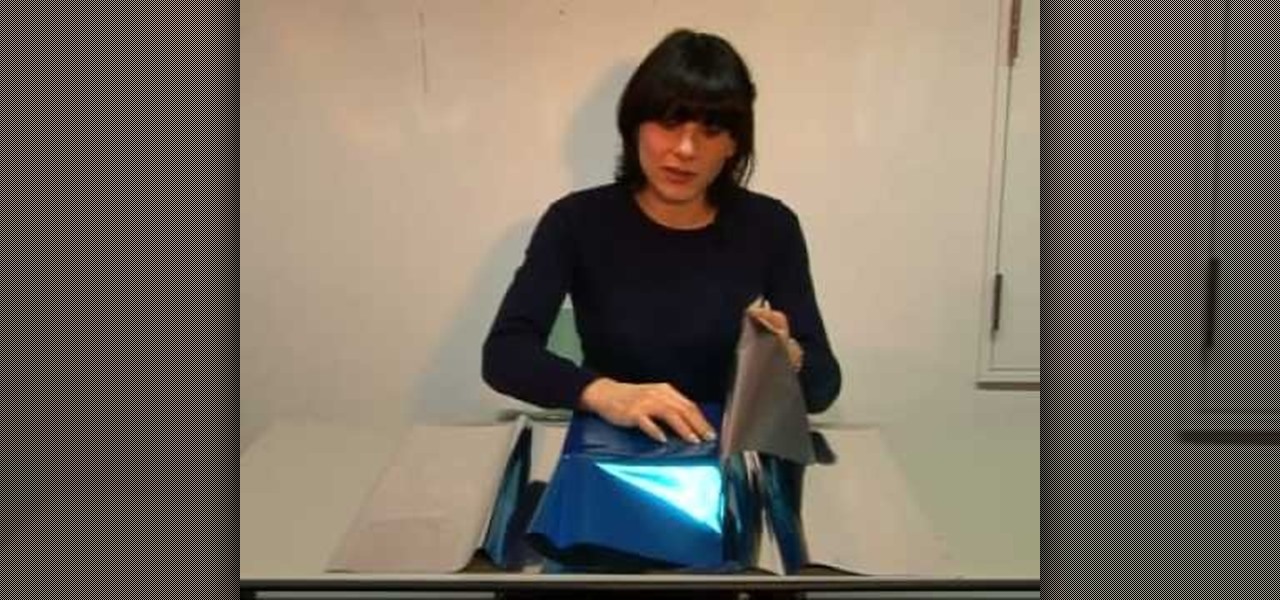
It's Christmastime, which means presents! Not only are you going to unwrap gifts under the Christmas tree this holiday season, but you'll probably have to wrap a few for others.

Learning to make jewelry is not complete until you know how to create wire wrapped jewelry. This jewelry how-to video demonstrates how to make a wire wrapped pendant. Watch and gather all the jewelry making tools to create beautiful wire wrapped pieces of jewelry.

In this video, we learn how to arrange a flower wedding corsage. First, grab a white flower and cut the stem off of it, then wrap floral tape around it. From here, grab a pink flower and do the same process. Next, grab baby's breath and other small leaves and add them to the pink flower and the rose. Use floral tape to wrap these all together until they are all stuck together. When finished, cut off any excess stems to the flowers and you can wear as a corsage! Use pins inside the stems and o...

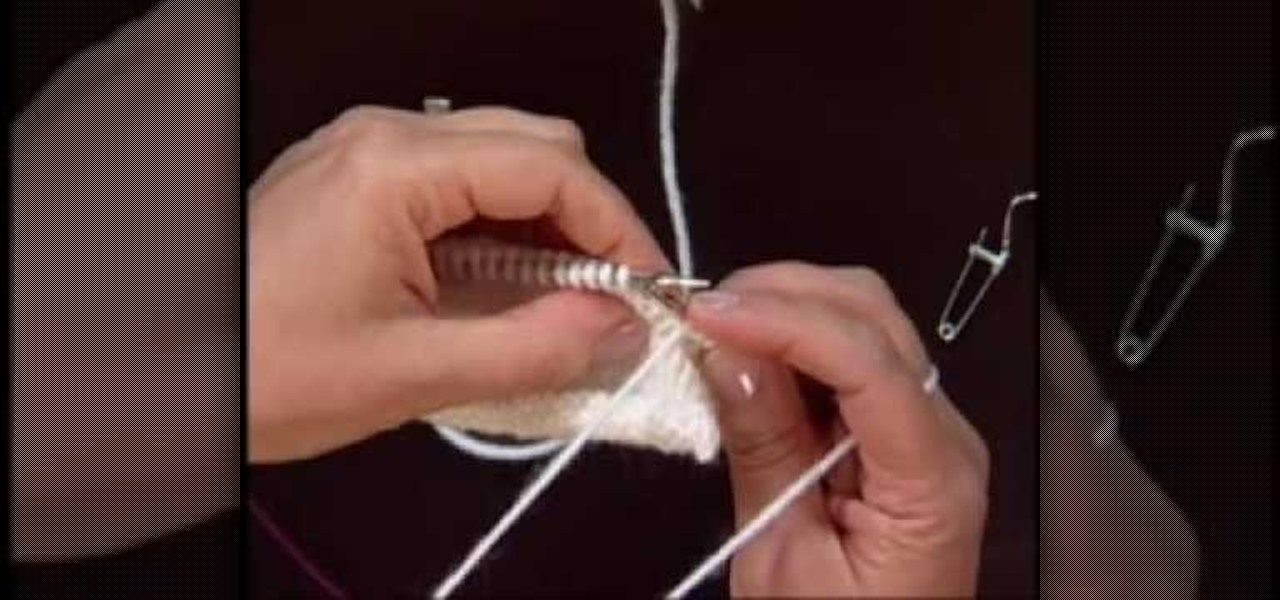
In this tutorial, we learn knitting basics. To knit, you will start out by selecting your choice and colors of yarns. After this, you will need to grab two knitting needles and then make a slipknot from the yarn with your finger. Attach this to one of the needles and then start a chain one on this. From here, you will continue to wrap the thread around the needle and then squish it all together. Then, take the other needle and wrap it into the first part of the thread. Then, continue to work ...

In this tutorial, we learn how to make a cheap wedding cake topper. You will need: Styrofoam, cling wrap, ribbon, and flowers. First, cover the Styrofoam with cling wrap. Next, clip an inch off the stem of your flower, and then press the flowers into the Styrofoam ball. Make sure the flowers are close enough together, to where you don't see the ball on the bottom at all. Once you do this, you can place it on top of the cake and decorate the rest of the cake. You can tie ribbons around the cak...

This Hosting & Entertaining video tutorial will show you how to make a bow for any occasion. LeAnn Dolan, owner of Ecru Modern Stationer, shares her secret of creating a wonderful gift pack topper. For this you will need two pieces of ribbon of same color and of course the gift box. First wrap the gift box with one piece of ribbon around all four sides, tie a knot at the center of the box. Then with the other piece of ribbon, make plenty of loops wrapping them at the center till the whole len...

In this video, we learn how to wrap a gift. You will need: scissors, your gift, tape, and wrapping paper. First, place your gift down on the rolled out wrapping paper upside down. Measure out the paper so you have enough, then cut the paper from the roll. Next, you will fold the edges of the paper down, then center the gift on the paper. Bring the sides of the wrapping paper into the middle, then tape it. If you have too much paper on the edges, cut it carefully with the scissors. Now, push d...

In this video tutorial, viewers learn how to gift wrap two bottles using the chopstick tenugui wrap technique. Tenugui is a thin Japanese hand towel made of cotton. The materials needed for this gift wrap are: a tenugui, chopsticks and two small bottles. Begin by laying the bottles horizontally as the bottom bases touch on the tenugui. Roll the tenugui and fold it up. Tie the ends with a double cross and add the chopsticks in the knot. This video will benefit those viewers who are planning to...

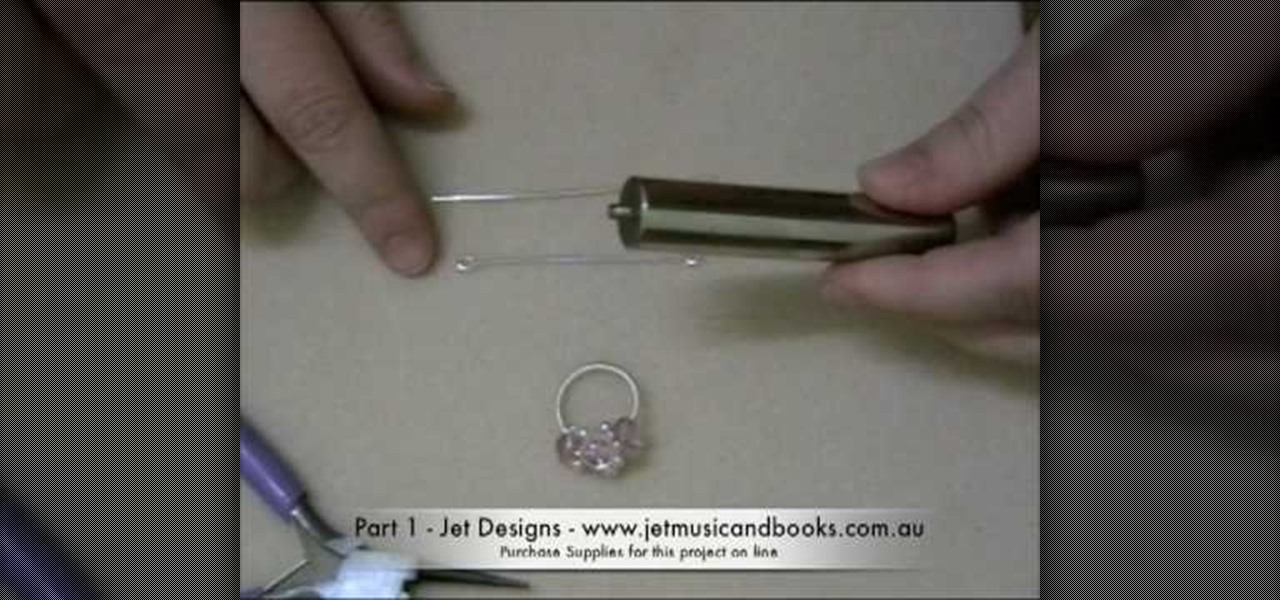
Sick of spending massive amounts of cash on jewelry that's not even your style? Express & accesorize yourself exactly the way you'd like by making your own jewelry! In this three-part jewelry-making tutorial, learn how to make a wire wrapped ring base with a crystal beed accent. You will need: A pair of flash cutters, pliers, a round object to make the ring form, 18 gage copper coated artistic wire, 24 gage artistic wire, and 26 gage artistic wire to secure the crystals & beads on the ring. E...

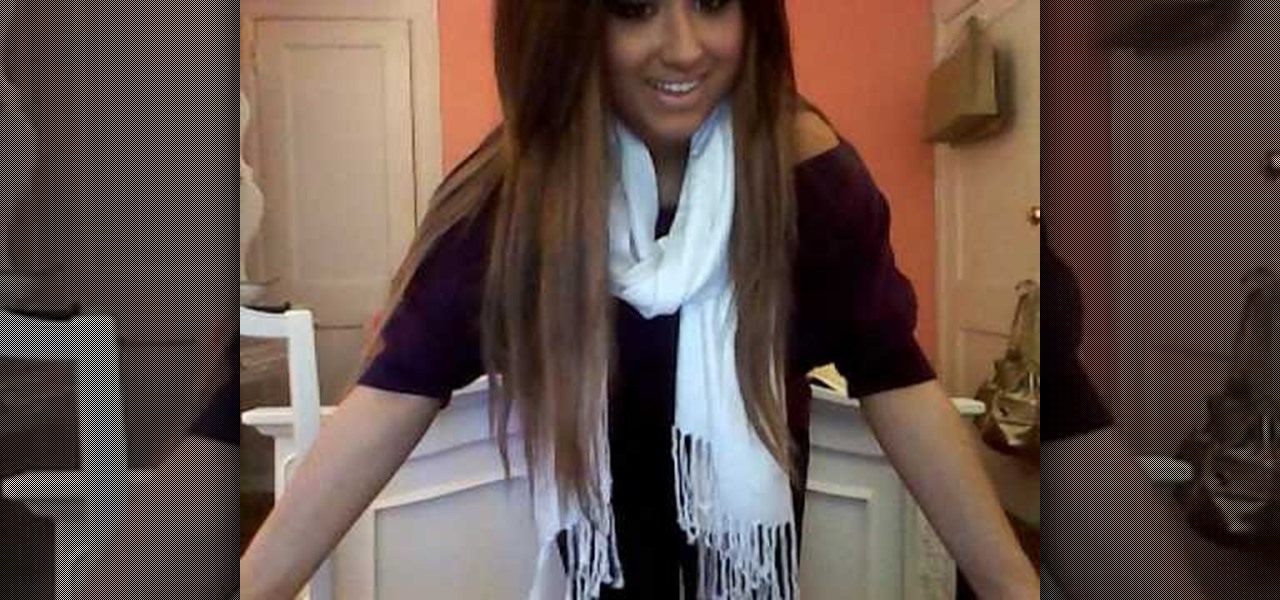
In this tutorial, we learn how to wear your scarf. First, wrap the scarf around your neck and then take one side of the scarf. After this, you can tie it as tight as you can, then loosen it and the sides will go up. Style this however you like it that will work with your outfit. When you have a simple shirt, the scarf will add a cute detail to your outfit. Play around with the scarf until you have it just right! You don't have to wear it just for winter, it can be a spring or summer addition ...

In this video, we learn how to use a curling iron to curl your hair. First, blow dry your hair with a large round bristle brush to give it a lot of volume. Then, section your hair off into pieces and heat up your curling iron on medium. Then, put the iron into each section at the bottom and wrap it around into the root of the hair. Leave it in the hair for several seconds until the hair is hot, then release the hair from the iron. Let it out of the barrel slowly and the curl will stay togethe...

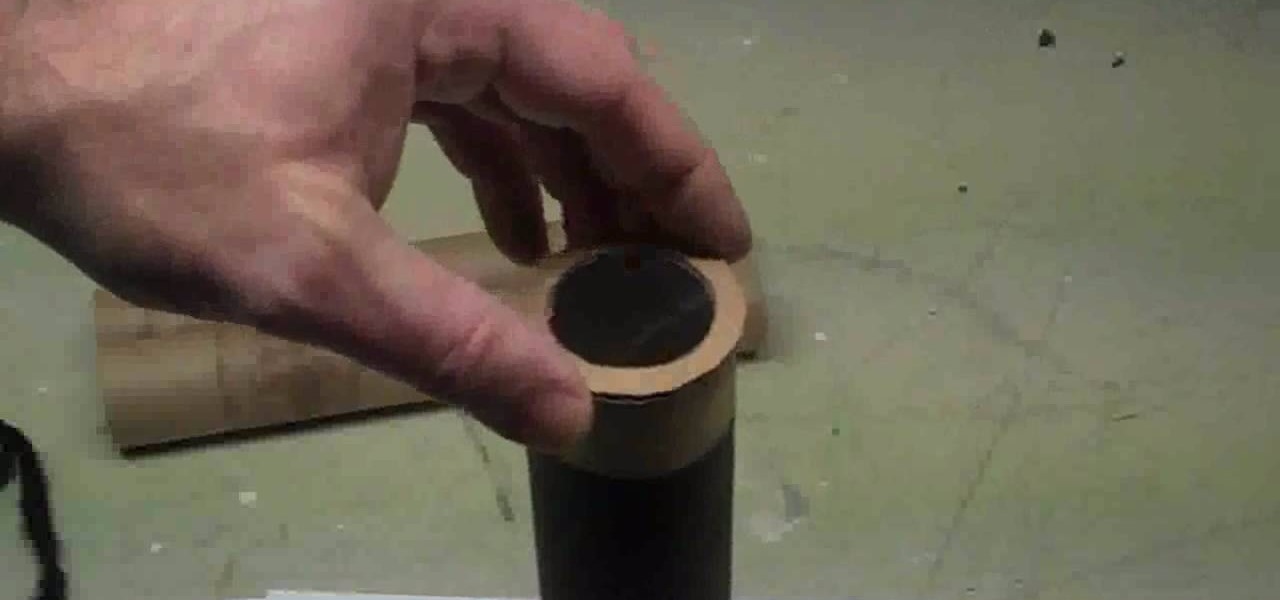
In this tutorial, we learn how to make a small, easy, functional telescope. First, glue a lens in place with glue underneath a piece of cardboard with a circle cut in it. Then, cut this into a circle and tape it to a paper towel holder. Then, you can wrap this in some paper mache around the cardboard. Then, wait for this to dry and spray paint it with gold and black paint. When finished, you will have a functional telescope ready to go and use! This is cheap and a fun project to make with chi...

In this tutorial, we learn how to crochet a jumbo pinwheel swirl stitch. This has the same line count as the smaller, but it will have larger lines that the normal. You will be creating a larger distance between the two colors. Start off at the bottom wrapping it twice around your finger, then pulling it over and pushing it up. From here, you will do sets of eight to create the pinwheels along the design. After this, you will start to create the next level, which will be with a different colo...

In this tutorial, Andrea Wong teaches us how to knit Portuguese style. This is one of the oldest ways of knitting that started in the Middle East. The holding of the needles are the same but the working yarn should come from the left needle. The yarn should be placed around the neck for your tension or through a pin on the shirt. Next, the yarn should go through the middle finger on the left hand. Then, sit in a comfortable position while you insert the right hand needle under the yarn. Then,...

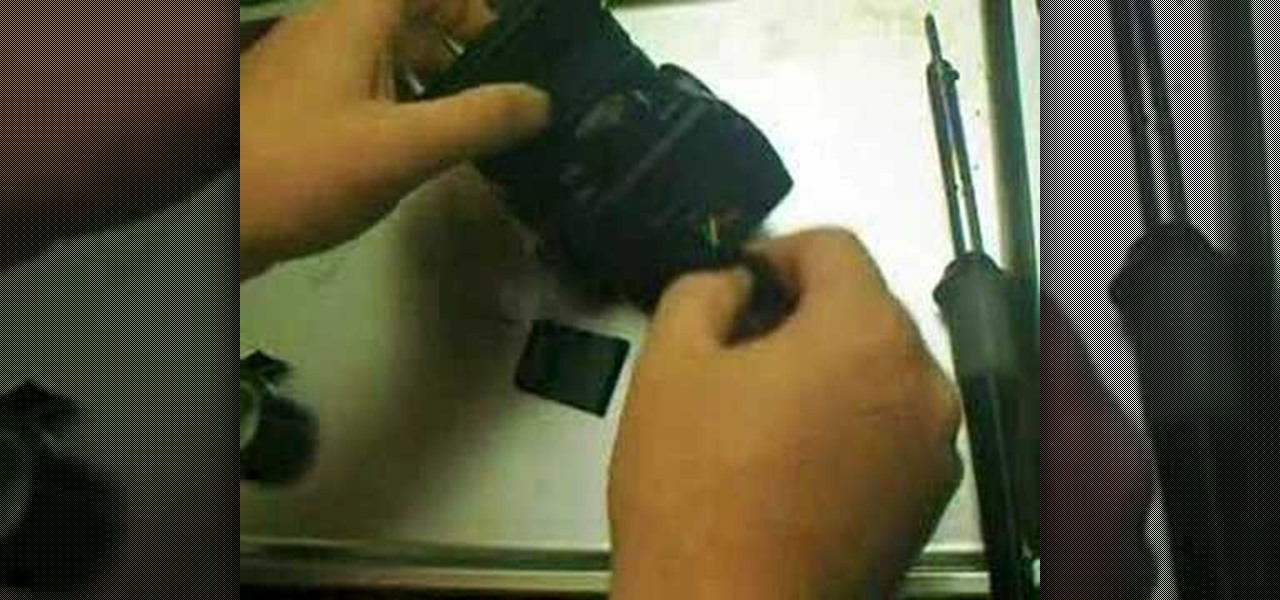
In this tutorial, we learn how to repair the Vivitar 285's Flash Foot. First, remove the flash foot using a soldering iron. Melt the solder just enough, don't ruin the wires or the backing. Now, set the iron down and then short the wires out, you will see the flash go off when you do this. Trim of the exposed wire from the end, then wrap a small amount of electrical tape around the wires. After this, you will repair the metal around where the wires were connected. Then, solder the wires back ...

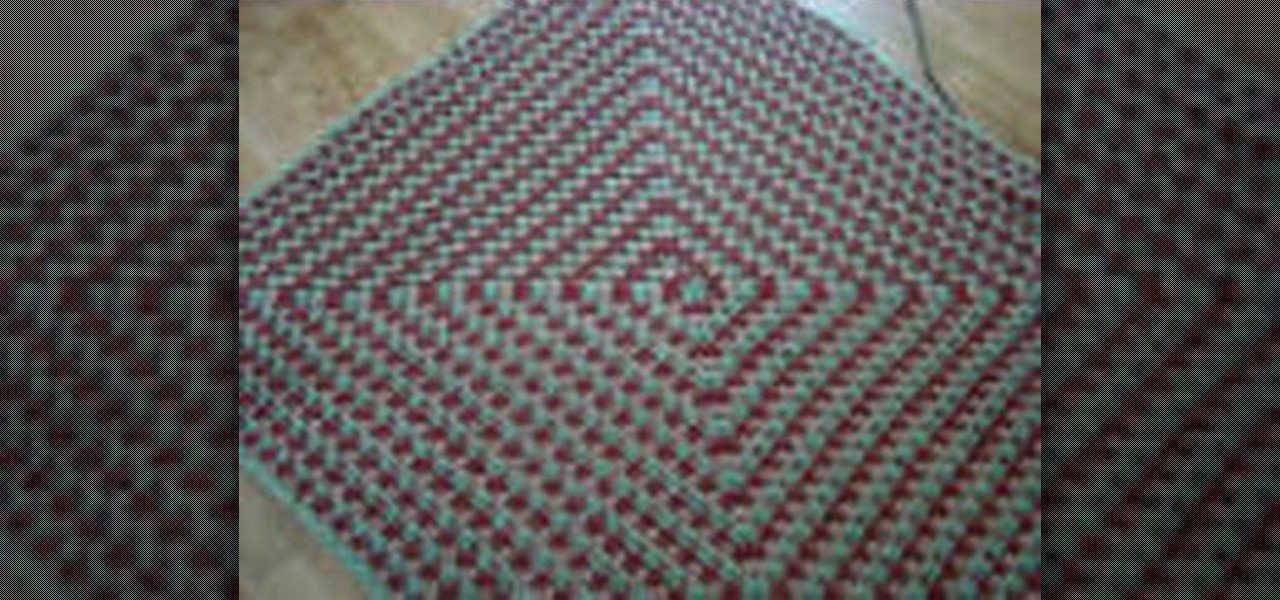
In this tutorial, we learn how to crochet a super fast 3 color granny square. Start out with your first color on the crochet needle. Then, chain four and put the needle back into the first chain. Before you pull everything tight together, you will move your middle finger into the stitch with your thumb so when you pull it will wrap around your fingers. Then, chain three and do this over twice more to create the outlining area around the hole. From here, you will use two other colors using the...

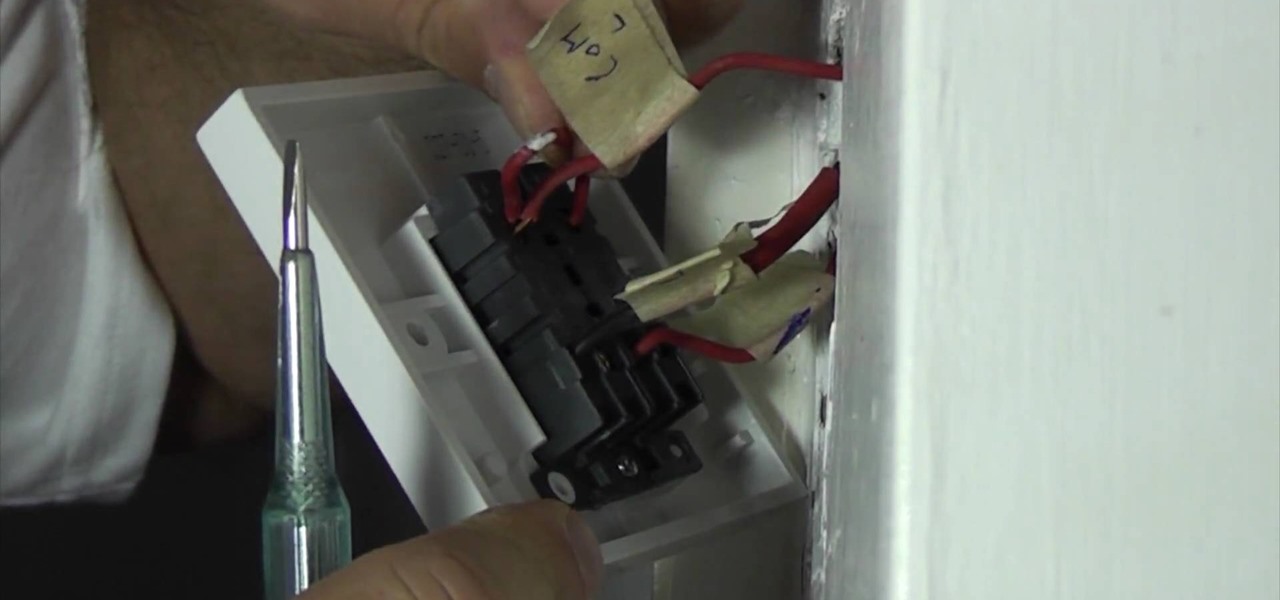
In this video we learn how to replace an electrical light switch. First, turn the power off in your home. Then, remove the screws around the switch exposing the wires. Confirm that they are dead with a tester, then you can get started removing. Wrap electrical tape around the wires and then label them with what they were connected to. Tear this out of the terminals, then replace the new one with the wires hanging out. Make sure you place the wires back into the same terminals as before, using...

In this video, we learn how to create a bucket drum or protest art. To start, you will grab a large plastic bucket and you will apply take all around the sides of it so it's wrapped up. The tape should be intersecting at the opening of the top of it. Then, use a tie to connect this in with the tape and then size it so it fits around your waist. From here, you will tie the bucket to your waist and then use sticks to beat your new drum. You can stick the sticks to the side where the tape is to ...

In this tutorial, we learn how to tie a scarf from Lucky Magazine. The first way to fold a square is to fold it into a triangle, then fold it down until you are left with the bottom. Put it around your neck, then knot it and tuck the knot into the neck area. The second way to tie a scarf is to take a long one and place it behind the neck. Then, wrap it all the way around and tie it in the back. Now your neck will be completely covered with no chance of chills. These are both great ways to tie...

In this tutorial, we learn how to make a toga in less than five minutes. First, you will need 6 yards of fabric and about 4 safety pins. Once you have these, you will be able to make your toga. Wrap the fabric around your body tightly, then take a safety pin and pin it to your shirt that you're wearing so you know where to sew it at. After this, bring the last portion of the cloth up and around your shoulder. Once you have done this, you will have a cute toga! You can take this off and sew it...

In this video, we learn how to build a bionicle switchblade. Start with the piece of the blade that has holes inside of it. Then, start to connect the edges and the other pieces that go inside of it. Grab the piece for the blade, then lock it into place by attaching the elbow pieces that connect around it. Once you have connected these together, you will have one entire piece with the blade on the very edge of it. The end of it should be bendy, so grab a rubber band that is thick and wrap it ...

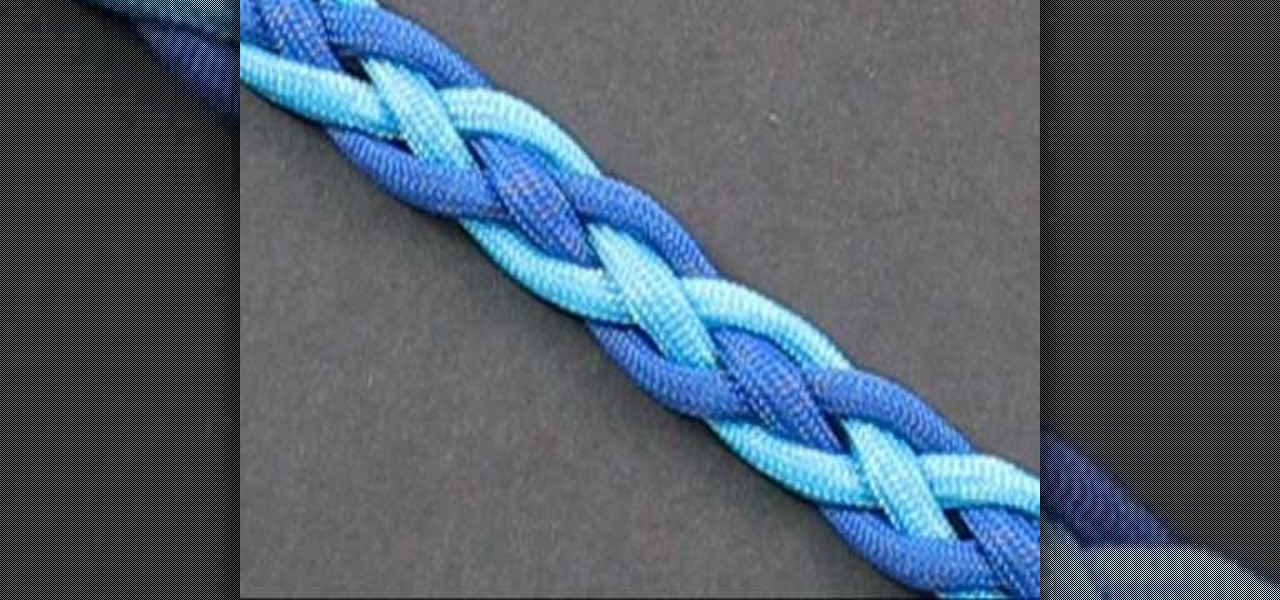
The great thing about weaving, is not only can you make something that is fun to look at, but can be used in certain situations. This next tutorial is going to show you how to tie a two color snake weave. The weave is basically a celtic knot that is perfect to use as bracelets and straps. This weave is different from an original snake weave in that it adds something extra and can't wrap around itself. So check out the tutorial and good luck!

In this tutorial, we learn how to insert pictures and format text in Fusion Essentials. Start by selecting your image and then clicking inside the text box. Select an image, then it will appear in the text box. From here, click on the picture and go to the alignment section. Choose how you want the text arranged around the image. You can justify it to the left, center, and right. You can also wrap the text around the image. Preview the page after you align it, then see if it allows the page t...

In this tutorial, Tony Vo teaches us how to cut a bottle. You will need: a glass bottle, yarn, lighter, sink of cold water, and acetone or alcohol. First, take your glass bottle and tie a piece of yarn around the part you want to cut. Wrap the yarn two times around, then tie it tie it tightly. Now, take the acetone and drop it onto the yarn until the entire piece is saturated. Next, take your lighter and burn the yarn on the bottle. As soon as the flames die down, place the bottle into a sink...

Sushi on your face?! Okay, not really. Rather, applying seaweed to your face will help restore moisture to skin, helping with anti-aging efforts.

In this tutorial, we learn how to curl hair using a straightener with Suzie. First, put a leave in conditioner in your hair to help prevent your hair from being damaged and dried out. Next, grab your hair straightener and let it heat up. Next, grab a strand of hair and place the straightener around the top of it, and wrap the hair around it. Now, pull the straightener straight down until you have no more hair left. When you reach the bottom, a new curl will be created. The faster you go down,...

In this fitness video tutorial you will learn how to do the "shoulder stretch" on the yoga trapeze. Sit on the strap and lower back slowly while holding on to the straps. While doing this, wrap your feet around the straps and bring them together. Then get hold of the longest of the straps, rotate around, get your hands side by side so that the handles are in a straight line. Keep your head straight down and hang in this upside down position for about 50 seconds. Then try out a little variatio...

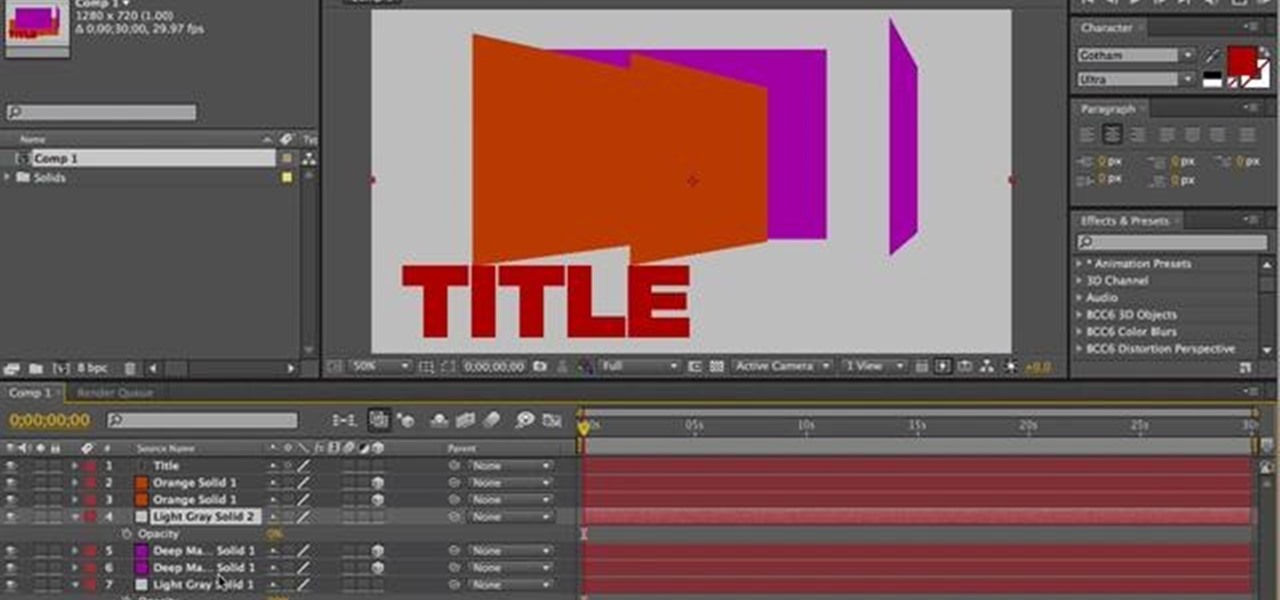
Need help wrapping your head around how layer order effects visibility in After Effects when using 2D and 3D layers? This clip explains it all. With After Effects, it's easy. Whether you're new to Adobe's popular motion graphics and compositing software or a seasoned video professional just looking to better acquaint yourself with the program and its various features and filters, you're sure to be well served by this video tutorial. For more information, including detailed, step-by-step instr...

This video shows how to curl very straight hair using "hot sticks." Wash your hair and let it air dry partially. Apply some leave-in conditioner before drying with a blow dryer. Leave the hair slightly damp. Apply some heat control spray to your hair. For loose curls do not use anything else, for tighter curles you can use some hair spray before using the hot sticks. When the hot sticks are warm you are ready to start. Take chunks of hair and wrap around the hot sticks and fold the hot stick ...

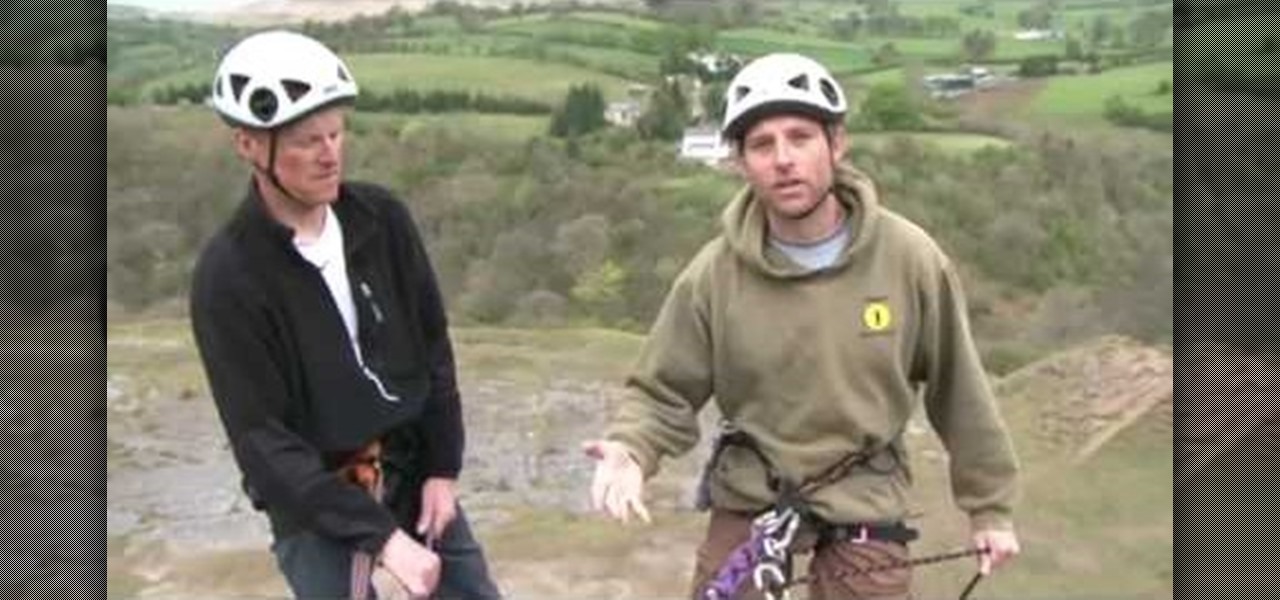
In this Outdoor Recreation video tutorial you will learn how to abseil (decend) in rock climbing. You will need some friction device for this purpose. Earlier people used to wrap the rope around their body and used the body as the friction device. That is a painful process. In the modern method, a figure 8 friction plate is used. There should be no jewelry or other hanging material around the body that can get entangled with the figure 8 plate. Also check the harness is OK. Then carefully go ...

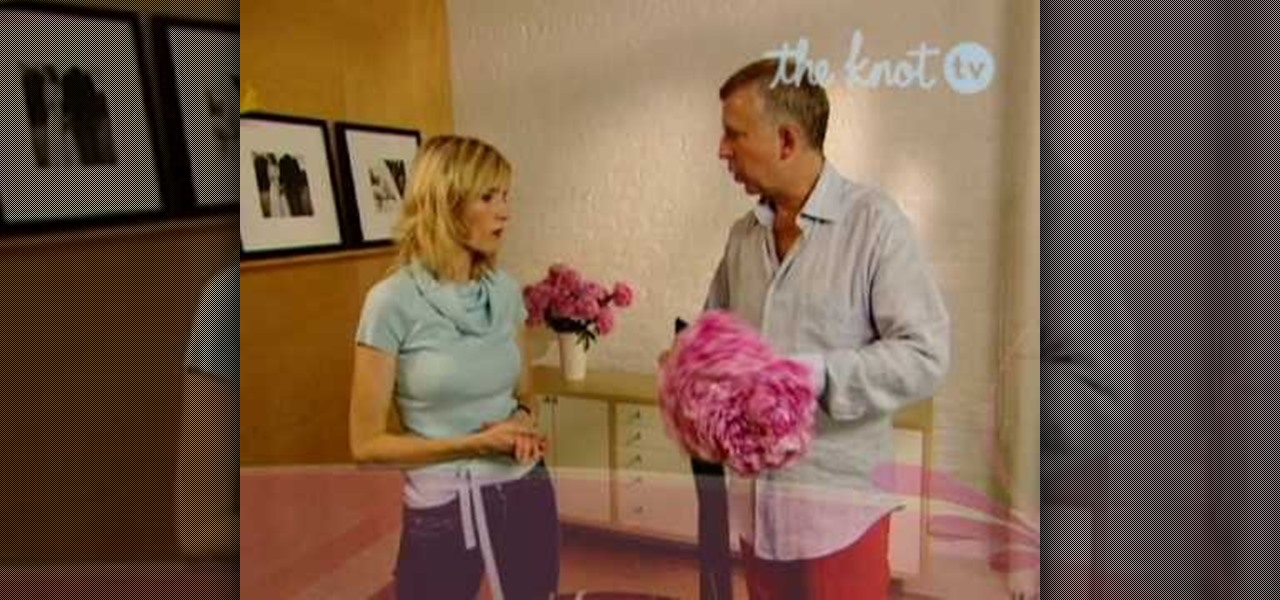
To start off making your bouquet, you must start by crossing the stems instead of going straight up and down. The crossing action will give you a round bouquet. Choose the size of the bouquet to match the bride and to match the dress. If it's a big dress with lots of action, you don't want to hide it with a big bouquet. Always hold your bouquet down. Use wax string to hold your bouquet together. This won't slip. Tie the not twice to ensure it stays together. Cut the stems off and then proceed...

You have to start by placing the handkerchief on a flat surface, you grab the center pull up and you will see all the points dangling dry your hand down and then what you need is to fold the bottom up then if you twist the hand around the handkerchief just to hold it in place . The way it should actually be folded is with the fold in behind and the puff in front but it is easier if u wrap it around your hand. The way it will be placed in the pocket is by simply pushing it down, the edge of th...

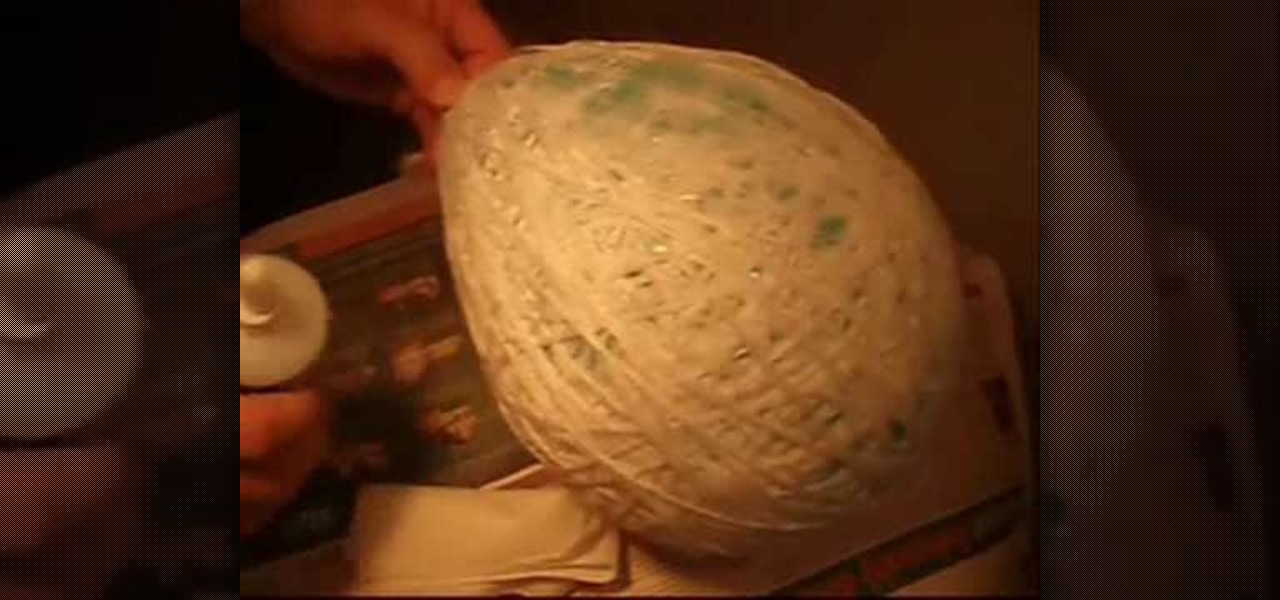
In this video tutorial, viewers learn how to make an amazing lamp. The materials required for this project are a balloon, wool string and liquid glue. Begin by blowing up the balloon and wind it with wool string. Wrap all around to cover the surface of the balloon. Then cover the entire balloon with some liquid glue and let it dry for 24 hours. Once it's dried, carefully let out the air of the balloon and remove it from the dried yarn string. Now add a light source. This video will benefit th...

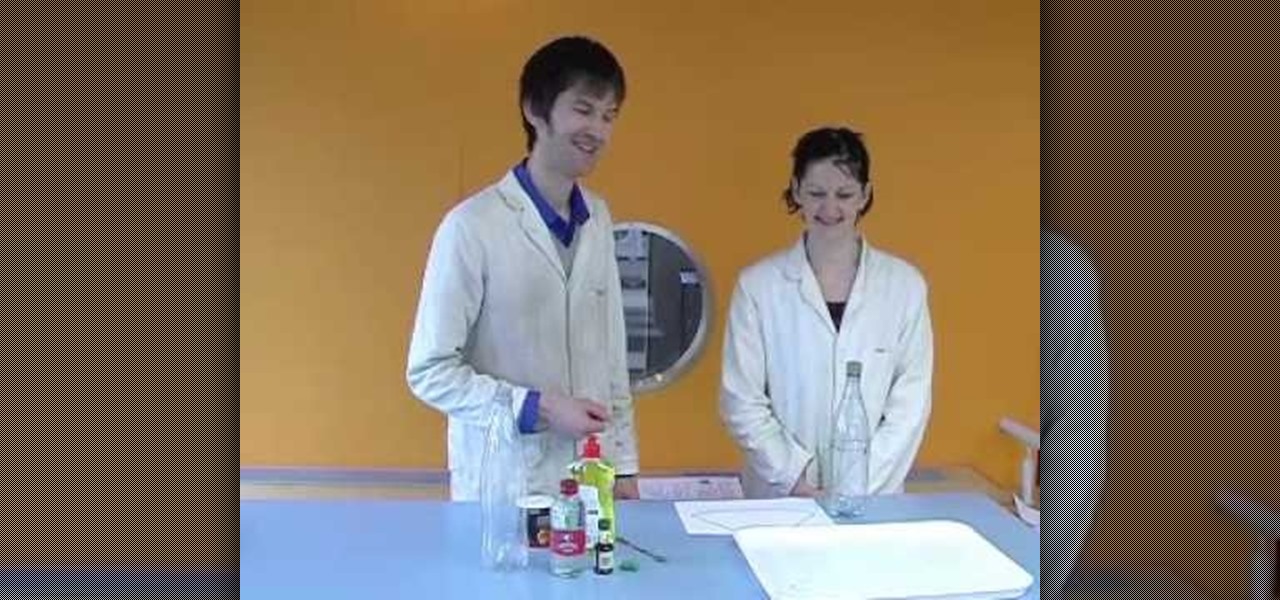
In this Education video tutorial you will learn how to do a cool volcano experiment at home. You will need a bottle of tonic water, mentos and some paper. Wrap the paper around the mentos to make a tube for releasing the mentos in to the bottle. Now pour about half a packet of mentos in to the paper tube and prevent them from falling off with your finger. Now open the bottle of tonic water and release all the mentos from the paper tube in to the bottle all at once. The tonic water will gush o...

In this how to video, you will learn how to make an Evergreen wreath. You will need pine cuttings, craft wire, a frame, and decorations such as pine cones. Each cutting should be about 8 inches in length and have a firm section that will attach to the base. They should also be very bushy. Wrap the craft wire around the sturdiest part of the pine cutting. Keep adding and attaching pine cuttings over the previous cutting until you go around the entire frame. Once this is done, add the decoratio...


