In this video, we learn how to get a vintage glam makeup look. First, apply a base to the eye, then apply a white shimmery shadow to the entire eye. After this, apply a brown shadow on the outer part of the eye to the crease of the eye. Blend this upwards, then apply a vanilla colored eyeshadow underneath the eyebrow and blend. Next, take an eyeliner pencil and smudge it into the lashes on the upper lash line, winging it at the outer end. When finished, smudge the color out to the edge of the...
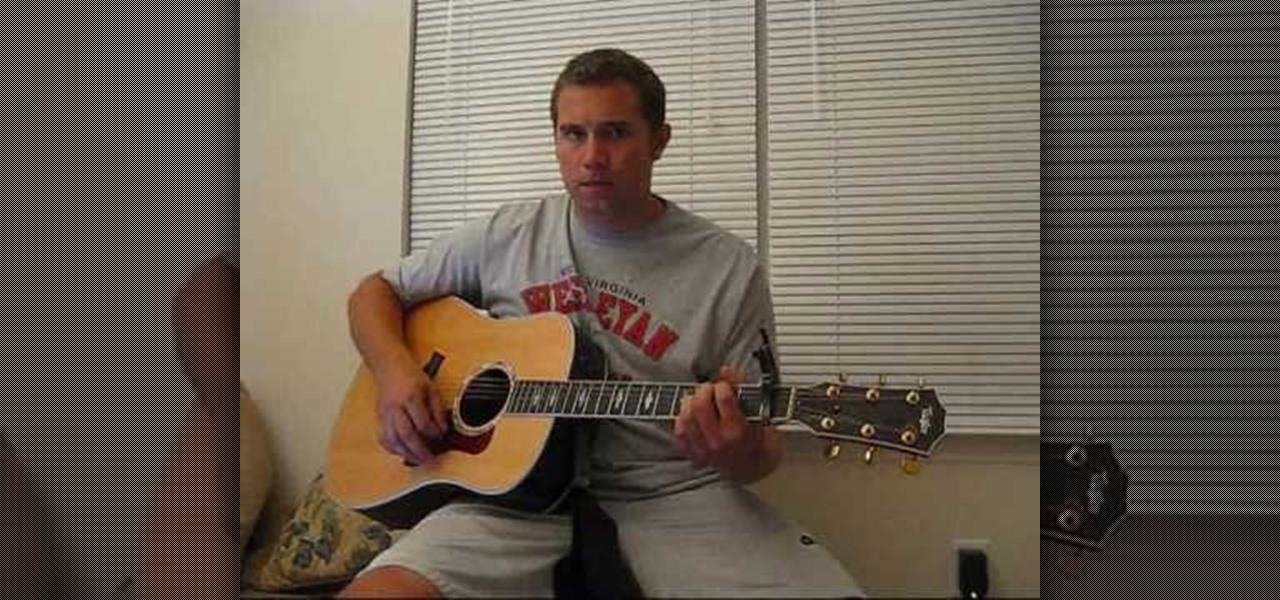
In this video, we learn how to play "Fifteen" by Taylor Swift on acoustic guitar. You will need: a G cord, E minor 7, D, and D/F # to play this song. There are four beats for the verses of each song, so start off doing this with a G chord, then C at 9. After this, do an E minor 7, then C at 9 again. This is a very easy song for beginners to learn, because the fingers at the base don't move that much and create an anchor. Start to learn the different chords and sing along as you go, then learn...

In this video, we learn how to create the Misty Maven drag queen makeup. Start off by applying a primer to the eye, followed by white eyeshadow over the entire eye and underneath the eyebrow. Next, apply a gray shadow in the crease, brushing it out to the outer v of the eye, making a wing shape. Next, take a sparkly black eyeshadow and apply it to the base of the crease and blending to the outer edge of the eye. Next, take the white shadow and apply it to the inside of the eye down to underne...
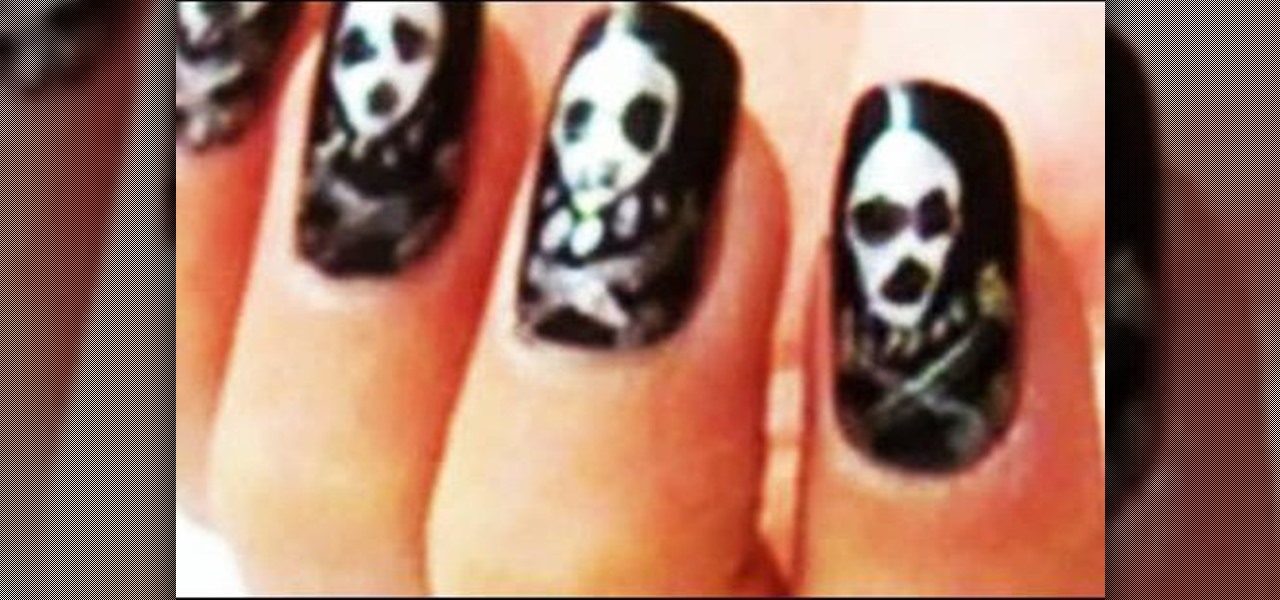
In this video, we learn how to create Halloween inspired skull nails. First, apply a base coat to the nails before applying anything else. After this, apply a black nail polish to the entire nail and allow it to dry. Now, take a silver nail polish, and draw a skull shape onto the nail. Use your black nail polish to create the eyes in the skull, then use a nail brush to create the shape of the head and bones underneath the skull. Let the nail dry, then repeat this on all your nails for a spook...

In this video, we learn how to build a bionicle switchblade. Start with the piece of the blade that has holes inside of it. Then, start to connect the edges and the other pieces that go inside of it. Grab the piece for the blade, then lock it into place by attaching the elbow pieces that connect around it. Once you have connected these together, you will have one entire piece with the blade on the very edge of it. The end of it should be bendy, so grab a rubber band that is thick and wrap it ...
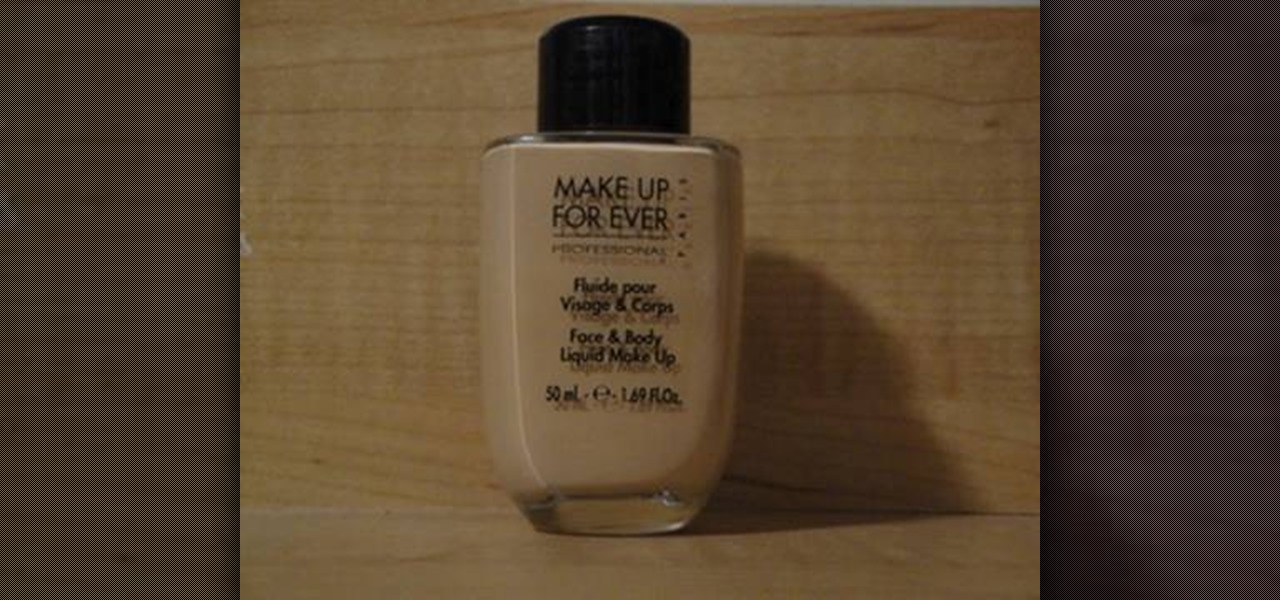
In this video, we learn how to apply MUFE face & body liquid makeup. First, pour the foundation out onto your hand and then take your foundation brush and dip it into the liquid. After this, start to brush the makeup on your face, starting with the side of the forehead and working your way around. This is a gel based liquid, so it's going to stick onto your face extremely well, you won't have to apply a lot of it. When finished applying, use a damp sponge and press it on your face around wher...

In order to create a Hilary Duff inspired makeup look for $10, you will need the following: Maybelline's natural quad four smoke eye shadow, liquid eyeliner, face powder, terra cotta, fake eyelashes, mascara, and eyeliner.

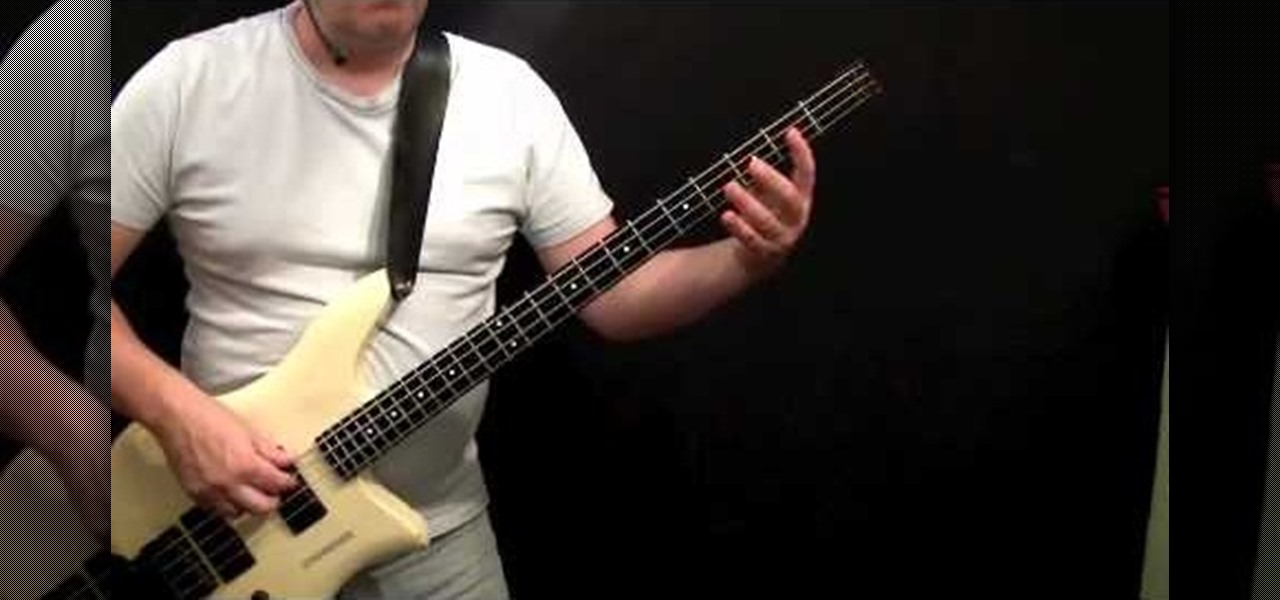
Bass players definitely don't get as much love as guitar players when it comes to glory and mainstream music popularity. After all, the base is the low-sounding, harmonizing complement to the lead guitar's riffs, offering a nice contrast but getting obscured in the process.

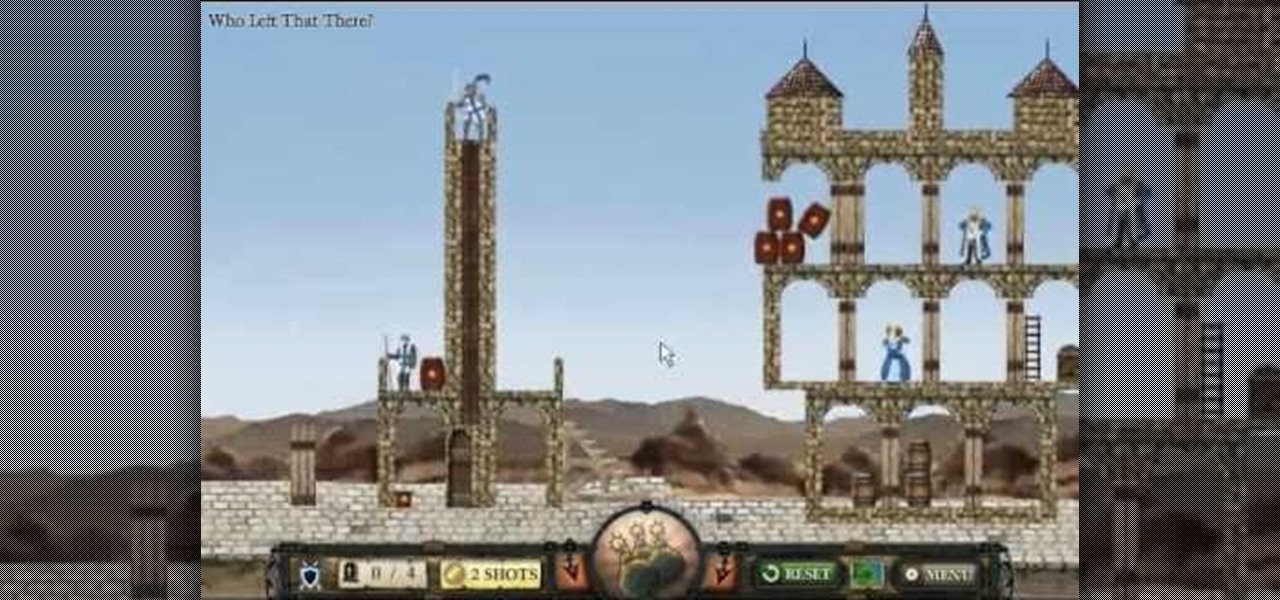
Crush the Castle 2 is a trebuchet-based physics puzzler where the goal is to use the trebuchet to destroy the castles of your enemies. This video will walk you through each of the game's six world with all Golds.

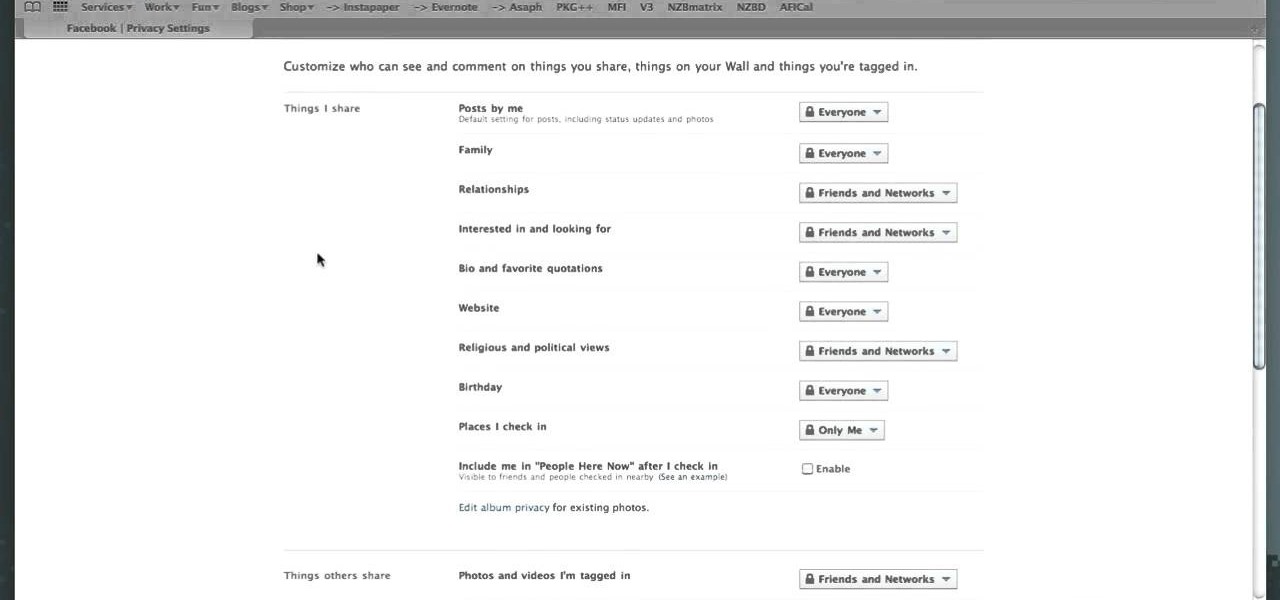
Facebook Places is a new location-based sharing tool that Facebook unveiled not too long ago. It works like Foursquare, in that you can check yourself into locations. Not only that, you can check other people in, and other people on your Friends list can also check you into other locations as well. So if you don't want to broadcast your every move to the universe, you'll have to go into Facebook and update your privacy settings. Again. Better to be safe than let your boss know by accident tha...

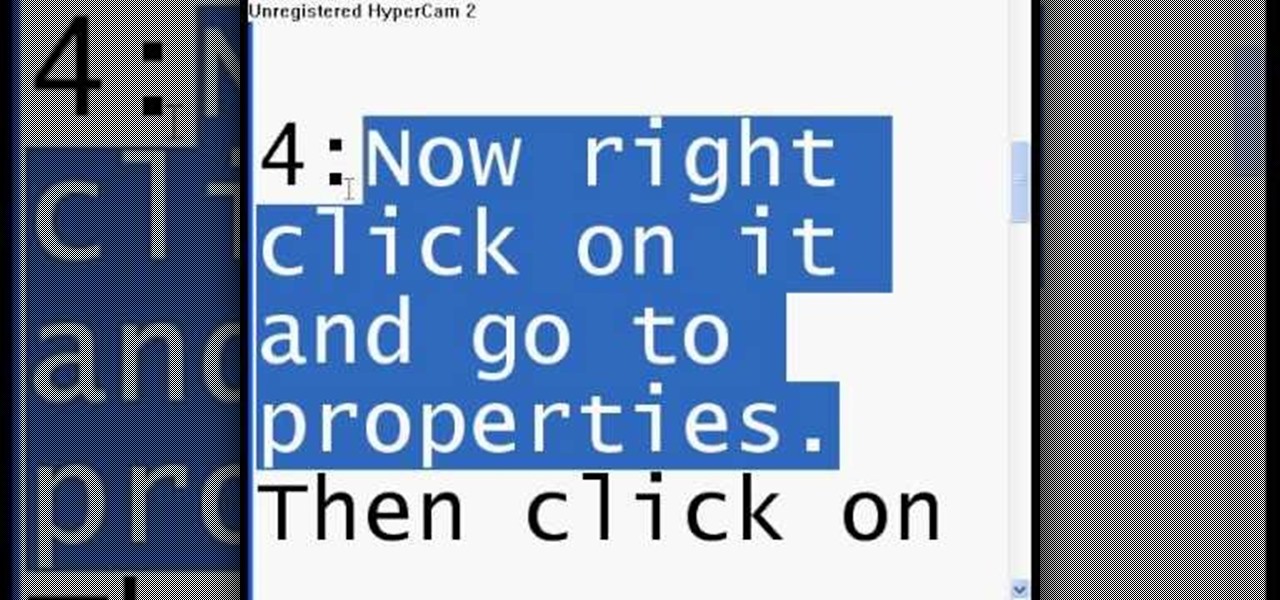
Desktop shortcuts are a great way of making the programs you use a lot more accessible, but today many PC users overuse their desktop space and have icons covering over half the screen, including the one for a picture of a dog they looked at six months ago once. This prank is a great way to teach such a person a lesson, or any PC user who you have a problem with. It entails creating a new desktop shortcut with the name and icon of a commonly used program (the web browser works great) that ins...

Being based in sunny Los Angeles, we at Wonderhow are no strangers to heat. This prank was designed for use in hot areas, but we think it would be just as amusing if not more so somewhere cold. All you do is buy a lot of ice, locate or construct a platform over an entryway your victim often uses, put the ice and yourself up there, wait for them to arrive and dump it on them. It'll be cold, wet, and oh so surprising.

3D is very new to Photoshop only really coming into existence when CS3 was released. In CS3 however the 3D capabilities were pretty limited, but with the release of CS4 3D exploded into Photoshop and now has it's own set of tools and even it's own panel. You are now able to even create true 3D objects right from within Photoshop and texture them. In the following tutorial we will learn about creating a base 3D object and creating a few basic textures for that object. We will also take a momen...

In this video, we learn how to paint blue and white corner flames on your nails. First, paint a pearl base on the nail and let it dry completely. Now, grab the black nail polish and paint waves on the nail going from the top to the bottom. Next, grab the white nail polish and do the same thing, making the mark next to the black marks. Let this dry, then grab light blue nail polish and fill it in on the corner of the nail. Let this design dry, then paint white on the blue to make small lines a...

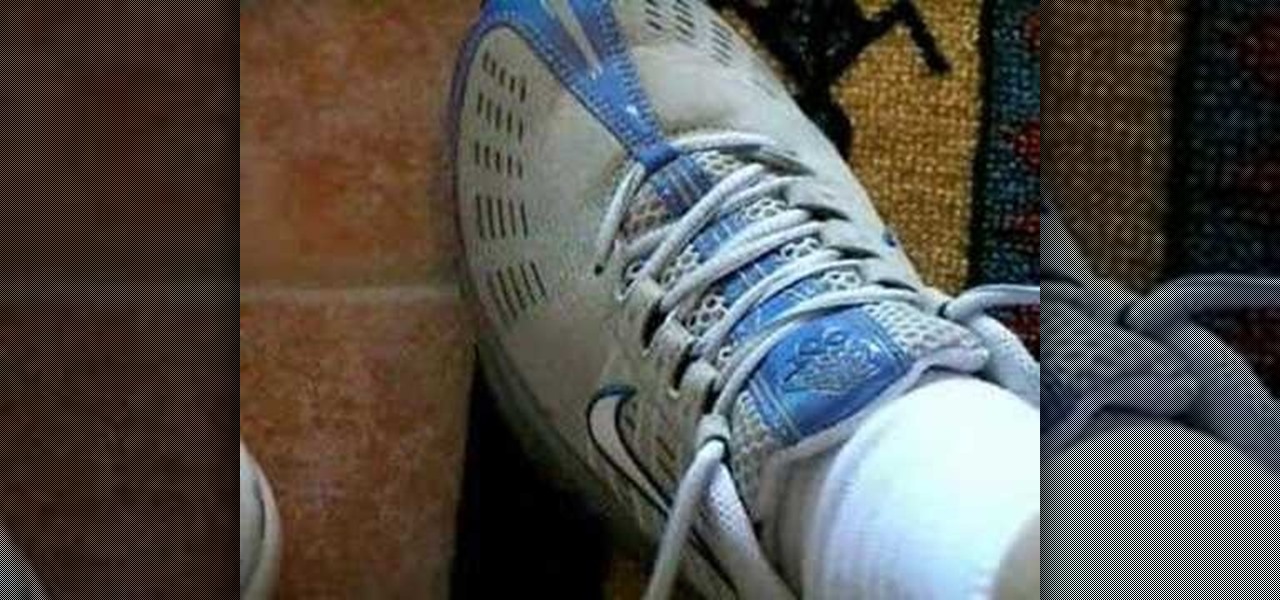
In this video, we learn how to tie your shoes. First, tie a knot at the base by crossing the laces over each other. Then, make a loop with one lace and wind the other one over it. Come underneath with a loop and then grab both loops and pull. To do this with the other hand, you can do the same thing just use your dominant hand to make the loops. This is only one of the many different ways to tie your shoes. It will take practice, but it can be done and once you do it it's very simple!

In this video, we learn how to get Victoria's Secret inspired makeup. First, apply a base primer to the eye, then apply a frosted white color on the inner corner of the eye. Next, apply that same color underneath your brow bone. Now, take a brown eyeshadow and apply it into the crease of the eye, blending it upward. Next, take a light brown sparkly shadow and apply it on the entire eyelid. After this, brush a golden brown on the inner part of the eye. Now, take a dark brown shadow and apply i...

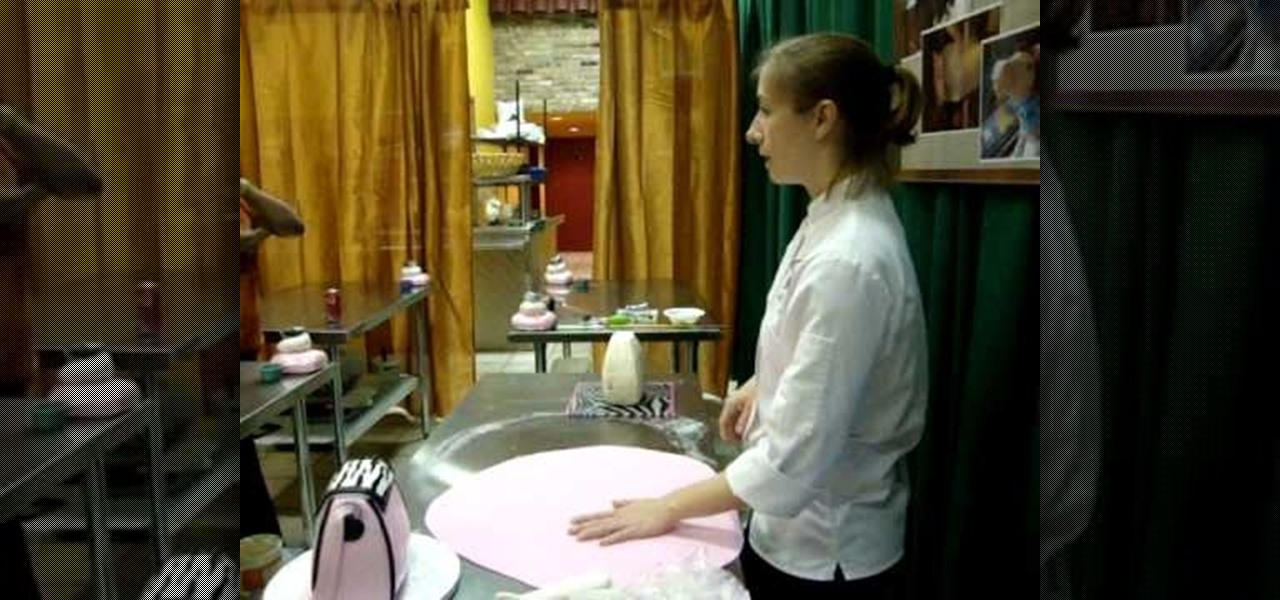
Do you have a shopaholic girlfriend whose 30th birthday is slowly coming up? It's true that a lot of women dread their 30th, but your gal pal will be simply delighted at her bash if you bake and decorate this purse cake for her.

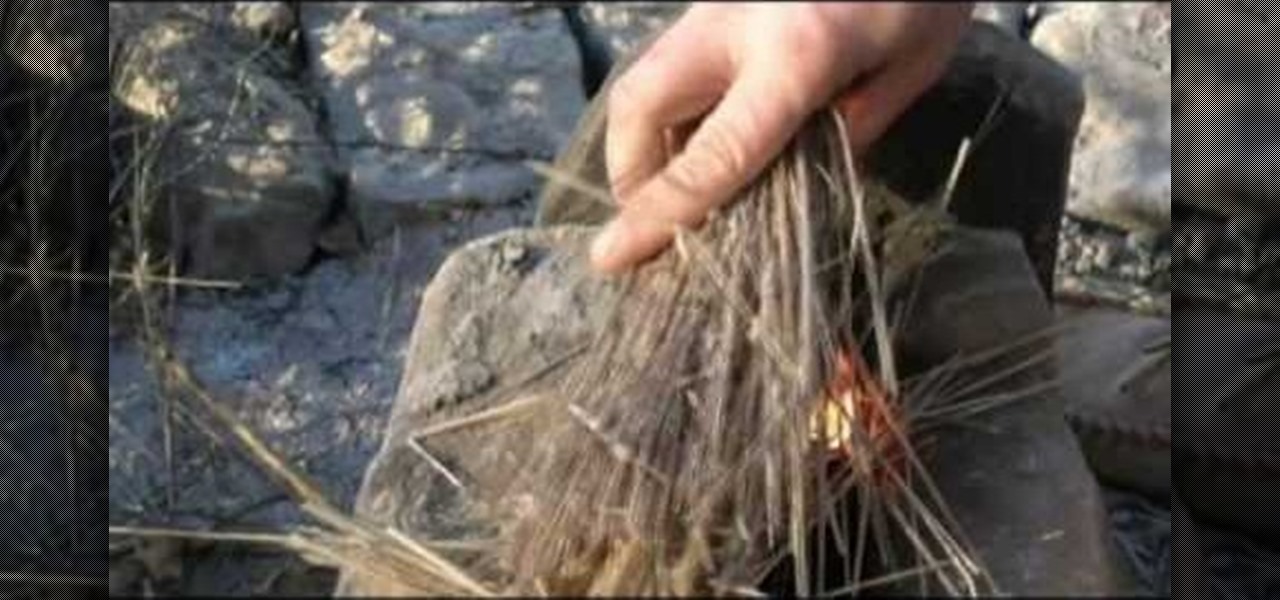
To build a stone rocket stove, you will need the following: stones, wood, a tender pile, and lighter (or something to start a fire)

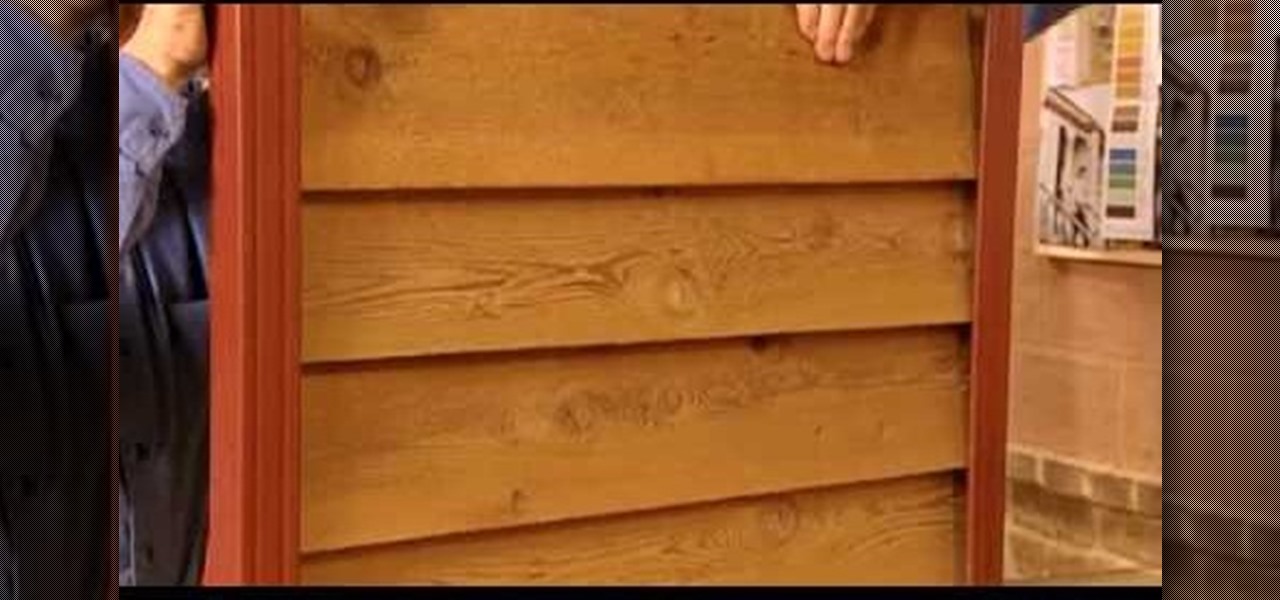
In this tutorial, we learn how to build an outdoor dog house. Start off by making all the measurements for your dog house and cut out your wood. After this, use a metal frame piece to drill into the wood and this will be the base of the house. After this, connect all the metal pieces on the dog house to make the basic outline of the house. When you are finished with this, place wood on the frame of the house and drill it into place. When you are done with this, you can paint the house if you ...

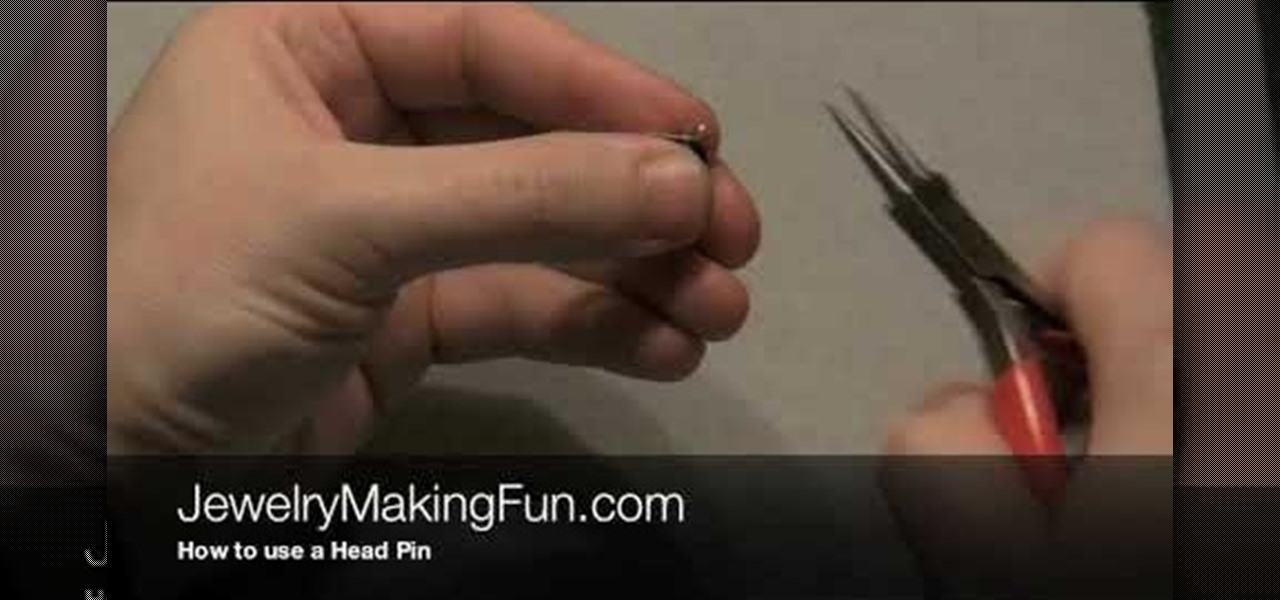
In this video, we learn how to use a head pin while making earrings. Start off by grabbing a 1" long headpin and feed a bead through it until it reaches the other end of the pin. Now, decide how you want to close the loop. The first way to close it is to make a single loop by using pliers and making a 45 degree bend. Cut off any excess wire with wire cutters. The next way to do this is to wind the excess wire around the base until it comes to the bottom of the bead. This is visually appealing...

In this tutorial, we learn how to use Fiskars Decorative Edge scrapbook layout. First, you will need to pick out the templates, pictures, and paper that you want to use for this project. Now, place the stencil over the card stock and cut out the stencil shapes you want, stars work best if you are doing a fun child theme. Now, apply these to your base card stock, and arrange a frame over the background. Now, apply the picture to the page and add on the stencils you just cut out. Add in quotes ...

Michael Weisner teaches us how to draw an adorable little puppy in this tutorial. Start out by drawing the outline of the dog, drawing in all the details as well as the body. After you have the base done, grab a Sharpie and start to draw the top of the head and the ears. Make lines on the top to make it look like the dog has fur and don't forgot the eyes and nose on the face. After this, trace out the rest of the body, including the front and back paws. Make sure to add in any shading you fee...

In this tutorial, we learn how to draw a palm tree. Start off by drawing the ground on the bottom, then draw the base of the tree. Make it curved, so it looks more realistic. Two lines will be going up until you start to draw the leaves on the tree. After this, you will want to start in and shade one side of the tree that the sun will have touched more than the other. Add lines to the tree as well, so you can see the textures that are on it. When drawing the leaves, make sure you are drawing ...

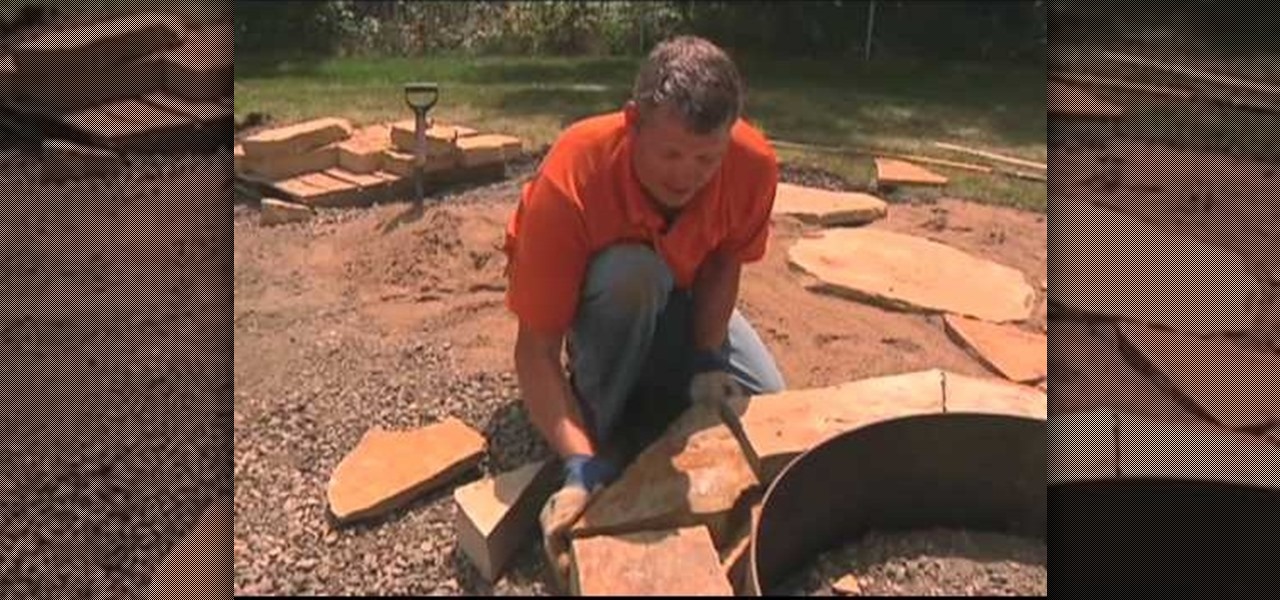
In this tutorial, we learn how to properly build a firepit. First, prep your base by filling it with dirt and small rocks. After this, set your ring down onto the dirt and make sure it's level. You can also raise it up if you want a foot rest or beverage holder. Next, apply your stone around the ring and then mortar it. Make sure all the pieces of stone fit nice and tight together. After you've done this, lock in all the joints on the stone patio by using sand and brushing it into the middle....

In order to make a ribbon tree, you will need the following: 50 2" pieces of ribbon, scissors, a hot glue gun, hot glue sticks, and a floral tree.

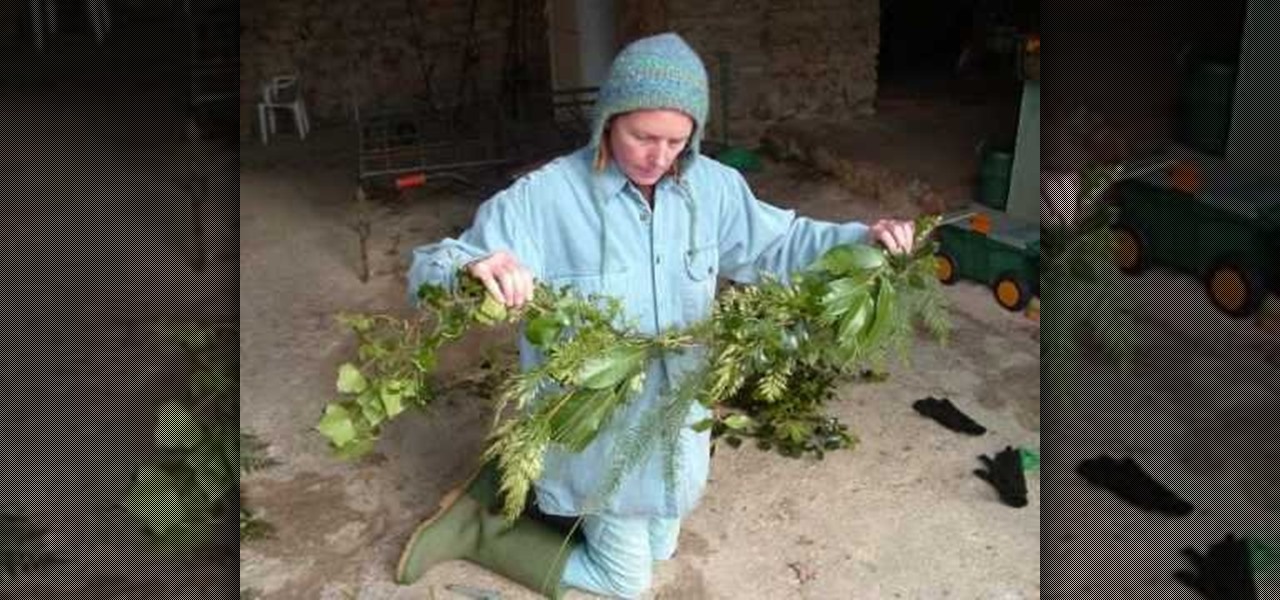
In this tutorial, we learn how to make a festive Christmas garland from fresh greenery. You will need: fresh greenery, wire cutters, floral wire, pruning clippers, and gloves to do this. The base should be made of holly, and then you can use different firs that you can find. You can arrange this garland however you wish, placing them onto the wire and then cutting the wire when everything is hooked together. The great thing about this is that you can be creative and use whatever kind of green...

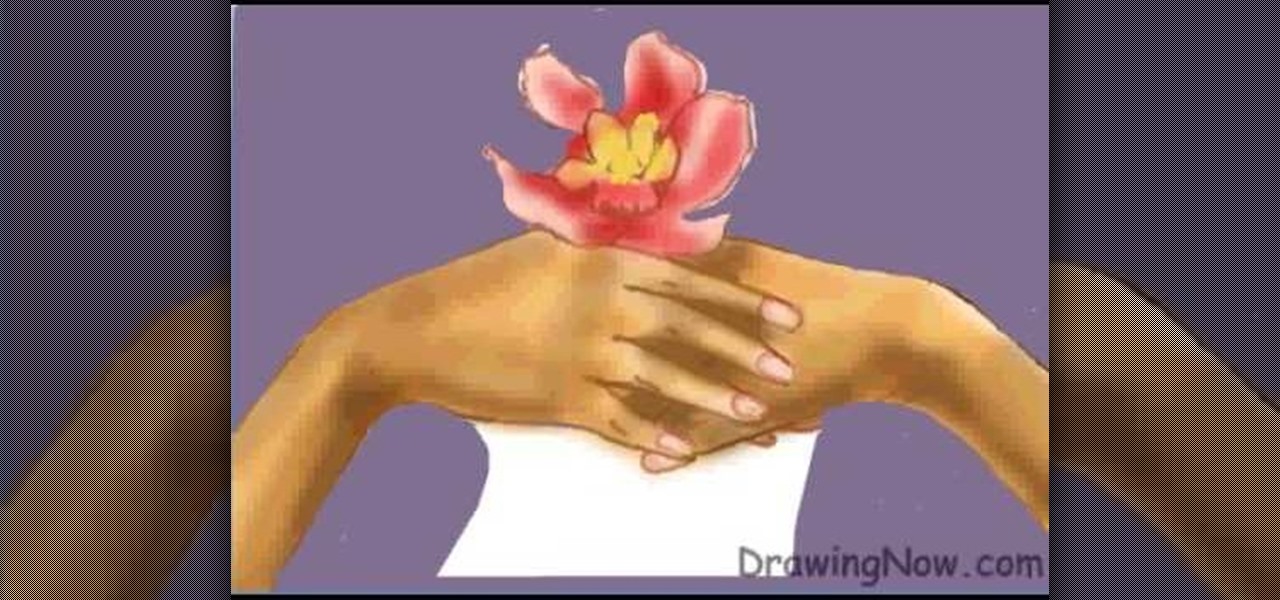
In this video, we learn how to draw two clasping hands. Start off by drawing the two hands holding each others hand. Next, draw a circle above the hands like they are holding something. After this, draw a large flower on the circle and then start to erase the base lines from the drawing. Draw in the fingernails on the picture, then color in the skin color on the nail. Color the flower any color that you would like, then draw in the background to any color you prefer. Shade the wrist of the ar...

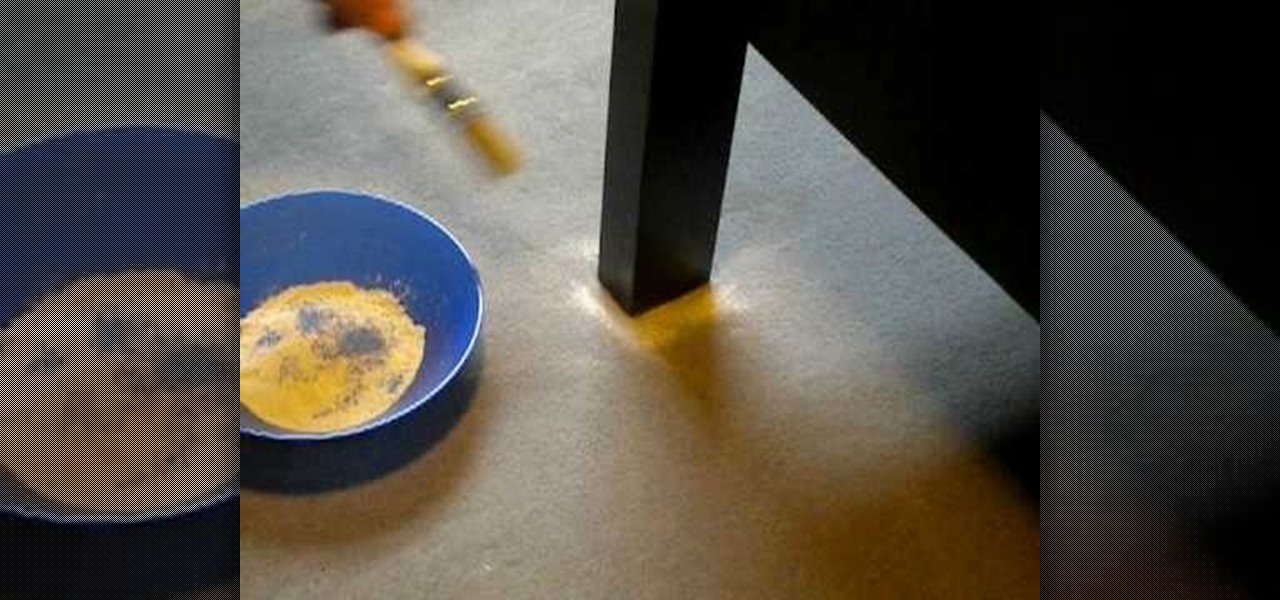
In this video, we learn how to use Diatomaceous Earth the stop bed bugs. First, place this in a tray and then use a brush to brush the powder around the base of the bed. This will last for 6 months and will need to be reapplied whenever you vacuum the floor. When the bug touches it, it will kill the bug within twenty four hours. This is a great way to create an oasis in your bed, just make sure you don't have any sheets touching the ground, or the bugs will be able to crawl up them and go in ...

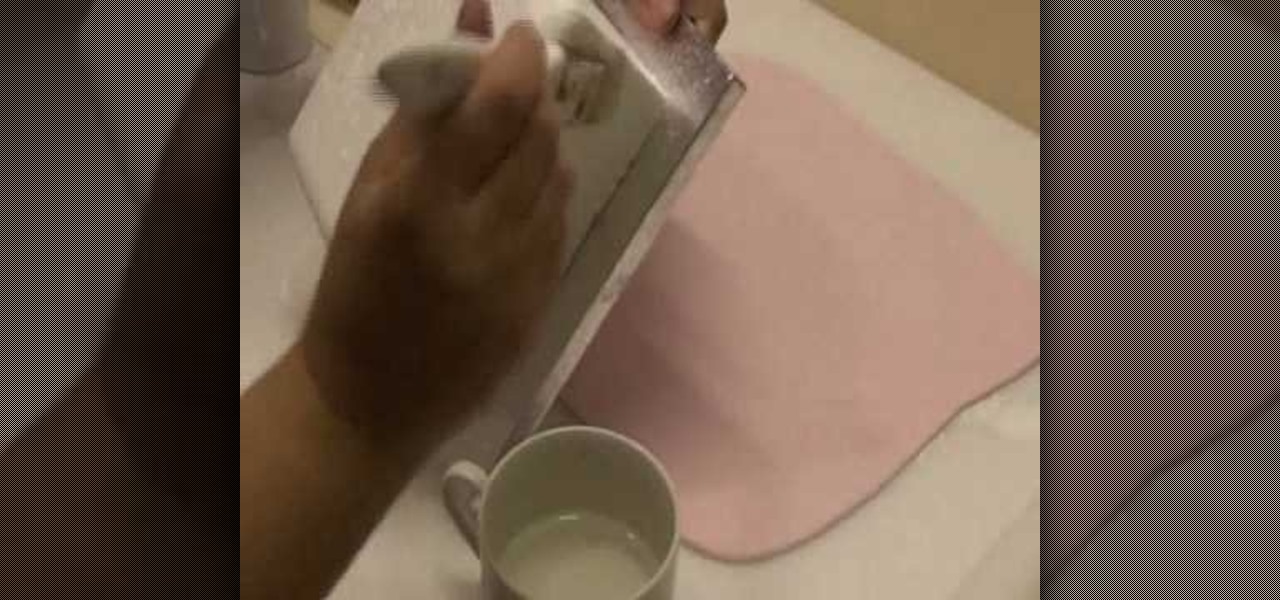
When it comes to fondant, practice really does make perfect. The sugary mixture hardens to a sturdy yet soft consistency when set out to dry, but in its pliable stage it's often easy for things to spin out of control and to make terrible folding and tucking mess-ups when you're attaching a fondant cover on a cake.

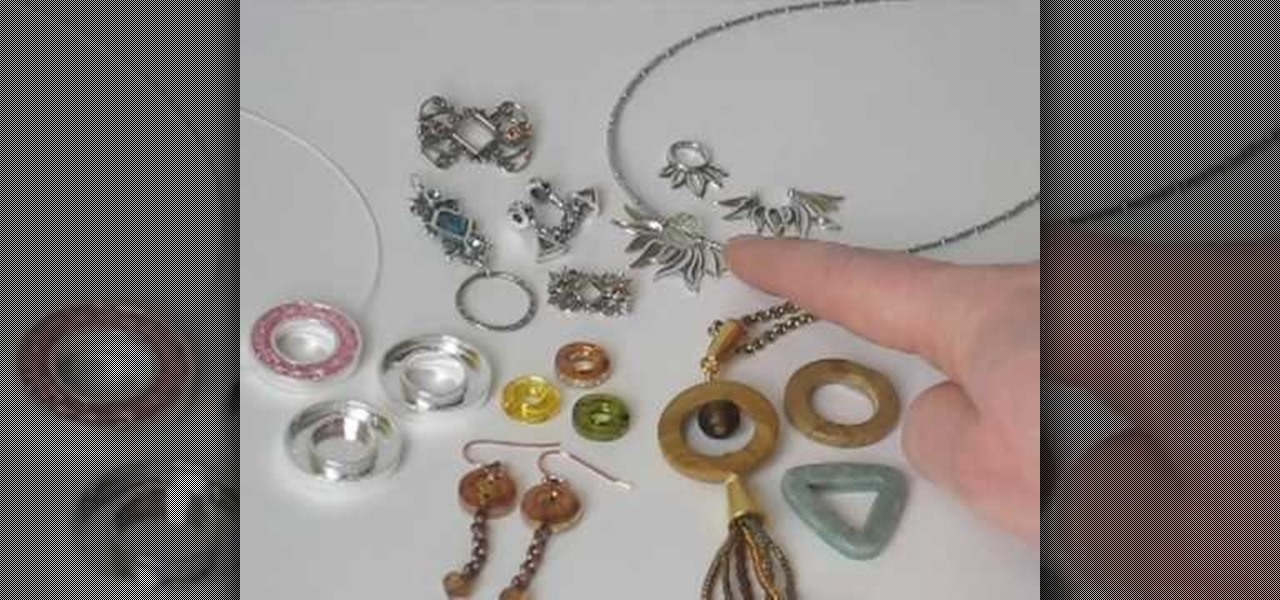
Bead frames are pretty simple to understand. Rather than simply stringing beads onto a pendant or necklace, you can attach them to bead frames, which come in all shapes and varieties, to make a novel design that can take advantage of negative space. It goes without saying that elaborate bead frames make the entire design more ornamental, whereas a simple round wooden bead base helps put the spotlight on the bead in the center for a subtle glamour.

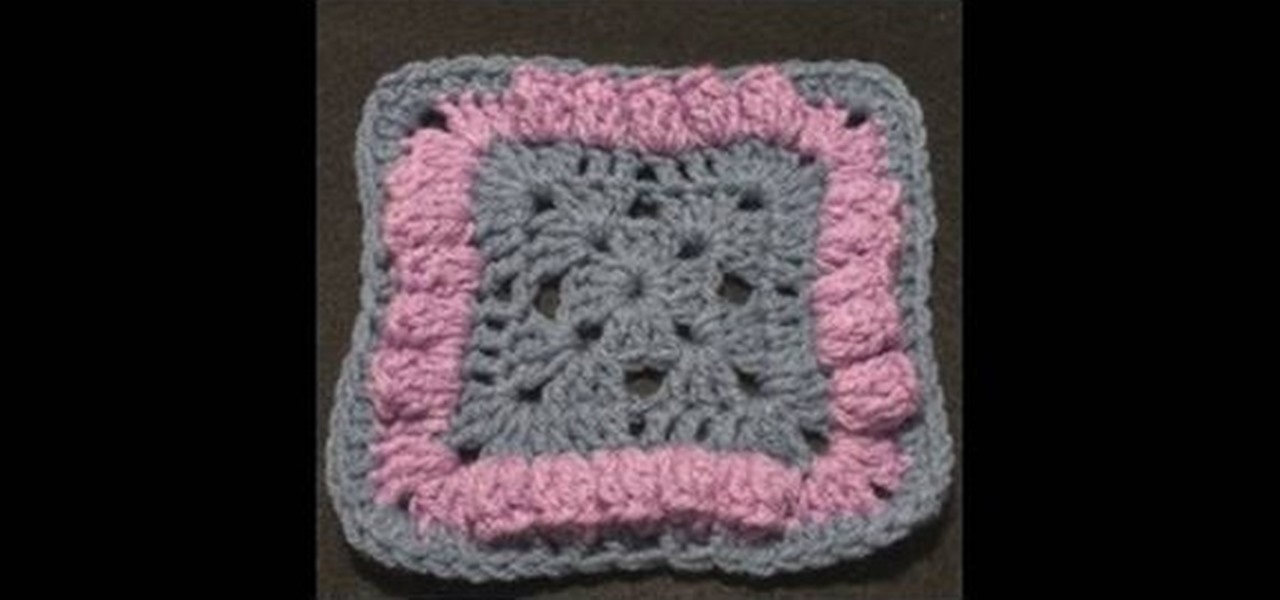
In this tutorial, we learn how to crochet a Bellevue granny square. Start by adding the slipknot to the crochet hook. Work a chain of four and join with the beginning chain. The first two rounds are going to be a traditional granny square. Chain, pull up, then work three double crochets. Continue doing this for all of them. Chain two, then work three more double crochets. Work the last three double crochets and you will have the base of the granny square complete. Continue doing this, but end...

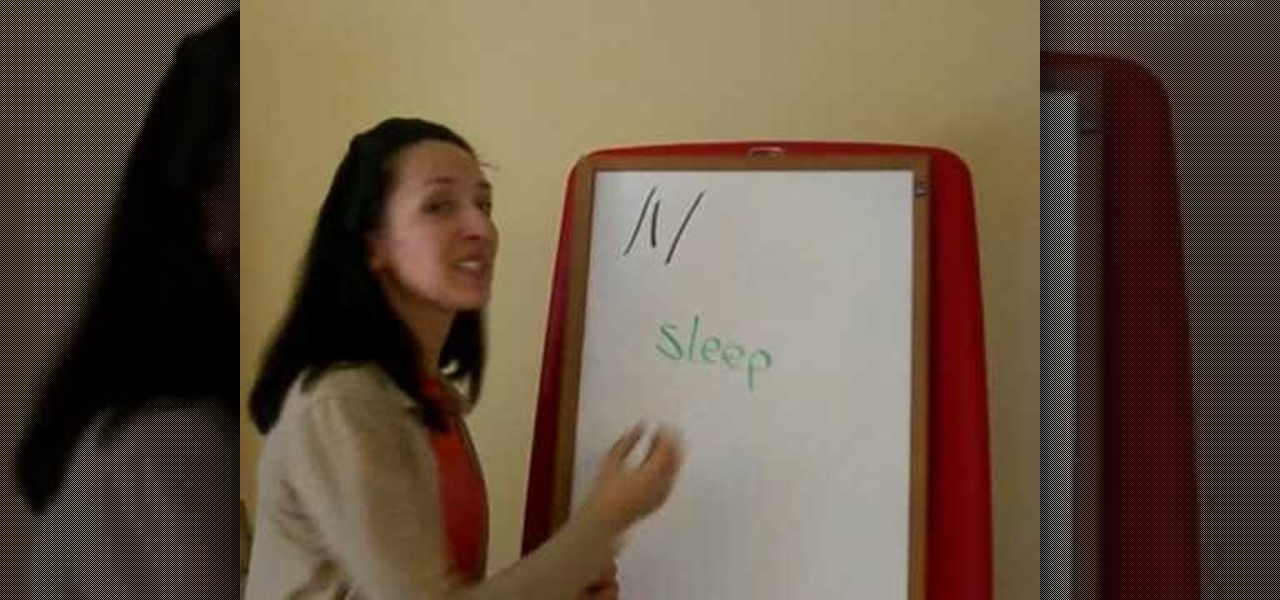
In this tutorial, we learn pronunciation tips to Speak English. To help someone learn this, use an analogy, imagery, and vivid explanation so they understand what you are talking about in full detail. Use your hands to make the motions, then relate words to your base words. You will need to repeat yourself a lot, and also draw pictures so it can help them visually understand. Don't use difficult words, just start by doing simple words that are easy to understand. Once the easy letters are und...

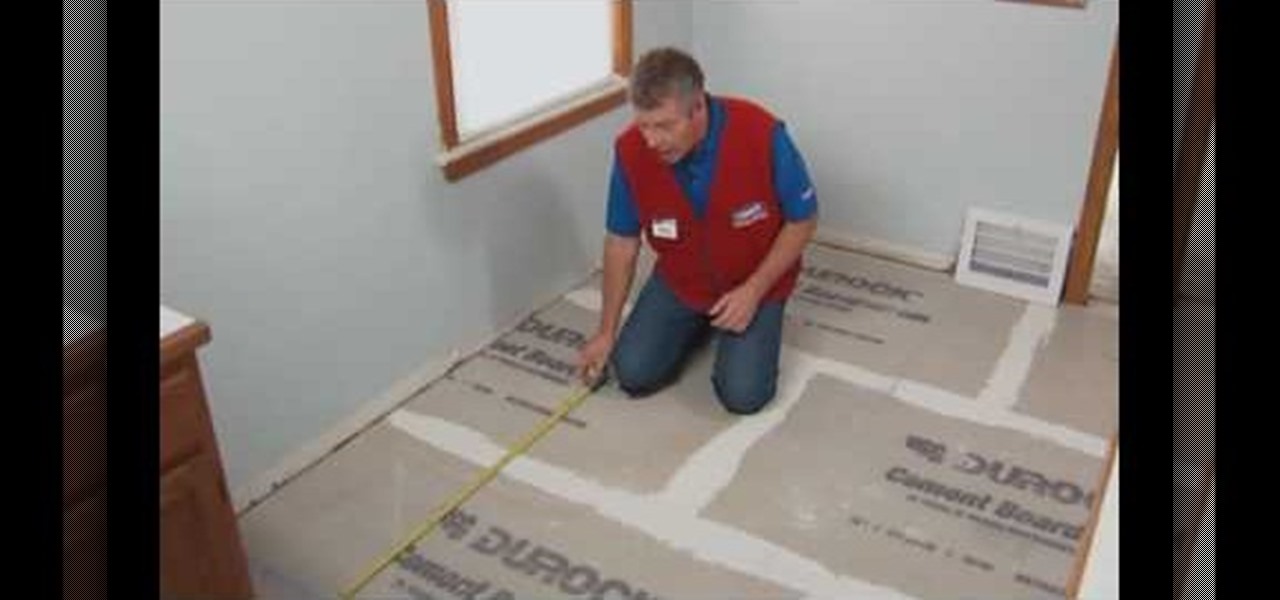
In this tutorial, we learn how to install a ceramic tile floor. Before installing, you need to prepare a solid base. First, you want to take off the trim, then calculate the area of the room. Prepare the floor by inspecting low or high spots. You will want to apply mortar, then set the backer boards into place. Screw these into place, then finish covering the floor with seam tape. Apply mortar over these then let dry. Now, you can start laying your tile onto the top of this! Once you are fini...

In this video, we learn how to hem a sleeve. First, turn your shirt inside out, then lay it flat. After this, grab the sleeve and fold it over to where you want it hemmed to. Next, place pins in the spots where you want your shirt hemmed, then go over the area with an iron. Next, go to your sewing machine and slip the sleeve around the platform arm. You will have to take the outer base off the machine to do this. Now, lower your needle and sew in the spots where the pins are, removing them as...

In this tutorial, we learn how to draw a castle on a sunny day. Start off by drawing the base of the castle, so you know where it will stand. Then, draw in the pillars and the top of the castle going up. After this, draw the body of the castle where the main entrance is. Now, start adding more details to the building, adding in the windows and doors, as well as the points on the top and stairways. Then, color the entire castle gray and add in bricks. Shade the doors, windows, and other areas ...

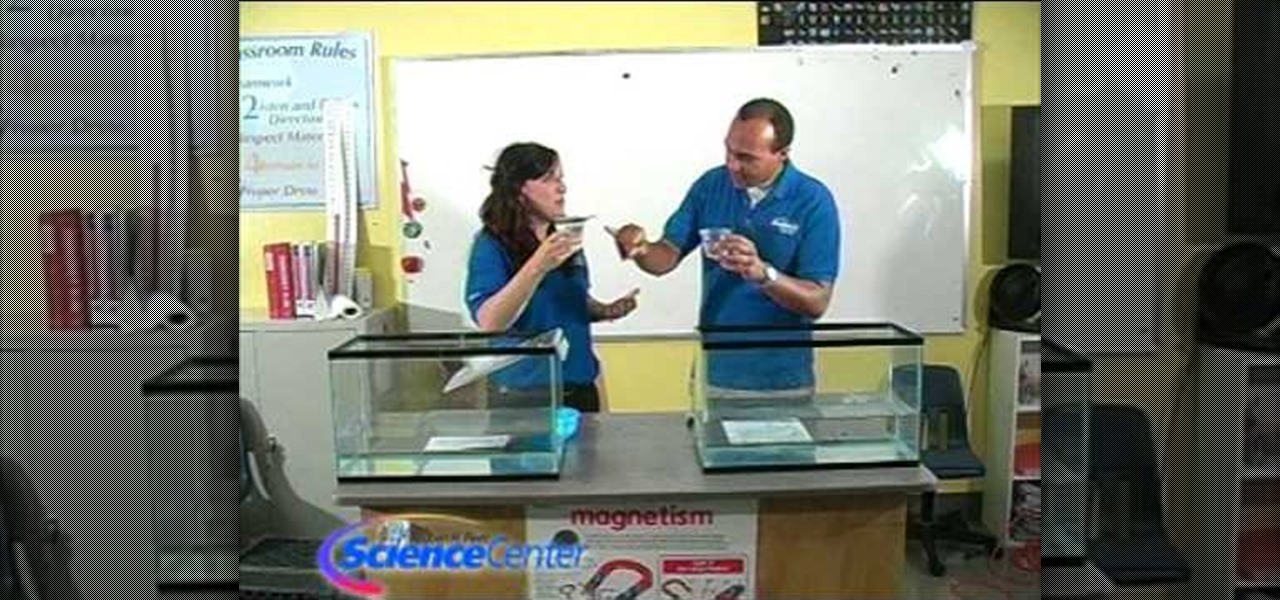
In this tutorial, we learn how to demonstrate the difference between land & sea ice. First, fill up two large aquariums with water, then add in a glacier to one aquarium and an iceberg in the other. This will see how the water level changes based on the melted of each different ice item. Draw a line at the water line where it started at, then when the ice melts, check the water levels. When finished, see what the water levels have ended up at. Now you will be able to show this to your student...

In this tutorial, we learn how to make a fitted sleeve sloper with Don. First, graft a set in sleeve pattern. This will be based on a fitted bodice that is very close to the arm and high over the arm on the elbow. You will want to shape the shoulder to fit the contour of the body. You will put a series of darts into the fabric so it fits on the body perfectly. If you do a looser cut sleeve, you won't have to do this. After you make this, place it on your model and make sure the arm can move e...

In this tutorial, we learn how to make a lily out of paper and pipe cleaner. First, lay your hand flat on a piece of copy paper. Next, trace your hand with a pen or pencil, then cut it out with scissors. Now use a pencil or pen to curl the ends of the fingers you just cut out. After this, combine two pieces of gold pipe cleaner together and bend in half. Then, place a green pipe cleaner in the middle and make a twist to keep in place. To finish, wrap your paper hand cut out around the gold pi...

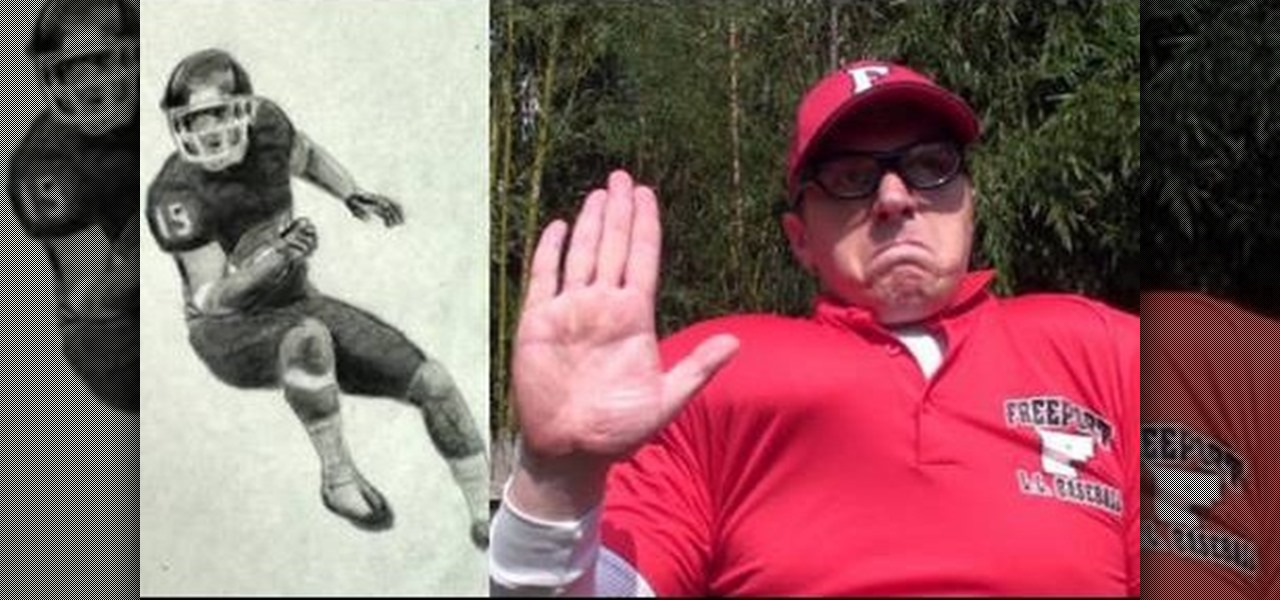
This art tutorial debunks the myth that male artists are sissies. Okay, maybe if you were a dude who just died over painting watercolor lillies then we would question your, uh, orientation, but when it comes to drawing beefcake football players, it's full on masculinity.

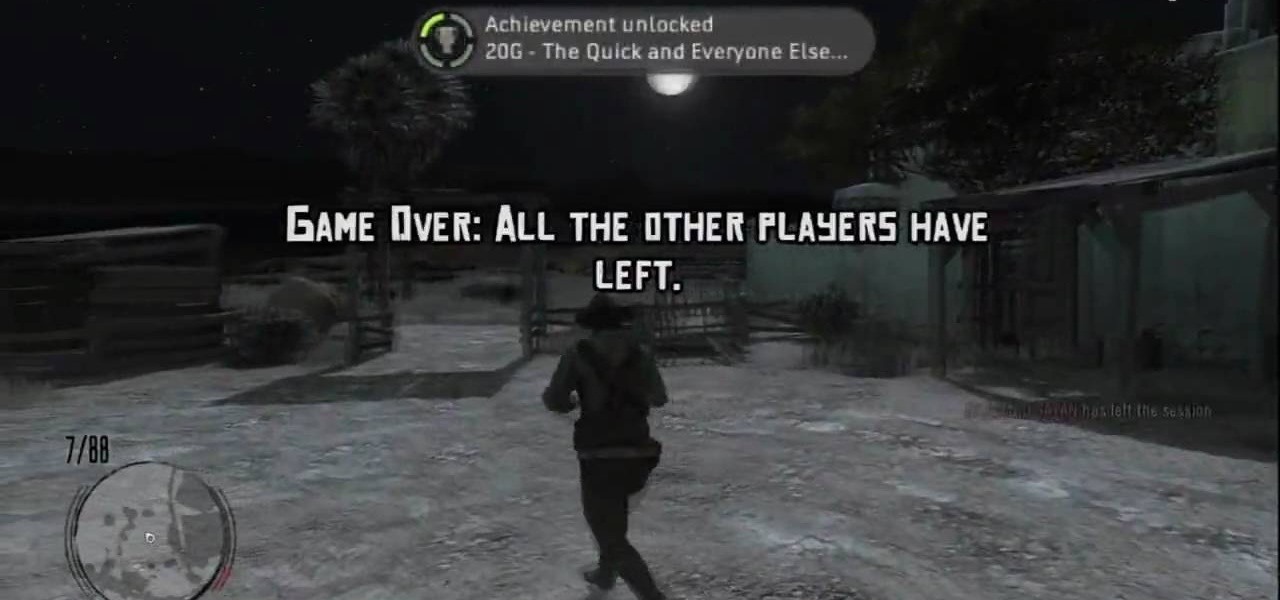
This next achievement tutorial is going to show you how to get two easy achievements in the hit title, Red Dead Redemption.


