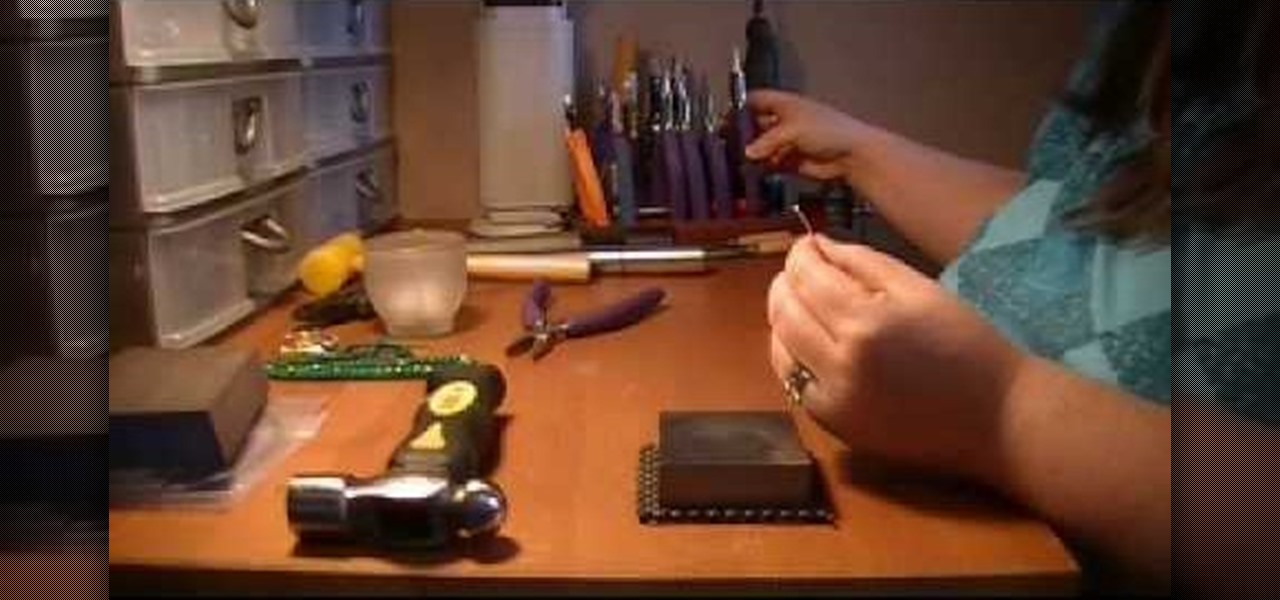
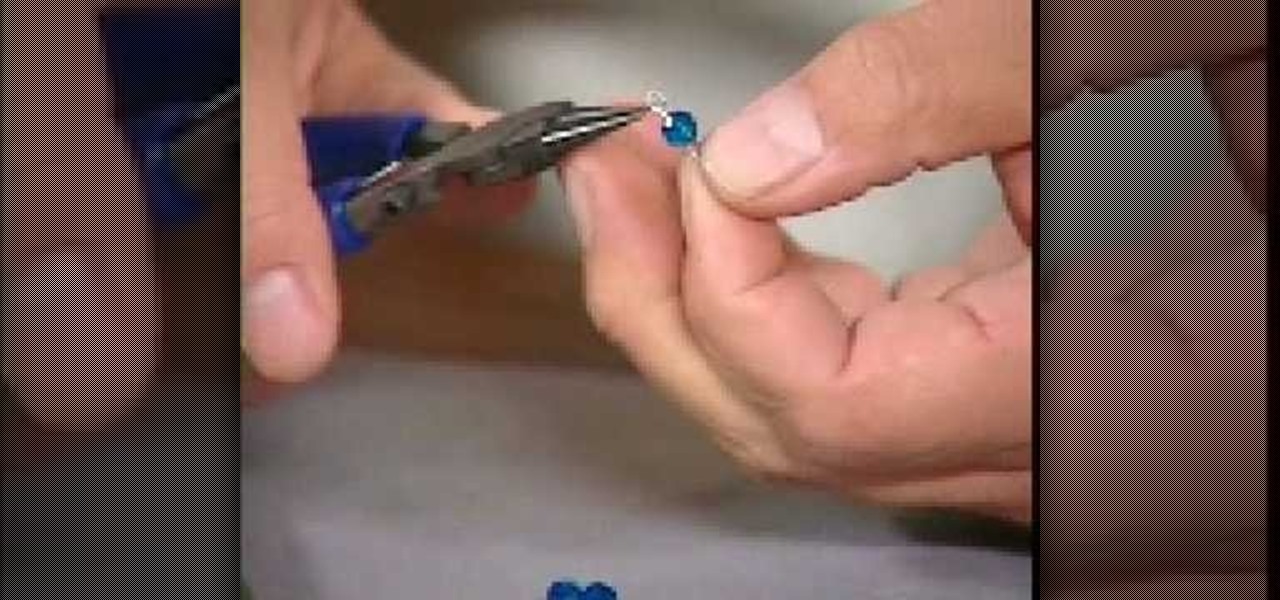
The video helps us to make sterling silver hoops earrings. It is one the popular style of earrings. These earrings can be made of different sizes, shapes, forms whatever we like. This art and craft work is shown by Natalie.

In this video, Richpin demonstrates how to install a trunk override light switch in a Saturn car. When you open the trunk in a Saturn, the light turns on and there's no way to turn it off. Thus you must have a switch in the circuit so you can turn the trunk light off. Select an out of the way place to mount the switch so it doesn't interfere with your cargo. Find the blue connector. The red wire with the black stripe is the ground wire from the latch switch. First, disconnect the battery. The...

The lady presenting the video shows us how to make a pomander ourselves which can be used for decoration in the church or at home or at the reception hall for your wedding. She says that she used artificial flowers which are a bit expensive but you can always use the flowers you want, either real or artificial. She says that the pomander she is going to make has a ribbon going through it so that you can hang it wherever you want. She asks you to pick up a Styrofoam ball and punch a hole throu...
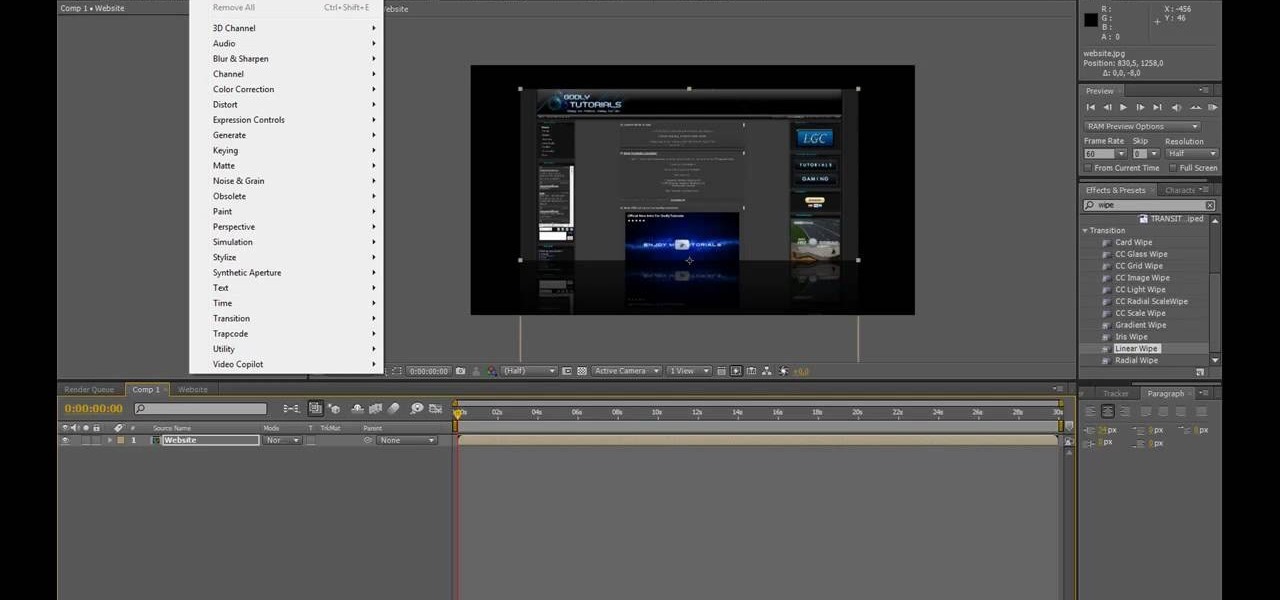
Open After Effects. Create a new composition by selecting "Composition" and "New" from main menu. Use default NTSC DV preset. Keep 30-sec default duration unless you need more time for the video scene to edit. Import several video clips by selecting "File," then "Import" from menu. Navigate to video files you want. Import at least 3 different video files using Import File dialog box. Double click on 1st video file you want to add to your timeline. The file will now open in a video monitor win...
You can learn to make a beautiful chain mail bracelet by watching this video. The bracelet is easy to make and affordable too. Start by sliding two silver jumper rings onto a paper clip. Two copper jumper rings are passed through the silver rings and twisted to complete the loop. Next, two silver rings are passed through the copper rings and twisted to complete the loop. Next, place the silver rings on either side of the copper rings and pull them up from between the copper rings, as shown in...

Shampoo and condition your hair. Use a lightweight conditioner that won't weigh it down; try a volumizing formula. Blow dry the roots of your hair with your head upside down, using the cool-shot button every few minutes to lock in some volume. Stop when your hair is damp, but not yet fully dry. Spray some salt spray (also called sea spray, surf spray or beach spray) into your palms. Run your palms over your hair, starting at the ends. Try not to get any directly on your roots. Divide your hai...

Things you’ll need: Sharp kitchen knife Cutting board Onion Step 1 Leave the root side of the onion intact. Step 1 Leave the root side of the onion intact. Slice off the other end of the onion. Step 2 Remove the papery skin as well as the first layer of the onion. Cut the onion in half, and place one half on top of a cutting board with the side flat down. Step 3 Make a series of vertical slits in the onion from the root down, making sure not to cut through the root end. Leave about 1/2" at th...
1. To tie a bow tie, one end should be longer than the another one. 2. Take the longer end above the smaller one.
It is not that hard to make your own drill press table. Start with a 3/4-inch piece of plywood. Cut a 3/4-inch dado cut on both ends of the 3/4-inch board about two inches from the end. Top the 3/4-inch plywood with a 1/4-inch piece of oak cut into three pieces. When you cut the board into three pieces cut the center piece out with a 10-degree angle so that when you glue the two end pieces down the center piece will slide in and out but be held in place by the angle. This allows you to change...
This is a nice look. You will like it and it is inspired by Britney Spears. It is not that hard to do. It takes some time to do, but you just need to follow the steps.
Use your magic skills to perform this hot trick at your next party. You Will Need
The most widely known Christian prayer dates all the way back to Jesus himself. It can be found in the Gospels of Matthew and Luke, though Matthew's version is the one most commonly used. Learn how to say the Lord's prayer.
Try these simple fixes to salvage your specs. Learn how to fix your eyeglasses with this helpful guide.
A formal occasion calls for a classic look. You Will Need
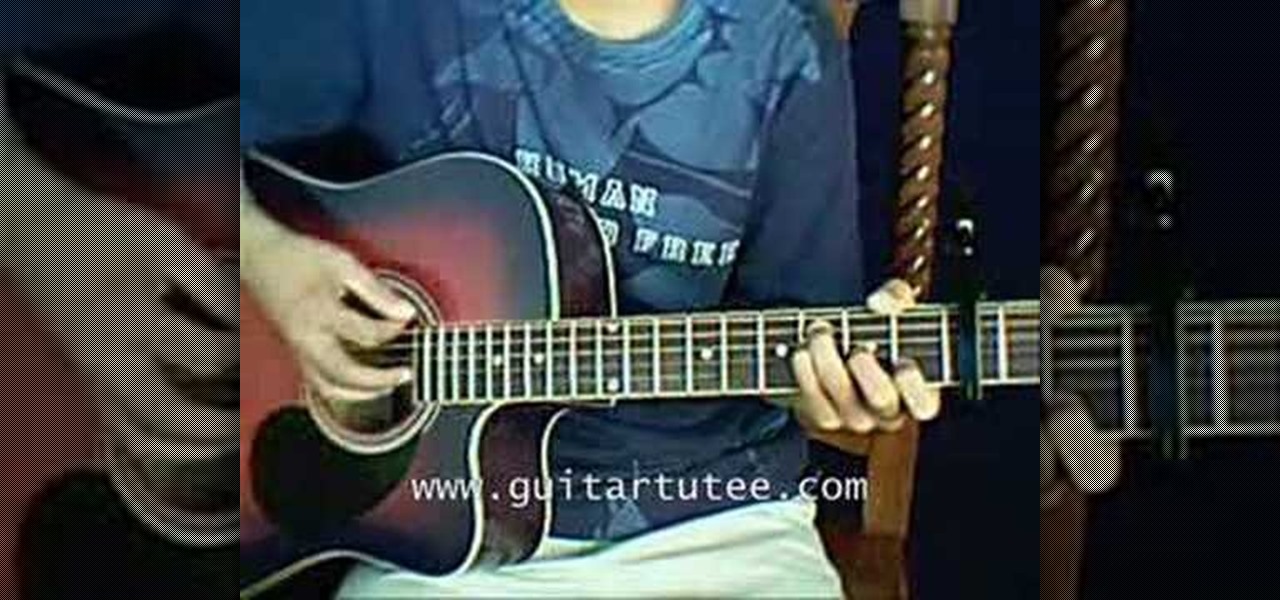
Learn how to play "After Tonight" by Justin Nozuka, an acoustic guitar tutorial. Follow along with this demonstration, tabs and lyrics here:
A CNC router machine is probably the most useful tool a hobbyist can own, but the price for a CNC machine on the market is way more than the average hobbyist is willing to spend. You can build your own CNC with very basic tools, little knowledge of machinery, mechanics, or electronics, but be warned, these machines are inherently dangerous, so wear the proper protection and use common sense. At the very least, read the instructions and precautions on every tool you use.
The method demonstrated in this how-to video makes the Bowline knot quick and easy to tie. It is useful when you expect a blow and need to take a few turns around your winch to use as an additional hardpoint. In this case I am simulating a mast winch but the process can be used on a horizontally mounted winch as well. The secret is to form the bowline eye by capsizing an overhand knot. With the standing part in your left hand form a turn around the winch from top to bottom then cross the runn...
Tie loose ends together - in the literal and original sense sense of the phrase - by sewing together the ends and/or hems of your knitting projects like a pro. Whether you're fusing together two pieces of wool-knitted cloth to form the back of a beautiful winter sweater or just want to join patchwork knits into a rasta-cool beanie, knowing how to stick pieces together is integral for a tidy project.
Happy New Year! You're probably wondering, "Wha? The New Year passed two months ago." But Chinese New Year, or the Lunar New Year, occured this year on February 3rd and lasts for fifteen days. Celebrating the purging of the old and the coming of prosperity and luck, Chinese New Year is all about starting over.
In this video we learn how to tie a necktie in a Full Windsor knot. First, take four inches on the skinny side and bring the long end over it. Then, bring the tie up back underneath and pull it through. Drop this down to the right hand side and then bring the long end back up underneath the other side. Bring the tie across the front of the knot towards your neck and pull it through the back of the tie. Next, bring the tie across the front of the knot and create a cross section. Bring it back ...
Connie Brad teaches us how to make a pop-up box card in this tutorial. First, you need to take a scoring board and draw 1 cm increments down the center of it. Now, take a sheet of card stock and score the sheet 2 cm from one end, then continue down until you reach the bottom 3/4's of the paper. Now, fold your card along all of the score lines up until the last line. Next, line this up on a cutting mat and cut 3 cm on each side until the end of each score line. Now when you set this up, it wil...
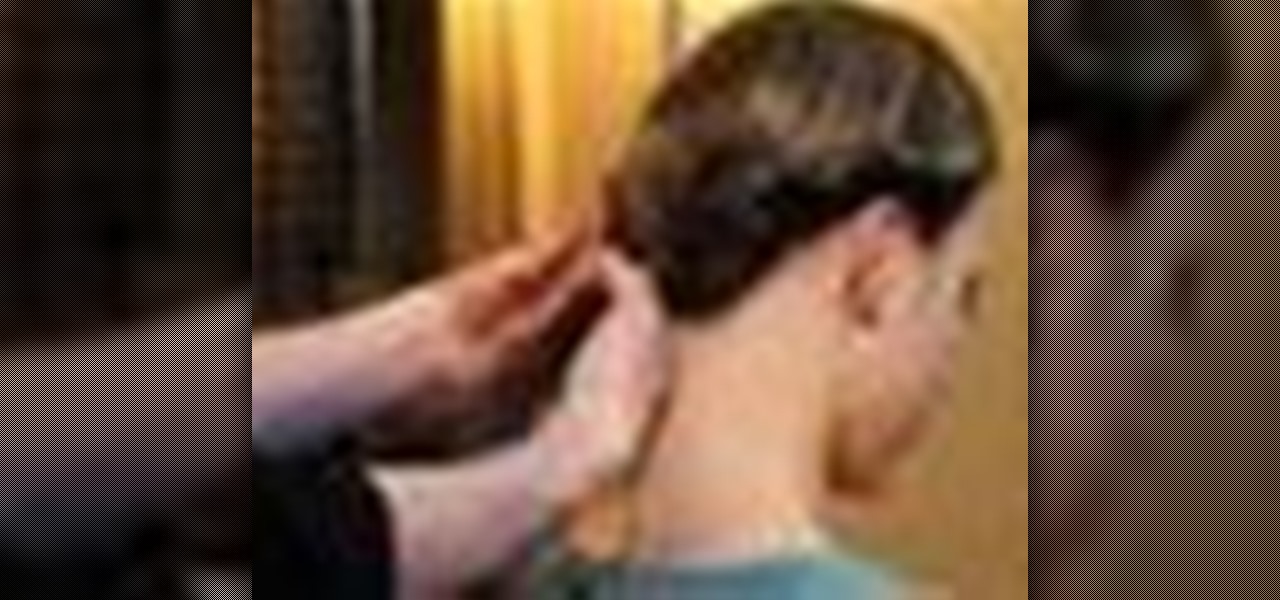
In this tutorial, we learn how to do a cute and edge side ponytail. Start by taking the front of your hair, including your bangs and combing it back. After this, clip the ends of the hair onto the side of the head with a couple of bobby pins. Hair spray the hair after this, or tease it if you prefer. Now, take sections of your hair and make different sized braids until you reach the bottom. Tie these off at the end, then put your hair back into a side pony tail. Make the pony tail on either s...
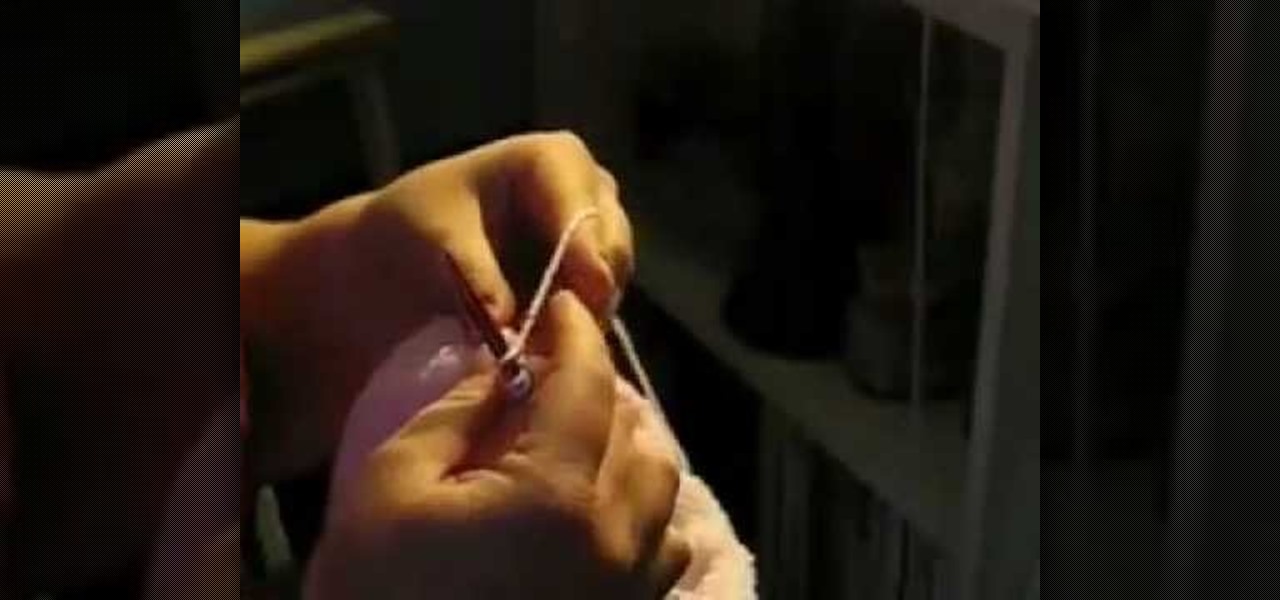
In this video, we learn how to make a twisted necklace. First, you will need to grab the cord you want for your bracelet and cut it double to the length you would normally use. Now, measure the cord in half, then start twisting the two together until you reach the end. You can do this with several cords if you would like a more unique necklace. After this, tie the ends and then loosen them up. Next, start to twist the necklace together again, then you can add your jumper bead into the necklac...
In this video, we learn how to knit a hat on circular needles. First, use a stitch marker to mark the beginning of the round and make sure no stitches are twisted around. Now, join the two ends by knitting your stitch and using both of the loose ends at once. You will now start knitting and going around. You can make as many knits as you want and do any types you would like, making sure you go in the circular motion around the brim of your hat. You can style this as you prefer, then enjoy whe...
In this tutorial, we learn how to pronounce consonants in Brazilian Portuguese. "S" has several pronunciations and sounds the same as English when it's used at the beginning of a word. Using "s" between two vowels makes it sound like a "v". At the very end of a word, it either sounds like an "s" or "sh" sound. Sometimes words with "s" come before other sounds, if the "s" at the end of the word comes before a voiceless consonant, it's going to have an "s" sound. Using these tips and hearing th...
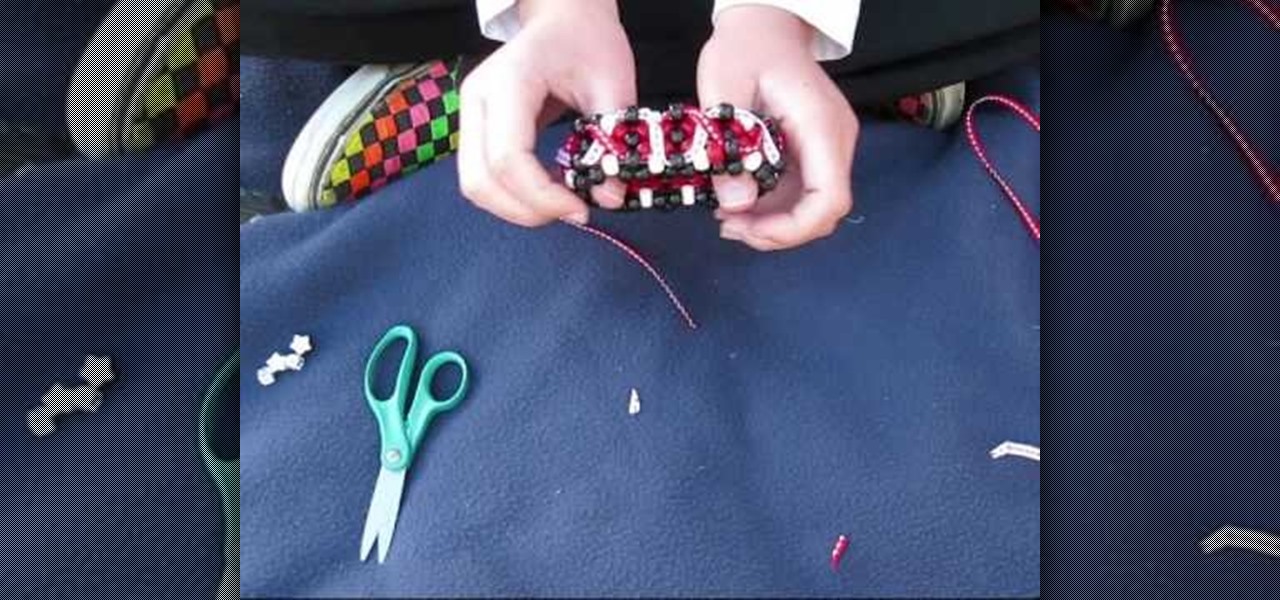
In this tutorial, we learn how to make a 3D ribbon cuff out of beads. First, you will need a cuff that is already made, then use the string that is hanging off the end. Put on one bead, then thread it through the bead next to it. Continue this all the way around the cuff. Now, tie the string off by threading it through the original loop. Now, string a ribbon around the cuff to make an "x" shape, then add in another ribbon around it. You can tie these into a bow at the end so you have a more g...
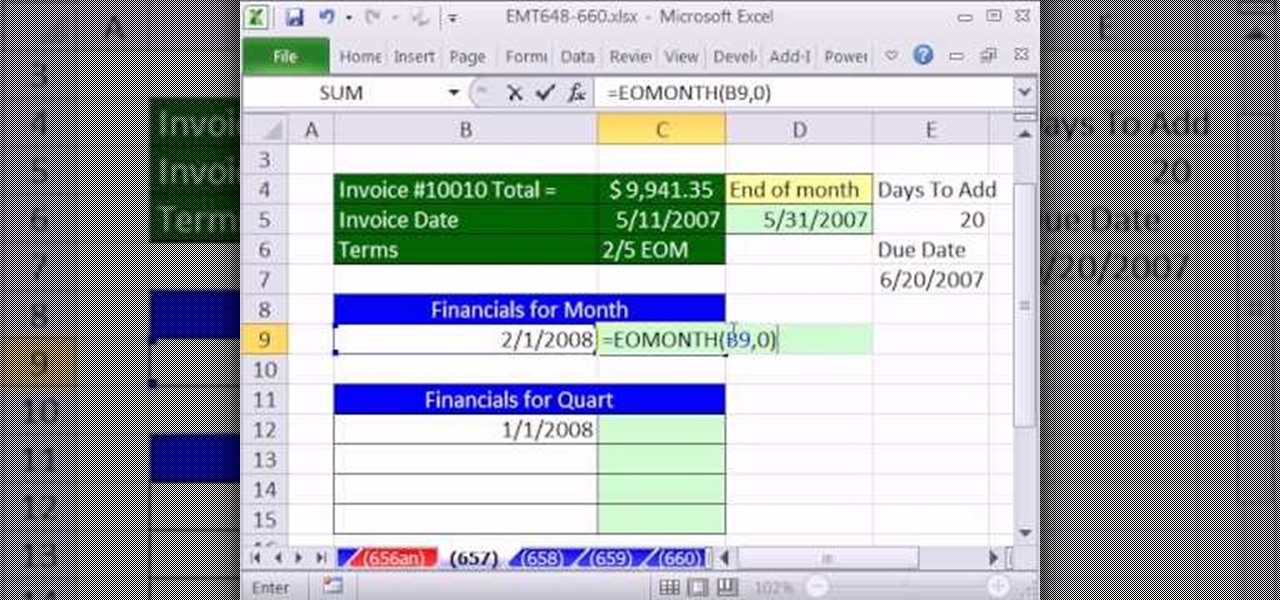
New to Microsoft Excel? Looking for a tip? How about a tip so mind-blowingly useful as to qualify as a magic trick? You're in luck. In this MS Excel tutorial from ExcelIsFun, the 657th installment in their series of digital spreadsheet magic tricks, you'll learn see howto calculate Invoice Due Dates & Financial Statement Dates using the EOMONTH function including end of the month and beginning and ending dates for each quarter.
In this tutorial, we learn how to recycle plastic grocery bags into a dog leash. To begin, you will cut the plastic bags in half, then cut off the handles of the bags. Next, apply glue to the entire bag, then roll up into a straight line. Continue to do this for several different bags, depending on how long you want your dog leash to be. When you finish this and the glue is dried, tie several bags together end to end, and have three rows of these. Now, take the bags and tie them in a knot aro...
This video demonstrates how to make a christmas tree out of newspaper. The author suggests that you start with 3 full sheets of newspaper and have scissors and scotch tape ready to use. Begin the tree making process by rolling the newspaper tightly and then using the scissors to create multiple cuts on one end of the roll. After doing so the newspaper roll should achieve a frayed look on one end. Pull on the frayed side to elongate the other newspaper that was rolled inside previously and the...
Start with chopping off the woody end of the asparagus and peel them so they will cook evenly. Sprinkle asparagus with a teaspoon of olive oil. Slice smoked turkey into three pieces then wrap the turkey around the asparagus. Then take a chive and tie it around the turkey and snip the ends. Next put on baking sheet and into the oven on 400 degrees for 12 minutes. To go with the asparagus is roasted red peper dip. Start with toasted almonds. Toast in the oven for 1 minutes then chop them up in ...
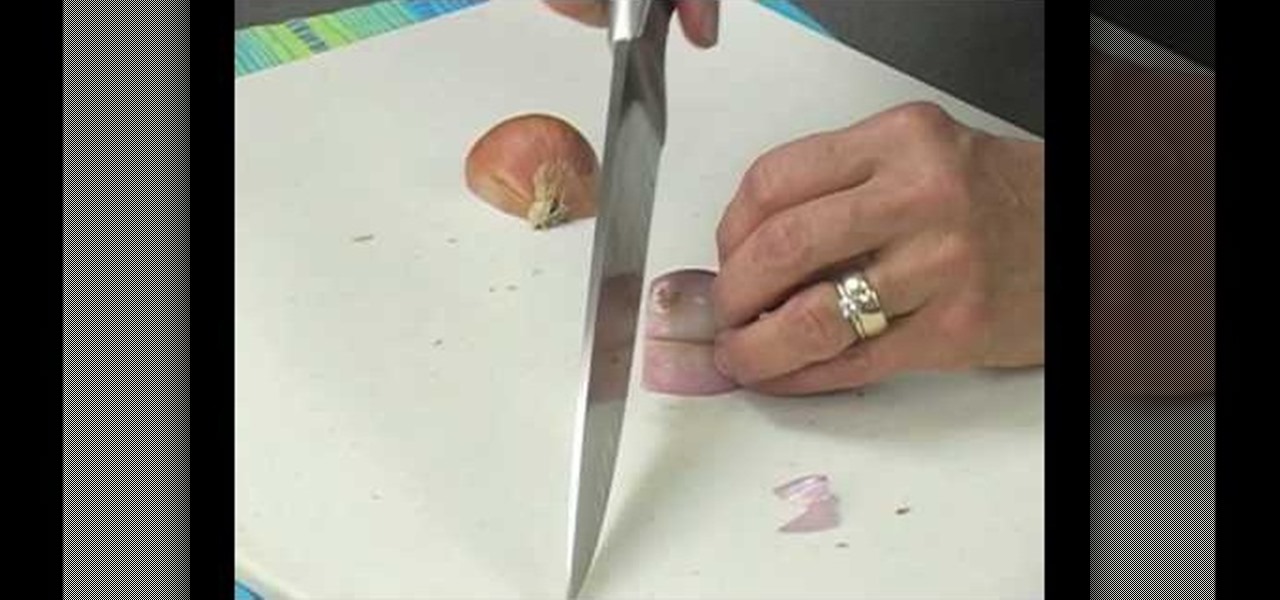
How to buy, store, and chop shallots
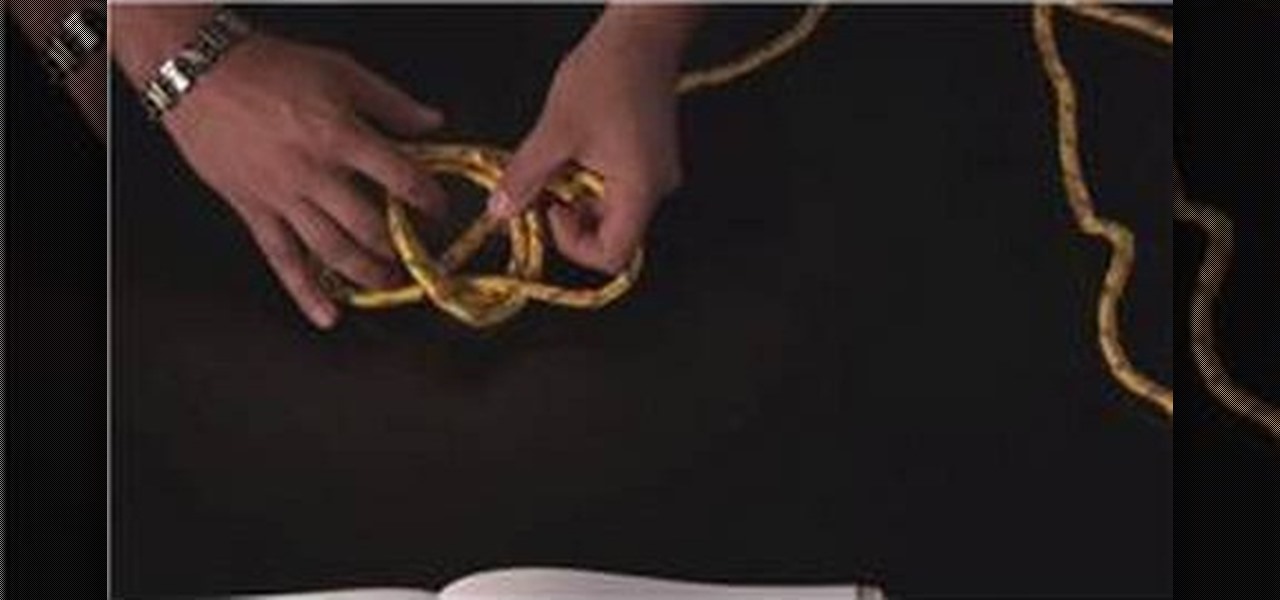
In this Disaster Preparation video tutorial you will learn how to tie a double bowline knot step by step. Robert Segundo, knot tying expert, presents this video. This knot is stronger than the regular bowline knot. When you put a knot on a rope, its strength reduces. This knot will retain about 70-75 % of the original strength of the rope. For this knot you will need a piece of rope or twine. Start off by putting a loop on the rope and then put a double loop. Then take the working end of the ...
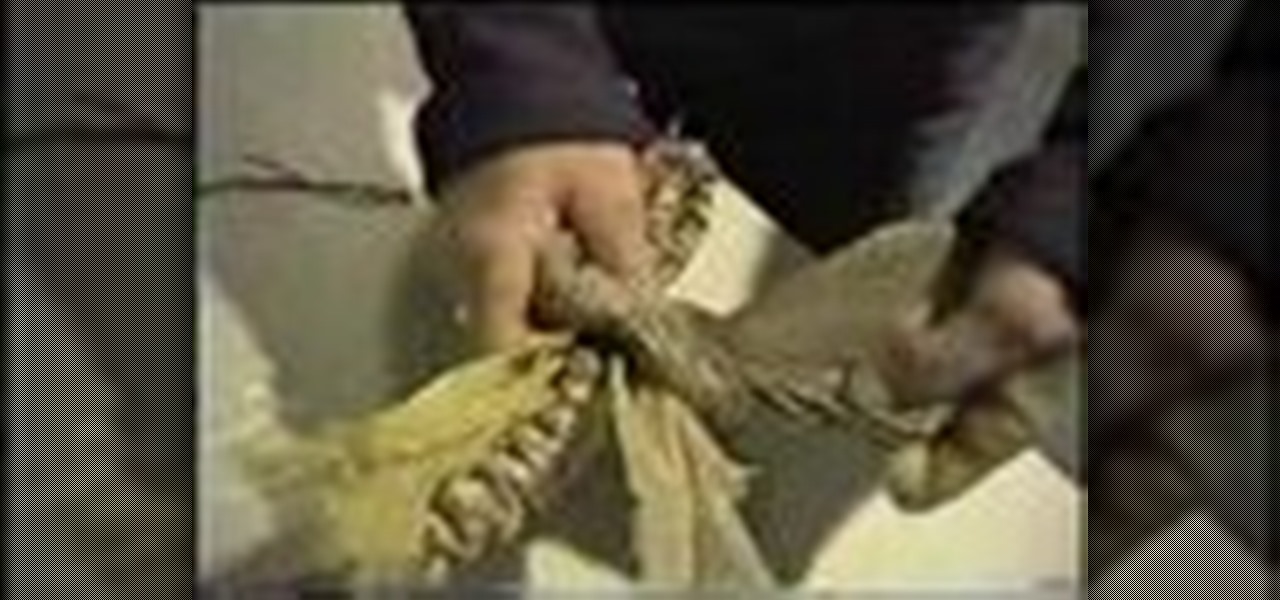
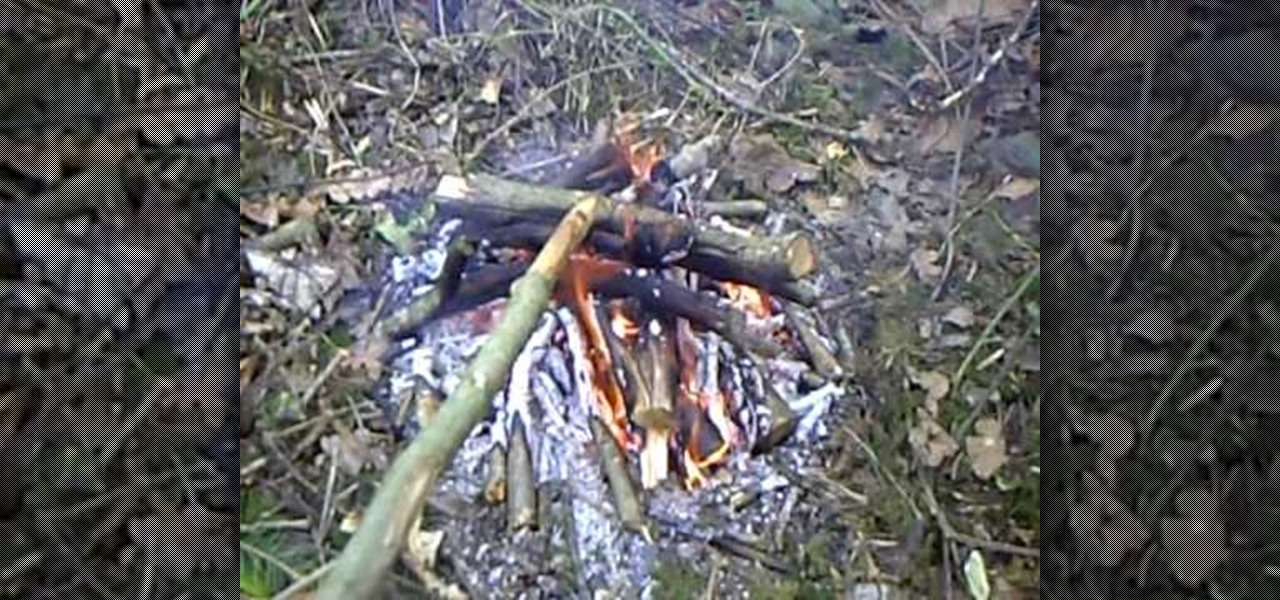
If you are in the wild and have nothing to do, just to play around with your knife , then you should surely watch this video. First, you have to find a knife. After that you must find a good branch or piece of wood that's the same size as a spear. After that you must take the branch or piece of wood and sharpen one of the ends. Then , you must put the sharpened end in the fire so it begins to turn black. After that cut it again and this time cut it so it will be sharp enough to cut. It can se...
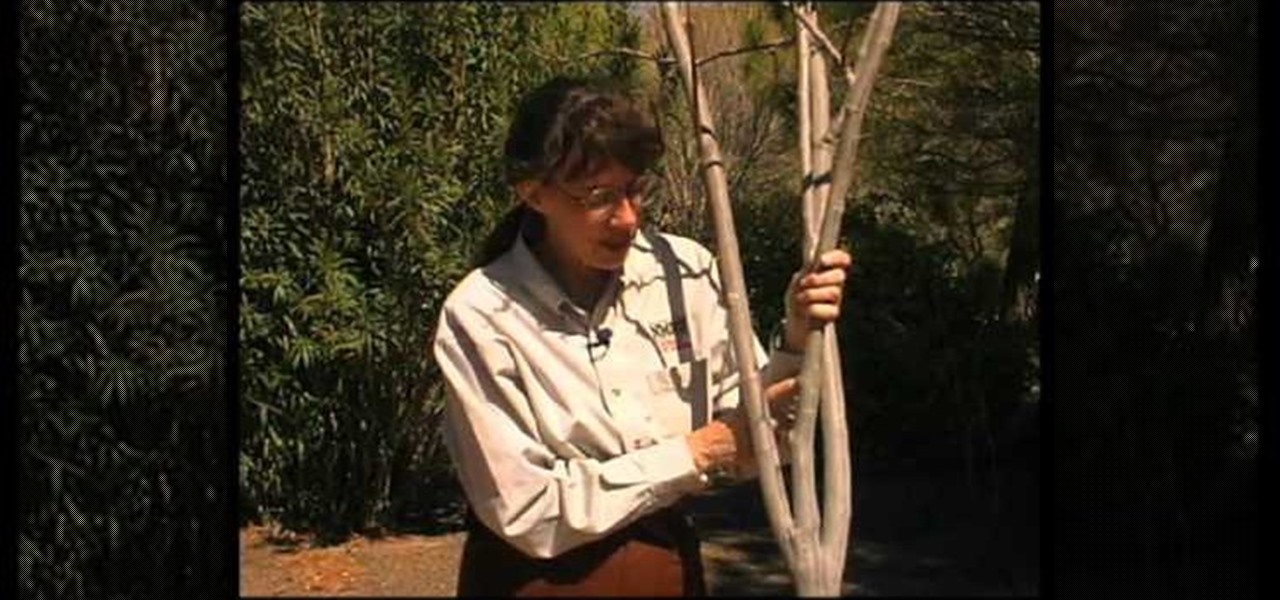
How to identify insects in your gardenCarol Sutherland explains us in this video of how to identify insects in your garden. She is an extension entomologist and she explains her view on the insects here. To be known is that some insects are damaging, some others we want to be aware of and some are necessary in your garden. Here during the garden season you get to see insects on trees as they form a familiar habitat. Mostly on the split ends and the broken ends the insects gets invaded. She sh...
This is a video from Derrick Schommer of Everyday Drinkers: Common Man Cocktails. He describes how to make a "Sunday Snuggie," which has 2 oz Jagermeister and 2 oz Bourbon whiskey. This also contains cranberry juice, grenadine, and a mix of 1 oz of lime, 1 oz of lemon, and 1 oz of simple syrup which makes a sour mix. Use 2 oz of that. Once he explains all of the ingredients he goes on to a demonstration of how to make the drink. After he makes the drink he goes on to sip and describe it. He s...
Developed by the same team of engineers responsible for LightWave 3D, modo, lowercase, delivers the next evolution of 3D modeling, painting and rendering in a single integrated and accelerated package for the Mac and PC. And now, modo is a true end-to-end solution that includes true 3D sculpting tools, animation and network rendering! More than just features, modo is a truly elegant integration of technology, raw horsepower and refined workflow. With such a wealth of inbuilt features, however...
Devolped by the same team of engineers responsible for LightWave 3D, modo, lowercase, delivers the next evolution of 3D modeling, painting and rendering in a single integrated and accelerated package for the Mac and PC. And now, modo is a true end-to-end solution that includes true 3D sculpting tools, animation and network rendering! More than just features, modo is a truly elegant integration of technology, raw horsepower and refined workflow. With such a wealth of inbuilt features, however,...
Devolped by the same team of engineers responsible for LightWave 3D, modo, lowercase, delivers the next evolution of 3D modeling, painting and rendering in a single integrated and accelerated package for the Mac and PC. And now, modo is a true end-to-end solution that includes true 3D sculpting tools, animation and network rendering! More than just features, modo is a truly elegant integration of technology, raw horsepower and refined workflow. With such a wealth of inbuilt features, however,...
Developed by the same team of engineers responsible for LightWave 3D, modo, lowercase, delivers the next evolution of 3D modeling, painting and rendering in a single integrated and accelerated package for the Mac and PC. And now, modo is a true end-to-end solution that includes true 3D sculpting tools, animation and network rendering! More than just features, modo is a truly elegant integration of technology, raw horsepower and refined workflow. With such a wealth of inbuilt features, however...
Modo delivers the next evolution of 3D modeling, painting and rendering in a single integrated and accelerated package for the Mac and PC. And now, modo is a true end-to-end solution that includes true 3D sculpting tools, animation and network rendering! More than just features, modo is a truly elegant integration of technology, raw horsepower and refined workflow. With such a wealth of inbuilt features, however, things can get confusing, which is where this tutorial comes in. In this modo vi...