Devolped by the same team of engineers responsible for LightWave 3D, modo, lowercase, delivers the next evolution of 3D modeling, painting and rendering in a single integrated and accelerated package for the Mac and PC. And now, modo is a true end-to-end solution that includes true 3D sculpting tools, animation and network rendering! More than just features, modo is a truly elegant integration of technology, raw horsepower and refined workflow. With such a wealth of inbuilt features, however,...

Devolped by the same team of engineers responsible for LightWave 3D, modo, lowercase, delivers the next evolution of 3D modeling, painting and rendering in a single integrated and accelerated package for the Mac and PC. And now, modo is a true end-to-end solution that includes true 3D sculpting tools, animation and network rendering! More than just features, modo is a truly elegant integration of technology, raw horsepower and refined workflow. With such a wealth of inbuilt features, however,...
Traditional makeup is too boring for special occasions, so why not try something a little more fun to ring in the new year? This how-to video goes through the intensive process of applying a vibrantly colorful and ornate harlequin mask, using just makeup. The cosmetic products used to create this look are N.Y.C Yellow Concealer, Clinique Super Powder Double Face Make Up # 10 Matte Medium, N.Y.C Black Pencil Eye Liner, Graftobian Crème Foundation Yellow, Graftobian Crème Foundation #89092 Augu...

The Professor of Silliness returns with some paper. Watch this instructional video to make a tall tree out of newspaper. You need an old newspaper, masking tape, and scissors. Simply lay out the newspaper pages from end to end and tape them together. Then roll it up at a diagonal, starting from one corner, and pack i it into a compact tube. Use tape to keep the tub intact Use the scissors to cut vertical lines half way down the newspaper tube. Pull out the inner most layer and turn your recyc...

In this video we learn how to make a phone call with the Nokia N97. First, go to the main screen on your phone, then tap the dialer icon. From here, you will see a keypad with numbers on it. Enter in the phone number that you want to call, then press on the call key. The phone will then start dialing the number you chose. To hang up, press the end key. You can also call out from the contacts menu, by simply selecting the person you want to call, then pressing the call icon on your phone and u...
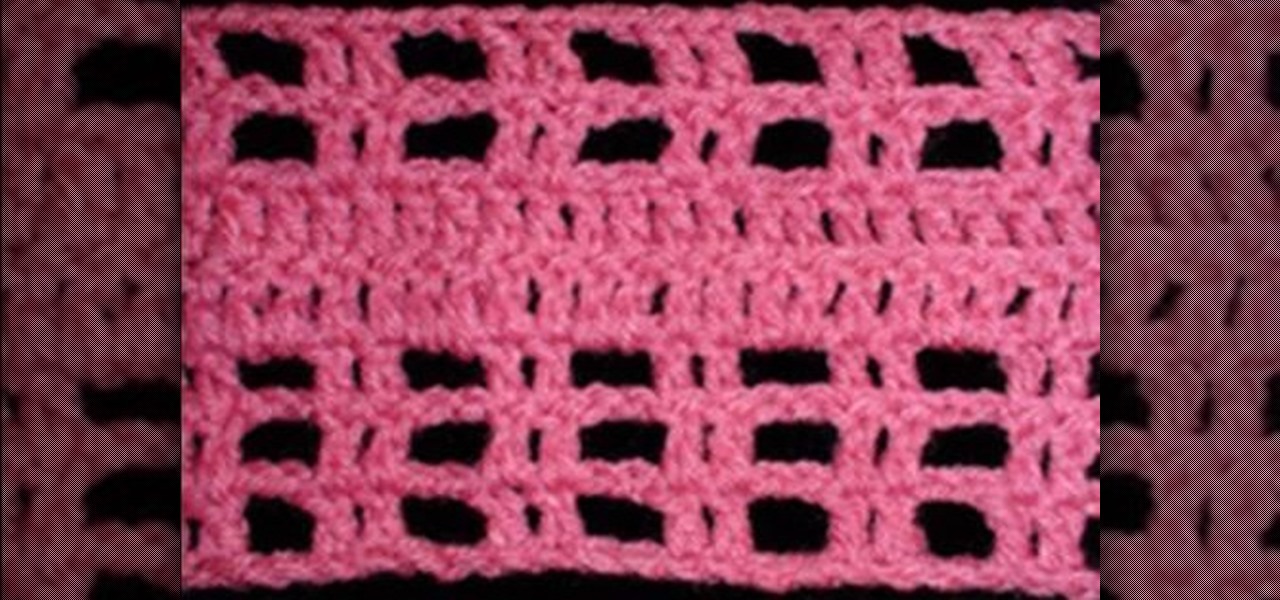
Are you looking for a new way to crochet while being left handed? Then watch this video, where we learn how to do a left handed mesh crochet pattern stitch. Start off with the first round, where you will double crochet in the fourth chain from the hook. Then, double crochet in the next chain and skip two chains. From here, you will do one double crochet in the next two chains and continue across from the start for the width, ending with two double crochets. For the next and last round, you wi...

In this video, we learn how to tie a Knute hitch. The purpose for this is to make an easy dummy cord on something with a hold for it. To start, tie a simple overhand knot in one end and then make a bite in the knot. With this bite, insert this into the hole in your item. Once it's through, take the end with the knot and put it through the loop. Then, pull the end of the string until it's tight over the item with the hole. Then you can use this as a handle so you don't lose your item!
In this video we learn how to tie an easy fishing knot system. First, put the line through the hook and pull. Then, take the end of the line and make it come through the loop. Bring this over and then you will have a hole at the bottom of the string. Take the end of the line and put it through the hole around six to eight times to get a strong knot. Then, pull on the main line and you will see the knot glide up to the hook, To go lower, just pull it down. This creates a strong and efficient k...
In this video we learn how to create a paper football. First, take a piece of paper and fold it in half vertically. After this, create a crease and cut this in half with scissors. From here, fold the bottom of the paper into a triangle after folding the paper in half once more. Continue to fold the triangle until you reach the end of the strip of paper. Take the end tab of the piece of paper and tuck it into the pocket that you created when you folded up the paper. Then hold this with one fin...
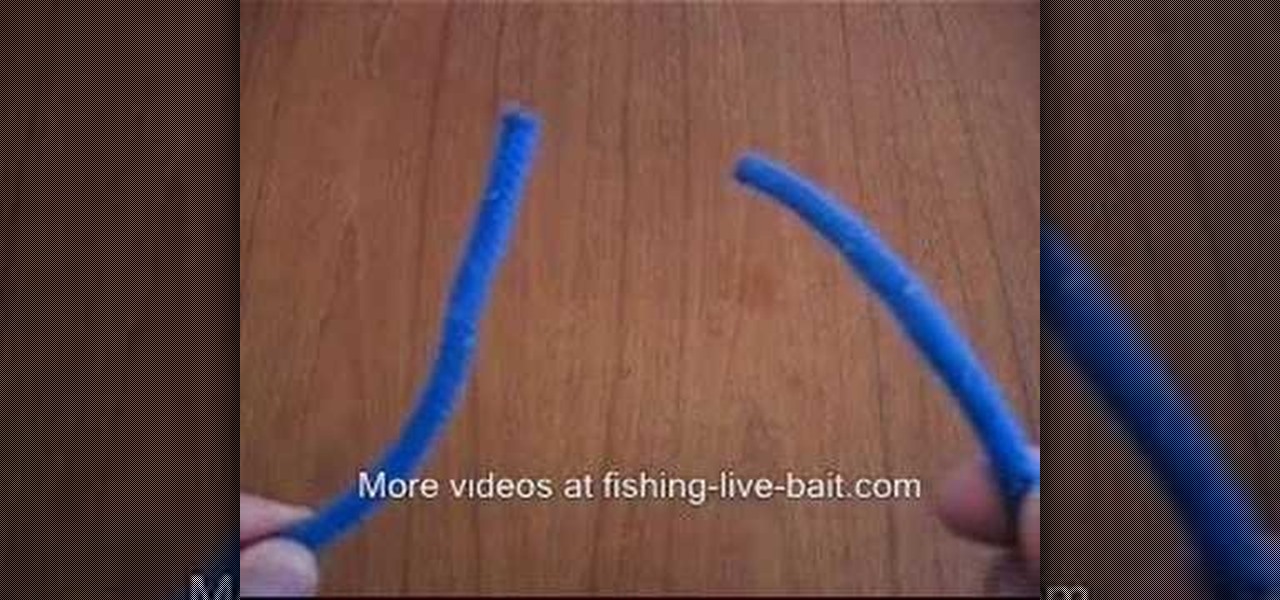
Use 12 inches of fishing line and a fishing hook. Make a large loop, folding the fishing line in half and put the fishing hook through it about a quarter of the way down the fishing line. Take the loop under the hook, draw it through the hole that was created. Pull to tighten. Next, take the small, loose end of the loop and place it around the fish hook. Pull the fishing hook through. Pull the end of the fishing line tightly so that the knot is firm and secure. Watch the video for more inform...
This is a video tutorial in the Education category where you are going to learn how to draw an isosceles trapezoid. This video demonstrates how to draw an isosceles trapezoid with a long base (B), a short base (b) and a 35 degree angle. First you draw the long base. Now center the short base at the center point of the long base and mark the end points of the short base with dots. Next draw perpendicular dotted lines from the dots extending upwards. Draw 35 degree angles from either end of the...
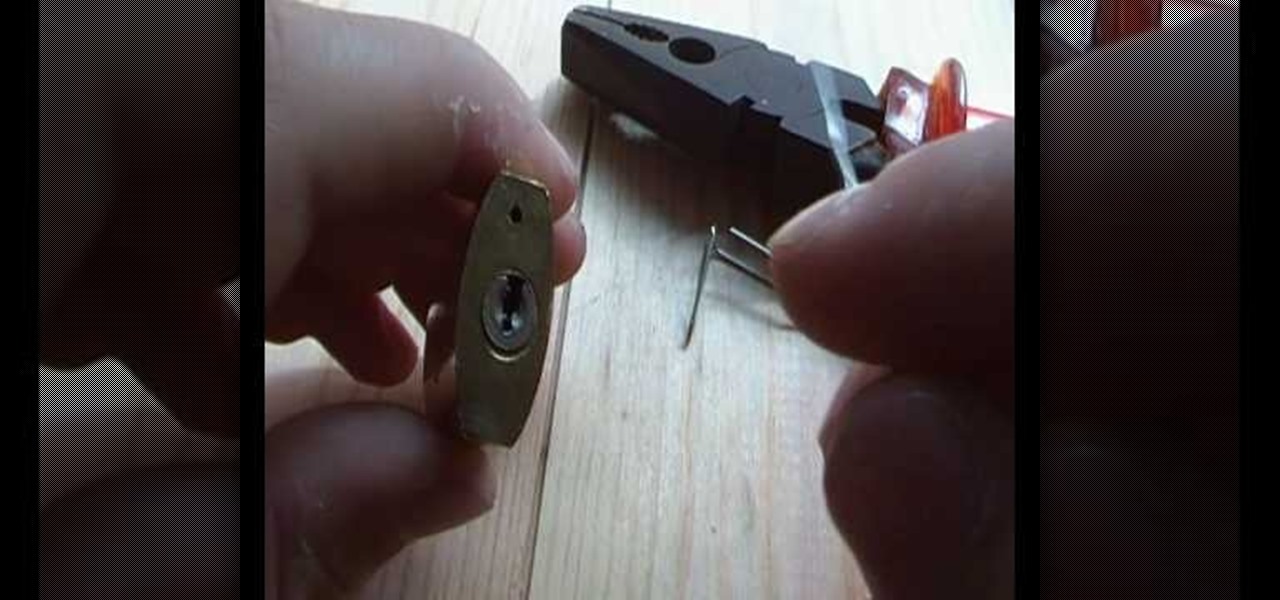
In this video, we learn how to pick a lock using two paperclips. First, take your lock and make sure it's locked. Then, grab two paperclips and open them up using your fingers. Then, take some pliers and bend the end of the paperclip so there is a small angle at the end. Now, stick the bend clip into the top of the lock. Then, take the other paperclip and make a large loop in it. After this, push it into the lock with the other and then twist the clip. Now your lock will become open and you w...
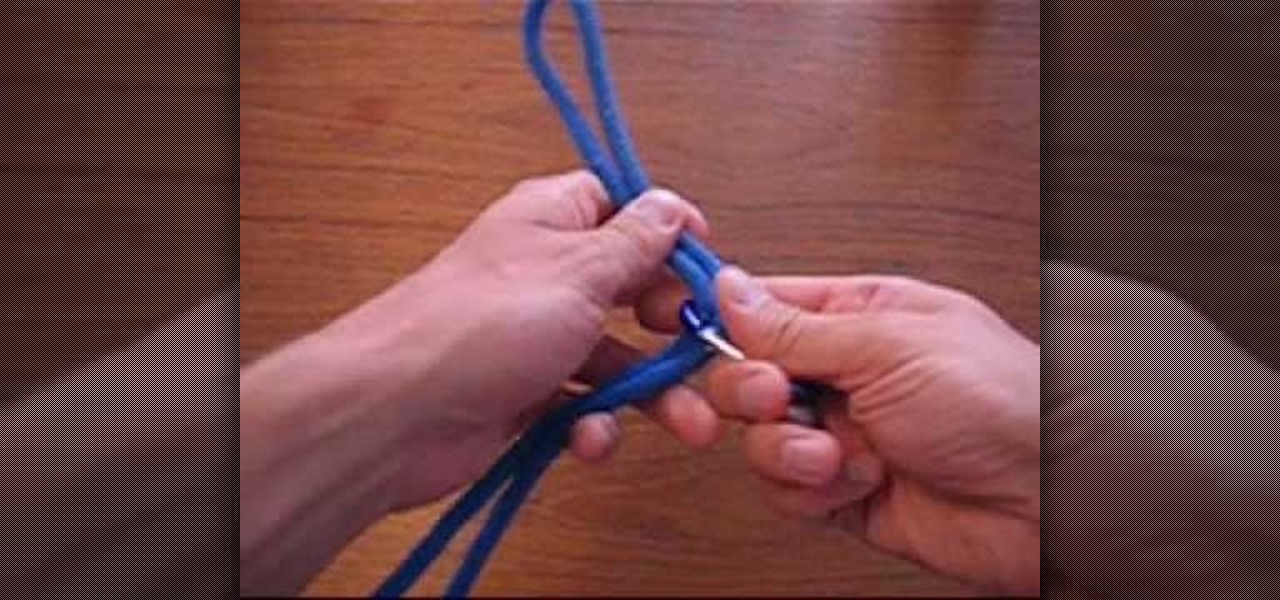
This is a video tutorial in the Outdoor Recreation category where you are going to learn how to tie a snell knot to a fishing hook. This knot is different from the usual ones and is one of the strongest fishing knots for tying a fishing hook to fishing line. It is also the easiest to tie. Take a fishing line about a meter long and a number 6 tuna circle hook. Pass the line through the eye starting from the front and coming out at the back. Hold the end of the line and the hook together, wrap ...
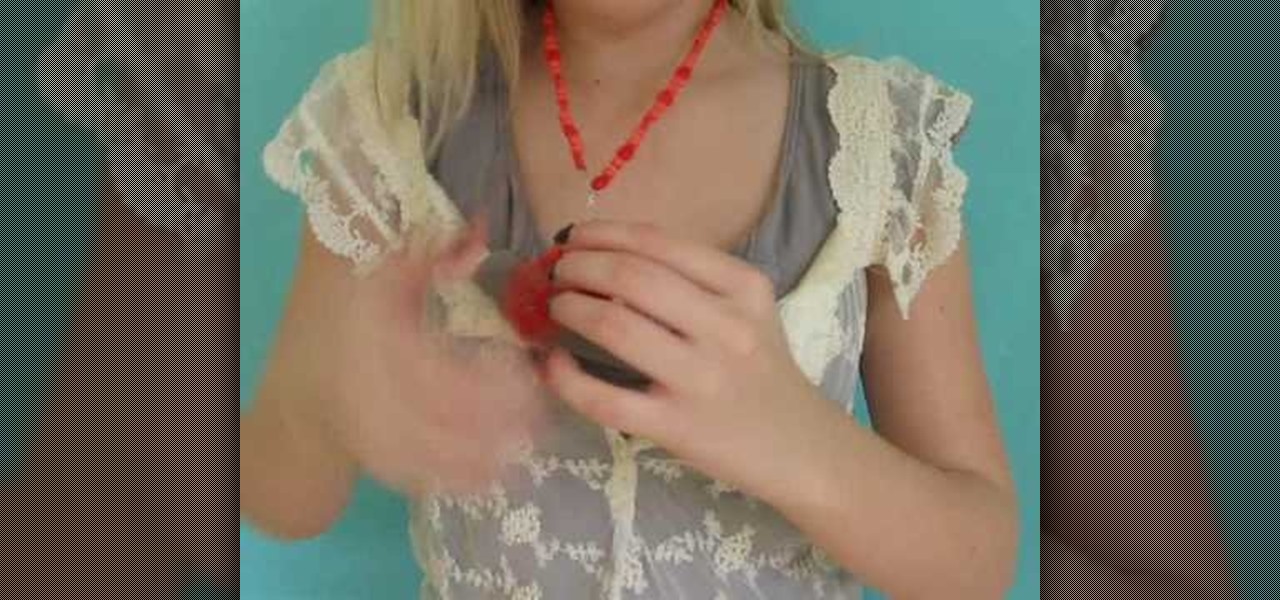
In this video, we learn how to make a lariat necklace. First, cut your wire so it's 20" long. Then, make a loop at one of the ends and attach a small chain to it. After this, put on the crimp bead and make a loop through the bead. Once finished, take your pliers and clamp it down. Now attach your chosen beads to the wire until you reach the end where the chain is. After this, cut out three pieces of wire and attach them together in a slight v shape. After this, apply beads to them, then tie t...
In this video, we learn how to crochet a left handed knobby granny square. First, work a chain four, then join and make a chain one. Do three half double crochets, and then chain two and repeat the process twice more. Chain one, then end with a single crochet in the beginning to put you back in the corner. For round two, work in the same space you just ended. Chain one and pull up, then do a half double crochet. Do a quadruple crochet next, then pull your yarn through two, doing this four tim...
In this video, we learn how to tie the qianjing on a erhu. First, measure and cut 60 inches of Qian Jin string, then place one end on the neck and make a downward loop. After this, loop the rest of the Qian Jin over the neck, across the loop which you just made. Then, loop five times around the neck going down. Loop over the strings then use the thumb to space the strings between the neck. Next, move another five strings around the poll in the same direction. To finish, tie the end of the loo...
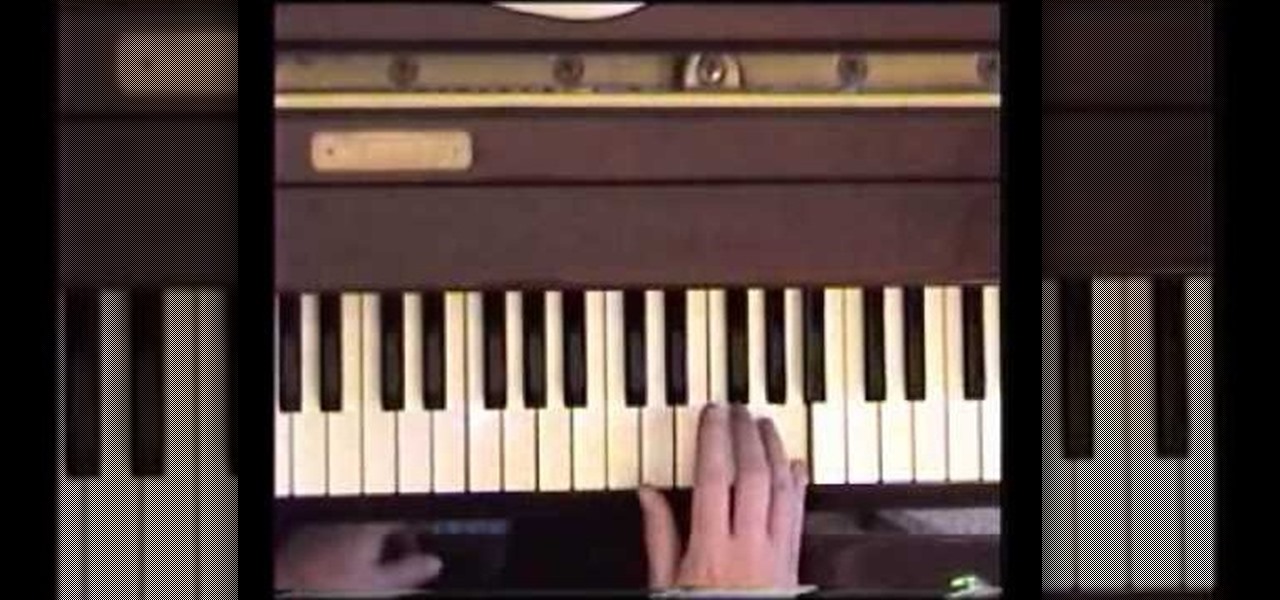
In this video, we learn how to play "Bennie and the Jets" by Elton John. Start out with A, E, C. Next, go to the G and then to the A. After this, go to B, A, A, sharp, and D. After this, you will have started to do the intro to the song. You will be playing with your right hand during this. Next, you will trip again and go to A, A sharp, B, A sharp, G, E, then finally to the G in the new measure. Continue to play until you reach the end of the song. You will go through all the different keys ...
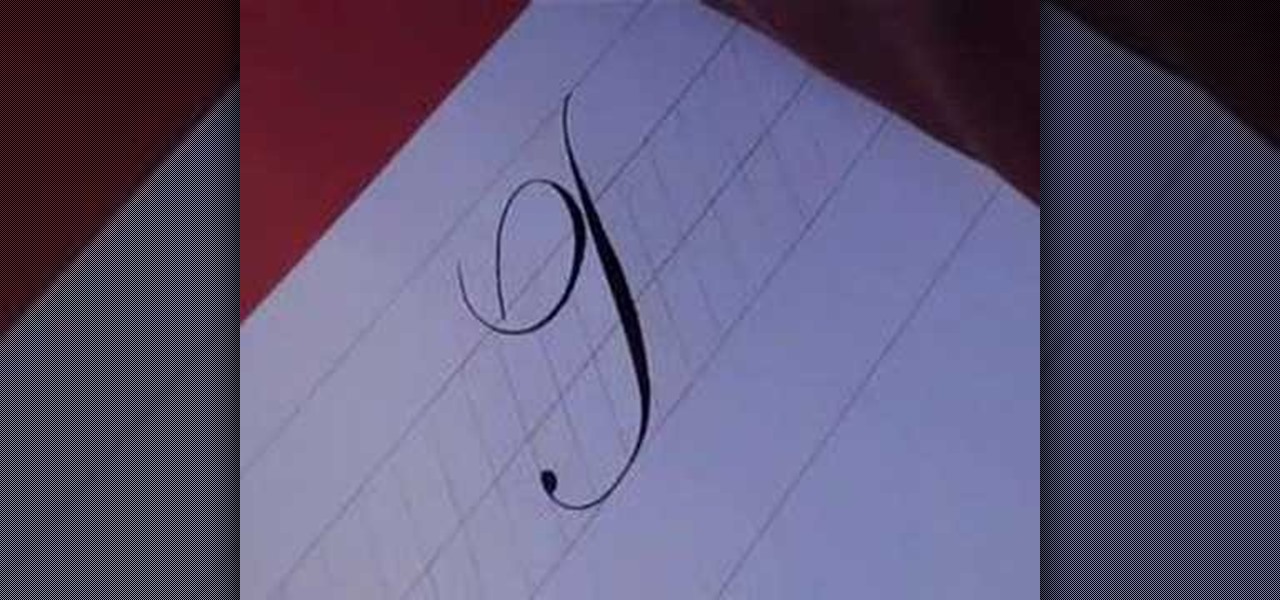
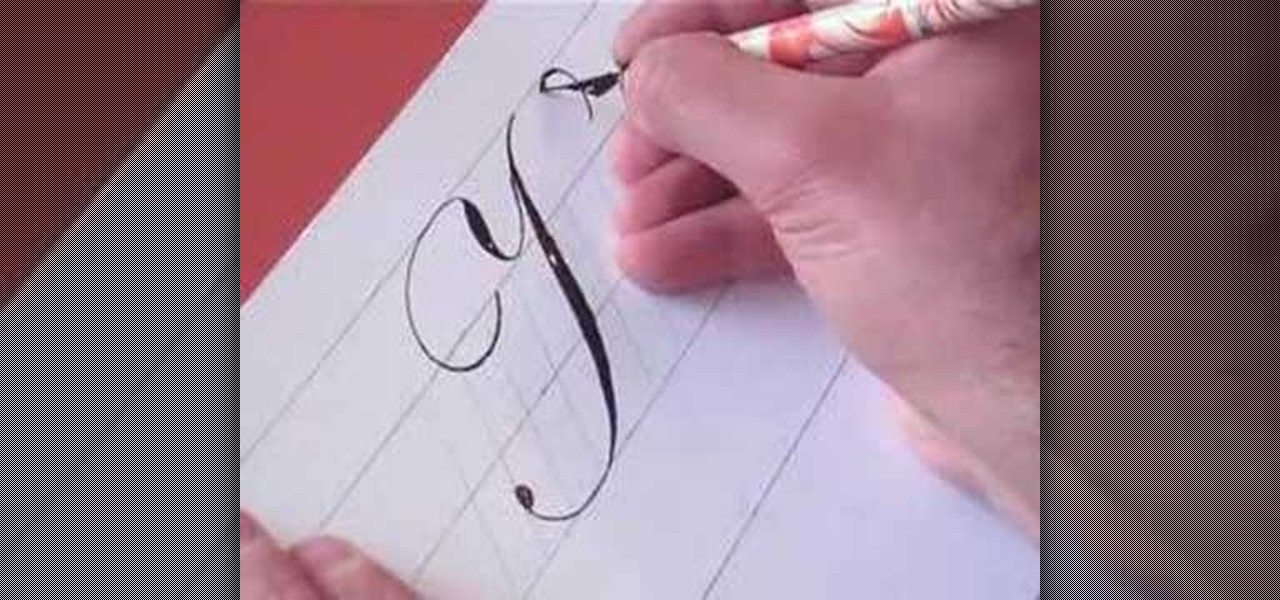
In this video, we learn how to write numbers in calligraphy copperplate. To write the number five, you will simply make the shape of the number, but add in a thick edge to the bump and curved edges to the end. To write the six, use a thick line on the side of the number and a thin line for the circle in the middle. To make the seven, the top should be curved and thick, and the lower line should be very thick with a straight edge. To make the eight, draw the number so that the left edge is thi...
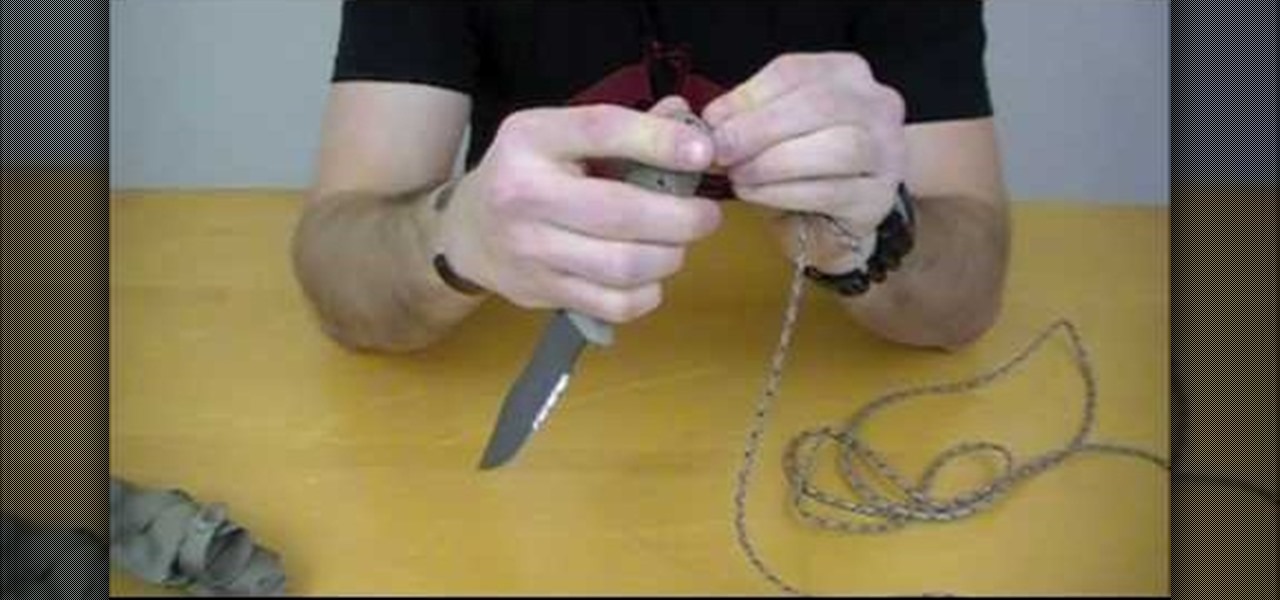
In order to build a trip wire, you will need the following: a knife, fishing line, a rope/string, sticks, and a large stone.
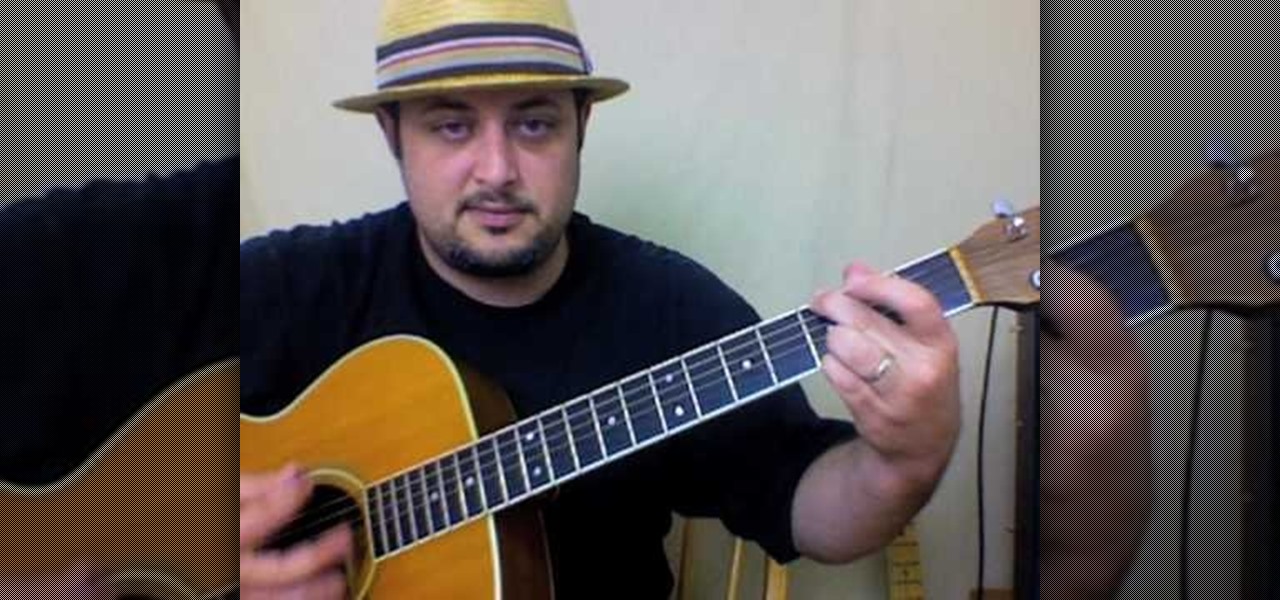
In this video, we learn how to play "...September Ends" by Green Day on guitar. Start off by placing your ring finger on the fifth fret of the D string, using the very tip of the finger. Place the first finger on the third fret of the B string. When you have these placed, you will start the intro and continue to play. As you move along the song, the chords will stay around the same range but you will need to change the pattern to go slower or faster. When you get to the chorus, change the fin...
This video will help you decide which paintball marker (or paintball gun) is right for you. The low-end electronic marker or the mechanical paintball gun. Mechanical guns are extremely loud, and semi-automatic, but effective. It uses a CO2 tank. Electronic markers have a higher rate of fire (super fast), and aren't very loud.
In this video, we learn how to write the letter T in calligraphy copperplate. Start by drawing a thick line that follows out a loop that curves to the left hand side. After this, create a loop at the top of the line, on the left hand side. Draw this out and cross the line over the top to make the T shape, ending with a slight curve at the end. To make the lower cased letter, draw a thin line, then draw a thick line over it, then cross a thin line across the top middle of the letter. Now you w...
In this video, we learn how to write the letter K in calligraphy copperplate. Start by running your calligraphy pen on the paper going from a thin line to a thick, making a line curved to the left ending with a dot at the end of a small loop. Next, make a loop to drag out across the top on the right hand side and curve it down to make the K letter. Do the same to make the lower case letter, except making a loop for the top of the letter instead. When finished, let the ink dry and you've got y...
In this video, we learn how to carve in snowboarding. While you are riding the snowboard, you will want to move your body weight so you are making a carving motion with your board along the side of the mountain and down the slope. Make sure you pay attention to where your legs are placed so you are properly pushing your weight on the ends of the board. If you fall, make sure you try to fall with your rear end so you don't break your knees or hands when you go down. With practice, this will ge...
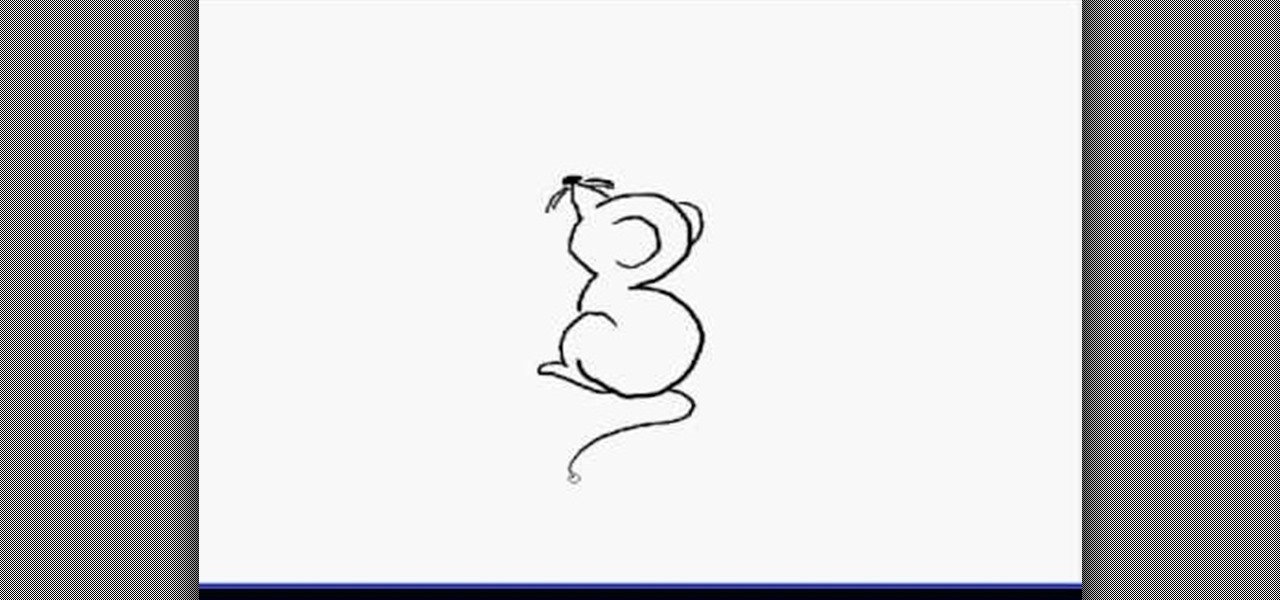
In this video, we learn how to draw a cartoon mouse from the number three. First, draw out your number three. Now, create a triangle shape on the end of the top of the three, then add in a circle and whiskers. Next, add in a half circle on the first hump of the three, then connect the body of the mouse going down the end of the three. Add in a tail at the bottom of the number, then add in a foot next to the bottom of the three. You can adjust this drawing how you prefer and add in any other d...
In this video, we learn how to write the letter "r" in calligraphy copperplate. Start out by dipping your calligraphy pen into ink, then creating a curved line with a dot at the end of it. Next, fill in the line so it is smooth and there are not ragged edges. Next, draw a large swirl on the left side next to the curved line, then draw it over to make the initial loop on the "r". After this, create a loop in the middle, then draw it back down to make the end hump of the "r". After this, draw i...
This makeup look is inspired by the celebrities of "old Hollywood" and is perfect for any New Year's Eve celebration. If you're going on for New Year's, this is a great festive look. Sure, you can wear this makeup look whenever you want, but it may be a bit too much for everyday use. Give it a try. Follow the step-by-step instructions.
In this video tutorial, viewers learn how to jump start a car. When purchasing a jumper cable, don't purchase the cheapest set. It is also not necessary to purchase the most expensive. Begin by connecting the black cable on the negative terminal of the healthy car. Then connect the positive side of the red cable to the positive terminal of the healthy car. On the dead car, connect end of the cable to the positive side of the battery again, except this time you connect the negative end to a so...
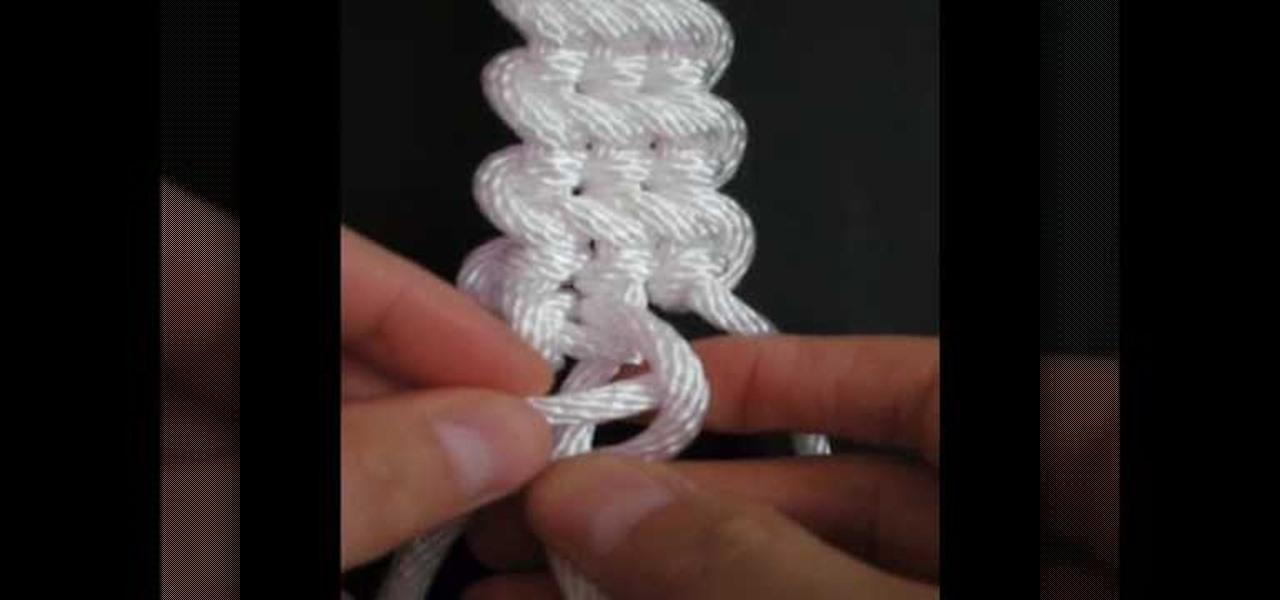
In this video, we learn how to make the guitar bar decorative knot. First, set up the bard then cow hitch two strips of rope side by side. Next, measure each bar to 12 inches long and make sure you have 12 feet of rope. After this, build the frets of the bar, and while you are doing this you will flip the bar over and start to half hitch. Continue to do this, tying all of the ropes together into the knot. Next, turn the knot over and continue on the other side. When you are near the end of yo...
In this tutorial, we learn how to set up the calendar in MS Project 2007. First, open up your calendar and then click on the "work week" tab. Now, set your working times into the slots for each different day. Make sure you set your start and end times correctly. Now, go to options and change the default start and end times so they match your working calendar. When finished, save this and then start to enter your task information to each different slot. When you enter this, the start and finis...
In this tutorial, we learn how to properly tape a hockey stick. Start at the base of the stick and start to tape down the blade. Try not to have too much tape overlap. Keep taping until you reach the end of the blade, taping over the toe if you prefer. If you have a rounded toe, you will have to use scissors to cut the tape, then fold it tightly at the end so no tape is hanging loose. Now, flatten the tape out with something hard and flat. To finish, store this in a cool and dry place and enj...
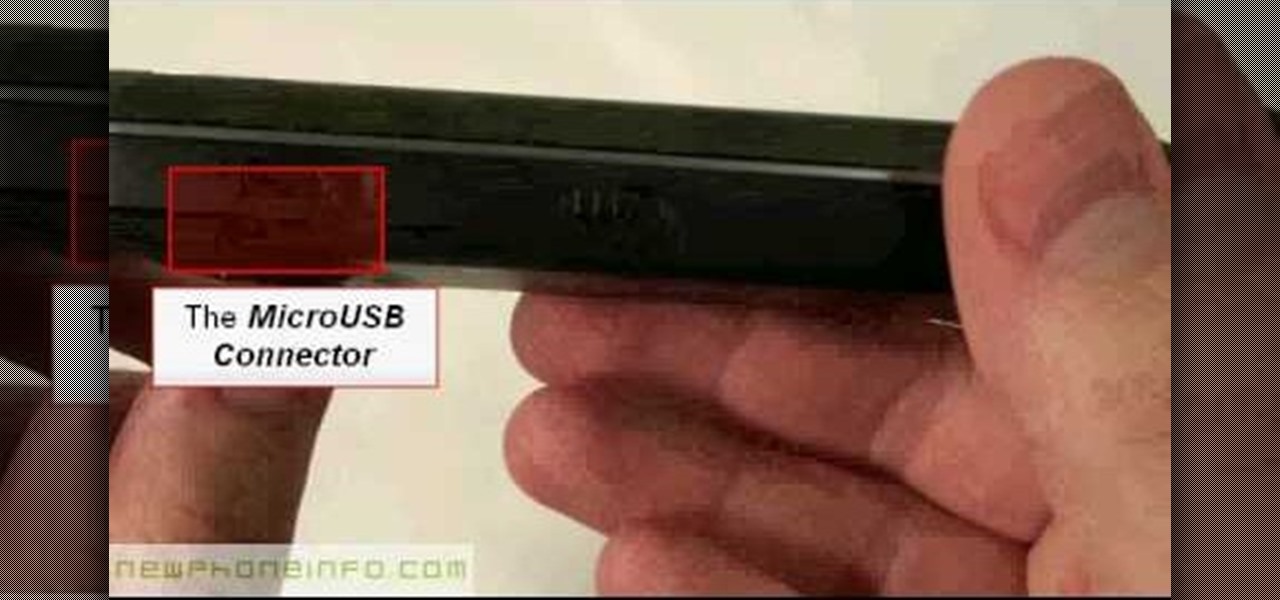
In this video tutorial, viewers learn how to use the Nokia N97 phone. The power button is located on the top of the phone to turn on/off the device. The menu key will open a list of applications for use. The call key will allow the users to make a phone call. The end key will bring the user to a previous screen or end a call. There is a headphone jack at the top of the device. One the side there is a Micro connector, and lock key. This video will benefit those viewers who are just using the N...
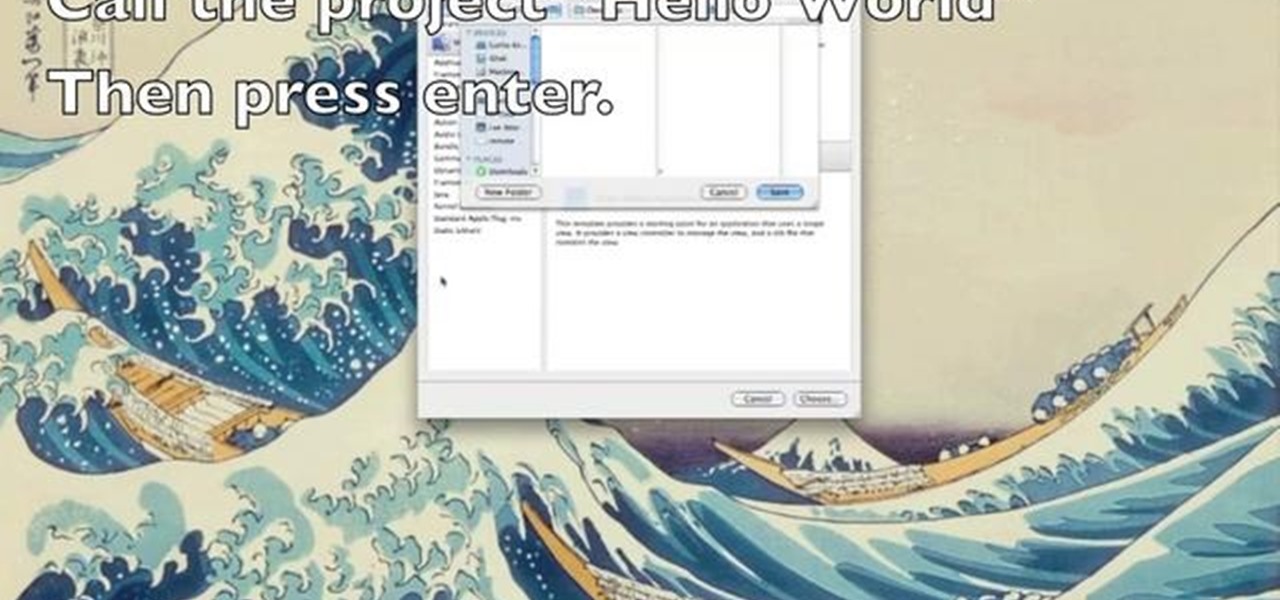
This programmer's guide provides an introduction to Xcode, Interface Builder and the iPhone simulator. Specifically, you'll learn how to write, build and test a simple "Hello World" application. For more information, including a complete overview of the process, take a look.
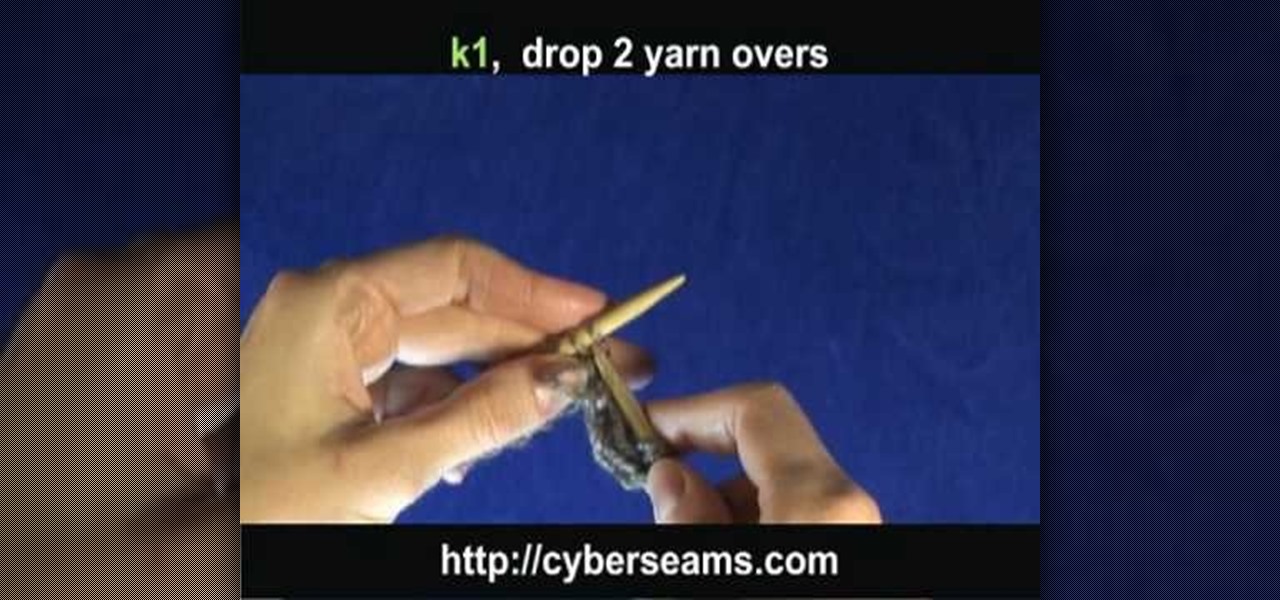
In this tutorial, we learn how to knit a scarf pattern. To do this, you will first start by casting on the first 20 rows. After this, you will knit for 2 rows, then you will do a k1 knit followed by a k1 at the end. Repeat this until your scarf is the desired length. Bind the knit off at the end and cut off any additional string that is left over. When finished, you will have a beautiful scarf that will keep you warm and was made by you! If you aren't familiar with knitting, you will have to ...
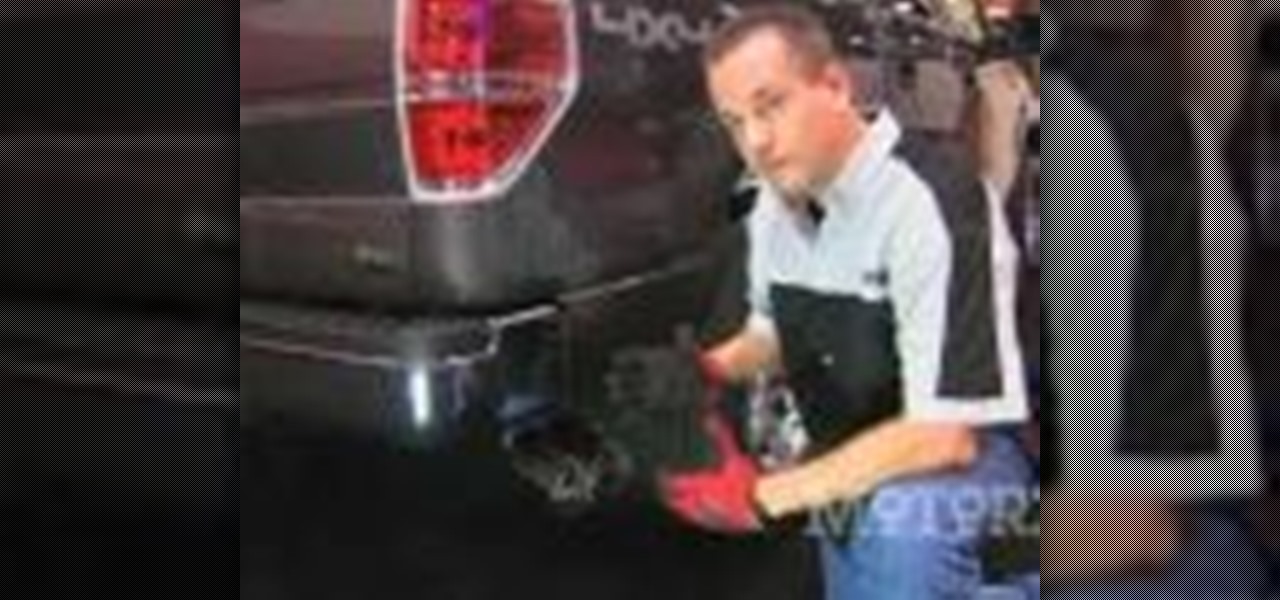
In this Autos, Motorcycles & Planes video tutorial you will learn how to install a Borla exhaust on a Ford F150. For this you will need a 15mm and a 10mm wrench, a 15mm deep socket, a 10mm standard socket, a ratchet, safety goggles and work gloves. First remove the spare tire and the heat shield. Using the 15mm wrench loosen the nut on the clamp on the muffler. Unbolt the hangers from the vehicle and remove the kit by turning it counterclockwise. Next put the new exhaust in place, take the sh...
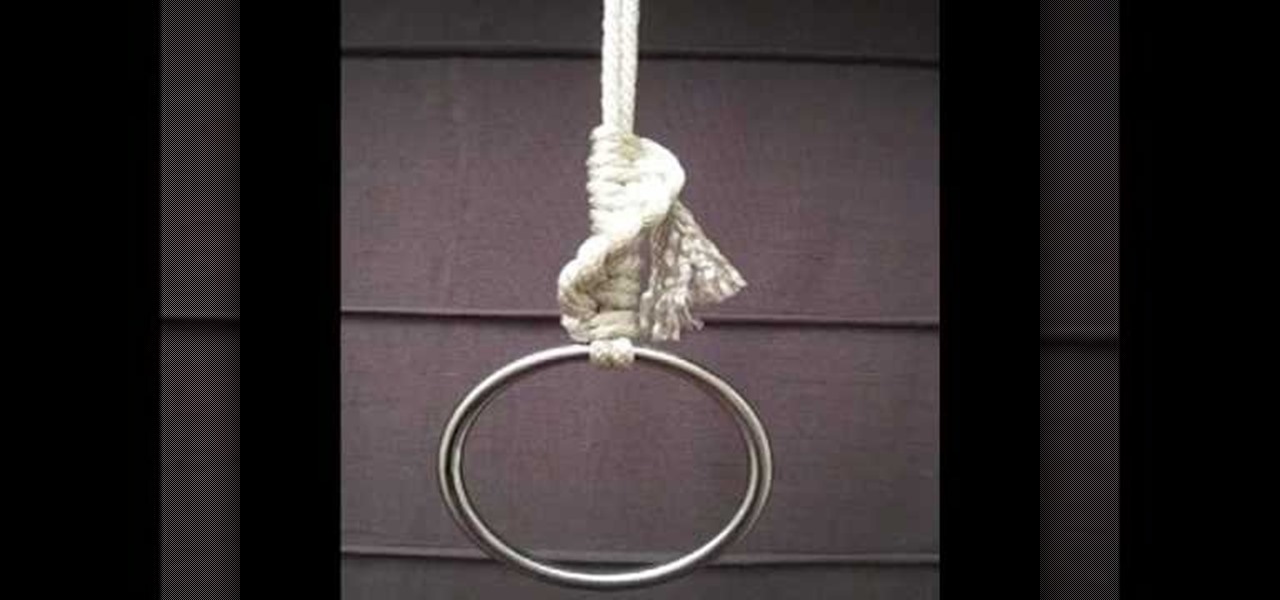
This video tutorial is in the Outdoor Recreation category which will show you how to tie off a suspension ring with a basic knot. Weld less rings are used as connection points for a variety of purposes. However, riggers quite often make tying a ring unnecessarily complicated. All that is required is a basic knot and a few hitches. For this you will need to tie the running overhand knot. Take a rope, bend it in half and tie it to a suspension point. Now pass both ends of the rope through the r...
New to Microsoft Excel? Looking for a tip? How about a tip so mind-blowingly useful as to qualify as a magic trick? You're in luck. In this MS Excel tutorial from ExcelIsFun and Mr. Excel, the 43rd installment in their joint series of digital spreadsheet magic tricks, you'll learn how to calculate weighted average cost ending inventory value from transactional records on 2 different sheets using the COUNTIF, SUMIF and SUMPRODUCT functions.
In this how to video, you will learn how to make a hair bow. You will need a ribbon and a bobby pin. First, make a knot in the center of the ribbon. Next, pull it tight and make a bow shape in the ribbon. Make sure that it comes out evenly. if your ribbon is not double sided, one end may have no pattern. This means you have to twist it so that the printed side appears in the front. Next, take the bobby pin and slide one end through the loop in the middle. Make sure it is in the bottom area of...
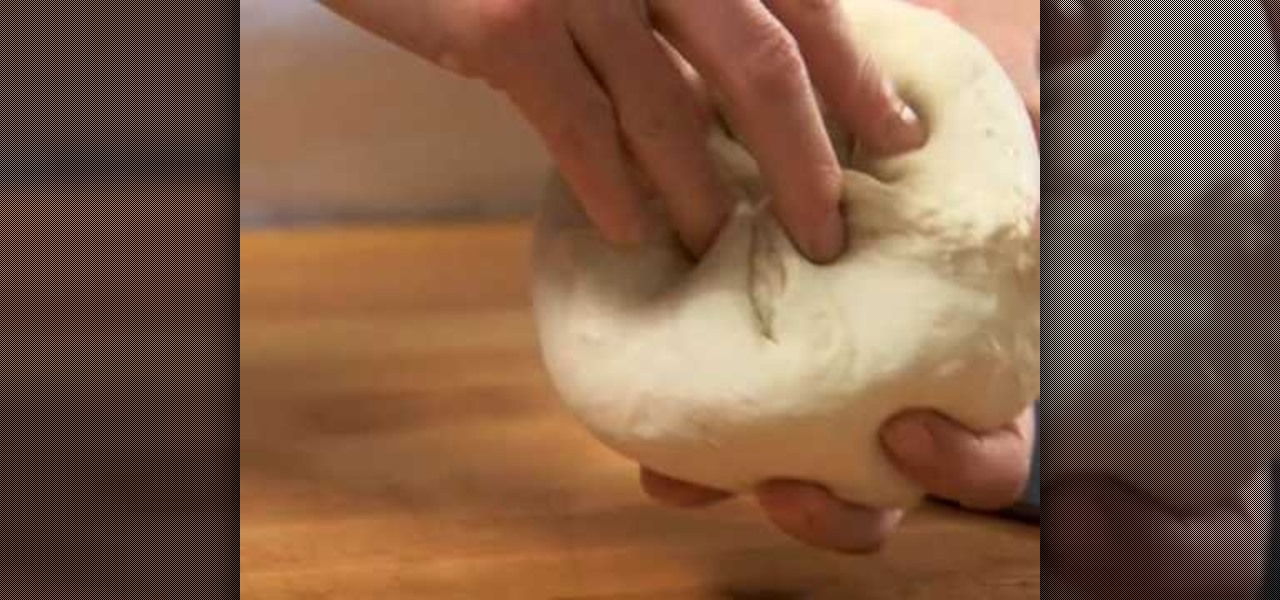
First of all you have to be very patient while kneading dough. You need a lightly floured surface to press the dough. Use the heel of your hand to knead the roll down and away in a rolling motion. Give the dough a quarter turn then fold it over and then push it down.
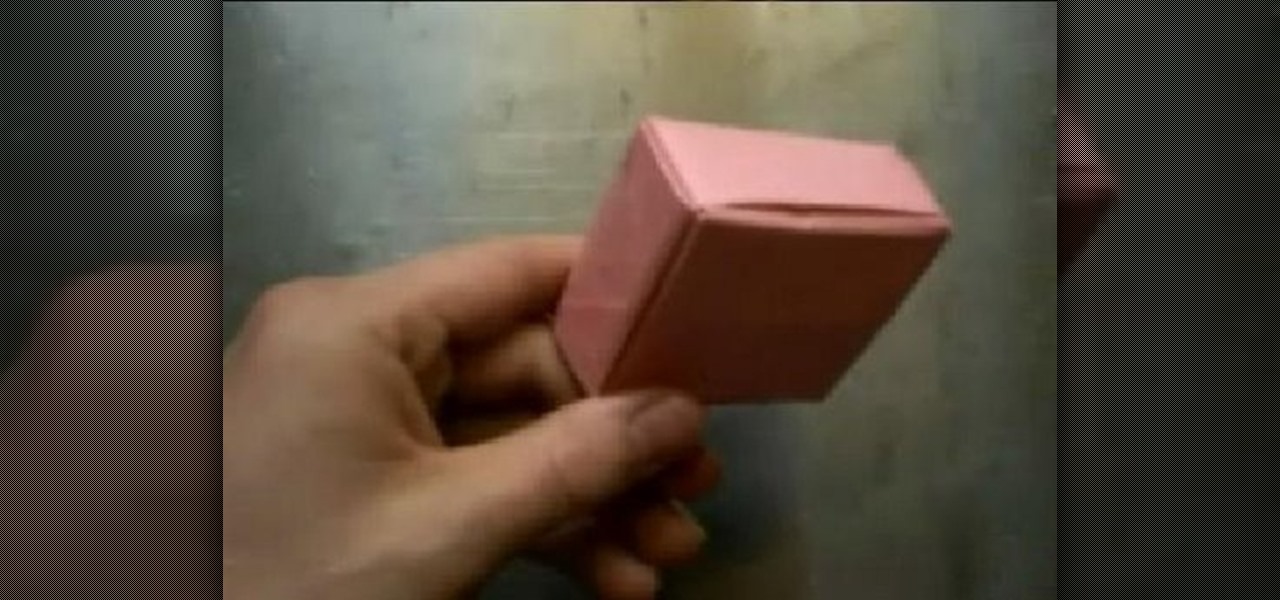
Watch a person fold an origami box. This is an open box, like a drawer, but not like a cube. First step is typical, just make creases between the opposite corners. next step is to fold all four corners to the center point where the first two creases cross. next two opposite flat sides are folded over to the center so the fold is parallel to the sides. then unfold these last two folds, and redo it with the other two perpendicular sides. then unfold everything but two of the corner-to-center fo...